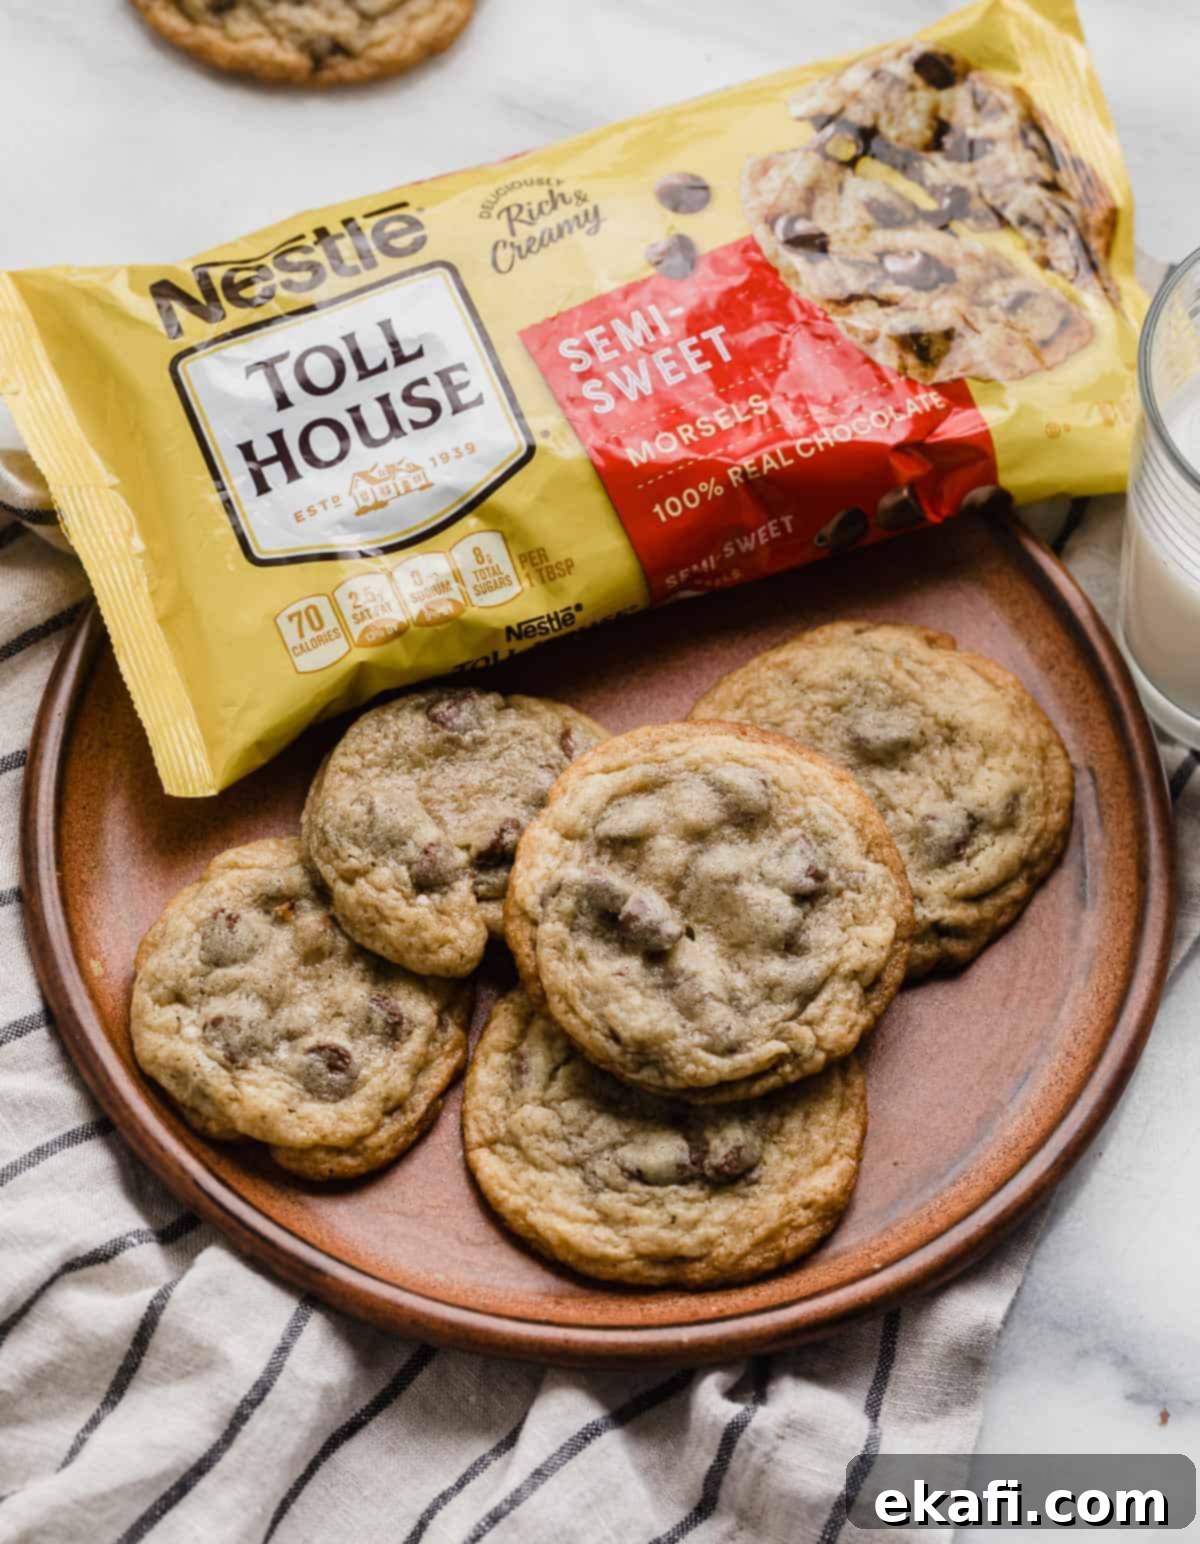
Bake the Perfect Classic: Your Guide to the Original Nestle Toll House Chocolate Chip Cookie Recipe
The Nestle Toll House chocolate chip cookie recipe holds a special place in the hearts of many, including mine. For countless families, it’s not just a recipe; it’s a cherished memory, often the first introduction to the magical world of homemade cookies. I distinctly remember these as the special treats my mom would bake, filling our home with that irresistible aroma of warm chocolate and vanilla. While my personal preference has evolved towards a thicker, softer chocolate chip cookie over the years, there’s no denying the nostalgic power of the original Toll House recipe. Its signature thin, crispy edges and abundant chocolate chips are simply iconic, embodying everything we love about a classic chocolate chip cookie.
Beyond its delicious taste and comforting familiarity, the original Toll House cookie boasts a fascinating origin story that adds to its legendary status. The tale begins with Ruth Wakefield, the inventive proprietor of the highly acclaimed Toll House restaurant, nestled within the charming Toll House Inn in Whitman, Massachusetts. Ruth was already celebrated for her delightful chocolate cookies. However, one fateful day, as she prepared a batch, she discovered a crucial ingredient missing: cocoa powder. Unfazed, she improvised, breaking a bar of Nestle semi-sweet chocolate into small chunks and stirring them into her cookie dough. Her expectation was that the chocolate pieces would melt and blend, transforming the entire cookie into a uniform chocolate flavor. To her surprise and delight, the chocolate chips held their shape, creating pockets of melty, rich chocolate throughout the cookie. This serendipitous discovery gave birth to what would become one of America’s most beloved desserts – the chocolate chip cookie!
Nestle quickly recognized the brilliance of Ruth’s invention and struck a deal with her, printing her original recipe on the back of their semi-sweet chocolate chip bags. This partnership ensured that her incredible creation would be shared with home bakers across the nation, cementing the Nestle Toll House name in culinary history. Today, the enduring presence of this recipe on every bag is a testament to its timeless appeal and flawless execution, making it the definitive standard for what a chocolate chip cookie should be.
The original Toll House chocolate chip cookie recipe serves as an excellent foundation for all chocolate chip cookie adventures. Its balanced flavors and straightforward method provide a perfect starting point for any baker. If you’re eager to explore beyond this classic and try some cookies with a different twist or added “oomph,” I highly recommend checking out my tried and true BEST Chocolate Chip Cookies, the rich and nutty Brown Butter Chocolate Chip Cookies, or the wonderfully chewy Oatmeal Chocolate Chip Cookies. Each recipe offers a unique flavor profile and texture, and I’m confident you’ll find new favorites among them.
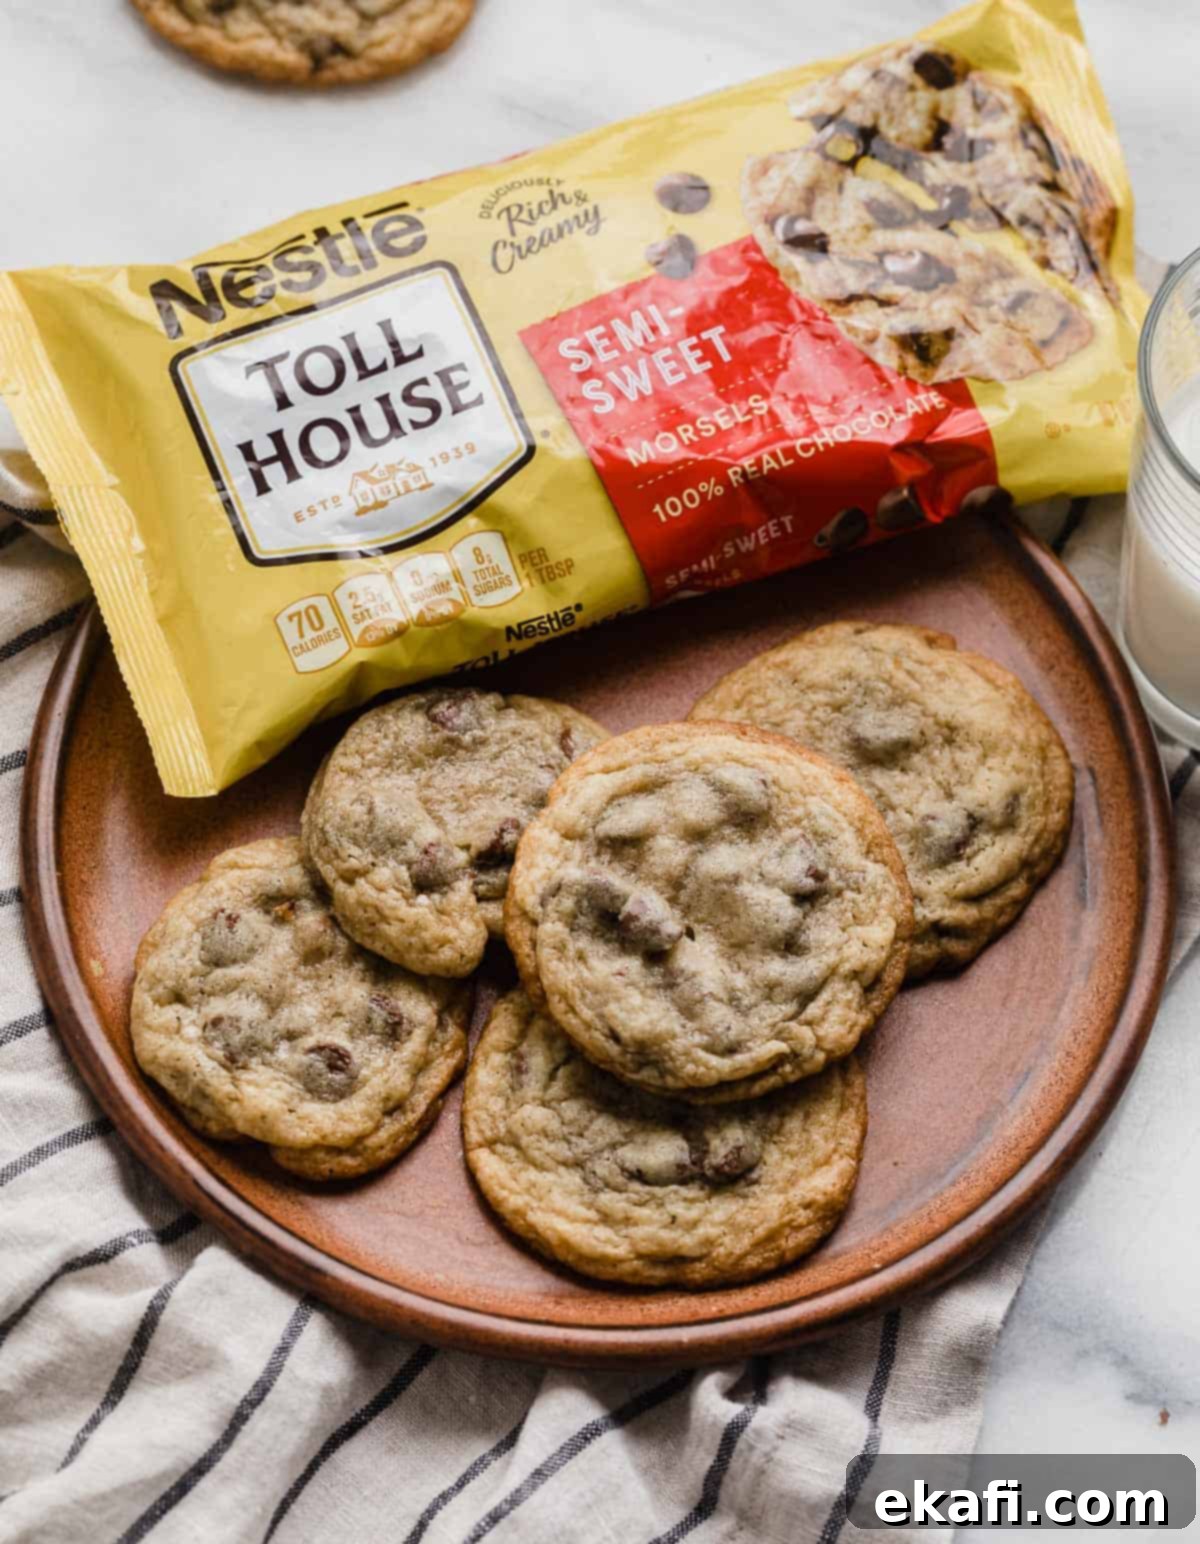
Why This Recipe Works: The Enduring Appeal of Toll House Cookies
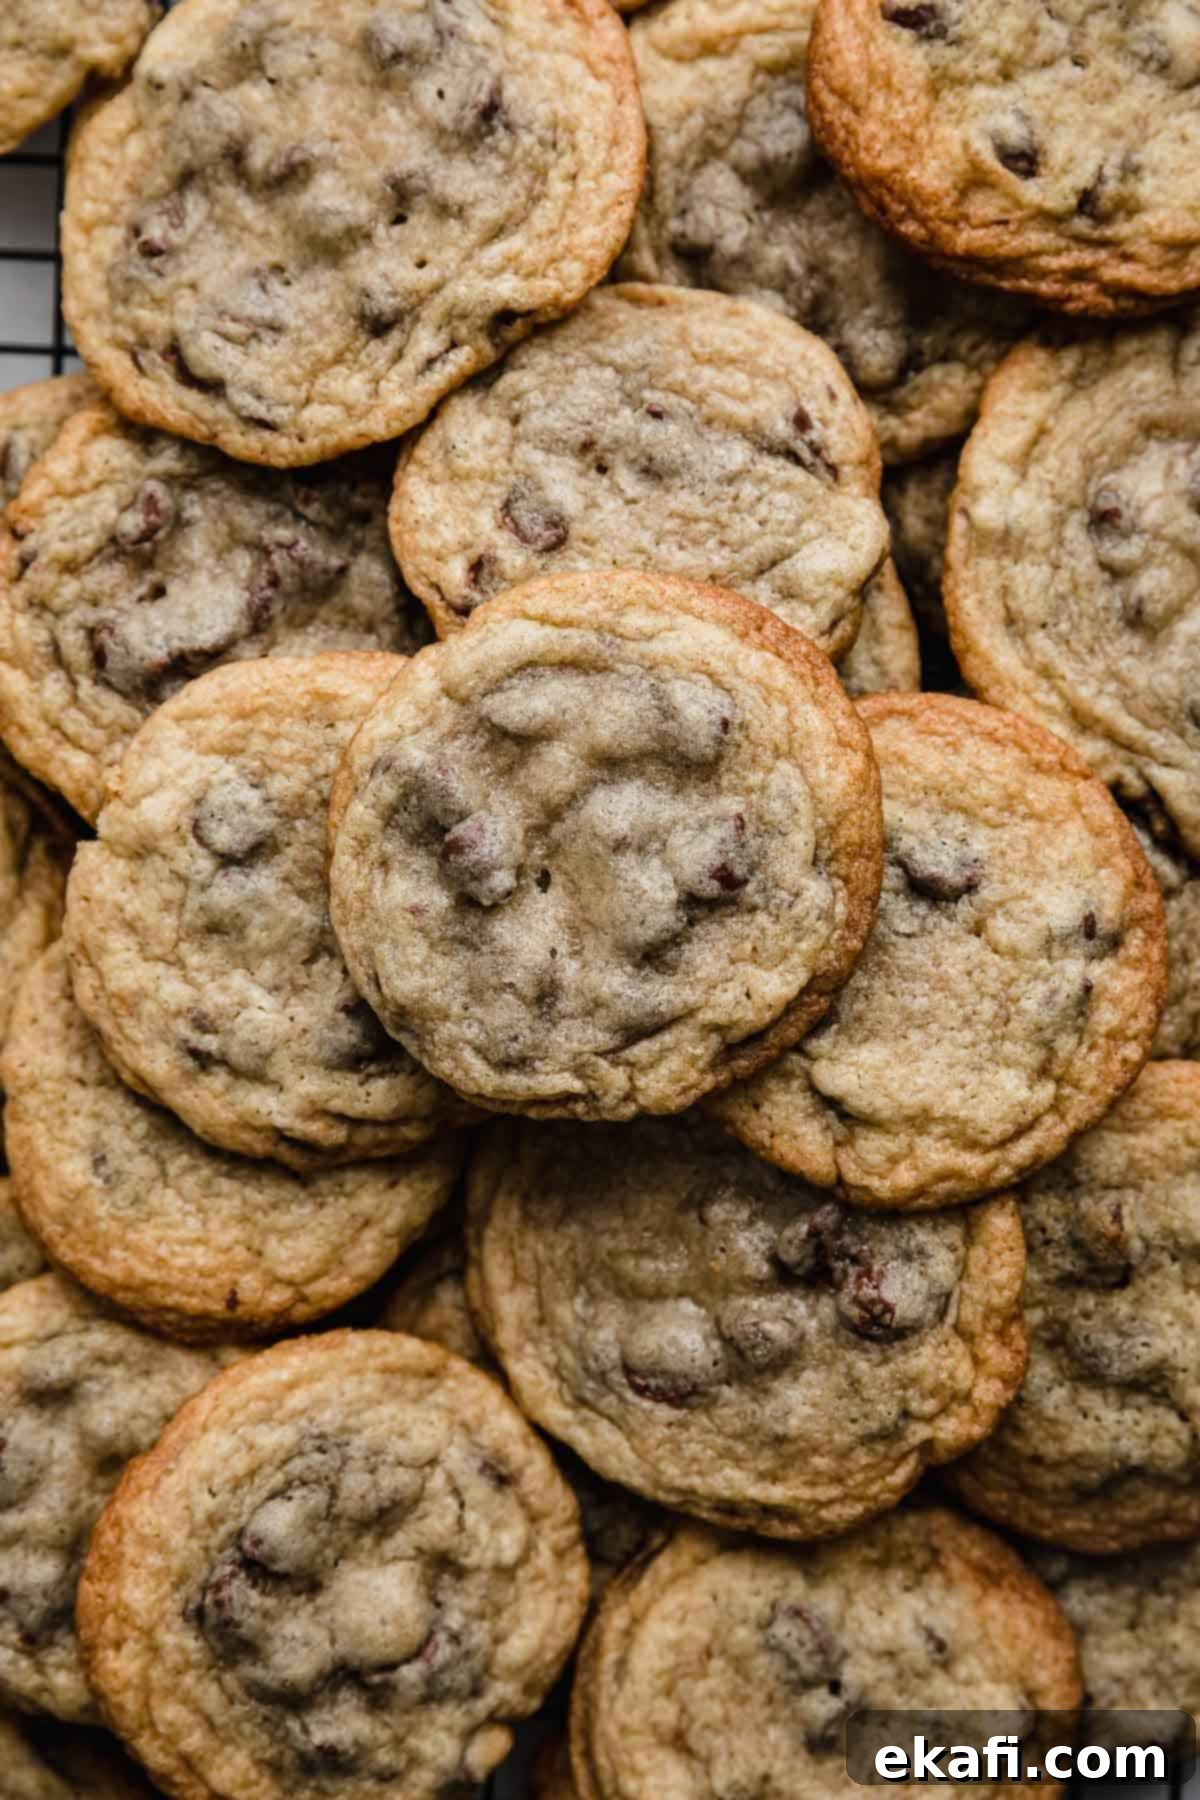
- Original Nestle Toll House Cookie Recipe. This isn’t just *a* chocolate chip cookie recipe; it’s *the* original, tried-and-true formula that launched a baking phenomenon. It consistently delivers thin chocolate chip cookies with perfectly crisp edges and a chewy center, capturing that quintessential homemade taste. Every bite transports you back to the simple joys of childhood and the comforting scent of freshly baked goods. It’s a foundational recipe that every baker should have in their repertoire.
- Incredibly Customizable. While the classic version is perfect on its own, this recipe provides an excellent canvas for creativity. The instructions include adding chopped nuts for an extra layer of texture and flavor, but the possibilities don’t stop there. You can easily swap out the traditional semi-sweet chocolate chips for white chocolate chips for a sweeter profile, butterscotch chips for a unique caramel-like note, or even milk chocolate chips for a milder chocolate experience. Feeling adventurous? Combine different types of chips or try my dedicated recipe for Milk Chocolate Chip Cookies for a truly decadent treat.
- Simple and Accessible Ingredients. One of the key strengths of the Toll House recipe is its reliance on common pantry staples. You won’t need any exotic or hard-to-find ingredients, making it an accessible baking project for anyone, anytime. This simplicity ensures that even novice bakers can achieve impressive results without feeling overwhelmed.
- Consistent and Reliable Results. This recipe has been perfected over decades and is known for its consistent performance. Follow the steps, and you’re almost guaranteed a batch of delicious, crowd-pleasing cookies. It’s the kind of recipe you can rely on for last-minute treats, potlucks, or simply satisfying a sudden cookie craving.
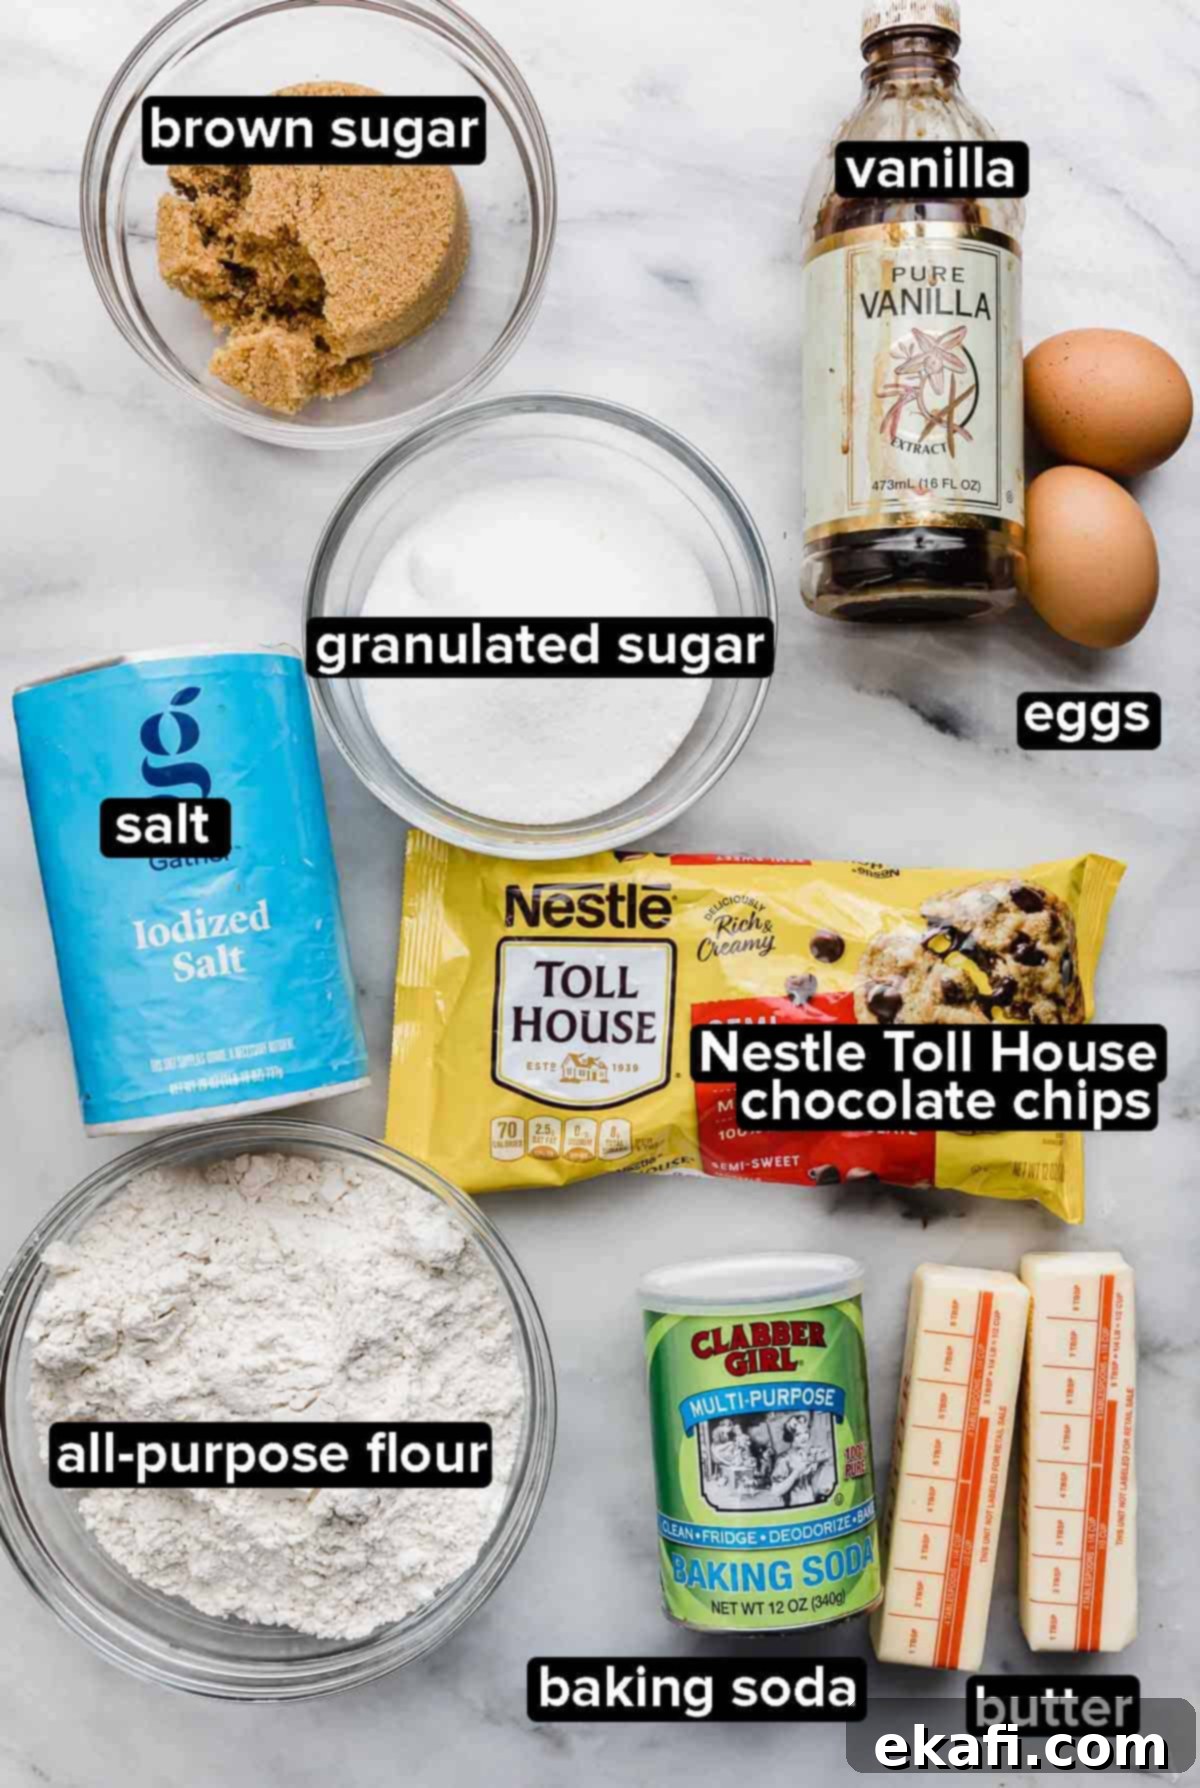
Essential Ingredient Notes for Perfect Toll House Cookies
Understanding the role of each ingredient is key to mastering the classic Nestle Toll House chocolate chip cookie. Here’s a closer look at what you’ll need and why:
- All-Purpose Flour: This is the fundamental building block of your cookies, providing structure and body. Using all-purpose flour ensures a tender yet sturdy crumb. Accurate measurement is crucial; spoon and level your flour rather than scooping directly from the bag to avoid over-measuring, which can lead to dry, dense cookies.
- Baking Soda: In this recipe for Toll House chocolate chip cookies, baking soda is the sole leavening agent. This choice is deliberate, as baking soda reacts with the acidic brown sugar to produce carbon dioxide, causing the cookies to spread beautifully. This reaction contributes significantly to their characteristic thinness, crisp edges, and a wonderfully golden brown bottom. Recipes that use a combination of baking soda and baking powder typically result in thicker, puffier cookies.
- Unsalted Butter: The original Toll House recipe famously doesn’t specify whether to use salted or unsalted butter. However, for precise baking, I always advocate for unsalted butter. This allows you to control the exact amount of salt in your cookies, preventing them from becoming overly salty. If you only have salted butter, you can use it, but consider reducing the added salt by ¼ to ½ teaspoon. Be aware that salted butter also has a slightly higher water content, which could subtly impact the cookie’s texture and spread, though usually not drastically. Ensure your butter is at room temperature and softened for optimal creaming with the sugars, which incorporates air and creates a lighter texture.
- Brown Sugar: Brown sugar is an indispensable ingredient for Nestle Toll House chocolate chip cookies. Its molasses content not only imparts a rich, caramel-like flavor but also contributes to the cookies’ chewiness and moisture. When measuring, make sure to pack it firmly into your measuring cup to ensure you’re getting the correct amount.
- White Granulated Sugar: Complementing the brown sugar, white granulated sugar plays a vital role in creating those desirable crisp edges that define the classic Toll House cookie. It also contributes to the overall sweetness and helps the cookies achieve that beautiful golden-brown color during baking. The combination of both sugars creates a perfect balance of texture and flavor.
- Vanilla Extract: Vanilla extract is far more than just a flavor enhancer; it’s essential for elevating the chocolate chip cookie experience. It adds a warm, aromatic depth that complements the sweetness and richness of the chocolate and butter, ensuring the cookies have a well-rounded and irresistible taste profile. Don’t skip it!
- Eggs: Eggs act as a binder, holding all the ingredients together, and contribute to the cookie’s structure and richness. Using large eggs at room temperature helps them incorporate more smoothly into the butter mixture, resulting in a more uniform dough.
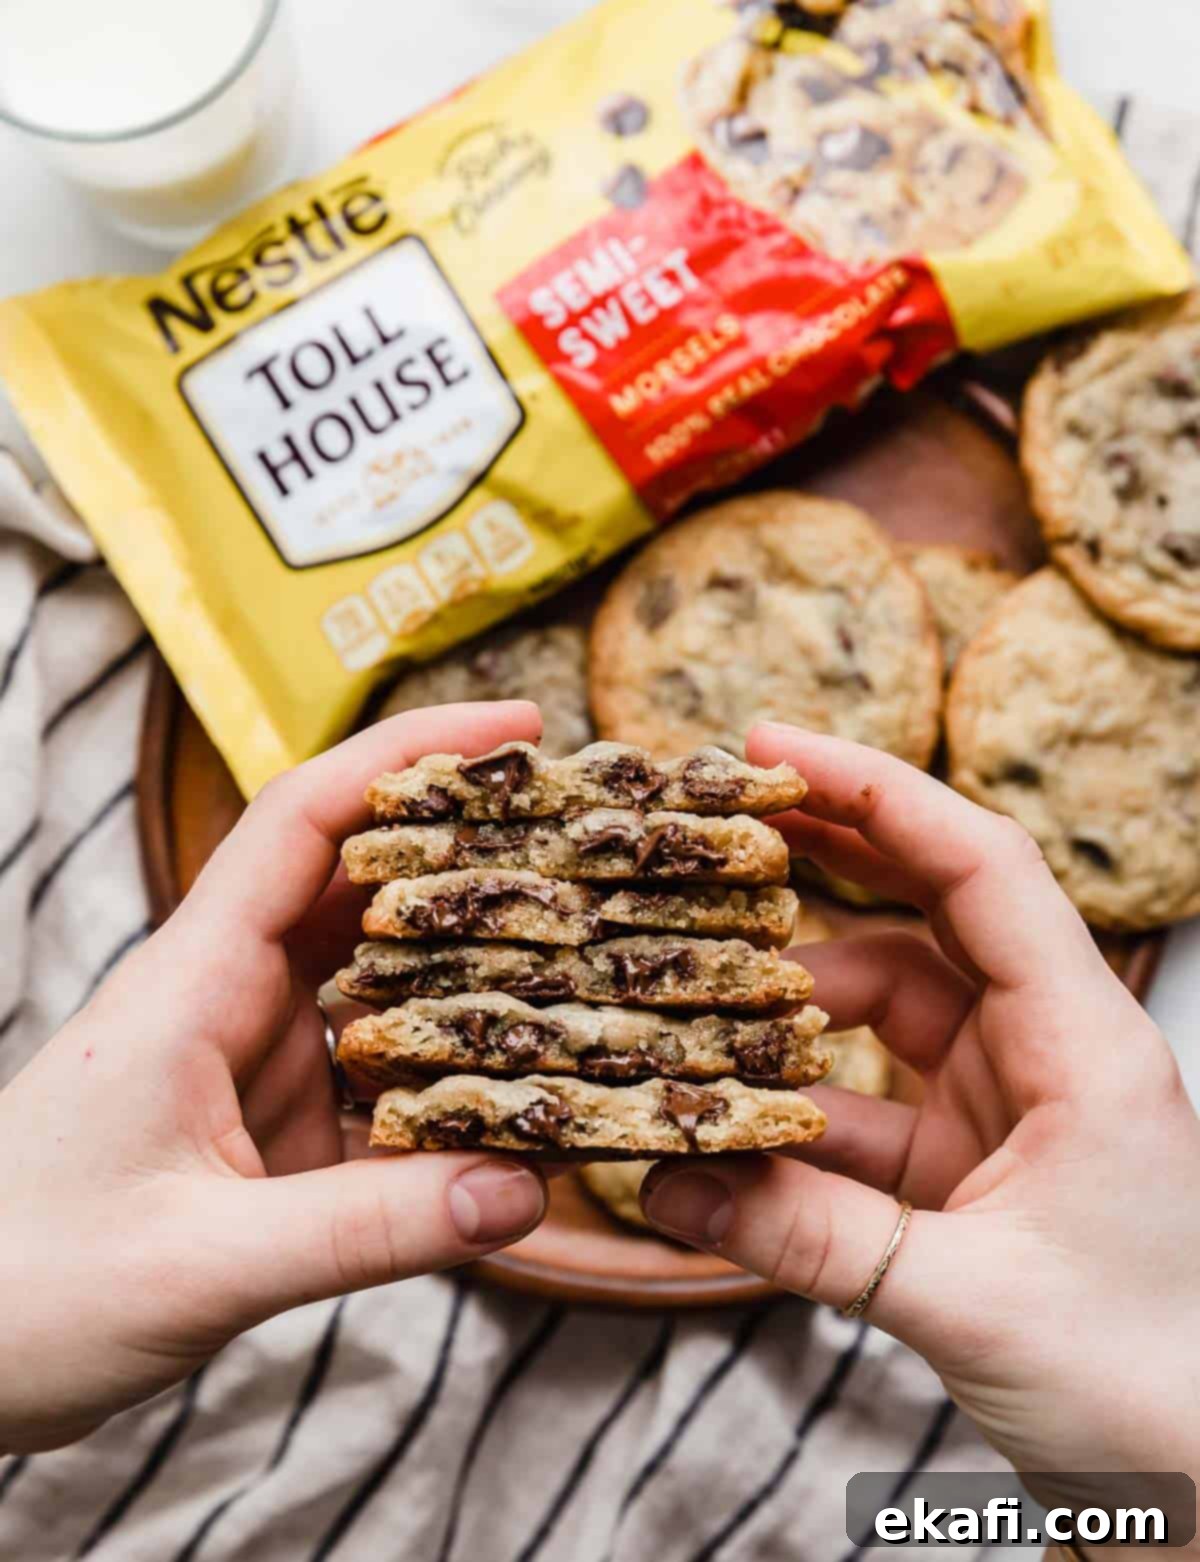
- Nestle Toll House Semi-Sweet Chocolate Chips: Of course, you can’t have Toll House cookies without the iconic Nestle chips! Semi-sweet chocolate provides the perfect balance of sweetness and deep chocolate flavor, contrasting beautifully with the cookie dough. While you can experiment with other chocolate types, these chips are integral to the classic taste.
- Chopped Nuts (Optional): If you enjoy a little crunch, chopped nuts (walnuts or pecans are traditional) add a wonderful textural contrast and earthy flavor to the cookies. If you choose to omit them, remember to add an additional 2 tablespoons of all-purpose flour to the dry ingredients. This compensates for the volume and structure that the nuts would have provided, preventing the dough from becoming too wet and spreading excessively.
Step-by-Step Instructions for Your Classic Chocolate Chip Cookies
Follow these detailed steps to recreate the irresistible Nestle Toll House chocolate chip cookies in your own kitchen:
- Prepare Your Oven and Baking Sheets. Begin by preheating your oven to 375 degrees Fahrenheit (190 degrees Celsius). While not strictly necessary, lining your baking sheets with parchment paper is highly recommended. Parchment paper prevents sticking, promotes even baking, and makes for super easy cleanup. If you don’t have parchment paper, simply leave your baking sheets ungreased as the butter in the dough provides enough fat to prevent sticking for these cookies.
- Combine Dry Ingredients. In a medium-sized bowl, whisk together 2¼ cups of all-purpose flour, 1 teaspoon of baking soda, and 1 teaspoon of salt. If you’re opting to omit the chopped nuts from your recipe, now is the time to add an additional 2 tablespoons of all-purpose flour to this mixture. Whisk thoroughly to ensure all ingredients are evenly distributed.
- Cream Wet Ingredients. In a large mixing bowl, or the bowl of a stand mixer fitted with the paddle attachment, add 1 cup of room-temperature softened unsalted butter along with ¾ cup of packed brown sugar and ¾ cup of granulated white sugar. Beat these ingredients together at medium speed for 1-2 minutes. Continue mixing until the butter and sugars are thoroughly combined, appearing light and fluffy. Next, add 1 teaspoon of vanilla extract and mix until just incorporated. Then, add 2 large eggs, one at a time, beating well after each addition until fully combined, scraping down the sides of the bowl as needed to ensure everything is mixed evenly.
- Incorporate Flour Mixture. Gradually add the dry flour mixture to the wet butter-sugar mixture. Mix on low speed until the flour is *just* partially combined. Be careful not to overmix at this stage; overmixing develops gluten, which can lead to tough cookies. You should still see some streaks of flour.
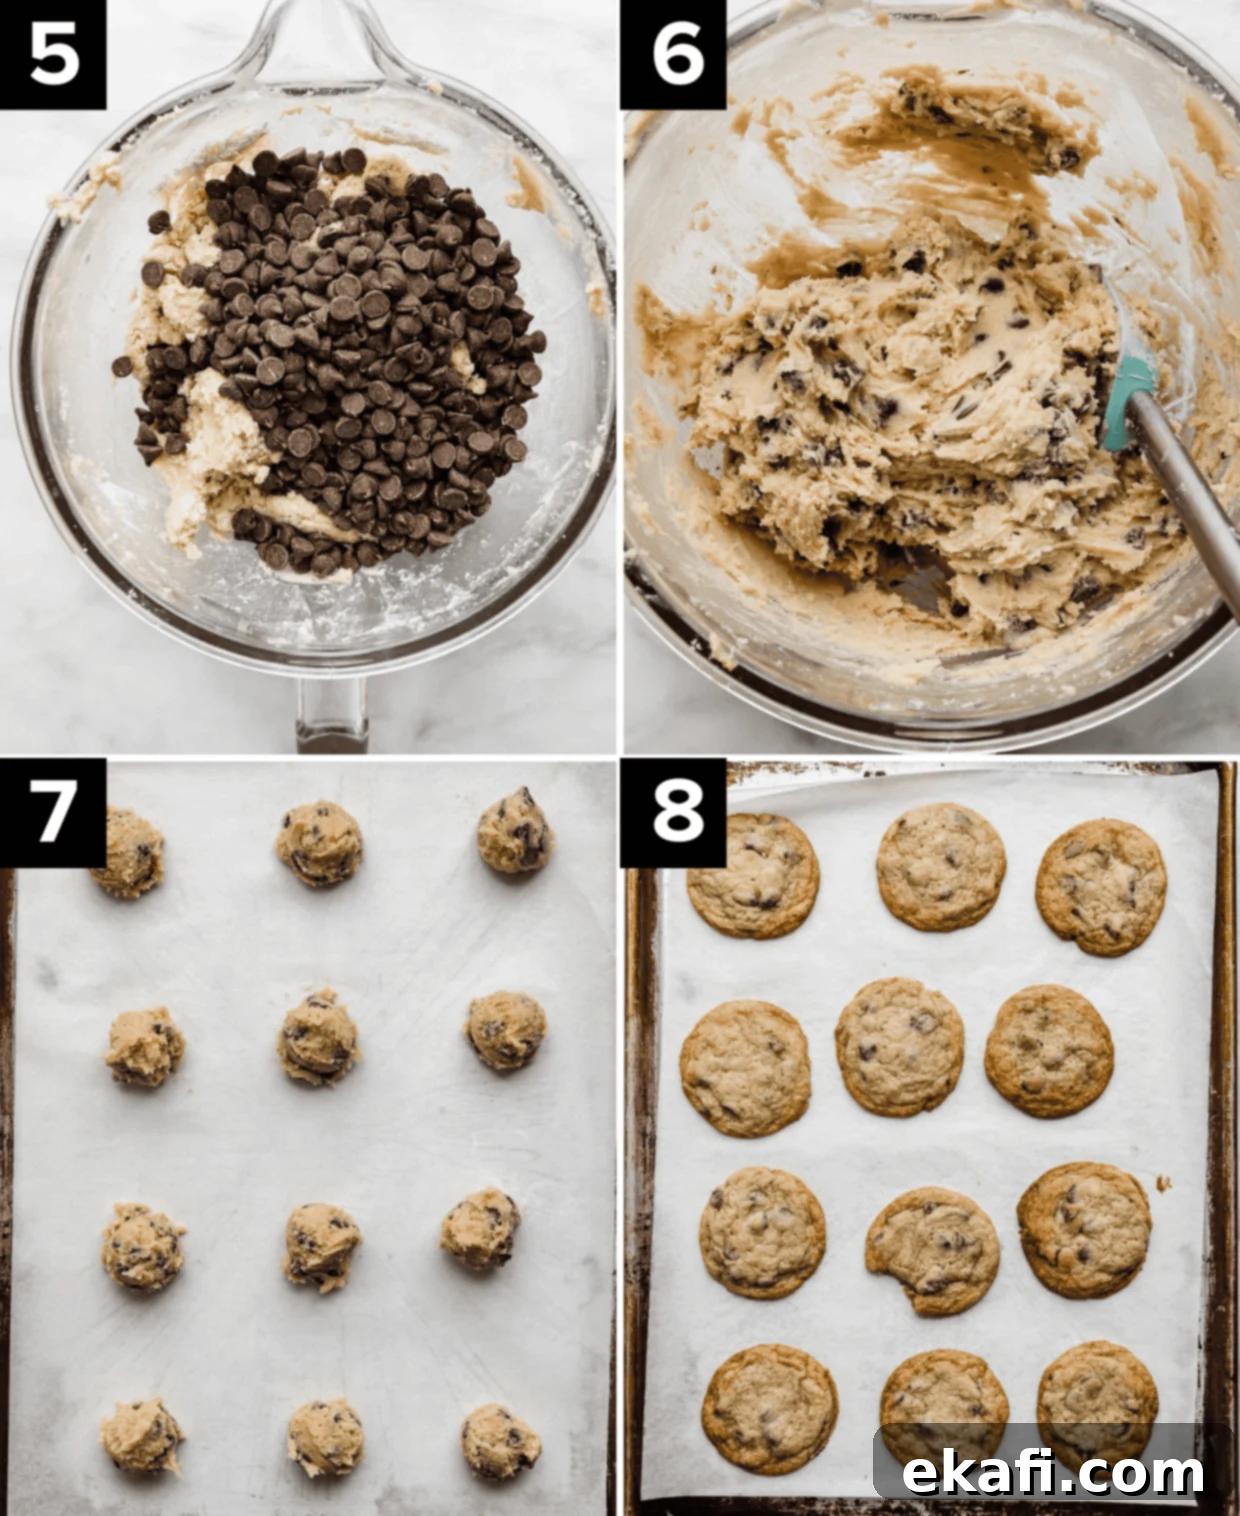
- Add Chocolate Chips (and Nuts). Now it’s time for the star ingredient! Pour in 2 cups (which is typically one 12 oz. bag) of Nestle Toll House semi-sweet chocolate chips. If you’re using chopped nuts, add 1 cup of them here as well. Mix gently on low speed until the chocolate chips and nuts are just combined into the dough. Again, avoid overmixing to maintain a tender cookie texture.
- Portion Out Cookie Dough. Using approximately 2 tablespoons of cookie dough per cookie (a size 50 cookie scoop works perfectly), roll the dough into uniform balls. Place these dough balls onto your prepared baking sheets, ensuring there’s at least 2 to 2½ inches of space between each one. These cookies will spread significantly during baking, so adequate spacing is crucial to prevent them from merging into one giant cookie.
- Bake and Cool. Bake the cookies for 9-11 minutes, or until their edges are golden brown and the centers are just set but still look slightly soft. For larger cookies, you might need to bake them closer to the 11-minute mark. Once baked, remove the baking sheet from the oven and allow the cookies to cool on the sheet for 2 minutes. This brief cooling period helps them set and prevents them from breaking when transferred. After 2 minutes, carefully transfer the cookies to a wire rack to cool completely. Enjoy them warm, or store them for later!
Expert Recipe Tips for the Best Toll House Chocolate Chip Cookies
Achieving cookie perfection often comes down to a few key techniques. Here are some pro tips to ensure your Nestle Toll House chocolate chip cookies turn out perfectly every time:
- Prevent Over-Spreading with Chilled Dough: For cookies that maintain a slightly thicker profile and spread less, consider chilling your dough. After mixing, let the cookie dough chill in the fridge for at least 10 minutes. When you’re ready to bake, scoop out your first batch of dough balls and place them on the baking sheet. While that batch is baking, return the remaining dough to the fridge to keep it cool. Repeat this process for subsequent batches. Chilling helps solidify the butter, which prevents the cookies from spreading too rapidly in the hot oven.
- Experiment with Chocolate Varieties: While semi-sweet chocolate chips are traditional, feel free to customize! For a delightful combination of flavors, try using 1 cup of semi-sweet chocolate chips and 1 cup of white chocolate chips. You could also experiment with milk chocolate, dark chocolate, or even a mix of different percentages for a gourmet touch. Chopped chocolate bars also work wonderfully for larger, more intense chocolate puddles.
- Room Temperature Ingredients are Key: Ensure your butter and eggs are at room temperature. Softened butter creams beautifully with sugar, incorporating air that contributes to the cookies’ texture. Room temperature eggs emulsify better with the fat, creating a smoother, more uniform dough.
- Don’t Overmix the Dough: Once you add the flour, mix until just combined. Overmixing develops the gluten in the flour, which can lead to tough, dense cookies. A few streaks of flour remaining are perfectly fine; they’ll disappear during baking.
- Know Your Oven: Ovens can vary significantly in temperature. If you find your cookies are baking too quickly or too slowly, consider using an oven thermometer to verify its accuracy. Adjust baking times as needed. Cookies are typically done when the edges are golden brown and the centers look set but still slightly soft – they will continue to set as they cool.
- Cooling is Crucial: Allowing cookies to cool on the baking sheet for a few minutes before transferring them to a wire rack helps them firm up and prevents them from breaking. Cooling completely on a wire rack ensures air circulation, preventing soggy bottoms.
Make Ahead, Storing, and Freezing Your Delicious Cookies
These classic chocolate chip cookies are fantastic fresh out of the oven, but they also store beautifully, making them perfect for meal prep or future cravings:
- Make Ahead: One of the best qualities of this recipe is its make-ahead potential. Baked cookies will stay fresh and delicious for several days, so you can easily bake them up to three days in advance of when you plan to serve them. For ultimate convenience, you can also prepare the cookie dough a day or even two in advance and store it, tightly covered, in the fridge overnight before baking. While chilling the dough for an extended period can subtly alter the cookie’s texture (often resulting in slightly thicker, chewier cookies with more developed flavor), it’s a great option for busy schedules.
- Storing Baked Cookies: To keep your leftover chocolate chip cookies at their best, store them in an airtight container at room temperature. They will maintain their freshness and flavor for 3-5 days. For optimal texture, you can place a slice of bread in the container with the cookies to help keep them soft – just remember to replace the bread every day or two. Though, honestly, they rarely last that long!
- Freezing Baked Cookies: If you want to extend their life even further, baked cookies freeze exceptionally well. Place them in a single layer on a baking sheet to freeze solid, then transfer them to a freezer-safe ziptop bag or an airtight container. They will keep for up to three months. To enjoy, simply thaw them at room temperature or warm them slightly in the oven for a “freshly baked” experience.
- Freezing Cookie Dough: For the ultimate convenience, freeze the unbaked cookie dough. Scoop the dough into individual balls and place them on a parchment-lined baking sheet. Freeze until solid, then transfer the frozen dough balls to a freezer-safe bag or container. They can be stored for up to three months. When you’re ready to bake, you can bake them directly from the freezer, adding an extra 2-4 minutes to the baking time, or let them thaw slightly on the counter for about 30 minutes before baking. For even more detailed guidance, check out my comprehensive posts on How to Freeze Cookies and How to Freeze Cookie Dough.
Frequently Asked Questions About Nestle Toll House Chocolate Chip Cookies
Nestle Toll House chocolate chip cookies are typically baked at 375 degrees Fahrenheit (190 degrees Celsius). This higher temperature is crucial for their signature texture, causing them to spread quickly, resulting in those desired crispy edges and a perfectly browned bottom.
The calorie count can vary depending on the exact size and slight variations in ingredients. Generally, individual Nestle Toll House chocolate chip cookies range from 148-202 calories. For the cookies made with this specific recipe, using the recommended portion size, you can expect each cookie to have approximately 202 calories.
The baking time for Toll House chocolate chip cookies ranges from 9-11 minutes. The exact duration depends on your oven and your preferred level of crispiness. For a chewier cookie with slightly softer centers, aim for the shorter end of the baking time. For an extra crispy cookie, bake closer to the 11-minute mark, ensuring they are golden brown around the edges.
Yes, high-altitude baking often requires minor adjustments to recipes. For this Nestle Toll House chocolate chip cookie recipe, if you are baking at a higher altitude (generally above 3,500 feet), it is recommended to add an additional ¼ cup of all-purpose flour. This helps to compensate for the lower atmospheric pressure, which can cause cookies to spread more and dry out faster.
Excessive spreading can be due to several factors: your butter might have been too soft (or even melted), your oven temperature might be too low (leading to slow melting before setting), or you might have over-measured liquid ingredients or under-measured flour. Ensure your butter is just softened to room temperature, accurately measure all ingredients, and consider chilling your dough for 10-15 minutes before baking to help prevent over-spreading.
While this specific recipe uses all-purpose flour, many bakers have successfully adapted it using a 1:1 gluten-free baking flour blend. Look for blends that specifically state “cup-for-cup” or “for baking” and contain xanthan gum. The texture might be slightly different, but the classic flavor will still shine through.
Explore More Delicious Chocolate Chip Cookie Recipes
If you’ve loved mastering the classic, why not expand your cookie repertoire? Here are some other fantastic chocolate chip cookie recipes to try:
- Crumbl Chocolate Chip Cookie Recipe
- Butterscotch Chocolate Chip Cookies
- Triple Chocolate Chip Cookies
- Chocolate Chip Cookie Bars
- Salted Tahini Chocolate Chip Cookies
Did you make this classic Nestle Toll House chocolate chip cookie recipe? I’d absolutely love to hear about your baking experience and see your delicious creations! Please leave a star rating and review right here on the blog post, or scroll down below the recipe card to share your thoughts. Your feedback helps other bakers!
Stay connected and up-to-date with all my latest recipes and baking tips by following us on Instagram, TikTok, YouTube, Facebook, and Pinterest. Don’t forget to tag #SaltAndBaker so I can share your amazing bakes!
Print
SaveSaved!
Review
Nestle® Toll House Chocolate Chip Cookies
Ingredients
- 2 1/4 cups all-purpose flour
- 1 teaspoon baking soda
- 1 teaspoon salt
- 1 cup unsalted butter – softened to room temperature
- 3/4 cup brown sugar – packed
- 3/4 cup granulated sugar
- 1 teaspoon vanilla extract
- 2 large eggs
- 2 cups Nestle Toll House semi-sweet chocolate chips – (12 oz package)
- 1 cup chopped nuts – if omitting add 2 tablespoons of all-purpose flour in place of the nuts
Instructions
-
Preheat the oven to 375°F. Prepare your baking sheets, optionally lining them with parchment paper for easy cleanup.
-
In a medium bowl, combine and whisk the all-purpose flour, baking soda, and salt. If omitting chopped nuts, remember to add an additional 2 tablespoons of flour here.
-
In a large mixing bowl (or the bowl of a stand mixer with a paddle attachment), cream together the softened unsalted butter, granulated sugar, and packed brown sugar on medium speed for 1-2 minutes until light and fluffy. Add the vanilla extract and then the eggs, one at a time, beating well after each addition and scraping down the bowl as needed.
-
Gradually add the flour mixture to the wet ingredients and mix on low speed until just partially combined. Stir in the Nestle Toll House semi-sweet chocolate chips (and chopped nuts, if using). Mix only until just combined to avoid overworking the dough.
-
Using a 2 tablespoon-sized cookie scoop (a size 50 scoop is ideal), portion the dough into rounded balls. Place them onto your lined or ungreased baking sheets, ensuring at least 2 to 2½ inches of space between each cookie dough ball, as they will spread during baking.
-
Bake for 9-11 minutes, or until the edges are beautifully golden brown and the centers are set but still look slightly soft. For larger cookies, extend baking time to 11-12 minutes. Allow the cookies to cool on the baking sheet for 2 minutes before carefully transferring them to a wire rack to cool completely.
Notes
These cookies are designed to spread, so proper spacing on the baking sheet is key. To help control spreading and achieve a slightly thicker cookie, I often chill the cookie dough for about 10 minutes after mixing. Then, scoop one baking sheet’s worth of cookie dough balls (around 12 cookies) and bake them while the rest of the dough remains in the fridge. This keeps the butter firm and helps maintain their shape.
This recipe is the exact, beloved formula found on the back of the Nestle Toll House semi-sweet chocolate chip cookie bag – a true classic!
Nutrition
