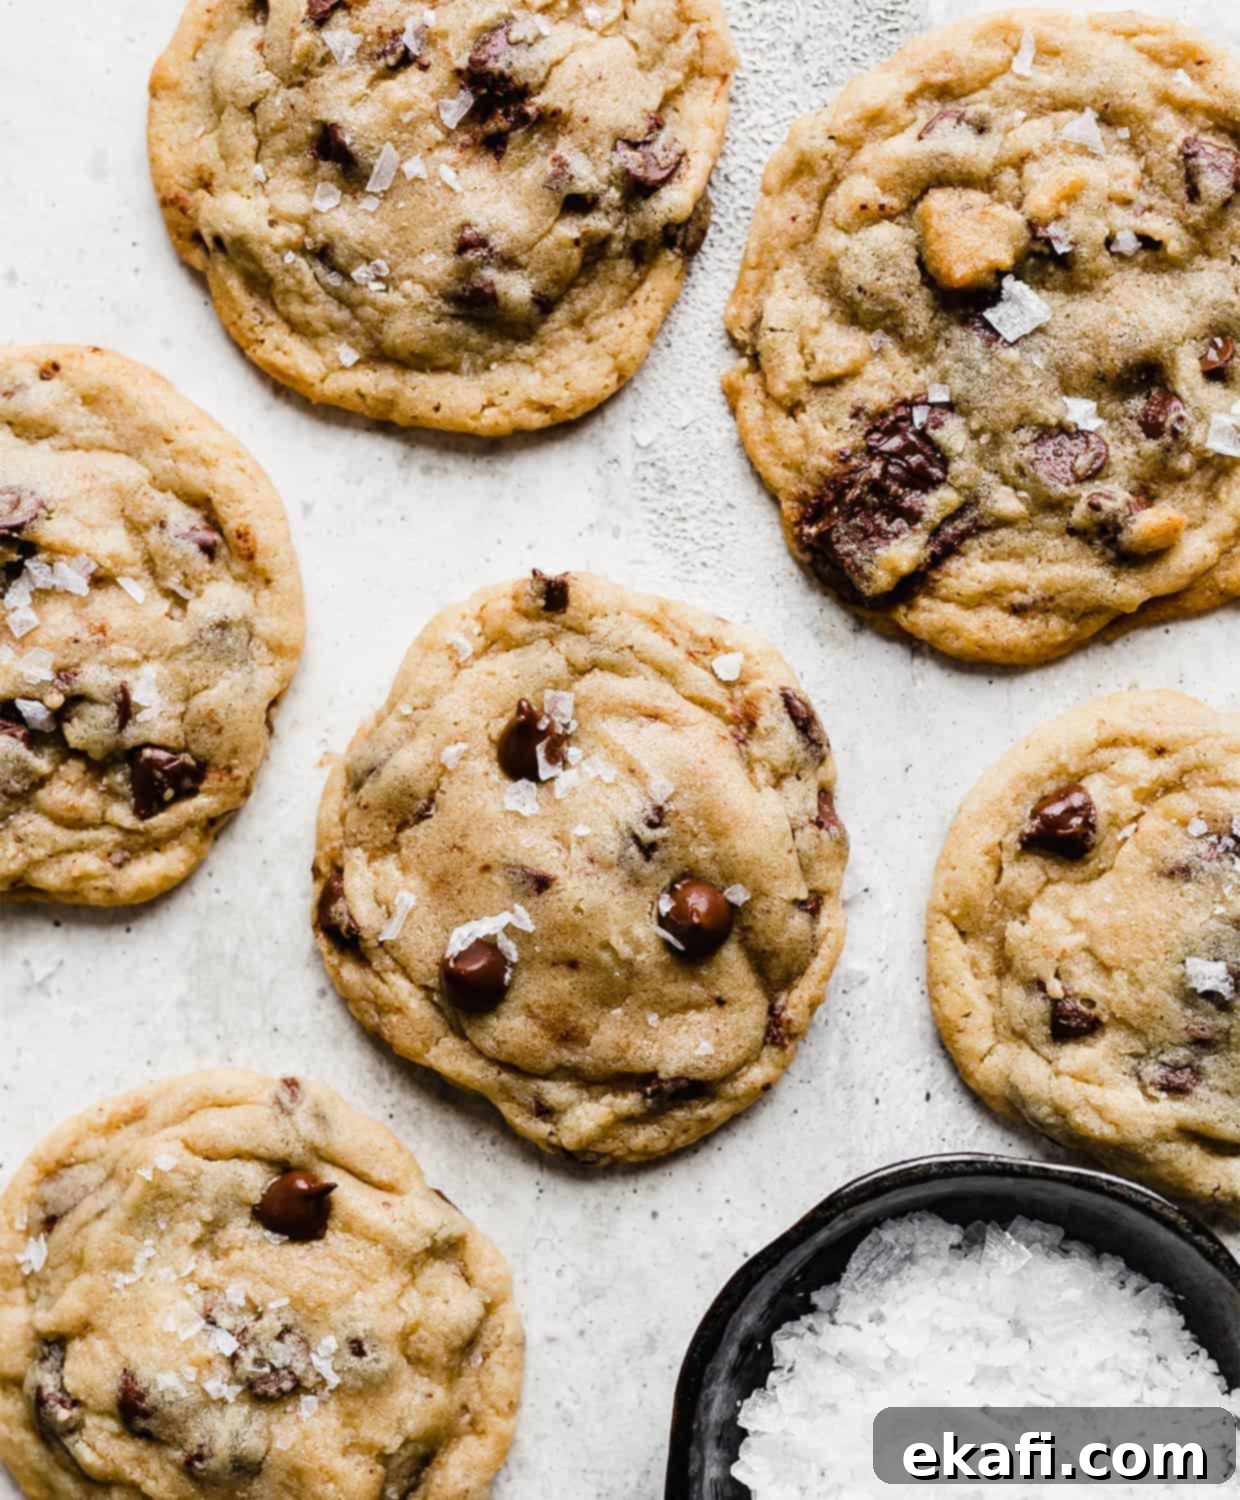
The Best Chewy & Soft Chocolate Chip Cookies: Your Go-To Homemade Recipe
Prepare yourself for the ultimate chocolate chip cookie experience! This isn’t just another recipe; it’s the culmination of years of baking passion and meticulous refinement. These chocolate chip cookies are everything you dream of: wonderfully soft, perfectly thick, delightfully chewy, and elevated with a sprinkle of flaky sea salt that awakens your taste buds to a whole new dimension of flavor. Get ready to discover your new favorite homemade treat!
If your love for cookies knows no bounds and you’re eager to explore more delightful variations, we’ve got you covered! Dive into our scrumptious Chocolate Chip Cookie Cake for a celebration-worthy dessert, indulge in the rich intensity of our Double Chocolate Chip Cookies, or satisfy your sweet tooth with fun Ben and Jerry’s Cookie Dough Bites! For those who love to blend their cookie obsession with cake, don’t miss out on my Chocolate Chip Cupcakes or the decadent Cookie Dough Cake Recipe!
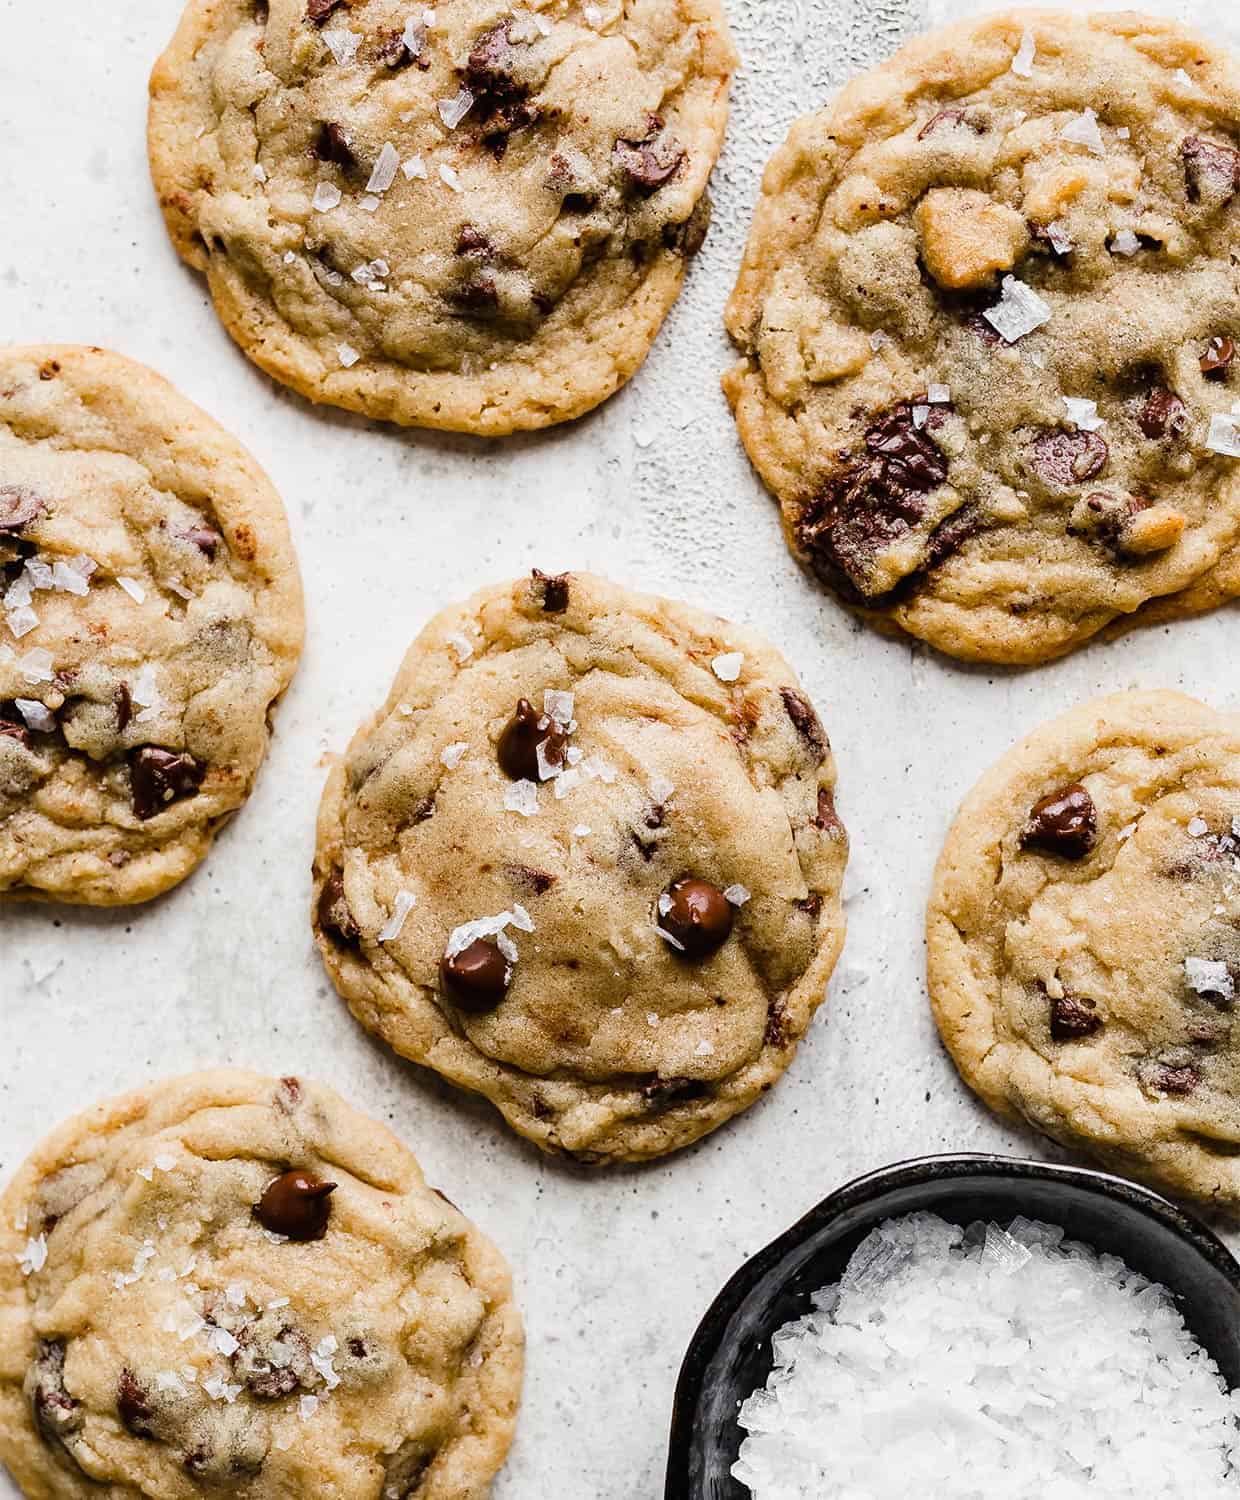
Growing up, I made countless batches of Nestle Tollhouse chocolate chip cookies, and over the years, I’ve experimented with a vast array of chocolate chip cookie recipes. But I can confidently say, these are in a league of their own. Through extensive experimenting, countless trials, and a fair share of errors, I’ve cracked the code to making the absolute BEST chocolate chip cookies, and I’m thrilled to share every secret with you. For those who prefer a bar format, I also have an incredible recipe for the best chocolate chip cookie bars!
Why This Is Your New Favorite Chocolate Chip Cookie Recipe
This recipe isn’t just good; it’s engineered for perfection. Here’s why these cookies stand out and will become your ultimate go-to for soft, chewy, and undeniably delicious chocolate chip cookies:
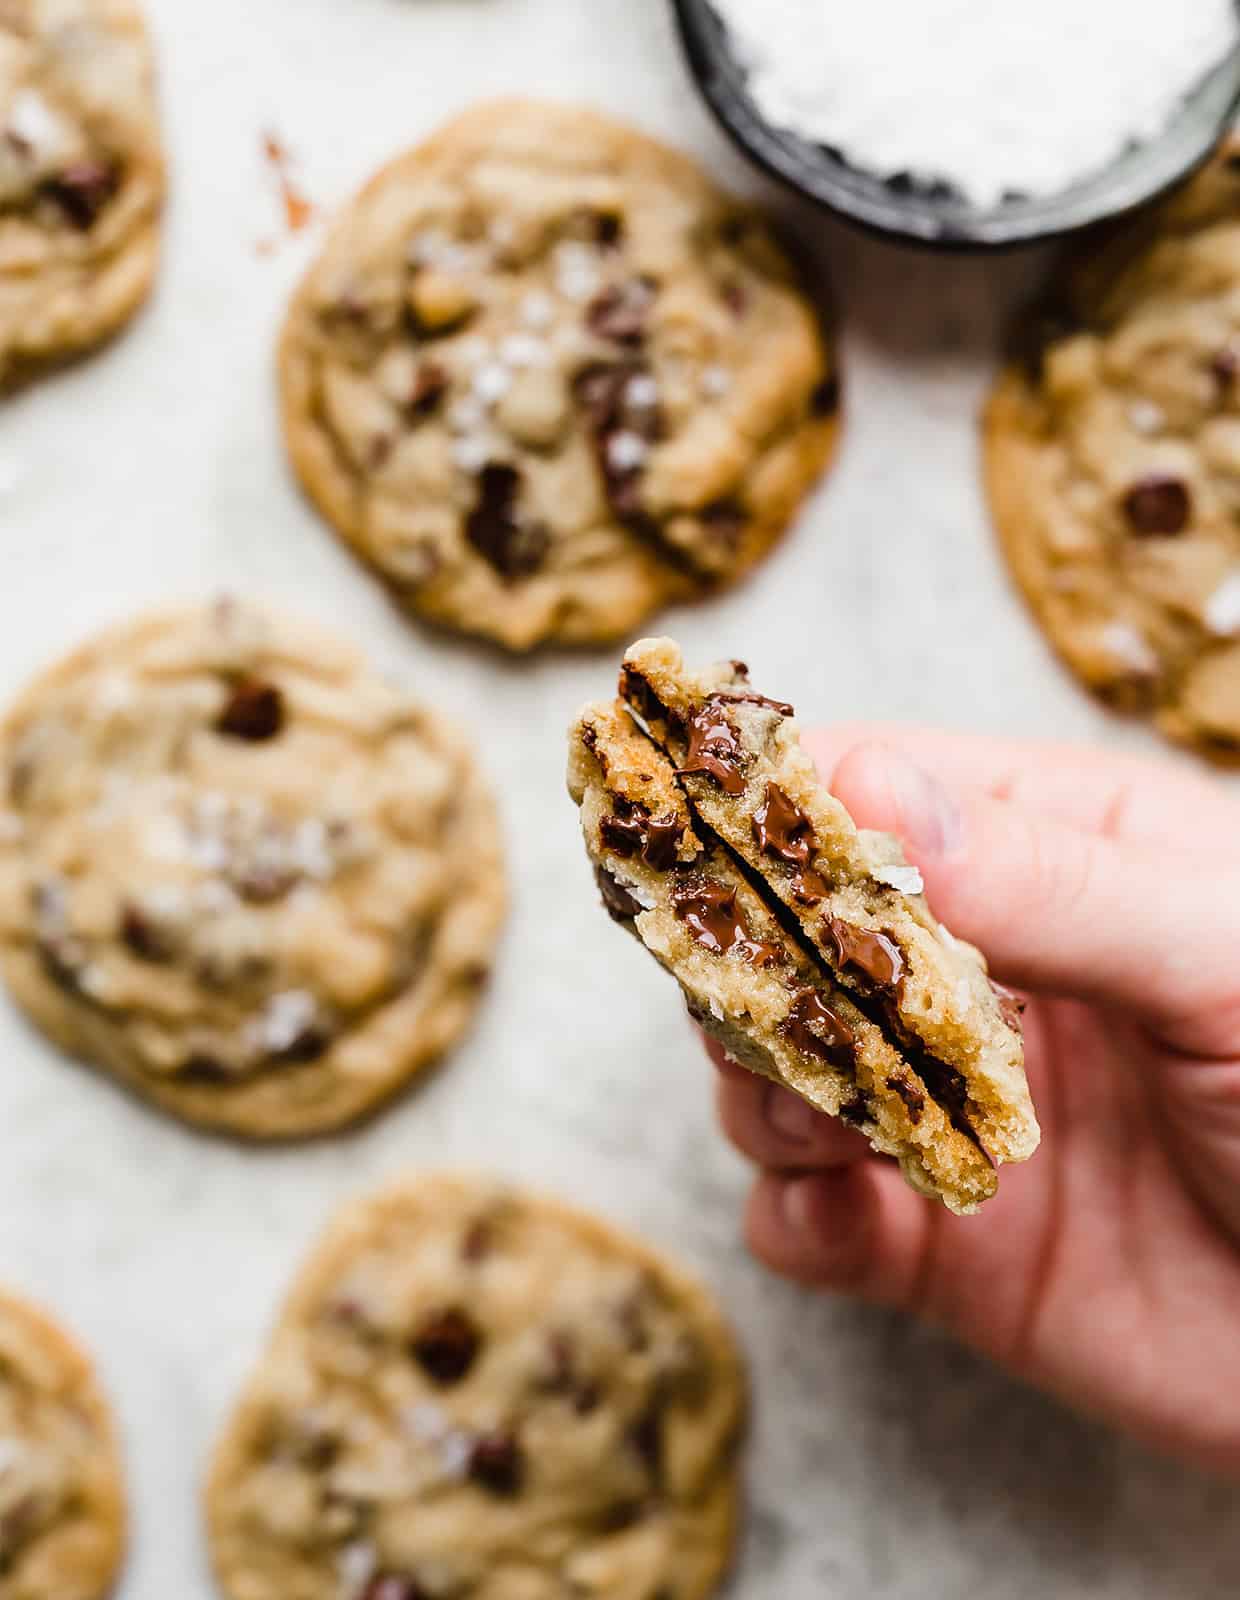
- Chocolate in Every Single Bite. The true magic of a chocolate chip cookie lies in the generous distribution of chocolate, and this recipe delivers! Our secret isn’t just about the quantity, but the variety. By using a thoughtful combination of regular-sized semi-sweet chocolate chips, delicate mini chocolate chips, and luxurious pieces of chopped bittersweet chocolate (like Ghirardelli’s), we create layers of chocolatey goodness. This ensures that every bite offers a delightful mix of textures and intensities, from smooth melted pockets to satisfyingly firm chunks, making each mouthful a rich and complex experience.
- Perfectly Chewy Cookies That Won’t Spread Flat! Say goodbye to sad, flat cookies! The ultimate secret to achieving thick, perfectly chewy cookies that hold their shape is a crucial chilling period for the dough. I highly recommend chilling your cookie dough for an extended period—ideally 24 to 72 hours. This isn’t just about convenience; it’s a scientific step. Chilling allows the butter to solidify, preventing the cookies from spreading too rapidly in the oven. More importantly, it gives the dry ingredients ample time to fully hydrate and the flavors to meld and deepen, resulting in a more complex, richer taste and an incredibly satisfying chewy texture. Don’t skip this step; it’s a game-changer! See our FAQs below for more on why chilling is so vital.
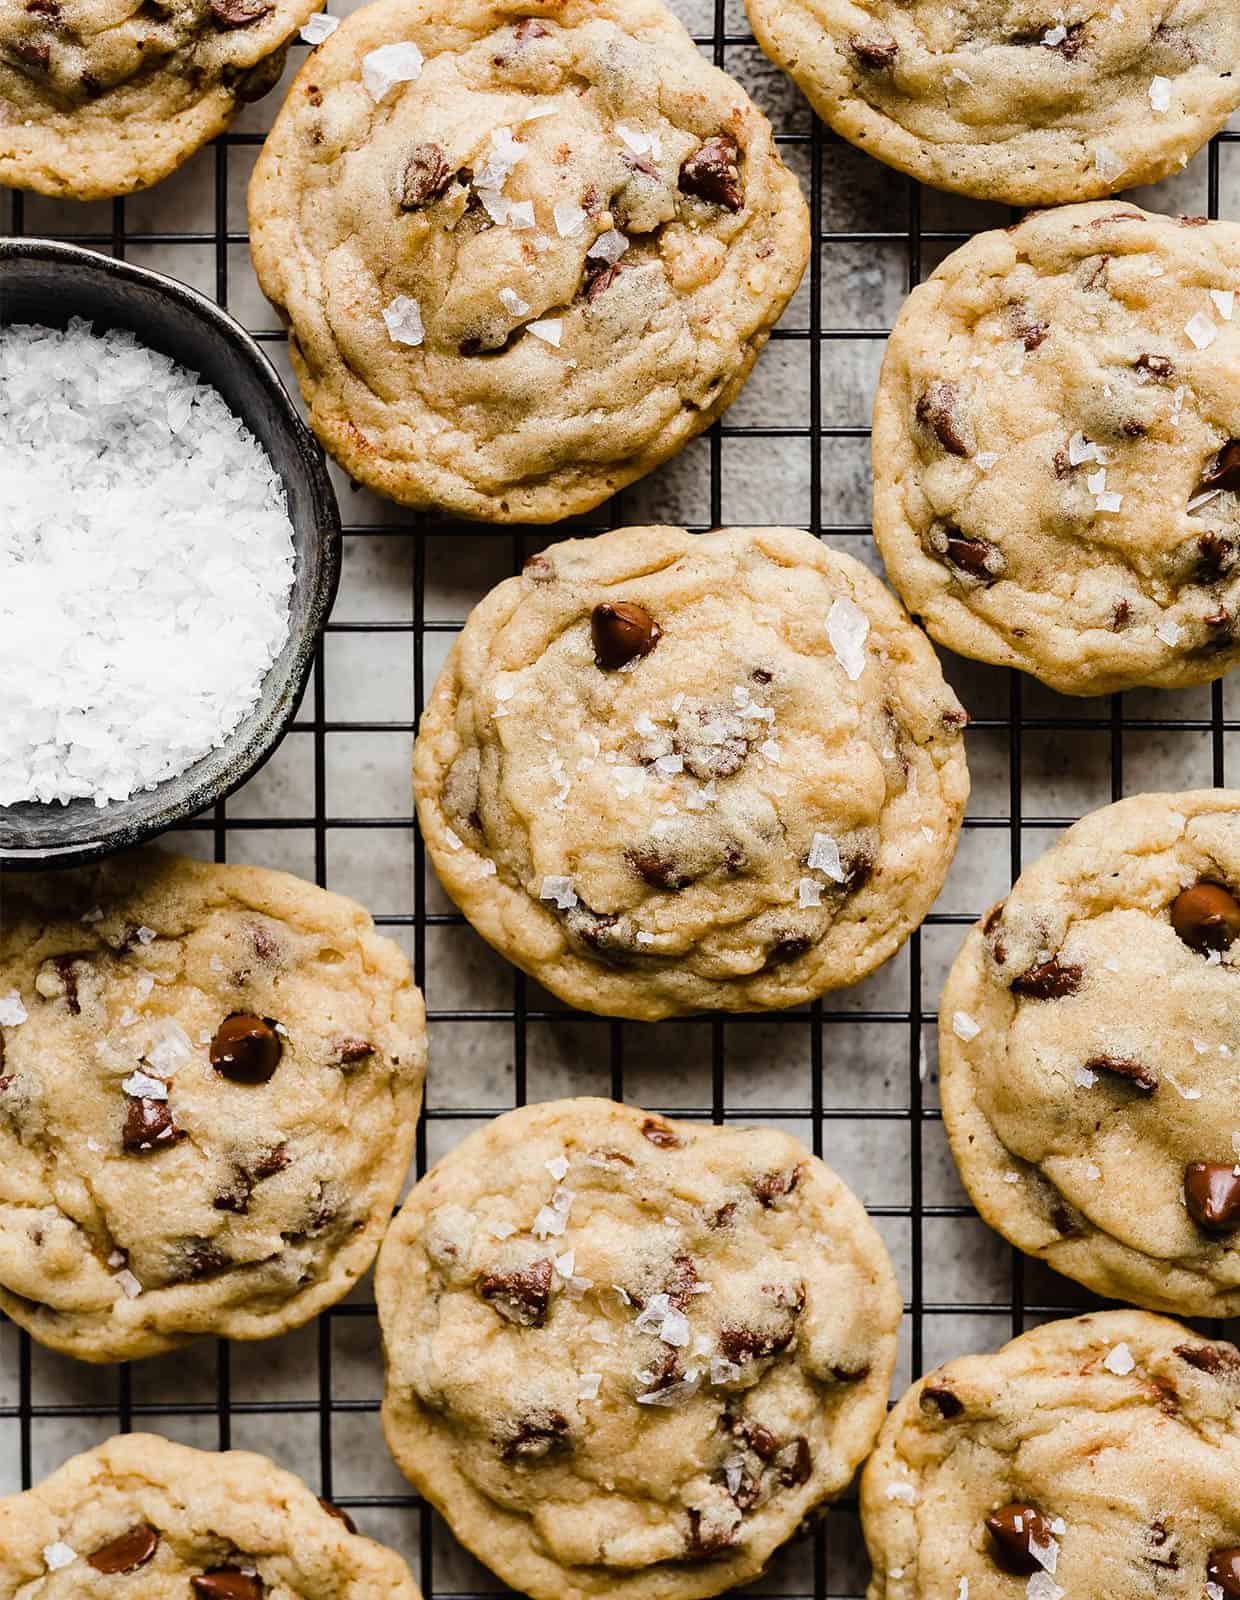
- The Game-Changing Flaky Sea Salt Finish. Trust me on this—the sprinkle of flaky sea salt on top of these cookies makes a monumental difference. It’s a simple addition that elevates the entire experience. The delicate crunch and direct saltiness on your tongue, immediately followed by the rich sweetness of the cookie and chocolate, create an exquisite balance. This interplay of sweet and savory notes is truly a party in your mouth, enhancing the chocolate’s depth and preventing the cookie from being overly sweet. You’ll quickly understand why sea salt chocolate chip cookies are so universally adored!
Key Ingredients for Unforgettable Chocolate Chip Cookies
Understanding the role of each ingredient is key to baking perfect chocolate chip cookies. Here’s a closer look at what makes this recipe shine:
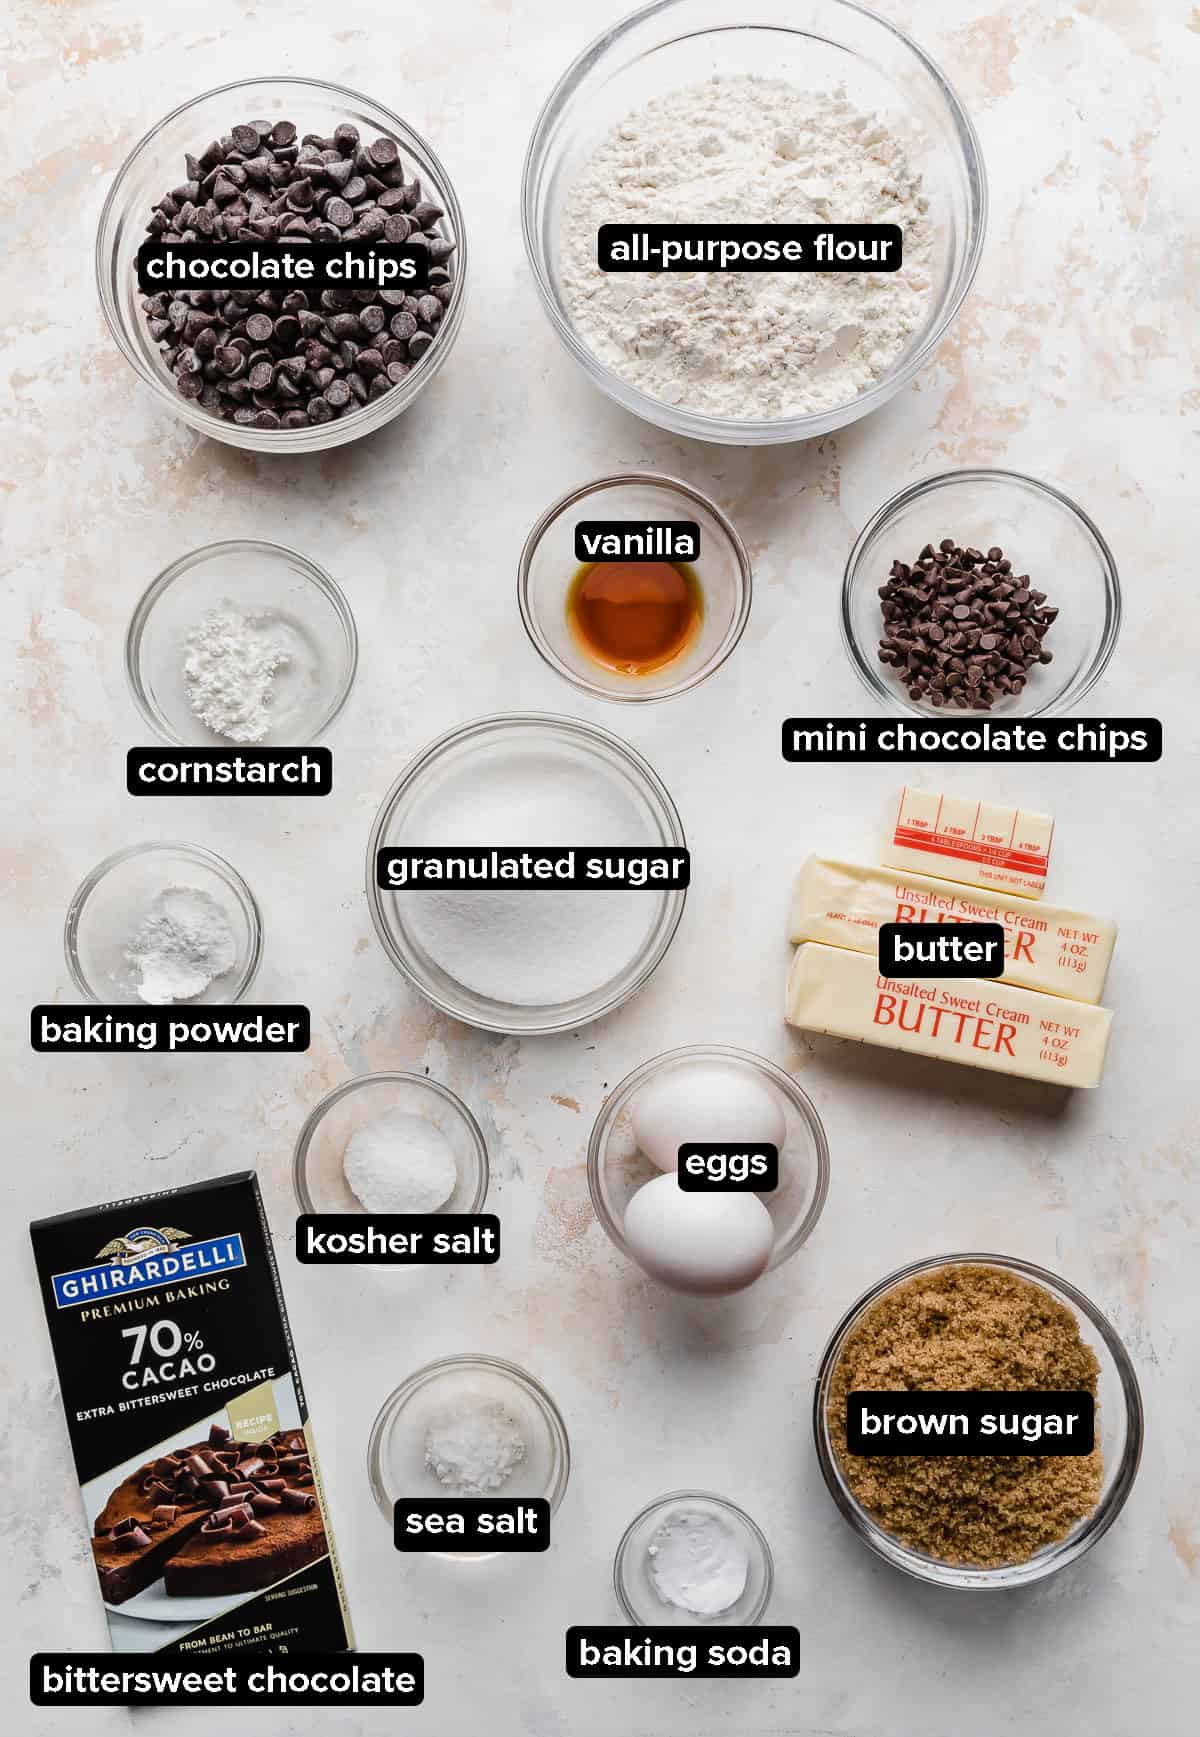
- Cornstarch: While typically known as a thickener for sauces and gravies, in cookies, cornstarch is a secret weapon. It helps to create an incredibly tender texture and acts as an “anti-cake” ingredient. This means it works to keep the cookie wonderfully chewy and soft, preventing it from puffing up into a cake-like crumb. It’s essential for achieving that perfect dense, pliable cookie.
- Leavening Agents: We use both baking powder and baking soda in this recipe. Baking soda (which reacts with the acidic brown sugar) helps the cookies spread slightly and contributes to browning, while baking powder provides an upward lift, ensuring a lighter, chewier interior. Together, they create the ideal structure and texture.
- Butter: Unsalted butter is preferred here, allowing us to control the overall saltiness in the dough. Butter is fundamental for that rich, savory, melt-in-your-mouth quality in every bite. Ensure it’s at room temperature for optimal creaming with the sugars. If you’re ever curious about a different flavor profile, my brown butter chocolate chip cookies are absolutely amazing and offer a nutty depth!
- Sugars: The magical combination of both brown sugar and granulated sugar is crucial. Brown sugar, with its molasses content, provides moisture, chewiness, and a deeper, caramel-like flavor. Granulated sugar, on the other hand, contributes to the crisp edges and overall sweetness. This blend ensures a complex flavor profile and the perfect balance of soft centers and slightly crunchy edges.
- Eggs: Always make sure your eggs are at room temperature. Room temperature eggs emulsify much better with the butter and sugar, leading to a smoother, more uniform dough and a better-textured cookie. If you forget to take them out in advance, simply place them in a bowl of warm water for about 10 minutes, and they’ll be ready!
- Chocolate Mixture: This is where the chocolate chip cookie truly shines! Our recipe uses a dynamic trio: mini chocolate chips, standard semi-sweet chocolate chips, and chopped bittersweet chocolate chunks (70% cocoa or higher). This blend guarantees a consistent melted chocolate look, varying levels of sweetness, and a delightful mix of textures in every single bite, from delicate pools to hearty chunks.
- Flaky Sea Salt: Years ago, I wouldn’t have considered this, but flaky sea salt is a revelation. A light sprinkle over each dough ball before baking really helps to deepen and amplify all the other flavors. It provides a delightful textural contrast and cuts through the sweetness, making the chocolate and butter notes pop even more intensely. You only need a tiny pinch per cookie for an incredible impact!
Easy Step-by-Step Instructions for Perfect Cookies
Follow these simple steps to bake a batch of the best chocolate chip cookies you’ve ever tasted. Precision and patience are your allies here!
- In a medium bowl, combine the all-purpose flour, cornstarch, baking powder, baking soda, and kosher salt. Whisk these dry ingredients thoroughly until they are well combined and uniform. Set this bowl aside for later.
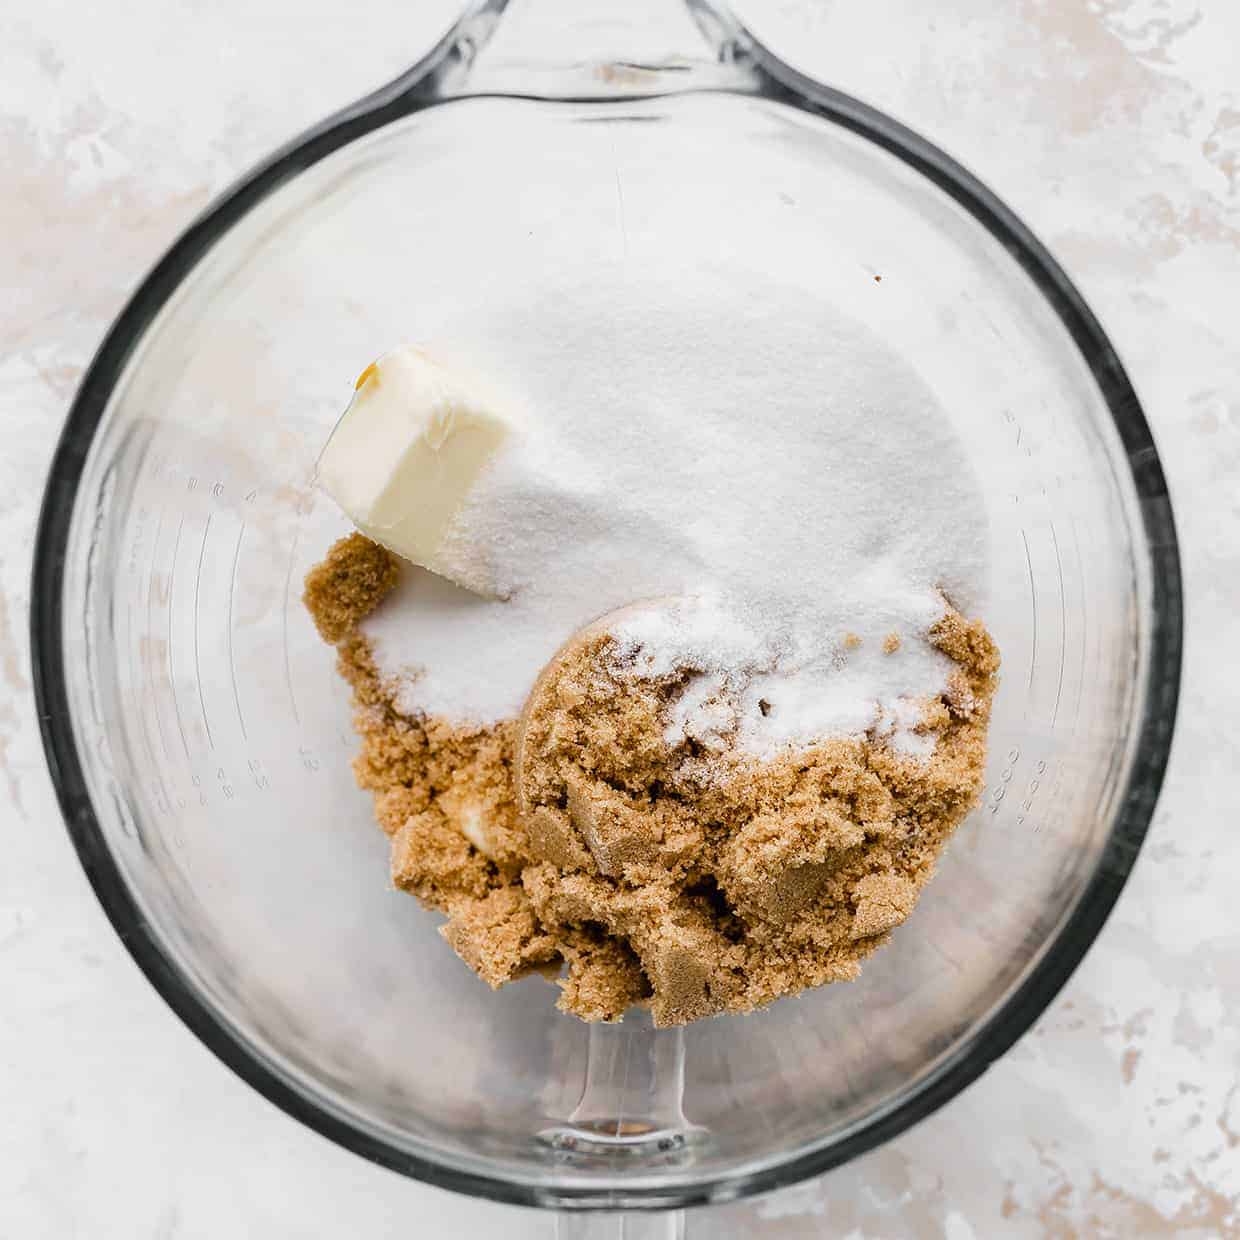
- In the bowl of a stand mixer fitted with the paddle attachment (or using an electric hand mixer), cream together the softened unsalted butter, packed brown sugar, and granulated sugar. Beat on medium-high speed for about 3 minutes until the mixture is light, fluffy, and pale in color. Scrape down the sides of the bowl as needed.
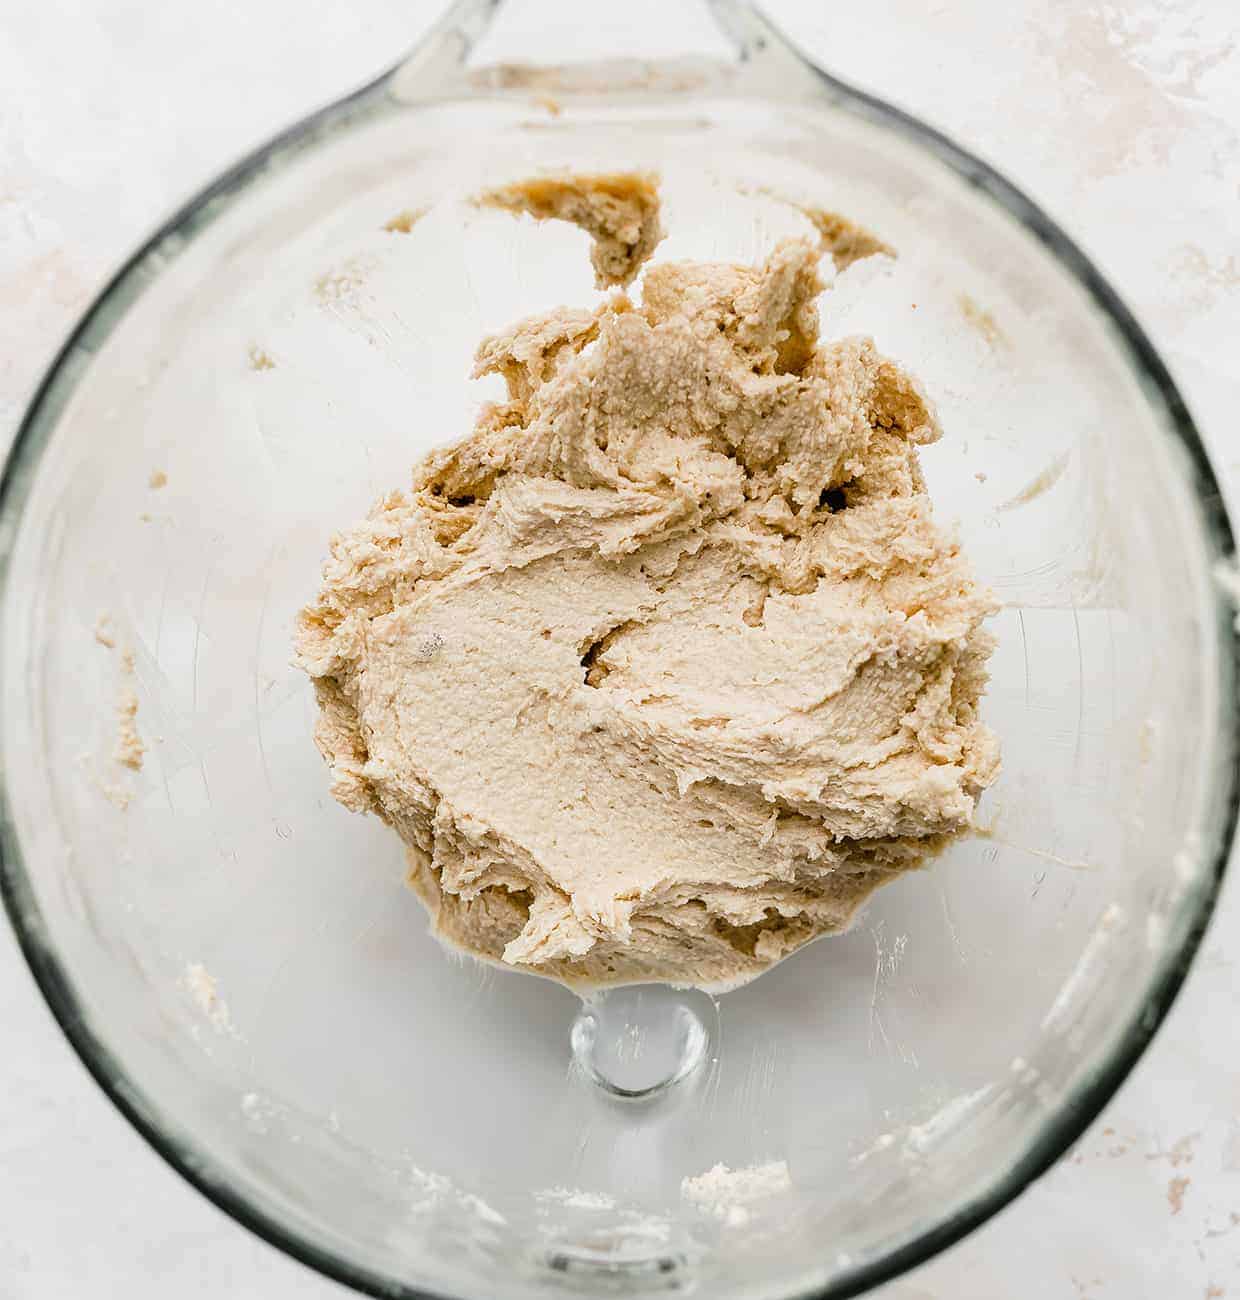
- To the creamed mixture, add the vanilla extract and one room temperature egg, mixing until just combined. Then, add the second egg and mix again until fully incorporated. Reduce the mixer speed to low and gradually add the whisked dry ingredients. Mix until just combined, being careful not to overmix. The batter will be thick. Finally, fold in all the chocolates (semi-sweet chips, mini chips, and chopped bittersweet chocolate). You might need to use a sturdy spoon or your hands to thoroughly incorporate the chocolate into the thick dough.
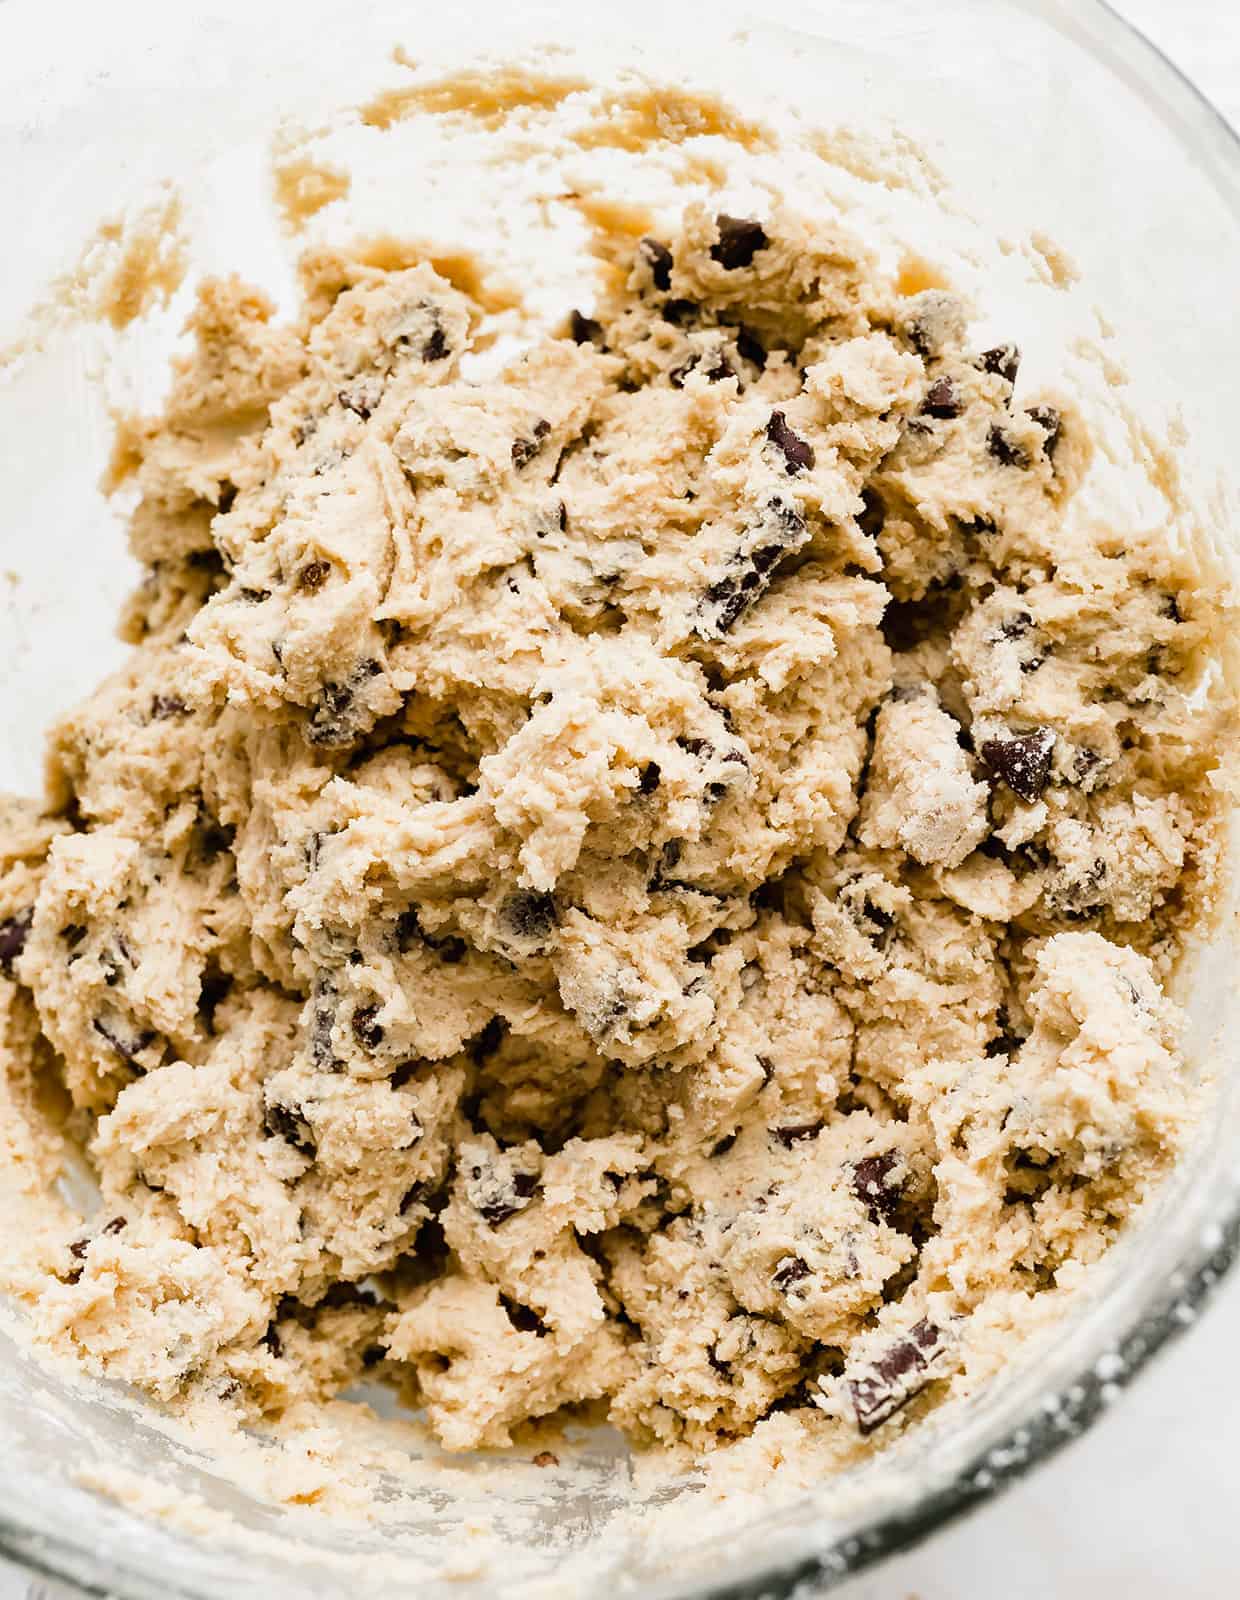
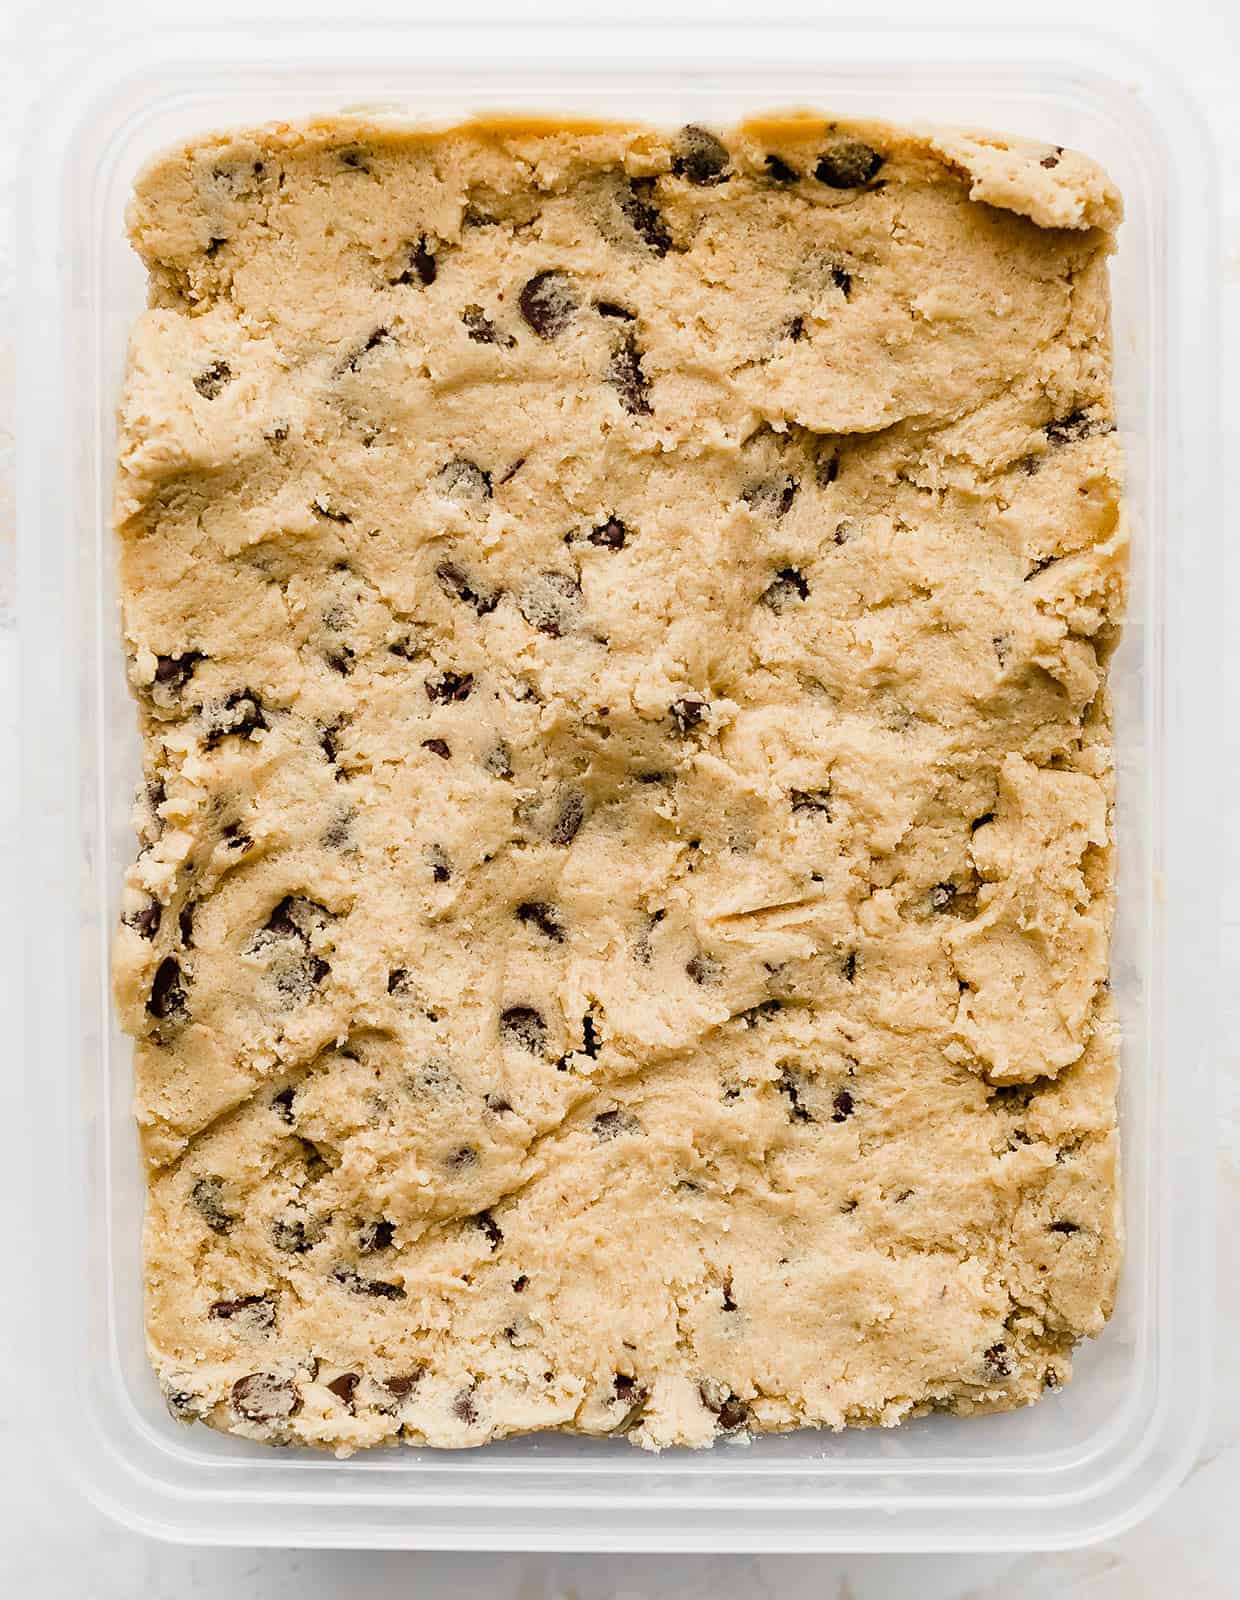
- Once all the chocolate is thoroughly mixed into the dough, transfer the entire batch into an airtight container. Place this container in the refrigerator and chill for a minimum of 24 hours, and up to 72 hours. This extended chilling period is a truly game-changing secret for achieving unparalleled flavor and texture. The flavors will deepen significantly, and the dough will become perfectly firm for baking, preventing excessive spreading.
- When you’re ready to bake your cookies, preheat your oven to 375°F (190°C). Line a baking sheet with parchment paper or a silicone baking mat to prevent sticking and ensure even baking.
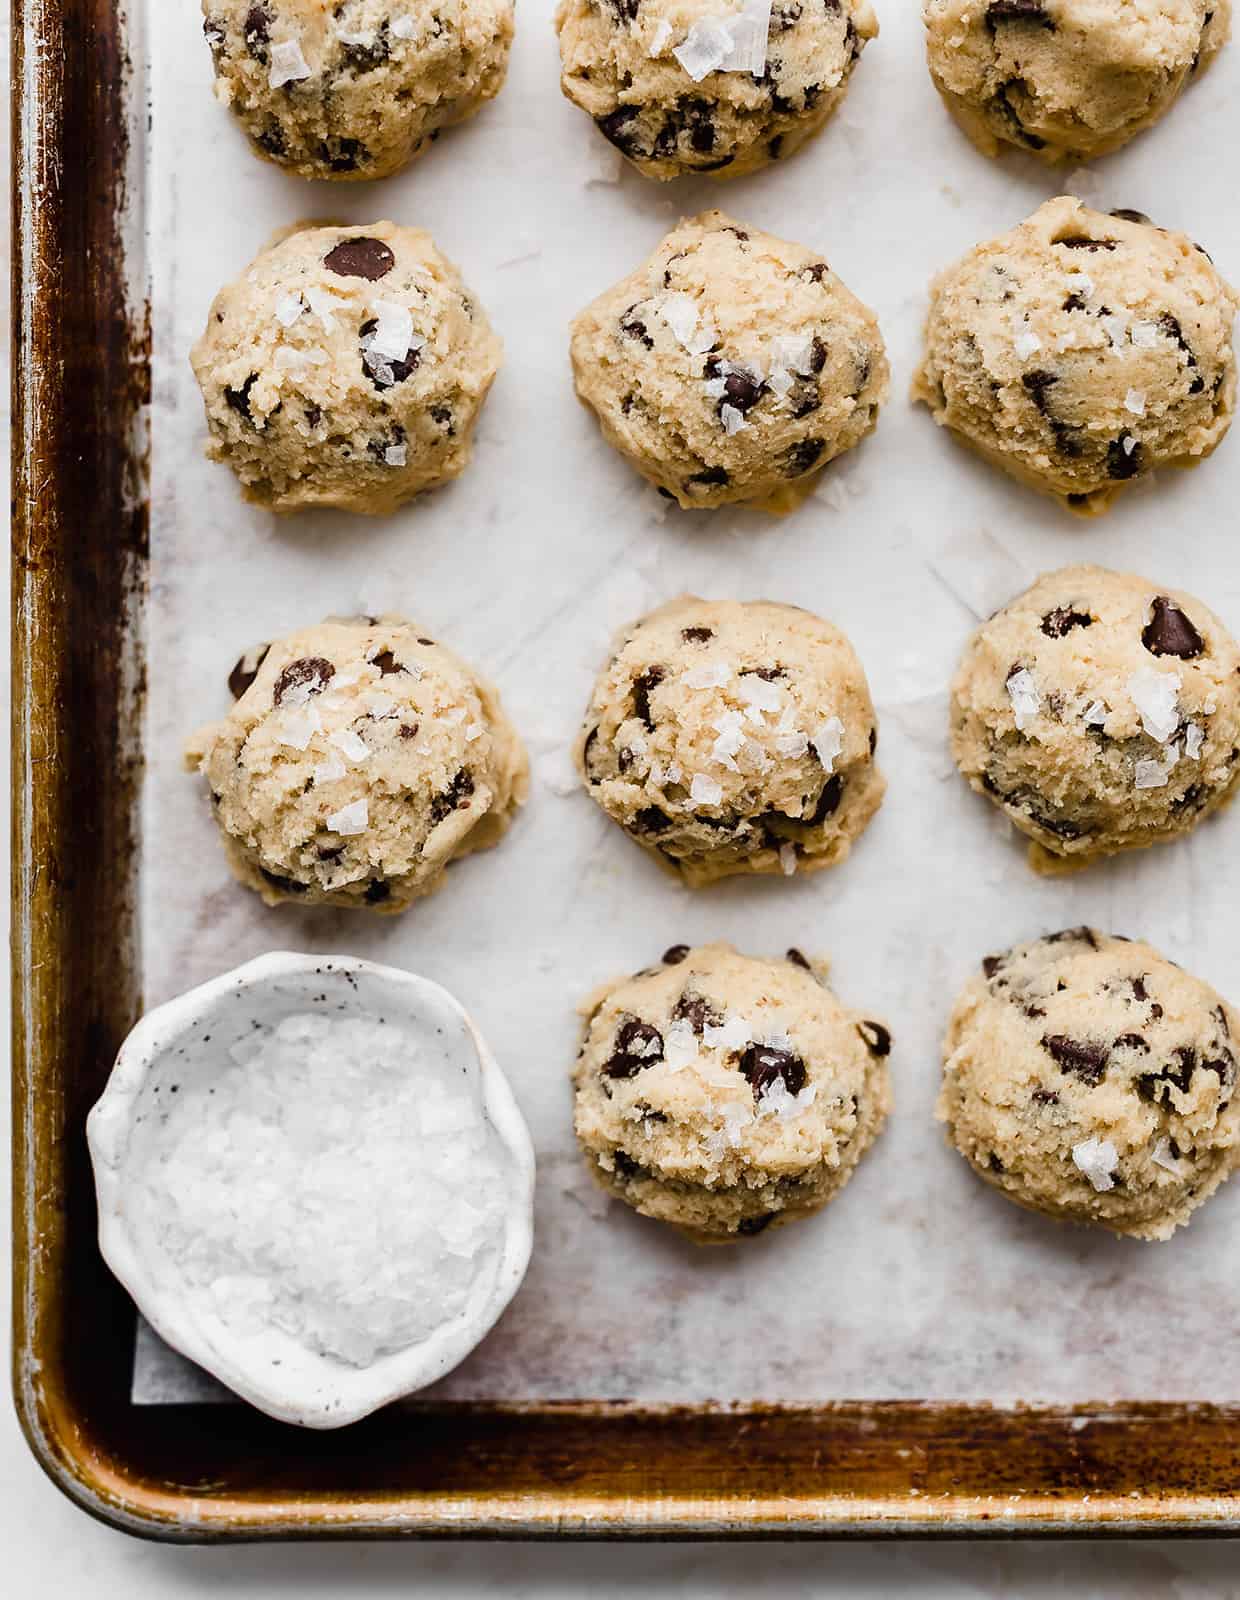
- Using a 2-tablespoon-sized cookie scoop, portion the chilled dough onto the prepared baking sheet, leaving about 2 inches between each cookie for proper spreading. For that extra touch of gourmet flavor, lightly sprinkle each dough ball with flaky sea salt before baking.
- Bake for 9-11 minutes, or until the edges are a beautiful light golden brown, but the centers still appear soft and slightly underbaked. This ensures a wonderfully chewy interior. Remove the baking sheet from the oven and allow the cookies to cool on the hot sheet for 5 minutes. This carry-over baking helps them set without becoming dry. After 5 minutes, carefully transfer the cookies to a wire rack to cool completely. Enjoy your perfect chocolate chip cookies!
Expert Tips for the Best Chocolate Chip Cookies
Achieving cookie perfection involves a few key details. Here are some pro tips to ensure your chocolate chip cookies turn out amazing every time:
- Vary Your Chocolate for Depth of Flavor: Don’t just stick to one type of chocolate chip! The blend of different chocolates – mini, standard semi-sweet, and chopped bittersweet (like Ghirardelli chocolate pieces with 70% or higher cocoa content) – is crucial. This variety ensures you get different melting points, levels of sweetness, and textures in each bite, creating a truly dynamic and luxurious experience. The slightly unsweetened bittersweet chocolate offers a sophisticated contrast that makes the sweeter chips pop.
- Don’t Skip the Cornstarch: Cornstarch is a non-negotiable ingredient in this recipe. It’s what gives these cookies their signature soft, tender, and chewy texture, preventing them from becoming cakey or too crisp. There’s no good substitute for its specific properties in this recipe, so make sure you include it!
- Chill Your Dough Religiously: We’ve mentioned it before, but it bears repeating: chilling the dough for 24-72 hours is the single most important step for developing deep flavors and ensuring your cookies don’t spread. It allows the butter to firm up and the flour to fully hydrate, leading to a richer taste and a thicker, chewier cookie. Patience is truly rewarded here!
- Room Temperature Ingredients: Always use room temperature butter and eggs. This allows them to cream together smoothly, creating a uniform emulsion that traps air effectively, resulting in a lighter and more consistent dough texture.
- Measure Flour Correctly: For the most accurate measurement, spoon your flour into the measuring cup and then level it off with a straight edge. Scooping directly from the bag can compact the flour, leading to too much dry ingredient and a drier, tougher cookie.
Looking to make a smaller batch of chocolate chip cookies without all the fuss? Instead of trying to halve this recipe (which can be tricky), check out my dedicated Small Batch Chocolate Chip Cookies recipe!
Want to add a delightful peanut butter twist to your chocolate chip cookies? You absolutely must try my Peanut Butter Chocolate Chip Cookies!
Make Ahead, Storing, and Freezing Your Chocolate Chip Cookies
One of the best features of this recipe is how well the dough and baked cookies can be prepared in advance, stored, or frozen, ensuring you always have a delightful treat on hand.
- Make Ahead & Chilling Dough: These cookies truly benefit from being made in advance due to the essential dough chilling time. Store your prepared cookie dough in an airtight container in the fridge for 24-72 hours. The longer it chills, the more pronounced and complex the flavors will become, and the better the texture will be!
- Storing Baked Cookies: Once baked, ensure your chocolate chip cookies are completely cooled before storing them. Place them in an airtight container at room temperature, where they will stay fresh and delicious for 3-4 days. For optimal freshness, a slice of bread added to the container can help keep them soft.
- Freezing Cookie Dough: For ultimate convenience, I highly recommend freezing the dough in pre-portioned balls. Scoop the dough onto a baking sheet lined with parchment paper and flash freeze until the dough balls are firm (this usually takes about 20-30 minutes). Once firm, transfer them to a freezer-safe Ziplock bag or an airtight container. Frozen cookie dough will last wonderfully in the freezer for 4-5 months, allowing you to bake just a few fresh cookies whenever a craving strikes! No need to thaw before baking; simply add an extra minute or two to the baking time.
- Freezing Baked Cookies: If you have leftover baked cookies or want to prepare a batch for later, allow them to cool completely. For best results and to prevent freezer burn, wrap each cookie individually in plastic wrap before placing them in a freezer-safe airtight container or Ziplock bag. You can also layer them with sheets of parchment paper if not individually wrapped. Freeze for up to 2 months for peak freshness. Beyond 2-3 months, they may start to develop freezer burn, even with careful wrapping. Thaw at room temperature or warm slightly in the microwave for a just-baked feel.
Frequently Asked Questions About Chocolate Chip Cookies
Got questions about baking the perfect chocolate chip cookies? We’ve got answers!
Absolutely, both raw cookie dough and baked cookies can be frozen! For freezing the dough, I highly recommend scooping it into portioned balls and flash freezing them on a baking sheet for about 20-30 minutes until firm. Then, transfer the solid dough balls to a freezer-safe Ziplock bag or airtight container. This method offers fantastic portion control, allowing you to grab and bake just a few at a time for that fresh-from-the-oven taste whenever you desire. For freezing baked cookies, allow them to cool completely before flash freezing on a baking sheet, then transfer to an airtight container or Ziplock bag. For best results, individually wrap baked cookies in plastic wrap before freezing to prevent freezer burn.
Technically, yes, you can make chocolate chip cookies without brown sugar, but I don’t recommend it for this recipe! The molasses in brown sugar is crucial for giving chocolate chip cookies their characteristic chewy texture, moisture, and a deeper, more complex flavor. Without it, your cookies might be crispier and lack that iconic richness. If you’re out of brown sugar, you can make your own substitute by mixing 1 cup of white granulated sugar with 1 teaspoon of molasses to create 1 cup of brown sugar. This will help maintain the desired texture and flavor!
Mark your calendars! August 4th is National Chocolate Chip Cookie Day. However, you certainly don’t need a national holiday as an excuse to whip up a batch of these irresistible cookies! With this recipe, every day can be a celebration of the best chocolate chip cookies you’ll ever make!
You absolutely, unequivocally should chill the dough! This step is paramount for so many reasons. Chilling allows the dry ingredients to fully hydrate with the wet ingredients, leading to a more consistent texture and a significantly more developed, richer flavor profile in the final cookie. Crucially, it also solidifies the butter, which prevents the cookies from spreading too much and ensures they bake up thick, soft, and perfectly chewy instead of flat and greasy. It’s a game-changer for achieving that ideal cookie structure!
The most common culprit for flat chocolate chip cookies is warm dough. When dough goes into a hot oven at room temperature (or warmer), the butter melts too quickly, causing the cookie to spread out before it has a chance to set. By chilling the dough, we allow the butter and other fats to firm up significantly. This means when the dough hits the oven, the butter melts more slowly, helping the cookie retain its height and structure, resulting in a beautifully thick, chewy, and perfectly formed cookie. So, even if you’re in a hurry, don’t skip the chilling step—it’s super important for preventing flat cookies!
While you certainly can use milk chocolate chips, for a recipe specifically designed to highlight their creamy sweetness, I highly recommend checking out my dedicated Milk Chocolate Chip Cookies recipe! It’s crafted to deliver an amazing experience tailored just for milk chocolate lovers.
More Irresistible Cookie Recipes You’ll Love
If you’ve enjoyed these incredible chocolate chip cookies, be sure to explore some of my other favorite cookie creations:
- Tahini Chocolate Chip Cookies
- Crumbl Chocolate Chip Cookie Recipe
- Soft Oatmeal Raisin Cookies
- Brownie Cookies
- Pumpkin Chocolate Chip Cookies
- White Chocolate Macadamia Nut Cookies
Did you bake this recipe and love it? I’d absolutely love to hear your feedback! Click here to leave a star rating and review, or simply scroll down below the recipe card to share your thoughts and experience. Your feedback helps us improve and inspires other bakers!
Stay connected and up-to-date with all our latest recipes and baking tips by following us on Instagram, Facebook, and Pinterest. Happy baking!
Print
Save
Saved!
Review
BEST Chocolate Chip Cookies
20 minutes
11 minutes
31 minutes
36
cookies
Prevent your screen from going dark
Ingredients
-
3 1/2
cups
all-purpose flour -
1
tsp
cornstarch -
1 1/2
tsp
baking powder -
1 1/4
tsp
baking soda -
1 1/2
tsp
kosher salt -
1 1/4
cups
unsalted butter, room temp -
1 1/2
cups
brown sugar, packed -
1
cup
granulated sugar -
2
tsp
vanilla extract -
2
large eggs, room temp -
1 3/4
cups
semi-sweet chocolate chips -
1/4
cup
mini semi-sweet chocolate chips -
1/2
cup
bittersweet chocolate (70% or higher), – chopped into chocolate chip size chunks (e.g., Ghirardelli) - flaky sea salt to sprinkle over chocolate chip dough balls before baking
Equipment
-
baking sheet
-
Kitchen Aid stand mixer
-
cookie scoop (2 tablespoon size)
-
OXO mixing bowl set
-
Parchment paper or silicone baking mat
Instructions
-
Combine flour, cornstarch, baking powder, baking soda, and kosher salt. Whisk to combine. Set aside.
-
In the bowl of a stand mixer, or with hand held beaters, cream the butter, brown sugar, and granulated sugar. About 3 minutes. Add the vanilla extract and 1 egg. Mix. Add the second egg. Mix to combine. With mixing speed on low, slowly add the dry ingredients. Mix until incorporated. Add in the chocolate chips, and chocolate chunks. Mix. (You may have to mix in the chocolate by hand). Once the chocolate is mixed into the dough, place the cookie dough in an airtight container and place in the refrigerator for 24-72 hours.
-
When ready to bake preheat the oven to 375°. Line a baking sheet with parchment paper or a silicone baking mat. Using a 2 T size cookie scoop, scoop the cookie dough and place on the prepared baking sheet. (12 cookies per sheet). Lightly sprinkle the cookie dough balls with flaky sea salt. Bake for 9-11 minutes or until lightly golden brown on the edges. The centers will appear soft. Remove from the oven and allow to cool on the baking sheet for 5 minutes. Remove and place on a wire rack to cool completely.
Notes
Adding cornstarch is a crucial step. Do not skip it or substitute it, as it helps produce the wonderfully soft and chewy texture that defines these cookies, preventing them from becoming cake-like.
Make Ahead, Storing, and Freezing
These cookies are truly best when made in advance due to the necessary dough chilling time. Store the prepared cookie dough in an airtight container in the fridge for 24-72 hours to allow flavors to develop and the dough to firm up perfectly.
Baked chocolate chip cookies should be stored in an airtight container at room temperature. They will retain their freshness and deliciousness for 3-4 days.
To freeze cookie dough, flash freeze the dough in individual portioned balls on a baking sheet until firm (about 20-30 minutes), then transfer them to a Ziplock bag or airtight container. The cookie dough will keep well in the freezer for 4-5 months, perfect for baking a fresh batch anytime.
To freeze baked cookies, ensure they are cooled completely. For optimal quality and to reduce freezer burn, wrap each cookie individually in plastic wrap before storing them in a Ziplock bag or airtight container in the freezer. They can be frozen for up to 2 months for the best results.
Nutrition
Calories:
235
kcal
(12%)
Carbohydrates:
30
g
(10%)
Protein:
2
g
(4%)
Fat:
11
g
(17%)
Saturated Fat:
6
g
(30%)
Cholesterol:
26
mg
(9%)
Sodium:
149
mg
(6%)
Potassium:
124
mg
(4%)
Fiber:
1
g
(4%)
Sugar:
19
g
(21%)
Vitamin A:
215
IU
(4%)
Calcium:
30
mg
(3%)
Iron:
1.5
mg
(8%)
Whitney Wright
Dessert
American
Did you make this recipe?
Please leave a star rating and review on the blog post letting me know how you liked this recipe! Take a picture and tag @saltandbaker on Tik Tok, Instagram, and Facebook so I can see what you’re making!
This recipe was originally published on July 24, 2020. It was updated on Dec. 20, 2021, to include additional information, enhanced photos, and more comprehensive tips for optimal baking.
