Indulge in the Best Homemade Cinnamon Rolls: Fluffy, Sweet & Bakery-Style Perfection
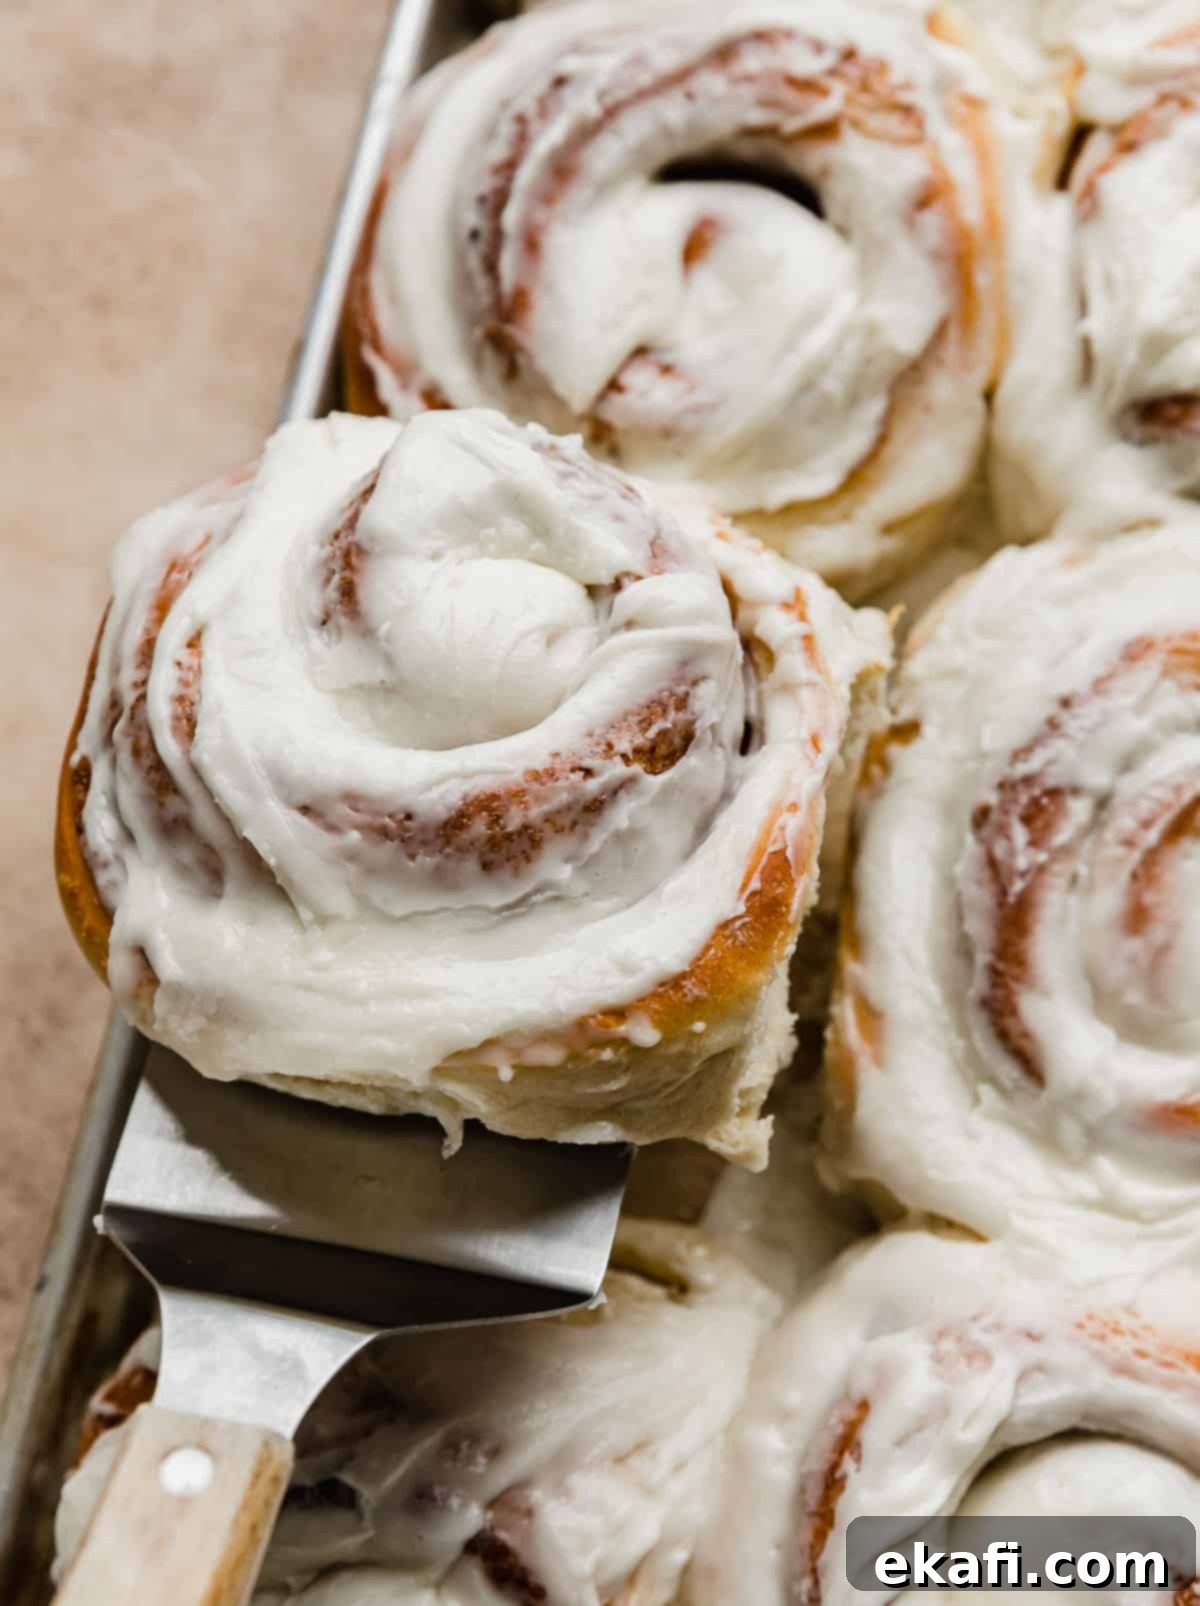
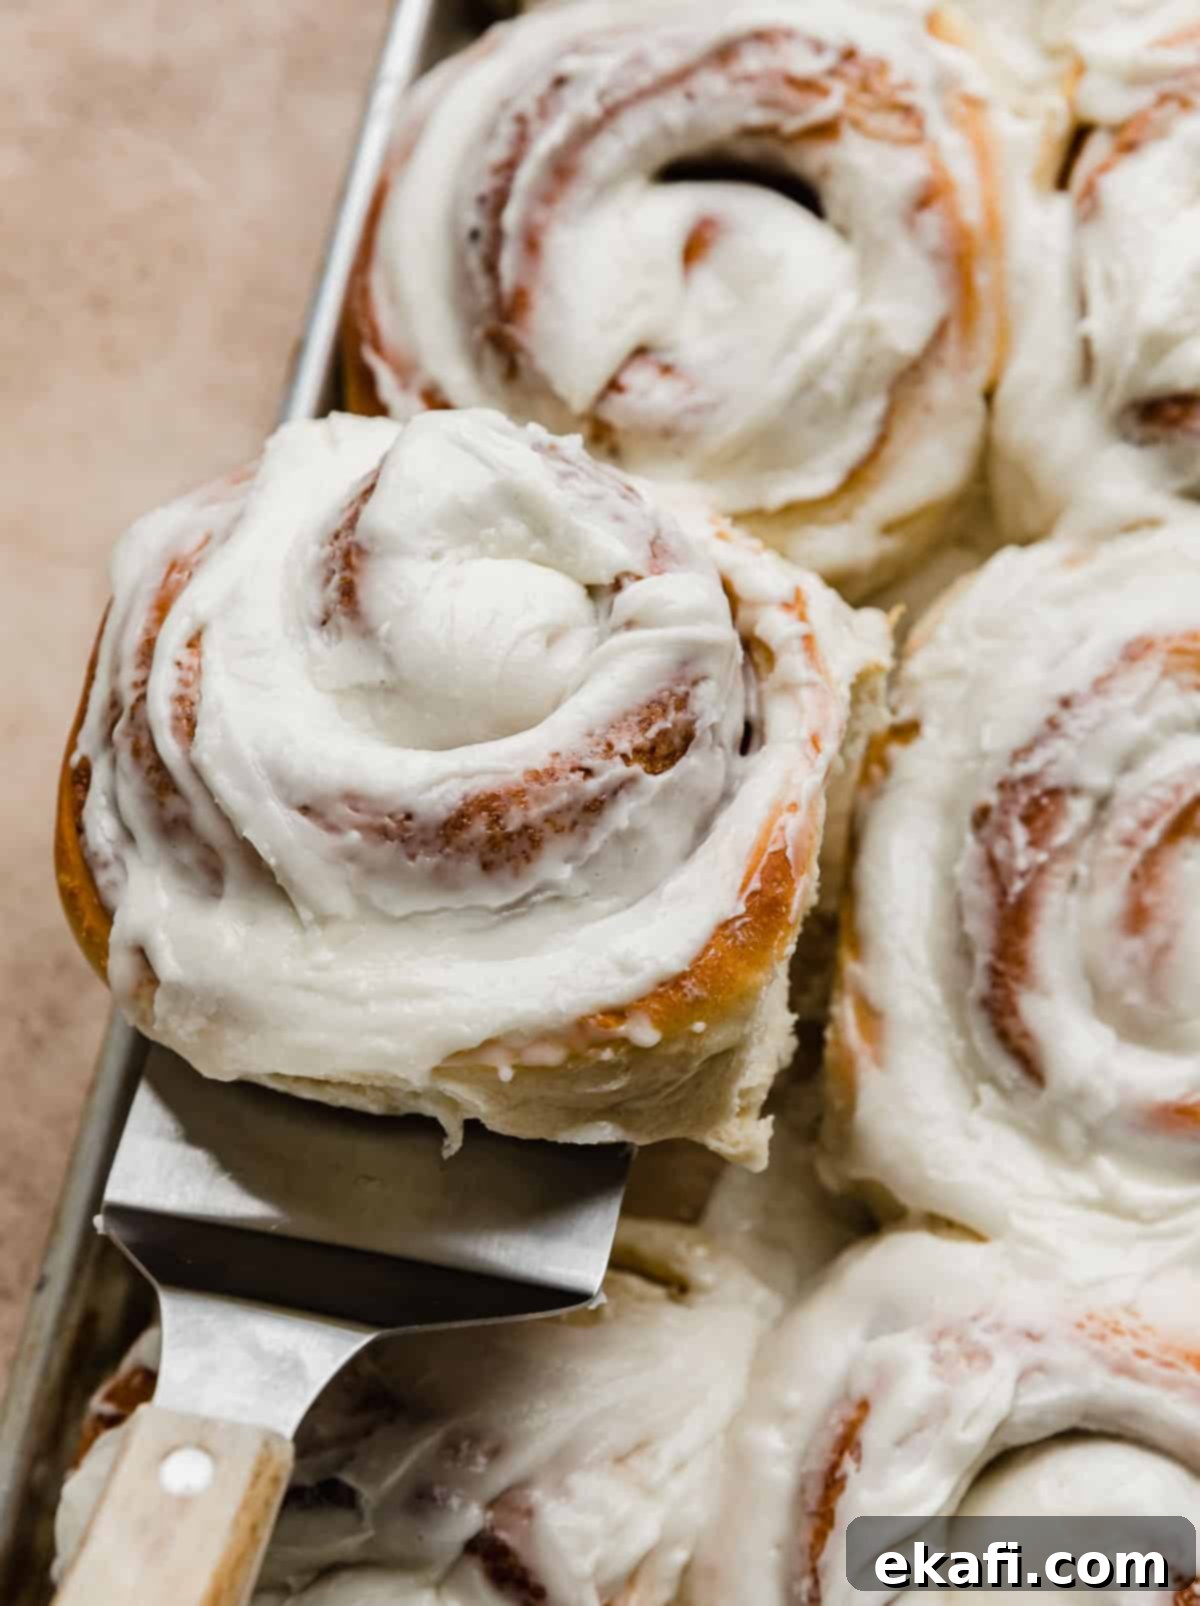
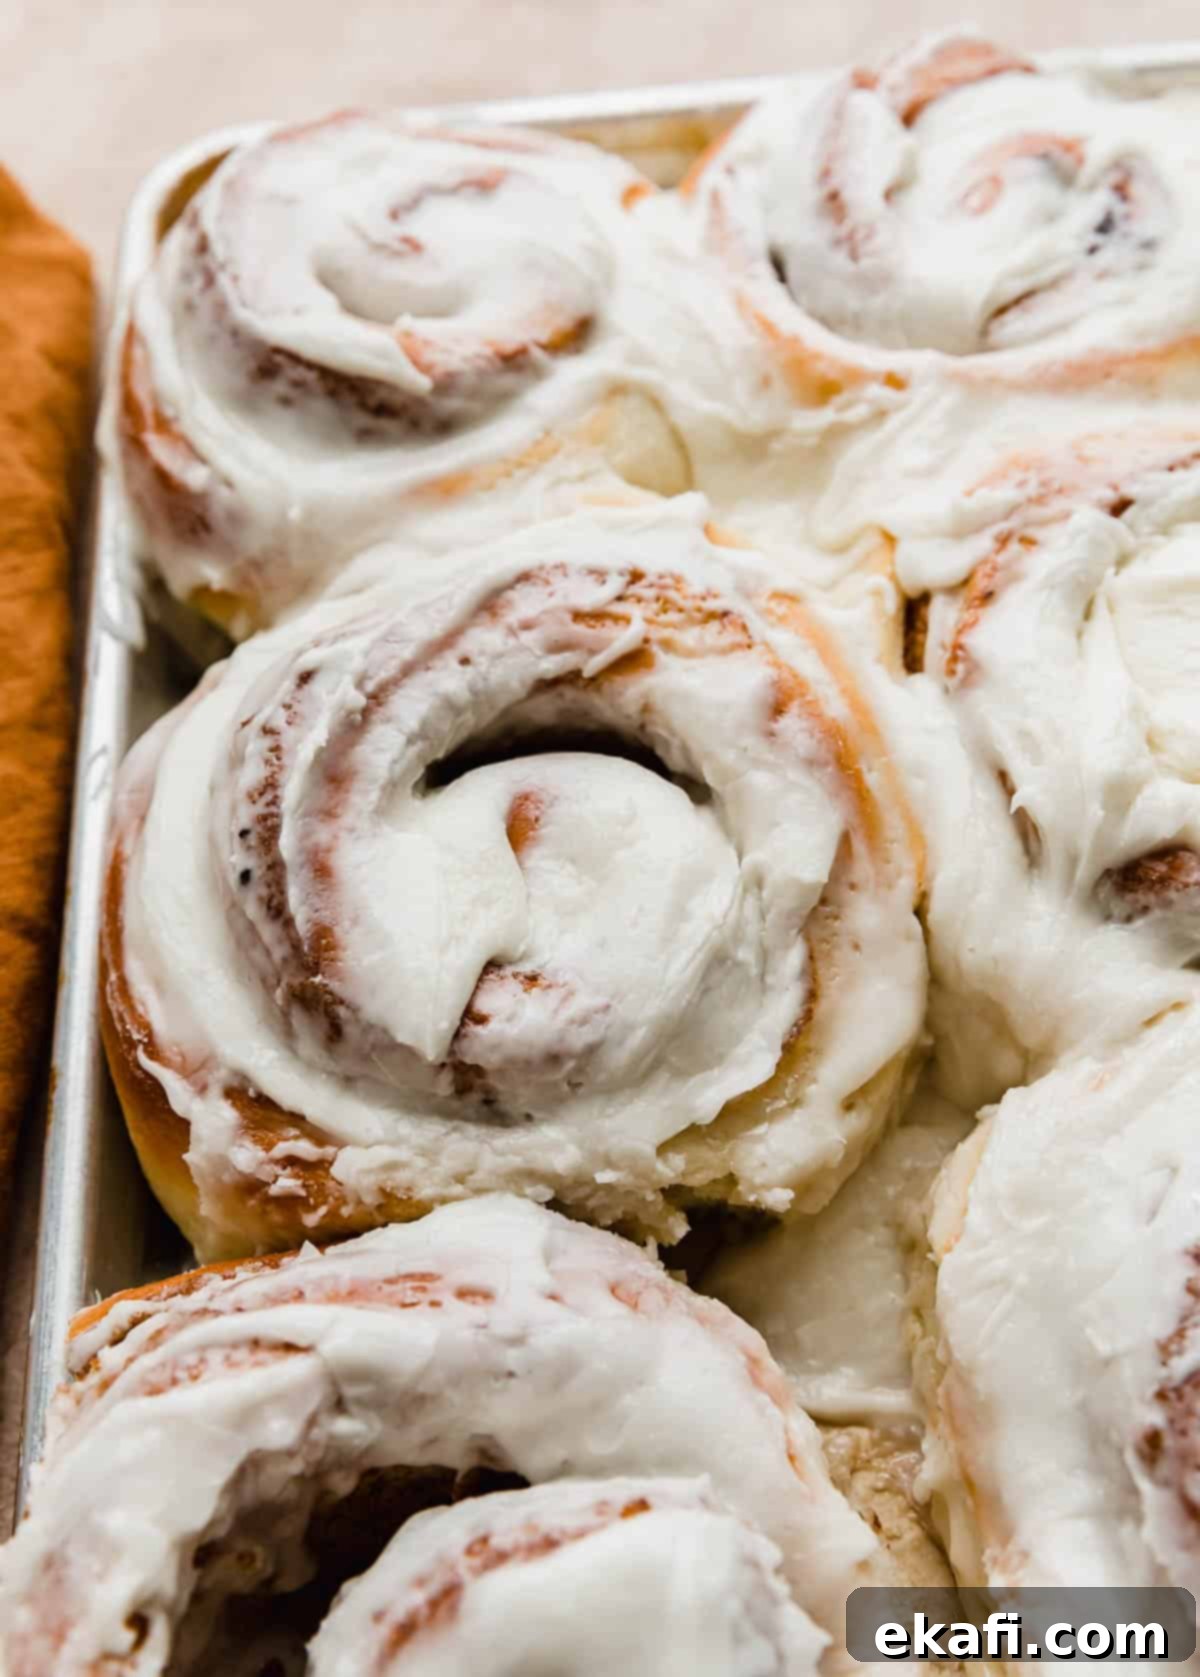
Prepare to experience cinnamon rolls like never before! These bakery-style Homemade Cinnamon Rolls are truly a dream come true – incredibly big, remarkably fluffy, and melt-in-your-mouth soft. What sets this recipe apart is its perfectly sweet dough, which rises beautifully every single time, ensuring a light and airy texture. The heart of these rolls, the filling, is a luscious blend of softened butter, rich brown sugar, aromatic cinnamon, and my secret weapon: two distinct flavor extracts that elevate the taste to an unforgettable level. And, of course, no cinnamon roll is complete without a generous topping of thick, sweet, and utterly delicious frosting. This isn’t just a recipe; it’s an invitation to create the best cinnamon rolls you will ever have!
If your love for cinnamon rolls runs deep, you’ll be thrilled to explore more variations inspired by this beloved classic. Be sure to try my Cinnamon Roll Cookies for a chewy twist, the delightful Horchata Cinnamon Cake for a unique dessert, and the comforting Cinnamon Roll Cake. For those who adore these scrumptious rolls but prefer a smaller bite, my Mini Cinnamon Rolls Recipe offers the same great taste in a charming, petite size. And for festive occasions, don’t miss the visually stunning Cinnamon Roll Snowflake, perfect for sharing joy during the holidays.
Why This Recipe for Homemade Cinnamon Rolls Works So Well
This isn’t just another cinnamon roll recipe; it’s a carefully crafted method perfected over years to deliver consistent, mouth-watering results every time. Here’s why this recipe consistently stands out:
- Achieve Truly Bakery-Style Cinnamon Rolls. Forget dry, dense rolls! This recipe yields massive, fluffy, and tender cinnamon rolls that rival (and often surpass) anything you’d find at a professional bakery. We’re talking about those impressively large, soft, and perfectly golden-brown treats that catch your eye. As one delighted reader, Susan, shared, “So fluffy and taste way better than my local bakery.” This recipe empowers you to create that coveted bakery quality right in your own kitchen.
- The Secret to the Best Cinnamon Roll Filling. While many recipes offer a basic cinnamon sugar filling, ours makes a bold statement. The key lies in a subtle yet powerful addition: a hint of vanilla extract combined with almond extract. This unexpected duo introduces a unique warmth and depth, elevating the classic cinnamon flavor to an entirely new dimension. It’s a game-changer! Linda, another satisfied baker, exclaimed, “Love the addition of the extracts in the filling, it really takes up the flavour!” Trust me, even if you’re not typically an almond fan, this gentle touch makes all the difference without overpowering the balance.
- A Recipe Beloved by Many: A True Fan Favorite. Don’t just take my word for it; the proof is in the pudding, or rather, in the dozens of glowing testimonials! My own cousin even texted me, saying, “I like the dough recipe better than the one my mom gave me,” which, coming from family, is high praise indeed! Reader Courtney affirms, “This recipe is a keeper,” while Celeste declared it, “My new favorite cinnamon roll recipe.” And Jade perhaps sums it up best: “We thought we already had a winning cinnamon roll recipe to use! We were so wrong. These are without a doubt the fluffiest and most delicious rolls ever.” The widespread adoration for these homemade cinnamon rolls speaks volumes.
- Effortlessly Easy & Remarkably Quick Cinnamon Rolls. Traditionally, cinnamon rolls are known for being a time-consuming project. However, this recipe is designed for efficiency, delivering those irresistible, warm rolls in a fraction of the time compared to many other recipes. From start to enjoying your first bite, you’ll be indulging in these easy homemade cinnamon rolls in just about 1 hour and 10 minutes! This speed makes them a perfect choice for weekend breakfasts or spontaneous baking sessions.
I’ve been perfecting and making these delightful cinnamon rolls for years, and it’s been a true joy to see so many of you embrace this recipe in your homes. The emails, texts, comments, and DMs I’ve received, all raving about how amazing these rolls are, truly warm my heart. Thank you for making my recipes a part of your culinary traditions and for sharing the joy of this food with your family, friends, and loved ones.
For my family, making homemade cinnamon rolls has become a cherished tradition, a sweet highlight for holidays like Easter, General Conference, and especially Christmas morning. There’s nothing quite like gathering on a cold Christmas Day, savoring a warm, frosting-coated cinnamon roll, and creating lasting memories. I’m eagerly looking forward to making these fluffy cinnamon rolls again this upcoming holiday season!
Essential Ingredient Notes for Perfect Homemade Cinnamon Rolls
Understanding the role of each ingredient is key to achieving the perfect batch of homemade cinnamon rolls. Here’s a closer look at the specific characteristics and importance of each item on our list:
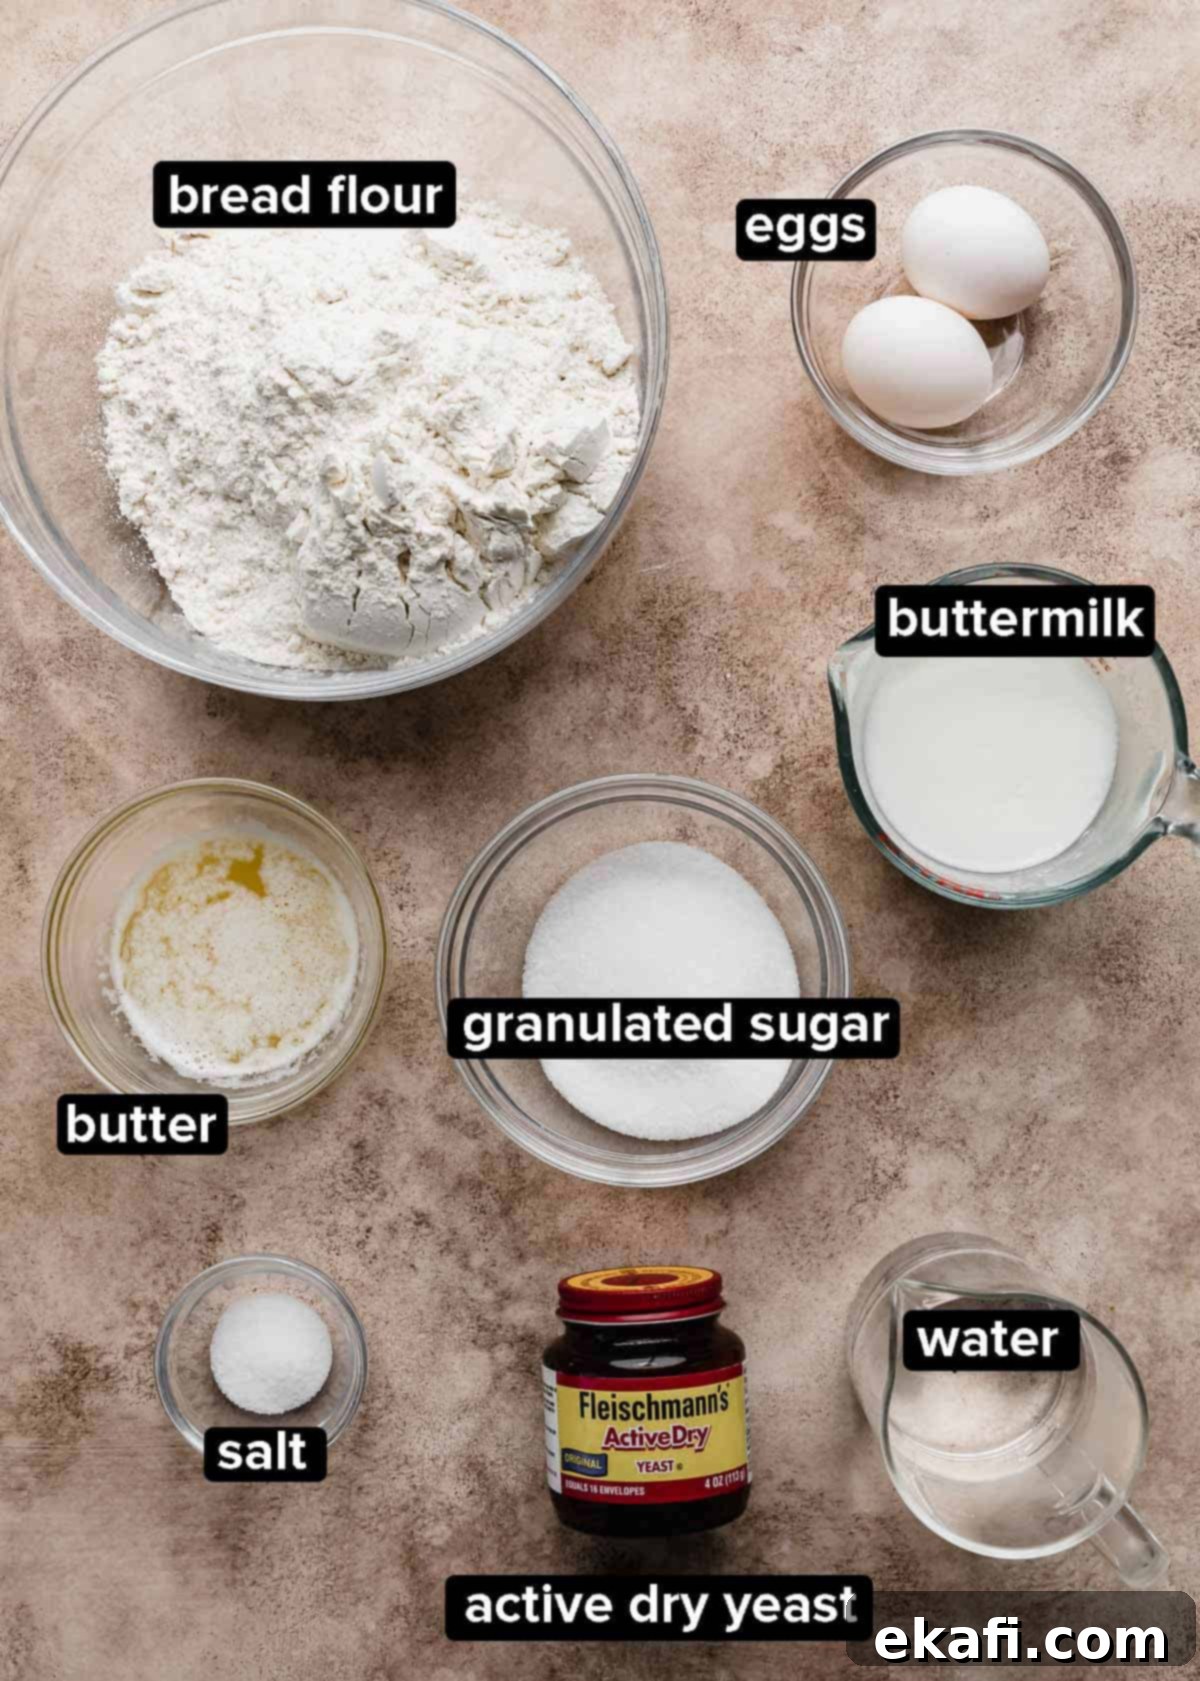
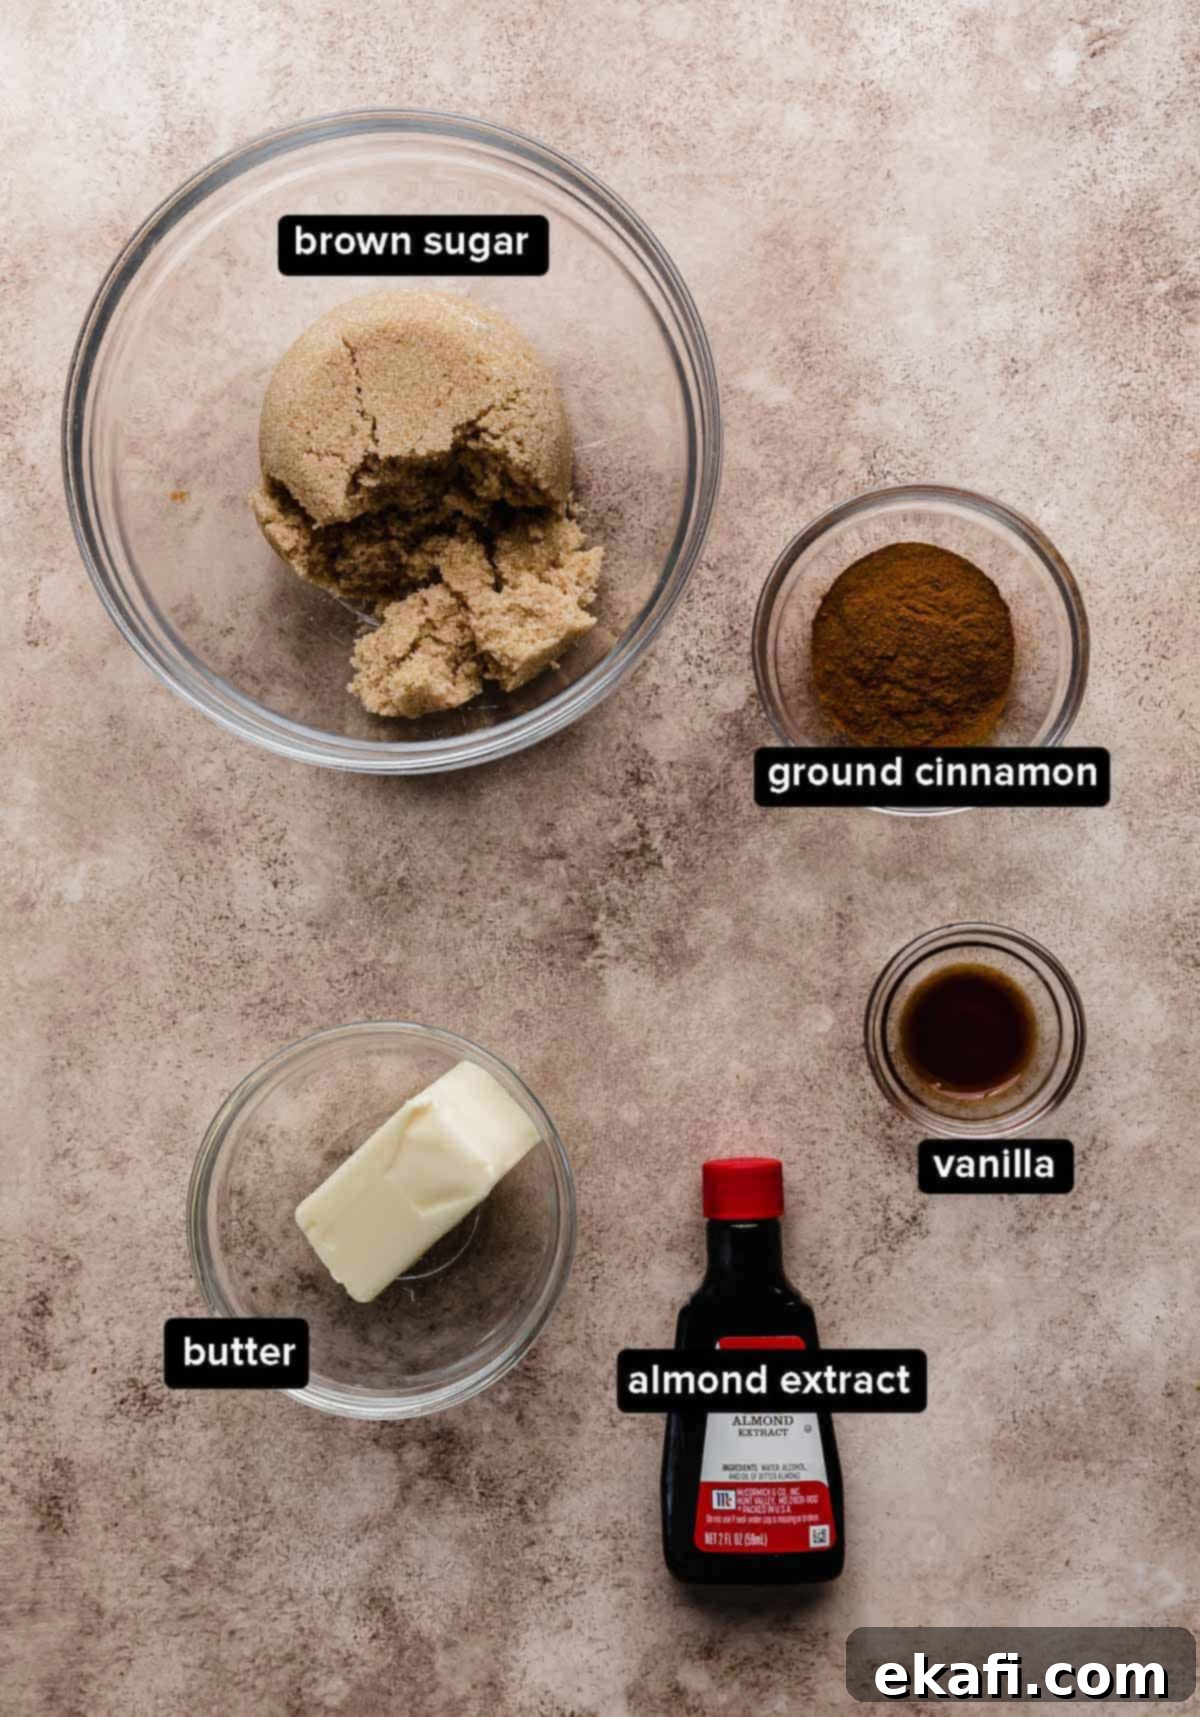
- Warm Water: The temperature of your water is critical for activating the yeast. It should be approximately 105ºF (40-41ºC) – warm to the touch but not hot. This ideal temperature encourages the yeast to become active without being too hot to kill it, ensuring a robust rise for your fluffy cinnamon rolls.
- Granulated Sugar: This fine sugar is incorporated directly into the dough, providing a delicate sweetness and aiding the yeast’s activity. It’s important to distinguish it from brown sugar for the filling; granulated sugar won’t achieve the same rich, moist texture in the center of the roll.
- Brown Sugar: For the decadent filling, brown sugar is indispensable. Its molasses content gives it a moist, packed consistency that granulated sugar lacks. This allows the filling to stay beautifully contained within the rolled dough, melting into that irresistible gooey center we all crave in a perfect cinnamon roll.
- Active Dry Yeast: This recipe uses a slightly more generous amount of active dry yeast than some traditional recipes, and for good reason! This precise quantity ensures your cinnamon rolls rise beautifully and quickly, allowing you to enjoy them in a fraction of the usual time without imparting an overpowering yeasty flavor. Remember, active dry yeast needs to be bloomed in warm liquid first.
- Bread Flour: Yes, bread flour is indeed different from all-purpose flour, and this distinction is crucial for achieving that signature fluffy cinnamon roll texture. Bread flour boasts a higher protein content, which develops stronger gluten when kneaded. This stronger gluten network provides the dough with the structural integrity it needs to rise higher and maintain a soft, chewy interior. Please note that the exact amount of flour needed can vary based on factors like humidity and altitude; start with the minimum and adjust as necessary until the dough is tacky but not overly sticky. This recipe was perfected at sea level.
- Cinnamon: The star of the show! High-quality ground cinnamon is essential for that warm, inviting flavor that defines these homemade cinnamon rolls. Don’t skimp on this one!
- Unsalted Butter: Butter plays multiple roles here. For the filling, it must be softened to room temperature, not melted. Softened butter spreads smoothly across the dough and, crucially, holds the brown sugar and cinnamon mixture in place, preventing it from seeping out during baking. This ensures a rich, gooey swirl inside every roll. Using unsalted butter allows you to control the overall salt content of the recipe precisely.
- Vanilla Extract & Almond Extract: This is my secret weapon! The combination of vanilla and a tiny touch of almond extract in the filling is a true game-changer. The vanilla enhances the overall sweetness, while the almond adds a subtle, warm, and sophisticated depth of flavor that takes these cinnamon rolls from great to truly extraordinary. If you’re hesitant about almond flavor, rest assured it’s a gentle nuance, not an overwhelming taste, that simply elevates the entire experience.
Step-by-Step Instructions for Your Best Homemade Cinnamon Rolls
Follow these detailed steps carefully to achieve perfect, bakery-style cinnamon rolls every time. Precision and patience are your best tools in baking!
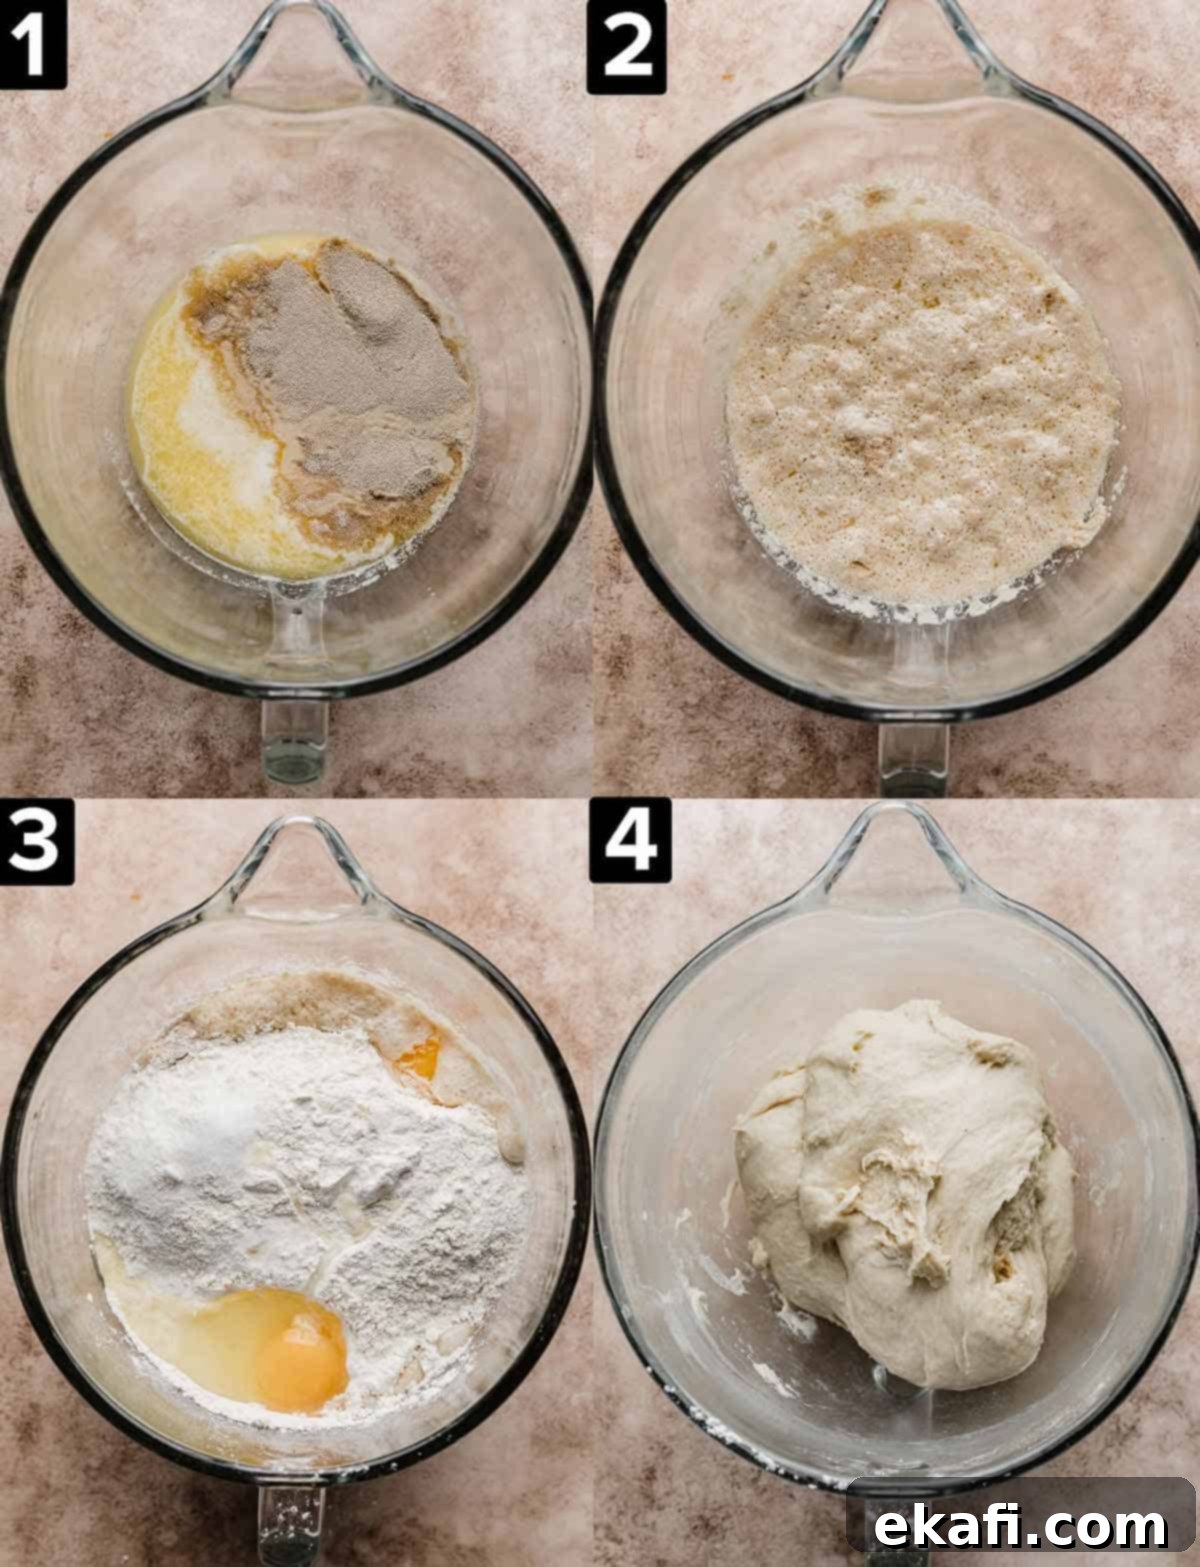
- Activate the Yeast. In the bowl of a stand mixer fitted with the dough hook, combine 1 cup warm water (around 105ºF), 3/4 cup room temperature buttermilk, 1/2 cup granulated sugar, 1/4 cup melted butter, and 2 1/2 tablespoons of active dry yeast. Mix these ingredients for a few seconds until just incorporated. Let the mixture sit undisturbed for 10-15 minutes. During this time, the yeast should become visibly bubbly and foamy, indicating it is active and ready to work its magic.
- Prepare the Dough. Once the yeast mixture is bubbly, add 1/2 tablespoon of salt, 2 large eggs, and gradually introduce 5 to 6 cups of bread flour. Begin with 5 cups and add more flour as needed, a little at a time, until the dough is tacky to the touch but no longer overly sticky and pulls cleanly away from the sides of the bowl. Mix on medium speed with the dough hook for 8-10 minutes. This extensive kneading develops the gluten in the bread flour, crucial for fluffy, soft cinnamon rolls. After kneading, cover the bowl tightly with plastic wrap and let the dough rest in a warm place for just 10 minutes. This short rest allows the gluten to relax, making the dough easier to roll.
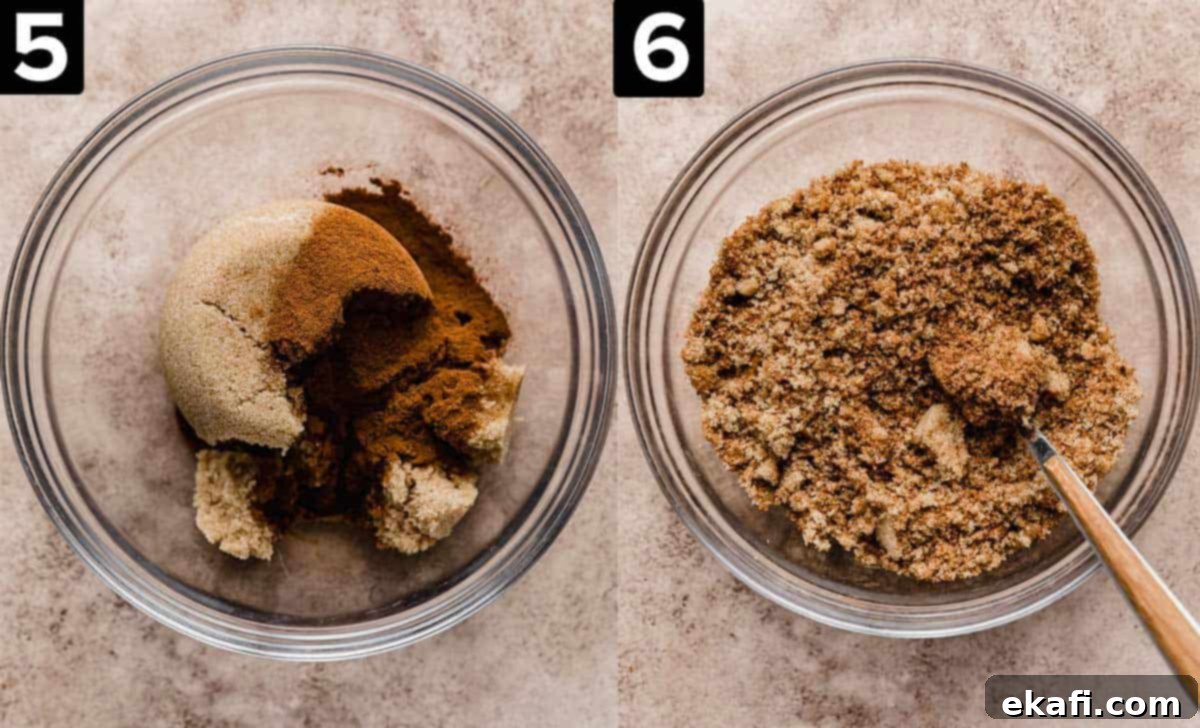
- Craft the Irresistible Filling. While your dough rests, prepare the signature cinnamon roll filling. In a small bowl, combine 1 cup of brown sugar, 1 1/2 tablespoons of ground cinnamon, 1/2 teaspoon of vanilla extract, and 1/8 teaspoon of almond extract. Stir these ingredients thoroughly until well combined. The brown sugar should hold together, ensuring a moist and flavorful swirl in every bite. Set this mixture aside.
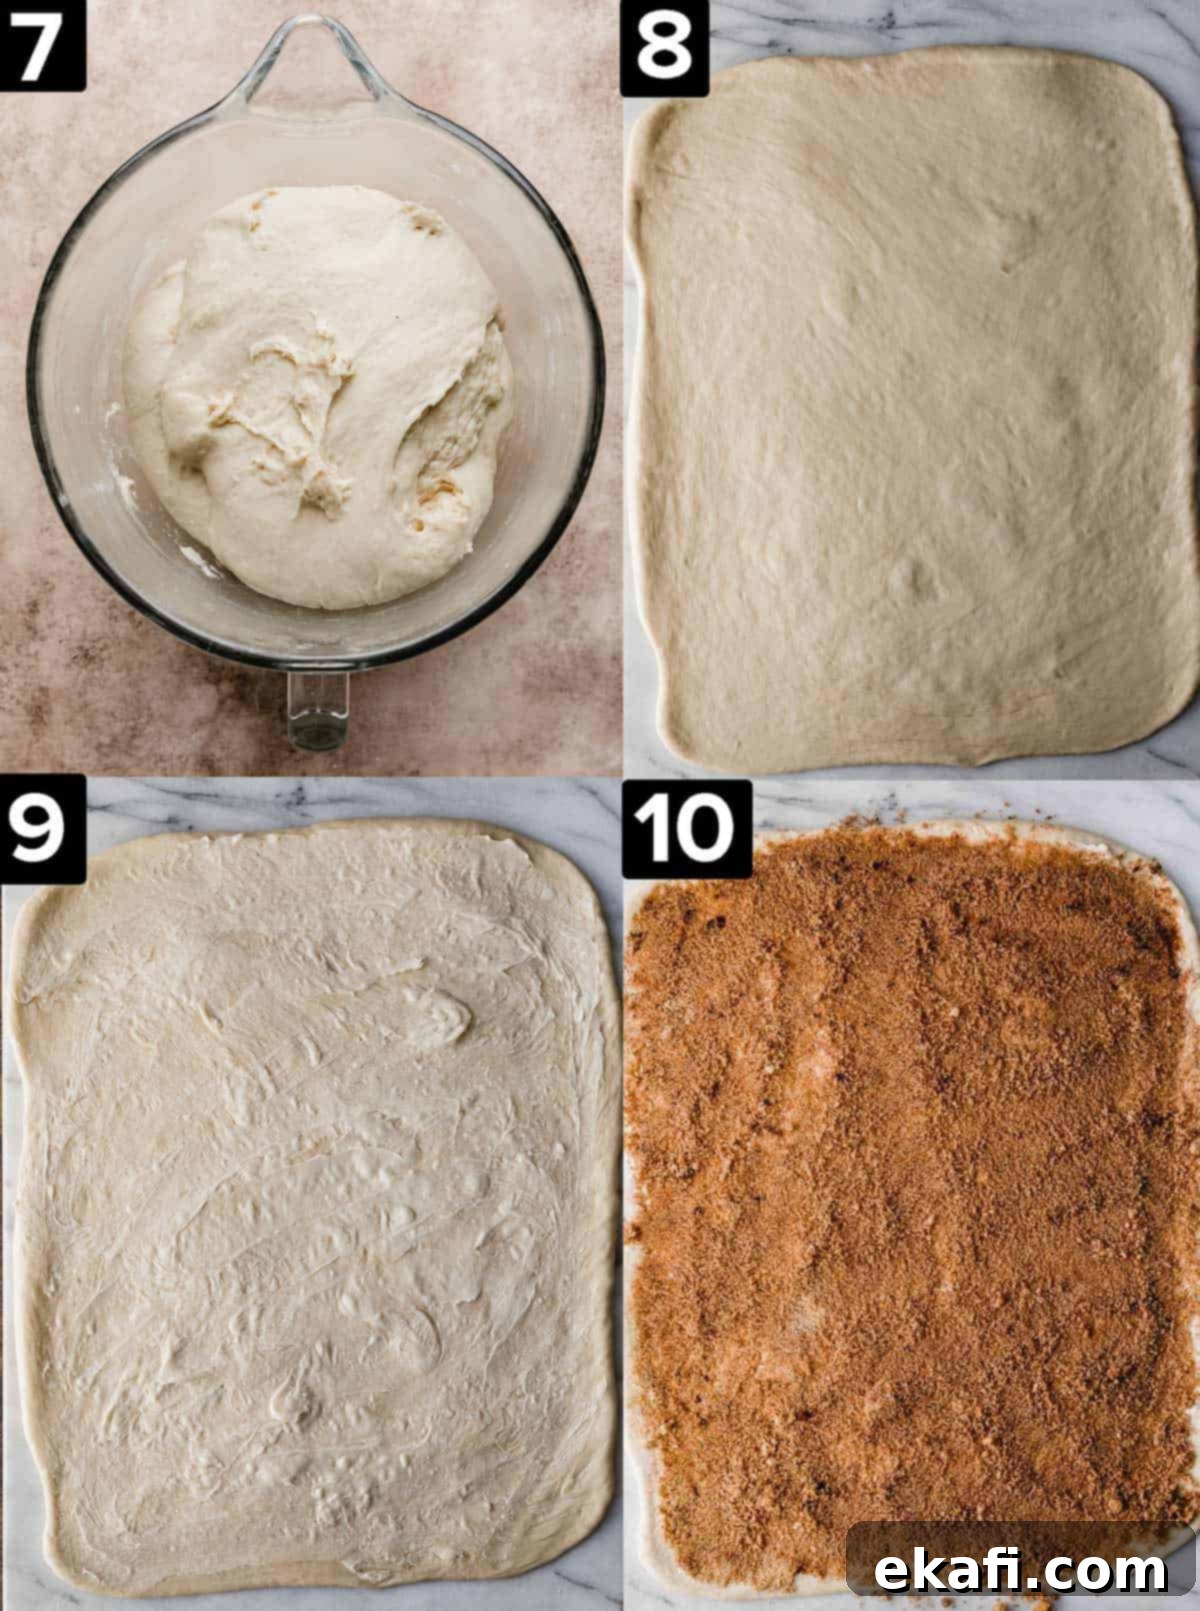
- Roll Out the Dough & Preheat Oven. Preheat your oven to 400°F (200°C). Lightly spray your clean countertop with cooking spray (I highly recommend Baker’s Joy for its non-stick properties). Using a rolling pin, gently roll the rested dough into a large rectangle, approximately 14×18 inches. Aim for an even thickness across the entire surface.
- Apply Butter and Filling. Evenly smear 4 tablespoons of softened (room temperature) unsalted butter over the entire surface of the rolled-out dough using the back of a spoon or an offset spatula. Ensure it reaches all edges. Then, generously and uniformly sprinkle the prepared brown sugar and cinnamon filling mixture over the butter, covering the entire rectangle. This layer will become the gooey, aromatic core of your homemade cinnamon rolls.
- Roll, Cut, and Rise (Second Rise). Starting from one of the longer 18-inch sides, carefully and snugly roll the dough into a tight log. Aim for an 18-inch long cinnamon roll log. For clean cuts that don’t pinch the dough, use unscented dental floss or a thin piece of thread. Slide it under the log, cross the ends over the top, and pull to slice. Cut the log into 12 equally sized large rolls. Arrange these rolls onto a prepared baking sheet (lined with parchment paper or a silicone baking mat). Cover the baking sheet loosely with plastic wrap and let the cinnamon rolls rise again for 15-30 minutes, or until they have visibly puffed up and appear slightly larger.
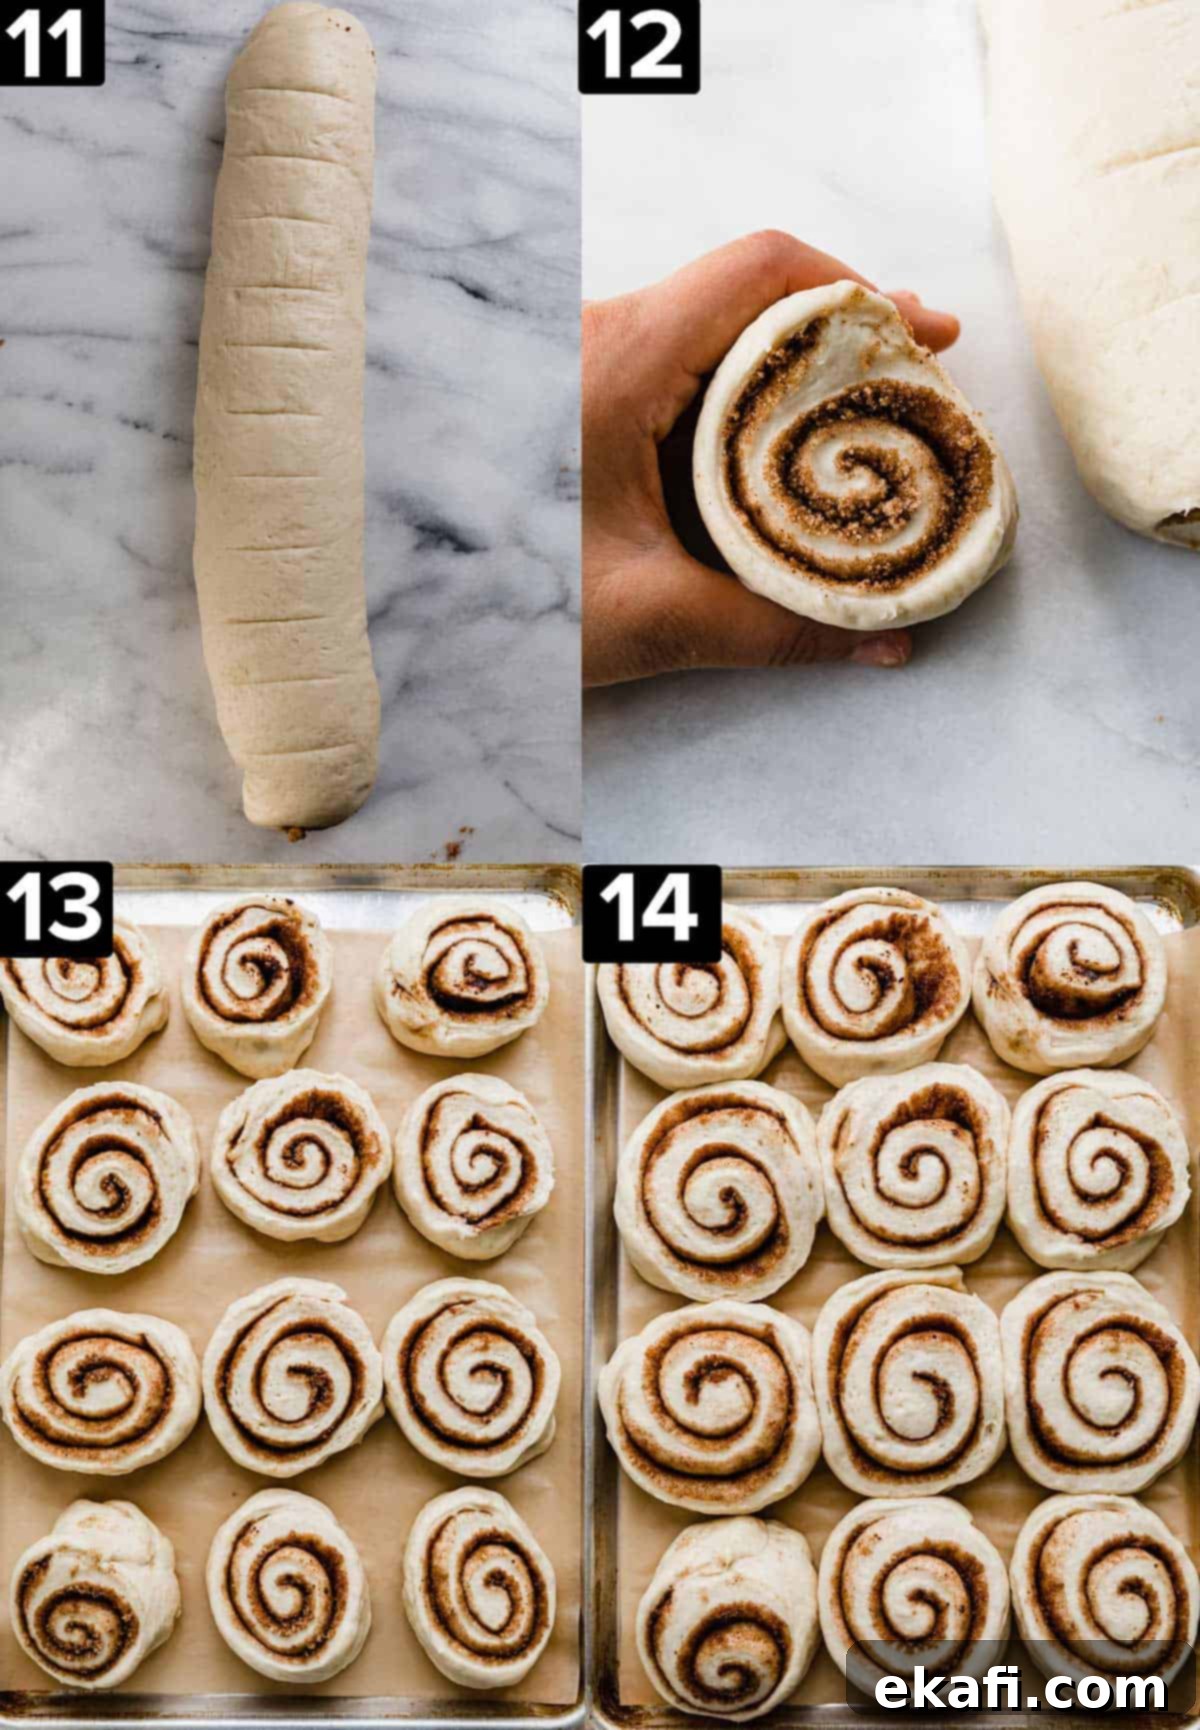
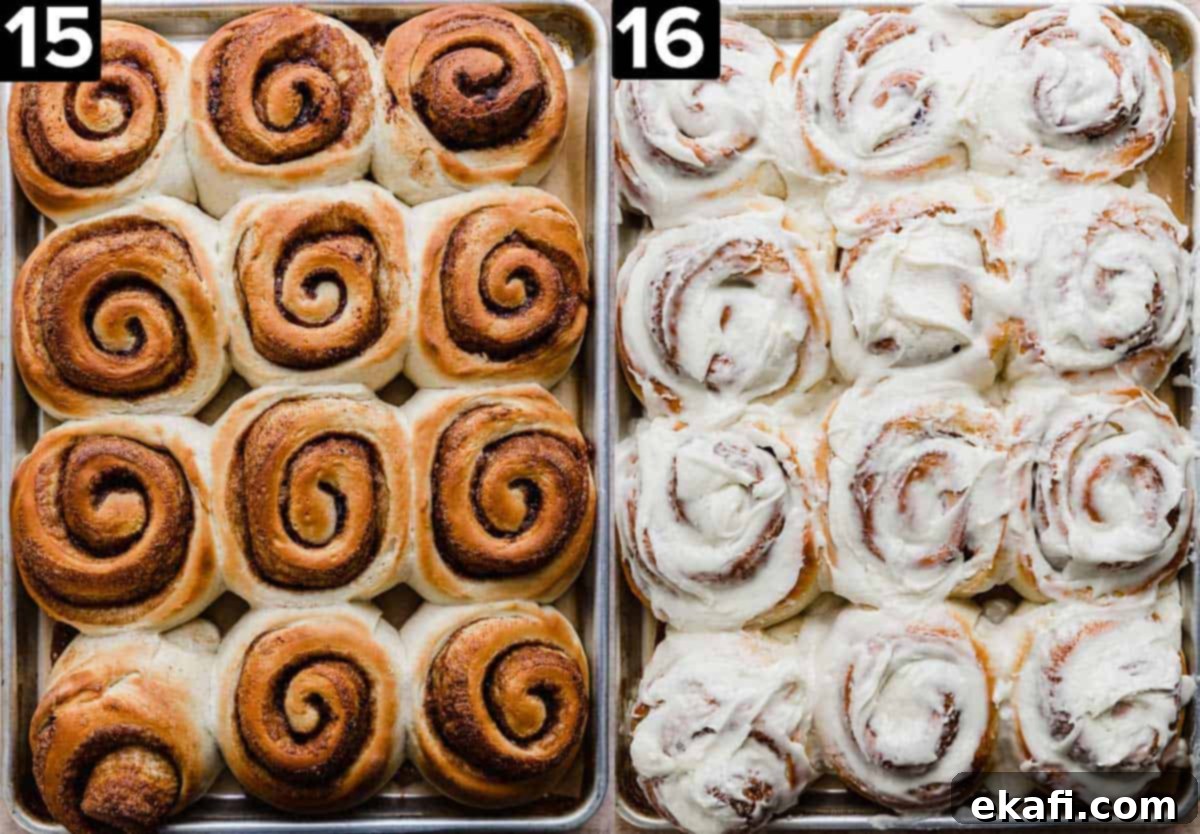
- Bake to Golden Perfection. Remove the plastic wrap from the baking sheet. Carefully transfer the cinnamon rolls to your preheated 400°F (200°C) oven. Bake for 18-20 minutes, or until the tops are beautifully lightly golden brown and the centers are cooked through. Keep an eye on them towards the end to prevent over-browning.
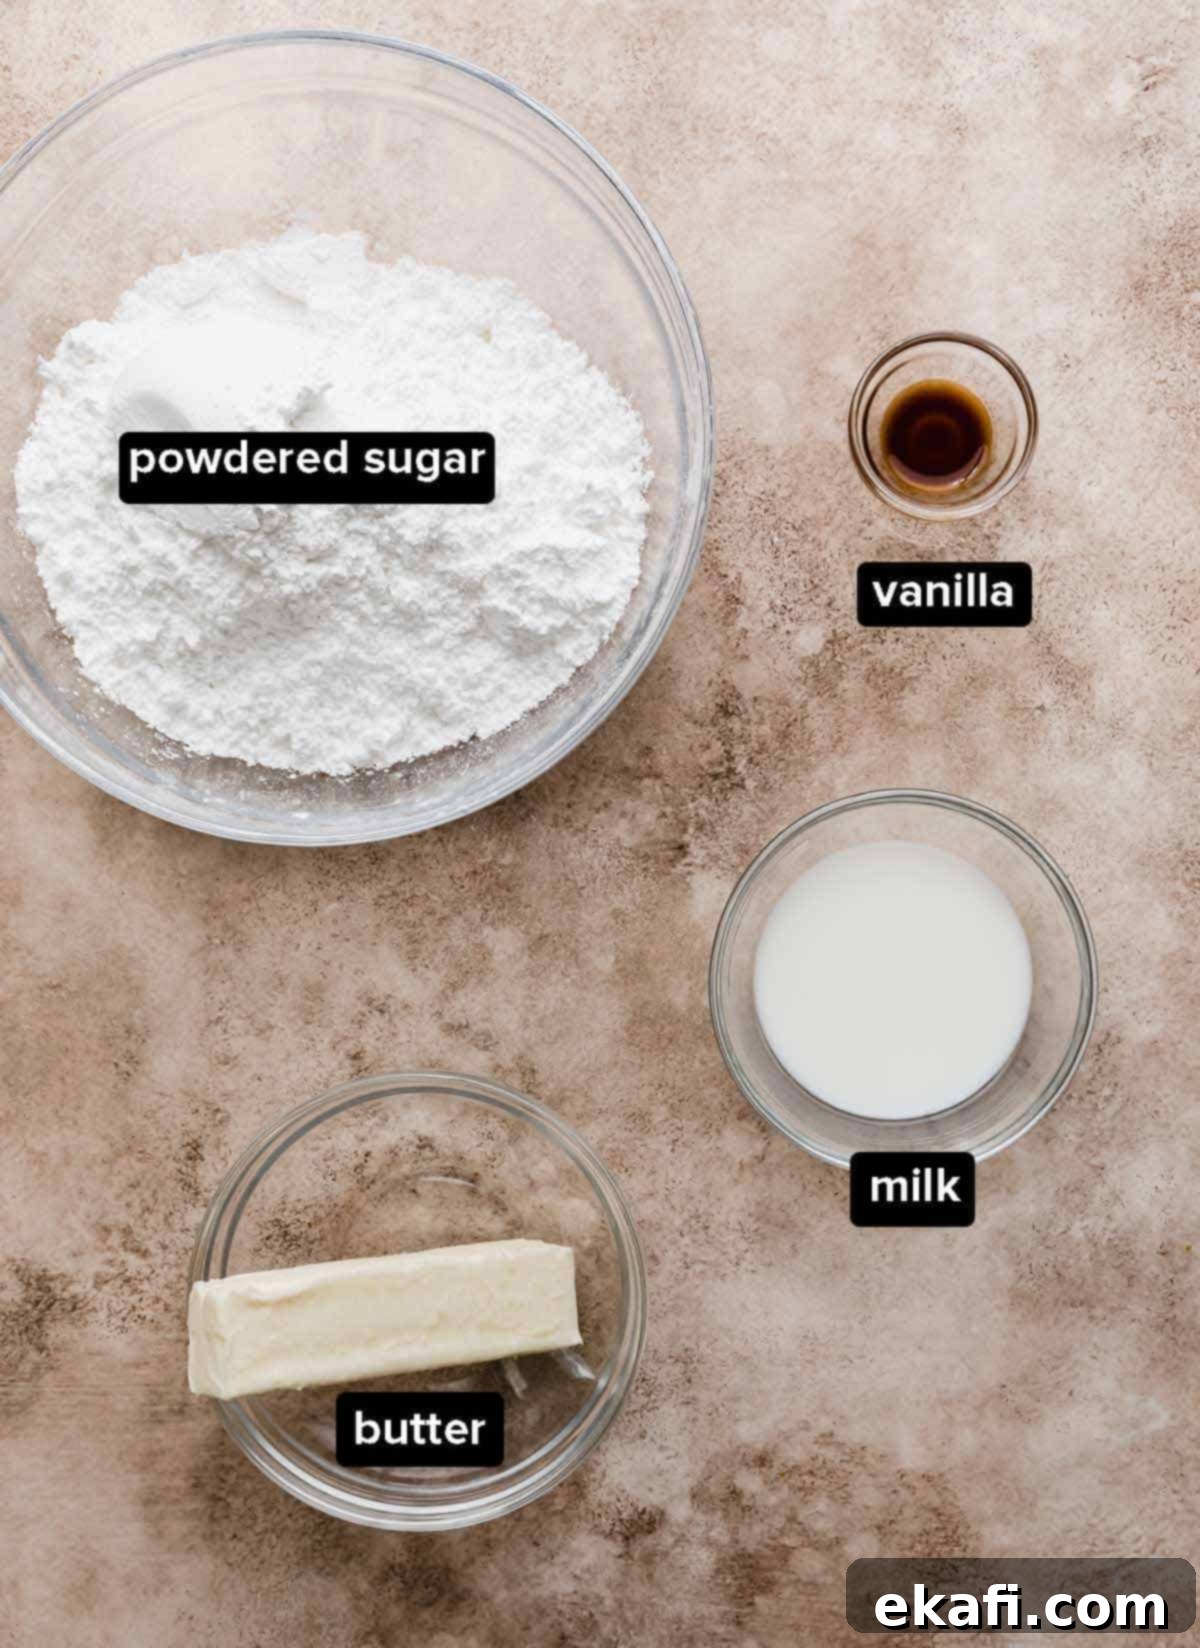
- Prepare the Signature Cinnamon Roll Frosting. While your rolls are baking, it’s the perfect time to whip up the luxurious frosting. In the bowl of a stand mixer (or a medium mixing bowl using an electric hand mixer), add 8 tablespoons of softened unsalted butter. Beat until creamy and smooth. Gradually add 4 cups of powdered sugar, 4-5 tablespoons of milk (adjusting for desired consistency – you want a thick but spreadable frosting, not a thin glaze), and 1 teaspoon of vanilla extract. Beat everything together until the frosting is completely smooth, lump-free, and beautifully combined.
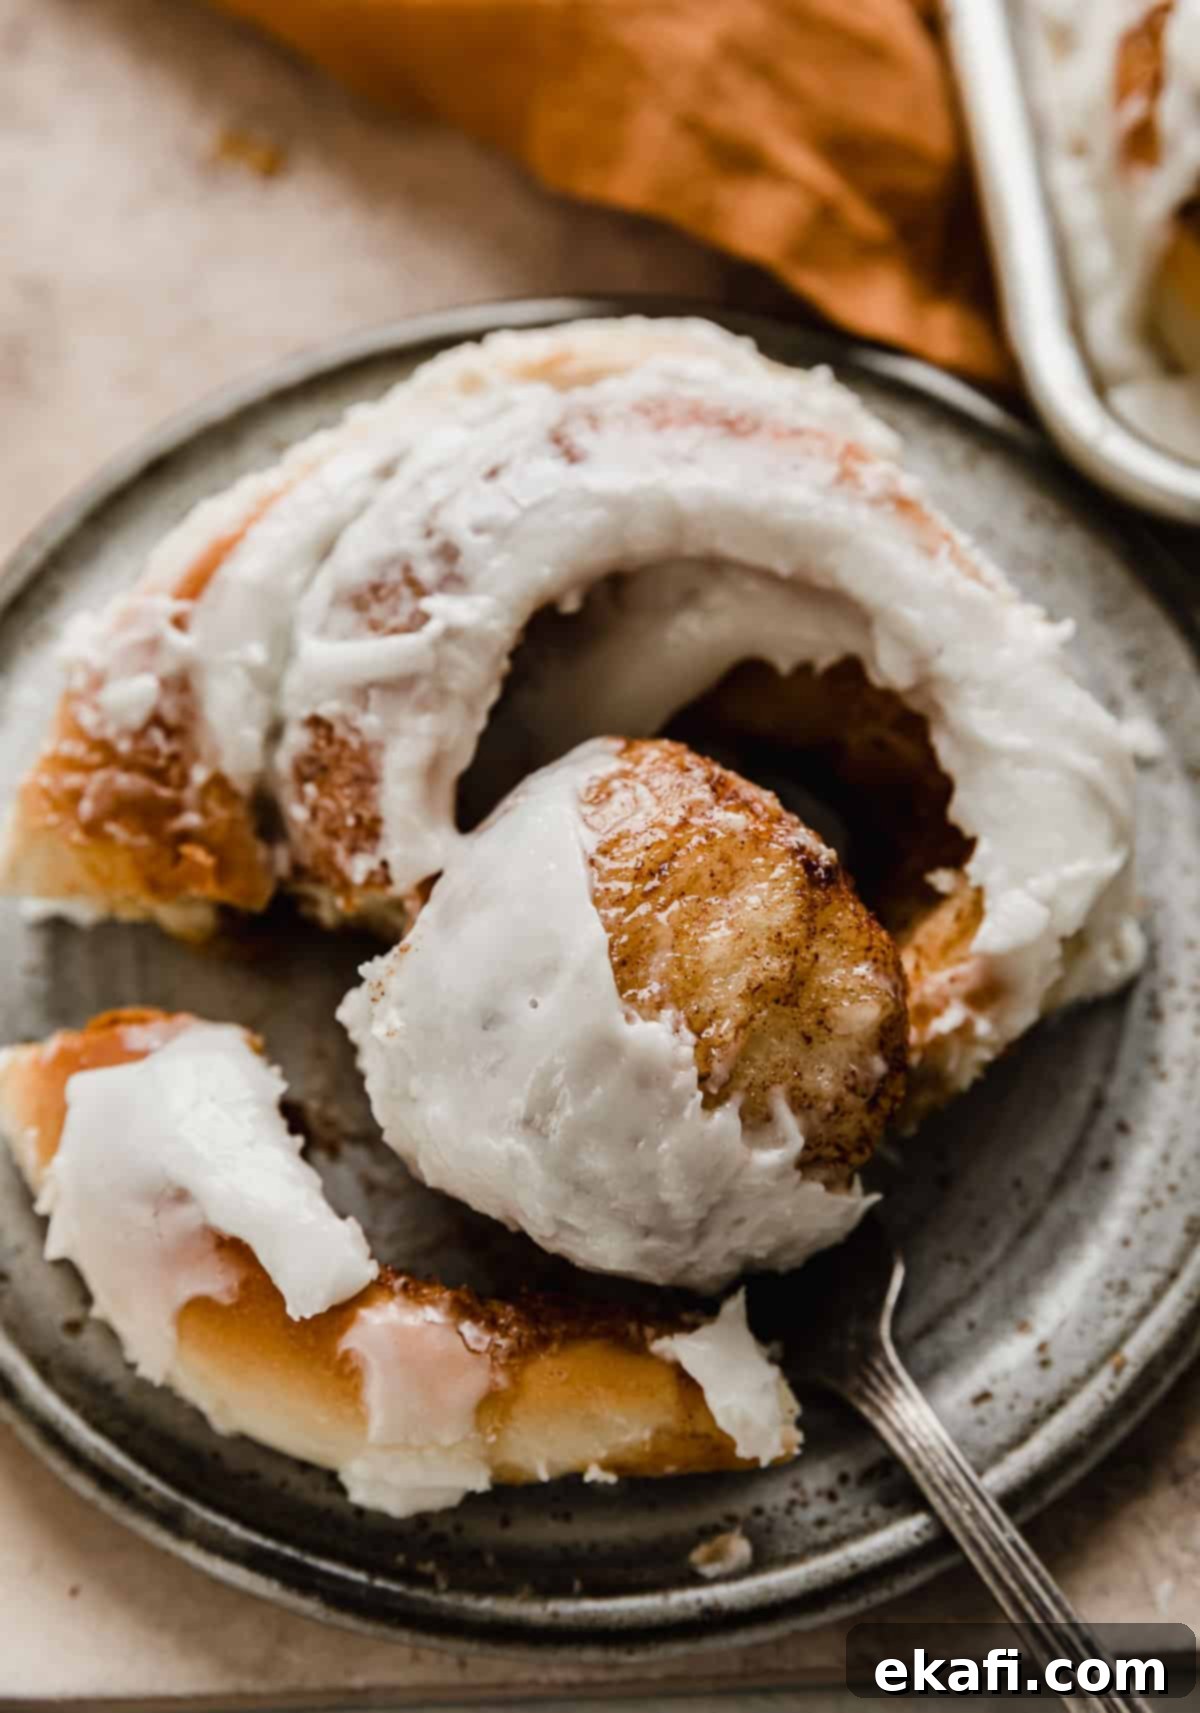
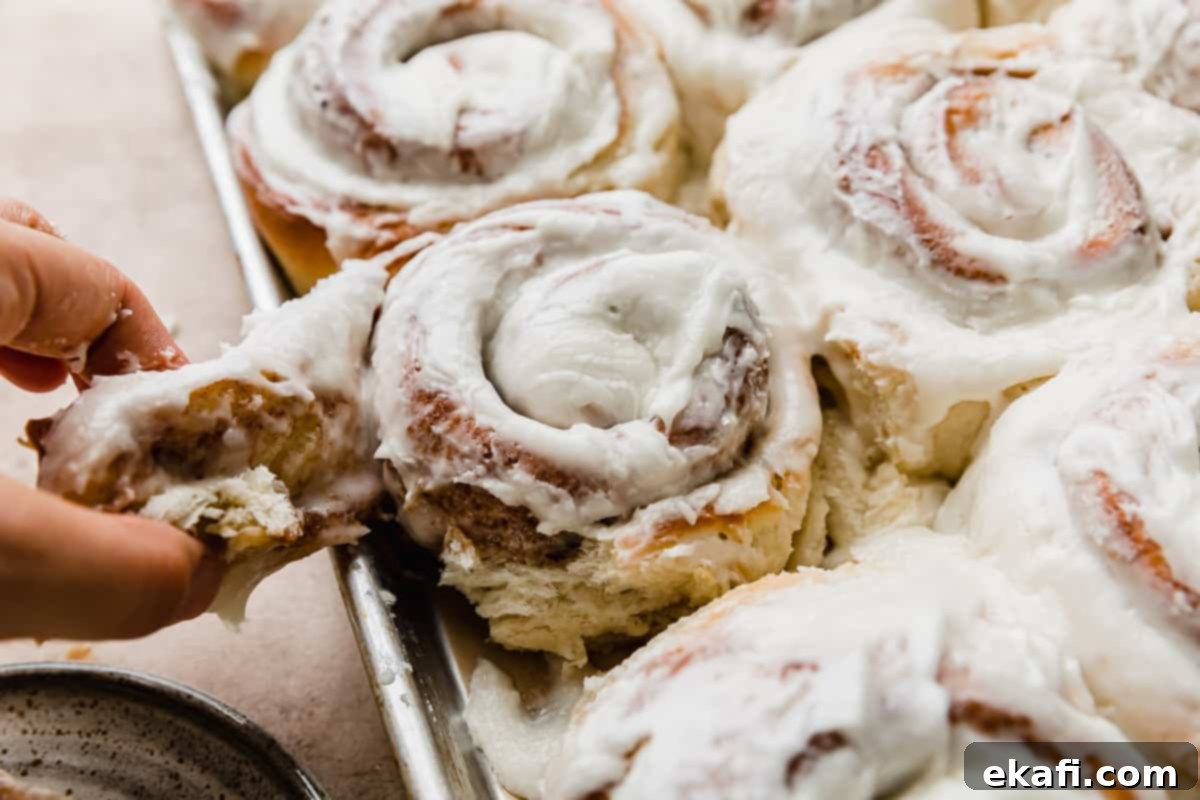
- Frost and Enjoy! As soon as you remove the freshly baked cinnamon rolls from the oven, allow them to cool for just about 3-5 minutes. It’s crucial not to frost them immediately when they are piping hot, as the frosting will melt off completely. However, frosting them while they are still warm (but not hot) is the secret to success! This allows the rich, sweet frosting to melt slightly and seep into every delicious crack and crevice of the warm rolls, creating an unparalleled gooey, decadent experience. Serve warm and prepare for rave reviews!
Expert Tips for Unforgettable Homemade Cinnamon Rolls
Achieving bakery-quality cinnamon rolls at home is easier than you think with these expert tips and tricks:
Adjust Flour for Perfect Dough Consistency: Baking is sensitive to environment. The amount of bread flour required can fluctuate based on your climate (humidity) and altitude. The goal is a dough that is distinctly tacky but not excessively sticky to the touch. It should gracefully pull away from the sides of your mixing bowl when properly kneaded. Don’t be afraid to add a little more flour, a tablespoon at a time, until you reach this ideal texture.
Embrace the Power of Almond Extract: While the recipe specifies a modest amount of almond extract, if you truly appreciate its unique warmth and depth, feel free to increase the quantity slightly. It introduces a delightful complexity to the filling that beautifully complements the cinnamon without overwhelming it. Even a small adjustment can enhance the overall flavor profile of your homemade cinnamon rolls.
The Softened Butter Secret: This is a critical pro tip for the filling. Always use softened, room-temperature butter, not melted butter. Melted butter is prone to seeping out of the rolls during baking, resulting in a less gooey and flavorful interior. Softened butter, however, adheres perfectly to the dough and acts as a binder, locking in that glorious cinnamon sugar filling, ensuring every bite is moist and flavorful.
Revolutionize Your Rolling Surface: Instead of traditional lightly floured countertops, try spraying your surface with cooking spray (like Baker’s Joy). Flour can sometimes dry out your dough and doesn’t always prevent sticking effectively. An oiled surface, however, provides superior non-stick action, making rolling out your dough a breeze and ensuring your fluffy cinnamon rolls maintain their tender texture. Once you try it, you’ll be hooked!
Floss or Thread for Pristine Cuts: For perfectly formed, un-pinched cinnamon rolls, ditch the knife when cutting the log. Opt for unscented dental floss or a thin piece of thread. Simply slide it under the dough log, cross the ends over the top, and pull to slice through. This technique creates beautifully clean edges, helping your cinnamon rolls retain their shape and delicate spirals.
Choose Your Frosting Adventure: While I prefer a classic vanilla frosting to crown my homemade cinnamon rolls, the choice is ultimately yours! For an extra layer of indulgence and tangy richness, a cream cheese frosting would be absolutely divine. This Brown Butter Cream Cheese Frosting, in particular, would offer a wonderfully complex flavor profile that pairs exquisitely with the warm cinnamon.
The Art of Warm Frosting: Timing is everything when it comes to frosting! For that perfect gooey, melty effect, frost your cinnamon rolls while they are still warm, but not scorching hot. If you frost them immediately out of the oven, the frosting will simply liquefy and run off. Waiting a few minutes until they are warm allows the frosting to soften and gently melt into every crack and crevice of the rolls, creating an irresistible, even coating that enhances their texture and flavor.
Calibrate Your Oven for Success: An accurate oven temperature is paramount for all baked goods, especially yeasted doughs. If you don’t already own one, I highly recommend investing in an inexpensive oven thermometer. Many ovens can be off by as much as 10-25°F from their dial settings. Knowing your oven’s true temperature ensures consistent baking results and perfectly cooked homemade cinnamon rolls. Always line your baking sheet with parchment paper or a silicone baking mat for easy cleanup and to prevent sticking.
Achieving Ideal Frosting Consistency: The amount of milk you add to your frosting will determine its final consistency. Start with the lower recommended amount (4 tablespoons) and add more gradually, a teaspoon at a time, until you reach a thick, spreadable frosting. Remember, we’re aiming for a rich frosting, not a thin glaze that will simply drip away.
Explore Other Delicious Variations: If you enjoy a touch of citrus, consider trying my Orange Rolls for a bright and zesty spin on the classic sweet roll concept!
Make Ahead, Storing, and Freezing Your Homemade Cinnamon Rolls
Planning ahead or managing leftovers for your homemade cinnamon rolls is simple with these convenient tips:
Overnight Cinnamon Rolls (Make Ahead): If you want fresh cinnamon rolls for breakfast without the early morning prep, you can easily make them ahead as overnight cinnamon rolls. Prepare the dough and assemble the rolls as directed through step 6 (placing them on the baking sheet). Instead of letting them rise at room temperature for the second rise, cover the baking sheet tightly with plastic wrap and place it in the refrigerator overnight (up to 12-18 hours). This slow, cold rise develops flavor and allows you to bake them fresh the next morning. In the morning, pull them out of the fridge and let them sit at room temperature for 30-60 minutes while your oven preheats, then bake as usual.
Storing Leftover Baked Cinnamon Rolls: To maintain their signature softness, store any leftover baked and frosted cinnamon rolls in an airtight container at room temperature for up to 2 days. For extended freshness, they can also be stored in the refrigerator for up to 5 days. For the best experience, give them a quick warm-up in the microwave for 15-30 seconds before serving – warm cinnamon rolls are truly the best!
Freezing Cinnamon Rolls: You have two excellent options for freezing:
- Freezing Unbaked Rolls: After placing the cut rolls on the baking sheet (before the second rise), cover them tightly with plastic wrap and then aluminum foil. Freeze until solid. When ready to bake, remove them from the freezer the night before and let them thaw and complete their final rise in the refrigerator overnight. The next morning, bring them to room temperature for 30-60 minutes, then bake as usual. This method ensures maximum freshness.
- Freezing Baked Rolls: Bake the cinnamon rolls completely, but hold off on the frosting. Once cooled, wrap individual rolls tightly in plastic wrap, then place them in a freezer-safe bag or container. They can be frozen for up to 2-3 months. To enjoy, thaw at room temperature, then warm in the microwave or oven. Frost them just before serving.
Homemade Cinnamon Rolls: Your Questions Answered!
Here are some frequently asked questions about making and enjoying these delightful homemade cinnamon rolls:
While virtually all baked goods are at their absolute best when eaten fresh on the same day they are made, these homemade cinnamon rolls maintain their deliciousness for a good while. You can store them in an airtight container, or covered tightly with tin foil or plastic wrap, at room temperature for up to 2 days. For slightly longer storage, they can be refrigerated in an airtight container for up to 5 days. Just remember to warm them up for that ultimate soft and gooey experience!
You’ve noticed correctly! The dough in this recipe does contain a bit more active dry yeast than some other cinnamon roll recipes. However, rest assured, the finished product will not taste excessively yeasty at all! We strategically use this quantity of yeast to help the rolls rise more quickly and efficiently. This ingenious adjustment allows us to produce these incredibly fluffy and delicious homemade cinnamon rolls in a remarkable 1 hour and 10 minutes from start to finish! 🎉🙌🏼
The primary difference lies in their activation process. Instant yeast, as its name suggests, is “instantly ready to roll.” It can be mixed directly with dry ingredients without needing to be proofed first. Active dry yeast, which this homemade cinnamon roll recipe uses, requires activation. This means you need to dissolve it in warm liquid (like water and buttermilk in our recipe) and let it sit for 10-15 minutes until it becomes bubbly and foamy, indicating it’s alive and active.
Yes, you absolutely can use salted butter if that’s what you have on hand. However, to maintain the intended flavor balance of these homemade cinnamon rolls, you should reduce the amount of added salt in the dough. A good rule of thumb is to decrease the recipe’s salt by 1/4 teaspoon for every 1/2 cup of salted butter used.
I strongly advise against substituting all-purpose flour for bread flour in this specific recipe. While both are flours, they have different protein contents. Bread flour is significantly higher in protein, which is essential for developing a strong gluten structure. This robust gluten framework is what gives our homemade cinnamon rolls their characteristic airy, fluffy texture and helps them achieve that impressive, beautiful rise. Using all-purpose flour will result in a denser, less airy roll.
There are a few common culprits when cinnamon rolls don’t rise as expected:
1. Yeast Vitality: First, check your yeast. Ensure it’s not old or expired. Yeast loses its potency over time.
2. Ingredient Temperature: Always use room temperature buttermilk and warm (not hot!) water. These temperatures are optimal for yeast activation and proper ingredient incorporation.
3. Flour Type: As mentioned, using bread flour is crucial for a good rise. All-purpose flour won’t provide the same structure.
4. Warm Environment: Dough rises best in a warm, draft-free environment. A slightly warm (but turned off) oven or a sunny spot can significantly aid the rising process.
5. Oven Accuracy: Finally, ensure your oven temperature is accurate for baking. An oven thermometer can reveal if your oven is running cooler than its dial indicates, which can impact overall baking and rising.
Yes, they will, but at a much slower rate. This is precisely how you can prepare overnight cinnamon rolls! If you wish to spread out the preparation and baking time, you can perform one of your dough rises (typically the second rise, after the rolls are cut) in the refrigerator overnight. The cold temperature significantly slows down the yeast activity, allowing the dough to slowly ferment and develop more flavor without over-proofing. You can then bake them fresh the next morning.
No, this specific recipe for homemade cinnamon rolls, as written, is not dairy-free, as it calls for buttermilk and butter. However, one resourceful reader reported successful results by substituting vegan butter and coconut milk, suggesting that with appropriate dairy-free alternatives, you might be able to adapt this recipe.
For these particular homemade cinnamon rolls, you’ll definitely want to use a thick frosting, not a thin glaze. A rich frosting adheres better to the rolls and creates a more luxurious, gooey experience, whereas a glaze tends to simply melt and run off. The key to perfect frosting is timing: do not frost the cinnamon rolls immediately after removing them from the oven when they are piping hot. Allow them a few minutes to cool slightly until they are still warm to the touch but not excessively hot. Frosting them at this warm stage ensures that the frosting melts just enough to beautifully seep into every crack and crevice, permeating all areas of the rolls without completely dissolving, giving you that ultimate bakery-style finish!
More Delicious Recipes Featuring Cinnamon
If you’ve fallen in love with the comforting warmth of cinnamon in these homemade cinnamon rolls, explore these other delightful recipes:
- Cinnamon Sugar Caramelitas
- Cinnamon Chocolate Chip Coffee Cake
- Cinnamon Banana Bread Recipe
- Apple Cinnamon Scones
Did you make this incredible Homemade Cinnamon Roll recipe? I’d absolutely love to hear about your experience! Leave a star rating and review right here on the blog, or simply scroll down to the recipe card below and share your thoughts there. Your feedback means the world!
Stay connected and never miss a new recipe by following us on Instagram, TikTok, YouTube, Facebook, and Pinterest.

Print
Save
Saved!
Review
Homemade Cinnamon Rolls
50 minutes
20 minutes
1 hour
10 minutes
12
large cinnamon rolls
Prevent your screen from going dark
Ingredients
Dough
-
1
cup
warm water -
3/4
cup
buttermilk –
room temperature -
1/2
cup
granulated sugar -
1/4
cup
melted butter -
2 1/2
tablespoons
active dry yeast -
1/2
tablespoons
salt -
2
large
eggs -
5-6
cups
bread flour –
will vary depending on your climate and altitude
Filling
-
1
cup
brown sugar -
1 1/2
tablespoons
cinnamon -
4
tablespoons
unsalted butter –
room temperature -
1/2
teaspoon
vanilla extract -
1/8
teaspoon
almond extract
Frosting
-
4-5
tablespoons
milk –
more or less, as needed -
1
teaspoon
vanilla extract -
4
cups
powdered sugar -
8
tablespoons
unsalted butter –
softened to room temperature
Equipment
-
Kitchen Aid stand mixer
-
baking sheet
-
silicone baking mat
Instructions
-
In the bowl of a stand mixer fitted with the dough hook, add the water, buttermilk, sugar, melted butter, and yeast. Mix for a few seconds to incorporate. Let sit for 10-15 minutes or until the yeast is bubbly. Once the yeast is bubbly, add the salt, eggs, and 5-6 cups of bread flour (start with 5 and add as needed; the dough should be tacky but not overly sticky). Mix for 8-10 minutes until the dough pulls away from the sides of the bowl. Cover the bowl with plastic wrap and let the dough rest in a warm place for 10 minutes.
-
In the meantime, prepare the delicious filling. In a small bowl, combine the brown sugar, cinnamon, vanilla extract, and almond extract. Stir thoroughly to ensure all ingredients are well combined. Set this aside.
-
Preheat your oven to 400°F (200°C). Place a silicone baking mat or parchment paper on a baking sheet. Lightly spray your clean countertop with cooking spray (I find Baker’s Joy works wonders). Using a rolling pin, roll the dough into a large 14×18-inch rectangle. With the back of a spoon, evenly smear the softened unsalted butter over the entire surface of the dough. Then, evenly sprinkle the prepared cinnamon brown sugar filling over the butter, covering it completely.
-
Starting on the longer side (18-inch), carefully roll the dough tightly into a log. You should now have an 18-inch cinnamon roll log. Using unscented dental floss or thread, cut the log into 12 large, evenly sized rolls.* Arrange the rolls onto the prepared baking sheet, typically 3 rolls across and 4 rolls down. Cover the cinnamon rolls loosely with plastic wrap and let them rise in a warm place for an additional 15-30 minutes, or until they have noticeably puffed up. Bake for 18-20 minutes, or until the tops are lightly golden brown and the rolls are cooked through.
Frosting
-
While the rolls are baking, prepare your luscious frosting. In the bowl of a stand mixer (or using an electric hand mixer in a medium bowl), beat the softened butter until it’s smooth and creamy. Gradually add the powdered sugar, milk (start with 4 tablespoons and add more as needed for desired consistency), and vanilla extract. Beat until all ingredients are well incorporated and the frosting is smooth and free of lumps. (See note #2 for consistency).
-
Once the cinnamon rolls are finished baking, remove them from the oven and let them cool on the baking sheet for about 3-5 minutes. This is the optimal time to generously frost the rolls while they are still warm (but not hot). Frosting them when warm allows the frosting to melt slightly and seep into all the wonderful nooks and crannies.
These homemade cinnamon rolls are truly best when served warm and eaten on the same day. However, any leftovers can be stored in an airtight container for up to 3 days to maintain their freshness.
Video
Notes
Note #2: Clean Cuts: For perfectly shaped cinnamon rolls with intact edges, I highly recommend using unscented dental floss or a thin piece of thread instead of a knife to cut the dough log.
Note #3: Frosting Consistency: Adjust the milk quantity in the frosting; you may only need 4 tablespoons for a thick, luxurious consistency. The goal is a rich frosting, not a thin glaze.
Note #4: Altitude: This recipe was developed and tested at sea level. Baking at higher altitudes may require slight adjustments to liquid or flour quantities.
Recipe Source: The dough recipe for these amazing homemade cinnamon rolls was adapted from Your Home Based Mom.
Nutrition
Carbohydrates: 101g (34%)
Protein: 8g (16%)
Fat: 13g (20%)
Saturated Fat: 8g (40%)
Cholesterol: 59mg (20%)
Sodium: 428mg (18%)
Potassium: 127mg (4%)
Fiber: 2g (8%)
Sugar: 61g (68%)
Vitamin A: 425IU (9%)
Calcium: 63mg (6%)
Iron: 0.8mg (4%)
Whitney Wright
Breakfast
American
Did you make this recipe?
Please leave a star rating and review on the blog post letting me know how you liked this recipe! Take a picture and tag @saltandbaker on Tik Tok, Instagram, and Facebook so I can see what you’re making!
