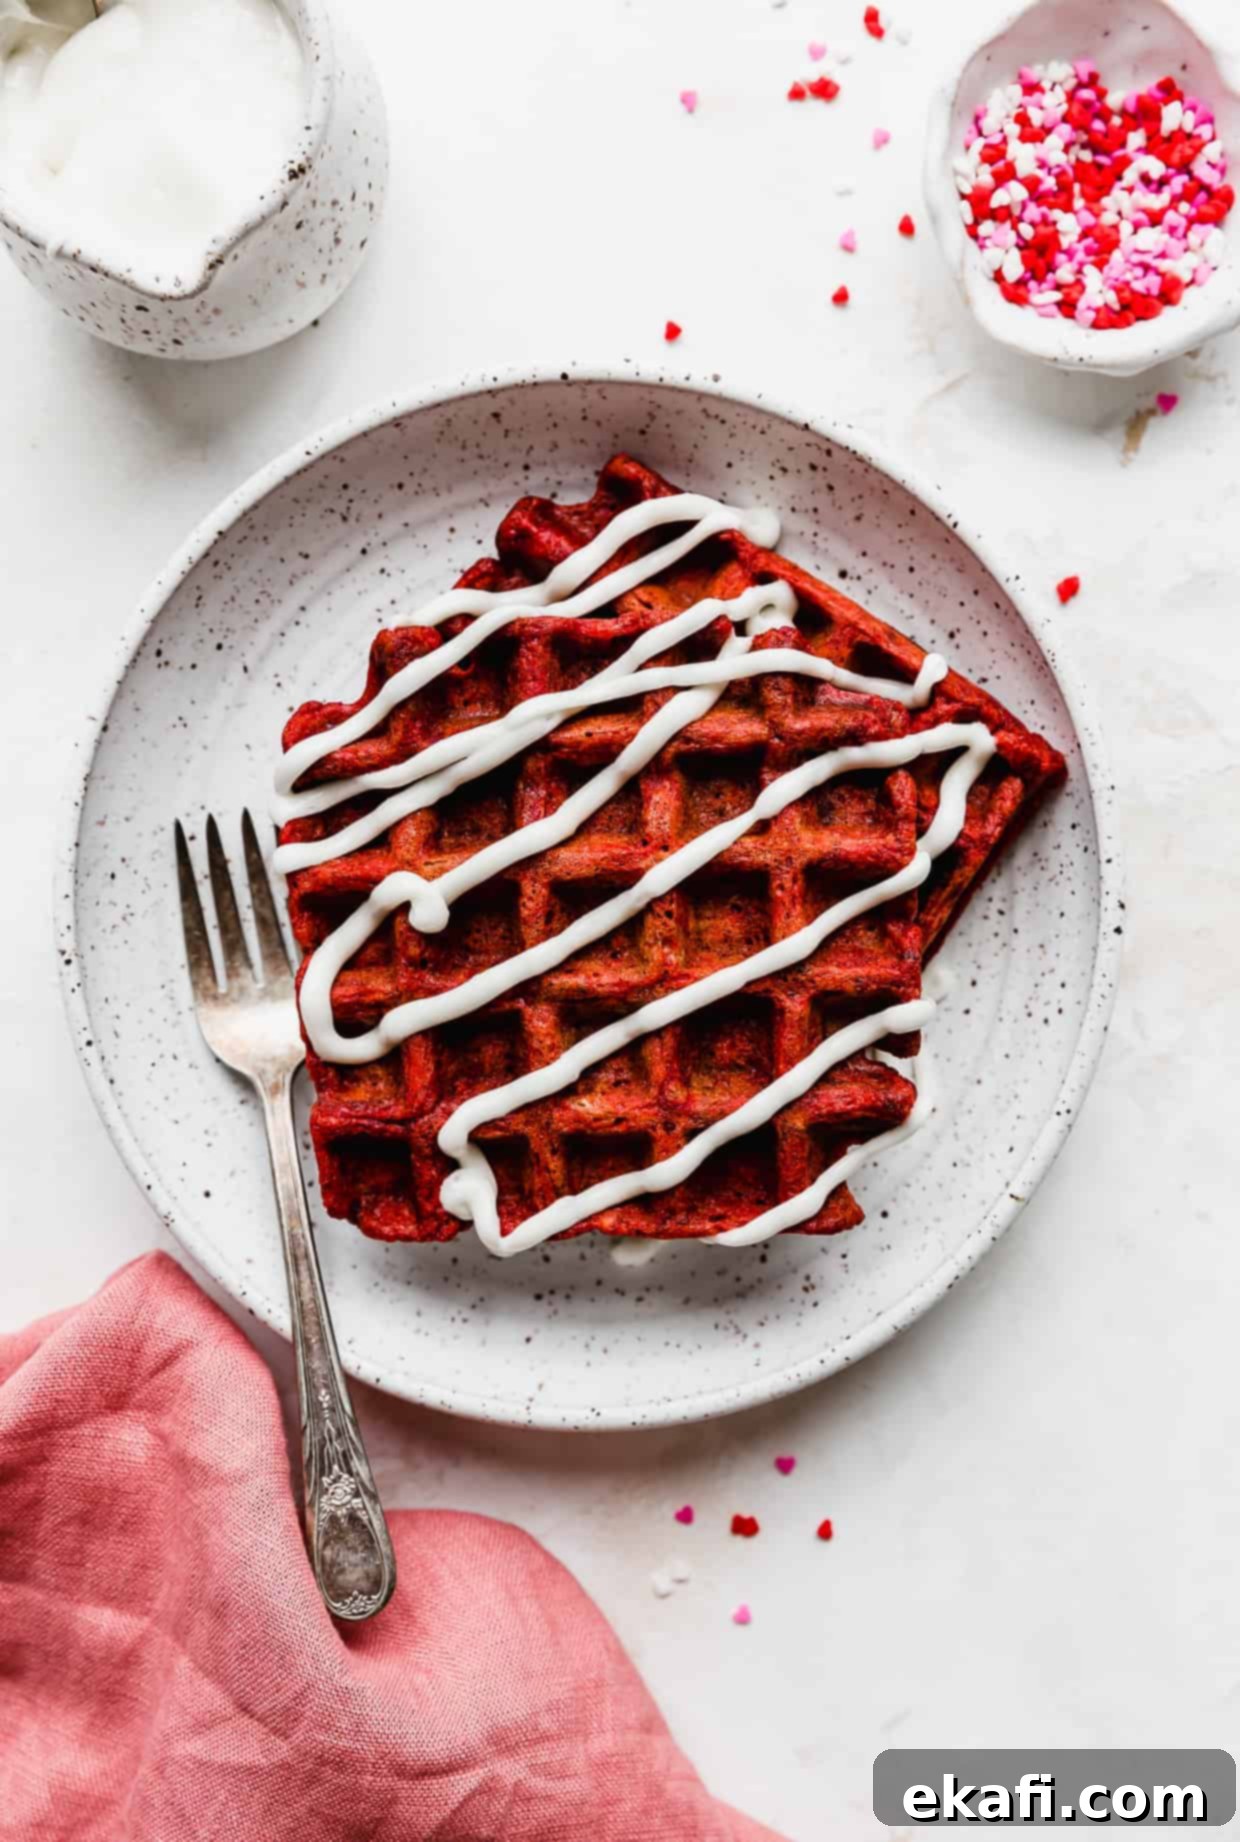
Indulge in Homemade Red Velvet Waffles: The Ultimate Festive Breakfast Treat
Prepare to delight your senses with these utterly irresistible Red Velvet Waffles! More than just a breakfast item, they are a celebration in themselves, perfect for marking special moments or simply elevating an ordinary morning into an extraordinary one. Whether you decide to use a charming heart-shaped waffle iron to lean into their romantic potential or opt for a classic round or square maker, the undeniably festive spirit of these dreamily red-colored, chocolate-flavored waffles shines through. Each bite offers a harmonious blend of rich cocoa, a hint of tang from buttermilk, and a vibrant hue that promises a truly memorable eating experience.
The moment I discovered this heart-shaped waffle iron, I instantly knew I had to share a waffle recipe inspired by the beloved Red Velvet Cake. These heart-shaped delights are the quintessential romantic gesture, whether you’re celebrating Valentine’s Day, your significant other’s birthday, an anniversary, or just making a special breakfast ‘just because.’ Their deep red color and decadent flavor make them suitable for any occasion where a touch of sweetness and charm is desired. If you’re looking to expand your red velvet repertoire for Valentine’s Day desserts or other celebrations, be sure to explore my Red Velvet Donuts, Pink Velvet Cookies, or Red Velvet Cake Mix Cookies for more delightful treats.
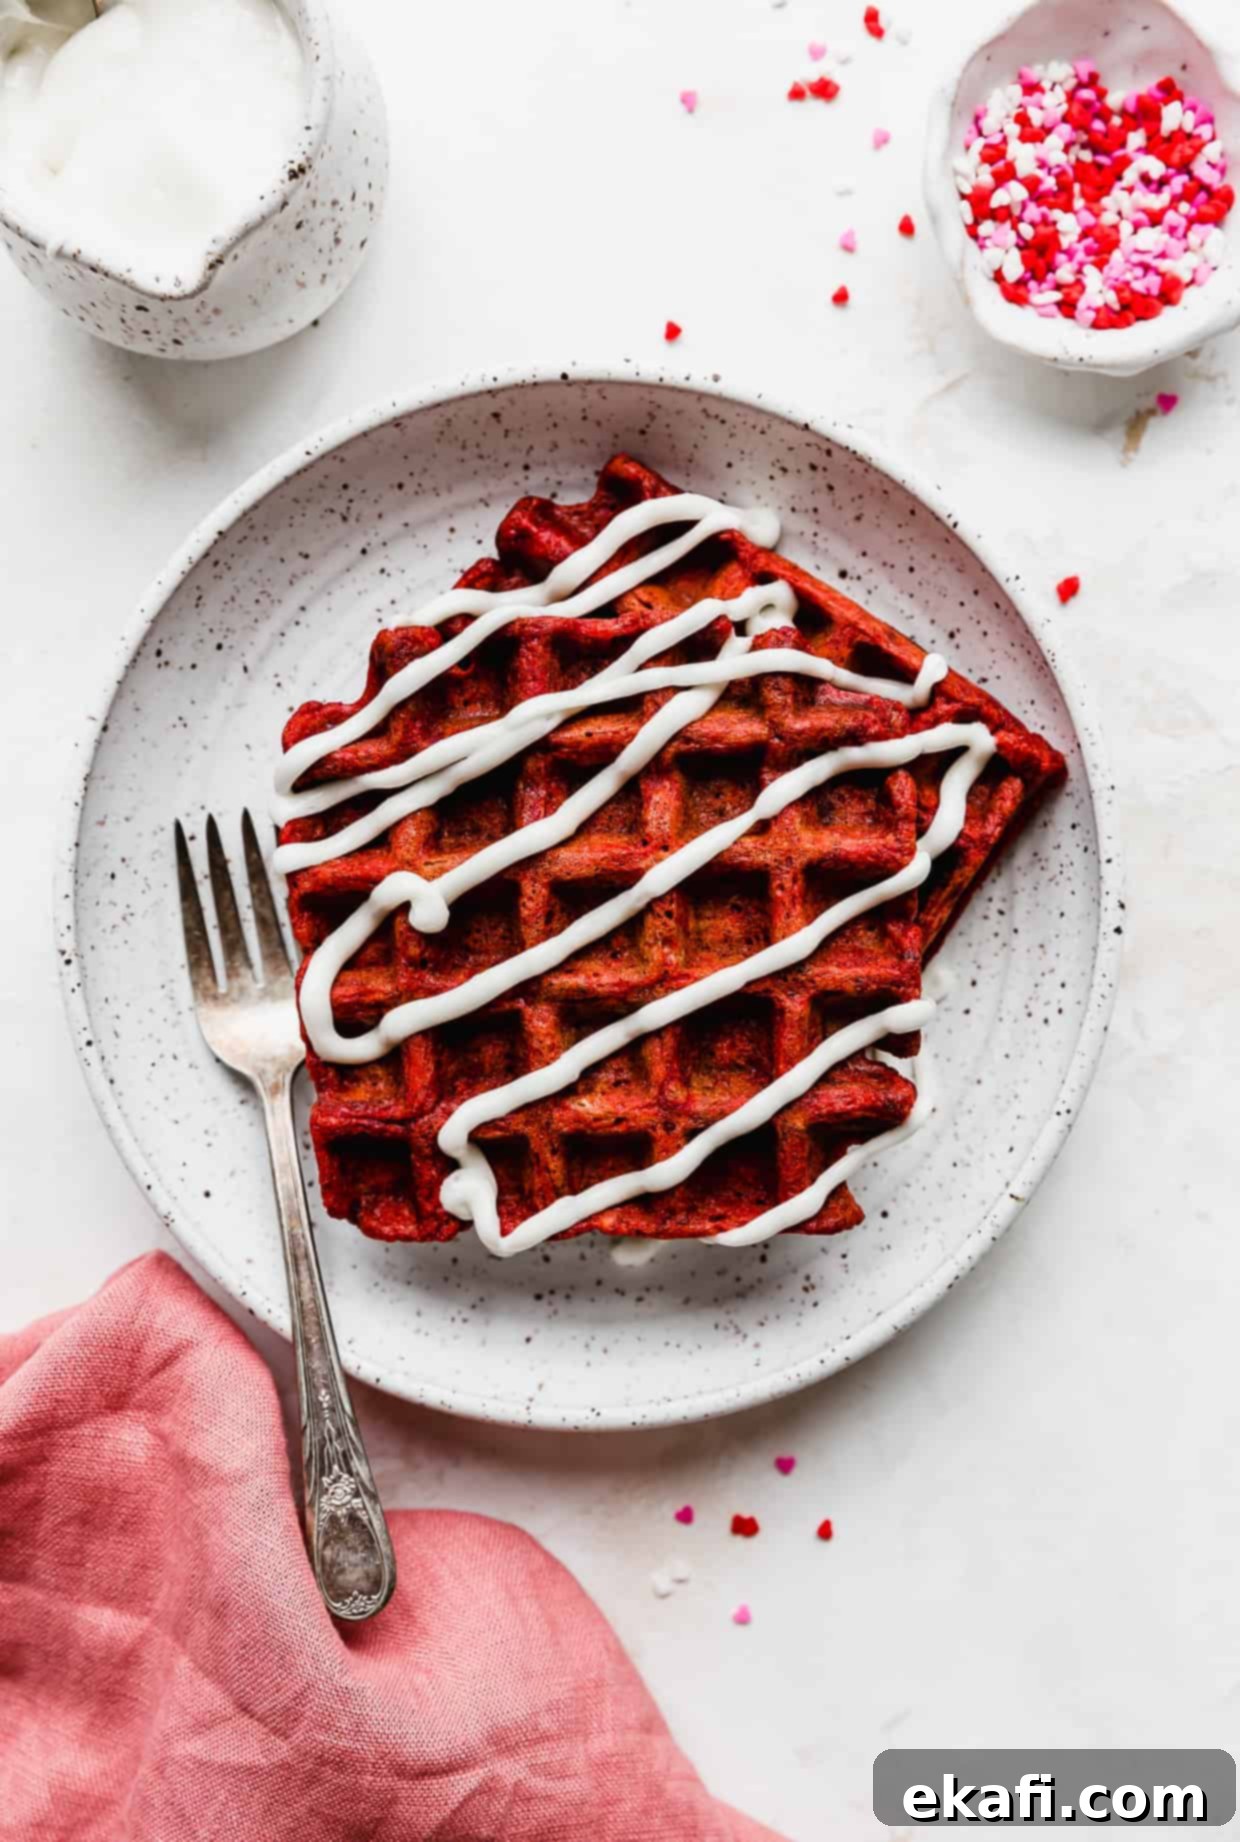
Why This Red Velvet Waffle Recipe is a Must-Try
This red velvet waffle recipe isn’t just another breakfast idea; it’s a carefully crafted indulgence designed to deliver maximum flavor and visual appeal with every batch. Here’s why you’ll fall in love with these vibrant, chocolatey delights:
- The Ultimate Valentine’s Day Waffle Recipe: Nothing quite captures the essence of love and celebration like these red velvet waffles. Their striking color instantly evokes feelings of warmth and romance, making them absolutely perfect for Valentine’s Day breakfast or brunch. But their charm isn’t limited to just one day; they’re equally fantastic for anniversaries, birthdays, or any special morning you wish to make memorable. You don’t even need a heart-shaped waffle iron to achieve a festive look, as their deep red hue is captivating on its own.
- Vibrantly Red and Visually Stunning Waffles: We prioritize achieving that signature, eye-catching red color that red velvet is known for. By using high-quality red gel food coloring, we ensure your waffles boast the most amazing, deep, and consistent red shade without diluting the batter. The visual impact alone makes these waffles a showstopper on any table.
- Rich, Authentic Chocolate Waffles: What truly sets this apart as the best red velvet waffle recipe is its robust chocolate foundation. Unlike recipes that rely solely on cocoa powder, we incorporate *both* unsweetened cocoa powder and real melted bittersweet chocolate. This dual-chocolate approach provides an unparalleled depth of flavor, giving you that authentic, subtly chocolatey, and slightly tangy red velvet taste profile that makes the classic cake so beloved.
- Perfect as Breakfast or a Decadent Dessert: Are these red velvet waffles a breakfast treat or a delightful dessert? The beauty is, they’re both! Their rich flavor and indulgent cream cheese glaze make them fancy enough for an after-dinner sweet, yet light and fluffy enough to kickstart your morning. We encourage you to decide for yourself, but our vote is resoundingly for BOTH – enjoy them whenever a craving strikes!
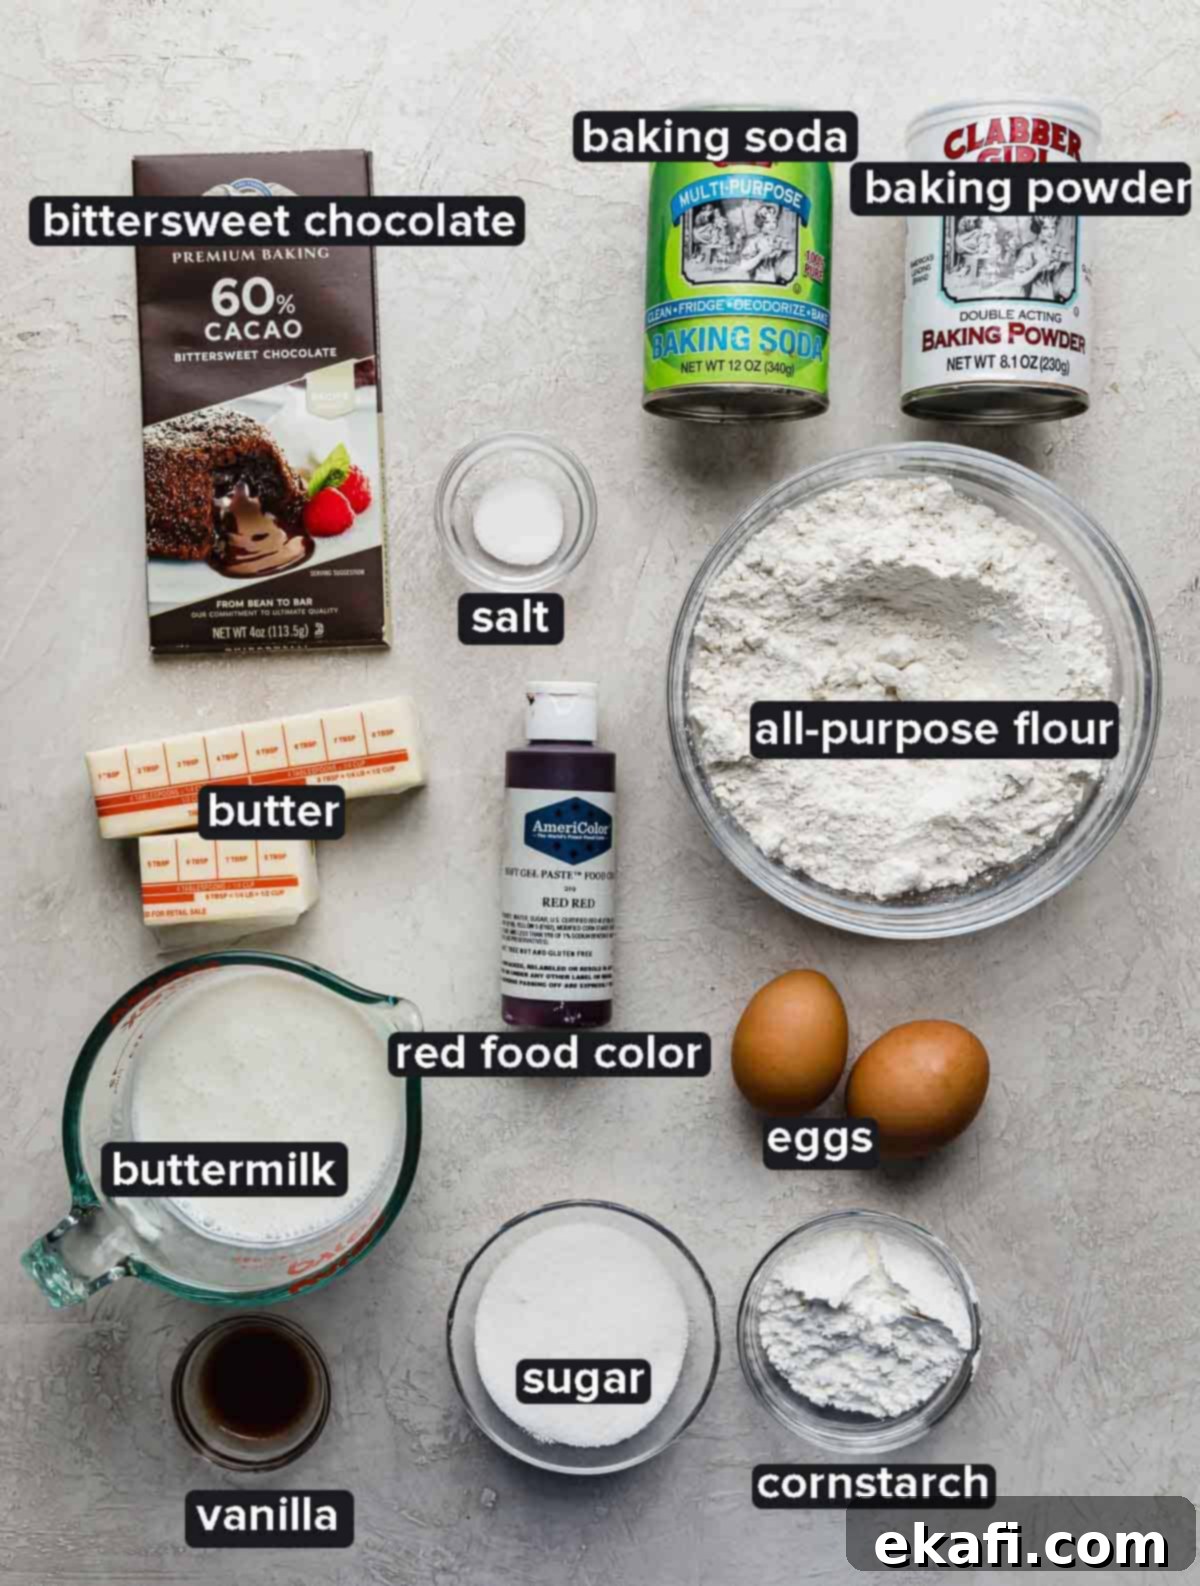
Key Ingredients for Perfect Red Velvet Waffles and Cream Cheese Glaze
Crafting the perfect red velvet waffle requires attention to detail, especially when it comes to ingredients. Each component plays a vital role in achieving that signature flavor, texture, and vibrant color. Here’s a breakdown of the key ingredients and why they’re essential:
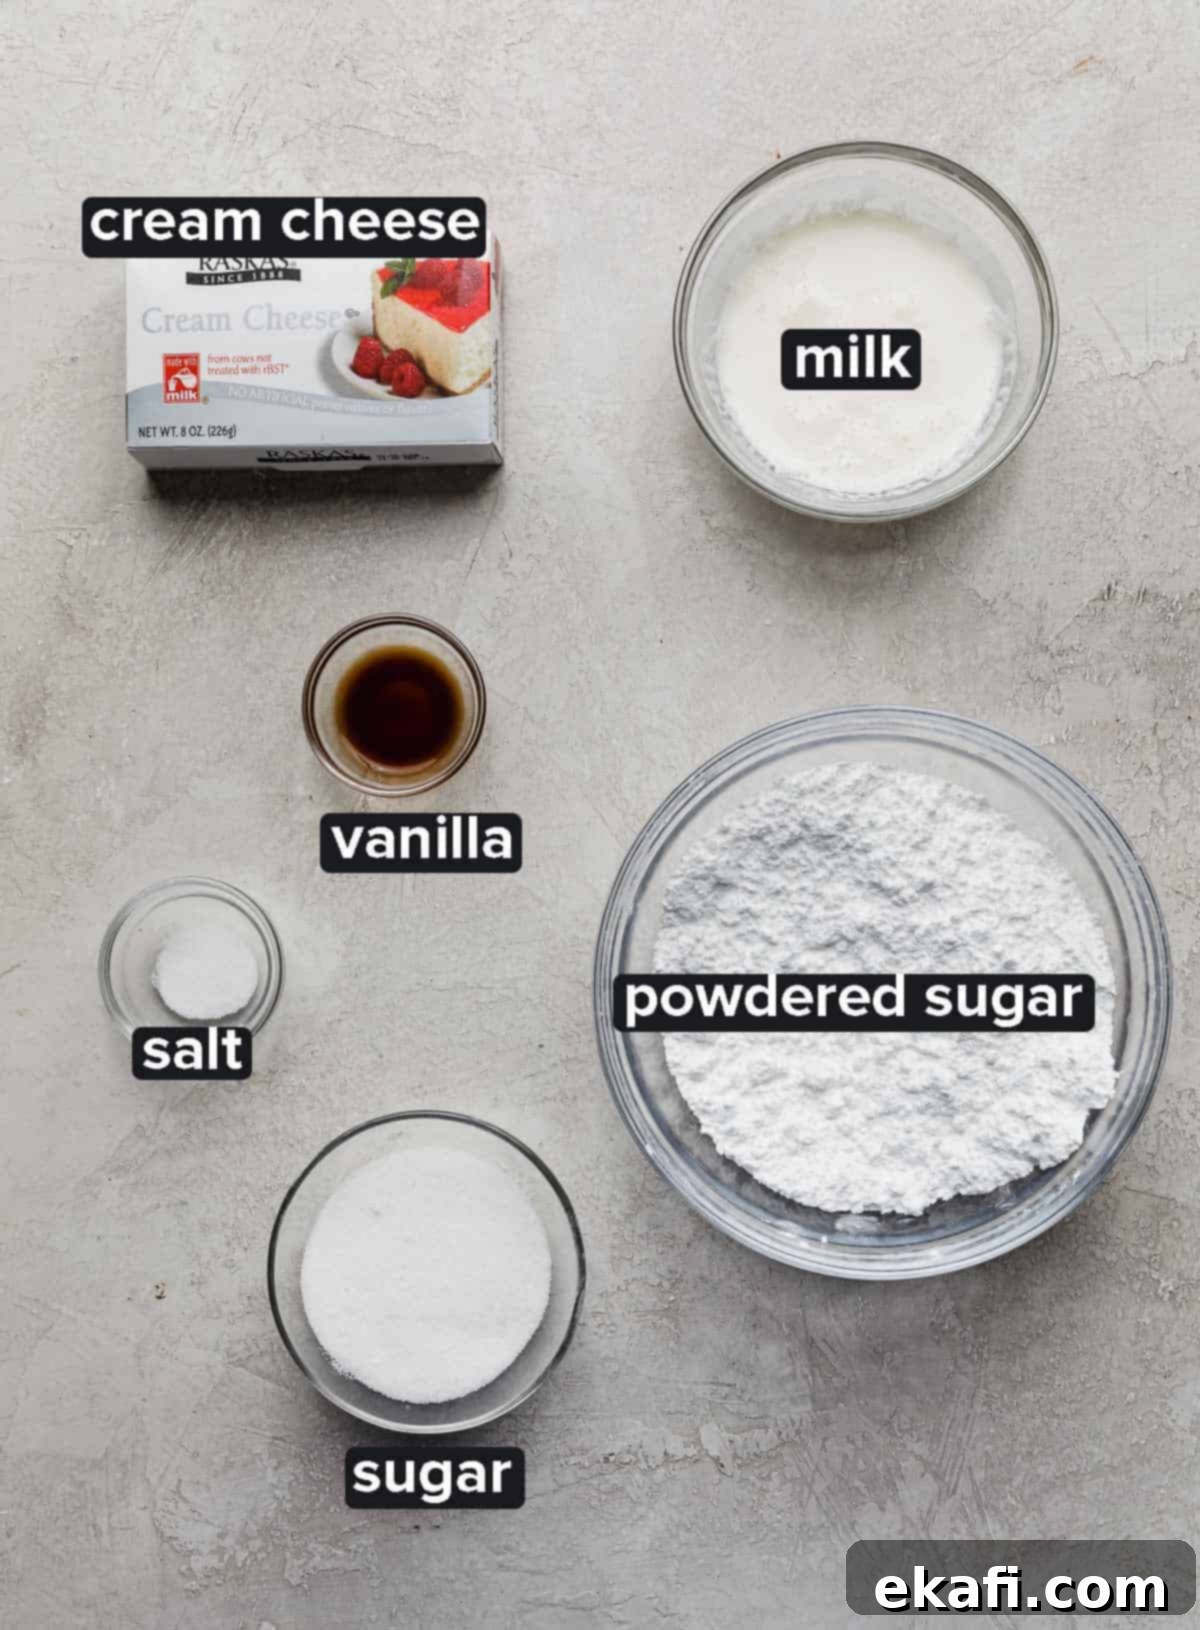
Cream Cheese Glaze Essentials
- Bittersweet Chocolate: This is a crucial ingredient for a truly rich chocolate waffle. Melting real bittersweet chocolate and incorporating it directly into the batter elevates the cocoa flavor far beyond what cocoa powder alone can achieve. It adds depth and a nuanced chocolate profile, which is a hallmark of authentic red velvet.
- All-Purpose Flour: Standard all-purpose flour provides the primary structure for our waffles. It’s a reliable base that, when combined with other ingredients, yields a tender yet sturdy waffle.
- Cornstarch: This is the secret weapon for achieving that coveted crispy exterior and delightfully soft interior in your waffles. Unlike pancakes, waffles benefit greatly from the addition of cornstarch, which creates a lighter, crispier texture as they cook.
- Unsweetened Cocoa Powder: Working in tandem with the melted chocolate, unsweetened cocoa powder reinforces the chocolate notes while contributing to the classic red velvet flavor. Remember, red velvet cake is fundamentally a chocolate cake with a specific flavor profile and vibrant color.
- Eggs (Separated): We use eggs twice in this recipe. The yolks add richness and moisture to the batter, contributing to its tender crumb. The egg whites, whipped separately until frothy, are gently folded into the batter, acting as a natural leavening agent to create incredibly fluffy waffles. This technique ensures a light and airy texture.
- Buttermilk: Essential for the distinct red velvet flavor, buttermilk is an acidic ingredient that not only adds a subtle tang but also reacts with the baking soda to create a light and airy texture. If you don’t have buttermilk, you can easily make your own by adding a tablespoon of lemon juice or white vinegar to regular milk and letting it sit for 5-10 minutes.
- Melted Butter: Butter brings essential flavor and moisture to the waffle batter. Melting it ensures it’s evenly dispersed throughout the mix, preventing dry spots and creating delicious, buttery pockets in every waffle.
- Red Gel Food Coloring: To achieve that traditional, vibrant red hue, gel food coloring is highly recommended. Gel colors are more concentrated than liquid food coloring, meaning you need only a few drops to get a stunning, rich color without altering the consistency of your batter.
- Cream Cheese (for the Glaze): For a smooth, lump-free cream cheese glaze, it’s absolutely vital that your cream cheese is at room temperature. This allows it to whip up easily with other ingredients, creating a silky and delicious topping that perfectly complements the waffles.
Easy Step-by-Step Instructions for Homemade Red Velvet Waffles
Making these decadent red velvet waffles is simpler than you might think. Follow these detailed steps to ensure perfectly cooked, beautifully colored, and utterly delicious waffles every time.
- Melt the Bittersweet Chocolate: Begin by finely chopping your bittersweet chocolate. Place the 1/3 cup of chopped chocolate in a microwave-safe bowl. Heat it in 30-second intervals, stirring thoroughly after each interval to prevent burning. Continue until the chocolate is smooth and fully melted. Set it aside to cool slightly, as hot chocolate can scramble the egg yolks in a later step.
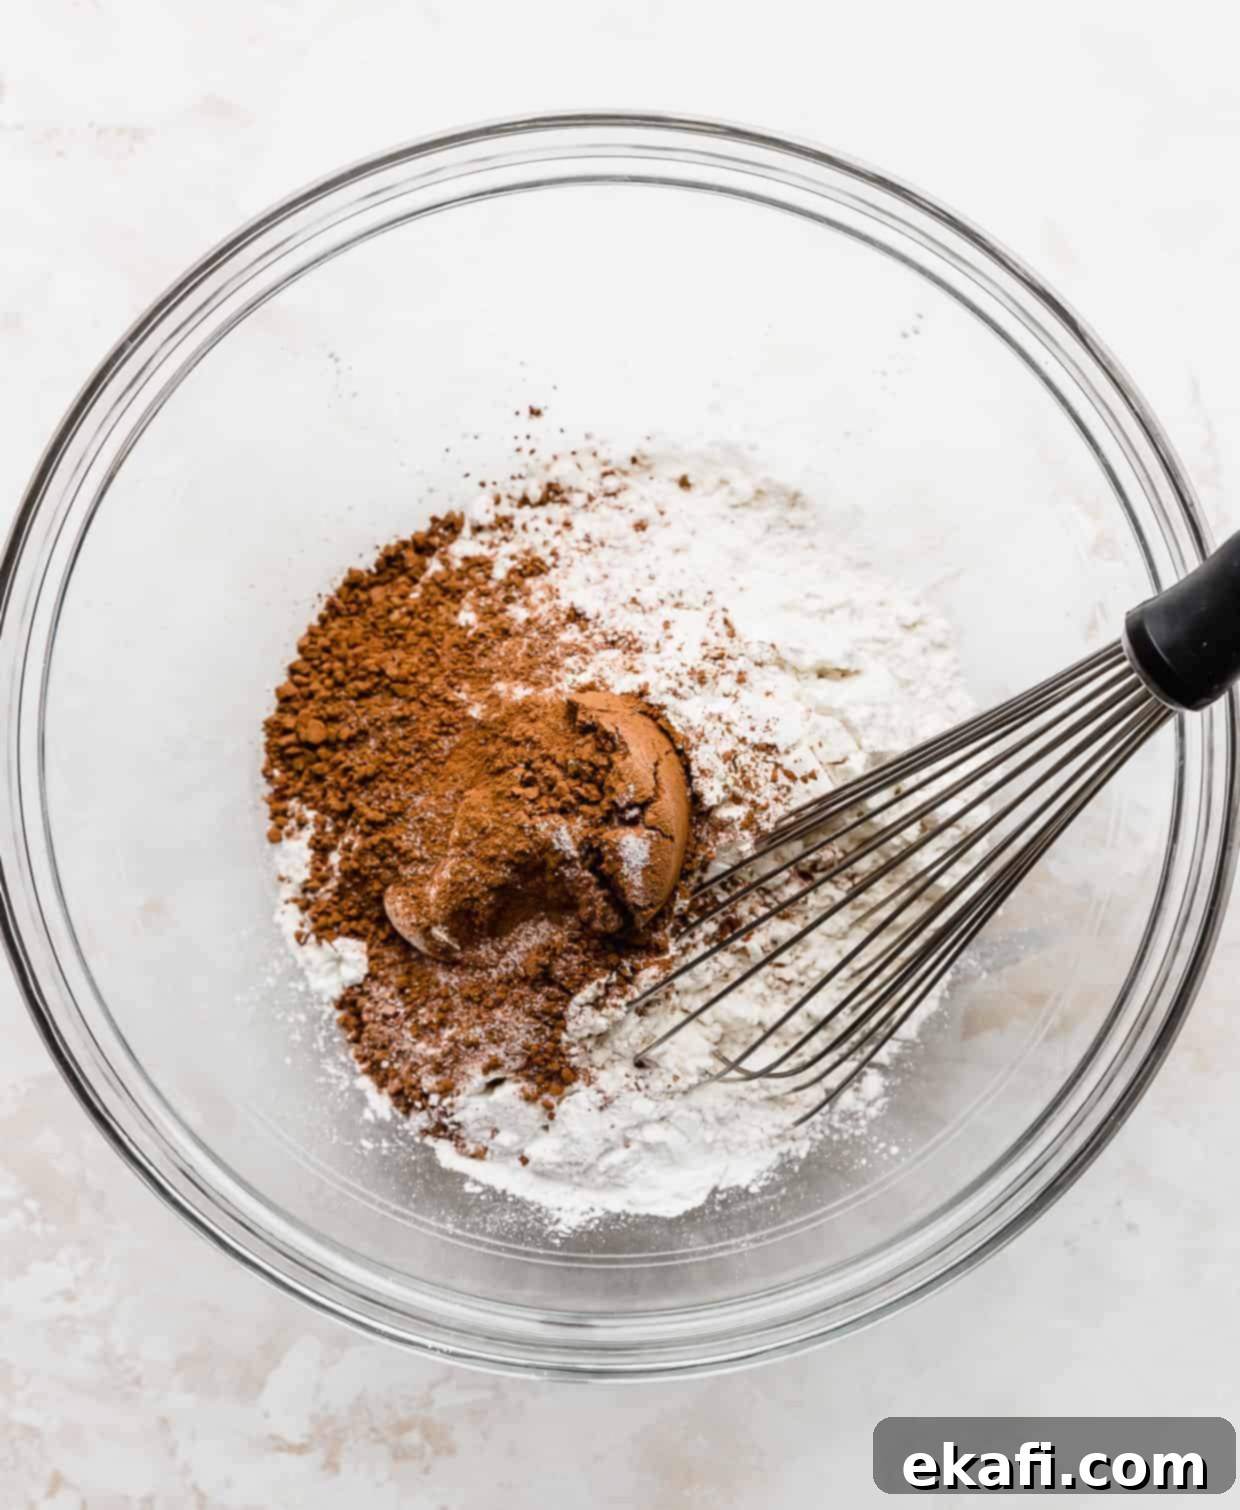
- Combine the Dry Ingredients: In a large mixing bowl, combine 2 cups of all-purpose flour, 1/4 cup of cornstarch (for that essential crispiness!), 1/4 cup of unsweetened cocoa powder, 4 teaspoons of baking powder, 1/4 teaspoon of baking soda, and 3/4 teaspoon of salt. Whisk these dry ingredients together thoroughly until they are uniformly combined, ensuring proper leavening and even flavor distribution.
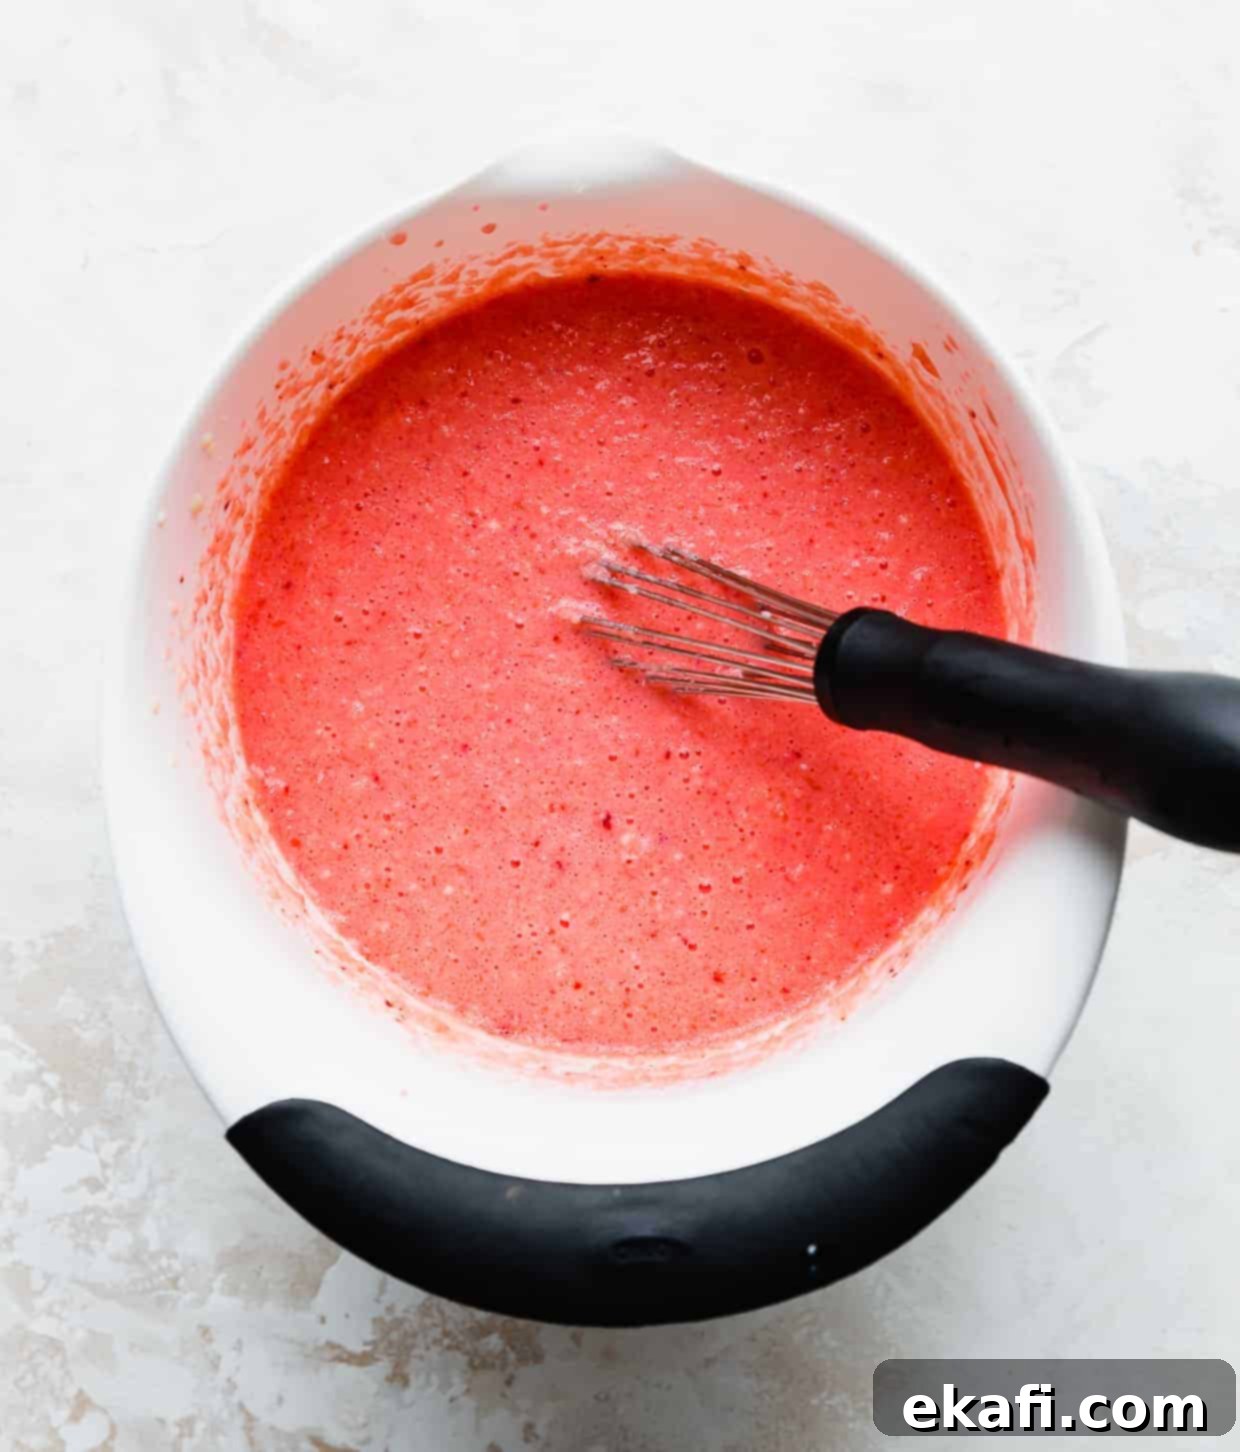
- Prepare the Wet Ingredients Mixture: In a separate medium bowl, whisk together the 2 egg yolks, 2 1/4 cups of buttermilk, 1 teaspoon of vanilla extract, and 12 tablespoons of melted butter. Add a few drops of red gel food coloring until you achieve your desired vibrant red hue. Whisk until all these wet ingredients are thoroughly combined and the color is evenly distributed.
- Incorporate the Melted Chocolate: Once the melted chocolate has cooled slightly (it should be warm but not hot), add it to the bowl with your wet mixture. Whisk everything together until the chocolate is fully incorporated and the mixture is smooth and uniformly red.
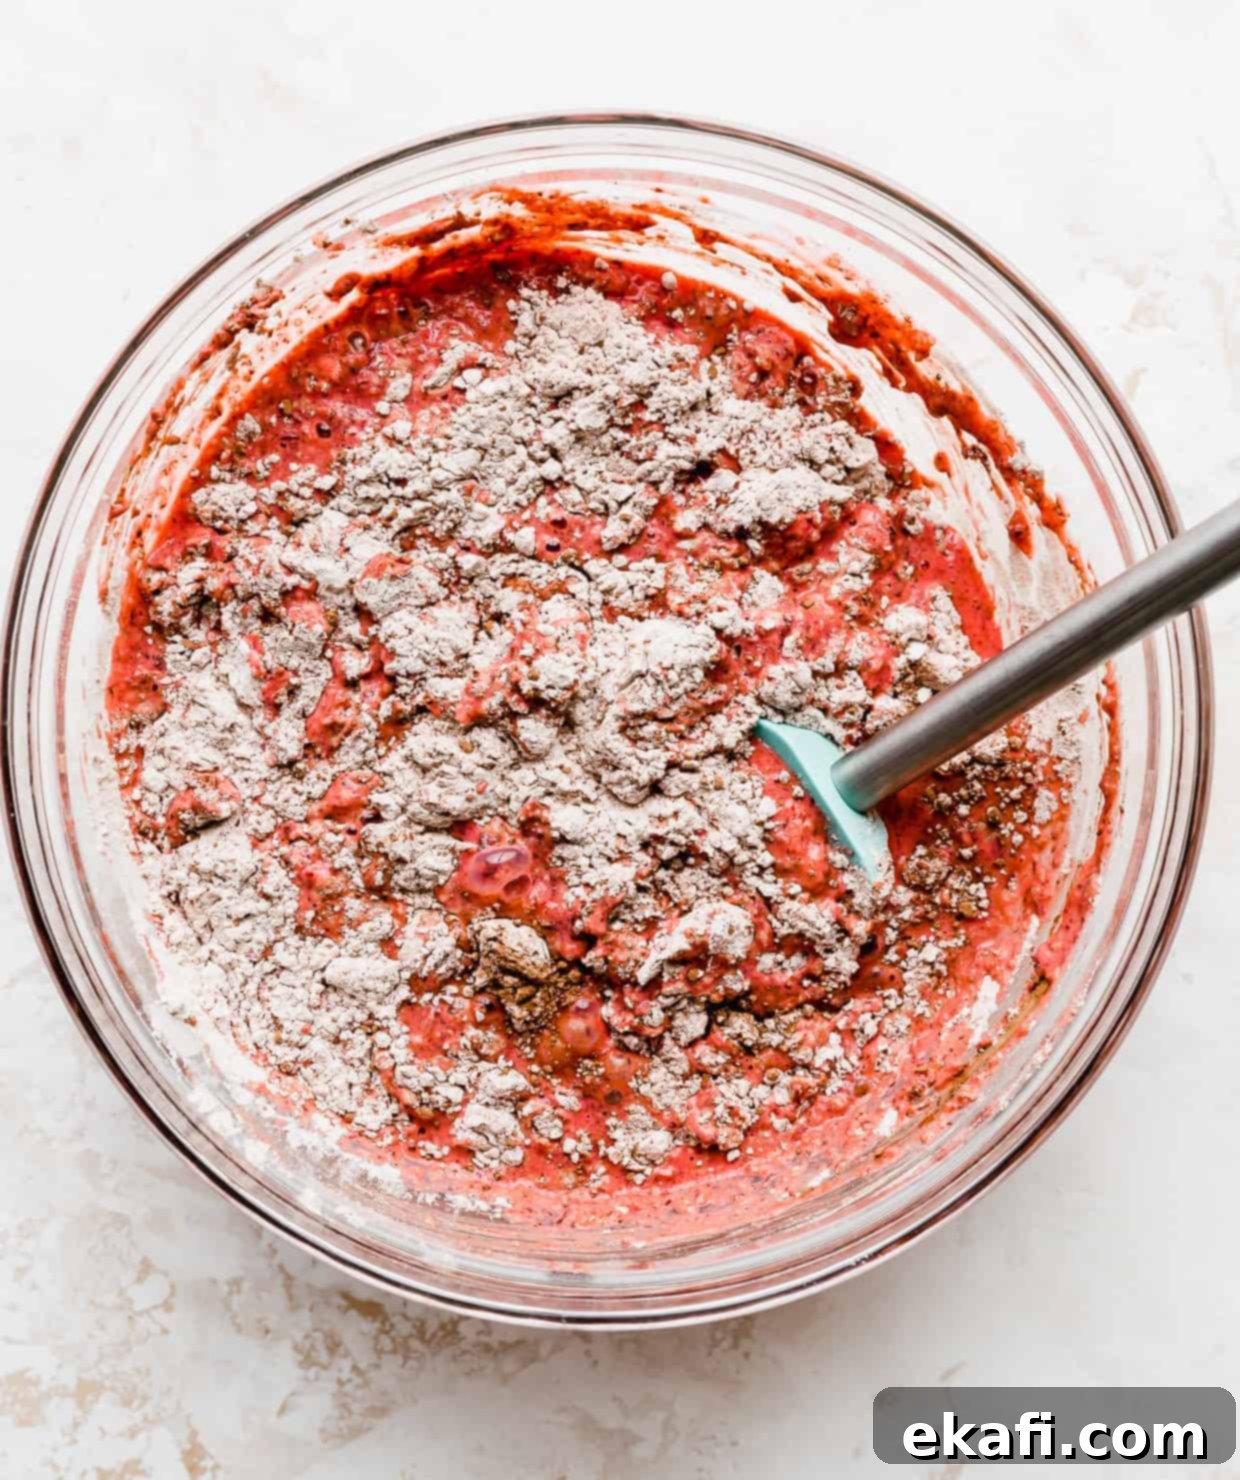
- Combine Wet and Dry Mixtures: Pour the wet ingredients mixture into the bowl containing the dry flour mixture. Stir gently until they are partially combined. It’s important not to overmix at this stage; a few large pockets of flour are perfectly fine and will be handled in the next step. Overmixing can lead to tough waffles.
- Beat the Egg Whites: In a small, clean bowl, add the 2 egg whites. Beat them until they become frothy. Gradually add 1/3 cup of granulated sugar and continue beating until soft peaks form. This means when you lift the beater, the peaks will gently fold over, not stand stiffly. This aerated egg white mixture is key to light and fluffy waffles.
- Gently Fold Egg Whites into Batter: Using a rubber spatula, carefully fold the beaten egg whites into the red velvet waffle batter. Use a gentle, circular motion, bringing batter from the bottom up and over the egg whites. Continue until the egg whites are mostly incorporated and there are no large streaks. The batter will still appear lumpy, which is normal, but ensure there are no significant pockets of dry flour.
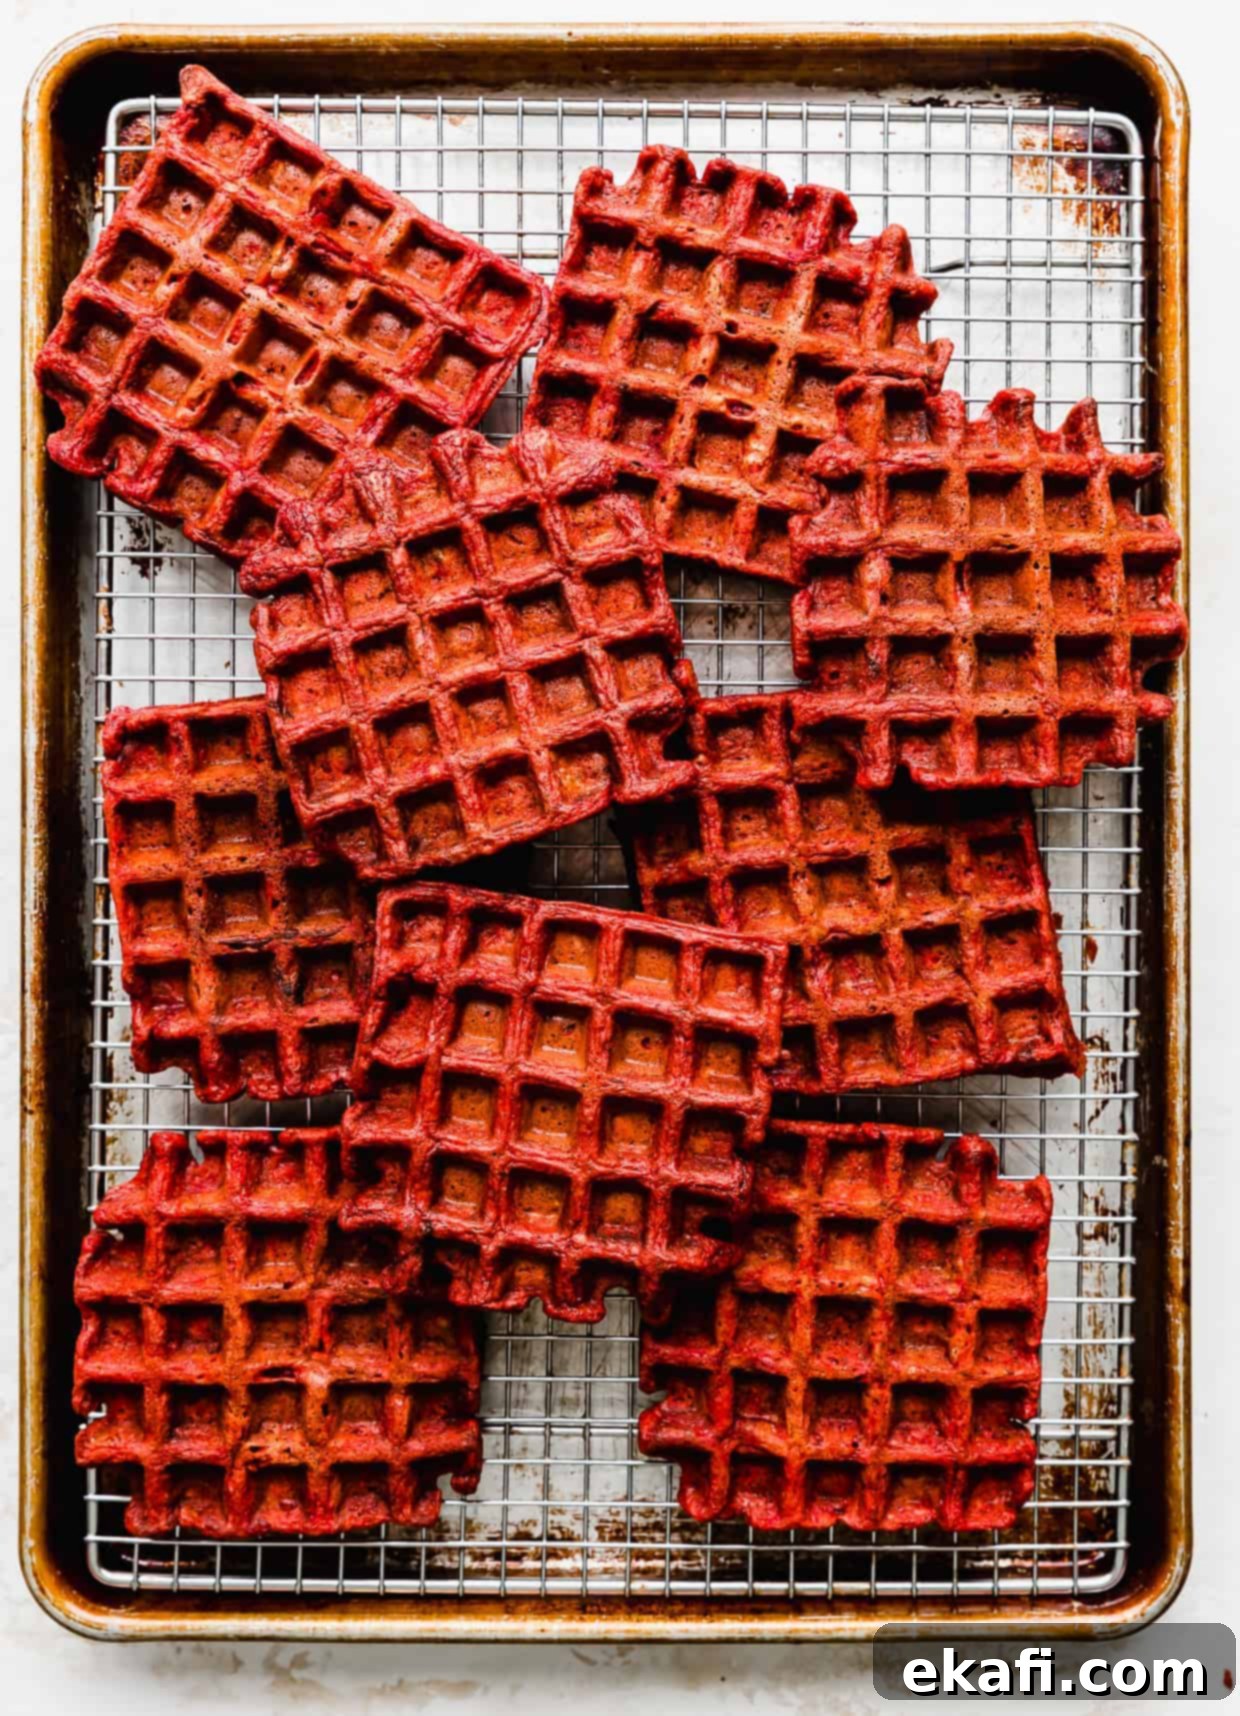
- Cook the Red Velvet Waffles: Preheat your waffle iron according to the manufacturer’s instructions. Ensure it’s properly greased or sprayed with cooking spray if required, to prevent sticking. Pour or scoop the batter onto the hot waffle iron, filling it just enough to cover the grid. Cook until the waffles are golden brown and crispy to your liking. Keep a close eye on them, as the chocolate in the batter can burn easily if cooked for too long or at too high a temperature.
- Prepare and Serve with Cream Cheese Glaze: While your waffles are cooking, prepare the decadent cream cheese glaze. In a medium-sized bowl, place 6 oz of softened cream cheese. Beat it until it’s smooth and creamy. Add 3 tablespoons of milk, 1/2 teaspoon of vanilla extract, and 1 1/2 cups of powdered sugar. Beat again until the glaze is smooth and free of lumps. You can adjust the thickness by adding a little more milk for a thinner glaze or more powdered sugar for a thicker one. Drizzle the luscious glaze generously over your warm red velvet waffles, or serve alongside fresh fruit and whipped cream. Enjoy every delightful bite!
Expert Tips for the Best Red Velvet Waffles
Achieving waffle perfection means paying attention to a few key details. These tips will help you get the most out of your red velvet waffle recipe, ensuring they turn out crispy, fluffy, and perfectly colored every time.
- Natural Food Coloring Alternative: If you prefer to avoid artificial food coloring, you can use red beet powder as a natural alternative. Start with a small amount and gradually add more until you reach your desired shade of red. Keep in mind that the color might be less vibrant than with gel food coloring, and you may need to adjust liquid content slightly.
- Prevent Egg Scrambling: It’s crucial to allow your melted butter and chocolate to cool slightly before adding them to the wet ingredients. If they are too hot, they can cook the egg yolks, leading to an undesirable texture in your batter. Aim for warm, not hot.
- Time-Saving Glaze Hack: In a pinch, you can absolutely use a store-bought cream cheese frosting. To make it drizzle-friendly, microwave it for just a few seconds until it softens to a pourable consistency. Transfer it to a piping bag (or a ziplock bag with a corner snipped off) and artfully drizzle it over your warm waffles.
- Savory Pairings: Feeling adventurous? Transform your red velvet waffles into a sensational savory-sweet meal by pairing them with fried chicken! While the cream cheese glaze is heavenly for dessert, you might want to switch to a classic maple syrup for this unique combination. The interplay of sweet waffles and savory chicken is surprisingly delicious.
- Watch for Burning: The chocolate content in red velvet waffles means they can burn more easily than plain waffles. Always keep a close eye on your waffle iron. If your appliance has adjustable heat settings, avoid using the highest setting. If not, be vigilant about cooking times to prevent overcooking and scorching the chocolate.
- The Test Waffle Method: Every waffle iron is different! I highly recommend making one “test waffle” first. Pay close attention to how long it takes to reach your preferred level of crispness and doneness. This initial trial will serve as a reliable guide for cooking the rest of your batch, ensuring consistent results.
- Gel vs. Liquid Food Coloring: For the most vibrant and true red velvet color, a red gel food coloring is superior. It’s highly concentrated, meaning you need only a few drops to achieve a rich, deep red without affecting the batter’s consistency. Liquid food coloring, being less concentrated, may require several teaspoons, and this extra liquid can thin out your batter, potentially impacting the waffle’s texture.
- Crafting Heart-Shaped Waffles: To create charming heart-shaped waffles, you have a couple of options:
- Invest in a Heart-Shaped Waffle Iron: A heart-shaped waffle iron is incredibly cute and perfect for special occasions. However, be aware that many novelty irons can be smaller and heat up very quickly. You might find yourself making smaller batches or switching to a larger iron after a few for practicality.
- Use a Cookie Cutter: For an easier alternative, cook your red velvet waffles in a standard waffle iron, then use a heart-shaped cookie cutter to cut out festive shapes once they’ve cooled slightly.
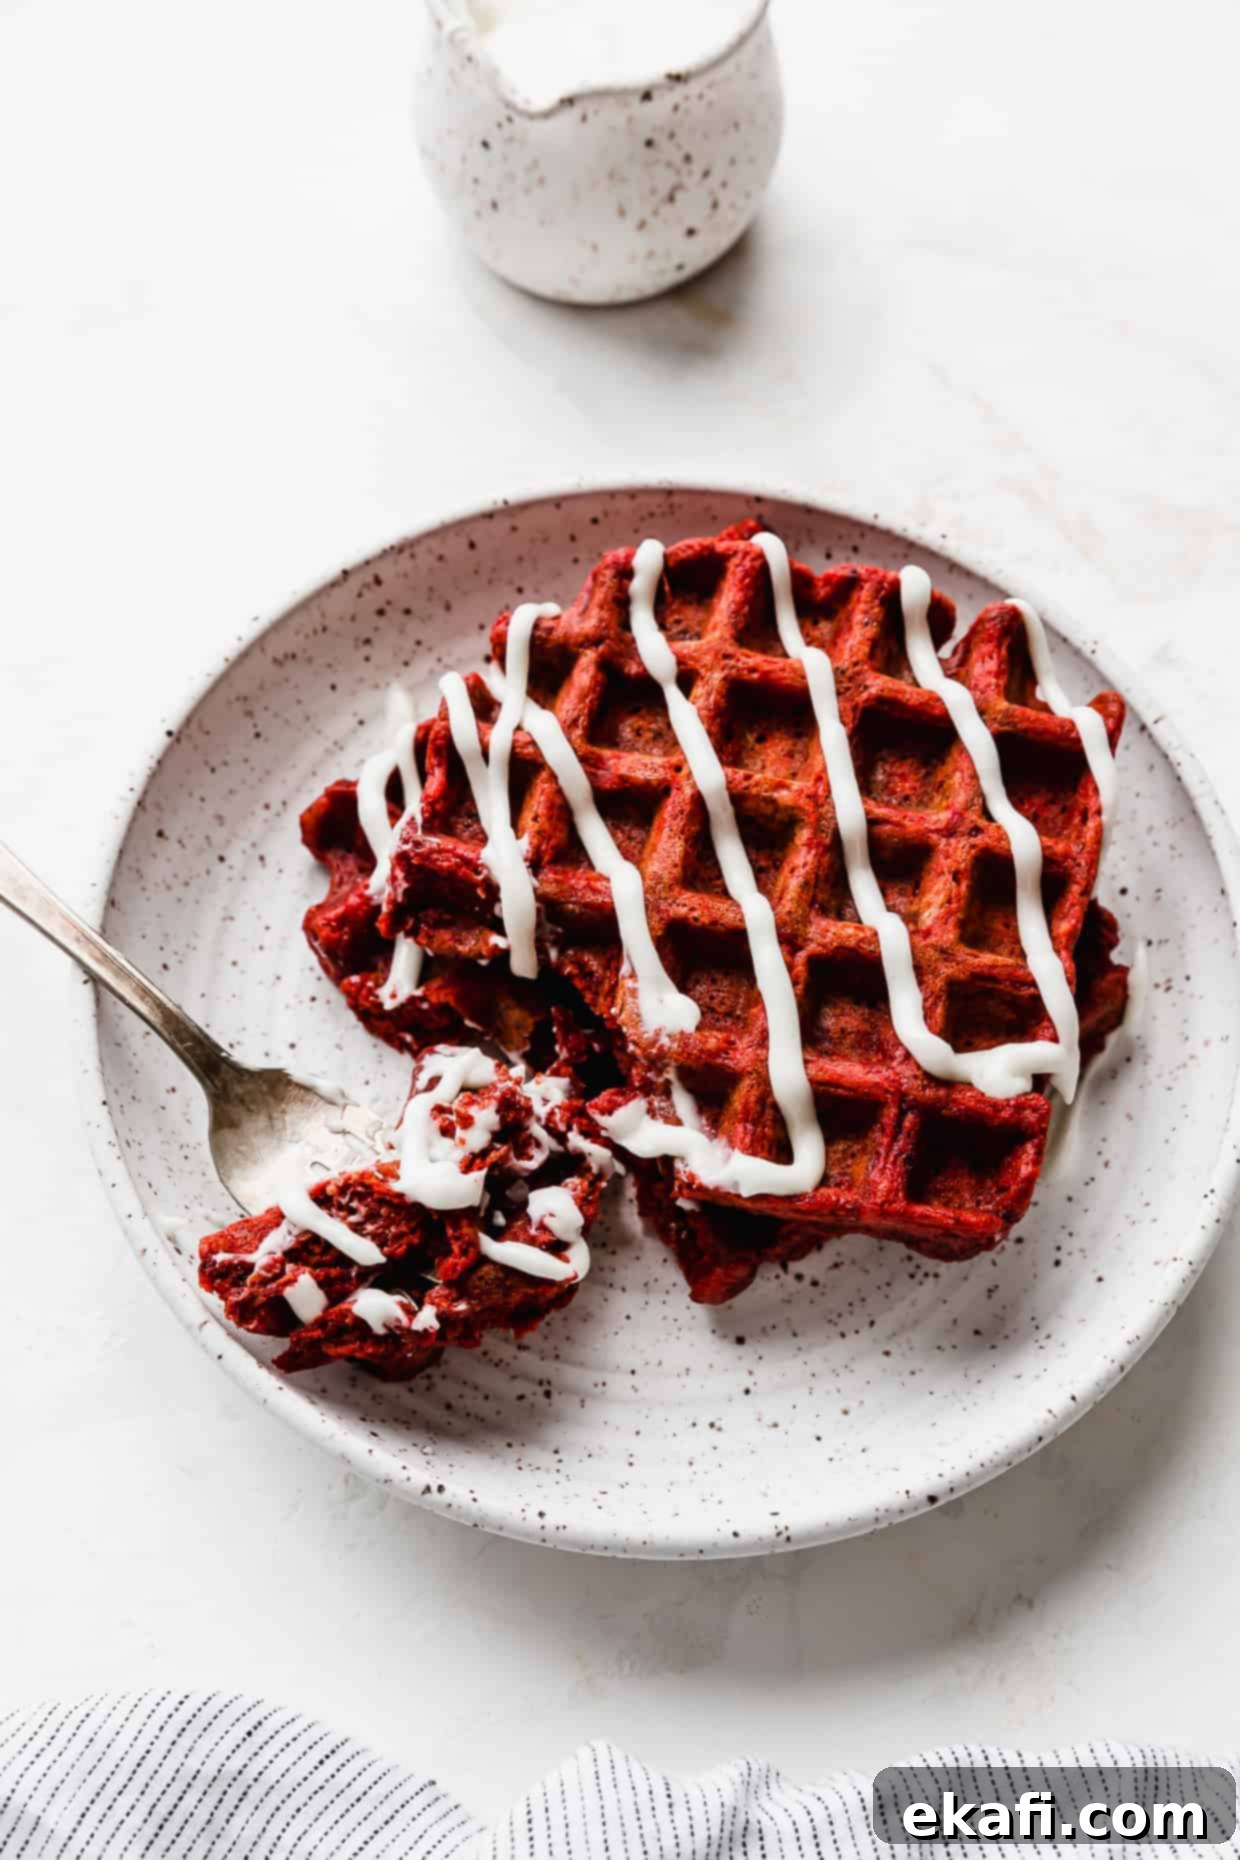
- Achieving a Beautiful Glaze Drizzle: To get those elegant, professional-looking squiggles of cream cheese glaze, simply transfer your prepared glaze into a ziplock bag. Snip off a tiny corner of the bag, and then gently squeeze to drizzle the glaze over your waffles. This technique offers much more control than spooning. You can also serve these delightful waffles with classic maple syrup or a dusting of powdered sugar for varied presentation.
- Alternative Syrups for a Unique Twist: If you’re not a fan of the traditional cream cheese frosting or feel that maple syrup isn’t the right complement to chocolate, consider exploring gourmet buttermilk syrups. I highly recommend the delicious flavored syrups available at buttercountry.com. Use code SB10 for a 10% discount on your order!
- Extra Festive Toppings: For an added Valentine’s touch, sprinkle your finished waffles with red Valentine sprinkles. You can also mix in some mini chocolate chips directly into the batter just before pouring it onto the waffle iron for an extra burst of chocolatey goodness.

Make-Ahead, Storing, and Freezing Your Red Velvet Waffles
While fresh-from-the-iron waffles are unbeatable, these red velvet beauties can absolutely be enjoyed later with proper storage. Here’s how to manage your delicious leftovers or prep ahead for convenience:
- Make-Ahead Preparation: It’s generally best not to prepare the waffle batter too far in advance, as the leavening agents start working once mixed with liquids. However, to save time on the day you plan to cook, you can combine all the dry ingredients (flour, cornstarch, cocoa powder, baking powder, baking soda, and salt) a day or two in advance. Store them in an airtight container at room temperature, then simply add the wet ingredients when you’re ready to cook.
- Storing Leftovers: Any leftover red velvet waffles can be stored in an airtight container or a heavy-duty ziplock bag in the refrigerator for up to 4-5 days. Make sure they are completely cooled before storing to prevent condensation, which can make them soggy.
- Freezing for Longer Enjoyment: To freeze your waffles, first allow them to cool completely on a wire rack. Once cooled, place them in a single layer on a baking sheet and freeze for about 30 minutes until solid. This prevents them from sticking together. Then, transfer the frozen waffles to a freezer-safe ziplock bag or airtight container. They can be frozen for up to 3 months. When you’re ready to enjoy them, simply remove them from the freezer and reheat in a toaster, toaster oven, or even a preheated regular oven until crispy and warmed through. This method brings them back to life with a fantastic crispness!
Frequently Asked Questions About Red Velvet Waffles
Got questions about making the best red velvet waffles? We’ve got answers! Here are some common queries to help you master this festive recipe.
Red velvet is a unique and delightful flavor profile, a masterful combination of vanilla, chocolate, butter, and the distinctive tang of buttermilk. In this homemade recipe, we steer clear of cake mixes and instead use finely chopped bittersweet chocolate alongside cocoa powder. This enhances the rich chocolate flavor, which is then beautifully balanced by the slight acidity of buttermilk, creating that characteristic red velvet taste that is both deep and subtly complex, rather than overtly sweet or purely chocolatey.
Red velvet refers to a popular and iconic culinary style characterized by its rich, vibrant red (or sometimes reddish-brown) color and its distinct flavor profile, which marries notes of cocoa with a slight tang, often from buttermilk. While its exact origins are debated, some theories suggest it began with early 20th-century bakers using natural cocoa powder, which reacted with acidic ingredients to create a reddish hue. Today, it’s achieved with food coloring and is a beloved choice for cookies, cakes, cupcakes, and, of course, these irresistible waffles! It’s a flavor that evokes a sense of indulgence and elegance.
The cooking time for red velvet waffles can vary quite a bit, primarily depending on your specific waffle maker and how crispy you prefer your waffles. A crucial point to remember is that the chocolate in the batter can burn easily. If your waffle iron allows for heat adjustment, opt for a medium-to-medium-low setting to prevent scorching. If it doesn’t have adjustable heat, be extra diligent and don’t leave the waffles in for extended periods. A great tip is to make one “test waffle” first; note the cooking time and the texture you achieve, then use that as your personal guide for the rest of the batch to ensure consistent, perfectly cooked results.
While you technically can substitute chocolate chips for bittersweet chocolate, be aware that it will impact the final flavor. Regular chocolate chips (milk or semi-sweet) typically contain more sugar and less intense cocoa solids compared to bittersweet chocolate. This means your red velvet waffles might not have the same depth of rich chocolate flavor that is characteristic of authentic red velvet. For the best, most robust chocolate taste, bittersweet chocolate is highly recommended.
Absolutely! Whipped cream is a fantastic topping for these red velvet waffles, adding a light and airy contrast to their richness. For an even more decadent and complementary option, I highly recommend serving them with my delicious Cream Cheese Whipped Cream Frosting. It combines the lightness of whipped cream with the tangy sweetness of cream cheese, perfectly echoing the red velvet theme.
No buttermilk? No problem! You can easily make a homemade substitute. Simply pour 2 1/4 cups of regular milk (dairy or non-dairy) into a liquid measuring cup, then add 2 tablespoons of white vinegar or lemon juice. Stir gently and let it sit for 5-10 minutes. The milk will curdle slightly, indicating it’s ready to use as a buttermilk replacement. This acidic mixture will react with the baking soda to give your waffles the necessary lift and tender texture.
More Valentine’s Day & Red Velvet Inspired Recipes
Looking for more ways to celebrate love or just enjoy the delightful flavors of red velvet? Check out these other fantastic recipes:
- Red Velvet Macarons
- Homemade Red Velvet Cake
- Red Velvet Popcorn
- Valentine’s Day M&M Rice Krispie Treats
- Oreo Red Velvet Cake
Did you make this recipe? We’d love to hear your thoughts and see your creations! Leave a star rating and review below or scroll to the recipe card and share your experience there.
Stay up-to-date with all our latest recipes and baking tips by following us on Instagram, TikTok, YouTube, Facebook, and Pinterest.

Print
SaveSaved!
Review
Red Velvet Waffles
Ingredients
- 1/3 cup bittersweet chocolate – finely chopped, about 2 oz
- 1/4 cup unsweetened cocoa powder
- 2 cups all purpose flour
- 1/4 cup cornstarch
- 1/4 teaspoon baking soda
- 4 teaspoons baking powder
- 3/4 teaspoon salt
- 1/3 cup granulated sugar
- 2 eggs – separated
- 2 1/4 cups buttermilk
- 1 teaspoon vanilla extract
- 12 tablespoons unsalted butter – melted
- gel red food coloring
Cream Cheese Glaze
- 6 oz cream cheese – softened
- 3 tablespoons milk
- 1/2 teaspoon vanilla extract
- 1 1/2 cups powdered sugar
Equipment
-
my favorite waffle iron
-
OXO mixing bowl set
-
whisk
-
affordable waffle iron
-
gel red food coloring
Instructions
-
In a microwave safe bowl melt the chocolate in the microwave in 30 second intervals, stirring well after each interval. Let cool slightly.
-
In a large bowl whisk the flour, cornstarch, cocoa powder, baking powder, baking soda, and salt.
-
In a medium bowl whisk the egg yolks, buttermilk, vanilla, butter, and a few drops of gel red food coloring. Add the melted chocolate and whisk until smooth. Add this to the dry ingredients and mix until partially combined.
-
In a small bowl beat the egg whites until frothy, then add the sugar and beat until soft peaks form. Fold the egg white mixture into the batter until combined. Batter will be lumpy but you don’t want large pockets of flour.
-
Heat waffle iron. Cook waffles until your desired doneness. Be careful not to cook for too long as the chocolate can burn in the waffles. Place in a 200 degree oven to keep warm and to crisp them up even more.
-
Serve with syrup or a cream cheese glaze. I suggest the cream cheese glaze if you want the full “red velvet” effect.
Cream Cheese Glaze
-
Place cream cheese in medium sized bowl. Beat cream cheese until smooth. Add milk, vanilla and powdered sugar and beat until smooth. Add more milk or powdered sugar to make it your desired thickness.
-
Drizzle the glaze over the waffles when ready to eat. To get the nice squiggles you see in the picture, I placed the glaze in a ziplock bag and snipped off the end then squeezed it overtop for the prettier look. You can also serve these with syrup and/or sprinkled powdered sugar.
Notes
Nutrition
Recipe adapted from Spruce Eats.
