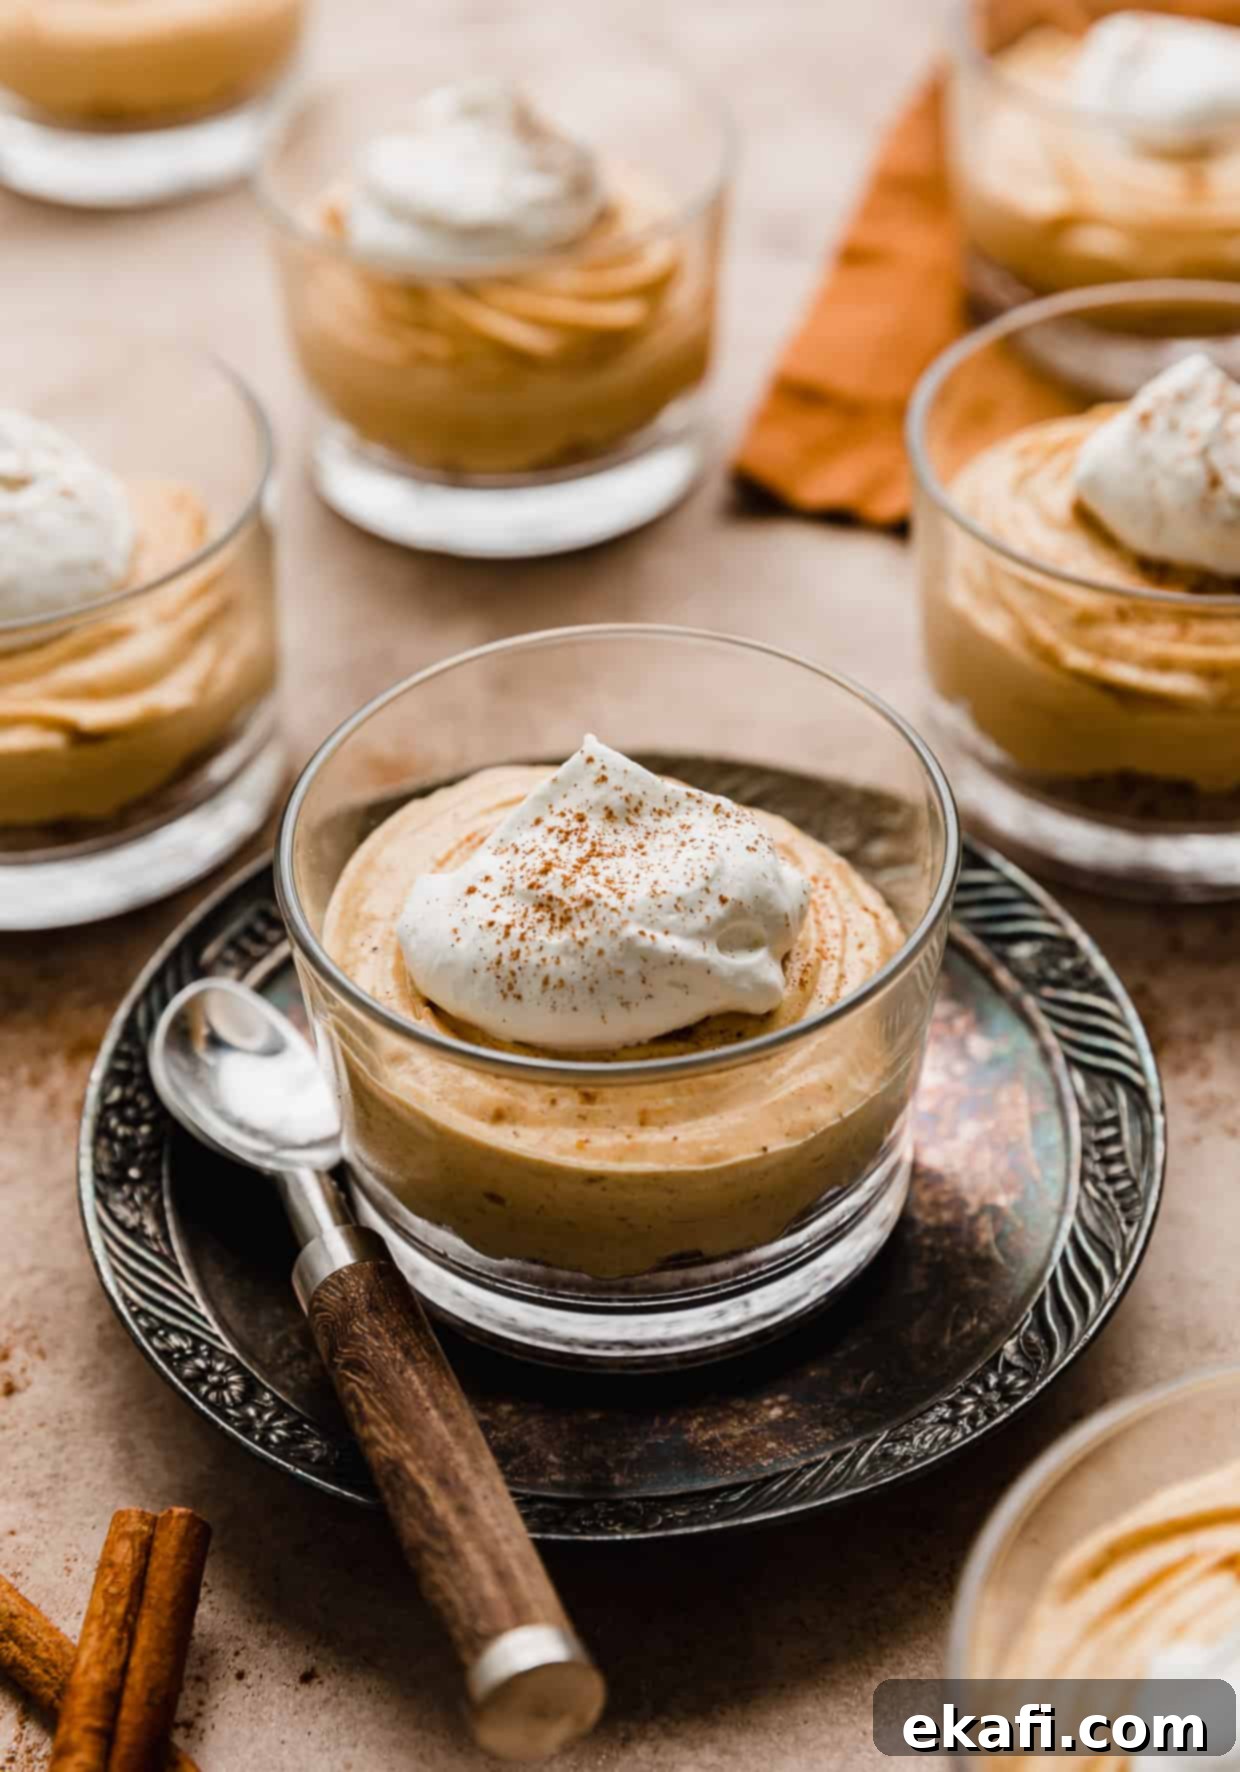
Easy No-Bake Mini Pumpkin Cheesecakes: Your Perfect Fall & Thanksgiving Dessert
Get ready to embrace the flavors of autumn with these unbelievably delicious No-Bake Mini Pumpkin Cheesecakes! Each delightful serving boasts a sweet, buttery graham cracker crumble base, perfectly complemented by a light, airy, and luxuriously smooth pumpkin spice cream cheese filling. This recipe is a true fall and pumpkin season sensation, offering all the festive flavor without ever needing to turn on your oven.
When it comes to holiday desserts, especially during Thanksgiving, pies often steal the spotlight. While we adore classic options like Thanksgiving Pies, including our beloved Praline Pumpkin Pie, decadent French Silk Pie, and traditional Southern Pecan Pie Recipe, sometimes a different kind of treat is in order. These mini cheesecakes are a fantastic alternative, ideal for those who prefer individual portions or simply aren’t keen on traditional pumpkin pie. Their elegant presentation makes them perfect for any gathering, and the no-bake aspect is a huge time-saver during busy holiday preparations.
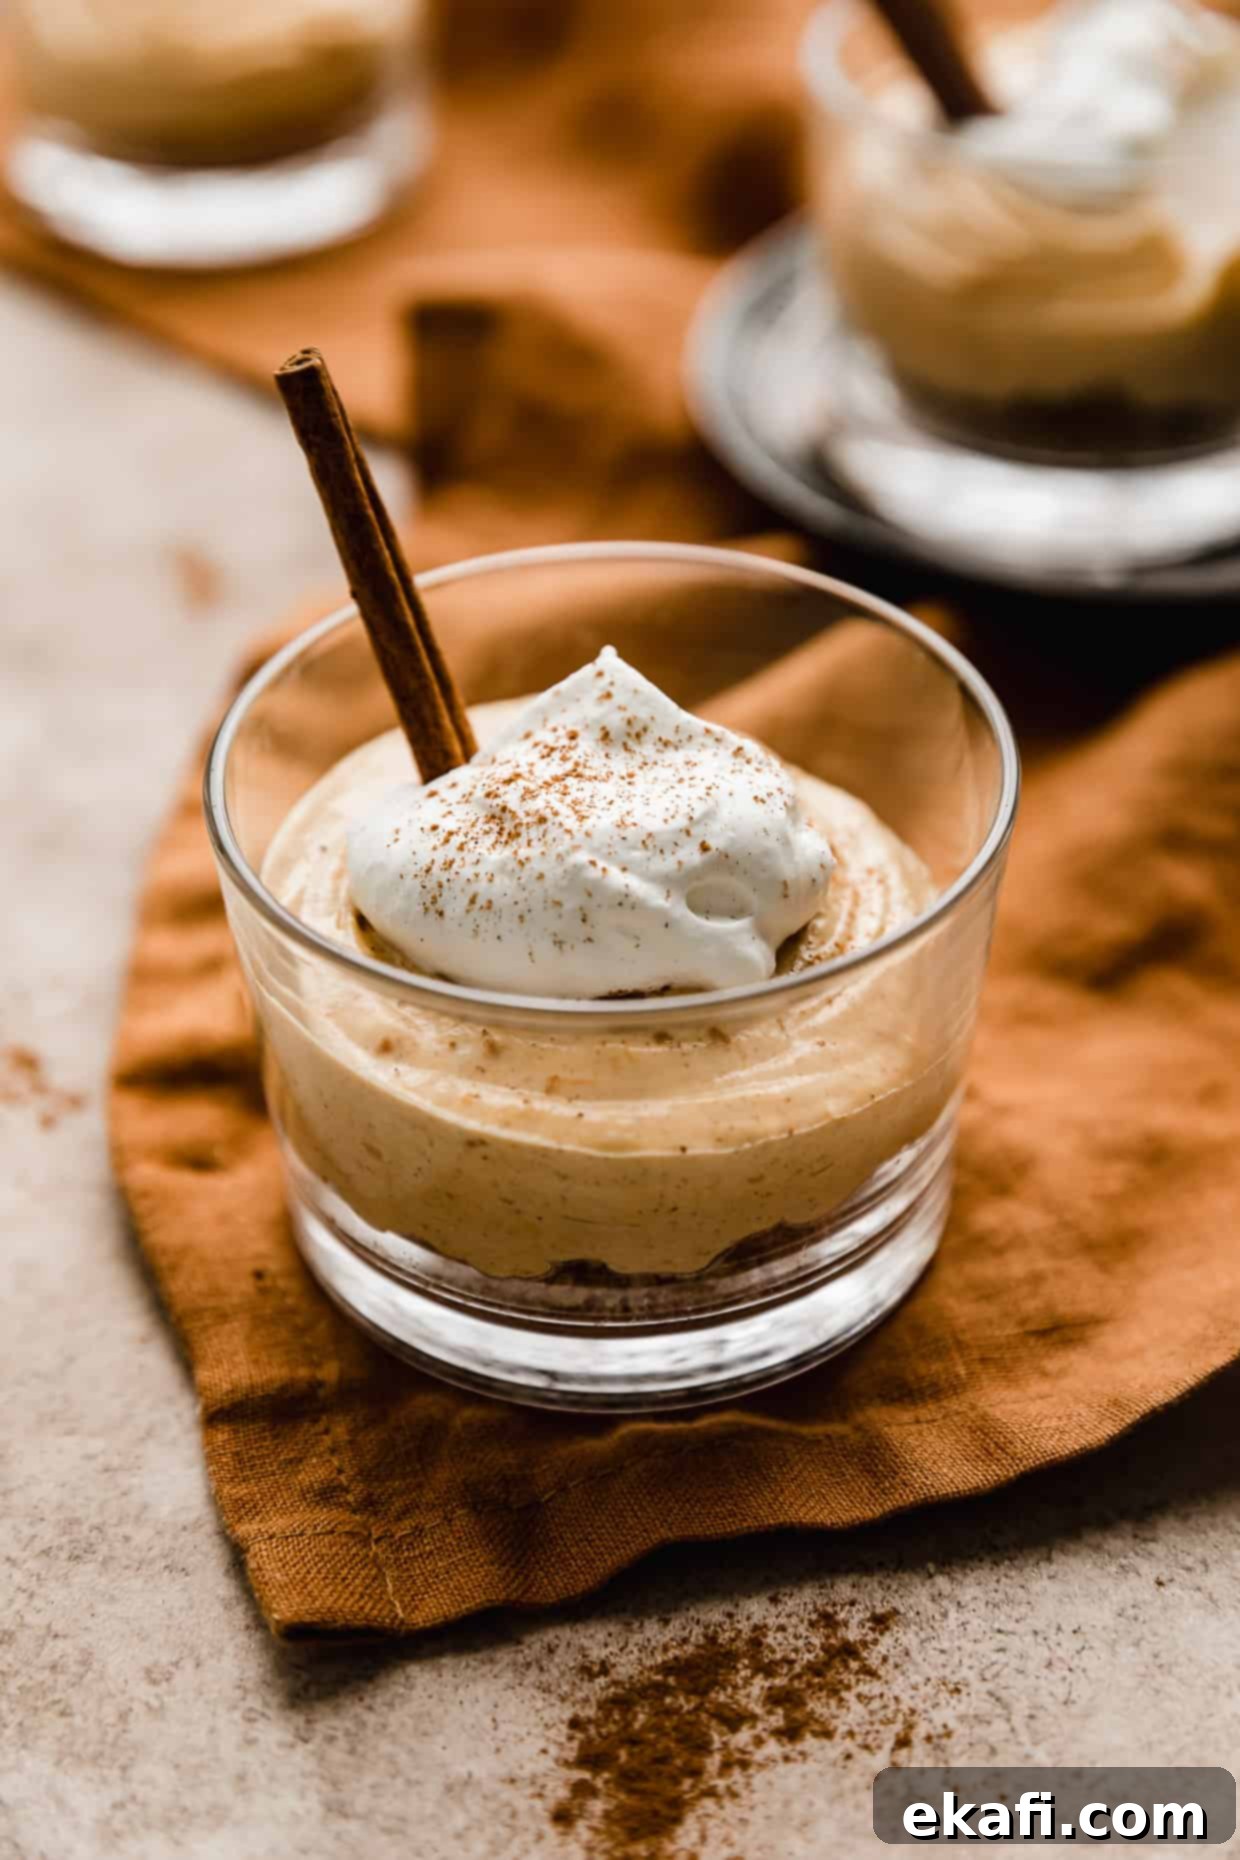
Why You’ll Love This No-Bake Mini Pumpkin Cheesecake Recipe
This isn’t just another pumpkin dessert; it’s a standout for several reasons that make it perfect for your fall festivities and beyond:
- A Delightful Twist on Traditional Pumpkin Pie: Let’s face it, not everyone is a die-hard pumpkin pie fan. This no-bake mini pumpkin cheesecake offers a fresh, exciting alternative that still captures all the iconic pumpkin spice flavors. It’s a guaranteed crowd-pleaser and a thoughtful option for diverse palates at your family gatherings.
- Incredibly Thick, Smooth, and Whipped Filling: Prepare for a truly dreamy experience! The pumpkin spice no-bake cheesecake filling is incredibly rich yet astonishingly light. Thanks to the whipped topping, it achieves a fluffy, mousse-like texture that’s far superior to many traditional pumpkin desserts. It’s so good, you’ll be tempted to eat it straight from the bowl – and we wouldn’t blame you!
- Perfect Harmony of Cheesecake and Pumpkin Flavor: This recipe perfectly balances the creamy tang of cheesecake with the warm, comforting notes of pumpkin. The instant cheesecake pudding mix, combined with luscious cream cheese, creates an authentic cheesecake base. This blends harmoniously with pumpkin puree and aromatic pumpkin pie spice, resulting in the absolute best pumpkin cheesecake flavor you can imagine.
- Effortless No-Bake Convenience: One of the biggest advantages is that there’s absolutely no baking required! This frees up valuable oven space during holidays and significantly cuts down on prep time. It’s a quick and easy pumpkin cheesecake recipe that delivers gourmet results with minimal fuss.
- Elegant Individual Portions: Serving these mini cheesecakes in individual jars or cups adds a touch of sophistication to any dessert spread. They’re not only beautiful but also perfectly portioned, making them easy for guests to enjoy without the need for slicing and serving a full pie.
- Kid-Friendly and Fun to Make: The simple, no-bake steps mean this is a great recipe to get kids involved in the kitchen. They’ll love helping to crush graham crackers and spooning the delicious filling into the cups!
Key Ingredients for Success
The magic of these no-bake mini pumpkin cheesecakes comes from a thoughtful combination of ingredients. Here’s a closer look at what you’ll need and why each component is crucial:
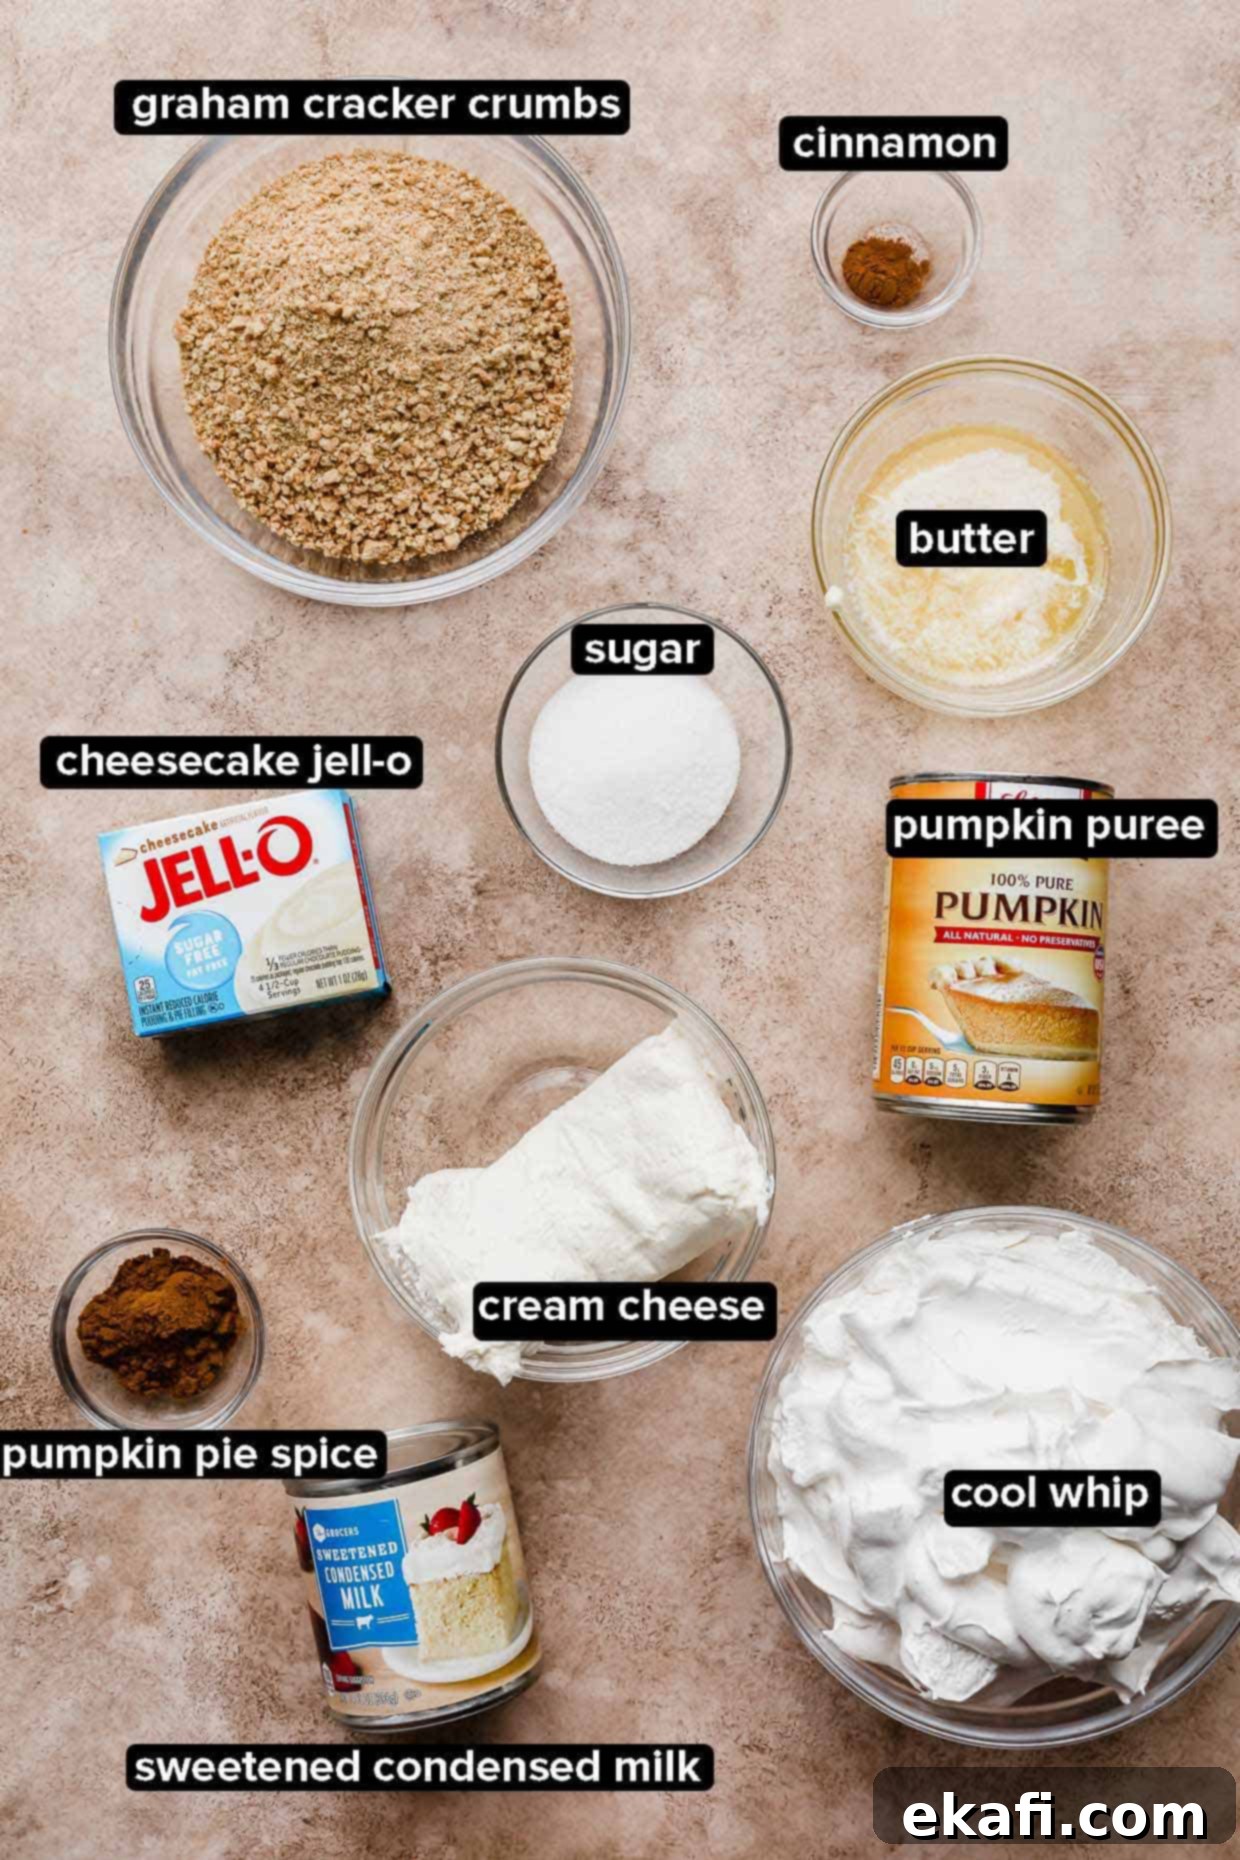
- Graham Cracker Crumbs: These form the sweet and subtly spiced base of our mini cheesecakes. Unlike a traditional baked crust, this is a simple, no-bake crumble mixture that you press into your serving dishes. It will be buttery and delicious but won’t be as firm as a baked crust – a key characteristic of no-bake desserts. You can also experiment with crushed gingersnaps or vanilla wafers for a twist!
- Cream Cheese: To achieve that signature creamy cheesecake flavor and texture, we use a full 8 ounces of cream cheese. Ensure it’s full-fat and softened to room temperature before you begin. This is crucial for a smooth, lump-free filling that blends beautifully with other ingredients.
- Pumpkin Puree: This is where the rich pumpkin flavor comes from. It’s vital to use plain pumpkin puree, NOT pumpkin pie filling. Pumpkin pie filling contains added sugars and spices that are not accounted for in this recipe, and using it will significantly alter the flavor profile and the setting consistency of your cheesecake.
- Pumpkin Pie Spice: This blend of warm spices (cinnamon, nutmeg, ginger, cloves) is essential for that unmistakable fall taste. It transforms the pumpkin puree into a truly festive experience, reminiscent of your favorite autumn desserts.
- Sweetened Condensed Milk: This magical ingredient does double duty! It not only provides the perfect level of sweetness but also contributes to the creamy, thick, and stable consistency of the no-bake filling, ensuring it sets beautifully without baking.
- Sugar-Free Cheesecake Flavored Instant Pudding Mix: The “sugar-free” aspect here is key because the sweetened condensed milk provides ample sweetness. We rely on the instant pudding mix primarily for its cheesecake flavor and its powerful thickening properties, which are essential for achieving the right no-bake consistency. It’s the secret to making this a quick and easy pumpkin cheesecake without an oven!
- Frozen Whipped Topping (Cool Whip): While homemade whipped cream is lovely, we highly recommend using a store-bought frozen whipped topping like Cool Whip for this recipe. It offers superior stability, helping the pumpkin cheesecake filling hold its shape and maintain its delightful texture for longer, which is critical for a no-bake dessert.
Step-by-Step Instructions for Your No-Bake Mini Pumpkin Cheesecakes
Follow these simple steps to create your irresistibly easy no-bake mini pumpkin cheesecakes:
- Prepare the Graham Cracker Crumble: In a medium-sized bowl, combine the graham cracker crumbs, granulated sugar, melted butter, and a hint of cinnamon. Stir everything together until the mixture is uniformly moistened. Spoon about 1 to 1½ tablespoons of this crumb mixture into the bottom of each individual serving jar or cup (adjusting the amount based on your preference for a thicker crust). Use your fingers or the back of a spoon to gently pack the crumbs down. Place these prepared crusts into the refrigerator to chill and set slightly while you prepare the filling.
- Craft the Silky Pumpkin Cheesecake Mixture: Add your softened cream cheese to the bowl of a stand mixer fitted with the paddle attachment (or use a large bowl and a hand mixer). Beat the cream cheese on medium speed until it’s completely smooth and free of lumps, scraping down the sides of the bowl as needed. Next, add the pumpkin puree, pumpkin pie spice, and the instant cheesecake pudding mix. Continue beating until all ingredients are fully incorporated and the mixture is silky smooth and uniform in color. Finally, pour in the sweetened condensed milk and beat for another minute until it’s perfectly combined and the mixture is thick and luscious.
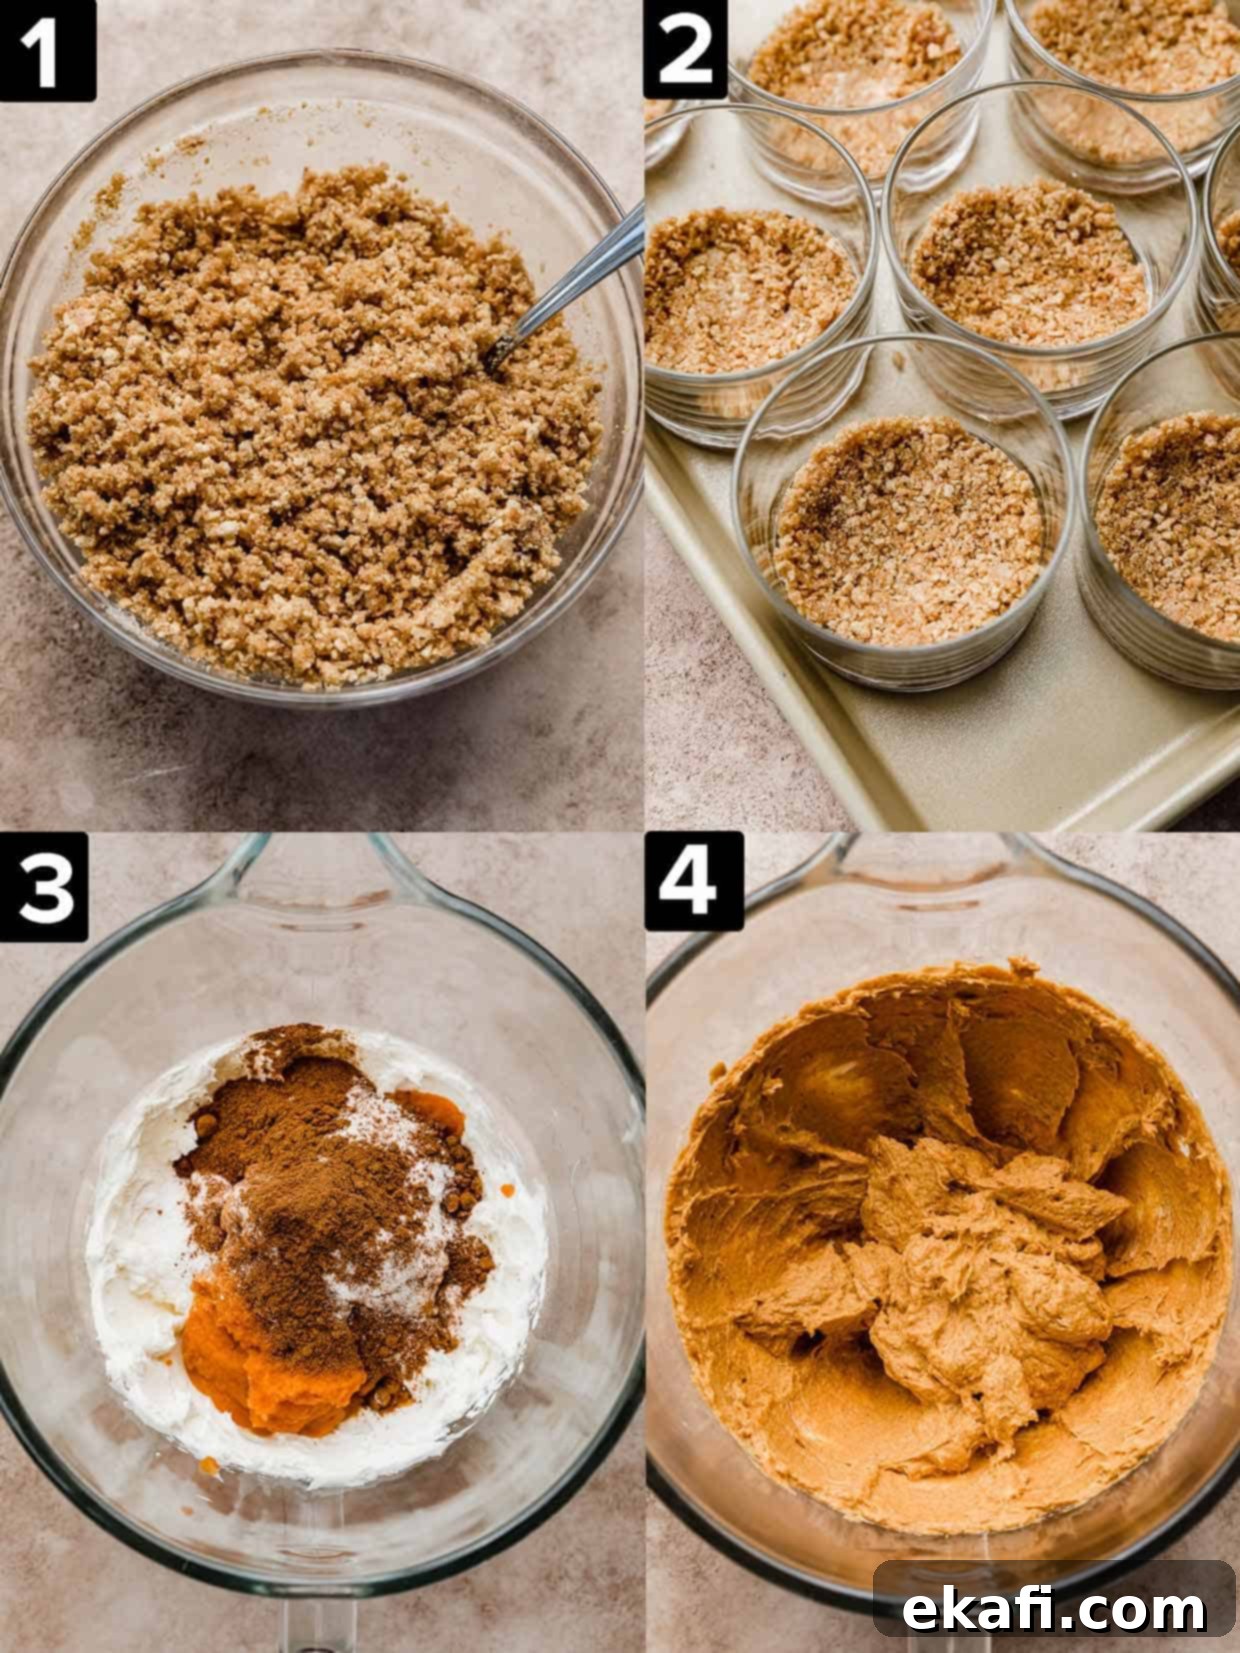
- Fold in the Whipped Topping: Remove the paddle attachment and replace it with the wire whisk attachment on your stand mixer. Add the entire container of frozen whipped topping to the pumpkin cream cheese mixture. Whisk on a low speed, just until the whipped topping is fully incorporated and the mixture is light and fluffy. Be careful not to overmix, as this can deflate the airiness. Once combined, cover the bowl tightly with plastic wrap and chill the filling in the refrigerator for at least 60 minutes. This chilling time is essential for the filling to firm up properly.
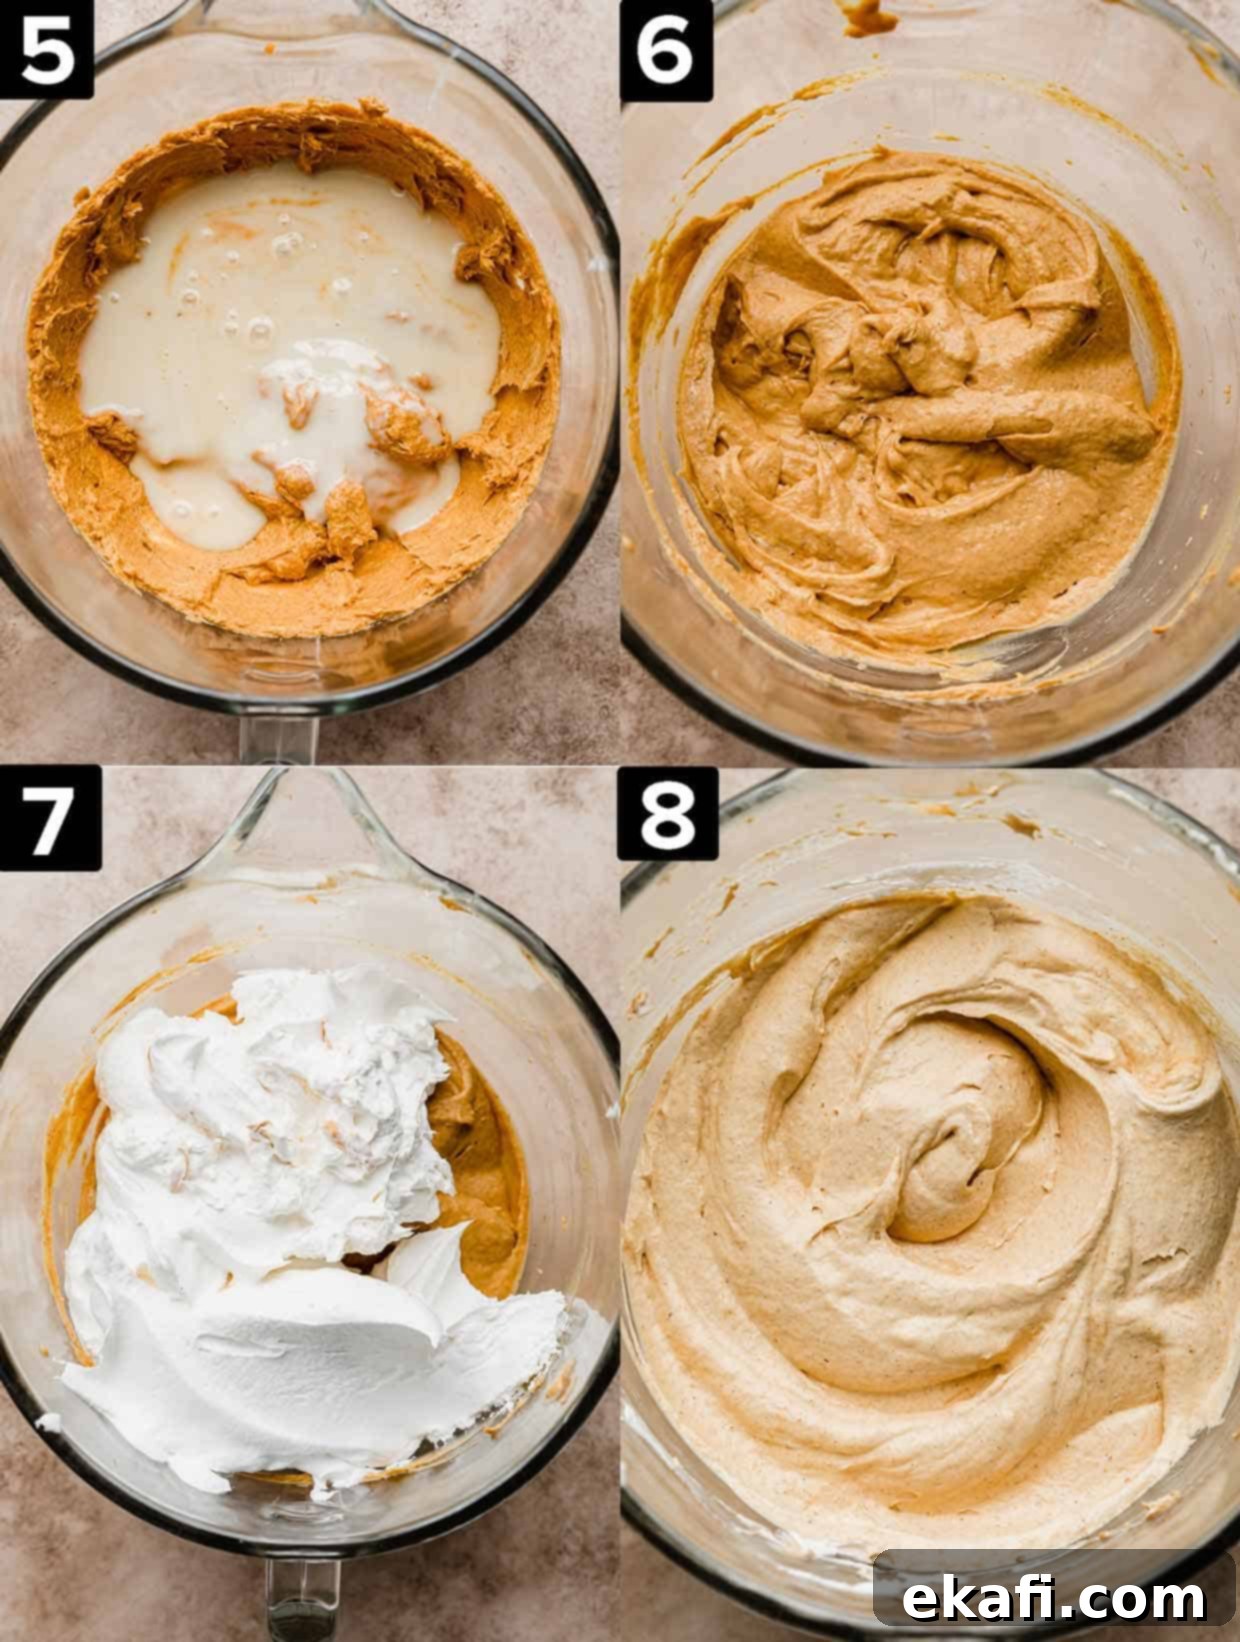
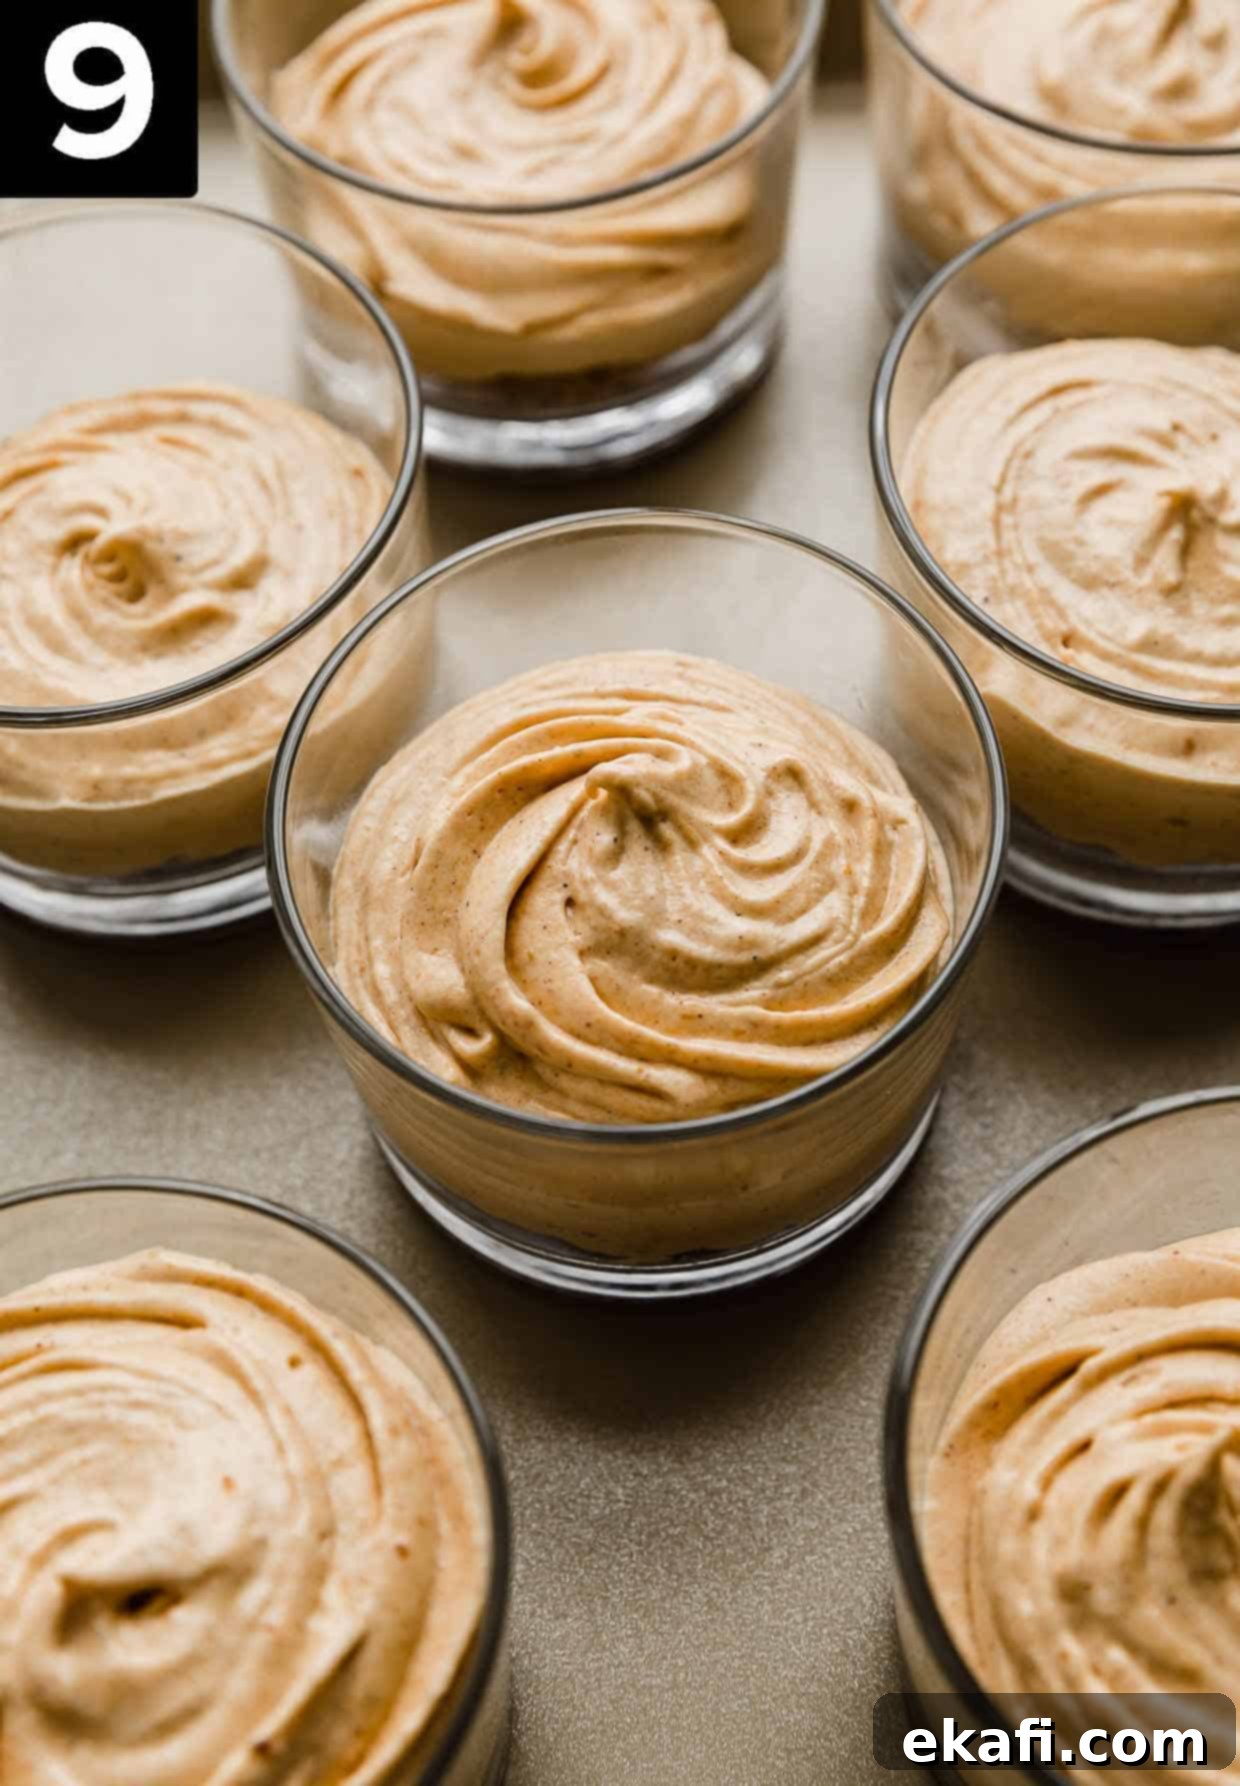
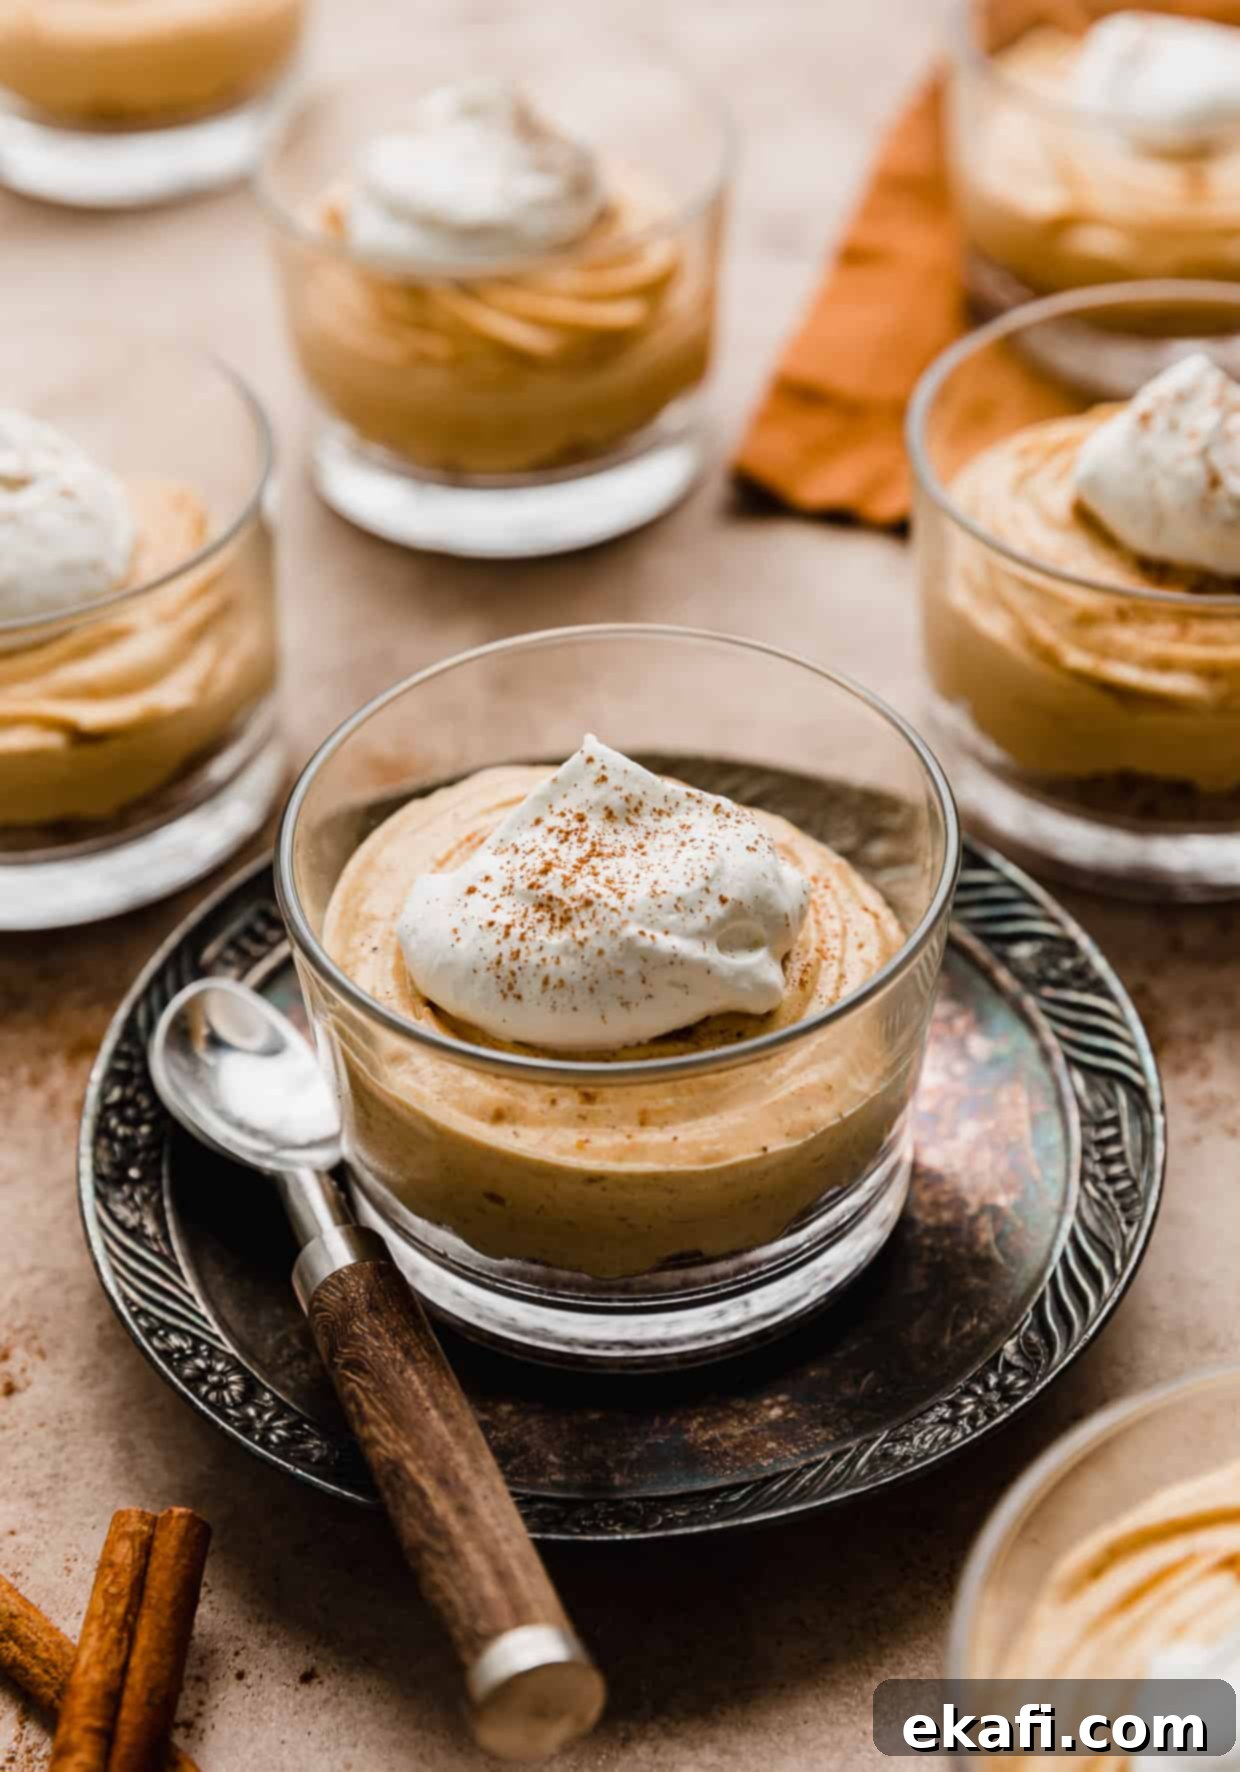
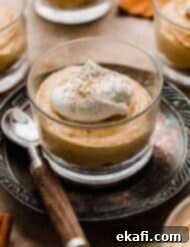
- Assemble and Serve Your Mini Masterpieces: Once the filling is nicely chilled and firm, spoon it into each cup or jar, or for a more polished look, pipe it using a pastry bag fitted with a star tip (like a 1M tip). Garnish each mini pumpkin cheesecake with an extra dollop of whipped cream and a sprinkle of pumpkin pie spice for a beautiful finish. Serve these delightful treats cold and enjoy the ultimate taste of fall!
Expert Tips for Perfect No-Bake Mini Pumpkin Cheesecakes
Achieve cheesecake perfection with these helpful hints and tricks:
- Don’t Rush the Chill: The chilling time is paramount for the pumpkin whipped cream filling to properly set and achieve its thick, mousse-like consistency. While 30 minutes is a minimum, allowing a full hour in the refrigerator (or even longer) will yield a firmer, more stable dessert. If you’re short on time, it will still taste delicious, just be a bit softer.
- Choose Your Serving Vessels: You don’t need fancy 4-oz glass jars! Small glasses, plastic cups, ramekins, or even muffin tins lined with paper liners work wonderfully. Get creative with what you have on hand for individual portions.
- Consistency is Key (and Customizable): The longer your pumpkin whipped cream mixture chills in the fridge, the firmer its consistency will become. Plan your prep time accordingly based on how firm you prefer your cheesecake filling.
- For a Professional Touch, Pipe It: To make filling the jars or cups easier and to achieve an elegant, swirled appearance, use a frosting piping bag fitted with a large star tip (like a 1M tip). If you don’t have one, simply spooning the mixture in works perfectly fine, it just won’t have the same decorative flourish.
- Store-Bought Whipped Topping for Stability: While homemade whipped cream is always a treat, for this particular no-bake recipe, store-bought frozen whipped topping (like Cool Whip) is highly recommended. It contains stabilizers that help the cheesecake filling firm up better and maintain its structure, ensuring a consistent and delightful texture.
- Embrace the Crumble Crust: Remember, this is a no-bake recipe, so the graham cracker base is designed to be a soft, buttery crumble, not a firm, baked crust like you might find in a traditional cheesecake. Don’t expect it to hold together rigidly; its charm lies in its delightful, slightly loose texture. If you’re looking for a firmer, baked option, check out our classic graham cracker crust recipe.
- Effortless Crushing: For ultimate convenience, crush your graham crackers in a food processor. Simply pulse until you achieve a fine, even crumb. Then, add the melted butter, sugar, and cinnamon (and brown sugar, if using) directly to the food processor and pulse for just 5-10 seconds to combine. As a guide, 1½ cups of crushed graham cracker crumbs typically require about 10-12 full-length graham crackers.
- Room Temperature Cream Cheese is Non-Negotiable: Ensure your cream cheese is fully softened to room temperature. Cold cream cheese will result in a lumpy filling, no matter how much you beat it. Take it out of the fridge at least 30-60 minutes before you plan to start mixing.
Looking for traditional baked cheesecakes? Try my Mini Cheesecakes which are mini versions of a classic cheesecake recipe.
Make Ahead, Storage, and Freezing Options
These mini pumpkin cheesecakes are perfect for making ahead, which is especially helpful during busy seasons:
- Make Ahead: The pumpkin spice cheesecake filling can be prepared a day or two in advance. This allows ample time for it to chill and firm up, ensuring a perfect consistency when it’s time to assemble.
- Storing Separately for Best Results: To prevent the graham cracker crumble from becoming soggy, it’s best to store the filling and the crumble components separately. Only assemble the individual cheesecakes right before you plan to serve them.
- Storage Times:
- Store the graham cracker crumble in an airtight ziplock bag or container in the refrigerator for up to 5 days.
- The pumpkin whipped cream cheesecake filling will remain fresh for up to 3 days when stored in an airtight container in the fridge.
- Once assembled, the mini cheesecakes are best enjoyed within 2-3 days, kept chilled in the refrigerator.
- Freezing Considerations: Dairy-based desserts can sometimes be tricky to freeze, as they may separate upon thawing. While the cream cheese in this filling might help maintain its texture, there’s a possibility of slight separation. I haven’t personally frozen these particular mini cheesecakes, so if you decide to try it, please let me know in the comments how it turns out! If freezing, it’s usually best to freeze them individually (without toppings) in airtight containers to minimize ice crystal formation. Thaw overnight in the refrigerator before serving.
Frequently Asked Questions About No-Bake Mini Pumpkin Cheesecakes
These delicious mini pumpkin cheesecakes will last for up to 3 days when stored properly in an airtight container in the refrigerator. For best texture, it’s ideal to assemble them closer to serving time.
For optimal freshness and to keep the graham cracker crumble from getting soft, I highly recommend storing the components separately. Keep the graham cracker crumble in a zip-top bag or airtight container in the fridge, and store the pumpkin whipped cream cheesecake filling in its own airtight container in the refrigerator. When you’re ready to enjoy, simply scoop out some crumble and filling, assemble your mini cheesecakes, and enjoy!
While the pumpkin puree and pumpkin spice certainly infuse a familiar “pumpkin pie” flavor into the dish, these no-bake cheesecakes have a distinct identity. The addition of whipped topping gives the filling a much lighter, fluffier, and more mousse-like texture compared to the denser, custardy consistency of a traditional pumpkin pie. It’s a delightful variation that often wins over even those who aren’t huge fans of classic pumpkin pie.
Yes, you can absolutely adapt this recipe to create a full-sized no-bake pumpkin spice cheesecake! For the crust, I would recommend preparing a traditional graham cracker pie crust (baked, then fully cooled and chilled). Once your crust is ready, fill it with the prepared pumpkin spice filling. Chill the entire pie in the refrigerator for several hours (at least 4-6 hours, or preferably overnight) to allow it to set completely. However, keep in mind that due to the whipped topping, the filling will be lighter than a baked cheesecake, so you might not get perfectly crisp, clean slices when cutting and serving the pie.
Absolutely! While graham cracker crumbs are a classic choice, feel free to get creative. Crushed gingersnaps will add a wonderfully spicy kick, particularly perfect for the fall season. Vanilla wafers or even chocolate cookies could also be used for a different flavor profile.
Softened cream cheese is crucial for a smooth filling. If you forget to take it out ahead of time, you can quickly soften it by unwrapping it and placing it on a microwave-safe plate. Microwave on high for 10-15 seconds, just until it’s pliable but not melted. Be careful not to overheat!
While this recipe heavily relies on dairy products, you might be able to adapt it with dairy-free alternatives. Look for dairy-free cream cheese, sweetened condensed coconut milk, and a plant-based whipped topping (like coconut whipped cream). Ensure your instant pudding mix is also dairy-free. Keep in mind that the texture and setting time might vary slightly with these substitutions.
More Delicious Pumpkin Recipes to Explore
If you’ve fallen in love with pumpkin, here are more fantastic recipes to keep the fall vibes going:
- Soft Pumpkin Cookies
- Pumpkin Crepes with Whipped Nutella
- Classic Pumpkin Bars with Cream Cheese Frosting
- Pumpkin Spice Pecan Streusel Coffee Cake
Did you make this recipe? We’d absolutely love to hear about your experience! Leave a star rating and a review below the recipe card to let us know how much you enjoyed it. Your feedback is invaluable!
Stay up-to-date with all our latest recipes and kitchen adventures by following us on Instagram, TikTok, YouTube, Facebook, and Pinterest. Don’t miss out on our newest creations!
Print
SaveSaved!
Review
Mini No-Bake Pumpkin Cheesecake
Ingredients
Crust
- 1 1/2 cups graham crackers crumbs – heaping
- 5 T butter, melted
- 4 T sugar – (or brown sugar is fine too)
- 1/4 tsp cinnamon
Filling
- 8 oz cream cheese, softened to room temperature
- 1-15 oz can pumpkin puree
- 3 1/4 tsp pumpkin pie spice
- 14 oz can sweetened condensed milk
- 1 oz package sugar free cheesecake flavored instant pudding mix
- 12 oz container frozen whipped topping
Instructions
-
*In a medium size bowl combine the graham cracker crumbs, butter, sugar, and cinnamon. Stir to combine.
-
Place 1-1 1/2 T crumb mixture into 4 oz glass jars. I like a lot of crumb mixture, so I add a at least 1 1/2 T of crumb mixture to my jars. Use your fingers, or a spoon to lightly pack it down. Place in the fridge to set.
-
In a bowl of a stand mixer using the paddle attachment, or using your hand beaters, beat the cream cheese until smooth. Then add the pumpkin, pumpkin spice, and pudding mix. Beat until ingredients are mixed in.
-
Add the sweetened condensed milk to the pumpkin mixture. Beat until combined.
-
Switch your paddle to the wire whisk attachment. Add the frozen whipped topping to the bowl. Mix until combined. I usually keep the speed on low, and it takes about 1.5-2 minutes for things to incorporate fully.
-
Cover the pumpkin mixture and place in the refrigerator for 30-60 minutes. 60 minutes will allow for a firmer mixture.
-
Remove from the fridge and spoon the pumpkin mixture on top of the graham cracker crust. Or, use a pastry bag and a 1M tip to add a fancy flare. Garnish with additional pumpkin pie spice.
Place in the refrigerator until ready to serve.
Video
Notes
This recipe is slightly adapted from A Family Feast.
Nutrition
