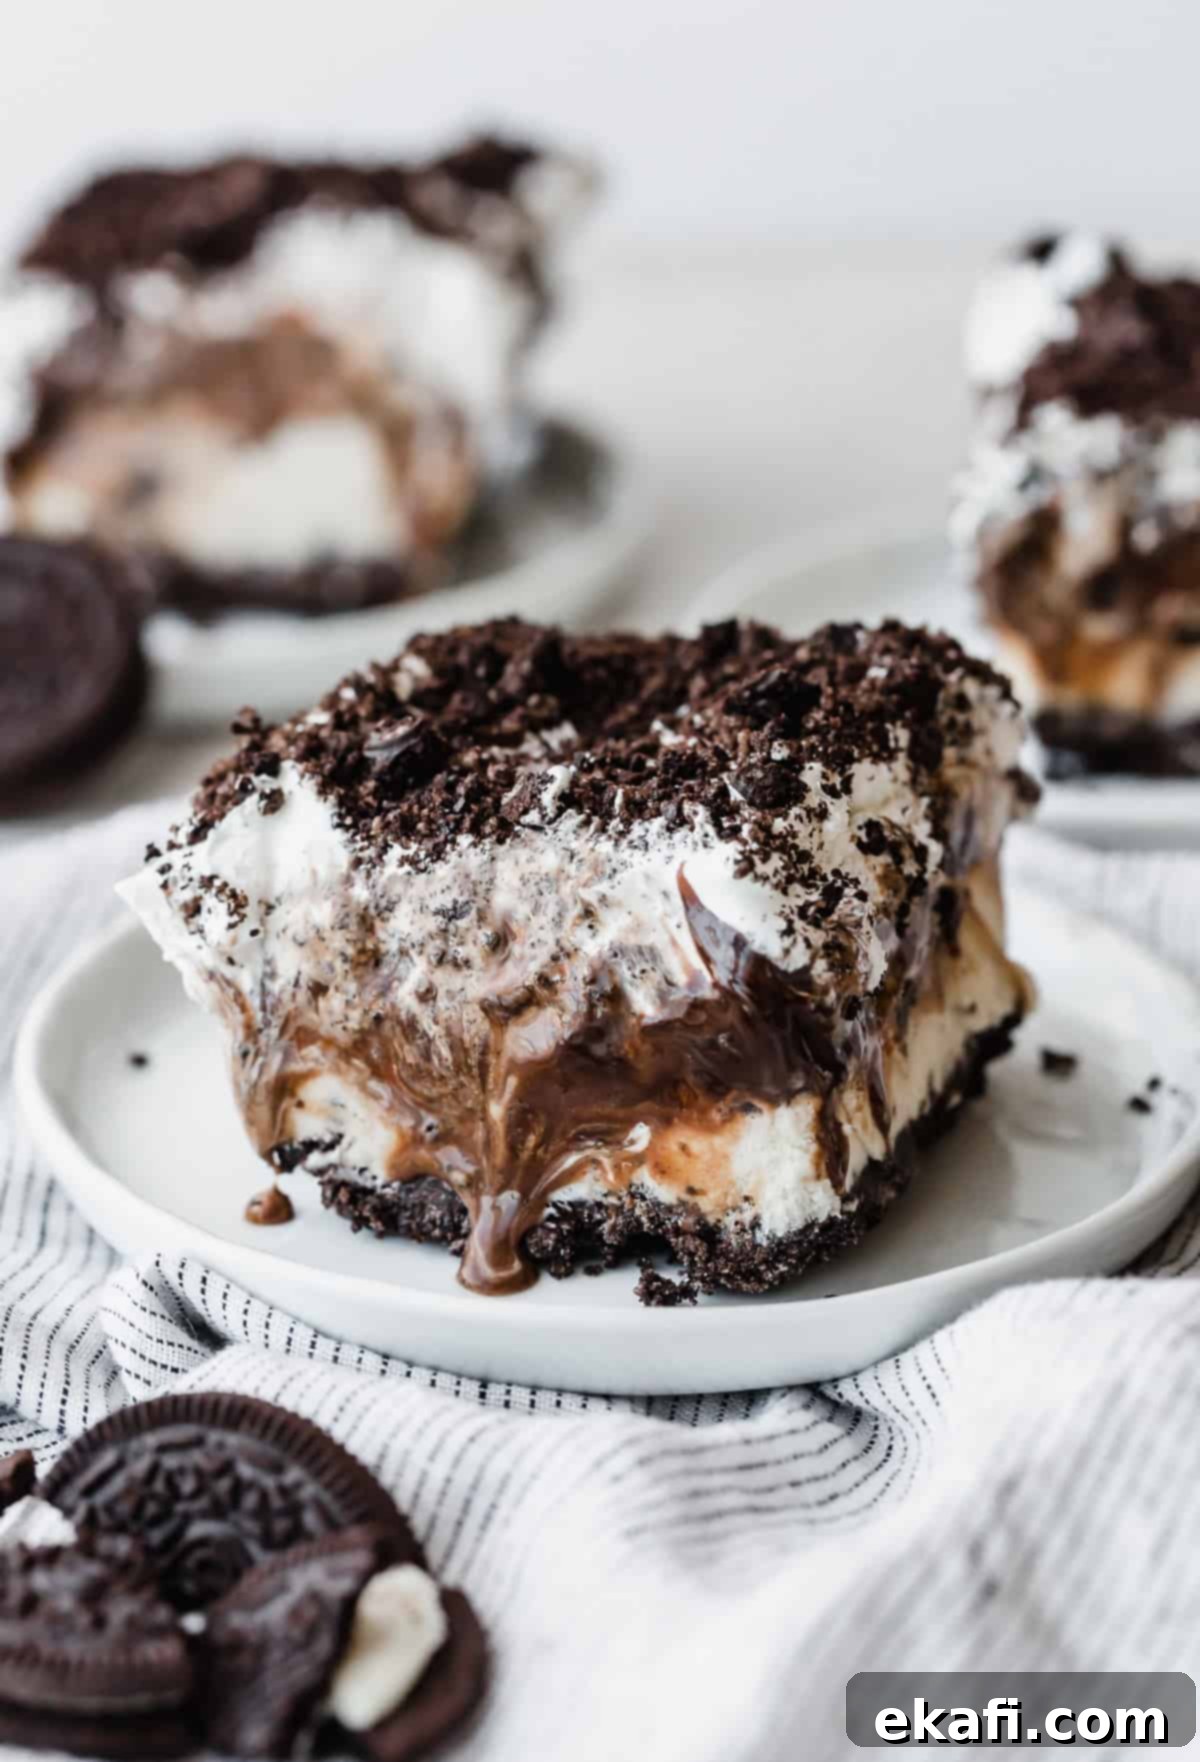
Easy 5-Layer No-Bake Oreo Ice Cream Cake: The Perfect Summer Treat
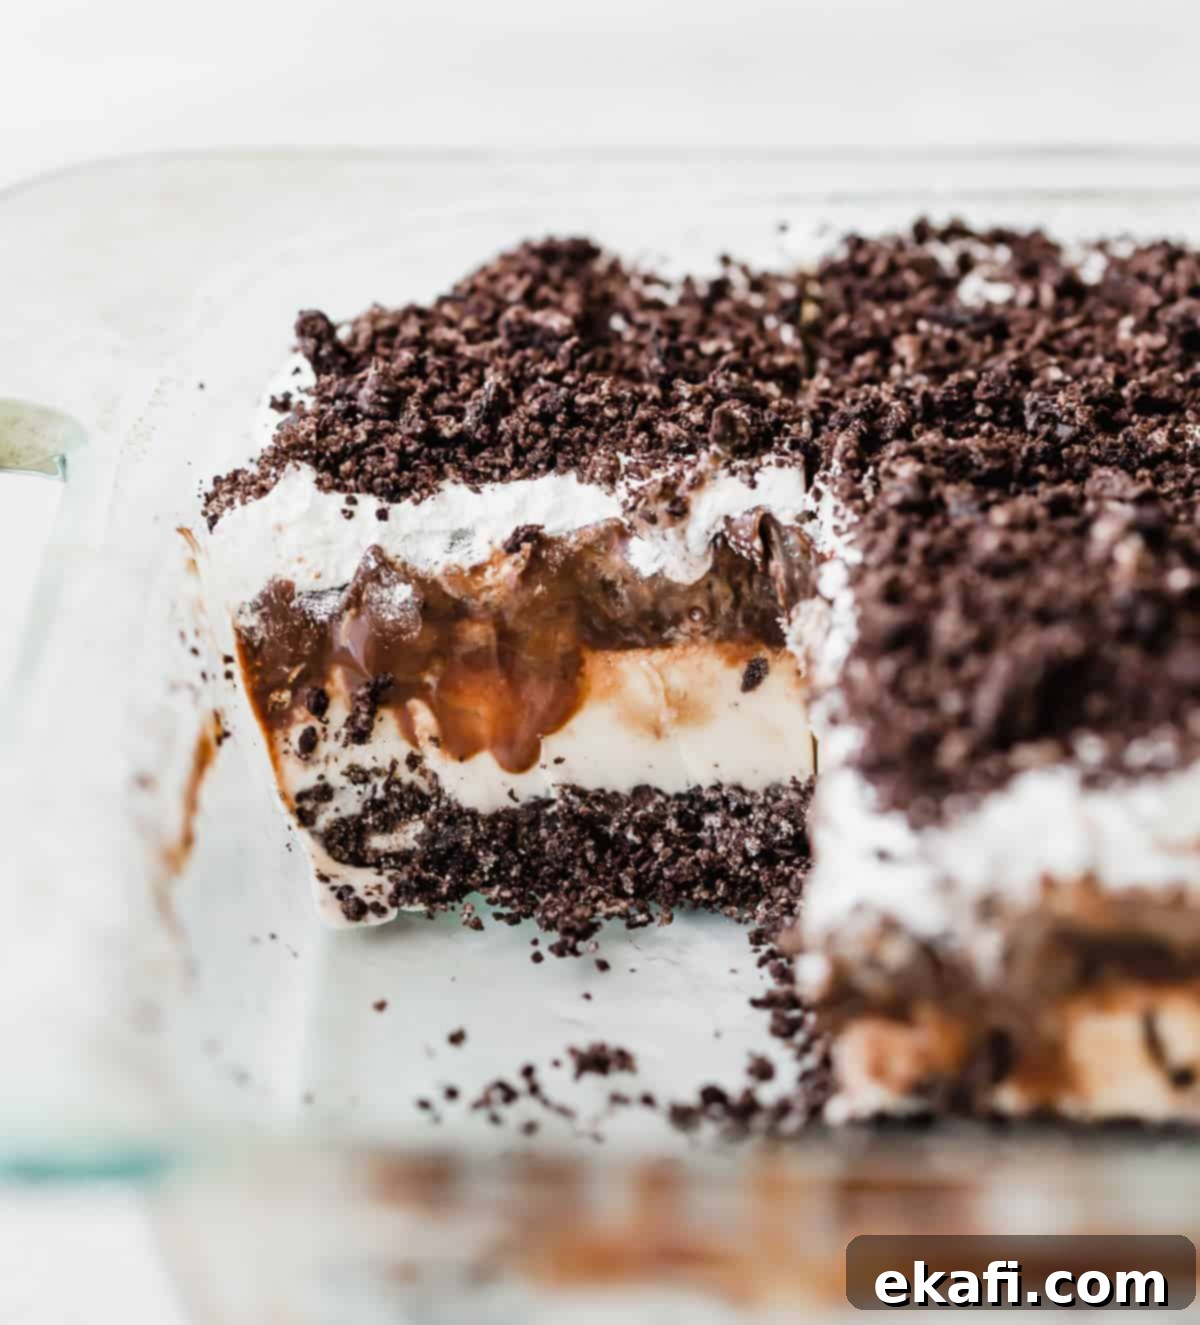
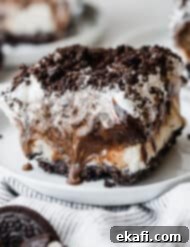
Prepare to delight your taste buds with this sensational No-Bake Oreo Ice Cream Cake, a true masterpiece of frozen indulgence. This isn’t just any dessert; it’s a meticulously crafted treat featuring five decadent layers that promise a symphony of flavors and textures in every bite. Imagine a rich base of crushed Oreos, followed by creamy cookies ‘n cream ice cream, a generous drizzle of luscious hot fudge, a cloud of fluffy whipped topping, all crowned with even more crunchy Oreos! This easy-to-make cake is the quintessential sweet escape, especially ideal for those warm summer days when a cool, refreshing dessert is an absolute must.
As the temperatures rise and the sun shines brighter, our cravings naturally turn towards frozen dessert recipes that can beat the heat. If you’re an unwavering Oreo enthusiast, you’ve stumbled upon your next obsession! The versatility of Oreos makes them a beloved ingredient for countless sweet creations. Beyond this incredible Oreo Ice Cream Cake, you might also adore my no-churn Oreo ice cream, the delightful Crumbl Oreo sandwich cookies, refreshing cookies and cream popsicles, a quick no-bake Oreo dessert, or the classic Oreo milkshake. Each recipe highlights the iconic cookie in a unique and delicious way, but for a truly show-stopping treat, this 5-layer ice cream cake reigns supreme!
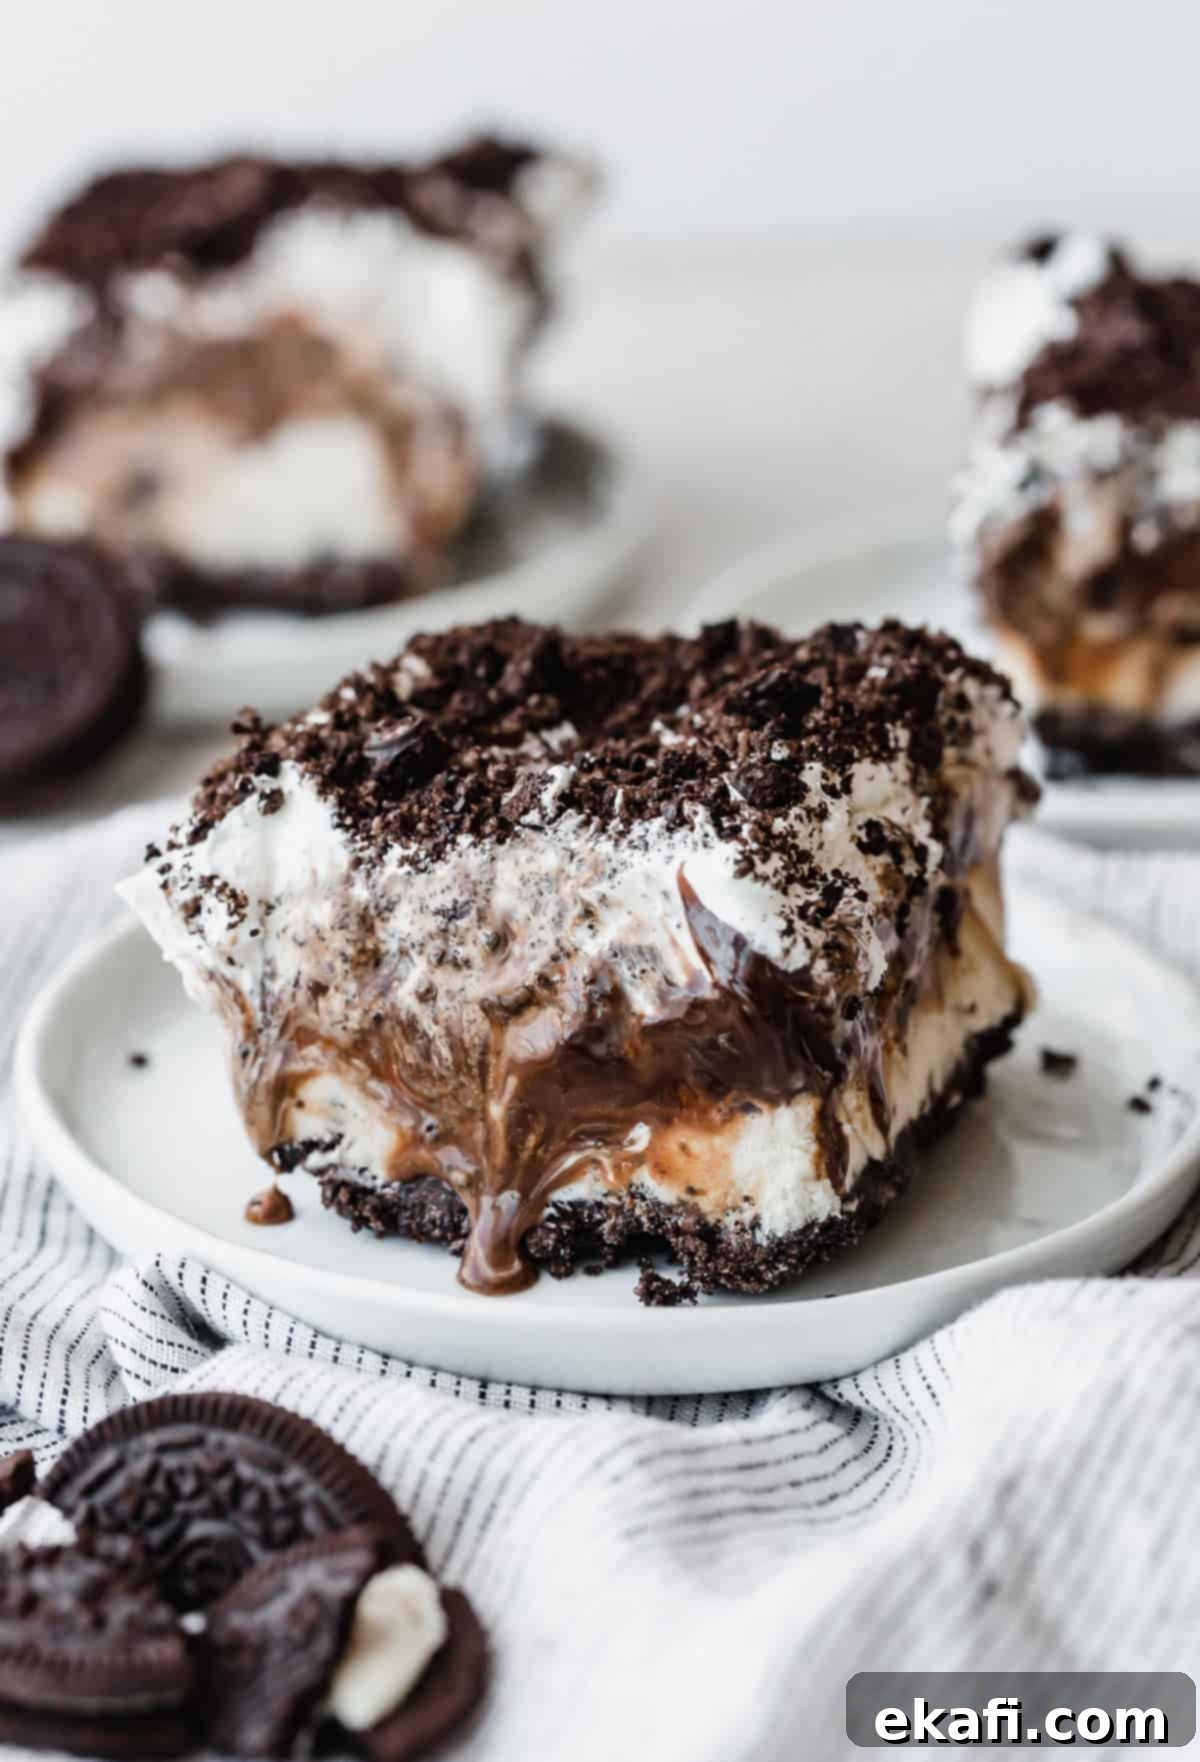
Why This Easy Oreo Ice Cream Cake is a Must-Try
This Oreo Ice Cream Cake isn’t just delicious; it’s also incredibly practical and versatile, making it a perfect addition to your recipe collection. Here’s why this recipe stands out:
- Only 4 Ingredients Needed: Forget about long grocery lists and complicated preparations. To create this show-stopping Oreo Ice Cream Cake, you only need four simple, readily available ingredients! This minimal ingredient list makes it an accessible dessert for even beginner bakers and ensures a quick and straightforward assembly process. Less time shopping and prepping means more time enjoying!
- Makes Plenty for Any Occasion: This generous frozen dessert yields a substantial amount, making it absolutely perfect for large gatherings, summer parties, backyard barbecues, or any celebration where you need to feed a crowd. You won’t have to worry about running out of this crowd-pleasing treat, and its impressive appearance will surely be a talking point among your guests. It’s a cost-effective and delicious way to serve many!
- Effortless Make-Ahead Dessert: This is the ultimate make-ahead dessert, designed to reduce stress on the day of your event. Its layered structure actually benefits from being prepared in advance, allowing each layer to firm up perfectly in the freezer. Not only can you make it days ahead of time, freeing up your schedule, but if you happen to have any delicious leftovers (which is a big “if”!), you can simply scoop them into a blender with a splash of milk to create an amazing Oreo milkshake. It’s two treats in one!
Key Ingredients for Your Perfect Oreo Ice Cream Cake
Crafting this incredible Oreo Ice Cream Cake requires just a few essential ingredients. The quality of each component contributes to the overall delightful experience. Let’s delve into what you’ll need and some helpful tips for each:
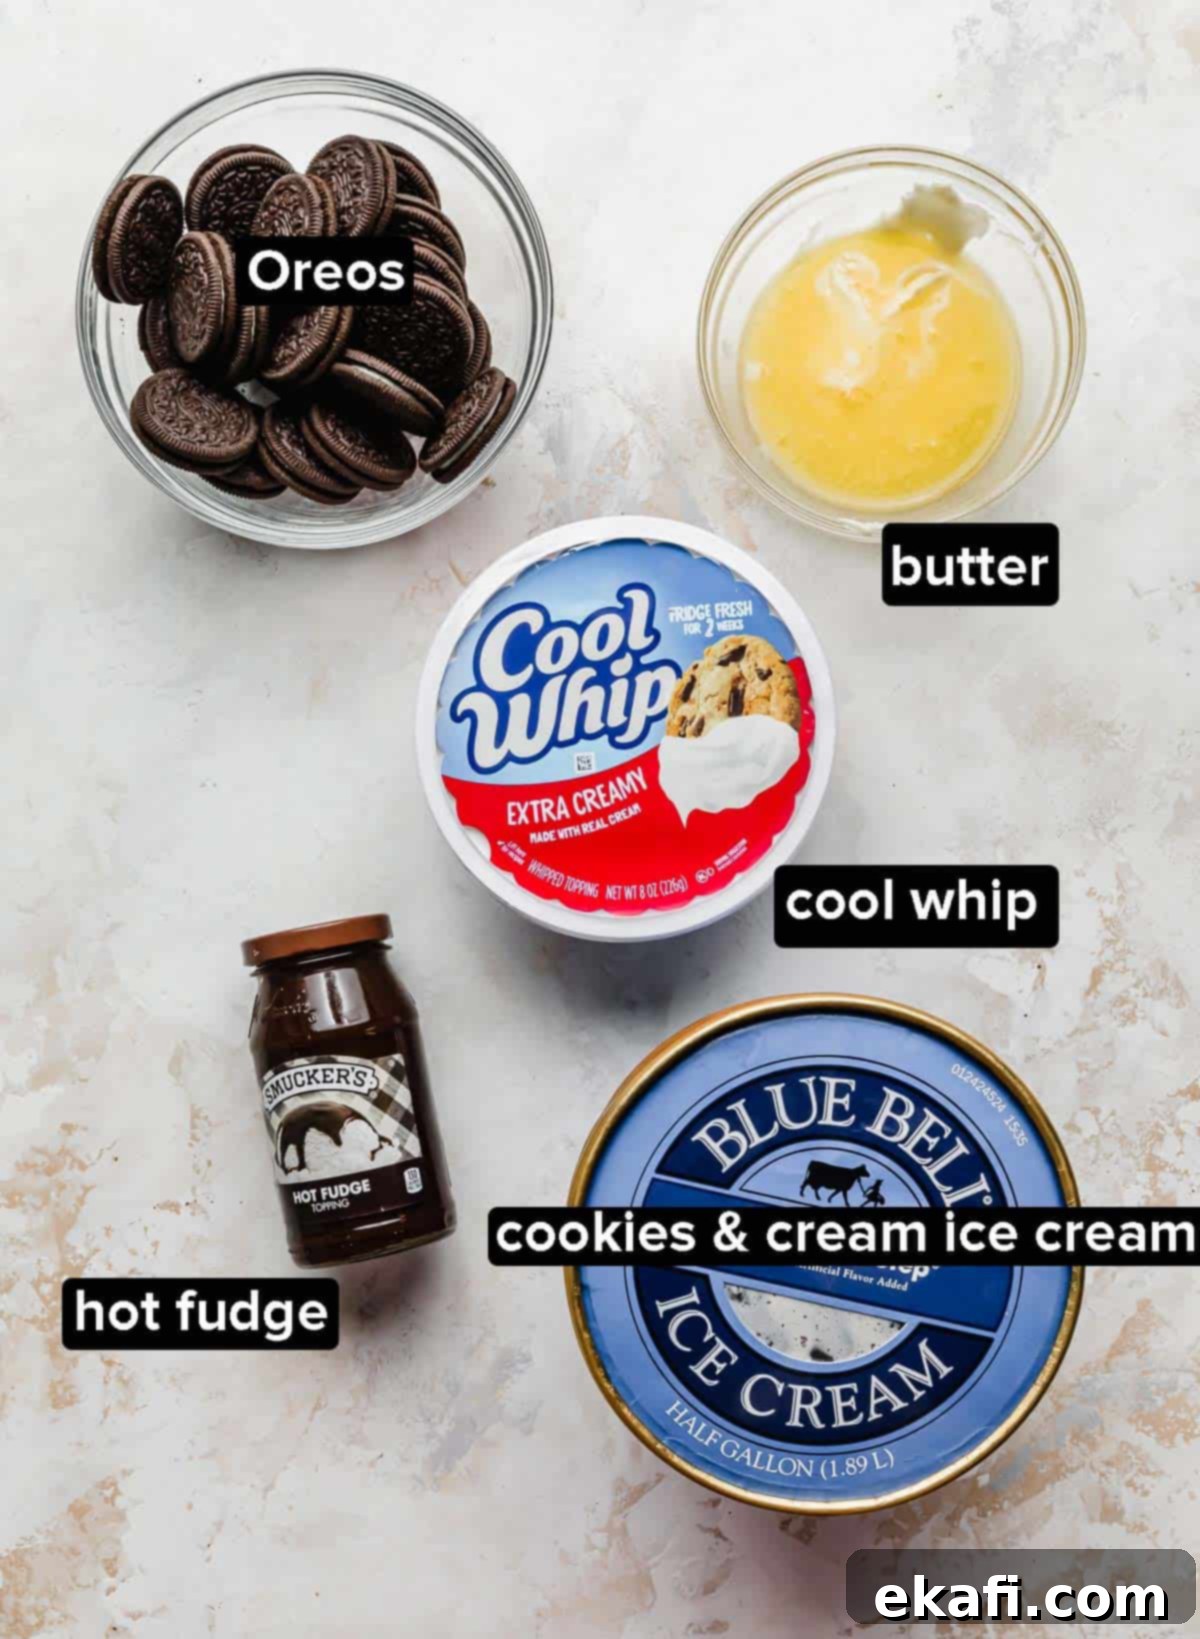
- Oreos: You’ll need approximately one standard box of regular Oreos, about 39 cookies, thoroughly crushed. The easiest way to achieve a fine, consistent crumb for your crust is by using a food processor and pulsing a few times. Alternatively, if you don’t have a food processor, place the Oreos in a sturdy plastic bag and use a rolling pin or even the bottom of a heavy pan to crush them. Remember, there’s no need to remove the cream filling – the entire cookie adds to the flavor and texture!
- Unsalted Butter: Four tablespoons of melted unsalted butter will bind your Oreo crust beautifully. Using unsalted butter gives you more control over the overall saltiness of the dessert.
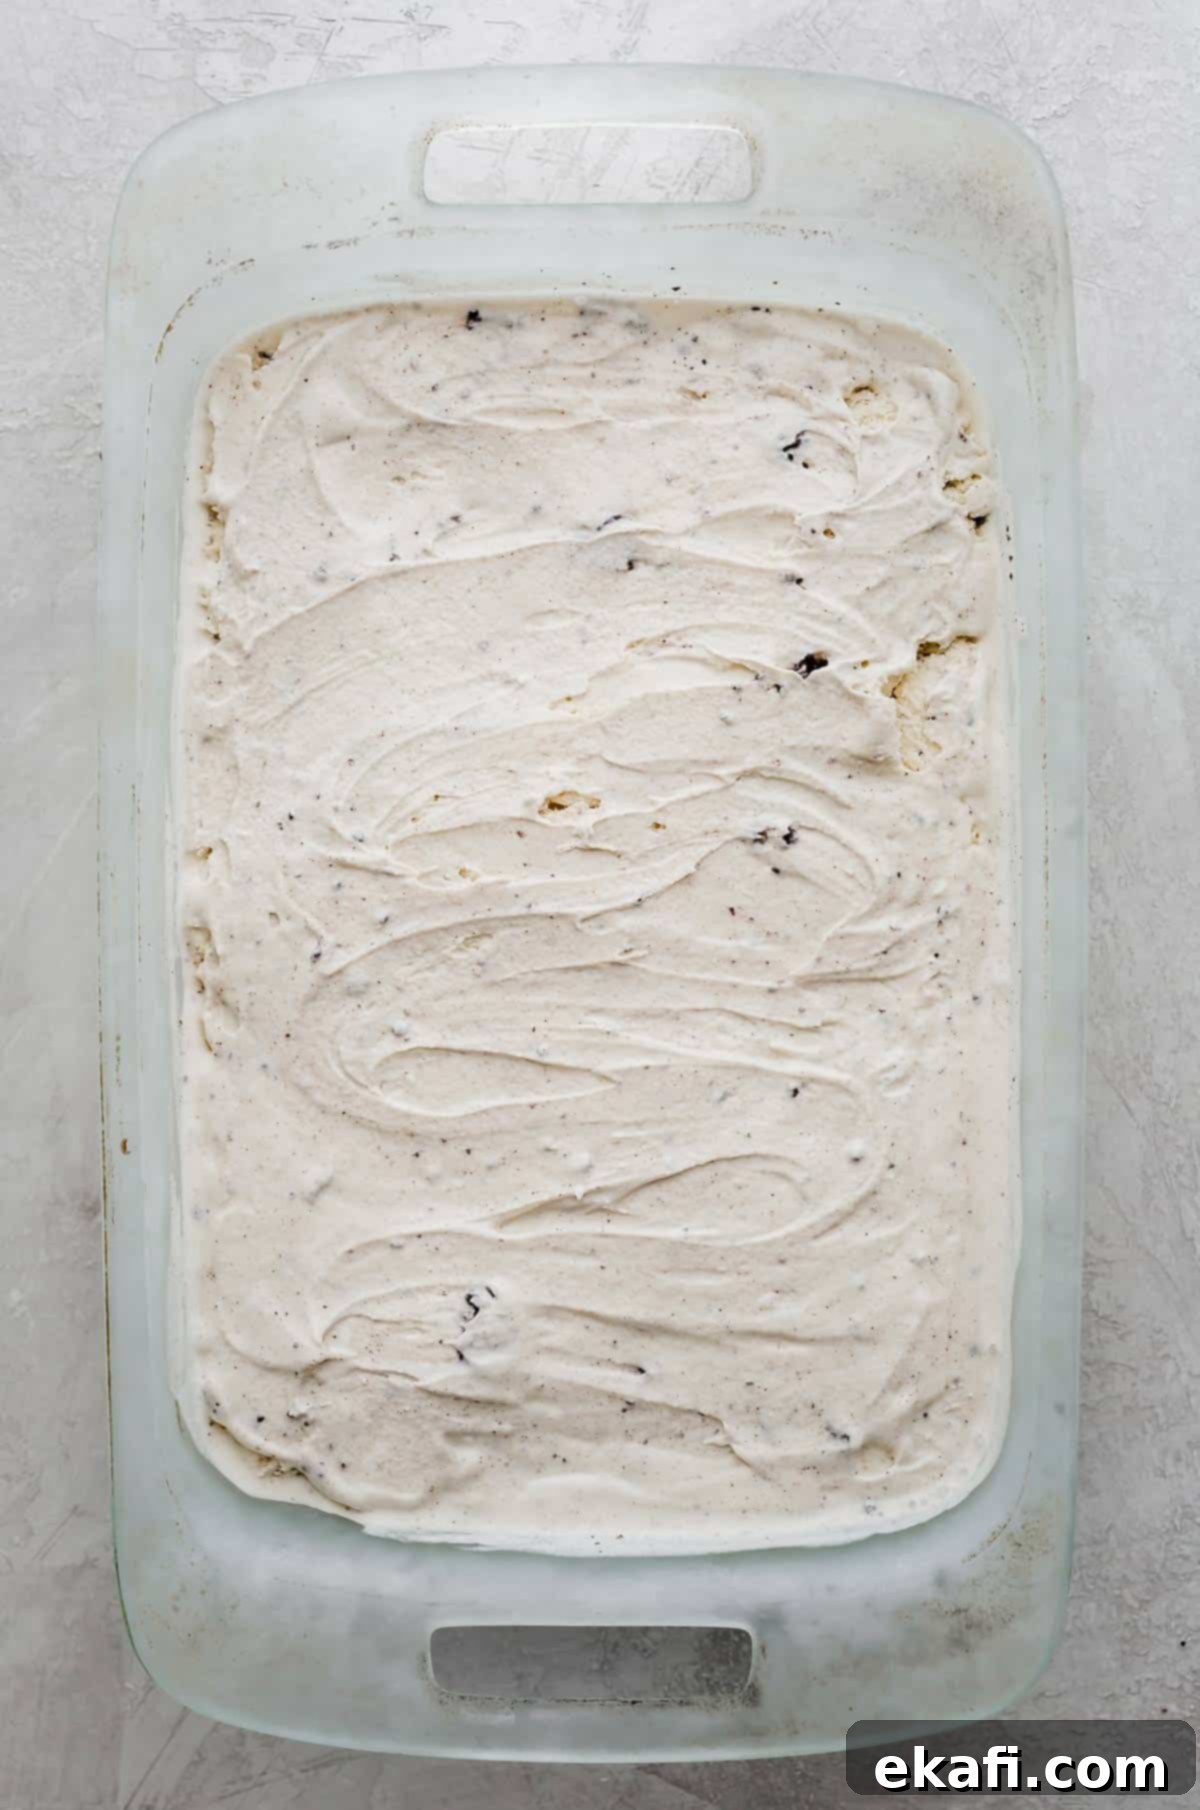
- Cookies ‘n Cream Ice Cream: You’ll need 1.75 quarts (or about 7 cups) of your favorite cookies ‘n cream ice cream. The key here is to ensure it’s sufficiently softened before spreading. If your ice cream is too hard, it will be very difficult to create an even layer without damaging the crust. Allow it to sit at room temperature for about 15-20 minutes, or scoop it into a large bowl and gently stir until it reaches a spreadable consistency.
- Hot Fudge: A whole 24 oz jar of hot fudge is called for, and trust me, it’s an absolutely glorious layer! While store-bought hot fudge is convenient and works well, for an extra special touch, I highly recommend following my Old Fashioned Hot Fudge Sauce recipe. A single batch of my homemade hot fudge is the perfect amount for this recipe, offering an incredibly rich and velvety texture that elevates the entire cake.
- Cool Whip: For the top layer, you’ll want to use an 8 oz tub of thawed Cool Whip (whipped topping) rather than homemade whipped cream. Cool Whip holds its structure significantly better when frozen, preventing it from becoming icy or deflating, which ensures a beautiful and stable top layer for your ice cream cake.
Crafting Your Dream: Step-by-Step Instructions
Creating this magnificent Oreo Ice Cream Cake is a simple and enjoyable process. Just follow these easy steps to layer your way to an unforgettable dessert:
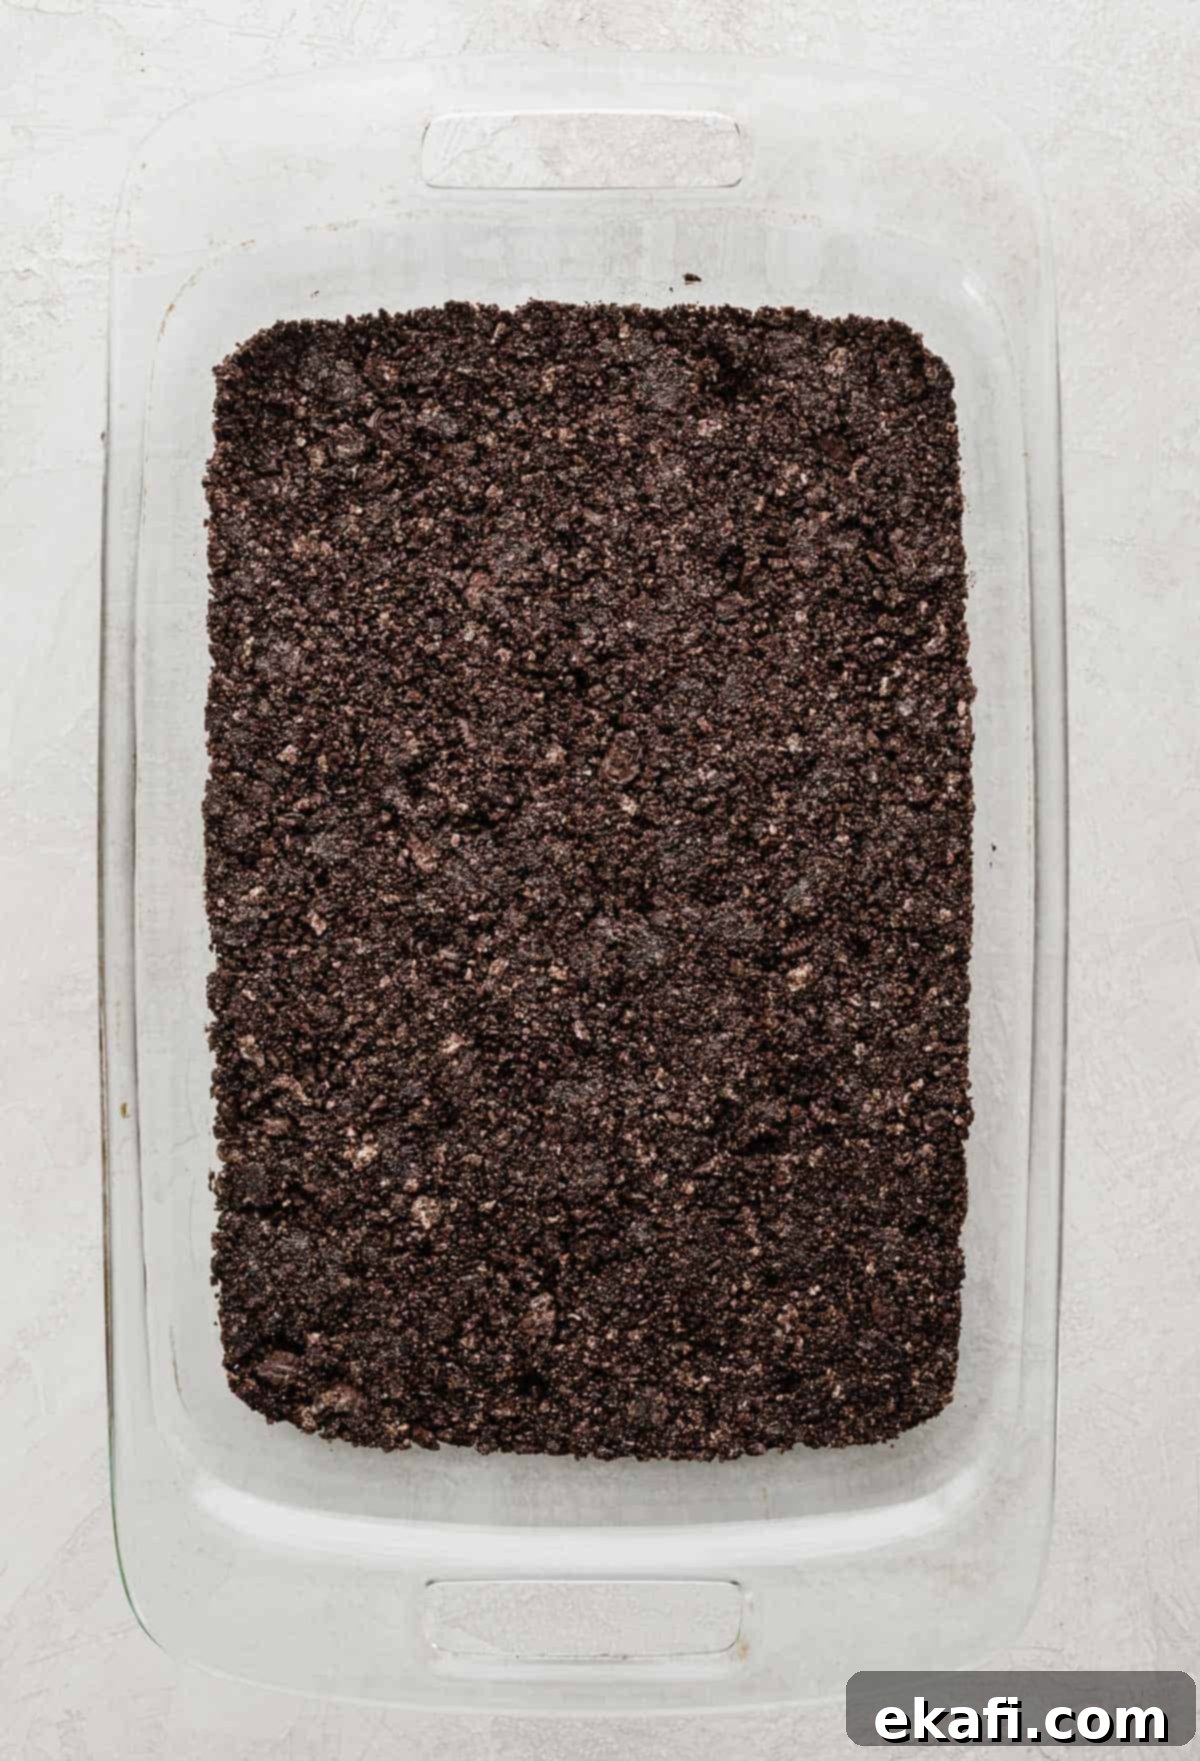
- Prepare the Oreo Crust: Begin by crushing your Oreos into a fine, even crumb. In a medium-sized bowl, combine all but 2/3 cup of these crushed Oreos with the melted butter. The remaining 2/3 cup of crushed Oreos will be reserved for a delightful topping later. Stir until the butter is evenly incorporated and the crumbs are moistened.
- Press the Crust into Place: Transfer the Oreo-butter mixture into a 13×9 inch baking dish. Using the back of a spoon or your fingers, firmly and evenly press the mixture across the bottom of the dish to form a compact crust. This foundation will hold all the delicious layers to come.
- Add the Ice Cream Layer: Carefully spread the softened cookies ‘n cream ice cream on top of the prepared Oreo crust. Ensure the ice cream is spread as evenly as possible from edge to edge. Once smooth, place the dish into the freezer for 2-3 hours, or until the ice cream layer is completely firm. This crucial step ensures clean layers and prevents the fudge from sinking.
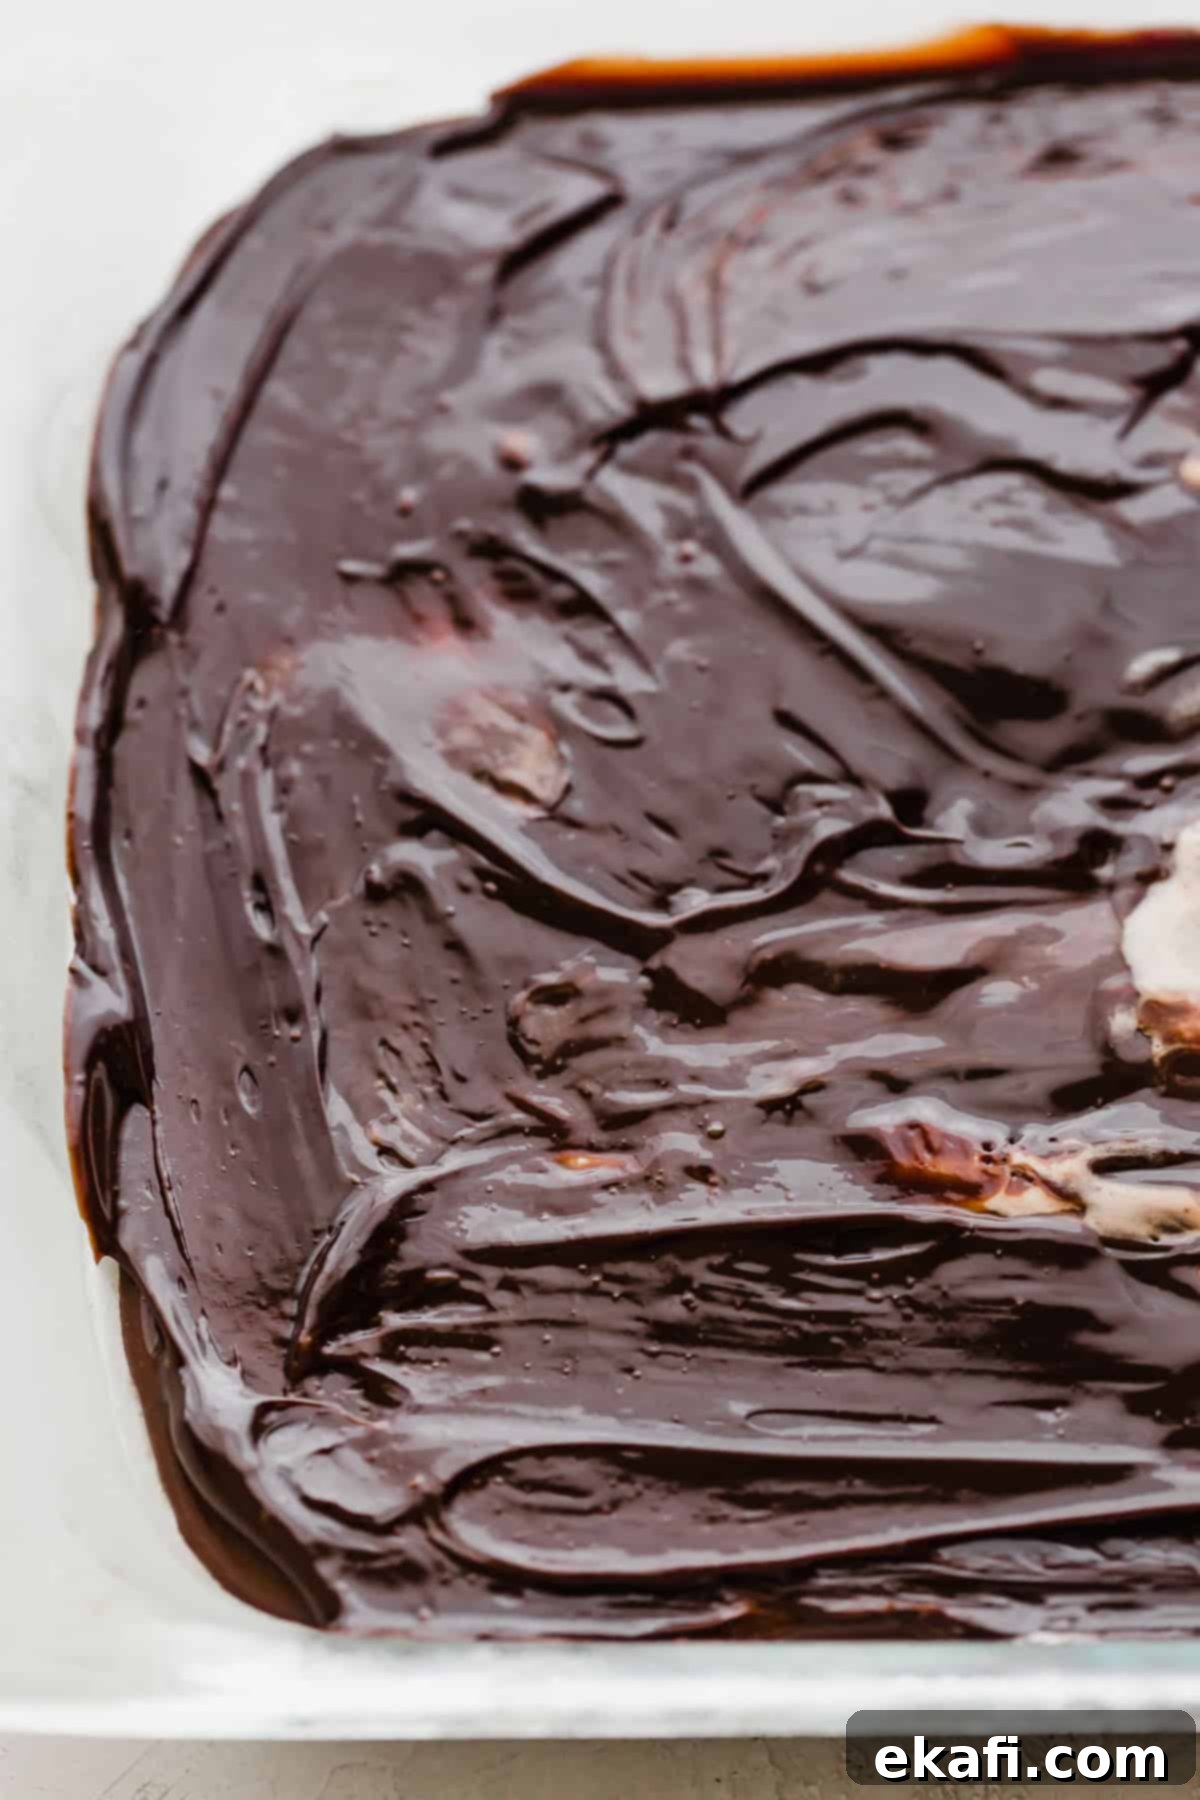
- Spread the Warmed Hot Fudge: Once the ice cream layer is firm, remove the dish from the freezer. Ensure your hot fudge is warm enough to spread smoothly. If it’s too thick, gently heat it in the microwave in short bursts, stirring frequently, until it reaches a pourable but not runny consistency. Spread the warm fudge evenly over the frozen ice cream layer, creating a decadent, smooth blanket. Immediately return the dish to the freezer for at least 1 hour to allow the fudge to set.
- Add the Cool Whip and Final Oreos: Once the fudge layer is firm, retrieve the dish from the freezer. Gently spread the thawed whipped topping (Cool Whip) over the set fudge layer, creating a smooth, airy top. Finally, sprinkle the remaining reserved crushed Oreos evenly over the whipped topping for that signature crunch and visual appeal. Return the cake to the freezer for a final freeze of 3-4 hours, or ideally, overnight, to ensure all layers are perfectly set and easy to slice. Serve cold and enjoy!
Expert Tips for the Best Oreo Ice Cream Cake
To ensure your No-Bake Oreo Ice Cream Cake turns out perfectly every time, keep these valuable tips in mind:
- Don’t Remove the Cream: When crushing the Oreos for the crust and topping, there’s absolutely no need to remove the cream filling from the center. The cream contributes to the delicious flavor and helps bind the crust, so simply crush the full Oreo cookies for maximum convenience and taste.
- Softening the Ice Cream is Key: It’s critical that your ice cream is adequately softened before you attempt to spread it. If it’s too hard, you’ll struggle to create an even layer, and you risk disturbing the Oreo crust. I find it easiest to scoop the hard ice cream into a large mixing bowl and let it sit at room temperature for 15-20 minutes, or gently stir it with a spoon every few minutes until it’s pliable and easily spreadable, like soft-serve.
- Don’t Worry About Minor Melting: When you spread the warm hot fudge over the frozen ice cream, the top layer of ice cream may melt slightly. This is completely normal and perfectly fine! As long as the ice cream underneath is firm, everything will refreeze and set beautifully, resulting in distinct layers.
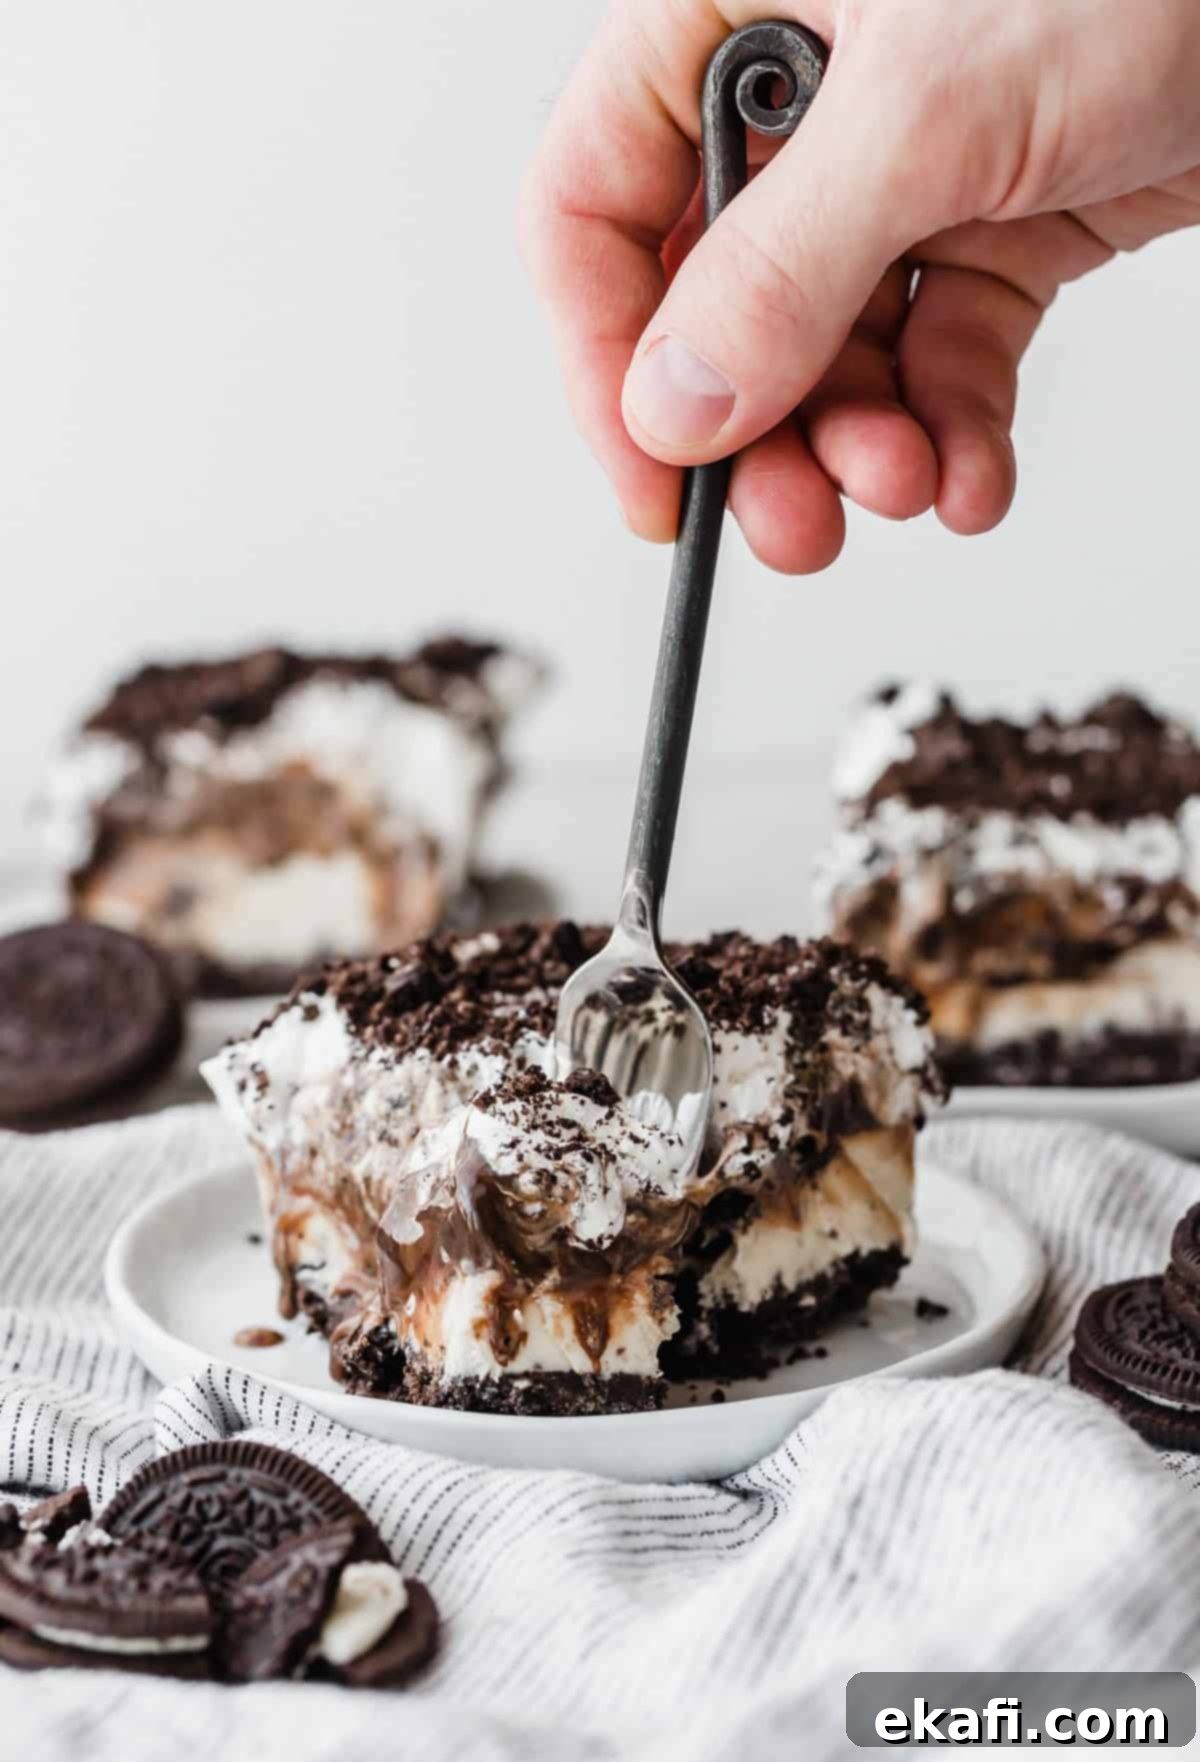
- Thaw Before Serving for Perfect Slices: For the best cutting and eating experience, allow the Oreo Cookies and Cream Ice Cream Cake to thaw slightly before serving. Placing the ice cream cake in the refrigerator for 20-30 minutes prior to serving, or leaving it on the kitchen counter at room temperature for 10-15 minutes, will soften it just enough for a smooth, effortless slice.
- Achieve Clean Slices with a Warm Knife: To create beautifully clean and even slices, a little trick works wonders: place a serrated knife in a tall glass filled with hot water for about 30 seconds. Wipe the blade dry, and the warm knife will glide through the frozen cake with ease. Repeat this warming process as needed between slices to maintain perfectly pristine edges.
- Get Creative with Flavors: While cookies ‘n cream ice cream is classic, feel free to experiment with different ice cream flavors to customize your cake! Imagine the possibilities with chocolate chip cookie dough ice cream, refreshing raspberry ice cream, or vibrant mint chip ice cream. Each variation would offer a unique and delicious twist!
- Transform Leftovers into a Milkshake: Should you be lucky enough to have any leftovers of this fantastic ice cream cake, don’t let them go to waste! Add a generous slice of the cake along with a splash of milk to a blender. Blend for 15-20 seconds, or until you achieve a thick, smooth milkshake consistency. You’ve just instantly created the most amazing Oreo milkshake, a delightful bonus treat!
Make Ahead, Storing, and Freezing Your Oreo Ice Cream Cake
This Oreo Ice Cream Cake is ideally suited for advance preparation, making it a perfect dessert for entertaining or simply for having a delicious treat on hand. Due to the necessary freezing time for each layer to set properly, you absolutely need to make this cake ahead of time.
Once fully assembled and frozen, store the cookies and cream ice cream cake tightly covered in the freezer. For optimal freshness and texture, it will last for up to 7 days. It’s important to note that because the cake contains Cool Whip (a whipped topping), its freezer lifespan is slightly shorter than ice cream cakes made without whipped cream or similar dairy components. Ensure it’s wrapped in plastic wrap and then aluminum foil, or stored in an airtight container, to prevent freezer burn and maintain its delicious quality.
Frequently Asked Questions About Oreo Ice Cream Cake
Yes, it is highly recommended to make this delightful dessert at least one day in advance. The primary reason is to allow ample time for all the layers to freeze completely and meld together. Giving it the full 4 hours (or ideally, overnight) of freezer time after it’s been fully assembled ensures that each layer holds its shape perfectly, making it much easier to slice and serve without any mess or structural issues.
Generally, an ice cream cake containing whipped cream, as this one does with Cool Whip, will last for 5-7 days in the freezer when properly covered. If an ice cream cake does not contain whipped cream, cream cheese, eggs, or butter in its top layers, it can potentially last for up to 2 months. However, since this cookies ‘n cream ice cream cake features a delicious whipped topping layer, adhering to the 5-7 day guideline will ensure the best possible texture and flavor.
Absolutely, you can! While I highly recommend making homemade hot fudge for its superior flavor and texture, a good quality store-bought hot fudge works perfectly fine for convenience. Just ensure you warm it slightly before spreading to achieve that smooth, even layer over the ice cream.
The most common reason for difficulty in spreading the ice cream is that it is too frozen. For easy and even spreading, you want the ice cream to be softened, much like soft-serve. If your ice cream is too hard, let it sit out at room temperature for a little bit longer, or transfer it to a large bowl and stir gently, until it reaches that ideal spreadable consistency. Patience here ensures a beautiful, uniform layer.
Yes, you can adapt this recipe to other pan sizes, but you might need to adjust the ingredient quantities and freezing times. For instance, if using a smaller square pan (like an 8×8 or 9×9 inch), you might get a thicker cake and need slightly less of each ingredient, or it could result in more servings. For a round springform pan, ensure the base is securely lined to prevent leakage. Always ensure each layer is fully frozen before adding the next to maintain distinct layers.
More Delightful Frozen Recipes to Try
If you’ve fallen in love with this Oreo Ice Cream Cake, you’ll surely enjoy these other fantastic frozen treats and desserts:
- Reese’s Blizzard
- Cookies and Cream Cookies (Not frozen, but a classic combo!)
- Christmas Ice Cream Cake
Did you make this recipe? I’d absolutely love to hear about your experience! Leave a rating and review right here on the blog, or scroll down below the recipe card to share your thoughts. Your feedback means a lot!
Stay up-to-date with all our latest delicious creations by following us on Instagram, TikTok, Facebook, and Pinterest. Don’t miss out on your next favorite recipe!
Print
SaveSaved!
Review
Oreo Ice Cream Cake
Ingredients
- 39 Oreo cookies – crushed (no need to remove cream)
- 4 tablespoons unsalted butter – melted
- 1.75 quarts Cookies ‘n Cream ice cream – softened to spreadable consistency
- 24 oz jar of hot fudge – warm, or homemade hot fudge sauce
- 8 oz whipped topping – thawed (like Cool Whip)
Instructions
-
In a medium-sized bowl, combine all but 2/3 cup of the crushed Oreos with the melted butter. Stir well until the crumbs are evenly moistened.
-
Press this Oreo and butter mixture firmly into the bottom of a 13×9” casserole dish to form your crust.
-
Evenly spread the softened cookies ‘n cream ice cream over the Oreo crust. Place the dish in the freezer for 2-3 hours, or until the ice cream is completely firm.
-
Remove the dish from the freezer and drizzle the warm fudge over the firm ice cream layer, spreading it gently into an even coat. Freeze for another 1 hour to set the fudge.
-
Once the fudge is set, spread the thawed whipped topping evenly over the fudge layer. Sprinkle the remaining 2/3 cup of crushed Oreos over the top for garnish.
-
Return the cake to the freezer for a final freeze of 3-4 hours, or ideally overnight, until it is completely solid.
-
Before serving, refer to the “Recipe Tips” section for advice on thawing and slicing. Enjoy your spectacular Oreo Ice Cream Cake!
Notes
Store the cake tightly covered in the freezer for up to 7 days. If you have leftovers, blend a slice with milk for an instant, delicious Oreo milkshake!
Nutrition
