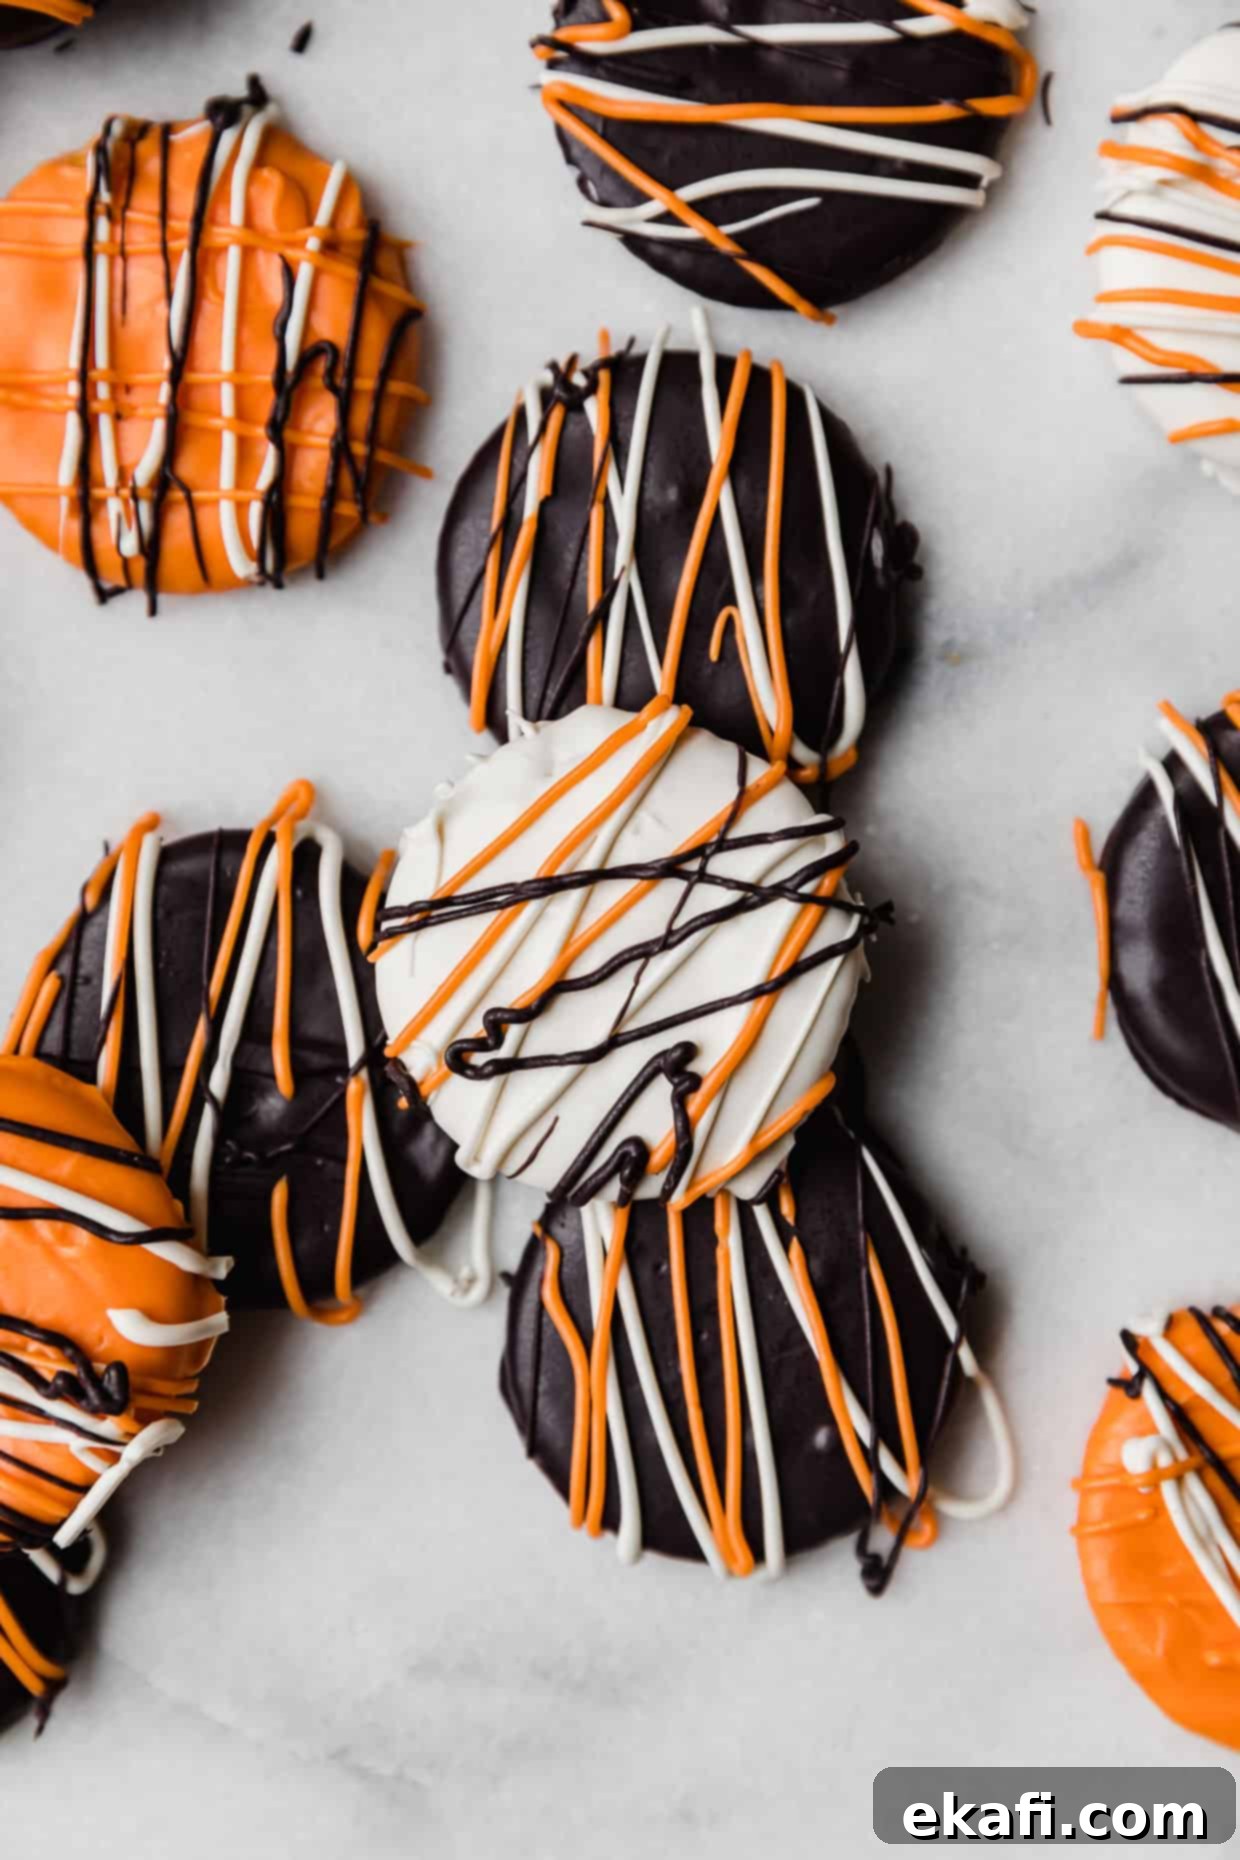
Spooky & Sweet Halloween Crackers: Easy Chocolate Dipped Ritz Treats for Festive Fun!
As the crisp autumn air settles in and the leaves begin to turn, October brings with it the undeniable excitement of Halloween! It’s a time for carving pumpkins, dressing up in imaginative costumes, and, of course, indulging in deliciously spooky treats. These vibrant orange, black, and white Halloween Crackers are the perfect festive sweet and salty snack to celebrate the season. They are incredibly easy to make, require minimal ingredients, and won’t break the bank, making them an ideal project for busy parents and a delightful surprise for your little ghosts and goblins.
When the calendar flips to October, my home transforms into a hub of Halloween cheer. Beyond the classic spooky decorations, I love to get creative in the kitchen, whipping up themed treats that add an extra layer of magic to the holiday. Alongside these delightful Halloween crackers, you might enjoy exploring other fun, spooky Halloween recipes like the adorable Mummy Hot Dogs, delightfully gooey Halloween Dirt Cups, or the irresistible Halloween Oreo Balls. All these recipes are designed to be super easy, ensuring your Halloween celebrations are special without any added stress!
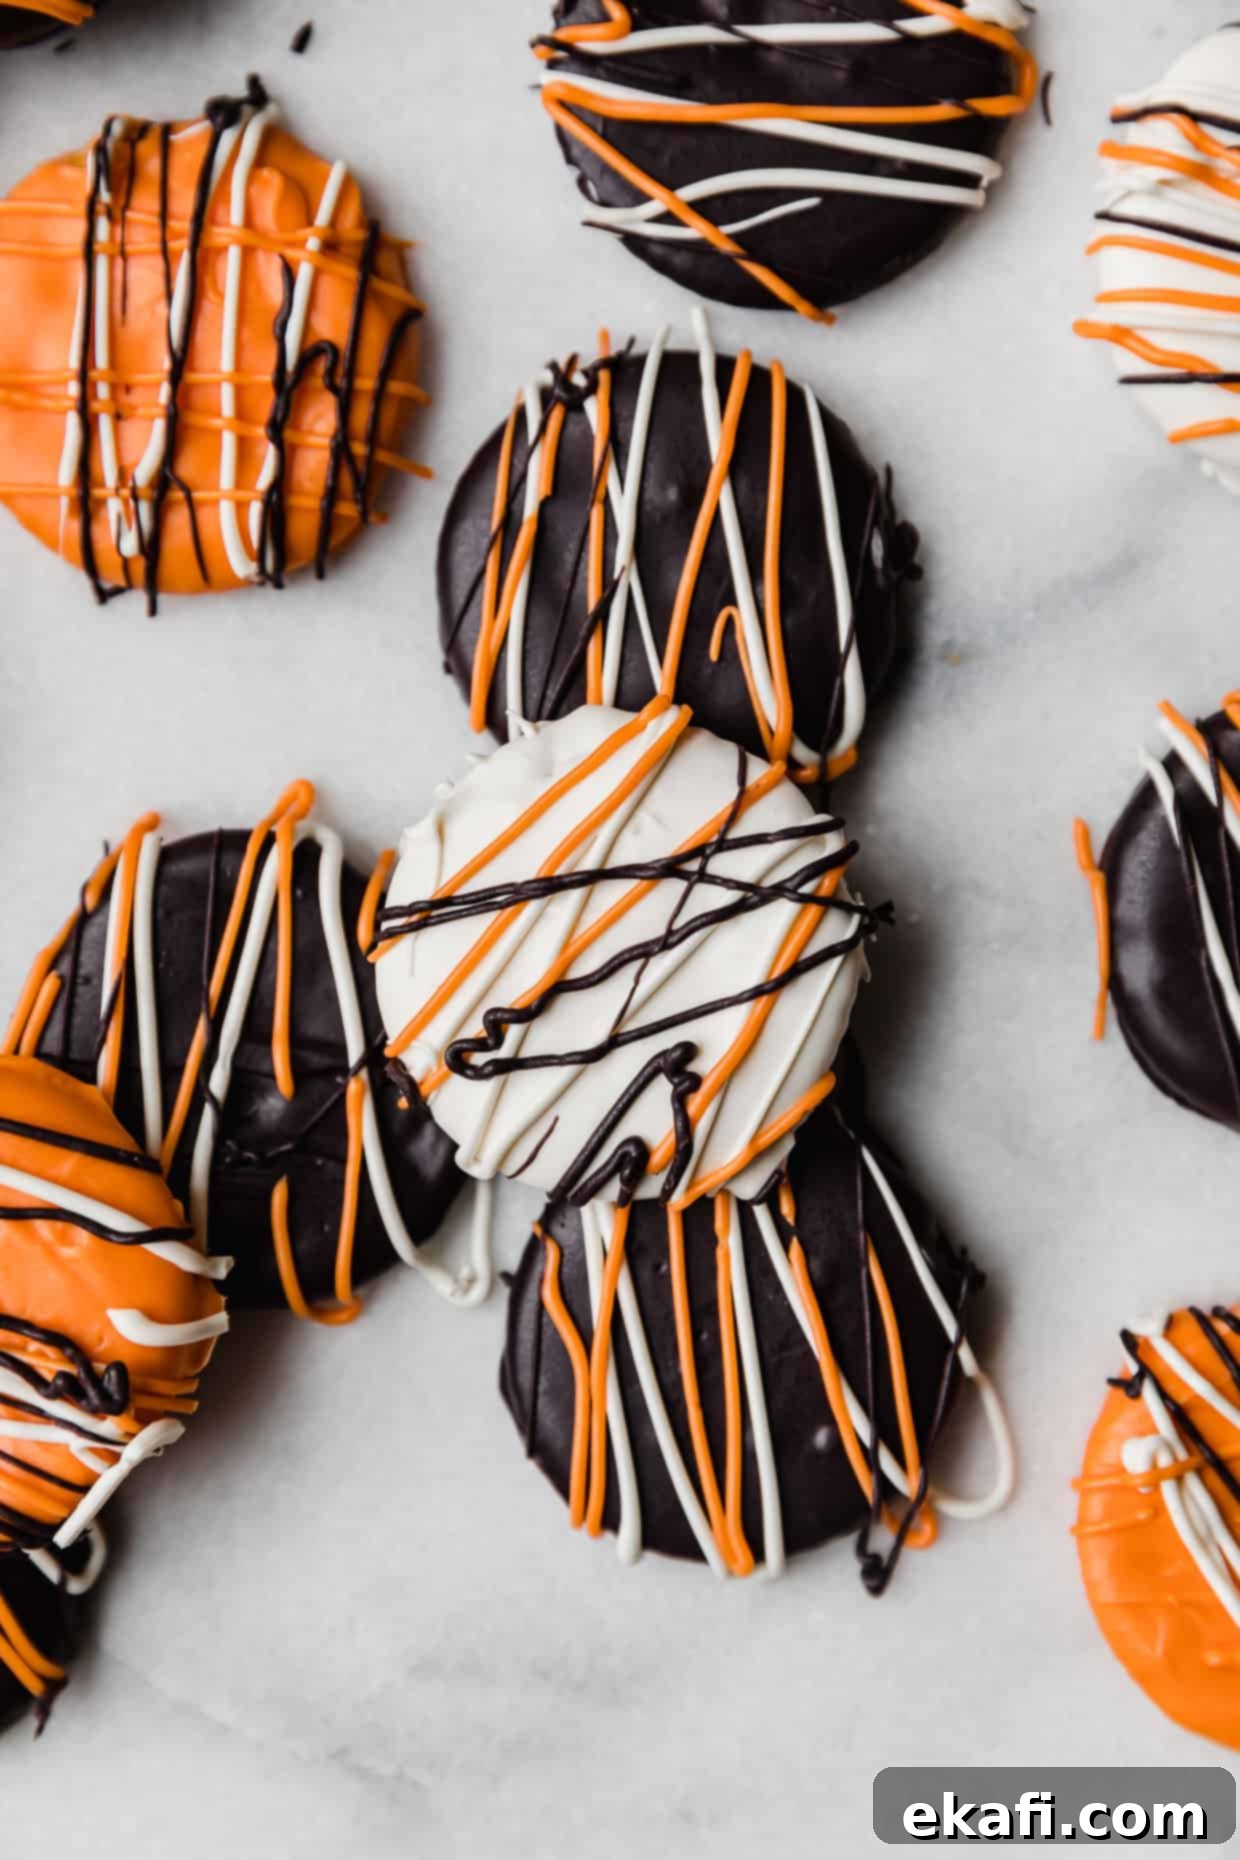
Why These Halloween Crackers Are a Must-Make!
- Effortlessly Easy Halloween Snack: Say goodbye to complicated baking! These chocolate-dipped Ritz crackers are incredibly simple to make, requiring minimal effort and time. You can easily elevate your Halloween festivities with these fun, eye-catching treats, perfect for a quick snack or a last-minute party contribution.
- Unleash Your Creativity with Designs: The beauty of this recipe lies in its versatility. You can transform these plain crackers into an array of spooky characters. We’ve even included tips and inspiration to help you create enchanting Halloween spider crackers, cute mummy treats, or grinning jack-o’-lanterns. They’re fantastic for snack time, school parties, or a festive dessert table.
- A Delightful Kid-Friendly Halloween Recipe: This recipe is a huge hit with kids! My son absolutely loved dipping his favorite crackers into the colorful chocolate and helping to drizzle on the decorations. It’s a fantastic, hands-on activity that gets children excited about the fall season and the rapidly approaching Halloween holiday. It’s not just a treat; it’s a memorable experience!
- Budget-Friendly Fun: You don’t need expensive ingredients or tools to create these impressive Halloween crackers. With just a few basic items like crackers and candy melts, you can produce a large batch of treats without breaking the bank, leaving more room in your budget for costumes and candy!
- Perfect for Any Halloween Occasion: Whether you’re hosting a big Halloween bash, preparing treats for a school event, or simply want a special snack for your family movie night, these crackers fit the bill. Their individual size makes them easy to serve and enjoy, and their vibrant colors instantly add a festive touch.
Essential Ingredients for Your Spooky Crackers
One of the best things about these Halloween crackers is the simplicity of the ingredient list. You only need a couple of main components, allowing for endless customization and creative flair.
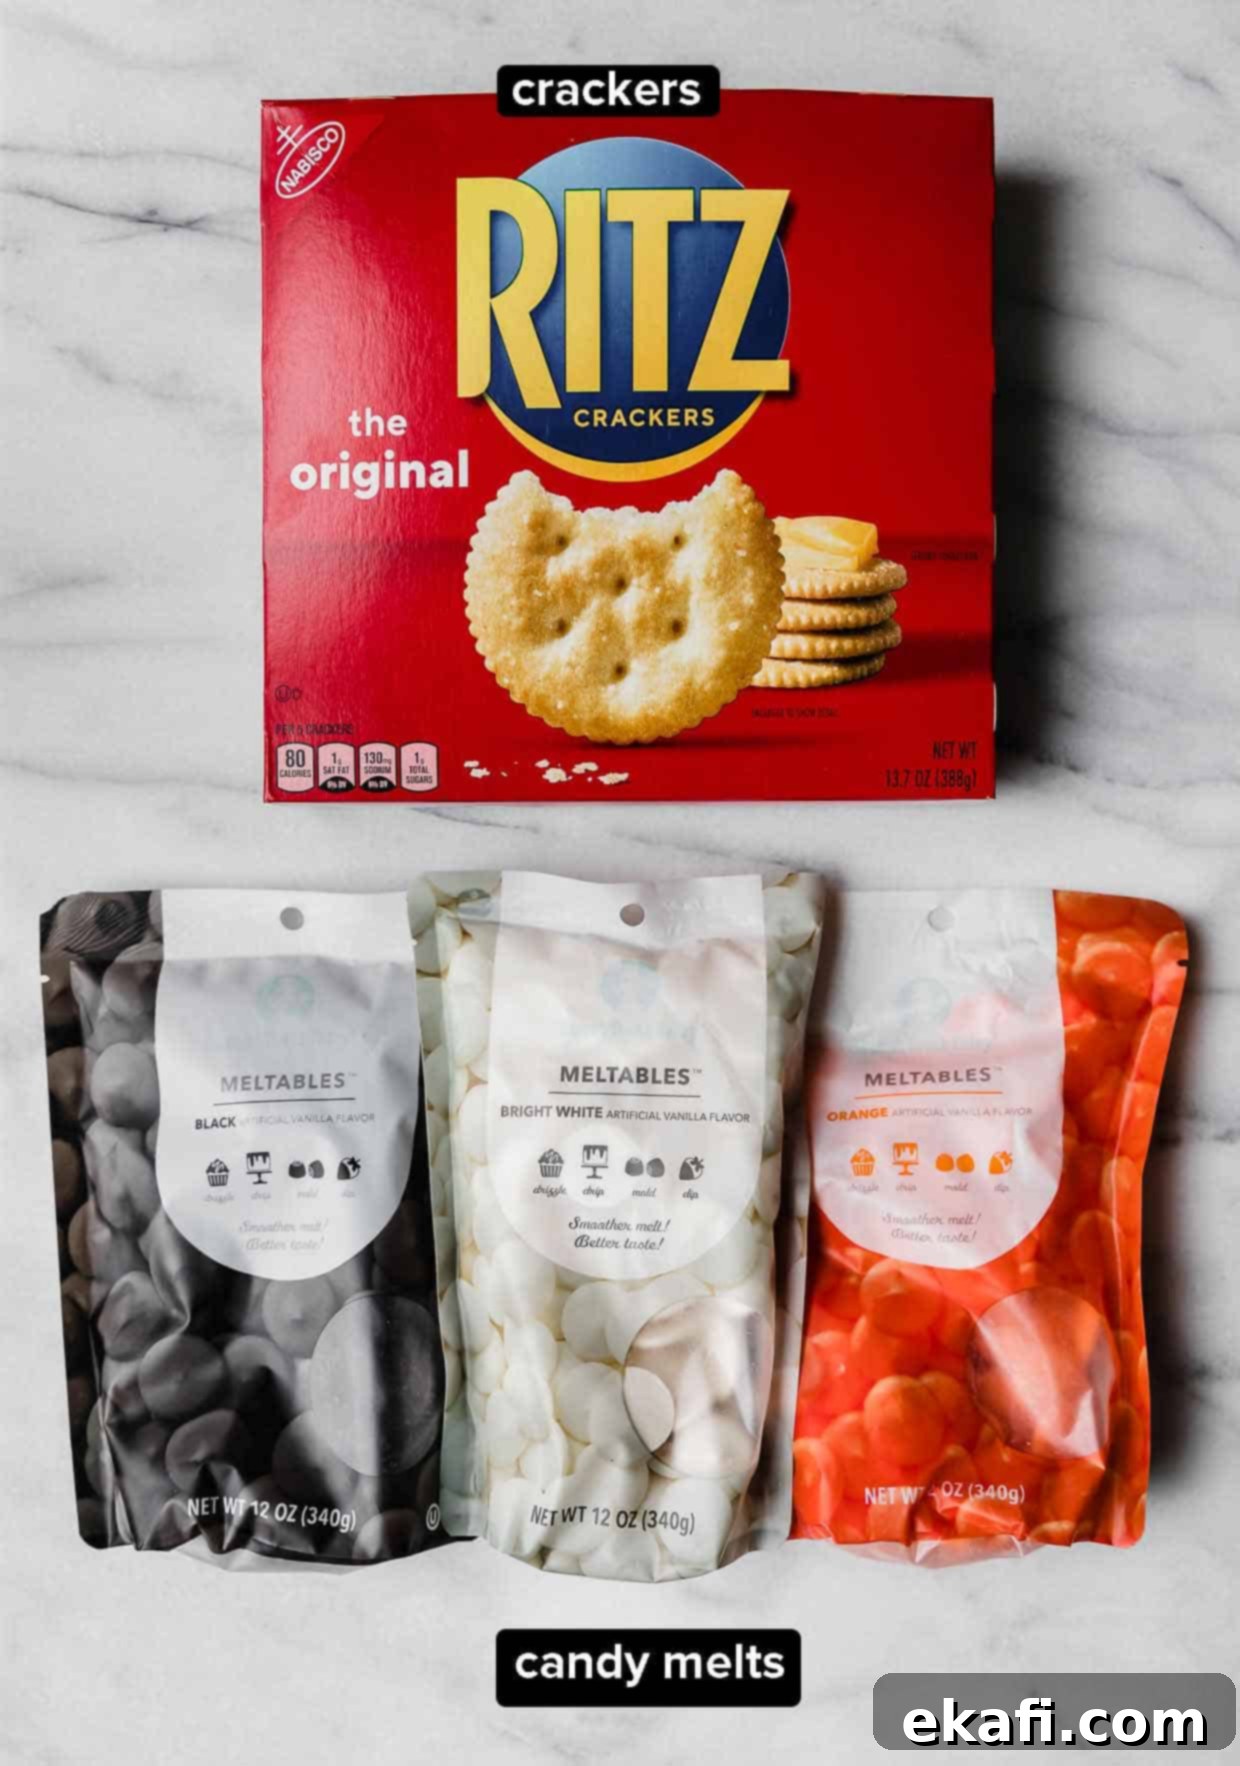
- Candy Melts: These are your secret weapon for vibrant colors and easy melting! Candy melts are specifically designed to melt smoothly and harden quickly, making them perfect for dipping and decorating. While we used classic Halloween colors like orange, black, and white for a pumpkin-like look, feel free to get creative! You could opt for a combination of purple, black, and white for a witch-themed treat, or even green, black, and purple for a monstrous vibe. You can typically find candy melts at craft stores, baking supply shops, or even in the baking aisle of larger supermarkets.
- Ritz Crackers: The classic buttery, slightly salty flavor of Ritz crackers provides the perfect contrast to the sweet candy coating. Their round shape also makes them ideal for drawing faces and turning into various Halloween characters. This recipe is easily scalable – use more or fewer Ritz crackers depending on how many spooky treats you need to make! While Ritz are recommended, you can experiment with other plain crackers, though the flavor and shape might alter the final look and taste.
- Optional Decorating Touches: Don’t forget the fun extras! Halloween sprinkles, edible googly eyes, or even small chocolate chips can add extra charm and personality to your crackers.
Crafting Your Spooky Halloween Crackers: A Simple Guide
Making these Halloween crackers is a quick and enjoyable process. Follow these straightforward steps to create your own batch of festive treats!
- Melt the Candy Melts: Place your chosen colored candy melts into separate microwave-safe bowls. It’s crucial to melt them gently to prevent burning or seizing. Microwave the melts in 30-second intervals, stirring thoroughly after each interval until the chocolate is smooth and completely melted. This gradual approach ensures an even, silky texture, perfect for dipping.
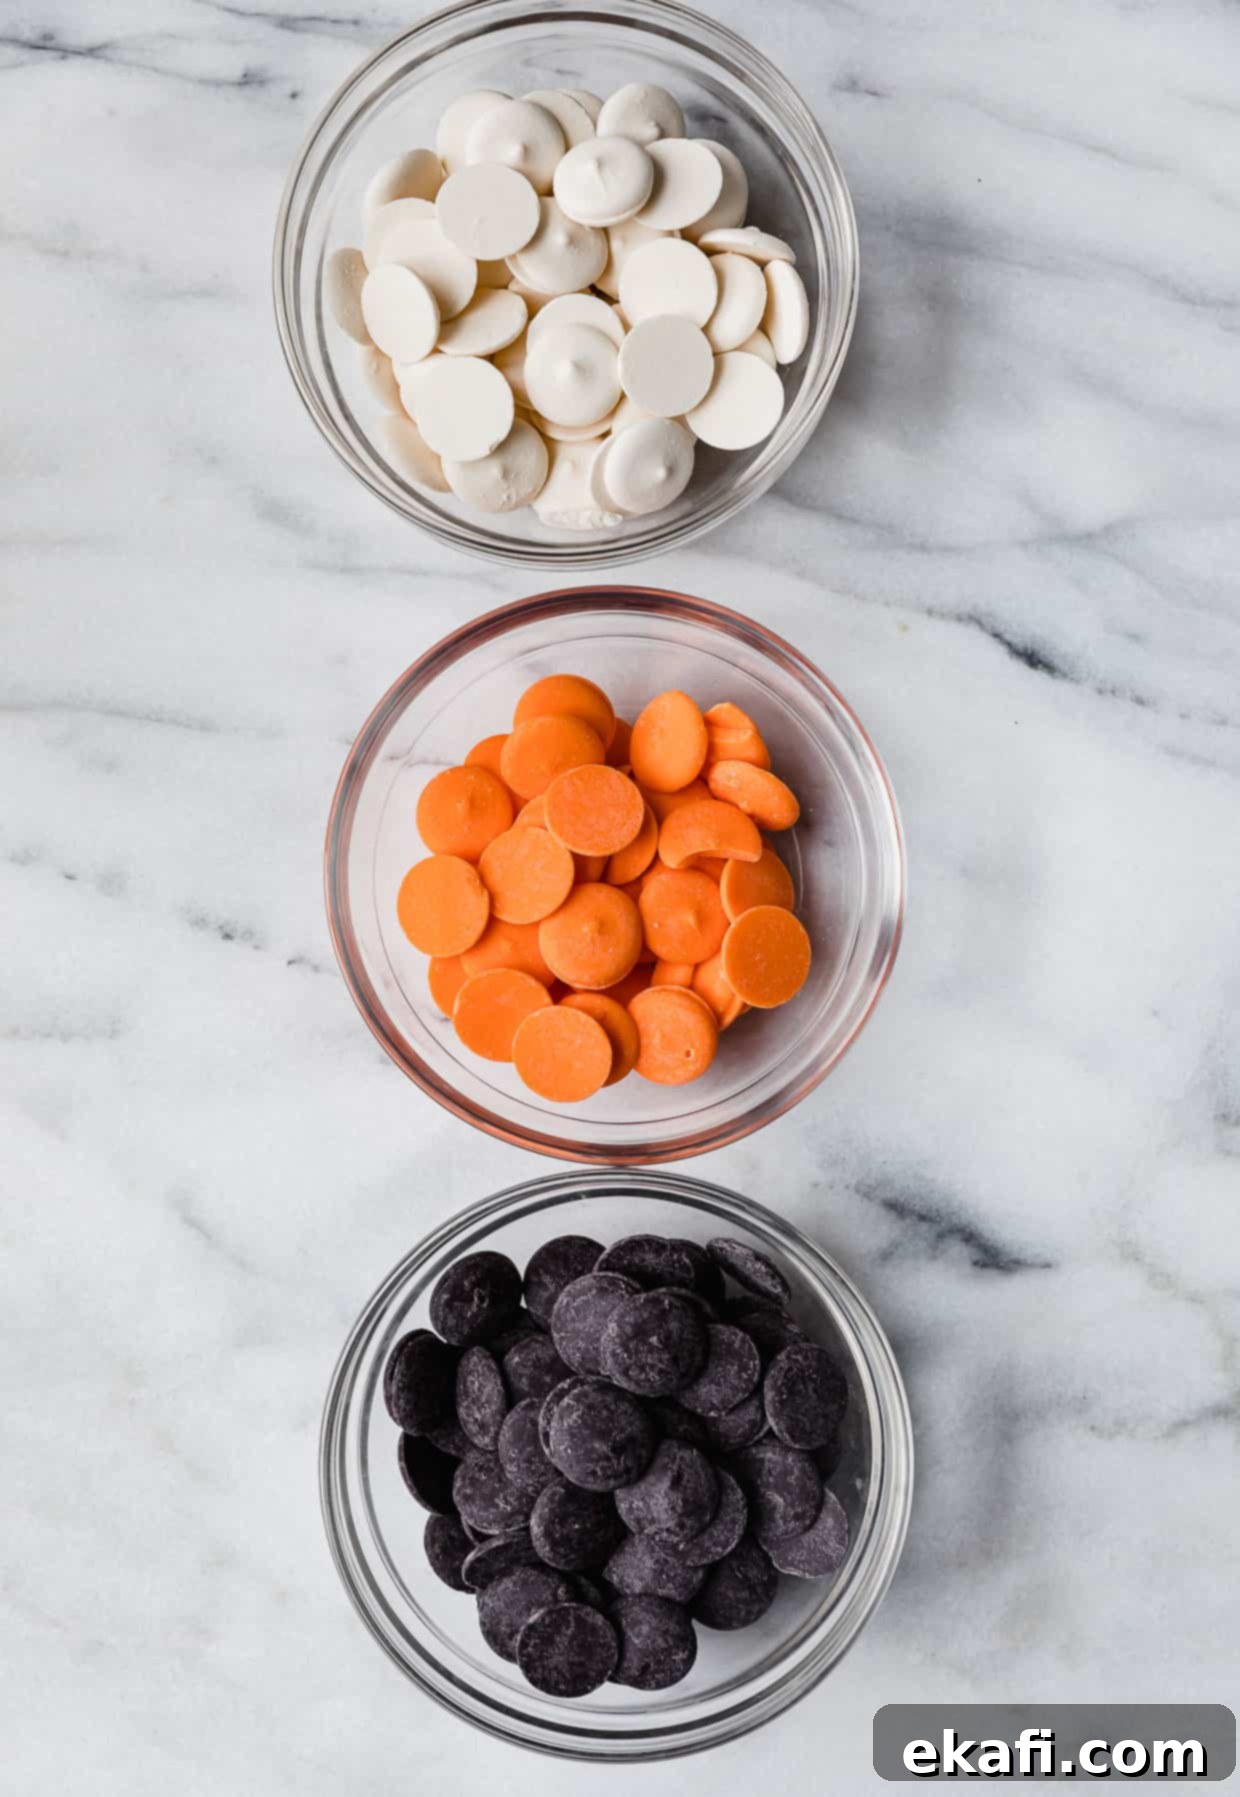
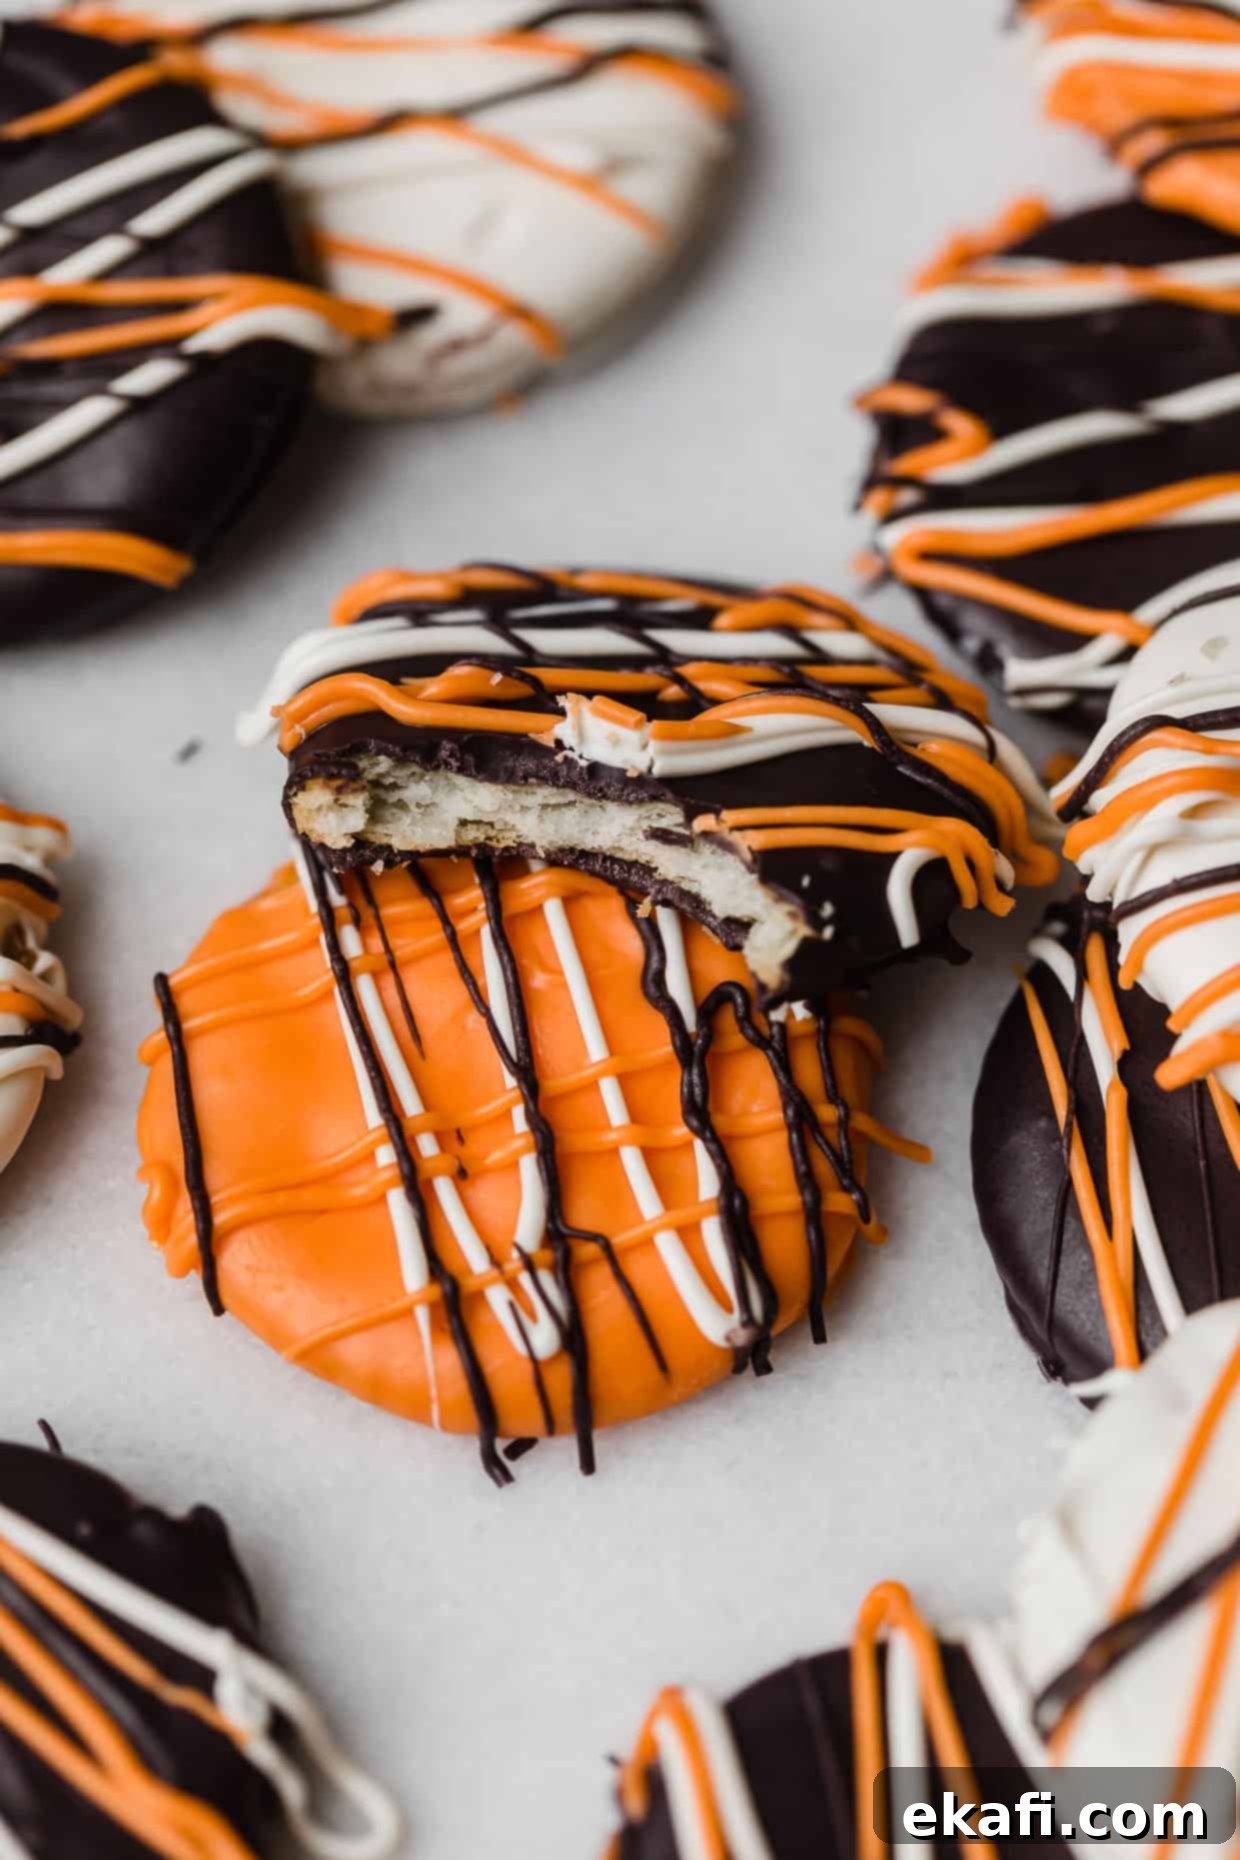
- Dip the Ritz Crackers: Once your chocolate is perfectly melted and smooth, gently dip each Ritz cracker into the bowl. Use a fork or a dipping tool to fully coat the cracker, ensuring an even layer of chocolate. Lift the cracker and tap it gently against the edge of the bowl to remove any excess chocolate. This prevents pooling and creates a neater finish. Carefully place the chocolate-coated crackers onto a sheet of wax paper or parchment paper. Allow them to set at room temperature, or for faster results, pop them into the refrigerator for 10-15 minutes until the chocolate is firm.
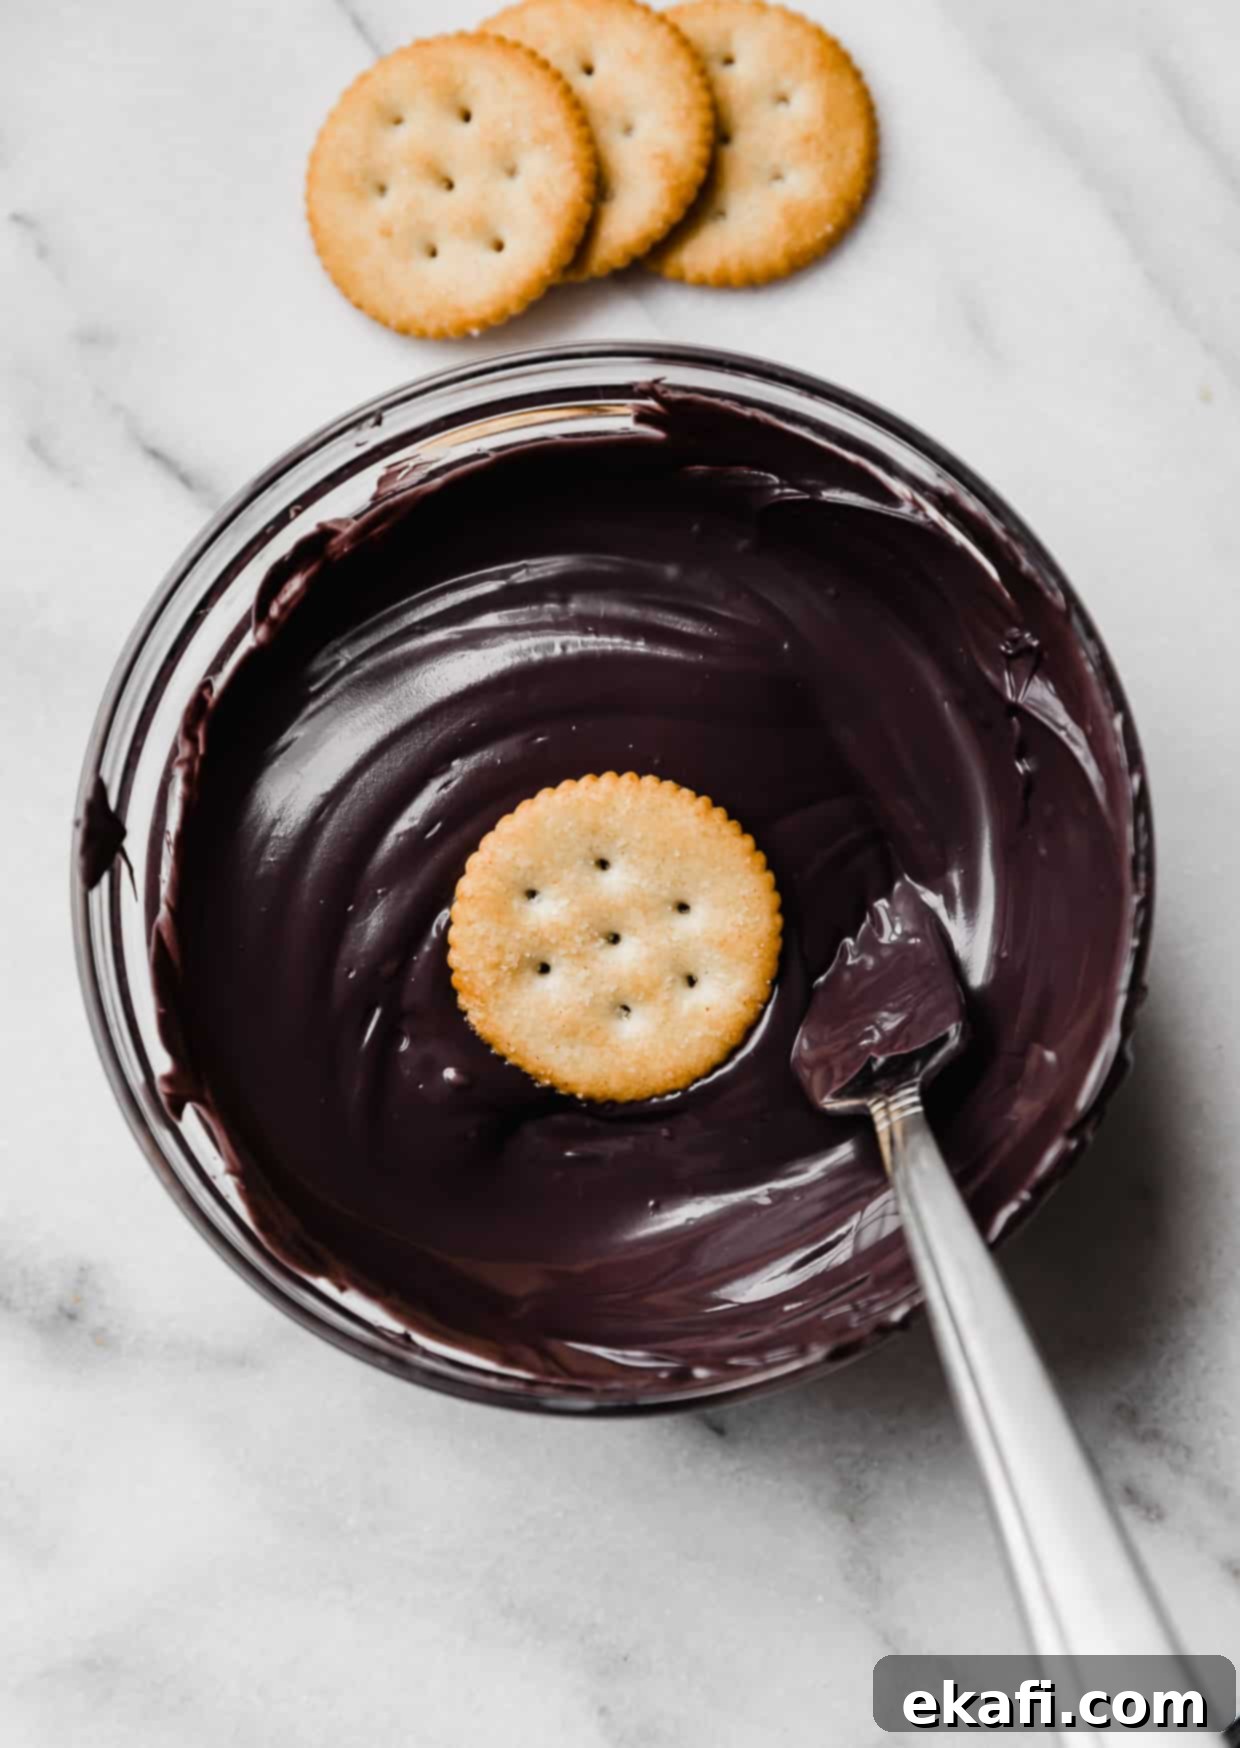
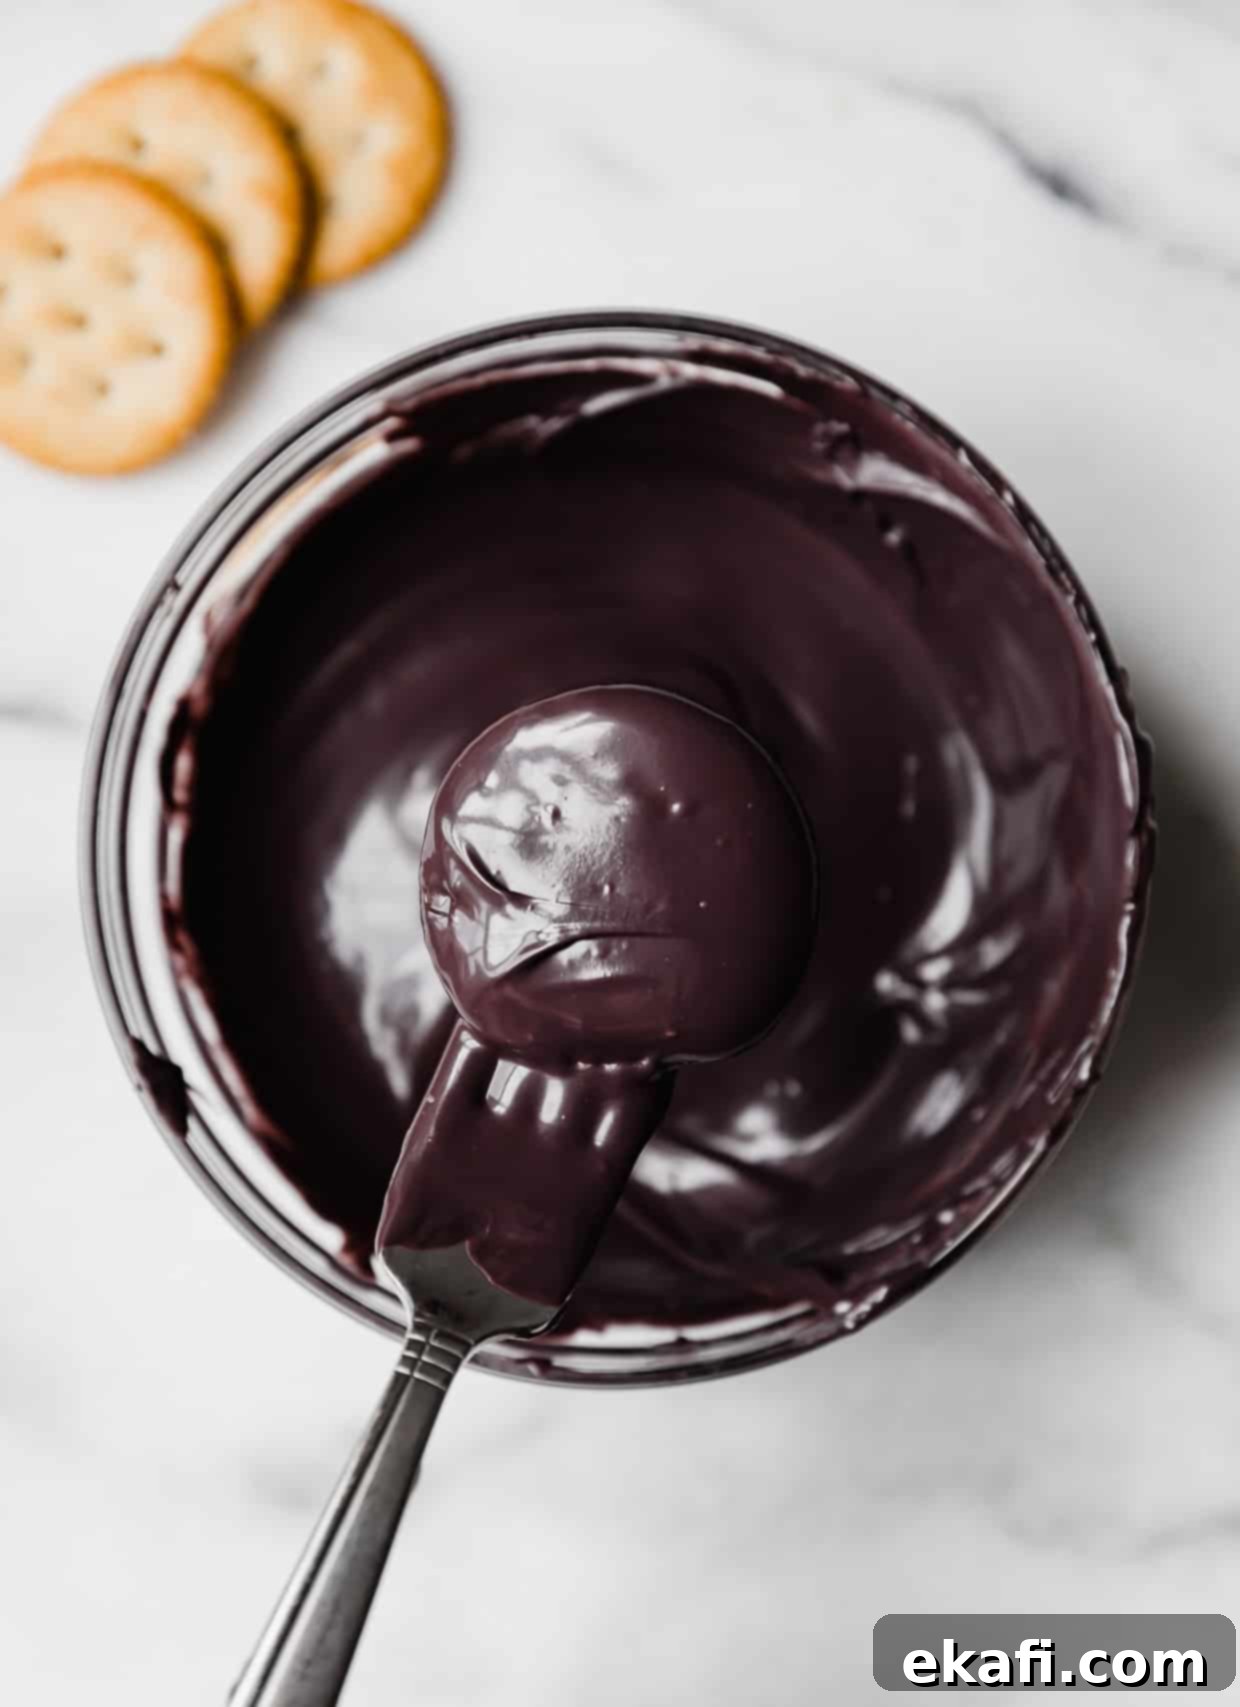
- Drizzle or Decorate with Flair: This is where the real fun begins! Once your dipped crackers have set, melt additional candy melts for decorating. Transfer the melted chocolate to a piping bag or a ziplock bag with a tiny corner snipped off for precise lines.
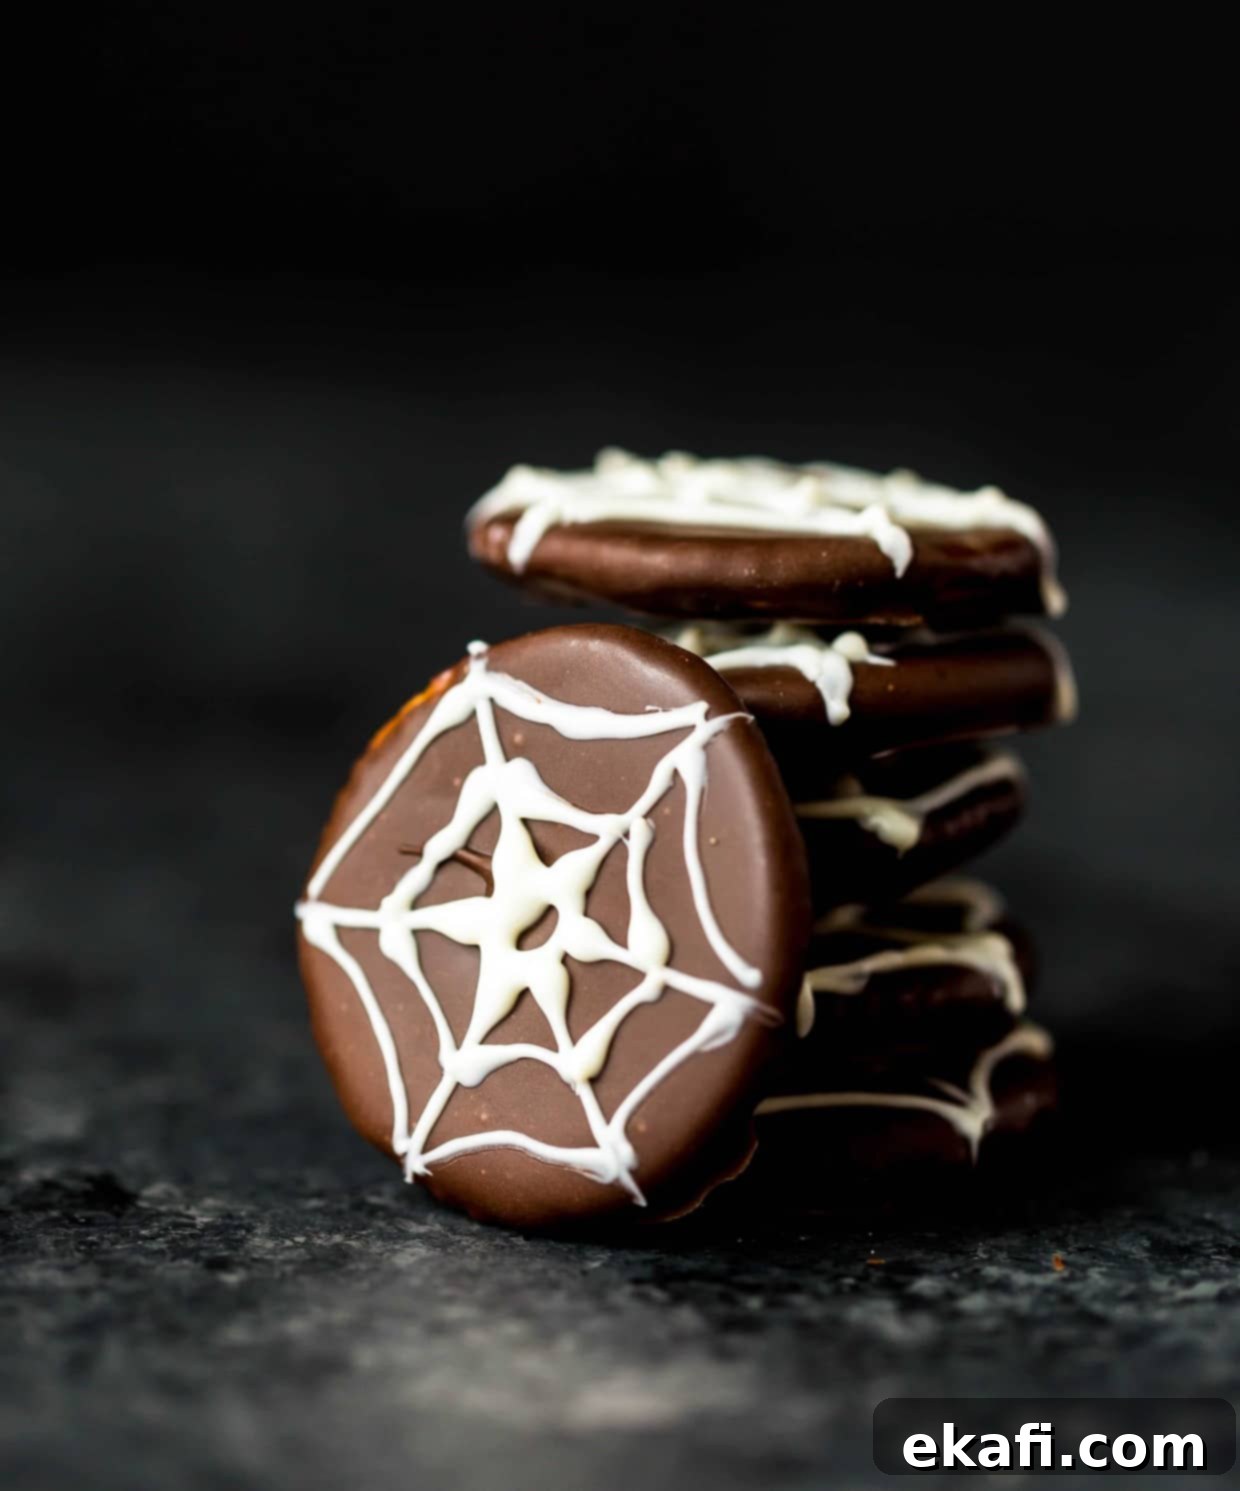
- Spider Crackers: On black-dipped crackers, use white candy melts to draw intricate spider webs.
- Mummy Crackers: Dip crackers in black chocolate, then drizzle thin lines of white candy melt back and forth, leaving a small space for two dots of black for eyes.
- Pumpkin Crackers: Dip crackers in orange chocolate. Once set, use black or white candy melt to draw spooky or silly jack-o’-lantern faces.
- Ghost Crackers: Dip crackers in white chocolate. Once set, use black candy melt to dot on two eyes and a wide, spooky “O” for a mouth.
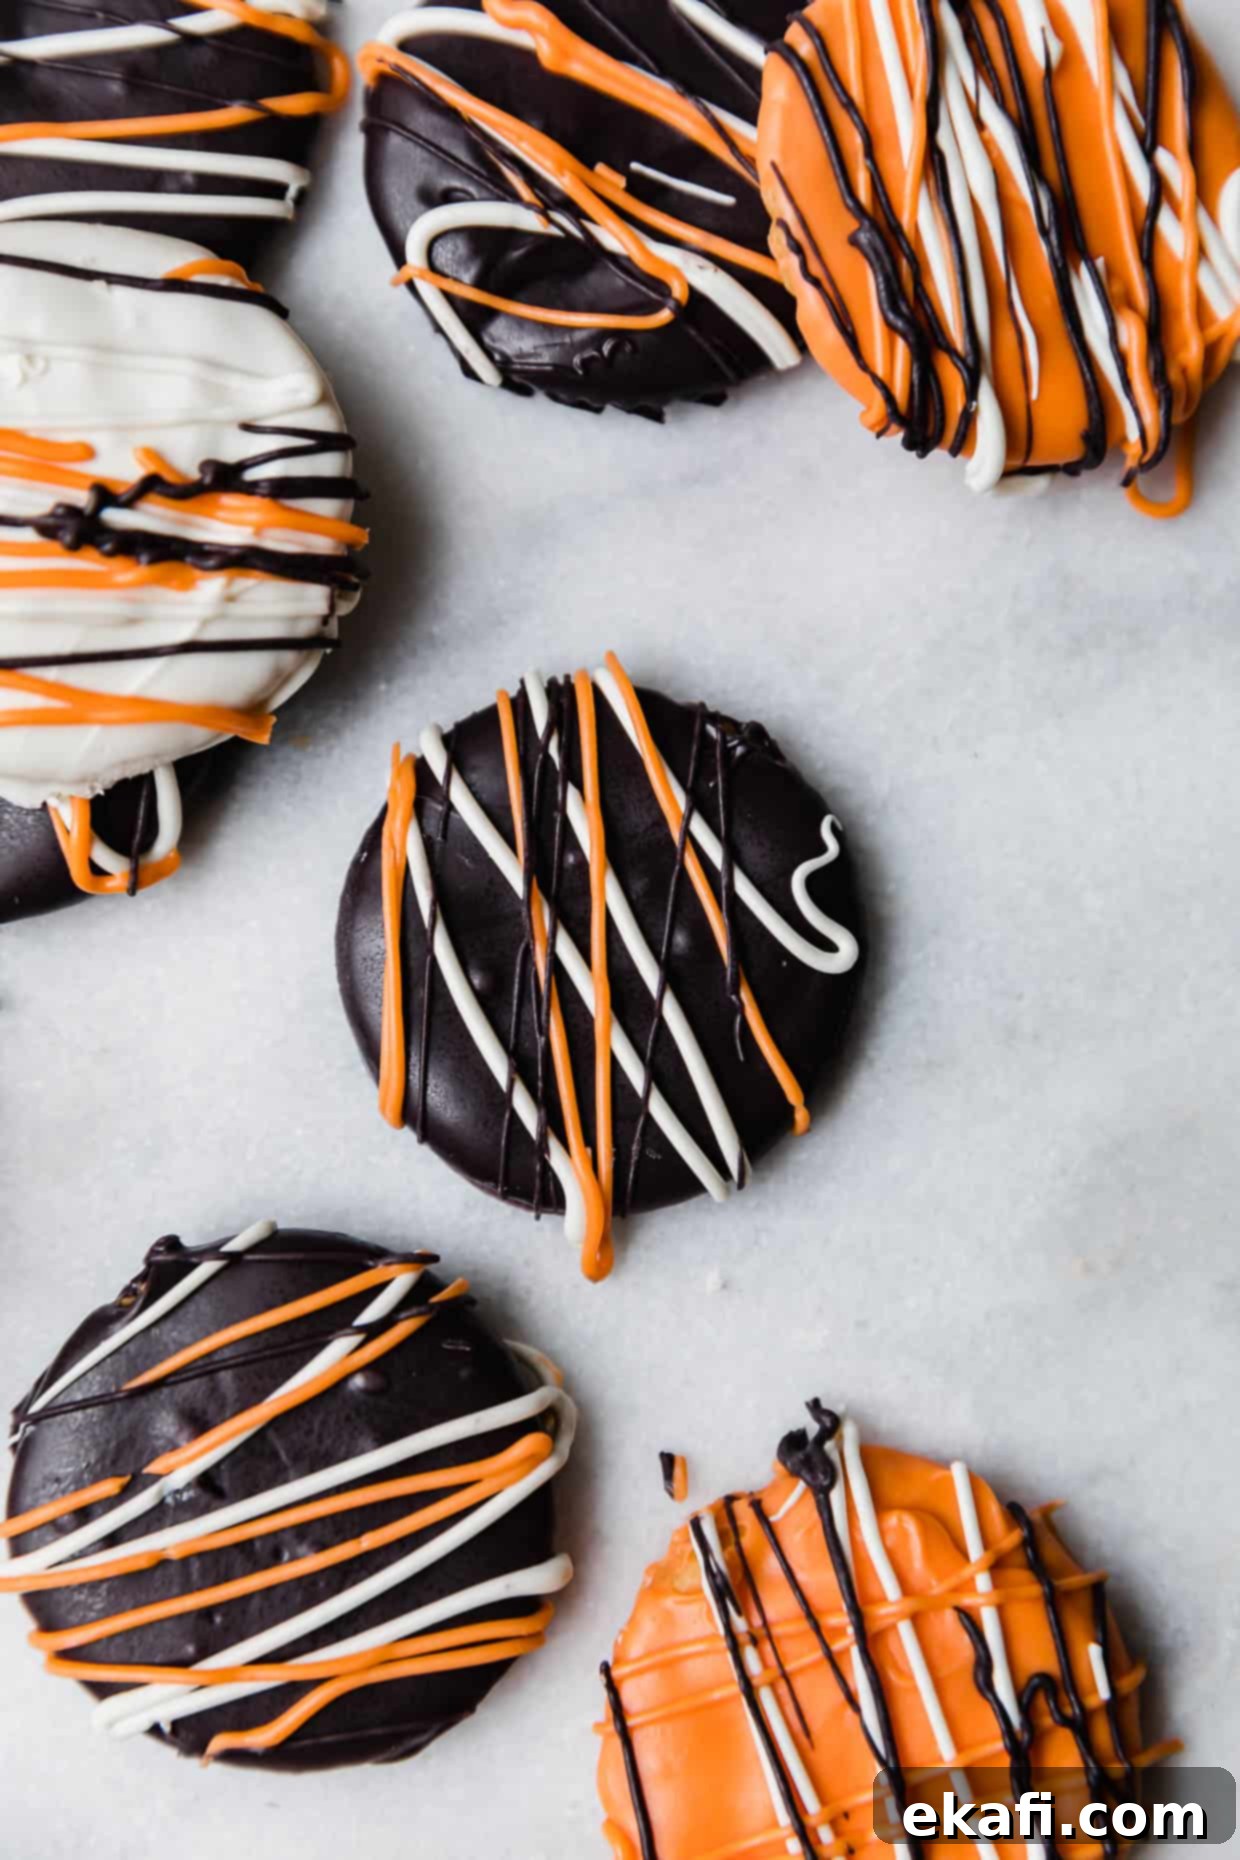
- Simple Drizzle: For something super simple yet elegant, just drizzle contrasting colors over the set crackers.
Let your decorated crackers set again, then they are ready to be devoured!
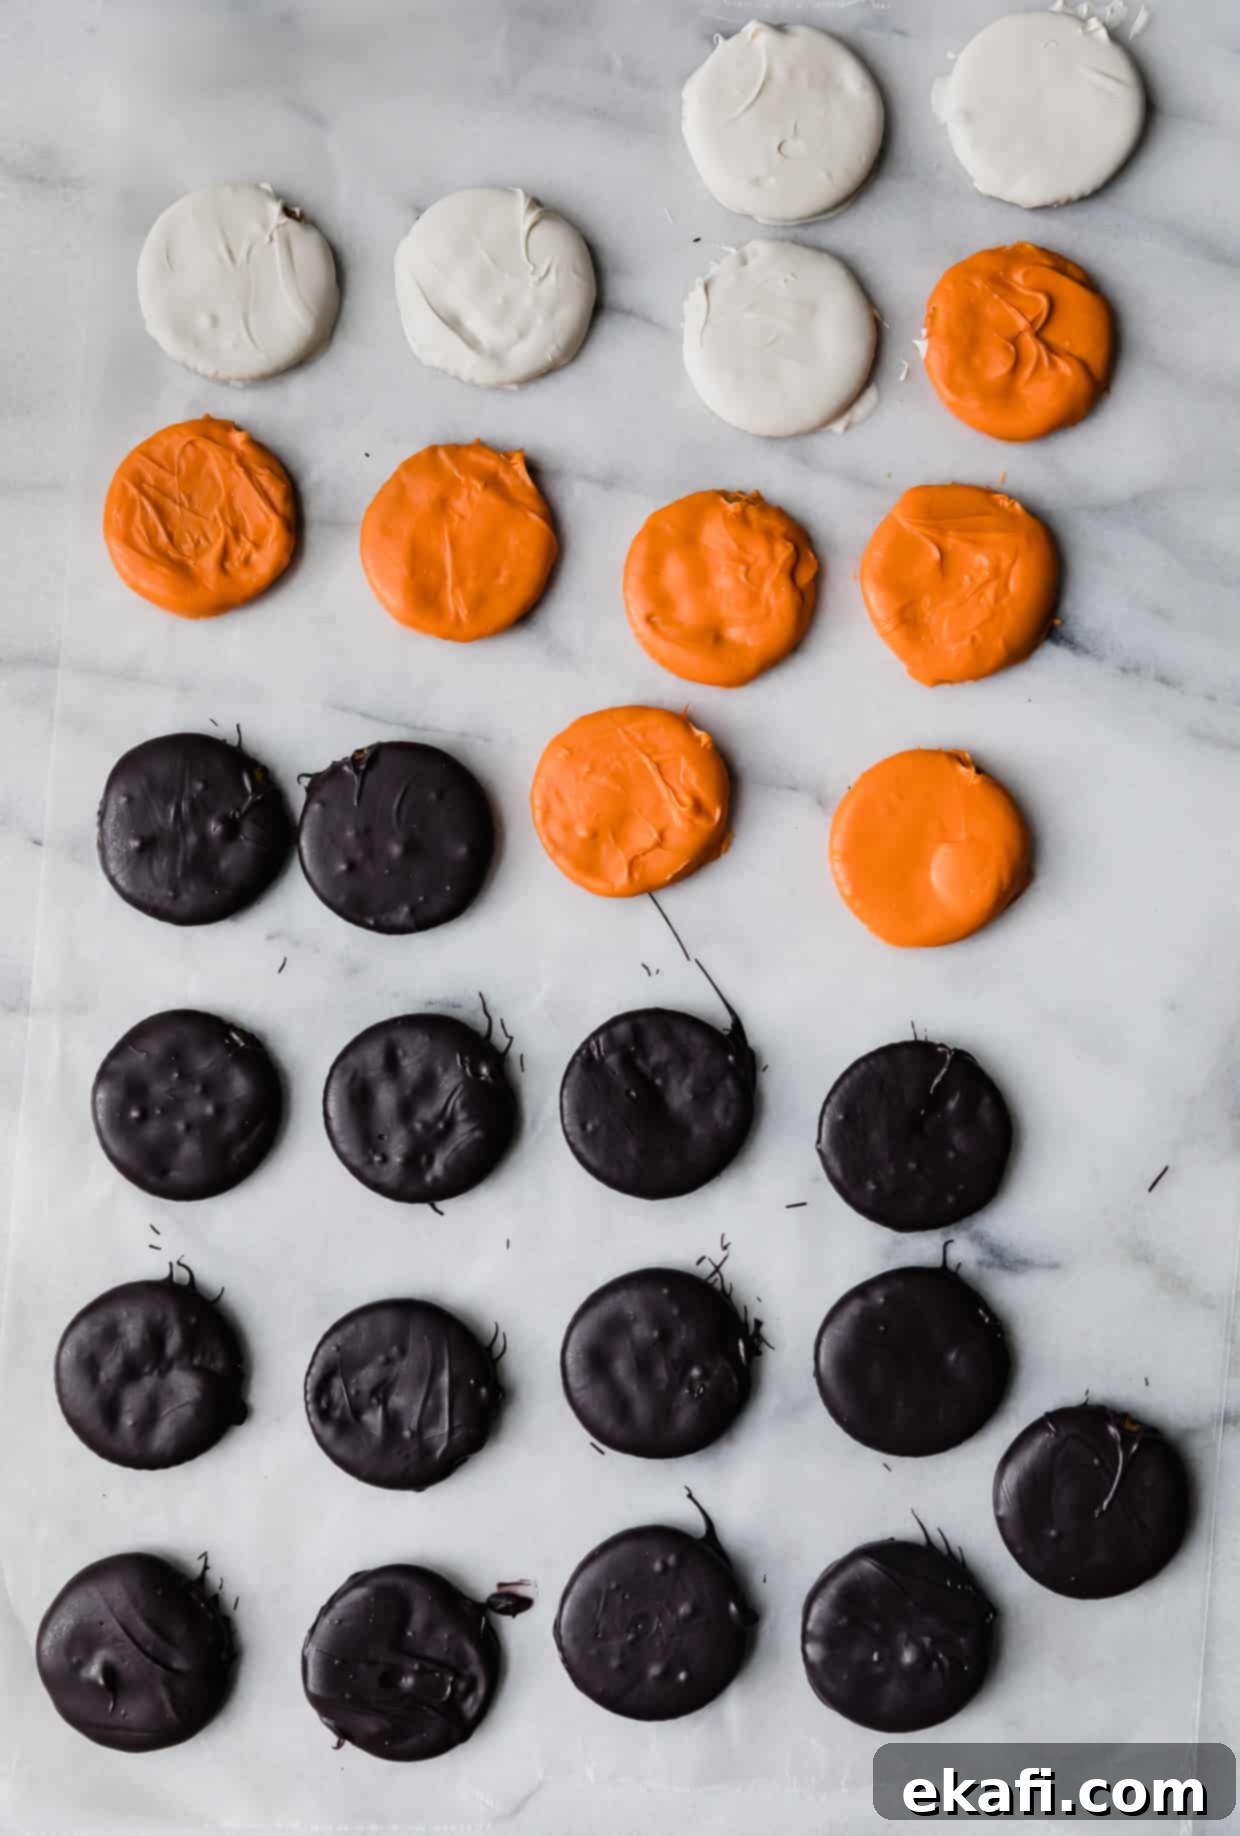
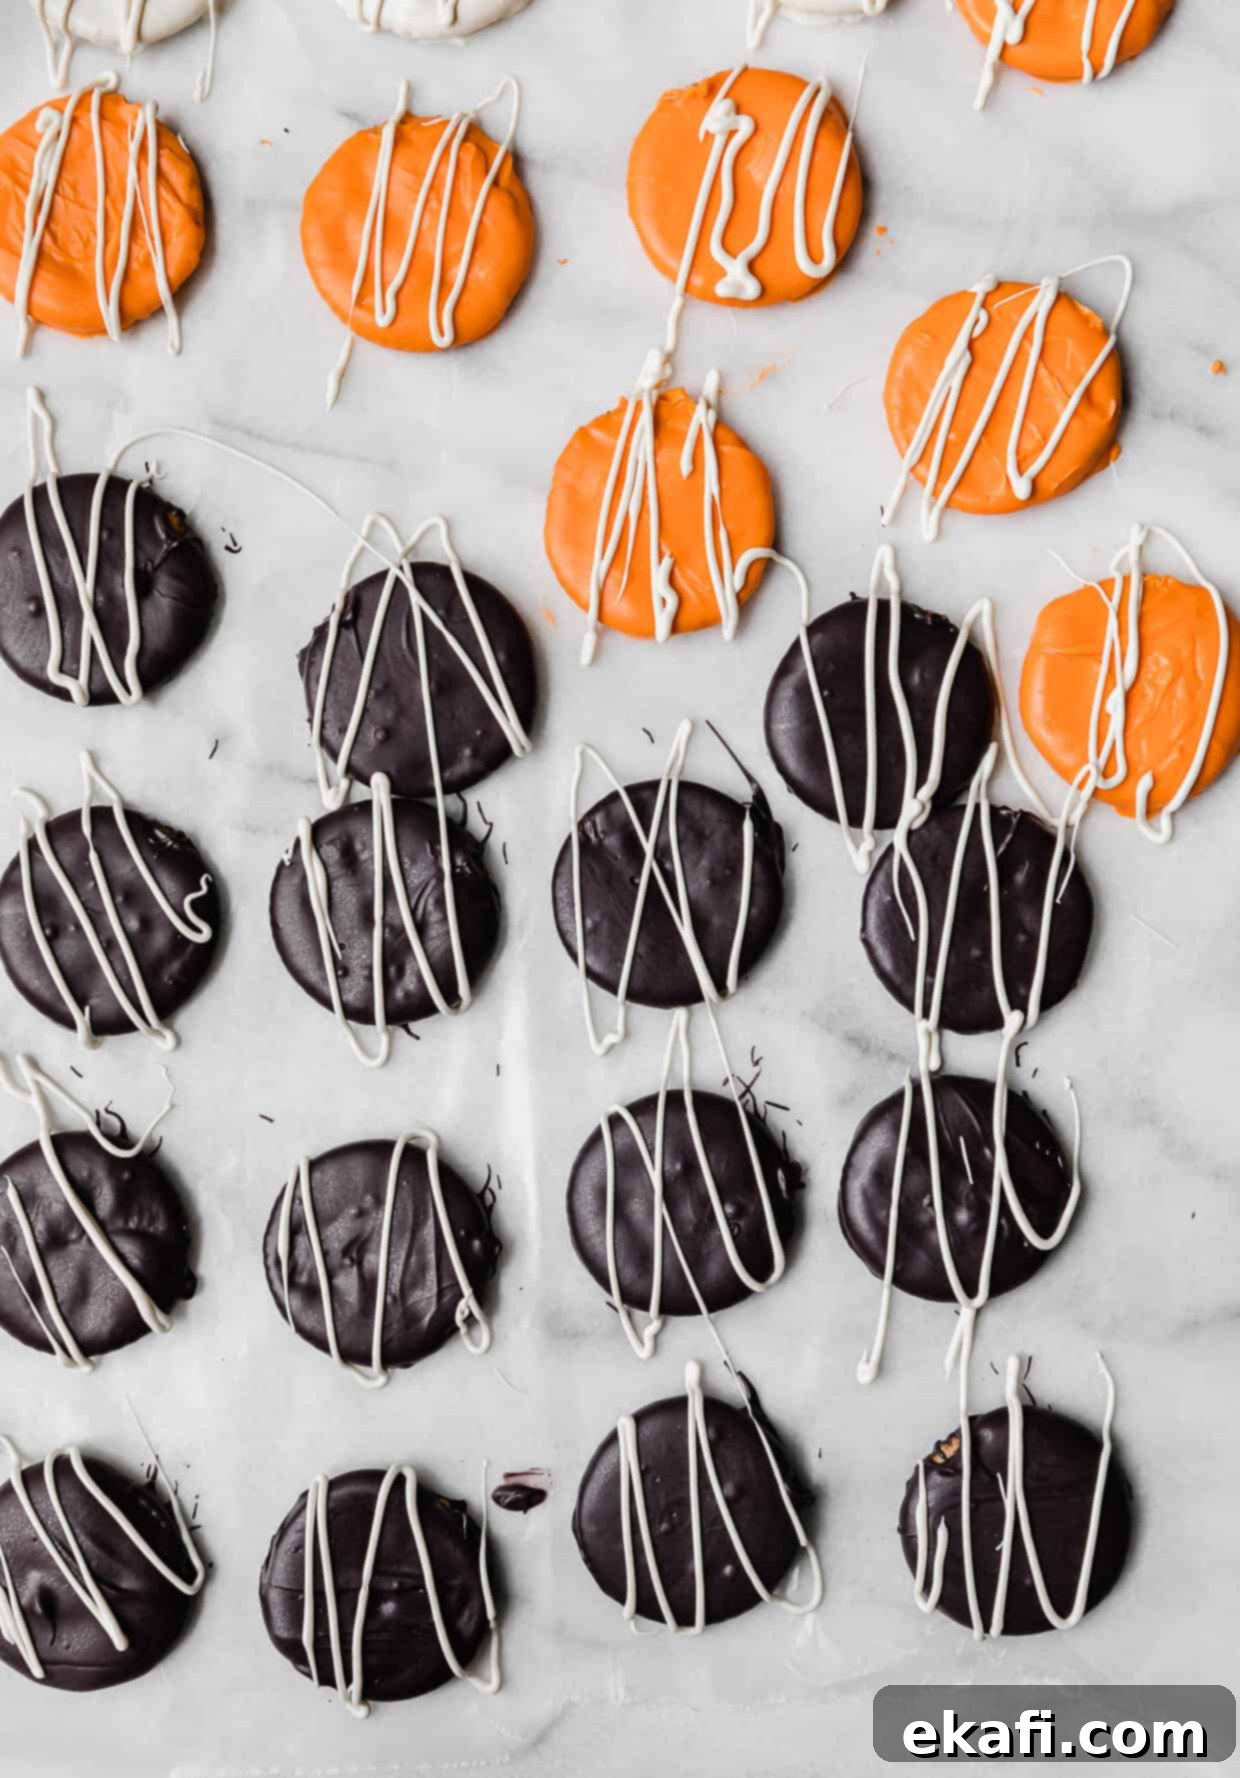
Pro Tips for Perfect Halloween Crackers
Achieving perfectly coated and decorated Halloween crackers is easy with a few helpful hints:
Chocolate Quantity: A good rule of thumb is that 1 ounce of candy melts will comfortably cover approximately 4 Ritz crackers. If you plan on making a larger batch, say more than 12 crackers, make sure to melt a proportional amount of additional candy melts. It’s always better to have a little extra than to run out mid-dipping!
Melting Candy Melts Safely: To ensure your candy melts are smooth and don’t burn, always microwave them in short increments, typically 30 seconds at a time. After each interval, remove the bowl and stir the melts thoroughly, even if they don’t look fully melted. The residual heat will continue the melting process. This method helps prevent any previously melted areas from burning or clumping, ensuring a consistently smooth and workable texture. If you don’t have a microwave, a double boiler method (a heatproof bowl over a pot of simmering water) works equally well.
Quick Setting: If you’re in a hurry or making a large batch, placing the dipped crackers in the refrigerator for 10-15 minutes will help the candy melts set much faster than at room temperature. Just be sure not to leave them in for too long, as extreme cold can sometimes cause the chocolate to bloom (develop a whitish film) or crack.
Kid Involvement: This is a fantastic recipe for kids to help with! Assign them age-appropriate tasks like stirring the cooling chocolate (once it’s safe), dipping the crackers, or adding sprinkles. For decorating, let them experiment with drizzling or drawing simple shapes with the melted chocolate in a piping bag. Lay down plenty of parchment paper or newspaper to make cleanup a breeze!
Unleash Your Inner Artist: Creative Design Ideas!
Get truly creative with your Halloween crackers! Here are even more fun and spooky design ideas to inspire you:
- Witchy Wonders: Dip crackers in purple candy melts. Once set, use black candy melt to draw a classic witch’s hat on top, or drizzle with green and white for a magical potion effect.
- Frankenstein’s Feast: Use green candy melts for the base. Drizzle with black for hair and a stitched mouth, then use white and black dots for eyes.
- Creepy Crawly Spiders: Dip crackers in black candy melts. Once set, draw intricate spider webs using white chocolate. For added realism, you can attach small edible googly eyes with a tiny dab of melted chocolate.
- Mummy Mayhem: Dip in black candy melts. Once set, use white candy melts to create zigzagging “bandages” across the cracker, leaving a small gap for two black candy melt dots for eyes.
- Jack-o’-Lantern Grins: Dip crackers in vibrant orange candy melts. Once they’re firm, use black or dark chocolate to draw various spooky, silly, or friendly jack-o’-lantern faces.
- Ghostly Giggles: Dip crackers in white candy melts. After setting, use black candy melts to dot on two eyes and a wide, round “O” for a classic ghost mouth.
- Vampire Bites: Dip in white or light pink candy melts. Once set, use red gel food coloring or a small amount of melted red candy melt to draw two small “fang” marks.
- Spooky Sprinkles: The easiest decoration! After dipping in any color, immediately sprinkle with festive Halloween sprinkles before the chocolate sets.
Make Ahead, Storing, and Freezing Your Halloween Crackers
These Halloween party crackers are incredibly convenient to prepare in advance, making your holiday entertaining much easier.
Make Ahead: You can easily prepare these crackers a few days before your event. Once fully set and decorated, store them in an airtight container or a ziplock bag. Keeping them in the fridge will help the candy melts stay firm, especially if your house is warm, and prevent any melting or stickiness. They’ll be perfectly crisp and delicious when you’re ready to serve.
Storing: For optimal freshness and to prevent them from going stale, always store your Halloween crackers in an airtight container. They will maintain their quality at room temperature for up to a week, or even longer in the refrigerator (up to 10 days). However, given how delicious and easy they are, we doubt they’ll last that long!
Freezing: Freezing these crackers isn’t typically necessary due to their excellent shelf life and quick preparation time. If you find yourself with an abundance, you technically could freeze them in an airtight container, separated by parchment paper, for up to 1 month. However, the texture of the crackers might change slightly upon thawing, becoming a bit softer. Plus, they are so simple to whip up that if you need more, just melt a fresh batch of candy melts and dip away!
Frequently Asked Questions About Halloween Crackers
While you can use regular chocolate chips (like white or semi-sweet), candy melts are highly recommended for this recipe. They contain ingredients that allow them to melt smoother, set firmer, and achieve those vibrant Halloween colors without needing to temper the chocolate. If you only have chocolate chips, you can try adding a teaspoon of shortening or coconut oil per cup of chocolate chips to help with consistency and setting, but the results might not be as vibrant or smooth as with candy melts. For colored chocolate, you’d need to use white chocolate chips and oil-based food coloring (water-based colors will seize the chocolate).
For precise and fine lines when decorating, I highly recommend placing your melted candy melts into a piping bag. If you don’t have one, a ziplock bag with a tiny corner snipped off will work just as well. The key is to make the opening very small to ensure you get those delicate, controlled lines for details like spider webs, mummy bandages, or jack-o’-lantern features. Practice on a piece of parchment paper first if you’re new to piping!
Yes, crackers can definitely go stale, especially once exposed to air. To keep your crackers (and these delicious Halloween treats) fresh and crispy for longer, always store them in an airtight container. This will protect them from moisture and air, preserving their texture and flavor.
You absolutely can! However, the wonderful thing about Ritz crackers is their unique buttery, salty flavor profile that perfectly complements the sweet chocolate, and their circular shape which lends itself beautifully to drawing faces and creating spider webs or ghosts. If you’re primarily focusing on Halloween colors and using sprinkles for decoration, other crackers like graham crackers (for a sweeter base) or saltine crackers (for a more pronounced salty-sweet contrast) would work just fine. Just be aware that their different shapes might influence your decoration choices.
Candy melts can seize if they get too hot or if even a tiny bit of water gets into them. If your melts become clumpy, try adding a teaspoon of shortening (like Crisco) or a very small amount of coconut oil. Stir vigorously until smooth. Avoid adding water, as this will only make the seizing worse. Melting slowly in short bursts and stirring often is the best way to prevent this.
At room temperature, the candy melts usually set within 30-60 minutes, depending on the thickness of the coating and the humidity in your kitchen. If you place them in the refrigerator, they can be fully set in about 10-15 minutes. Make sure they are completely firm before handling or decorating further to avoid smudges.
More Spooky and Delicious Halloween Recipes!
Looking for more ways to celebrate Halloween with tasty treats? Explore these other fantastic recipes that are perfect for adding to your festive menu:
- Pumpkin Juice: A magical drink to pair with your treats!
- Black Velvet Cupcakes: Dark, rich, and perfectly eerie for Halloween.
- Black Cocoa Brownies: Deeply chocolatey and wonderfully dark.
- Chewy Monster Cookies: Fun, colorful, and packed with goodies.
- Ghost Cupcakes: Adorable and delicious, a classic Halloween favorite.
Did you make these incredible Halloween Crackers? We’d love to hear all about it! Leave a star rating and review right here on the blog, or scroll down to the recipe card to share your feedback. Your reviews help us grow and inspire other bakers!
Stay up-to-date with our latest recipes, tips, and culinary adventures by following us on Instagram, TikTok, YouTube, Facebook, and Pinterest. Don’t forget to tag us in your creations!
Print
SaveSaved!
Review
Halloween Crackers
Ingredients
- 12 oz candy melts – We recommend an array of festive Halloween colors like black, orange, and white for the best effect.
- 20 Ritz Crackers – Use more or less depending on your desired batch size.
Instructions
-
Place your selected candy melts in separate microwave-safe bowls. Melt them according to the package directions, or by microwaving in 30-second increments, stirring well after each interval until completely smooth. Once melted, dip each Ritz cracker fully into the chocolate. Flip the cracker to ensure it’s evenly coated. Gently tap the cracker against the edge of the bowl to remove any excess chocolate, ensuring a clean finish.
-
Carefully place the chocolate-covered crackers onto a sheet of wax paper or parchment paper. Allow them to set at room temperature until firm, or place them in the refrigerator for 10-15 minutes for faster setting.
-
Once the dipped crackers are fully set, melt any additional candy melts you wish to use for decoration. Transfer the melted chocolate to a piping bag (or a ziplock bag with a tiny corner snipped off for fine lines). Drizzle the melted chocolate over the set crackers, or get creative by making fun Halloween designs such as intricate spider webs on black crackers, spooky mummy bandages, grinning pumpkins, or cute ghosts. Add sprinkles if desired!
Notes
Store your finished Halloween crackers in an airtight container at room temperature for up to a week, or in the fridge for up to 10 days for best results, especially in warmer climates.
Nutrition
