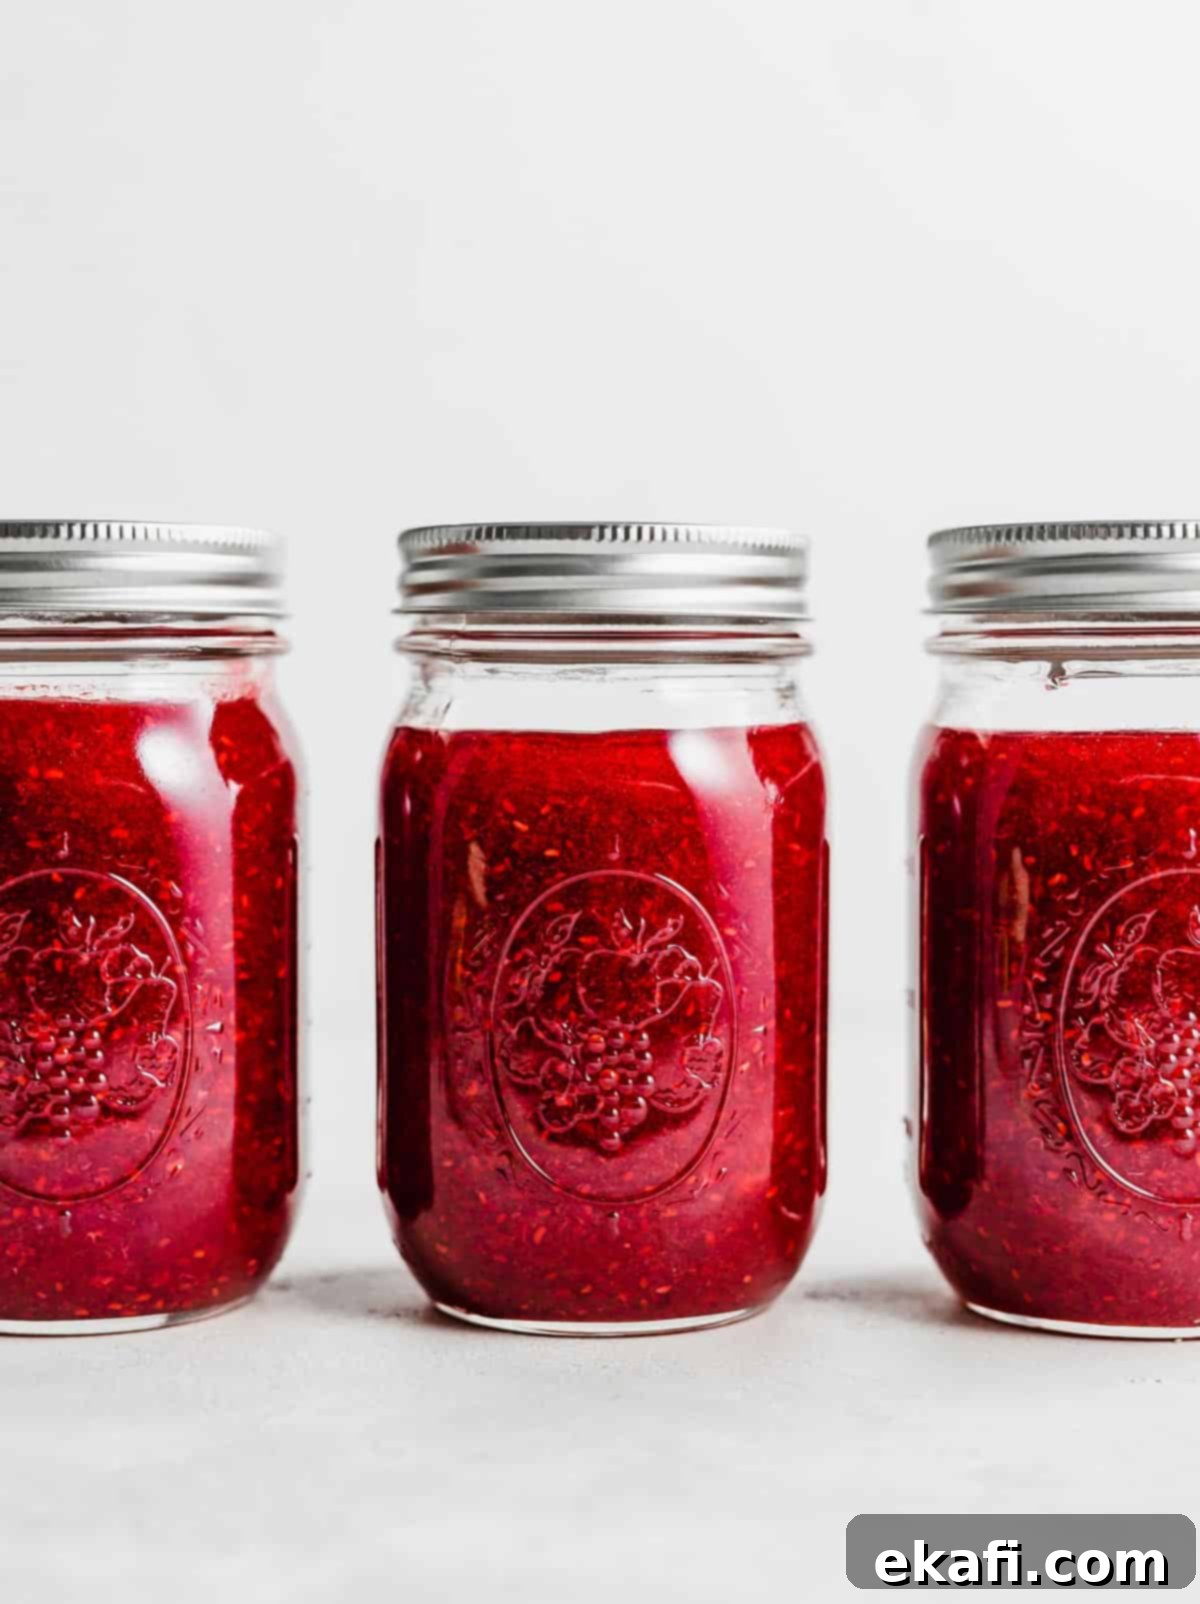
Easy Homemade Freezer Raspberry Jam: A Quick & Delicious Recipe for Fresh or Frozen Berries
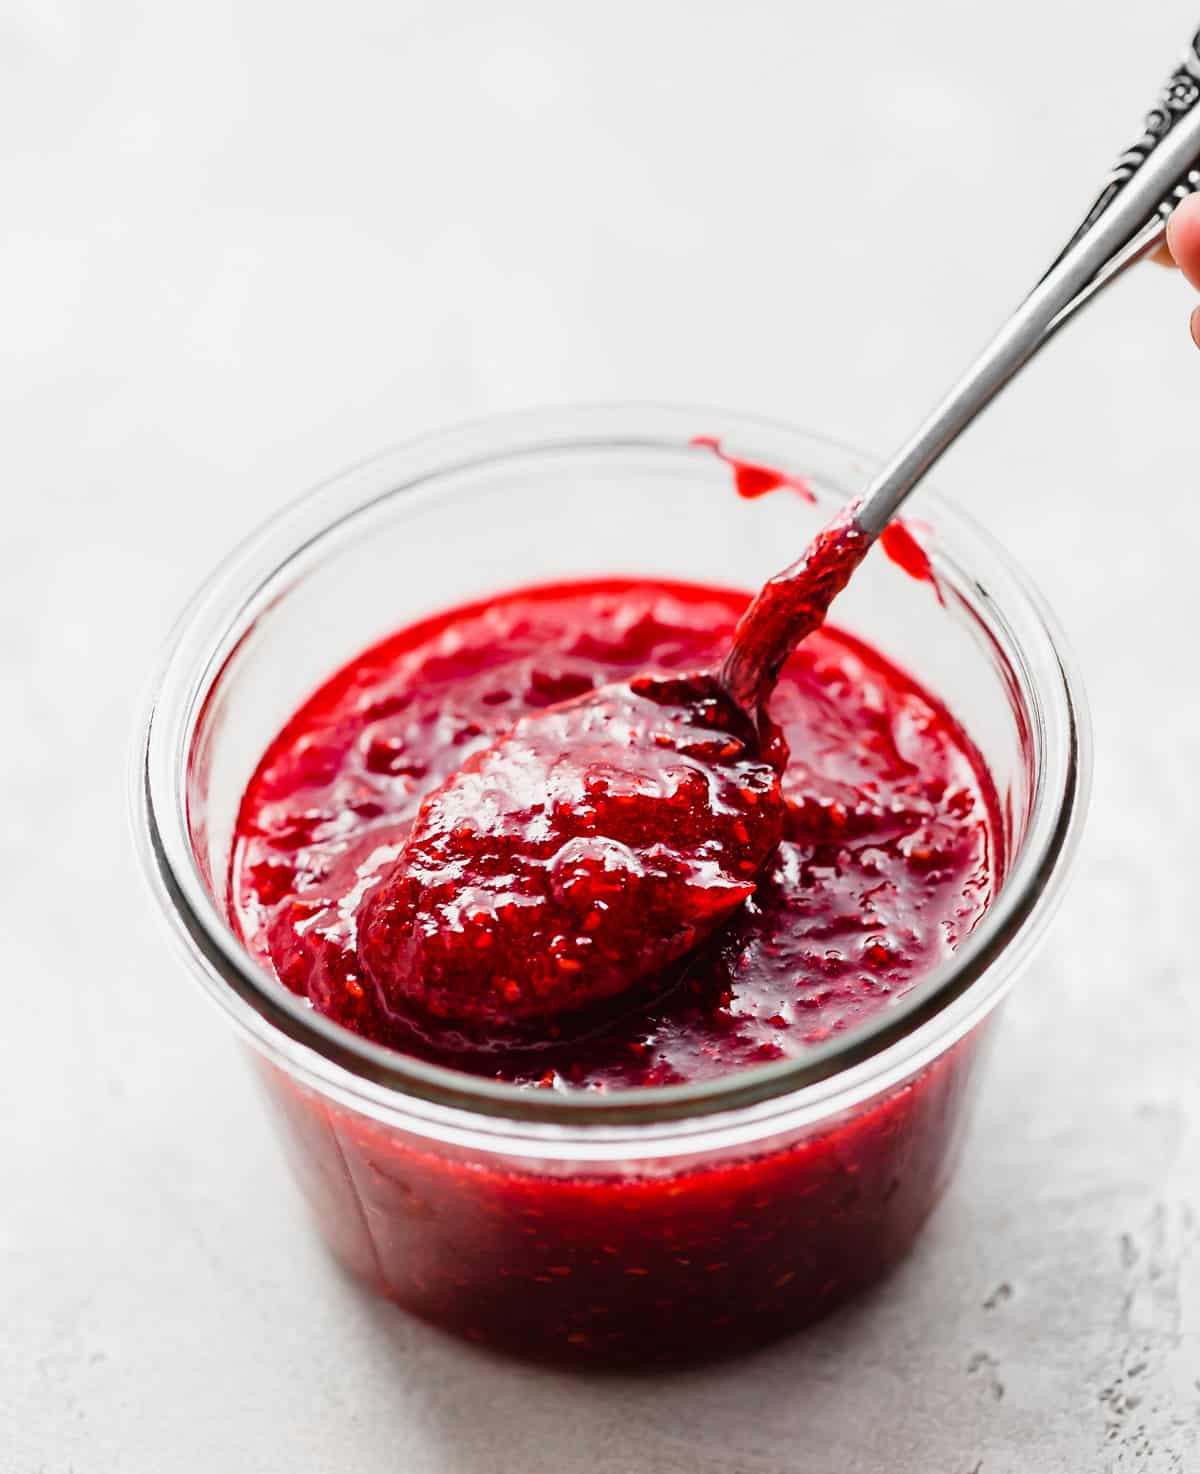
There’s nothing quite like the taste of homemade jam, and this Freezer Raspberry Jam recipe takes all the fuss out of traditional canning, making it incredibly accessible for any home cook. In just about 30 minutes of active preparation time, and with only four essential ingredients – water, sugar, pectin, and your choice of fresh or frozen raspberries – you can create a perfectly sweet, slightly chunky, and utterly delicious raspberry jam that rivals any store-bought variety. This simple method ensures a vibrant, fresh fruit flavor that’s hard to beat.
Raspberry jam holds a special place in my heart; it has always been my absolute favorite. After savoring the last spoonfuls of delicious homemade jams from my mother and mother-in-law, I knew it was time to embark on my own journey to master homemade raspberry freezer jam. The result is consistently superior to anything you’ll find on grocery store shelves! This delightful jam isn’t just for toast; it’s a versatile treat that’s perfect slathered on my Homemade Rolls or folded into a batch of Flaky Brioche. For a truly decadent dessert, consider incorporating it into my White Chocolate Raspberry Bundt Cake!
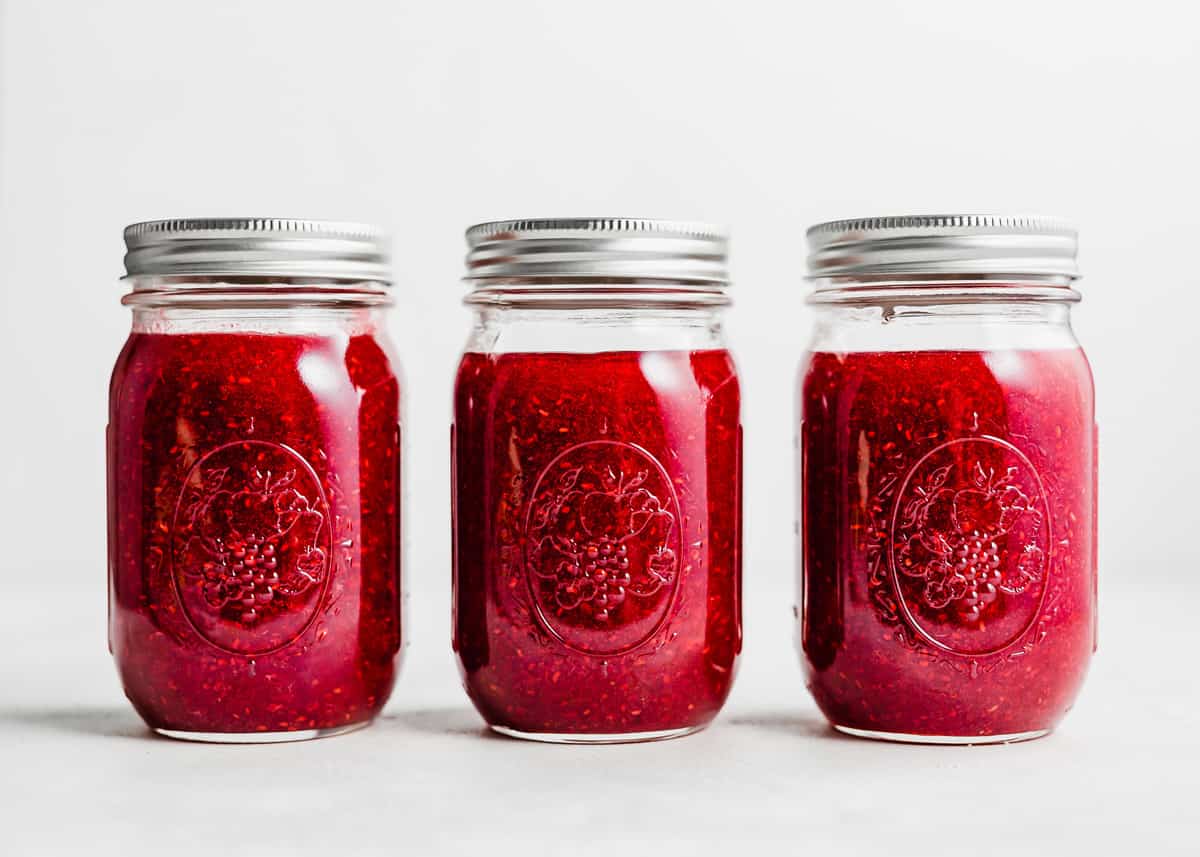
Why This Easy Freezer Raspberry Jam Recipe Works So Well
This recipe isn’t just another jam; it’s a game-changer for anyone looking to enjoy homemade goodness without the usual hassle. Here’s why this particular freezer raspberry jam stands out:
- Flexibility with Raspberries: Fresh or Frozen! One of the biggest advantages of this raspberry freezer jam recipe is its incredible adaptability. You are not bound by the seasons or high prices of fresh fruit. Whether you’ve harvested a bounty of ripe raspberries from your garden, or you’re opting for the more budget-friendly and readily available frozen variety, this recipe delivers consistent results. Frozen fruits are often picked and flash-frozen at their peak ripeness, locking in maximum flavor, which means you get delicious jam any time of the year. This flexibility makes homemade jam a year-round possibility.
- No Traditional Canning Needed: Simple & Safe Storage. Forget the daunting process of sterilization, water baths, and specialized canning equipment! This freezer raspberry jam is an exceptionally easy recipe because it bypasses all the complexities of traditional shelf-stable canning. Since you store the finished jam in the freezer, there’s no need to worry about creating an airtight seal through heat processing. This simplifies the entire procedure, making it far less intimidating for beginners and much quicker for experienced preservers. All you need are freezer-safe containers, and you’re good to go!
- Consistently Delicious with Minimal Ingredients. The beauty of this recipe lies in its simplicity. With just four core ingredients – water, sugar, pectin, and raspberries – the vibrant flavor of the fruit truly shines through. The straightforward process ensures that you achieve perfect results every time: a beautifully set, sweet, and tangy jam that tastes incredibly fresh. This isn’t just a simple recipe; it’s a foolproof method for creating super delicious homemade jam that will impress every palate.
Key Ingredient Notes for Perfect Raspberry Jam
Understanding the role of each ingredient is crucial for achieving the best possible freezer raspberry jam. Here’s a closer look at what you’ll need and why:
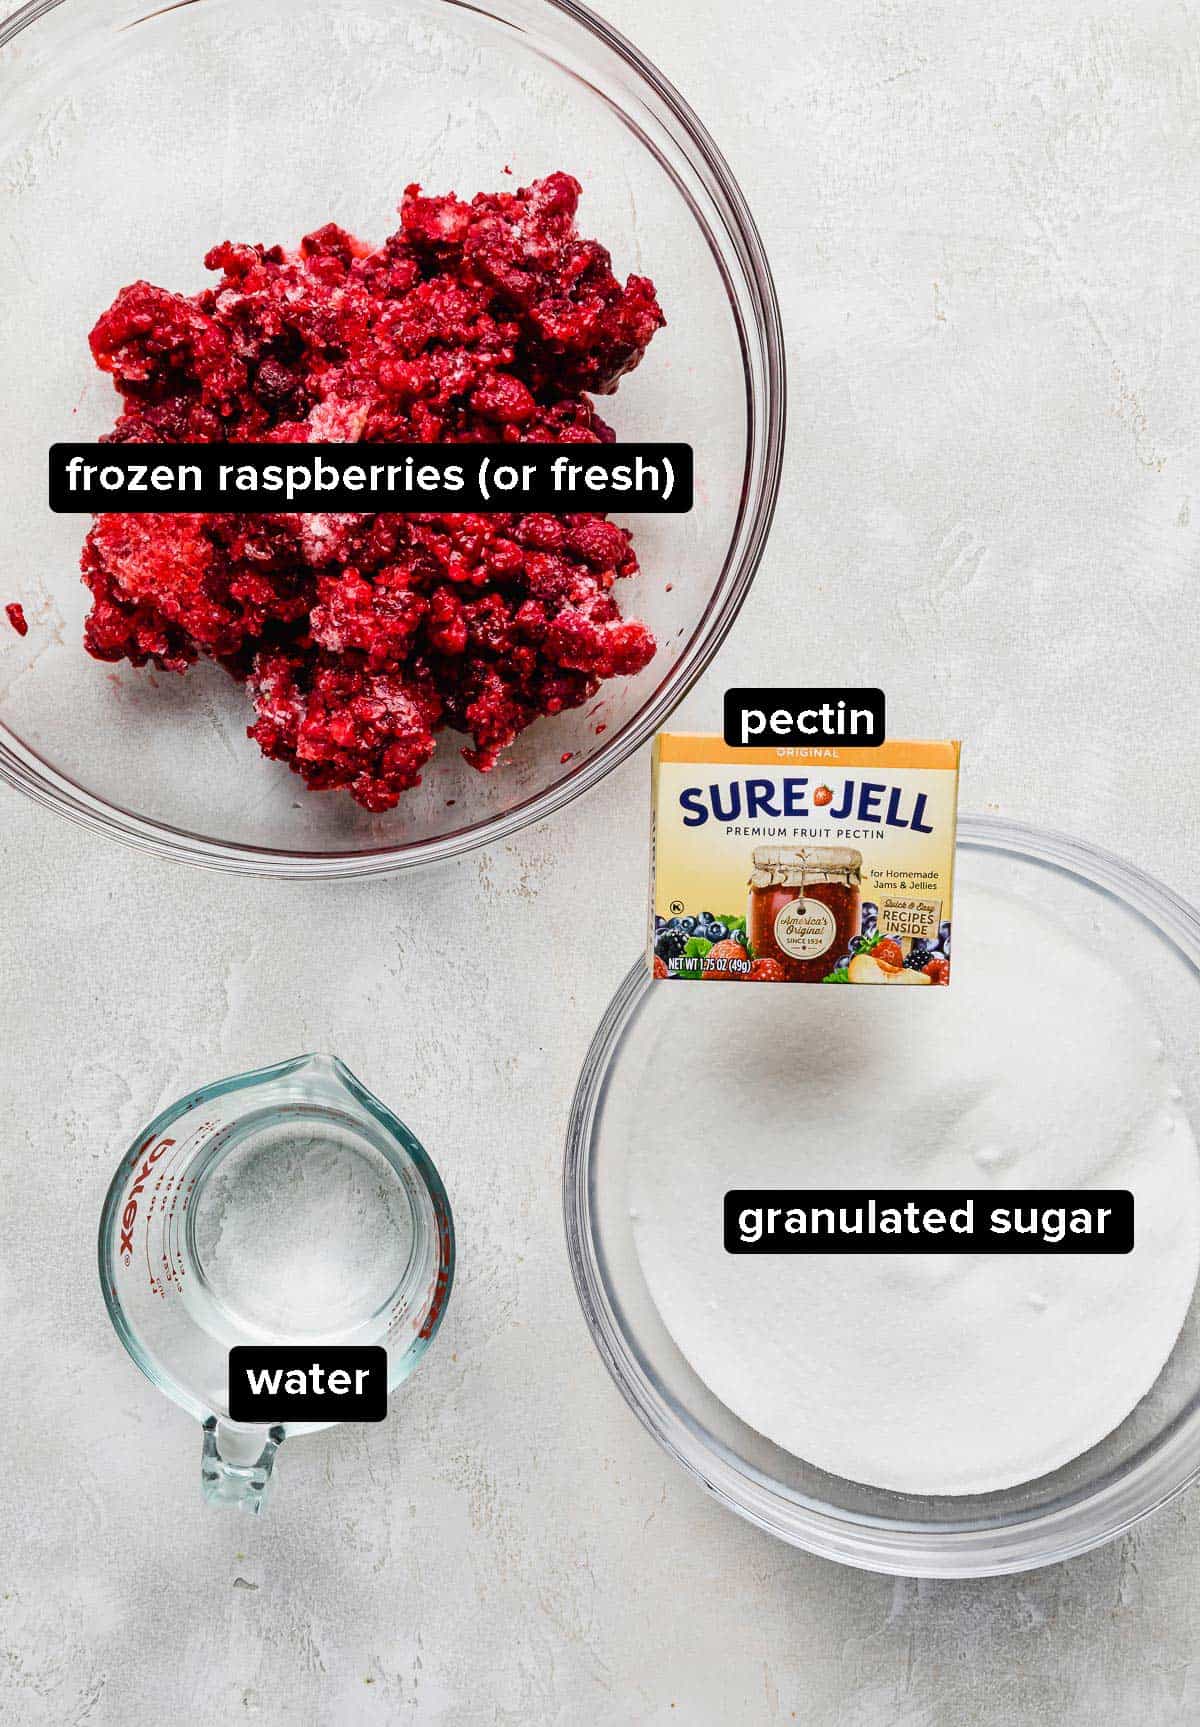
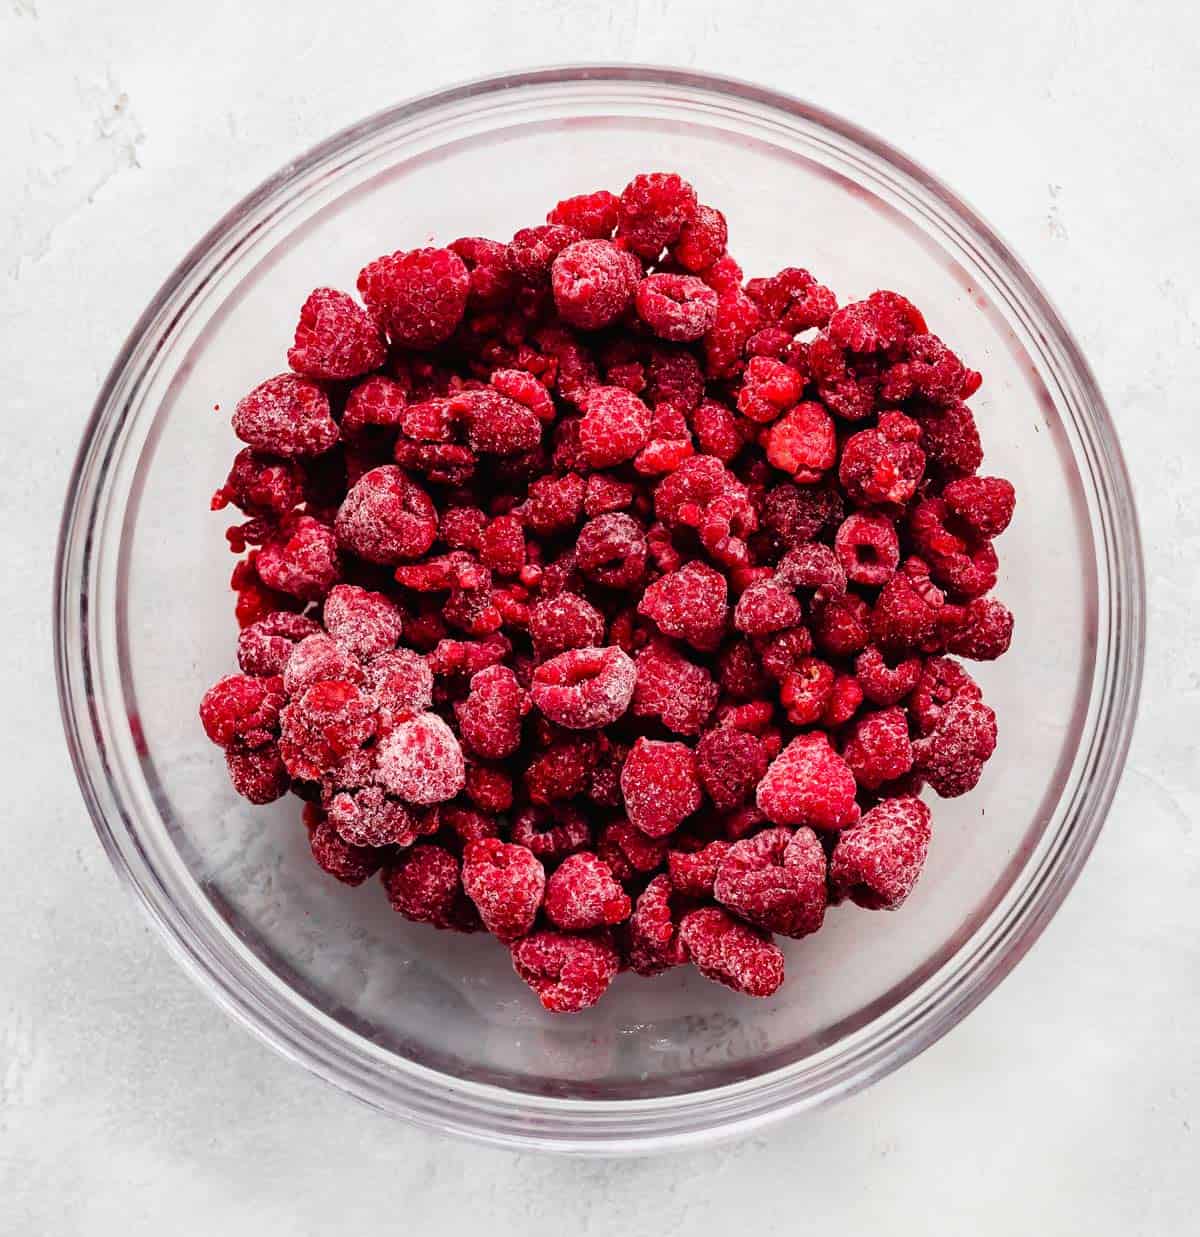
- Raspberries: The star of our show! You can use either fresh or frozen raspberries. If opting for frozen, ensure they are fully or at least partially thawed to allow for easier mashing and to release their delicious juices. For fresh raspberries, aim for about 6 cups of ripe, vibrant berries. If using frozen, approximately 28 oz will be needed. The quality of your berries directly impacts the flavor of your jam, so choose the best you can find.
- Granulated Sugar: Beyond simply sweetening the jam, granulated sugar plays a critical role in the thickening process. It interacts with the pectin to help the jam set properly, creating that desirable texture. It also acts as a preservative, extending the shelf life of the jam in the fridge and freezer. Using the correct amount is essential for a successful set, so avoid altering quantities unless using specialized pectin for low-sugar recipes.
- Sure-Jell Fruit Pectin: Pectin is a natural carbohydrate found in the cell walls of fruits and vegetables. In jam-making, it’s the magical ingredient that helps the mixture gel and thicken, giving the jam its characteristic spreadable consistency. I specifically recommend using the Sure-Jell brand of powdered fruit pectin for its consistent and reliable results in freezer jam recipes. Ensure you are using the regular pectin, not a low-sugar or no-sugar variety, as the ratios are specific to this recipe.
- Water: Water is combined with the pectin to hydrate it before it’s introduced to the fruit mixture. This initial step is vital because it allows the pectin to dissolve smoothly and activate its gelling properties. If pectin is added directly to thick fruit mixtures without proper hydration, it can form clumps and prevent the jam from setting evenly. Stirring the pectin and water mixture well is key to a perfectly smooth set.
Step-by-Step Instructions: Making Your Freezer Raspberry Jam
Follow these simple steps to create your own irresistible homemade raspberry freezer jam:
- Prepare the Raspberries: Begin by placing your thawed (including any juices from the thawing process) or fresh raspberries into a large, sturdy bowl. Using a potato masher, gently mash the berries. The goal is to break them down, but don’t overdo it if you prefer a slightly chunky texture in your jam – a few whole or semi-mashed berries add wonderful character!
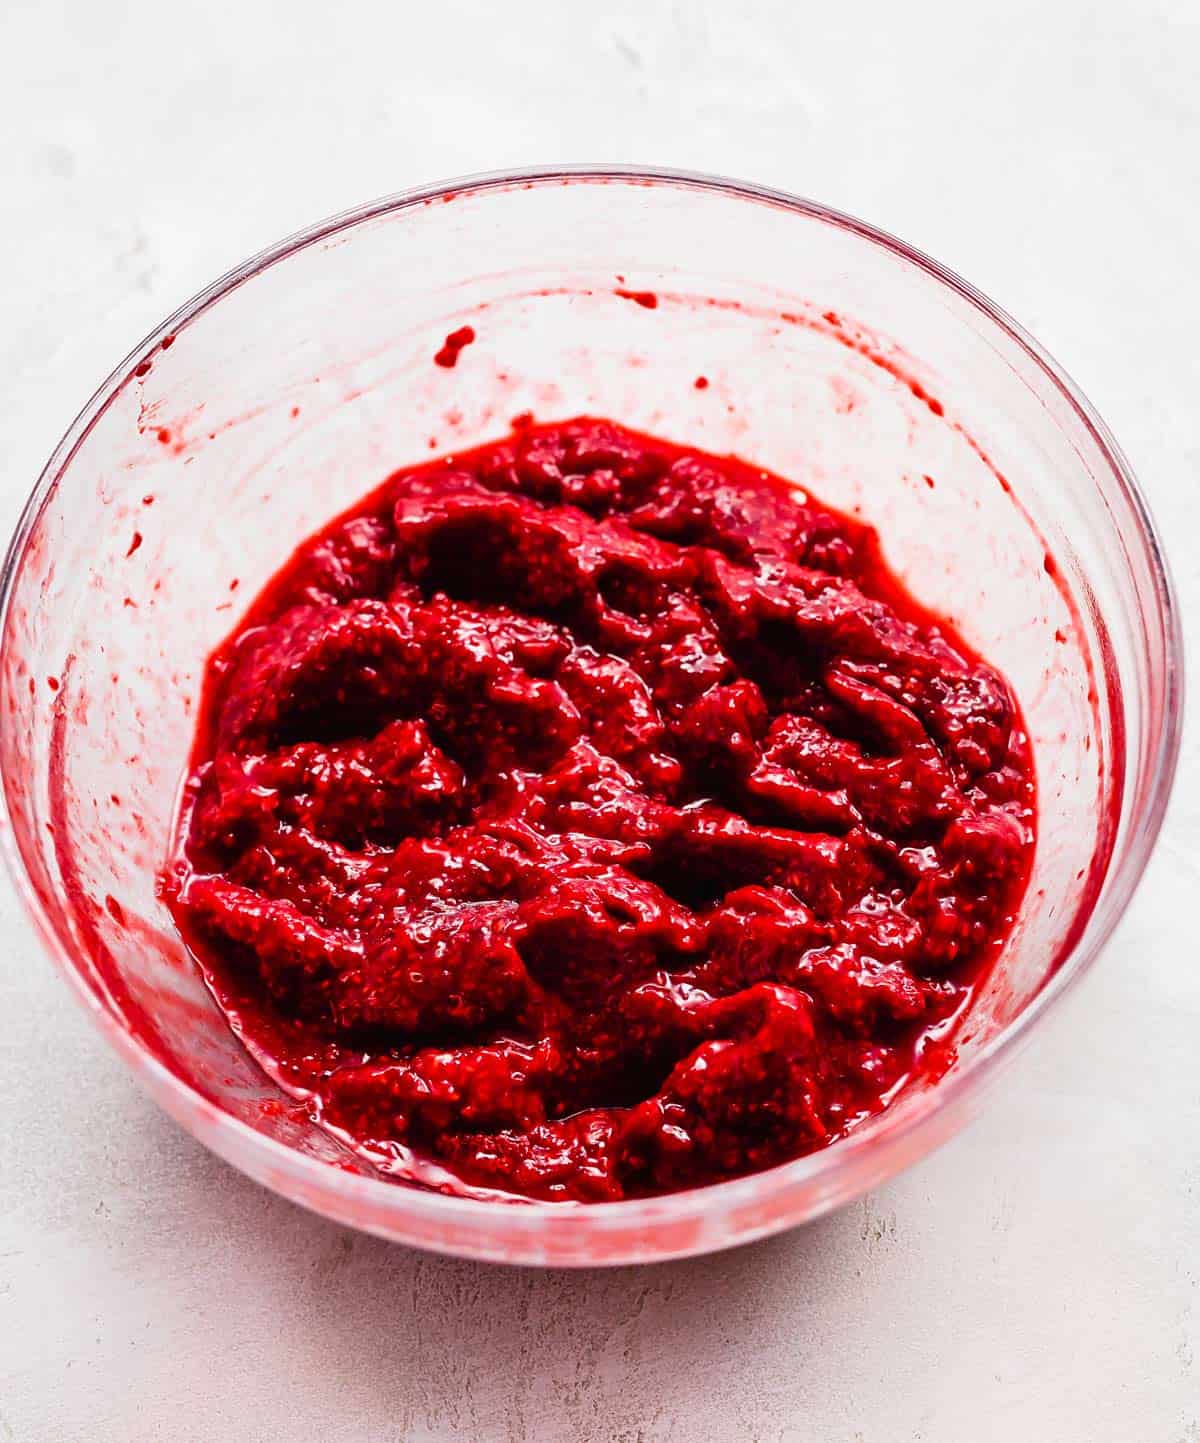
- Combine with Sugar: Measure out 3 cups of your mashed raspberries (plus juices) and transfer them to a separate, clean large bowl. If you have any remaining mashed berries, you can save them for another use; they won’t be needed for this specific recipe batch. Add the granulated sugar to the 3 cups of raspberries and stir everything together thoroughly. Let this mixture sit undisturbed for about 10 minutes, stirring occasionally. This resting period allows the sugar to begin dissolving and helps draw out more natural juices from the raspberries, intensifying their flavor.
- Prepare the Pectin Mixture: While the raspberries and sugar are mingling, combine the pectin and water in a medium saucepan. Place the saucepan over medium-high heat. It’s crucial to stir this mixture constantly as it heats up to prevent the pectin from clumping. Bring the mixture to a full rolling boil, stirring continuously for exactly 1 minute. This ensures the pectin is fully dissolved and activated for optimal gelling.
- Integrate Raspberry-Sugar Mixture: Carefully pour the sugar and raspberry mixture from the bowl into the boiling pectin mixture in the saucepan. Reduce the heat to medium-low. Continue to stir the jam constantly for another 3 minutes, or until you are absolutely certain that all the granulated sugar has completely dissolved. You can test this by rubbing a small amount between your fingers; it should feel smooth, not grainy. Proper dissolution of sugar is vital for the jam to set correctly and prevent crystallization.
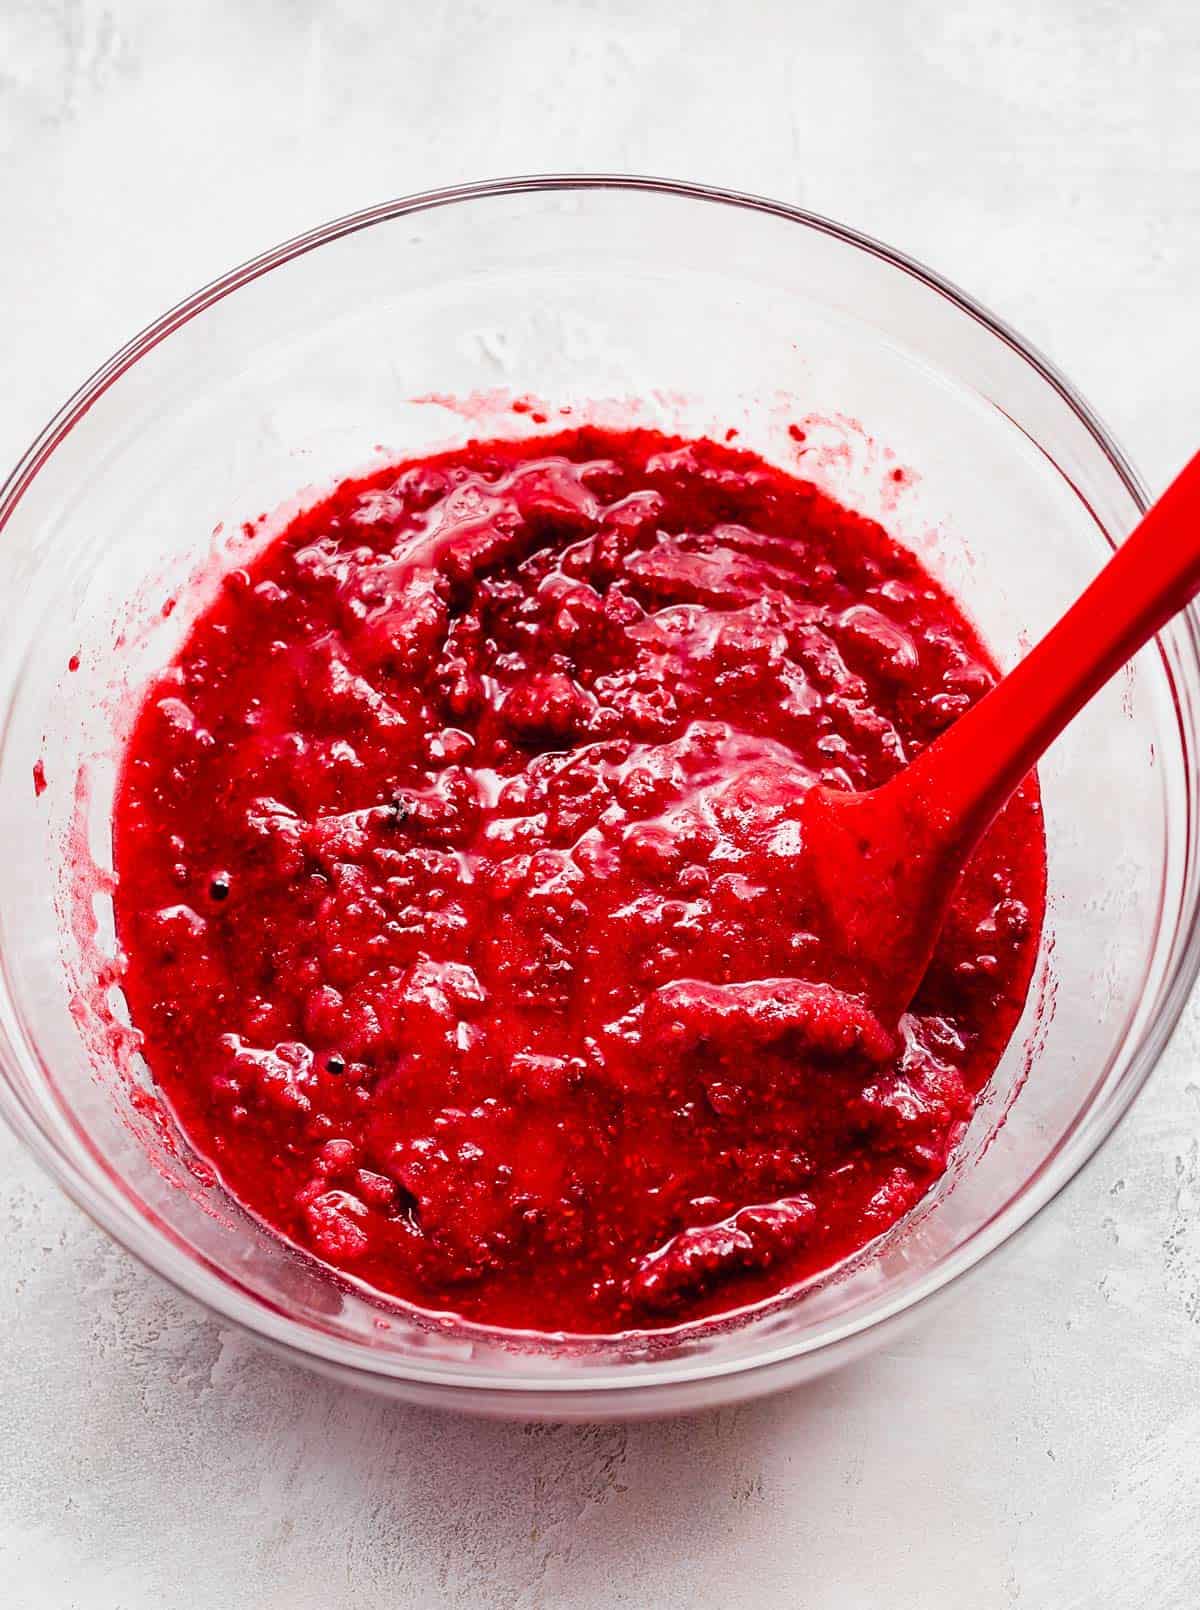
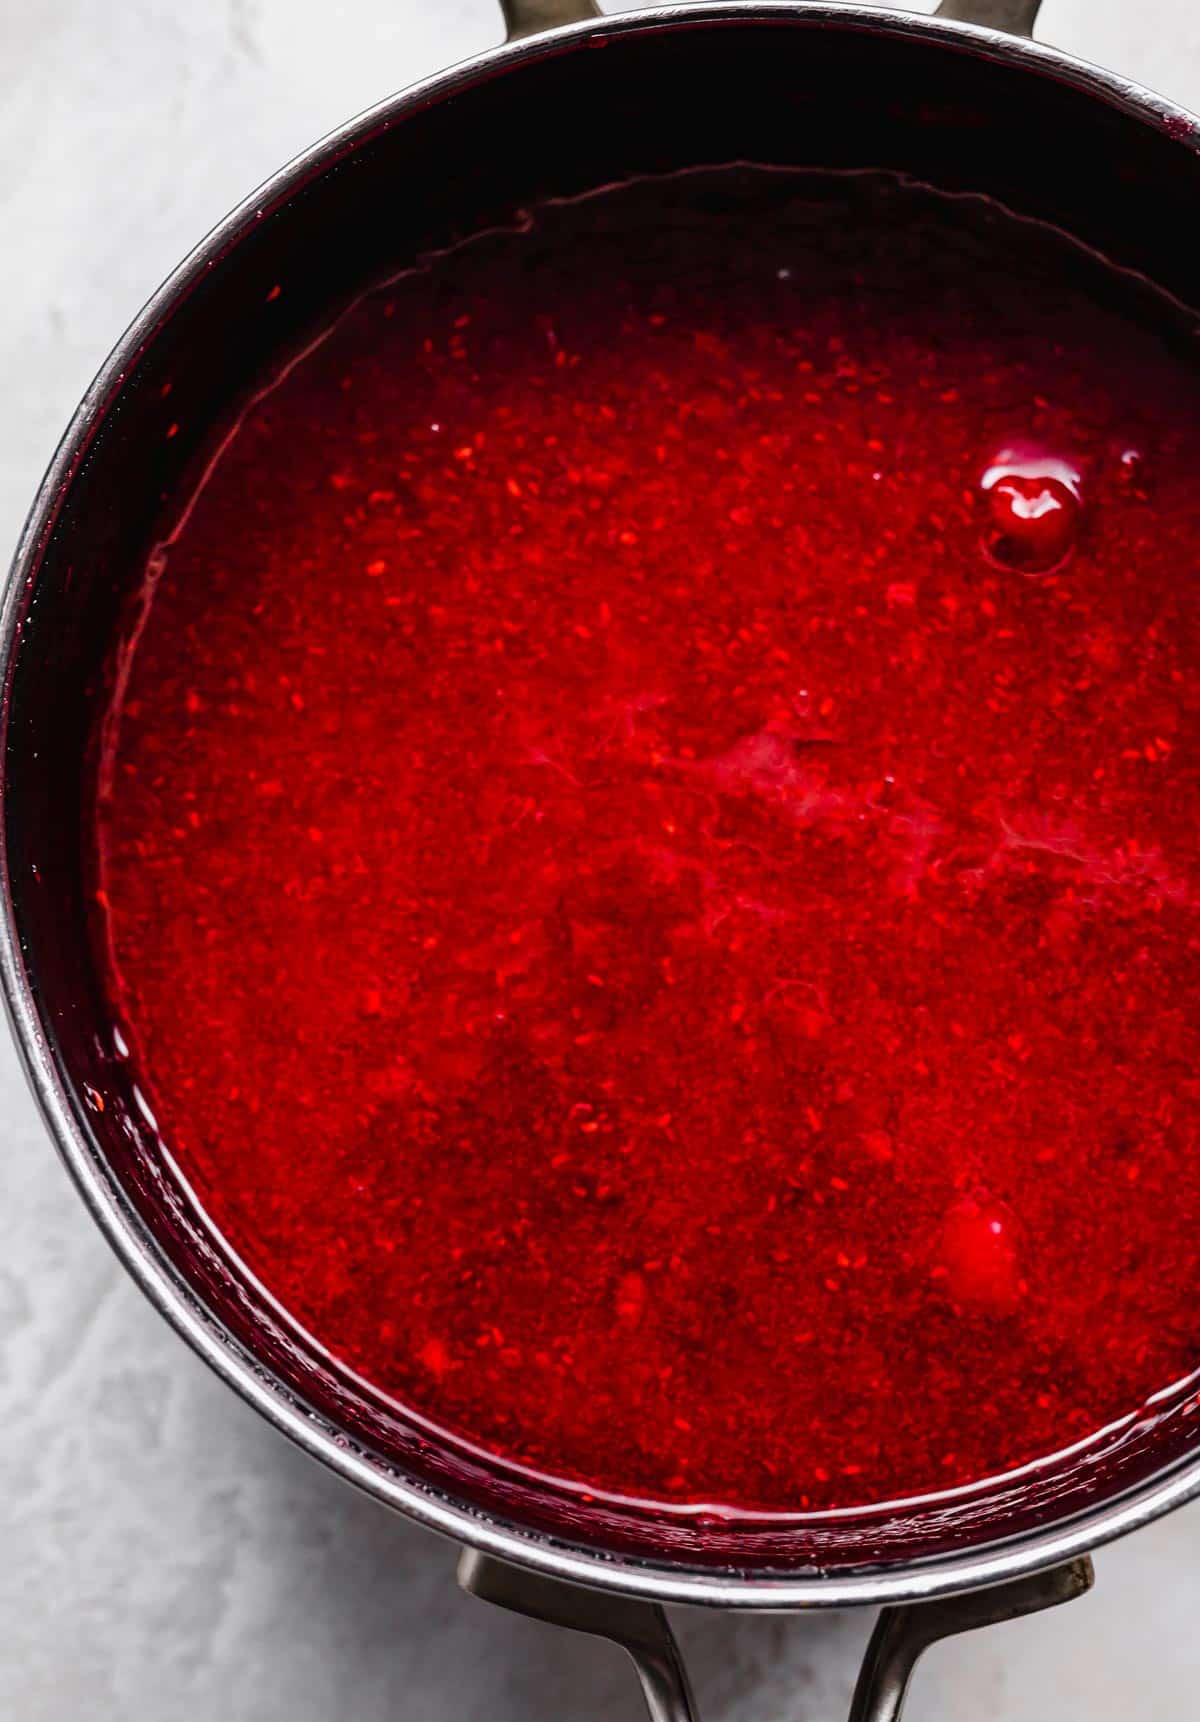
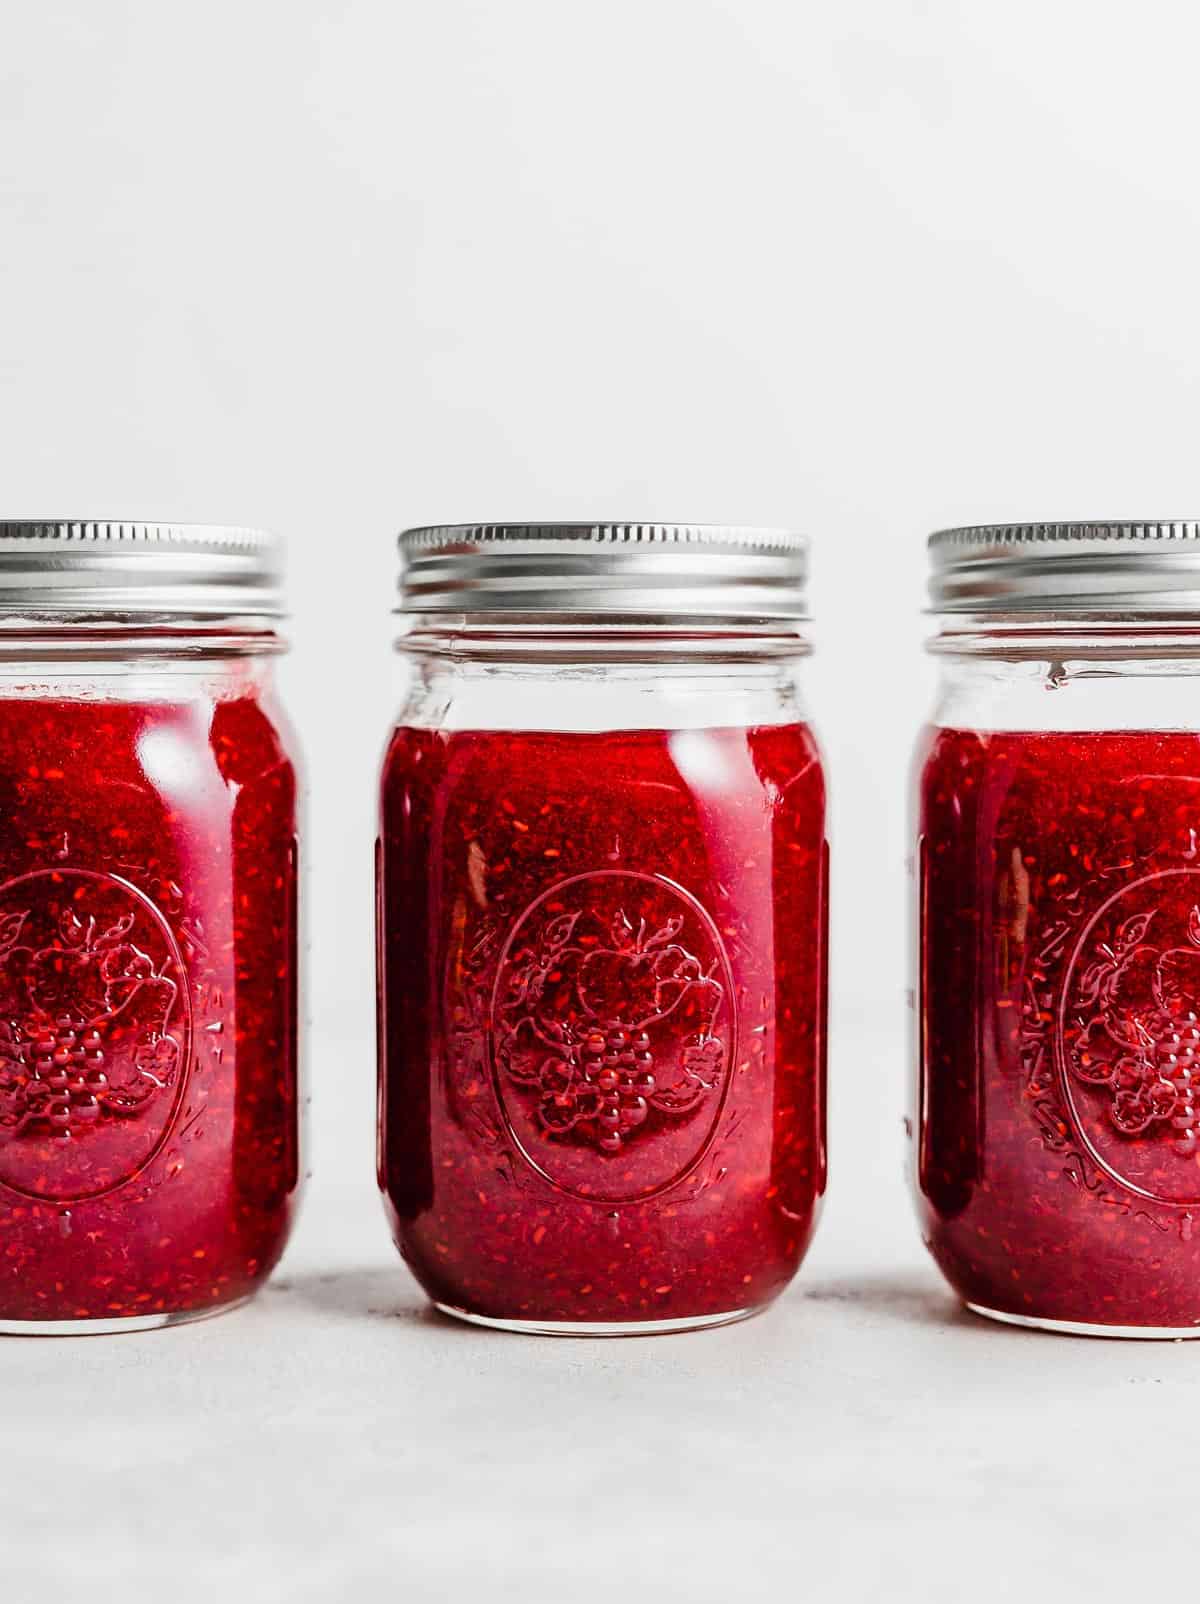
- Jar and Set: Once the sugar is fully dissolved, carefully pour the hot raspberry jam into clean, freezer-safe jars or containers. Remember to leave approximately 1/2 inch of headspace at the top of each jar. This crucial space allows the jam to expand safely as it freezes, preventing your containers from cracking. Place the lids firmly on the jars. Allow the jam to sit undisturbed at room temperature for a full 24 hours. This setting period is essential for the pectin to properly activate and for the jam to achieve its final consistency. After 24 hours, transfer the jars to your freezer for long-term storage. Serve this exquisite homemade raspberry freezer jam on your favorite breads, scones, or use it as a topping for desserts!
Expert Tips for Your Best Raspberry Freezer Jam
Achieving perfect homemade freezer jam is easy with a few insider tips:
Berry Temperature: While fully thawed raspberries are ideal for mashing, if you’re short on time, semi-frozen berries can work. The key is that they should be thawed enough for your potato masher to easily break them down. They can be cold, but not rock-solid. And yes, absolutely feel free to make this recipe with entirely fresh, ripe raspberries if you have them!
Ensuring Sugar Dissolution: To guarantee your jam sets correctly and prevents a grainy texture, ensure the sugar is completely dissolved. The best way to check is to rub a tiny amount of the jam mixture between your fingers. It should feel smooth, not gritty. If you still feel sugar crystals, continue stirring gently over low heat until they’re gone.
Seedless Raspberry Jam Variation: This recipe as written produces a delightful raspberry jam with seeds, which many people love for its rustic texture. However, if you prefer a silky smooth, seedless raspberry jam, it’s easily achievable! After mashing the fruit but before adding the sugar, simply strain the mashed raspberries through a fine-mesh sieve or a few layers of cheesecloth. This will remove all the seeds, leaving you with a smooth puree. If using frozen berries for a seedless jam, ensure they are fully thawed, as this makes straining significantly easier.
Texture and Thickness Considerations: Keep in mind that removing the seeds will result in a much smoother, less chunky jam. This can subtly affect the overall thickness and body of the final jam, as the seeds contribute some bulk. Don’t worry, the jam will still set beautifully, but its mouthfeel will be distinctively different.
Make Ahead, Storing, and Freezing Your Raspberry Jam
This freezer jam is designed for convenience, including its storage:
- Make Ahead: This freezer raspberry jam is an ideal make-ahead item. Because the mixture requires a full 24-hour resting period at room temperature in the jars to set properly, it’s perfect to prepare a day in advance before needing to store or use it.
- Refrigeration: Once set, you can store a jar of this homemade freezer jam in the refrigerator for immediate use. It will keep beautifully in the fridge for up to 3 weeks. Always ensure it’s in an airtight container.
- Freezing for Long-Term: For extended storage, this homemade raspberry freezer jam is truly fantastic. It will maintain its peak freshness and flavor in the freezer for up to 1 year. For best results and easier portioning, consider freezing it in smaller, individual-sized containers.

Freezer Raspberry Jam: Frequently Asked Questions
For this particular raspberry jam recipe to set properly, it is critically important not to alter the amount or type of granulated sugar used. Standard pectin (like Sure-Jell) relies on a specific ratio of sugar to fruit to achieve its gelling action. Using sugar substitutes can prevent the jam from setting correctly, resulting in a runny syrup instead of a firm jam. If you’re looking to make a lower-sugar or sugar-free jam, you would need to follow a specialized recipe that uses a different type of pectin, such as a “low-sugar needed” pectin. You can find excellent Sugar Free freezer jam recipes designed for use with Low Sugar Sure-Jell Pectin.
You have several great options for storing your homemade freezer raspberry jam. Glass jars are my personal favorite, as they look beautiful and are endlessly reusable. When using glass, always choose jars specifically designed for freezing or canning, as regular glass jars can crack when frozen. Ensure they have straight sides and leave adequate headspace. Alternatively, any other freezer-friendly plastic containers with tight-fitting lids will work wonderfully. Look for containers that are BPA-free and explicitly labeled for freezer use. Amazon sells a variety of small freezer jars that are perfect for individual portions or gifting!
This homemade freezer raspberry jam boasts an impressive shelf life thanks to the freezing method. When stored consistently in the freezer, it will remain fresh and delicious for up to 1 year. If you prefer to keep a jar handy for immediate use, it will last perfectly in the refrigerator for 3 to 4 weeks. Always label your jars with the date of preparation for easy tracking.
Yes, absolutely! Unlike traditionally canned jams that are shelf-stable at room temperature, freezer jam is not designed for indefinite storage outside of refrigeration or freezing. This is because it doesn’t undergo the high-heat processing required to kill all spoilage-causing microorganisms and create a vacuum seal. Therefore, it must be stored either in the freezer for up to 1 year or in the fridge for up to 3 weeks. Beyond these timeframes, the jam can spoil, exhibiting signs like mold growth, off-odors, or an unusual texture. Always rely on proper storage and consume within the recommended time to enjoy your jam safely.
As written, this delicious raspberry freezer jam recipe does result in jam with seeds, which contributes to a wonderful, slightly chunky texture that many adore. However, if you prefer a perfectly smooth jam, you can easily remove the seeds. To do this, simply strain the mashed fruit through a fine-mesh sieve or cheesecloth after the mashing step but before you combine it with the sugar. Keep in mind that straining will alter the texture from chunky to smooth. Also, removing the pulp and seeds can slightly impact the final thickness or “runny-ness” of your jam, as these elements contribute to the overall body. If you decide to go seedless, ensure your berries are fully thawed to make the straining process as efficient as possible.
The thickening process in this freezer raspberry jam recipe is primarily achieved by two key ingredients working in harmony: pectin and sugar. Pectin, when properly hydrated with water and combined with sugar and fruit acid (naturally present in raspberries), forms a gel structure. The granulated sugar not only sweetens the jam but is essential for the pectin to activate and set. It helps bind the water molecules, leading to a thicker consistency. Ensuring both the pectin is fully dissolved (by boiling with water) and the sugar is completely melted into the fruit mixture (by stirring for the specified time) are crucial steps for achieving the perfect thick, spreadable jam.
This homemade freezer raspberry jam requires a critical setting period. After pouring the jam into jars and sealing them, it needs to sit undisturbed at room temperature for a full 24 hours. This allows the pectin to fully activate and for the gel structure to properly form. While it’s called “freezer jam,” the initial setting happens at room temperature. Once this 24-hour period is complete, transferring the jam to the freezer will help it firm up further and preserve its texture and flavor for long-term storage.
If you find your jam hasn’t set as expected after the 24-hour room temperature rest, there could be a few common reasons. The most frequent culprits are either the sugar not being fully melted into the fruit mixture (leading to a weak gel) or your raspberries being exceptionally juicy, introducing too much liquid that dilutes the pectin’s effectiveness. First, always ensure you’ve given the jam the full 24 hours to set. If it’s still too runny, don’t despair! You have a couple of options: you can try sticking the jam in the freezer for a few days and then letting it thaw slightly, as the freezing process can sometimes help firm it up. Alternatively, for a more reliable fix, you can re-process it. Prepare another small batch of pectin and water (following the package instructions for a small quantity), then add your unset jam back into a saucepan with this fresh pectin mixture. Bring it to a boil, stirring constantly, ensuring everything is fully dissolved, then re-jar and re-set.
More Delicious Raspberry Recipes to Explore
Love raspberries as much as we do? Here are some other fantastic recipes featuring this delightful berry:
- Homemade Raspberry Ice Cream
- Refreshing Raspberry Sorbet
- Versatile Raspberry Sauce
- Sparkling Raspberry Mojito Mocktail
- Chilled Raspberry Soup
Did you try this amazing freezer raspberry jam recipe? I would absolutely love to hear about your experience! Please leave a star rating and a review right here on the blog, or scroll down below the recipe card to share your thoughts. Your feedback helps others discover and enjoy this recipe too.
Don’t forget to stay connected and up-to-date with all our latest culinary creations by following us on Instagram, TikTok, Facebook, and Pinterest!
Print
Save
Saved!
Review
Freezer Raspberry Jam
20 minutes
5 minutes
25 minutes
7
cups
Prevent your screen from going dark
Ingredients
- 28 oz frozen raspberries – thawed to room temperature or slightly thawed, see note #1. OR 6 cups fresh, ripe raspberries
- 5 1/4 cups granulated sugar
- 1 1.75 oz box Sure-Jell Pectin
- 3/4 cup water
Instructions
-
Place the thawed raspberries (or fresh raspberries) in a large bowl (including the juices if using frozen/thawed berries). See note #1 below for berry temperature tips.
-
Use a potato masher to mash the raspberries. Aim for a consistency where a few berry chunks remain here and there, as this adds lovely texture. Measure out exactly 3 cups of the mashed berries (with their juices) and place them in a separate large bowl. If you have any remaining mashed berries, store them in an airtight container in the fridge for another use.
-
Pour the granulated sugar over the 3 cups of mashed berries and stir vigorously to combine thoroughly. Let this mixture sit at room temperature for 10 minutes, stirring occasionally during this time to help the sugar dissolve.
-
Meanwhile, in a medium saucepan (a 4-quart pan works well), combine ¾ cup water and the entire box of Sure-Jell pectin. Place the saucepan over medium-high heat and begin stirring. Bring the mixture to a full rolling boil, stirring constantly to prevent lumps. Once boiling, continue to boil for exactly 1 minute.
-
Carefully add the raspberry-sugar mixture from the bowl into the pectin mixture in the saucepan. Reduce the heat to medium-low. Continue to stir the jam constantly for 3 minutes, or until you are absolutely certain that all the granulated sugar has completely dissolved. You can test this by rubbing a small amount between your fingers; it should feel smooth, not gritty.
-
Immediately pour the hot raspberry jam into clean, freezer-safe jars or containers, making sure to leave ½ inch of headspace at the top of each jar. This space is crucial for the jam to expand safely when frozen. Place the lids tightly on the jars and let the jam sit undisturbed at room temperature for a full 24 hours to allow it to set. After 24 hours, transfer the jars to the freezer for long-term storage (up to 1 year). Any jars intended for immediate use can be stored in the fridge for up to 3 weeks.
Notes
- If you’re in a bind, you can keep the raspberries semi-frozen. The berries can be cold, but should be defrosted enough that you can mash them with a potato masher. This recipe works equally well with fresh, ripe raspberries too!
If you desire a seedless jam, simply strain out the seeds using cheesecloth or a fine-mesh strainer after mashing the fruit and before adding the sugar. Be aware that removing the seeds will result in a jam with a smoother, rather than chunky, texture. This could also subtly influence the final thickness or consistency of the jam.
Nutrition
Calories:
640
kcal
(32%)
Carbohydrates:
164
g
(55%)
Protein:
1
g
(2%)
Fat:
1
g
(2%)
Saturated Fat:
1
g
(5%)
Sodium:
4
mg
Potassium:
171
mg
(5%)
Fiber:
7
g
(28%)
Sugar:
155
g
(172%)
Vitamin A:
37
IU
(1%)
Vitamin C:
30
mg
(36%)
Calcium:
30
mg
(3%)
Iron:
1
mg
(6%)
Whitney Wright
Snack
American
Did you make this recipe?
Please leave a star rating and review on the blog post letting me know how you liked this recipe! Take a picture and tag @saltandbaker on Tik Tok, Instagram, and Facebook so I can see what you’re making!
