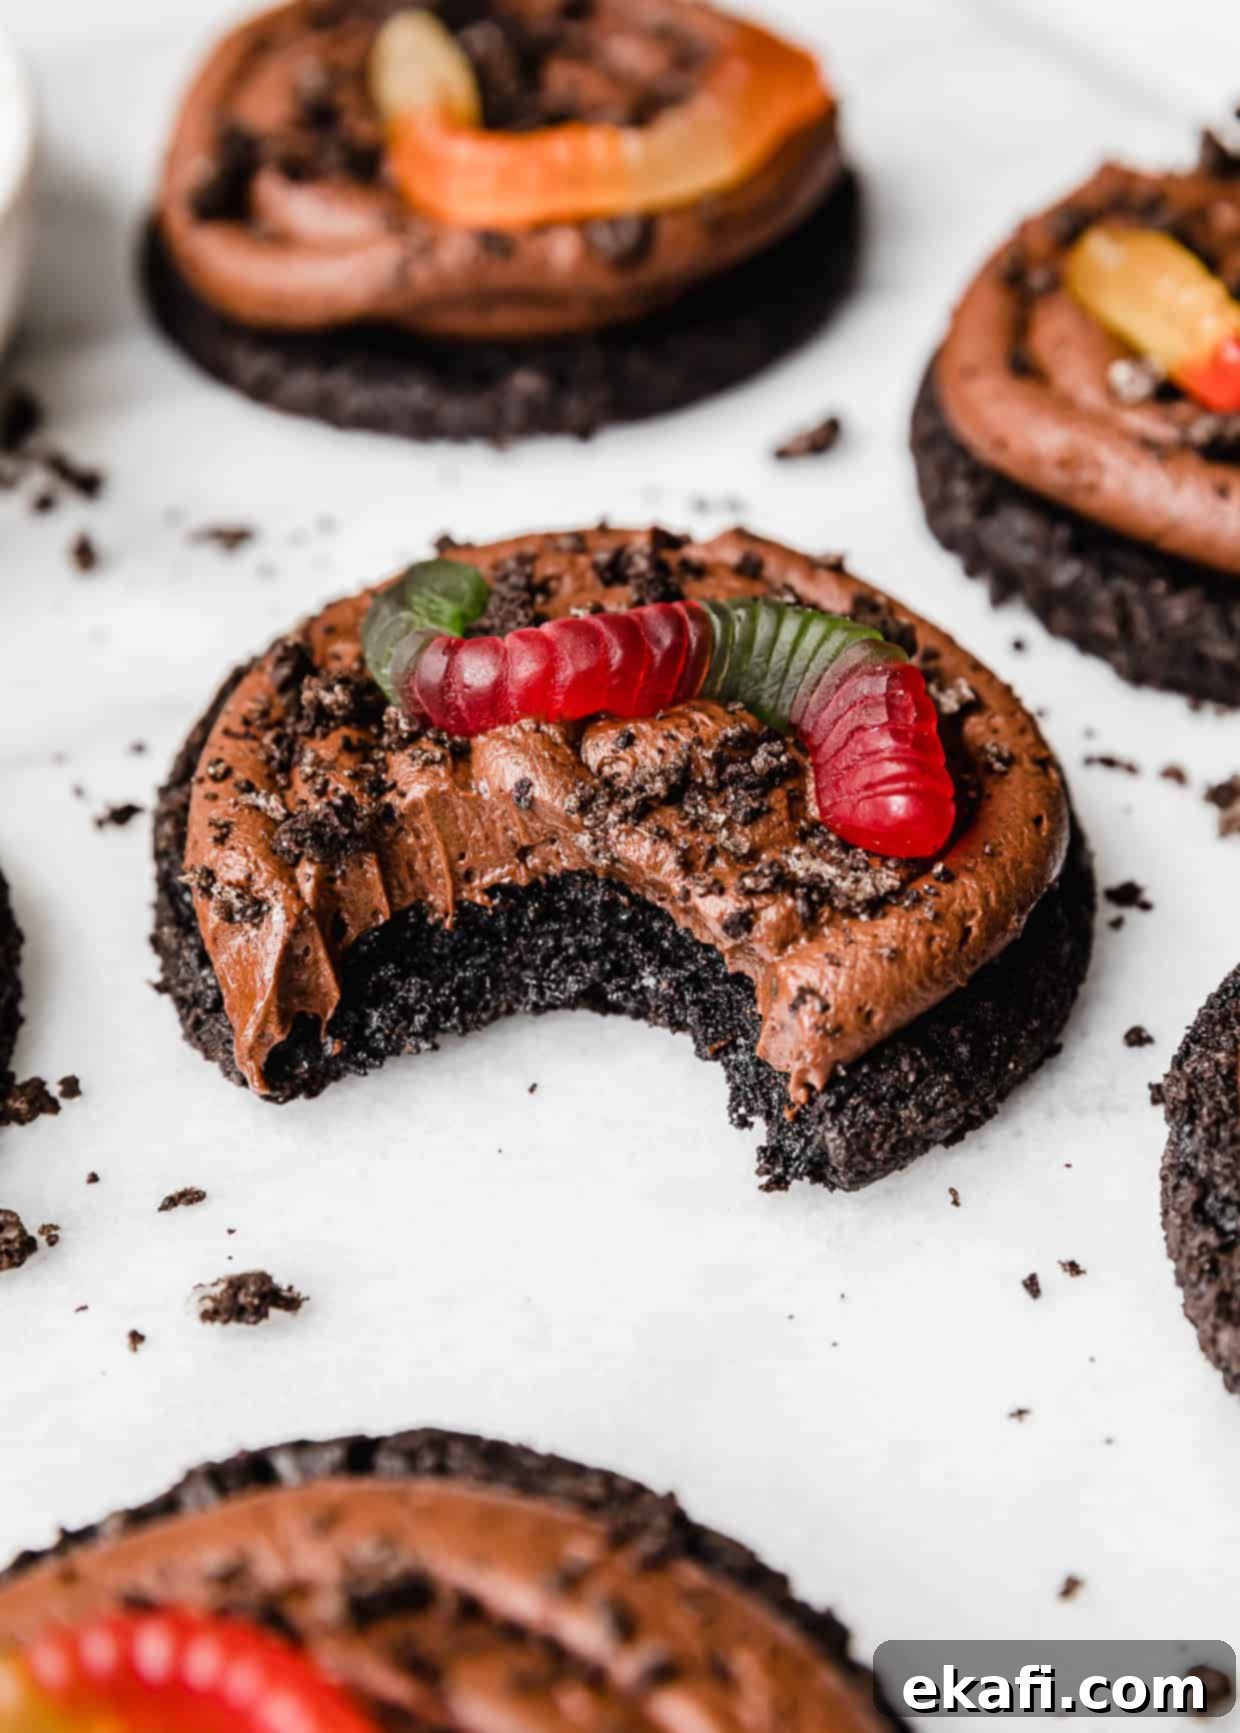
Homemade Dirt Cake Cookies: The Ultimate Oreo & Gummy Worm Dessert Recipe
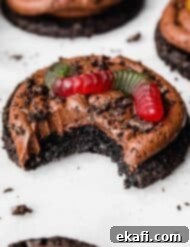
Step into a world of nostalgic delight with these incredible **Dirt Cake Cookies**! Imagine a soft, rich, and deeply chocolatey cookie base, crafted from crushed Oreos and intense black cocoa. Each cookie is then generously crowned with a luxurious chocolate pudding frosting, subtly enhanced with Dutch process cocoa for an even richer flavor. The masterpiece is completed with a sprinkle of authentic Oreo crumbs and, of course, a playful gummy worm, making it look just like your favorite childhood Dirt Cake Cups in a convenient, handheld form.
These aren’t just any cookies; they are a delightful tribute to the classic dirt cake, perfect for parties, Halloween, or simply a fun treat that transports you back to simpler times. If you’re a fan of rich chocolate desserts and crave that unique Oreo crunch combined with creamy pudding, then this recipe is an absolute must-try. Get ready to impress with this incredibly delicious and visually charming dessert!
After mastering these amazing Crumbl-inspired gummy worm dirt cake cookies, you’ll surely want to explore more decadent chocolate treats. Don’t miss my French Silk Pie Cookies, which also feature a similar, delectable chocolate pudding frosting. And since you’ll have black cocoa powder on hand, you can dive into a world of rich, dark chocolate creations, including all the delicious Black Cocoa Powder Recipes and my fudgy Black Cocoa Brownies!
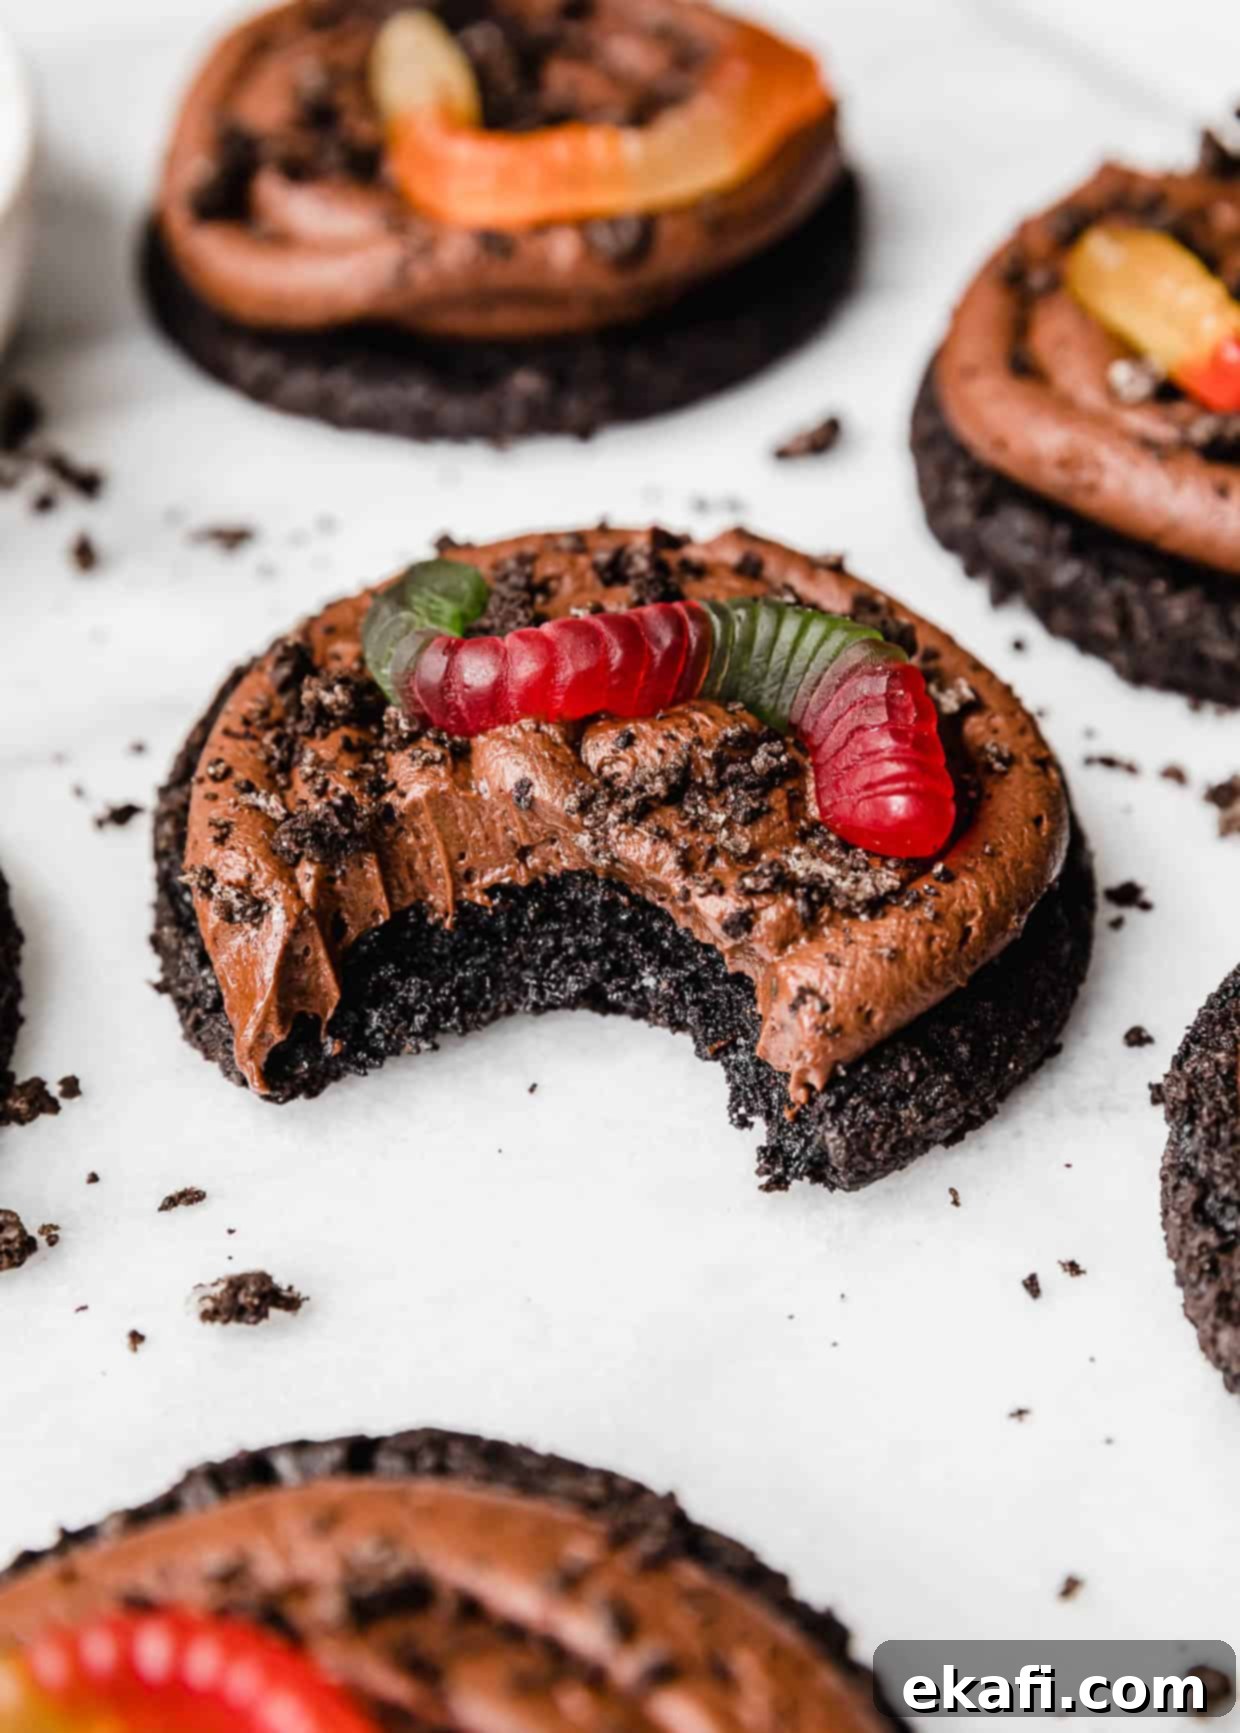
Why These Dirt Cake Cookies Are a Must-Try
These homemade dirt cake cookies stand out for several reasons, combining nostalgic flavors with an irresistible texture. Here’s why this recipe deserves a spot in your baking rotation:
- Authentic Dirt Cake Experience in a Cookie Form: Indulge in all the fun and deliciousness of a classic dirt cake, complete with gummy worms and Oreos, but in a convenient, individual cookie. Each bite of these Crumbl dirt cake cookies immediately evokes childhood memories of digging into a fun gummy worm dirt cake. From the distinctive Oreo cookie base to the luscious chocolate pudding filling, crushed Oreo topping, and the whimsical gummy worm, this dirt cake cookie recipe truly captures the essence of the original dessert. It’s the perfect treat for themed parties, holidays, or simply satisfying a sweet craving.
- Perfectly Soft and Rich Oreo Cookie Base: I am absolutely obsessed with the rich, soft Oreo cookie base in this recipe—it’s hands down my all-time favorite! The combination of black cocoa powder and crushed Oreos creates an incredibly tender, dark, and deeply flavorful cookie that forms the ideal “dirt” foundation. This unique base is versatile enough that I use it, or a variation of it, as the perfect canvas for many of my other delicious Oreo cookie recipes, such as my (Crumbl Copycat) Chocolate Oreo Cookies and my Crumbl Oreo Chocolate Sandwich Cookies. The texture is unparalleled – chewy yet soft, providing the perfect contrast to the creamy frosting.
- Creamy, Decadent Chocolate Pudding Frosting: The star of these cookies (after the base, of course!) is the velvety smooth chocolate pudding frosting. Unlike a traditional buttercream, this frosting offers a lighter, melt-in-your-mouth texture that perfectly complements the rich cookie. Enhanced with Dutch process cocoa powder, it delivers an intensely chocolatey flavor that’s both sophisticated and incredibly satisfying. It’s not overly sweet, allowing the deep cocoa notes to shine through.
- Visually Stunning and Fun for All Ages: Let’s be honest, half the appeal of dirt cake is its playful appearance, and these cookies are no exception! The dark cookie base and rich frosting, topped with crumbly Oreos, create an authentic “dirt” look, while the gummy worms add that iconic touch of whimsy. They’re a fantastic conversation starter and a huge hit with kids and adults alike, especially for themed events like Halloween or birthday parties.
- Easy to Follow, Rewarding Results: While these cookies look gourmet, the recipe is straightforward and designed for home bakers. With clear step-by-step instructions and helpful tips, you’ll be able to create a batch of these impressive treats with confidence. The effort put into these cookies is certainly rewarded with incredible flavor and a dessert that everyone will adore.
Key Ingredient Insights for Perfect Dirt Cake Cookies
Understanding the role of each ingredient is crucial for achieving the best results with your Dirt Cake Cookies. Here’s a breakdown of some key components and why specific choices are important:
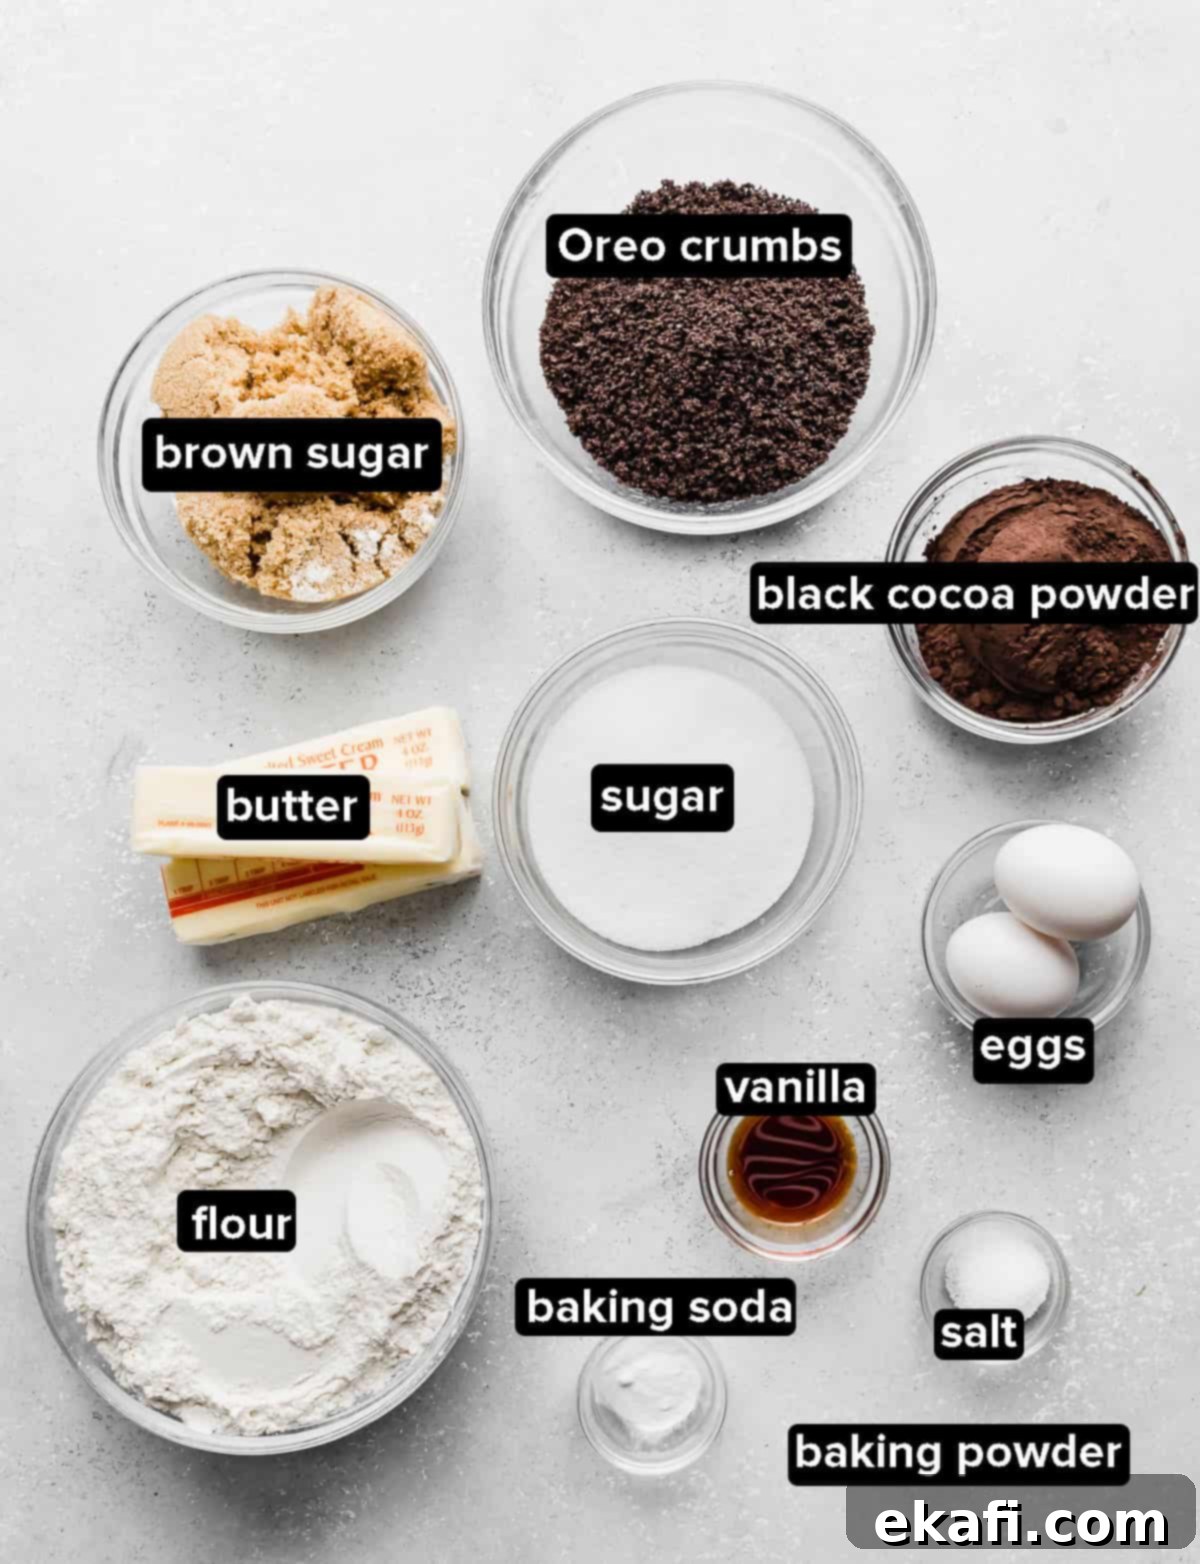
- All-Purpose Flour: The precise measurement of flour is critical for the ideal cookie texture and spread. Adding that extra 2 tablespoons isn’t a typo; it helps achieve the perfect consistency, preventing the cookies from spreading too much and maintaining their soft, chewy center. Always scoop and level your flour for accuracy.
- Black Cocoa Powder: This ingredient is non-negotiable for achieving the signature dark “dirt” color and a unique, less bitter, super-chocolatey flavor that’s distinct from regular cocoa powders. It’s often found online or in specialty baking stores. Don’t substitute it with natural or Dutch-process cocoa if you want that authentic dirt look and specific flavor profile.
- Oreo Crumbs: For that ultimate Oreo flavor and crumbly texture, make sure to crush the entire Oreo, cream filling and all! The filling adds moisture and sweetness, contributing to the cookie’s tenderness. A food processor works best for fine crumbs, but a ziplock bag and rolling pin will also do the trick. Regular Oreos are preferred over double-stuffed to maintain the right balance of cookie to filling in the dough.
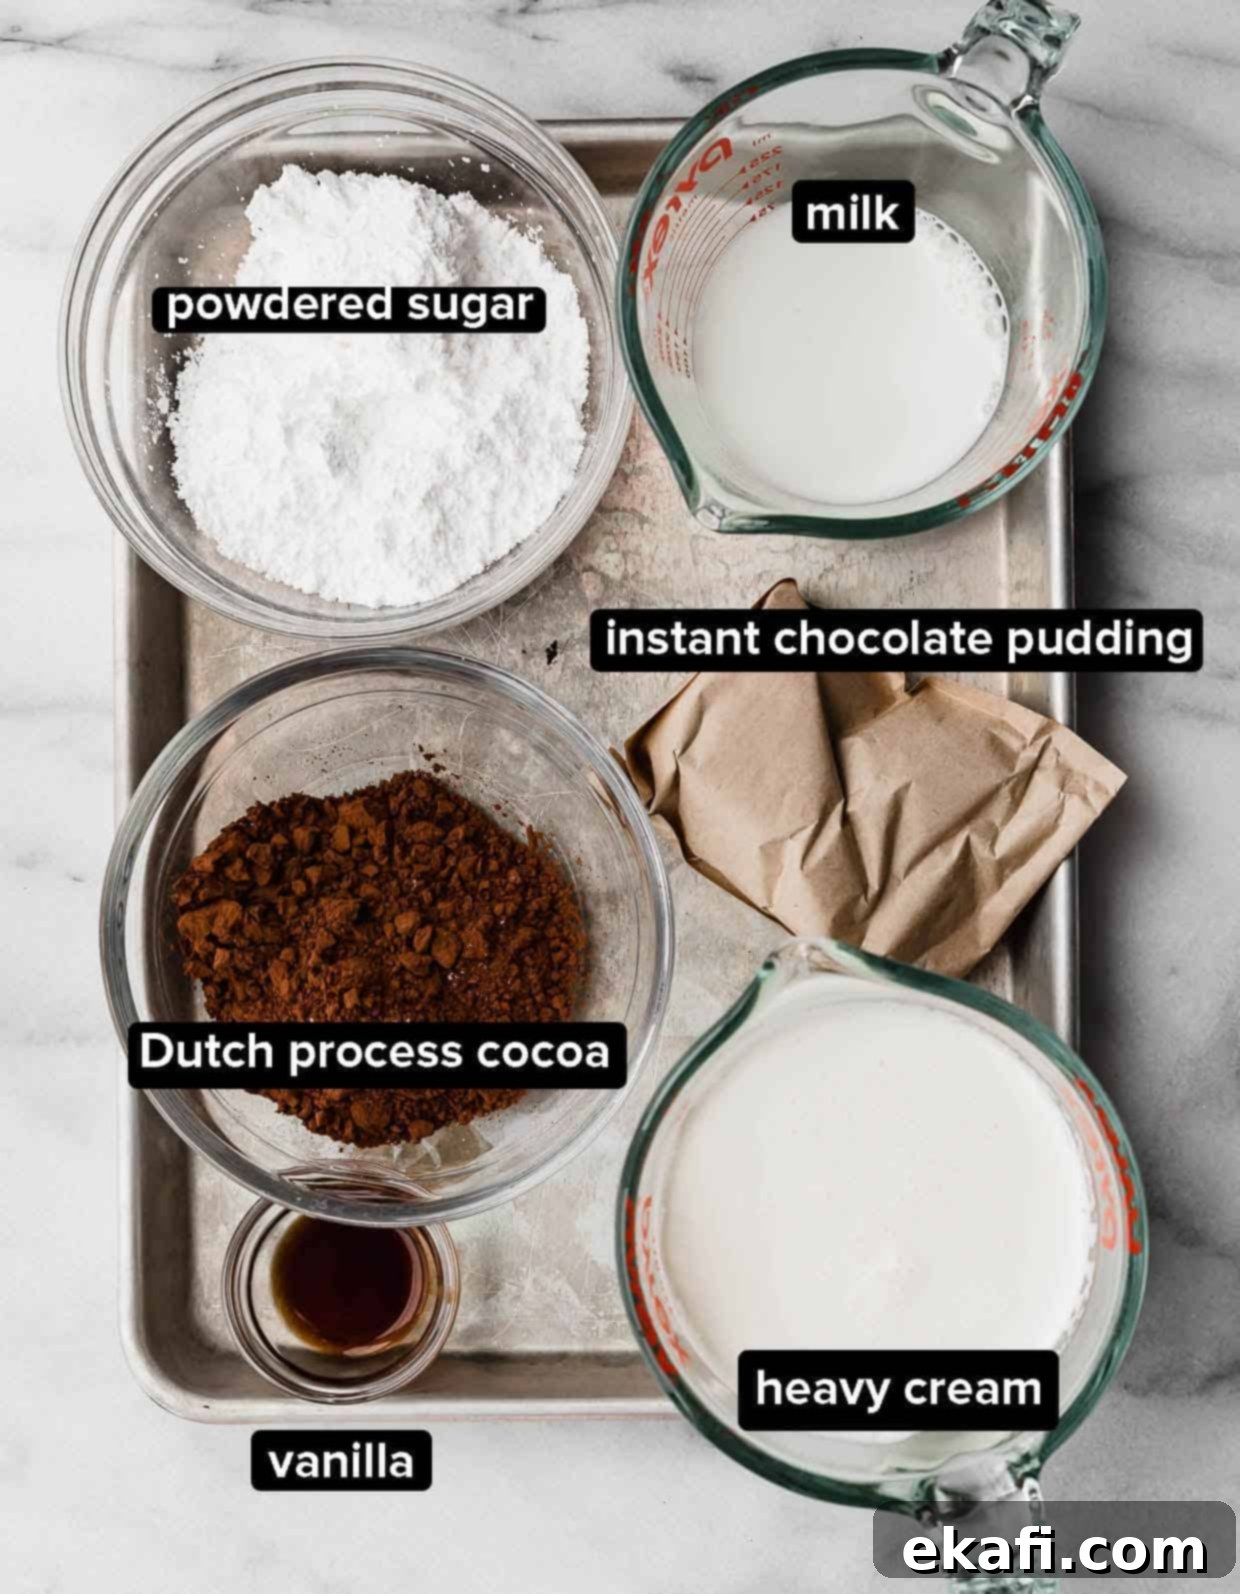
- Instant Chocolate Pudding Mix: This is where the “instant” part is absolutely essential! You need the dry packets of instant chocolate pudding mix, not the pre-made pudding or the “cook and serve” variety. My sister learned this the hard way – cook and serve pudding won’t thicken properly in this frosting recipe, leading to a runny mess. The instant mix reacts with the cold dairy to create a perfectly thick and creamy frosting.
- Heavy Cream: For the fluffiest, most stable chocolate pudding frosting, ensure your heavy cream is extra cold. Cold cream whips up more easily and holds its shape better, resulting in a rich, mousse-like texture that pipes beautifully onto the cookies.
- Dutch Process Cocoa Powder: While the black cocoa gives the cookie its distinct color and flavor, adding a touch of Dutch process cocoa powder to the chocolate pudding frosting further intensifies the chocolate richness. Dutch process cocoa is less acidic and has a smoother, mellower chocolate flavor that complements the pudding perfectly.
- Gummy Worms: It simply wouldn’t be a true dirt dessert recipe without those iconic gummy worms! These playful candies are not just for decoration; they complete the visual illusion, making these cookies look exactly like the classic dirt cake with worms. Choose a variety of colors for an extra fun presentation.
Easy Step-by-Step Guide to Baking Dirt Cake Cookies
Creating these delightful Dirt Cake Cookies is a fun and rewarding process. Follow these detailed steps to ensure perfectly baked cookies and a luscious frosting:
- Prepare the Cookie Dough – Cream Wet Ingredients: Begin by combining the softened butter, light brown sugar, and granulated sugar in the bowl of a stand mixer fitted with the paddle attachment. Cream these ingredients together on medium speed for about 2 minutes, until the mixture is light, fluffy, and smooth. This aeration is key for a tender cookie. Next, add the eggs one at a time, mixing well after each addition, followed by the vanilla extract. Continue mixing until everything is fully incorporated and uniform, pausing to scrape down the sides of the bowl with a rubber spatula as needed to ensure all ingredients are evenly mixed.
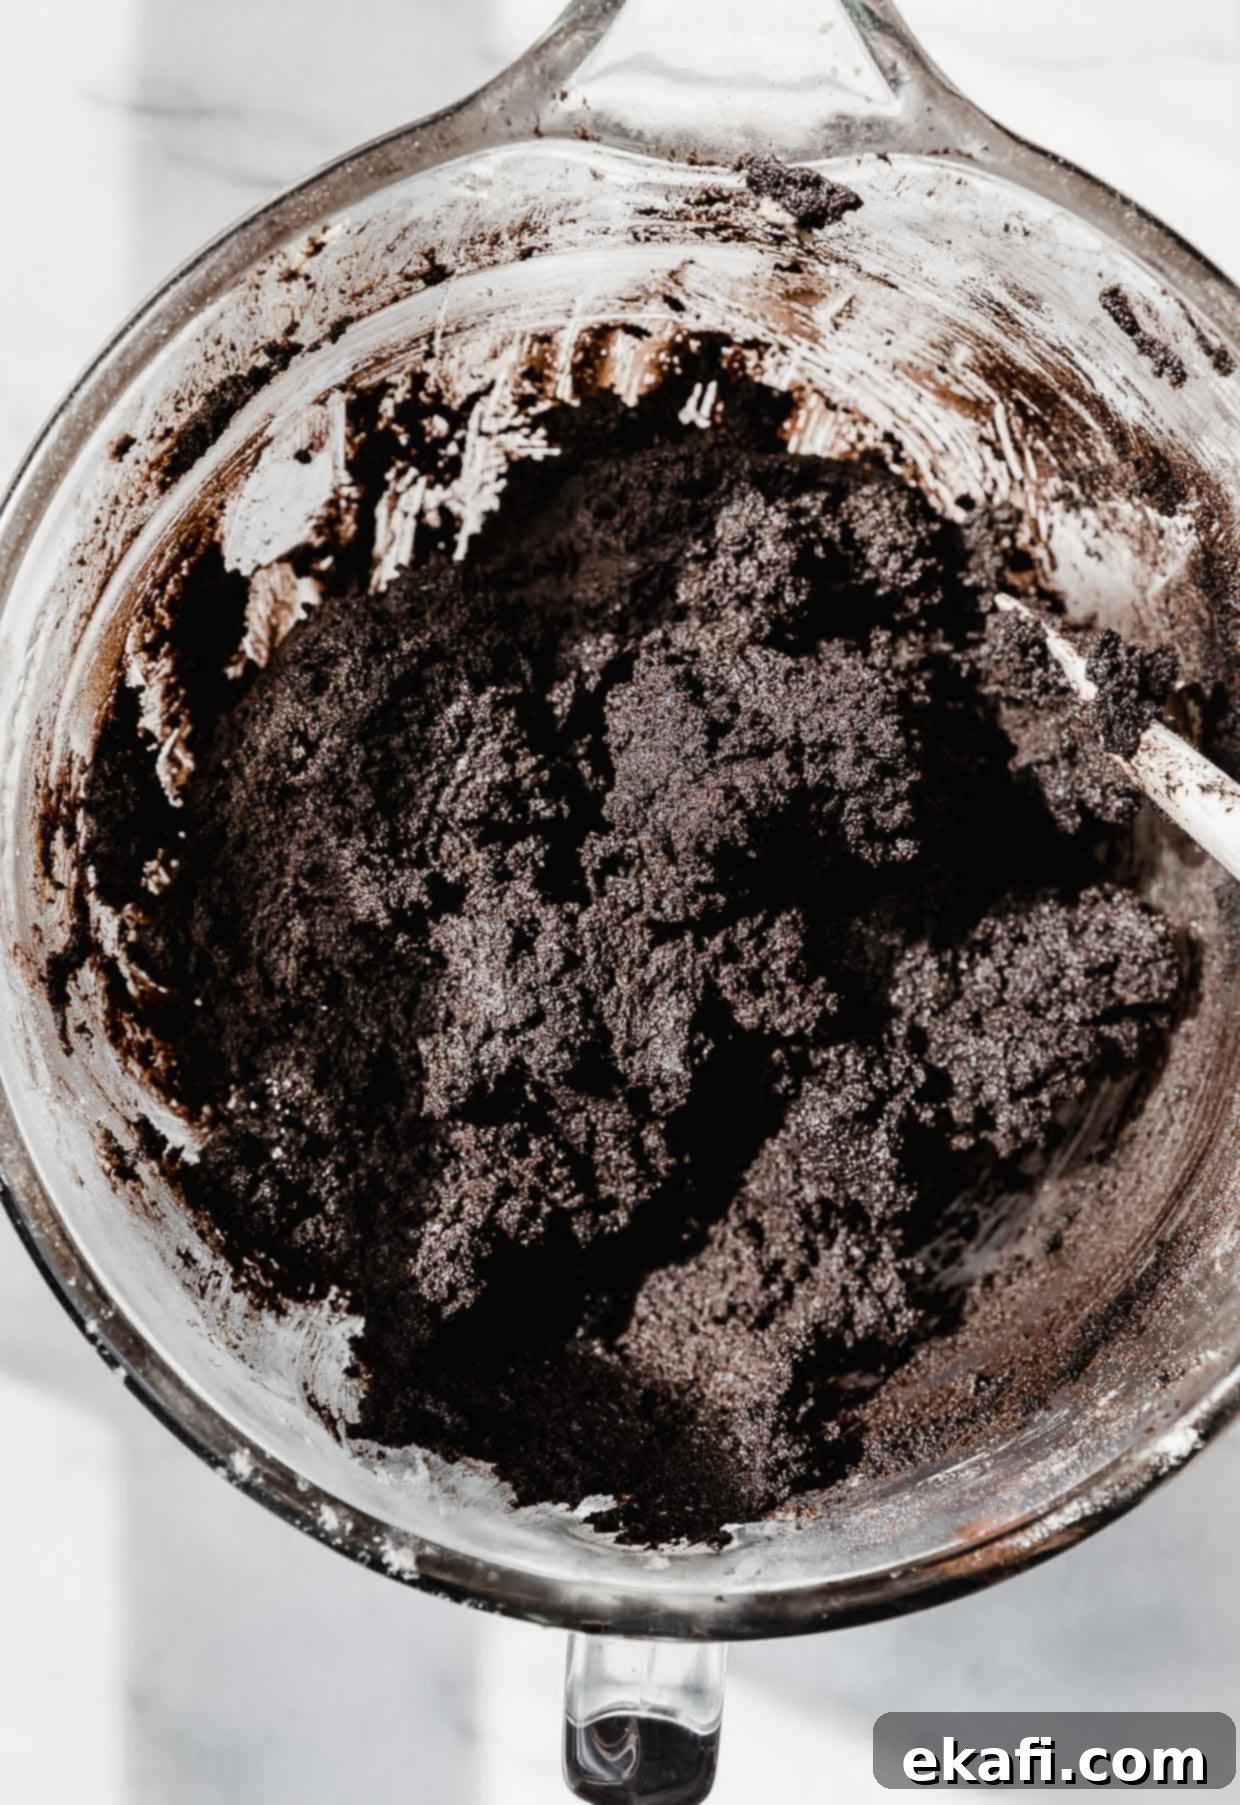
- Incorporate the Dry Ingredients: To the wet mixture, add the all-purpose flour (remember that extra 2 tablespoons!), black cocoa powder, 2 1/2 cups of the crushed Oreo crumbs, baking powder, baking soda, and salt. Mix on low speed until the dry ingredients are just combined with the wet. Be careful not to overmix the dough, as this can lead to tough cookies. The dough will appear quite thick and dark, which is exactly what we’re looking for to create that “dirt” effect.
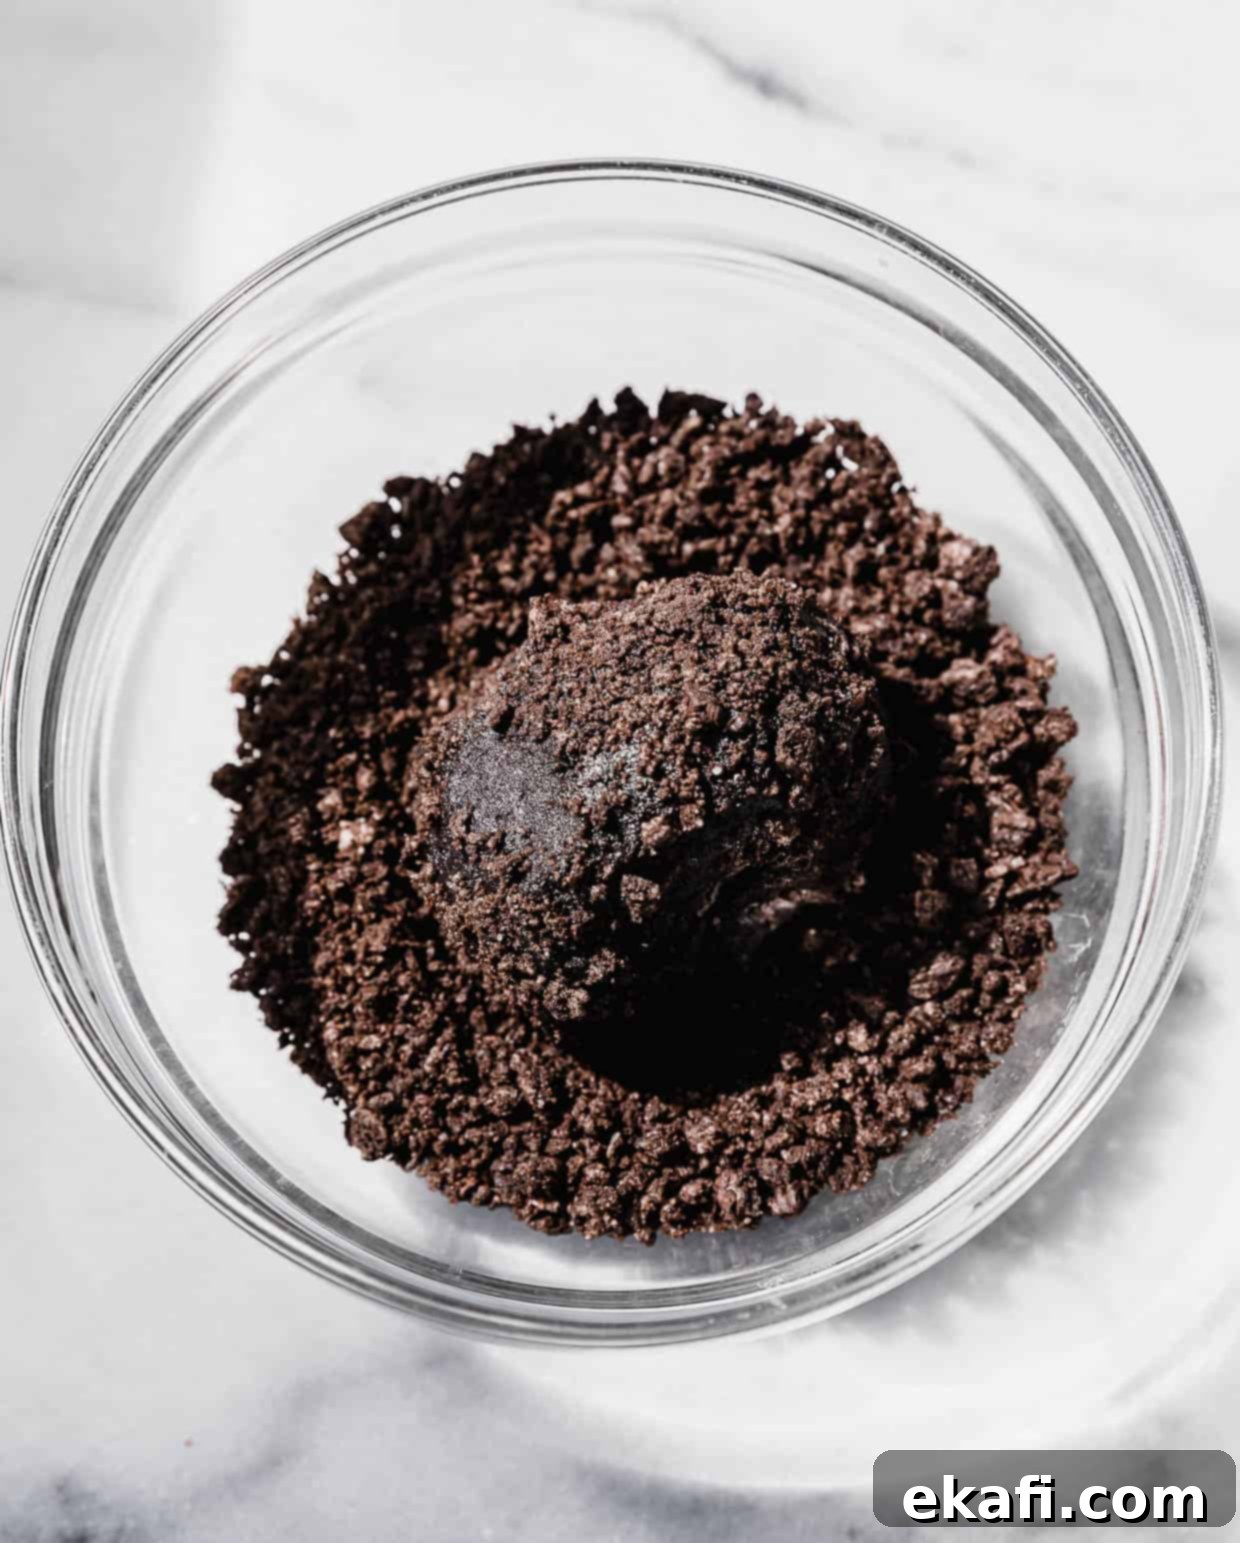
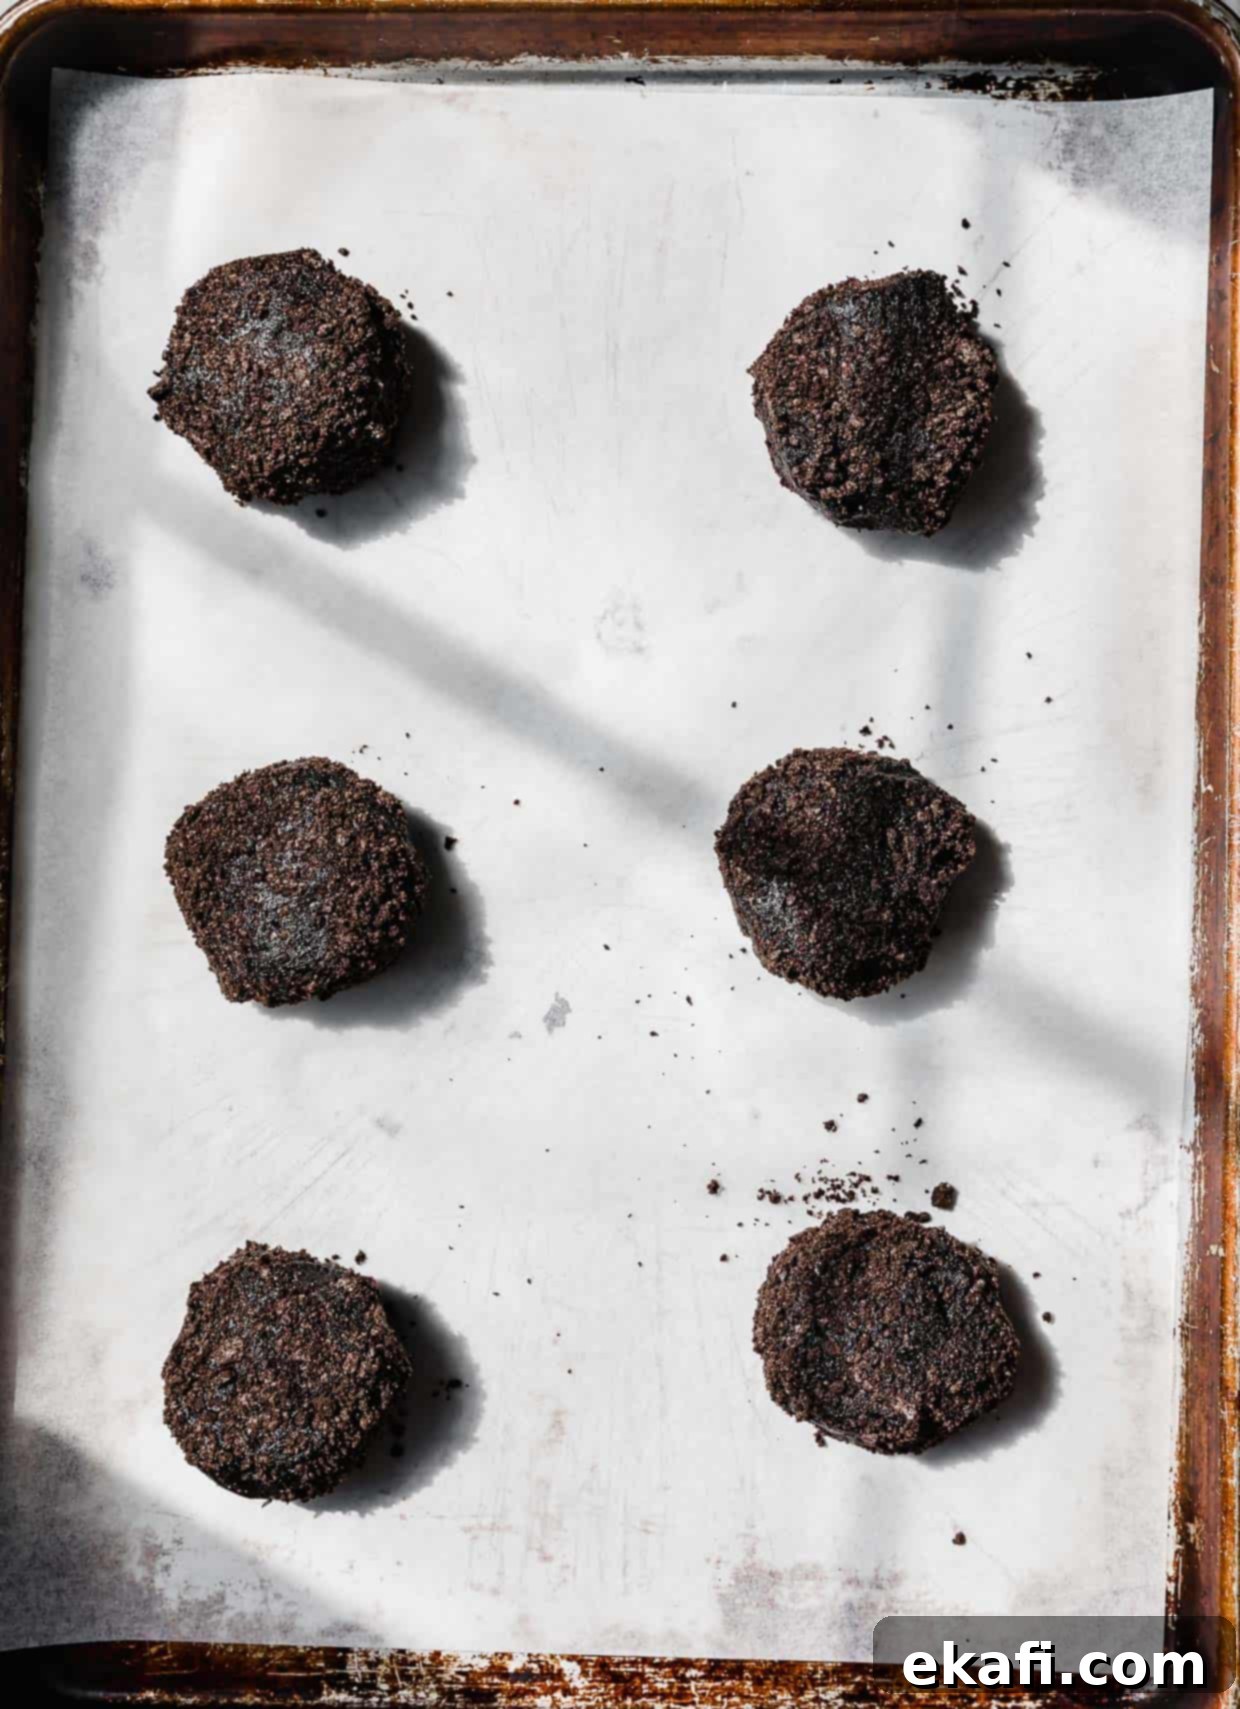
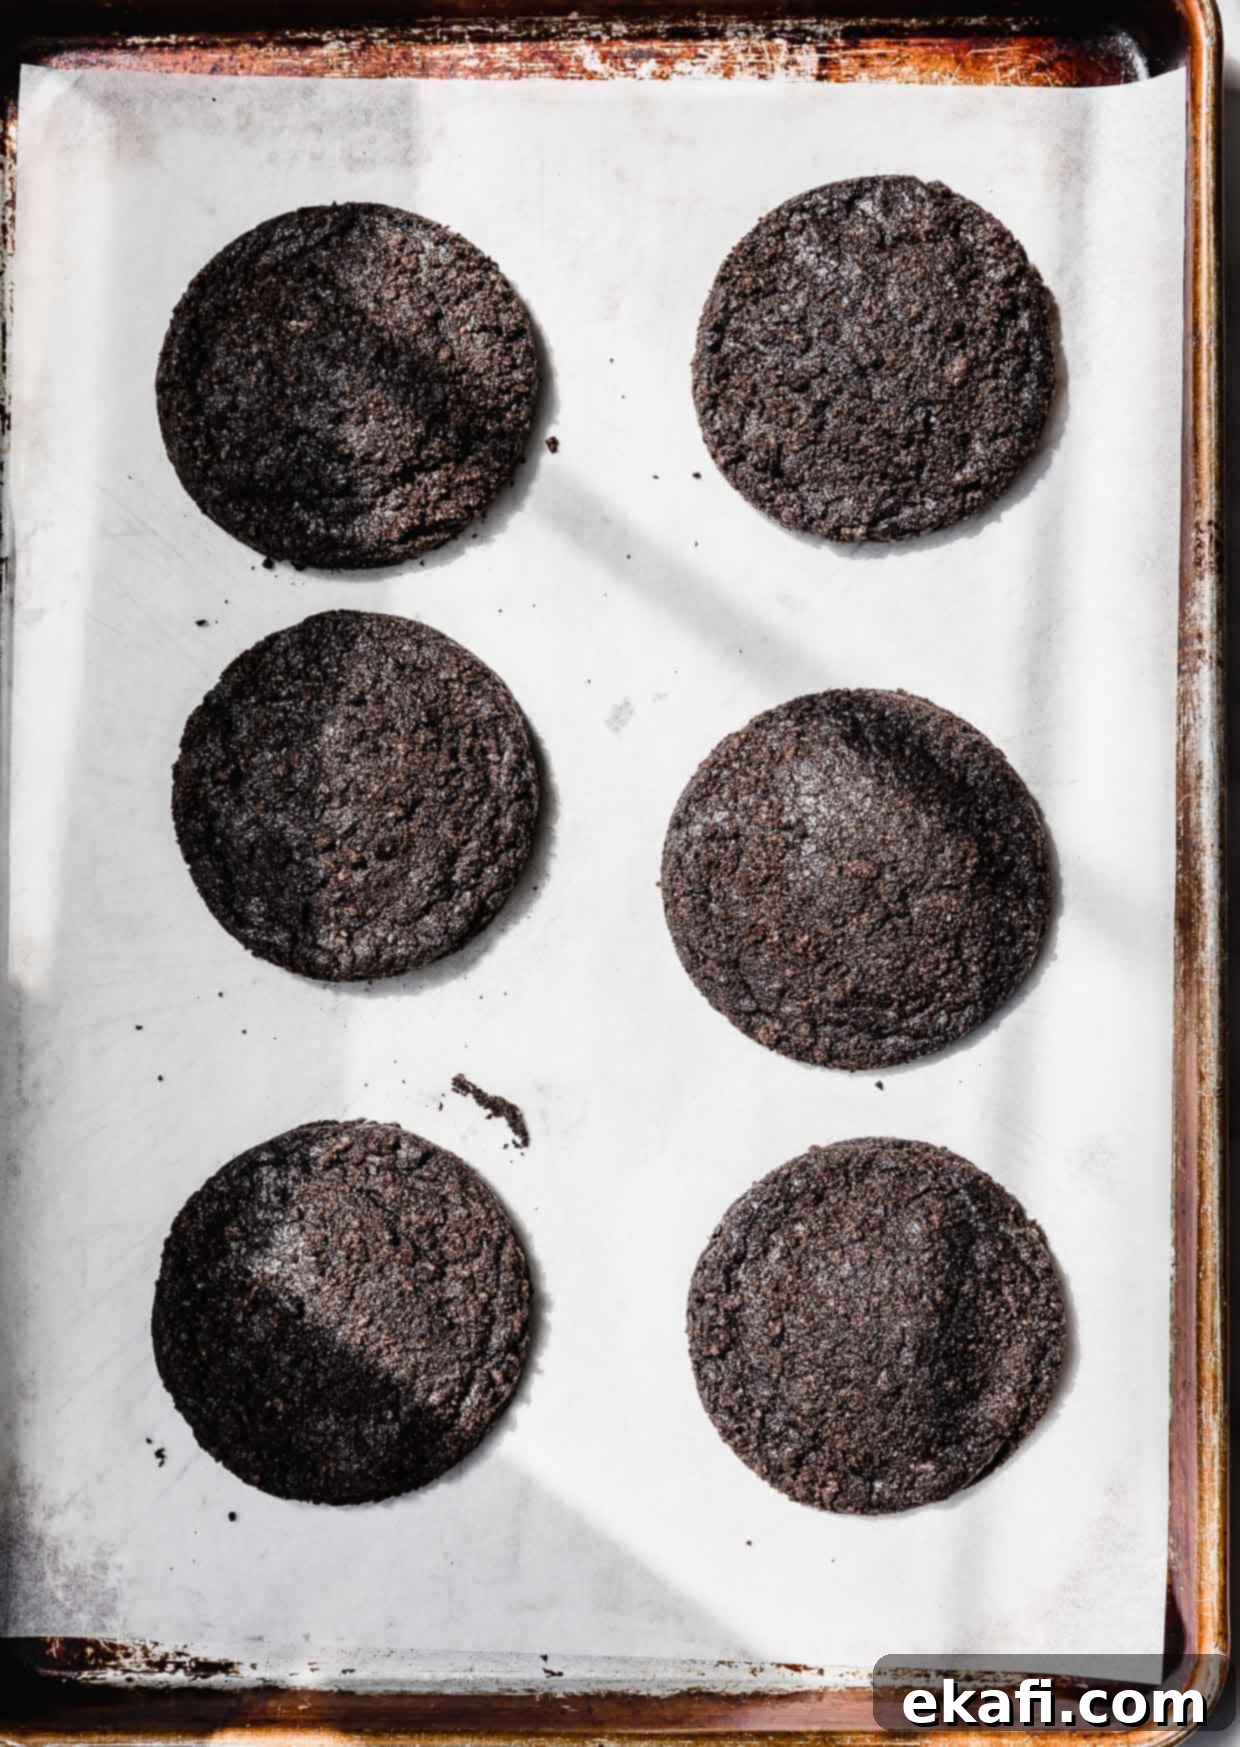
- Form Dough Balls, Roll, and Bake: Using a 1/4 cup measure or a large cookie scoop, portion the dough into even balls. For an extra layer of “dirt” and crunch, roll each dough ball generously in the remaining crushed Oreos. Place 6 dough balls onto a baking sheet lined with parchment paper, ensuring enough space between them for even baking. Gently press down on each cookie with the palm of your hand to create thick disks – this helps them bake more evenly and prevents them from becoming too dome-shaped. Bake in a preheated oven at 365°F (185°C) for 10-12 minutes. The cookies are done when the edges are visibly set, but the centers still appear soft and slightly puffy, not shiny. Overbaking can lead to dry cookies, so keep an eye on them! Let them cool on the cookie sheet for about 10 minutes before transferring them to a wire rack to cool completely. This crucial resting period allows them to firm up without breaking.
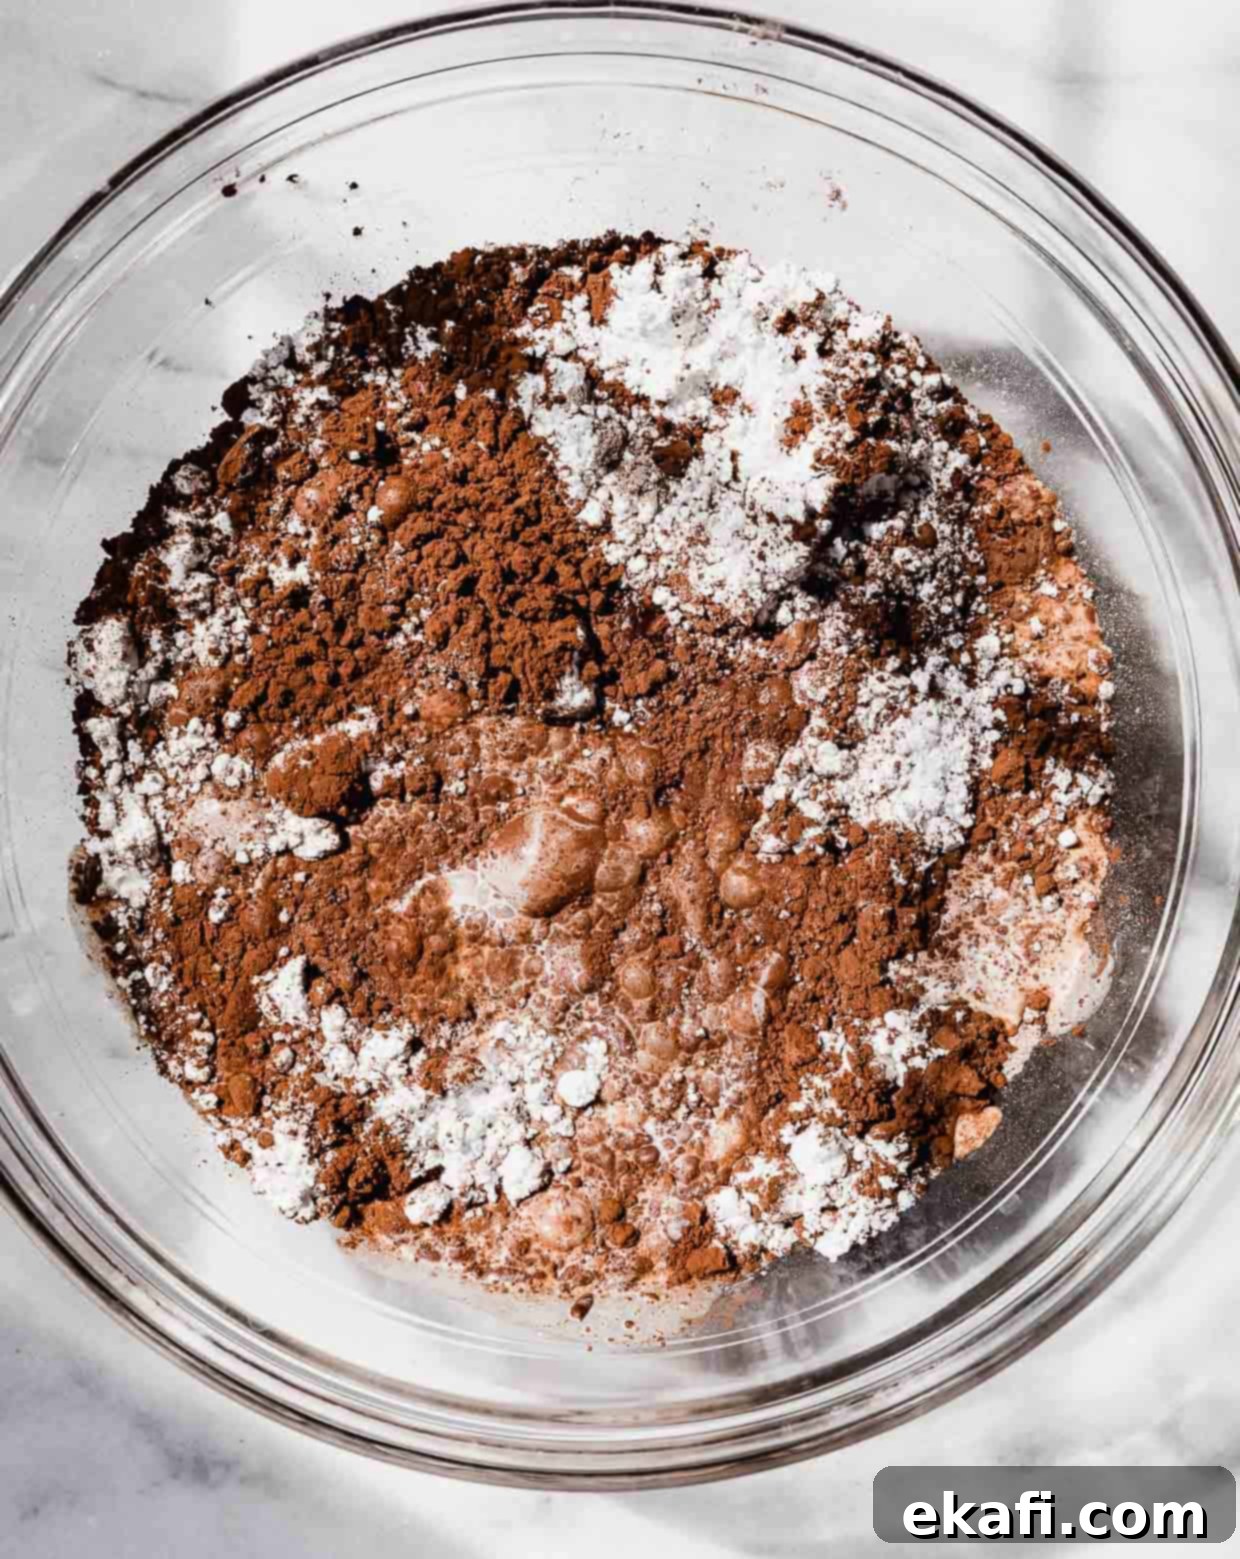
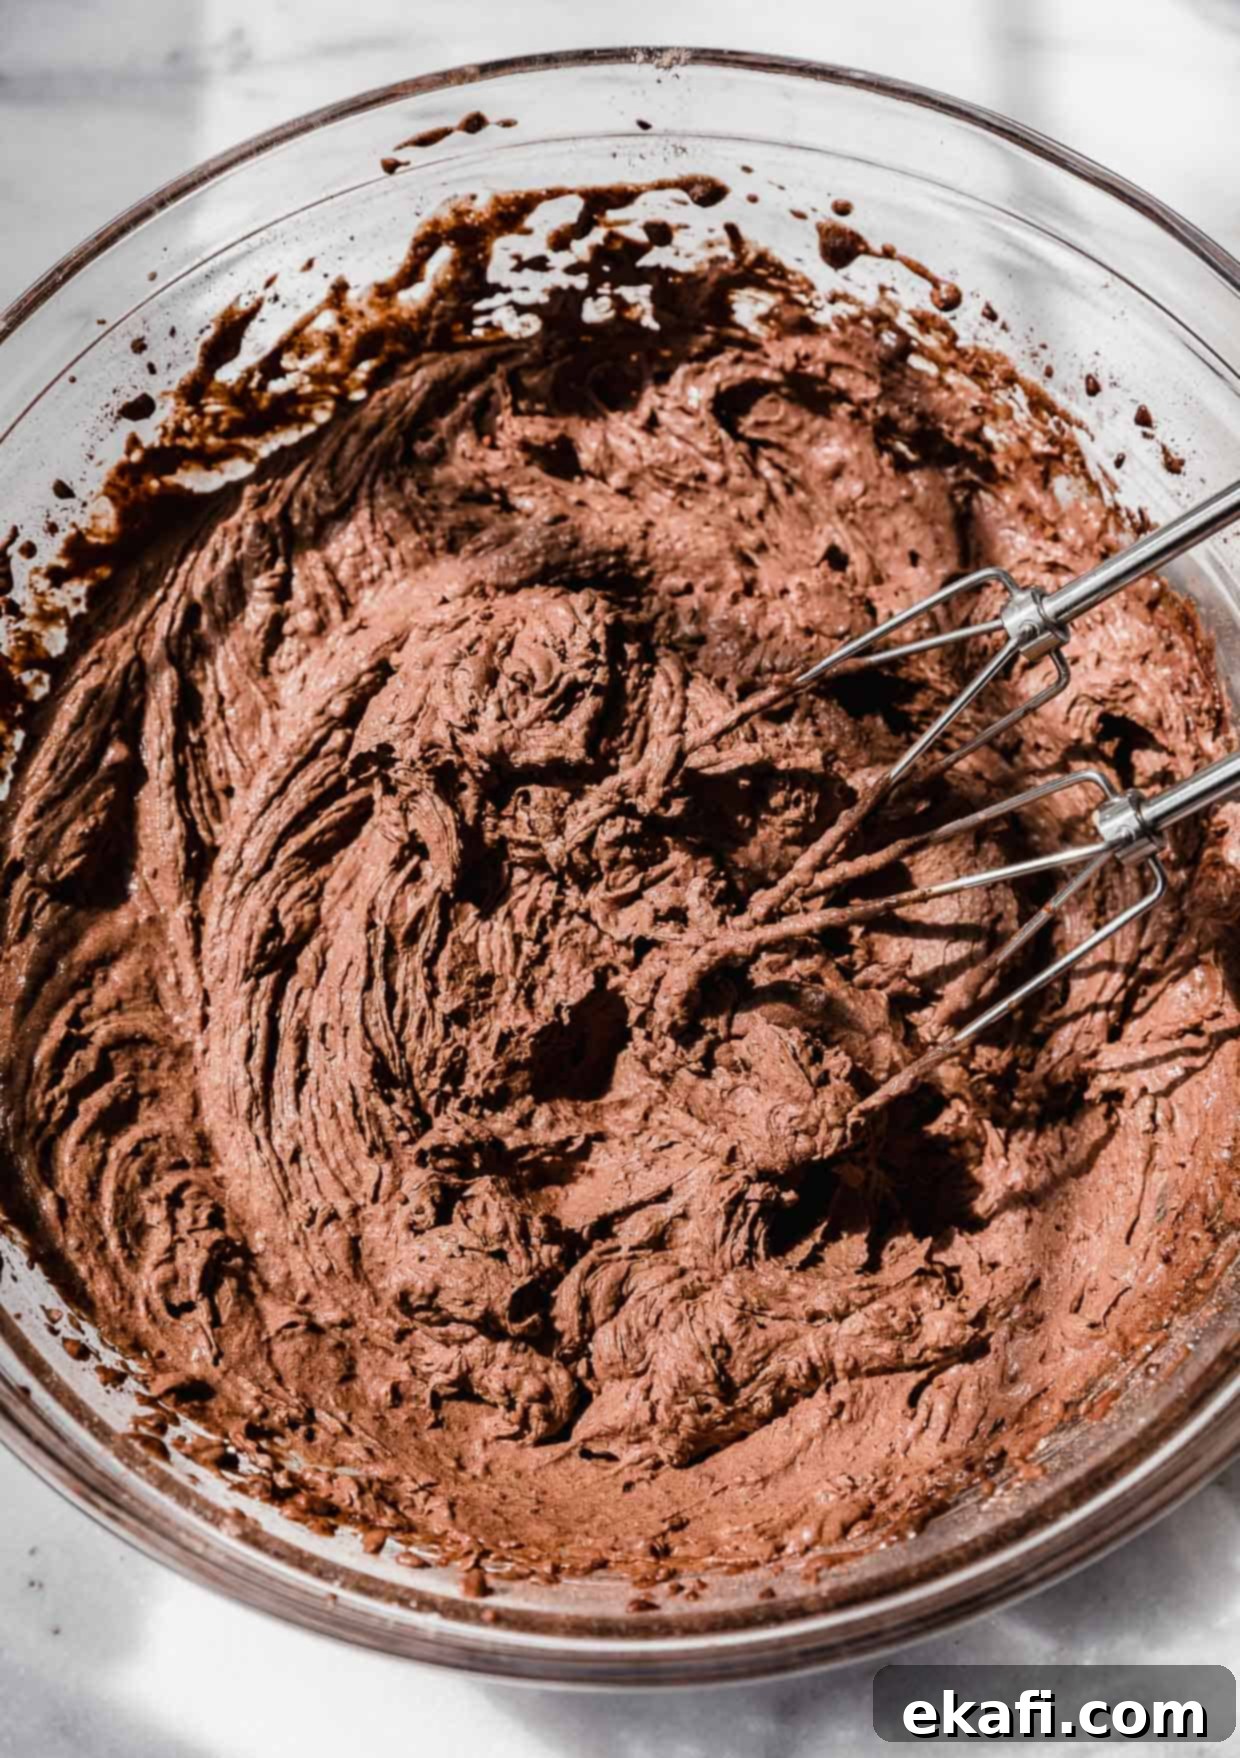
- Whip Up the Chocolate Pudding Frosting: While the cookies cool, prepare the star topping! In a stand mixer bowl with the whisk attachment (or a large mixing bowl if using a hand mixer), combine the dry chocolate instant pudding mix, cold heavy cream, cold 2% milk, powdered sugar, Dutch process cocoa powder, and vanilla extract. Beat these ingredients together on medium-high speed until the mixture becomes smooth, thick, and reaches a mousse-like consistency. This usually takes about 1-2 minutes. The frosting should be firm enough to hold its shape when piped. If not using immediately, store it in the fridge to keep it chilled and firm.
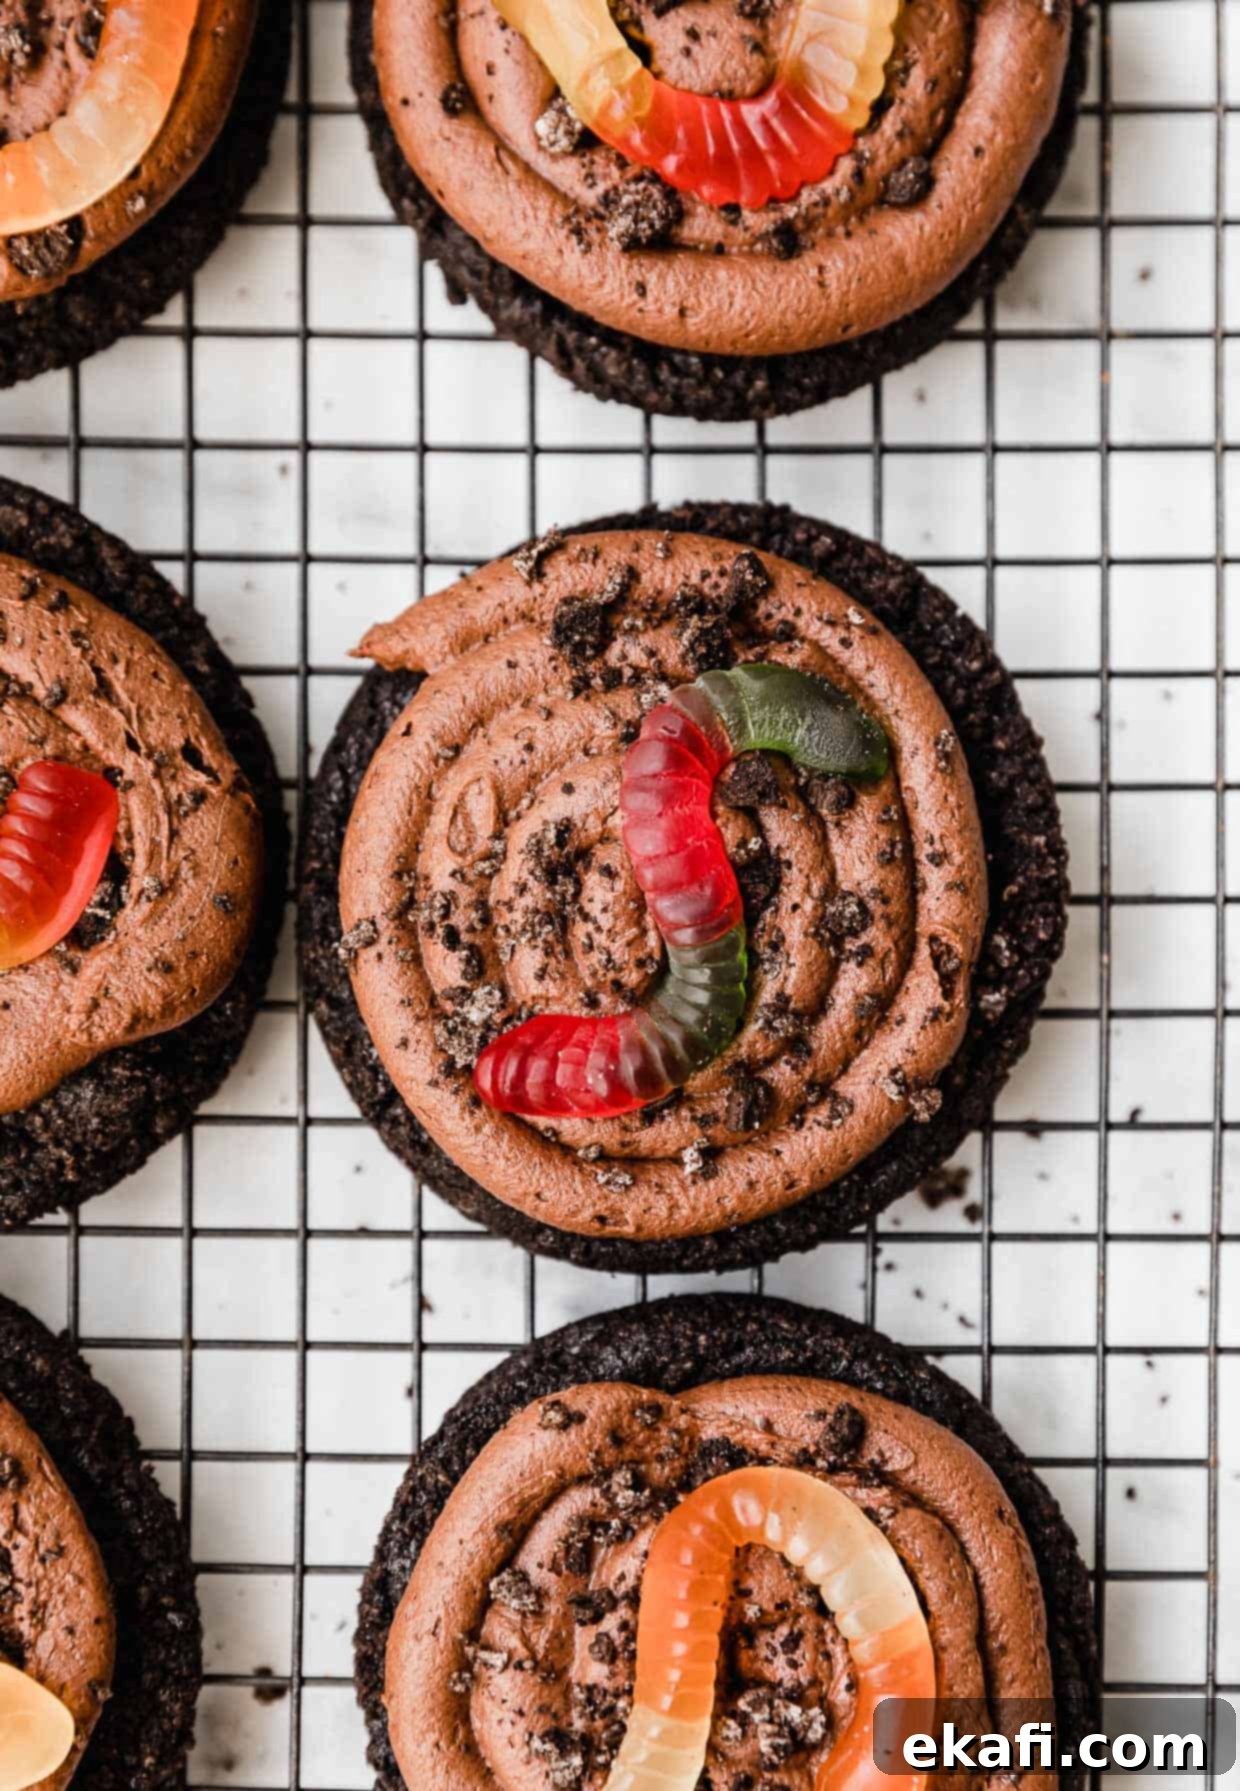
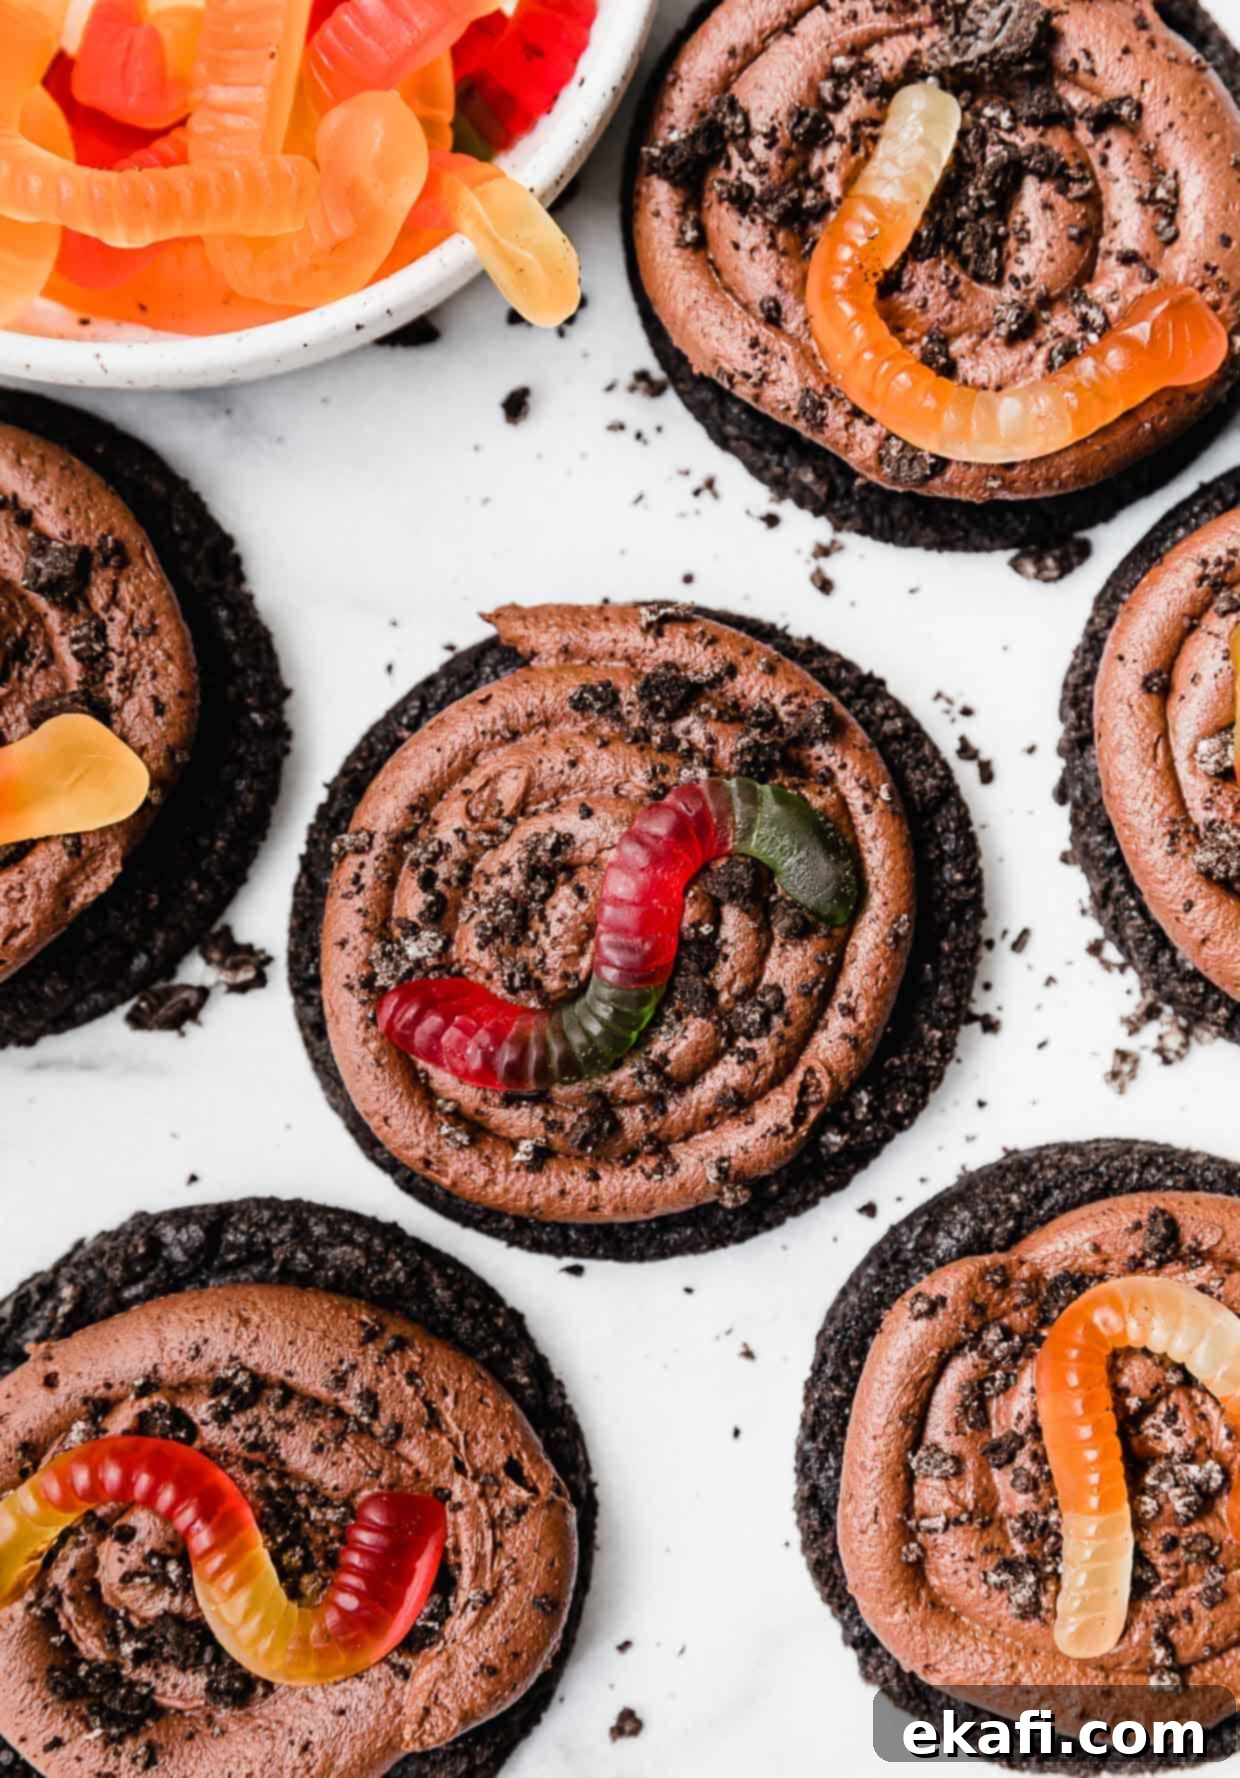
- Assemble and Decorate Your Dirt Cake Cookies: Once the cookies are completely cool, it’s time for assembly! Transfer the prepared chocolate pudding frosting into a pastry bag fitted with your favorite piping tip (or simply use a ziplock bag with a corner snipped off for a rustic look). Pipe a generous swirl of the rich mousse onto the top of each cooled cookie. To complete the iconic dirt cake look, generously sprinkle the tops of the frosted cookies with additional Oreo cookie crumbs. Finally, carefully place a cheerful gummy worm on top of each cookie, allowing it to “burrow” into the “dirt.” These cookies are best enjoyed chilled or at a cool room temperature. Prepare to be delighted by this fun and flavorful treat!
Expert Tips for Baking Perfect Dirt Cake Cookies
Achieving bakery-quality Dirt Cake Cookies is easier than you think with these helpful tips and tricks:
- **Achieve Perfectly Round Cookies:** Some cookies might naturally bake with slightly uneven edges. For that professional, uniform round shape, grab a large round biscuit cutter or cookie cutter. Immediately after removing the cookies from the oven, while they are still hot and pliable, gently place the cutter around each cookie. Using a circular “hula hoop” motion, carefully swirl the cutter around the cookie to tuck in and reshape the edges. The goal isn’t to cut the cookie, but to gently guide it into a perfect circle before it fully sets.
- **Double-Check Your Pudding Mix:** This is a critical step for the frosting! Always ensure you are using a **dry, instant chocolate pudding mix**. There’s a significant difference between “instant” and “cook and serve” pudding mixes. Cook and serve varieties will not thicken properly when simply whisked with cold liquids, resulting in a runny frosting that won’t hold its shape on the cookies. A quick check of the packaging will prevent any disappointment.
- **Avoid Overmixing the Cookie Dough:** The cookie dough for these dirt cake cookies is quite thick and rich. It might appear dry at first glance, but once you begin to handle it, you’ll find it comes together perfectly. It’s crucial not to overmix the dough once the flour and other dry ingredients are added. Overmixing develops the gluten in the flour too much, which can lead to tough, dense cookies instead of the desired soft and chewy texture. Mix just until combined.
- **Do Not Overbake the Dirt Cookies:** These cookies continue to bake slightly even after they’re removed from the oven, especially during the initial 10-minute cooling period on the baking sheet. It’s always better to err on the side of underbaking slightly than overbaking. Look for edges that are set and centers that appear soft but not wet or shiny. If the centers look completely firm, they are likely overbaked. A slightly underbaked cookie will be wonderfully soft and moist.
- **Optimize for Mixing:** While a hand mixer can certainly work for the chocolate pudding frosting, which comes together quickly, a stand mixer is highly recommended for preparing the cookie dough. The cookie dough is quite thick and dense, and a stand mixer with a paddle attachment will handle it with ease, ensuring thorough mixing without straining your arm. If using a hand mixer for the dough, be prepared for a bit more effort.
Make Ahead, Storing, and Freezing Your Dirt Cake Cookies
These cookies are so good, you might want to make them in advance or save some for later! Here’s how to properly prepare and store them:
The chocolate pudding frosting (mousse) can be made in advance. Simply prepare it as directed and store it in an airtight container in the fridge for up to 3 days. When ready to use, give it a quick whisk to loosen it slightly before piping.
You can enjoy these cookies either chilled, right from the fridge, or at a cool room temperature. The chilled cookies offer a firmer, more dessert-like experience, while room temperature allows the flavors to meld and the cookie base to soften slightly.
Any leftover assembled cookies (with frosting and gummy worms) should be stored in an airtight container in the fridge for up to 4 days. This keeps the pudding frosting fresh and prevents the gummy worms from drying out or becoming overly sticky. For best results, place a piece of parchment paper between layers of cookies if stacking.
Looking for more detailed guidance on cookie preservation? My post on Freezing Cookie Dough covers everything you need to know about preparing, storing, and baking frozen cookie dough. For already baked cookies, check out my Freezing Cookies post, which provides valuable tips and tricks on how to freeze your baked treats to maintain their freshness and flavor.
Dirt Cake Cookies: Frequently Asked Questions
Yes, absolutely! If you’ve applied the creamy chocolate pudding frosting on top, these Crumbl-style dirt cake cookies must be stored in the refrigerator. The pudding-based frosting contains dairy and will not hold up at room temperature. If you have any plain Oreo cookie bases that haven’t been frosted yet, those can be safely stored in an airtight container at room temperature for a few days.
Dirt cake is a classic, fun, and often nostalgic dessert typically made with layers of crushed Oreo cookies and a rich, creamy pudding filling. It’s frequently prepared in individual cups or a large trifle dish, with the crushed Oreos resembling “dirt.” The playful name comes from its appearance, often enhanced with gummy worms “crawling” out of the “dirt” to mimic a garden scene.
No, it’s crucial that you use dry, instant chocolate pudding mix for this recipe. If you try to use pre-made chocolate pudding (the kind that’s already in pudding form), it will not work with the other ingredients in this frosting. The recipe specifically calls for combining the dry mix with cold heavy cream, milk, powdered sugar, Dutch process cocoa powder, and vanilla extract, then whipping it to create a thick mousse. Pre-made pudding won’t whip up the same way and will result in a much thinner consistency that won’t set on the cookies.
This is a common issue, and it happened to my sister too! The most likely reason is that you might have accidentally used a “cook and serve” pudding mix instead of an “instant” one. Instant pudding mixes contain specific gelling agents that activate when combined with cold dairy liquids and whipped. “Cook and serve” pudding requires heat to thicken, so it won’t work in this no-bake frosting application. Double-check your pudding mix packaging to ensure it explicitly says “instant.”
While you can technically use natural cocoa powder, it will significantly change the appearance and flavor of the cookies. Natural cocoa powder will result in a lighter brown cookie, not the deep, almost black “dirt” color that black cocoa powder provides. Black cocoa also has a unique, intense, and less bitter chocolate flavor that is key to the authentic dirt cake cookie experience. For the best visual and flavor match, black cocoa powder is highly recommended.
More Irresistible Oreo Dessert Recipes
Can’t get enough of that classic Oreo goodness? Dive into these other fantastic Oreo-inspired dessert recipes from my kitchen:
- Oreo Ice Cream Cake
- Oreo Donuts
- Fudgy Oreo Brownies
- Crumbl Oreo Birthday Cake Cookies
- Oreo Cake Pops
Did you make this recipe? I’d love to hear about it! Leave a star rating and review or scroll below the recipe card and do so there.
Stay up-to-date by following us on Instagram, TikTok, YouTube, Facebook, and Pinterest.
Print
SaveSaved!
Review
Dirt Cake Cookies
Ingredients
Oreo Cookie Base
- 1 1/2 cups unsalted butter – softened to room temperature
- 1 1/2 cups light brown sugar – packed
- 1 cup granulated sugar
- 2 large eggs
- 1 tablespoon vanilla extract
- 3 cups + 2 tablespoons all-purpose flour – about 450 grams
- 1 cup black cocoa powder
- 3 1/4 cups Oreo crumbs – divided, don’t remove the white filling, crush the entire oreo (I used regular, not double stuf)
- 1 1/2 teaspoons baking soda
- 1 teaspoon baking powder
- 1 teaspoon salt
Chocolate Pudding Frosting
- 3.9 oz INSTANT chocolate pudding
- 2 cups heavy cream – cold
- 1/3 cup 2% milk – cold
- 2/3 cup powdered sugar
- 1/3 cup Dutch process cocoa powder
- 1 teaspoon vanilla extract
Toppings
- gummy worms
- Oreo crumbs
Equipment
-
baking sheet
-
pre-cut parchment paper
-
1/4 cup cookie scoop
Instructions
Oreo Cookie Base
-
Preheat oven to 365°F. line baking sheet with parchment, set aside.
-
In bowl of a stand mixer cream the butter, brown sugar, and sugar on medium speed for 2 minutes. Add the eggs and vanilla and mix to combine. Scrape down the sides of the bowl with a rubber spatula.
-
Add the flour, black cocoa powder, 2 ½ cups Oreo crumbs, baking soda, baking powder, and salt. Mix to combine.
-
Portion the dough into 1/4 cup sized balls. Roll each ball in the remaining ¾ cup of crushed Oreo crumbs. Place 6 balls of dough on the baking sheet. Using the palm of your hand, press down on each cookie dough ball just slightly. Bake for 10 -12 minutes, the edges will appear set but the centers should appear soft.
-
Remove from oven; some cookies may have uneven edges. To fix this, use a very large round biscuit cutter or cookie cutter and immediately after removing the cookies from the oven, gently use the cutter in a circular motion around the cookies to tuck in the edges (think hula hoop motion). We don’t want to cut the cookie. We just want to make the cookies uniformly circle before they set.
-
Remove from the oven and let cool on pan for 10 minutes then transfer to a wire rack to cool completely.
Chocolate Pudding Frosting
-
In a large bowl (or the bowl of a stand mixer fitted with whisk attachment) add the dry chocolate instant pudding mix, heavy cream, milk, powdered sugar, Dutch process cocoa powder, and vanilla extract. Using a hand mixer, mix until smooth and thickened, about 1 minute. The mousse can be made in advance and stored in an airtight container in the fridge for 3 days.
Assembly
-
When ready to assemble transfer the frosting to a pastry bag (or a ziplock bag with the edge snipped off) and pipe the mousse on top of each cookie. Sprinkle oreo crumbs and a gummy worm on top of the mousse. Enjoy cookies chilled or around room temperature. Leftover cookies should be stored in an airtight container in the fridge for up to 4 days.
Video
Notes
If any of the cookies have the pudding frosting on top, they should be refrigerated. The plain Oreo cookies can be stored at room temperature.
Nutrition
