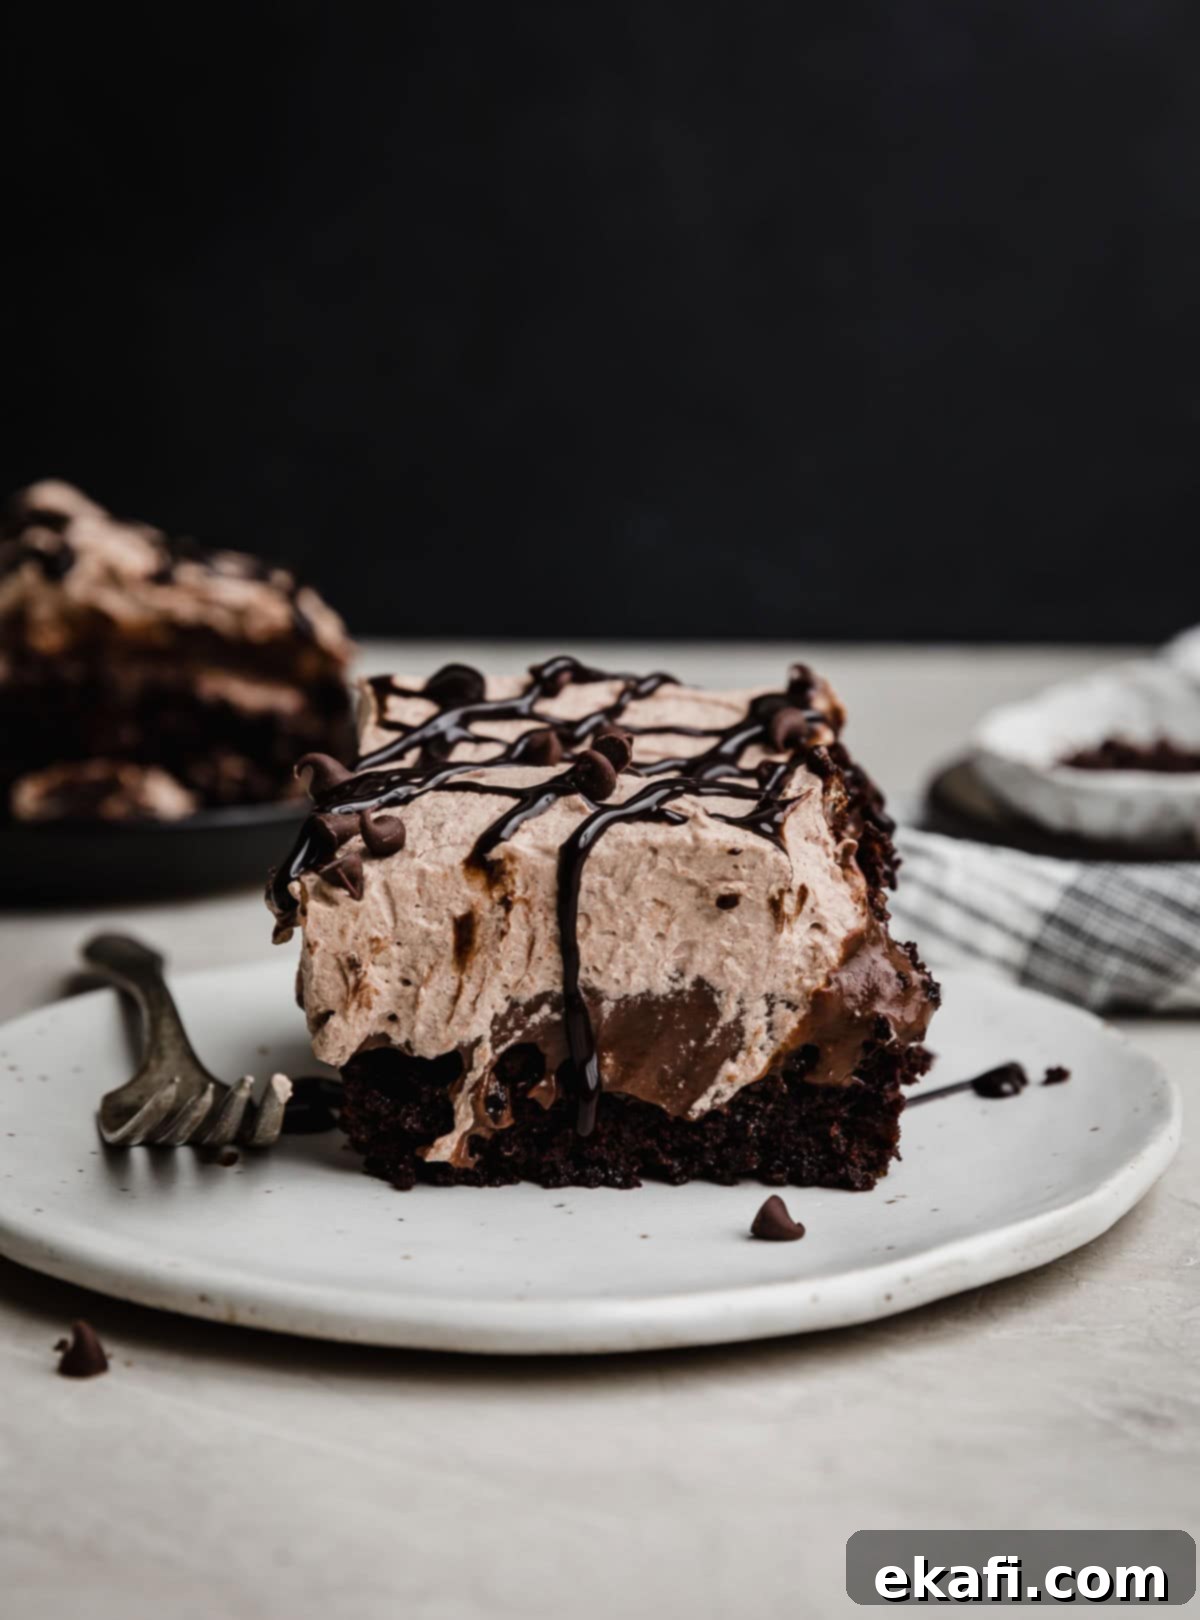
Ultimate Triple Chocolate Poke Cake: Your New Favorite Decadent Dessert
Prepare yourself for an extraordinary chocolate experience! Imagine a sumptuously moist chocolate cake, generously infused with rich, homemade chocolate pudding, and crowned with a light-as-air chocolate whipped topping. This isn’t just a cake; it’s the Ultimate Triple Chocolate Poke Cake – a dream come true for every chocolate enthusiast. Its unparalleled moisture comes from a tender cake base that’s strategically poked and filled, creating a dessert that is incredibly rich, perfectly balanced in sweetness, and utterly satisfying to the last bite.
Infusing simple cakes with additional liquids and delicious fillings is a fantastic and effortless way to elevate their flavor and texture. If you’re eager to explore more delightful poke cake creations, be sure to check out our other popular recipes like the Oreo Poke Cake, the traditional Mexican Tres Leches Cake, and the bright, refreshing Lemon Jello Cake. Each offers a unique twist on this beloved dessert style, promising delightful results.
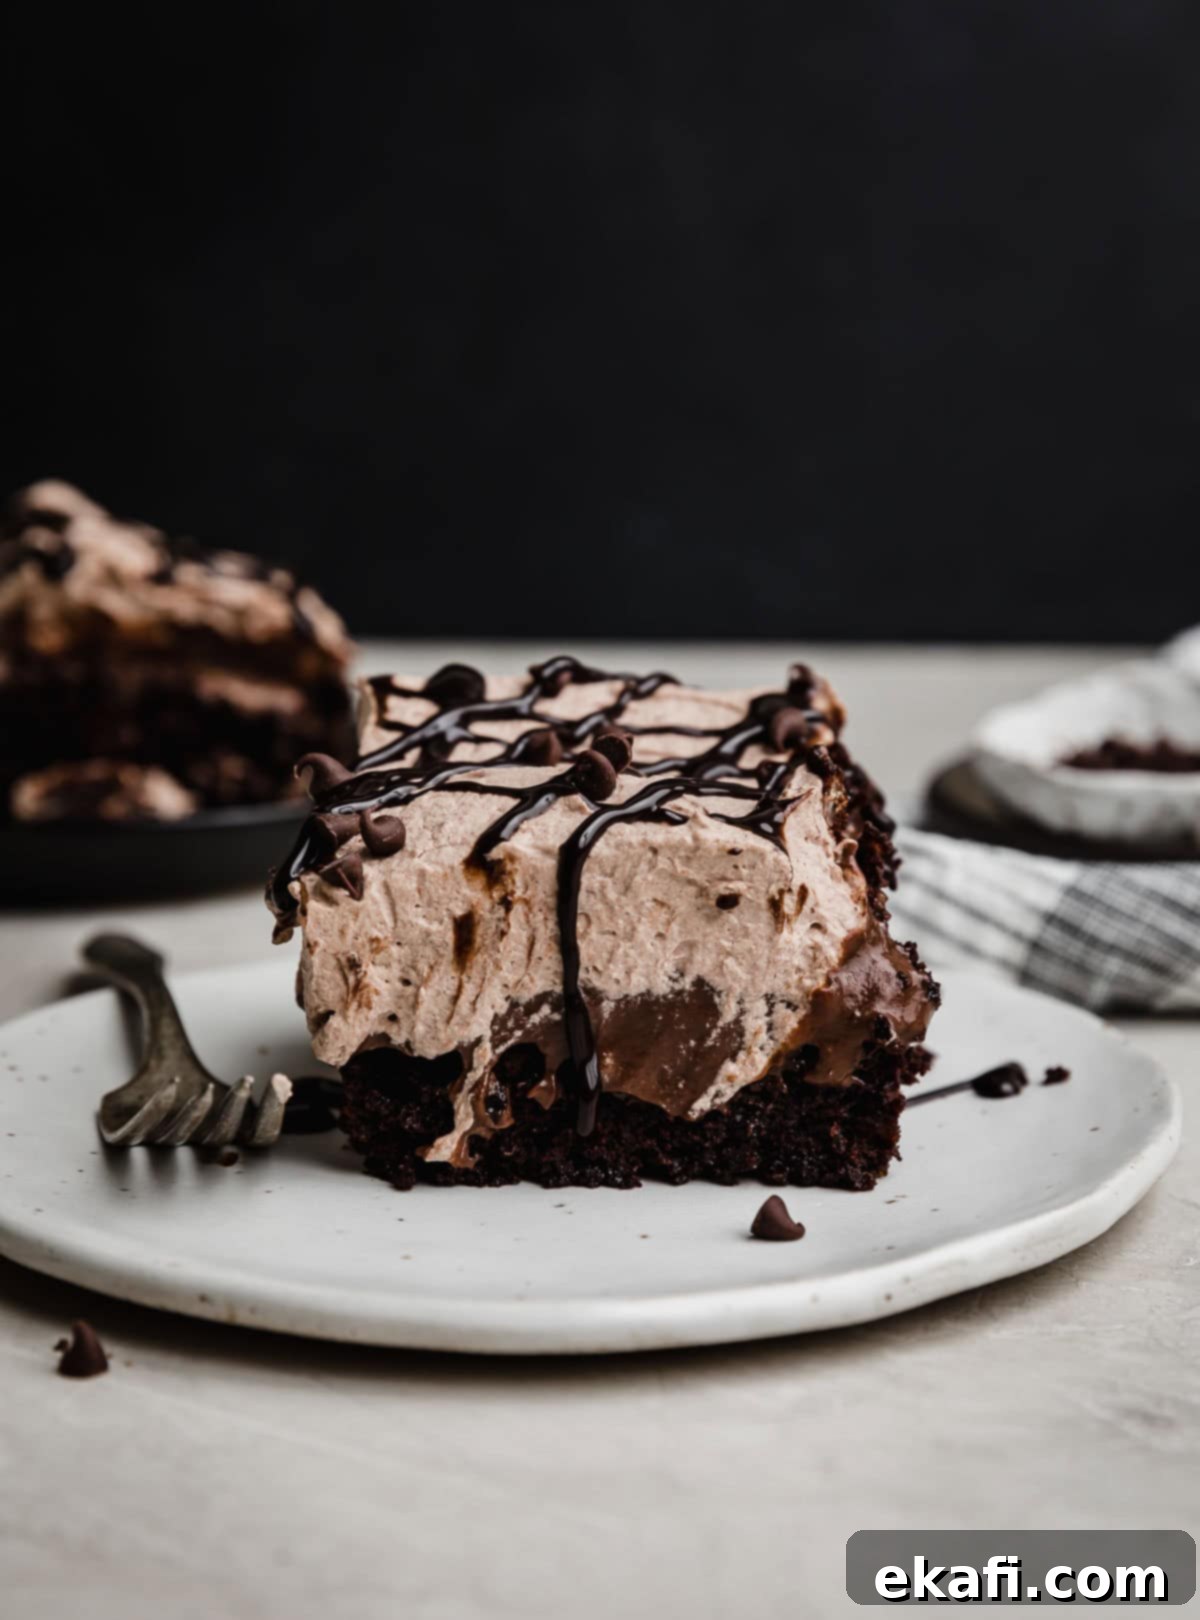
Why This Triple Chocolate Poke Cake Recipe is a Must-Try
- Effortlessly Delicious Homemade Chocolate Poke Cake: Don’t let the “from scratch” label intimidate you! This chocolate poke cake is surprisingly easy to make. The cake batter comes together in a single bowl – no fancy stand mixer required! – and our silky chocolate pudding is whipped up on the stovetop in minutes with just a few straightforward steps. You’ll be amazed at how simple it is to achieve such a gourmet-quality dessert at home, proving that the best flavors don’t always demand complex techniques.
- The Best Chocolate Poke Cake You’ll Ever Make: What makes this the absolute best chocolate poke cake? It’s the commitment to quality in every layer. Homemade cake consistently offers a superior taste and texture compared to boxed mixes. While store-bought pudding certainly has its place, our from-scratch chocolate pudding is truly in a league of its own, boasting a richer, deeper chocolate flavor. And once you’ve tasted the exquisite homemade chocolate whipped cream, you’ll want to add it to every dessert imaginable! Each component contributes to a truly decadent and unforgettable experience.
- The Ultimate Chocolate Lover’s Dream Dessert: This chocolate pudding poke cake recipe is specifically crafted for those who adore chocolate in all its forms. It’s a symphony of chocolate, starting with a tender, fudgy chocolate cake, layered with sumptuously rich chocolate pudding that seeps into every crevice, and finished with a cloud-like, fluffy chocolate whipped topping. Every single bite delivers an intense, satisfying cocoa punch, making it the quintessential chocolate lover’s dream dessert.
Essential Ingredients for Your Triple Chocolate Poke Cake
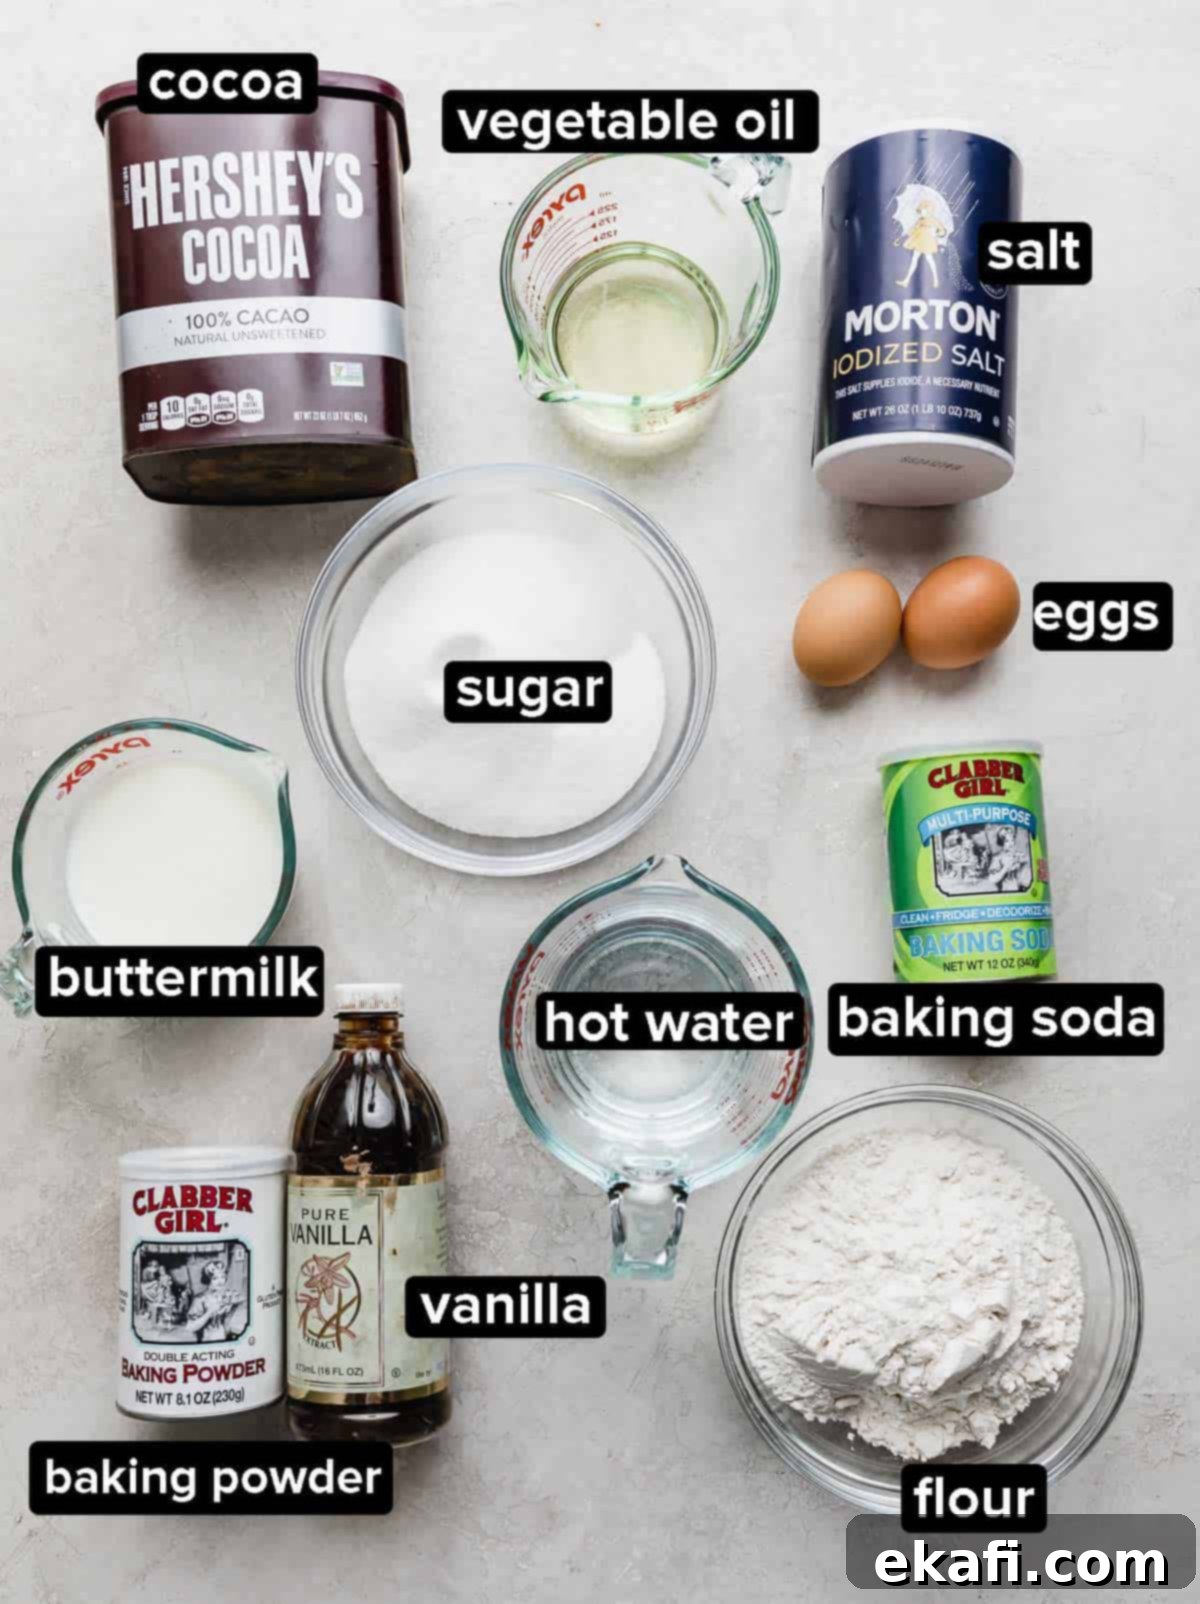
Creating this magnificent cake starts with understanding the role of each ingredient. Here’s what you’ll need and why it’s important for achieving the perfect texture and flavor profile:
- Unsweetened Cocoa Powder: For both the cake and the pudding, unsweetened or natural cocoa powder is key. Unlike Dutch-processed cocoa, its higher acidity helps to balance the sweetness, preventing the cake from becoming cloyingly rich. It also contributes a robust, authentic chocolate flavor that forms the backbone of this triple-chocolate delight.
- Hot Water: This isn’t just for mixing; hot water is crucial for “blooming” the cocoa powder. This process intensifies the chocolate flavor, releasing its full aromatic potential before it’s combined with the other cake ingredients. Don’t skip this step for maximum cocoa impact!
- Buttermilk: One of our secret weapons for an incredibly moist and tender cake, buttermilk adds a slight tang that complements the chocolate beautifully. Its acidity also reacts with baking soda to give the cake a lovely lift and airy texture, ensuring a perfect crumb.
- All-Purpose Flour: There’s no need for special cake flour here! Standard all-purpose flour provides the ideal structure and tenderness for this recipe, making it accessible and easy to prepare without extra trips to the store.
- Granulated Sugar: Our sweetener of choice for both the cake and the pudding. Granulated white sugar provides clean sweetness without adding extra moisture or changing the flavor profile. Avoid substituting with brown sugar, as its higher moisture content and molasses flavor would alter the delicate chemistry and taste of both the cake and the pudding.
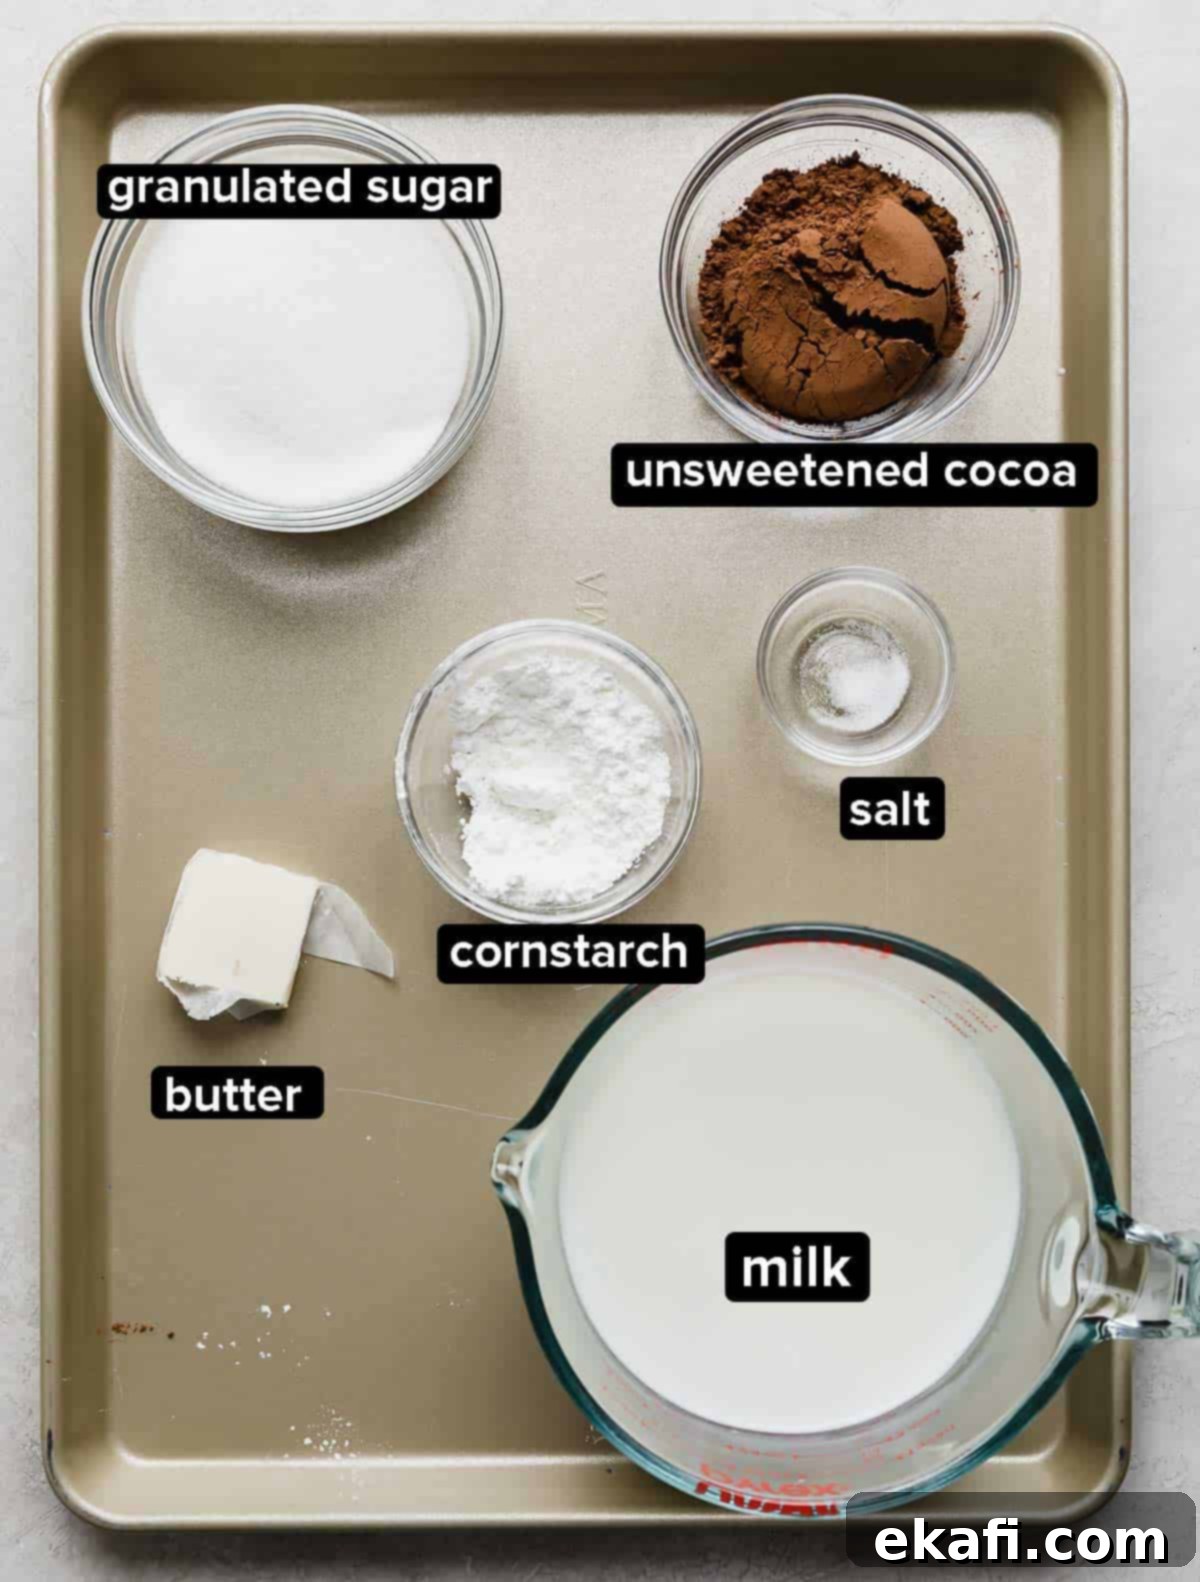
- Cornstarch: This unassuming ingredient is vital for achieving the perfect consistency in our homemade chocolate pudding. Cornstarch acts as a thickener, giving the pudding its luxurious, smooth, and creamy texture that beautifully fills the cake’s poked holes.
- Semi-Sweet Chocolate: To elevate the pudding’s richness beyond what cocoa powder alone can offer, we incorporate chopped semi-sweet chocolate. This adds depth and a silky mouthfeel. For best results, use chopped baking chocolate rather than chocolate chips, as baking chocolate melts more smoothly and incorporates better into the pudding.
- Milk: The primary liquid component of our creamy pudding, milk forms its base. While you can use various milk fat percentages, we recommend sticking with regular cow’s milk. Non-dairy alternatives might not thicken as effectively with cornstarch, potentially affecting the pudding’s desired consistency.
- Dutch-Processed Cocoa Powder: Ah, my favorite! While unsweetened cocoa works, Dutch-processed cocoa powder is specifically called for in the whipped topping. Its darker color and smoother, less acidic chocolate flavor are perfect for creating that velvety, rich chocolate whipped cream. If you only have unsweetened cocoa, it will still taste delicious, but Dutch-processed offers that extra touch of perfection.
- Vanilla Extract: The unsung hero of all chocolate desserts! A touch of vanilla extract in both the cake and the whipped topping magically enhances and intensifies the chocolate flavor, making it taste even more profound and complex. Don’t underestimate its power to truly bring out the best in chocolate.
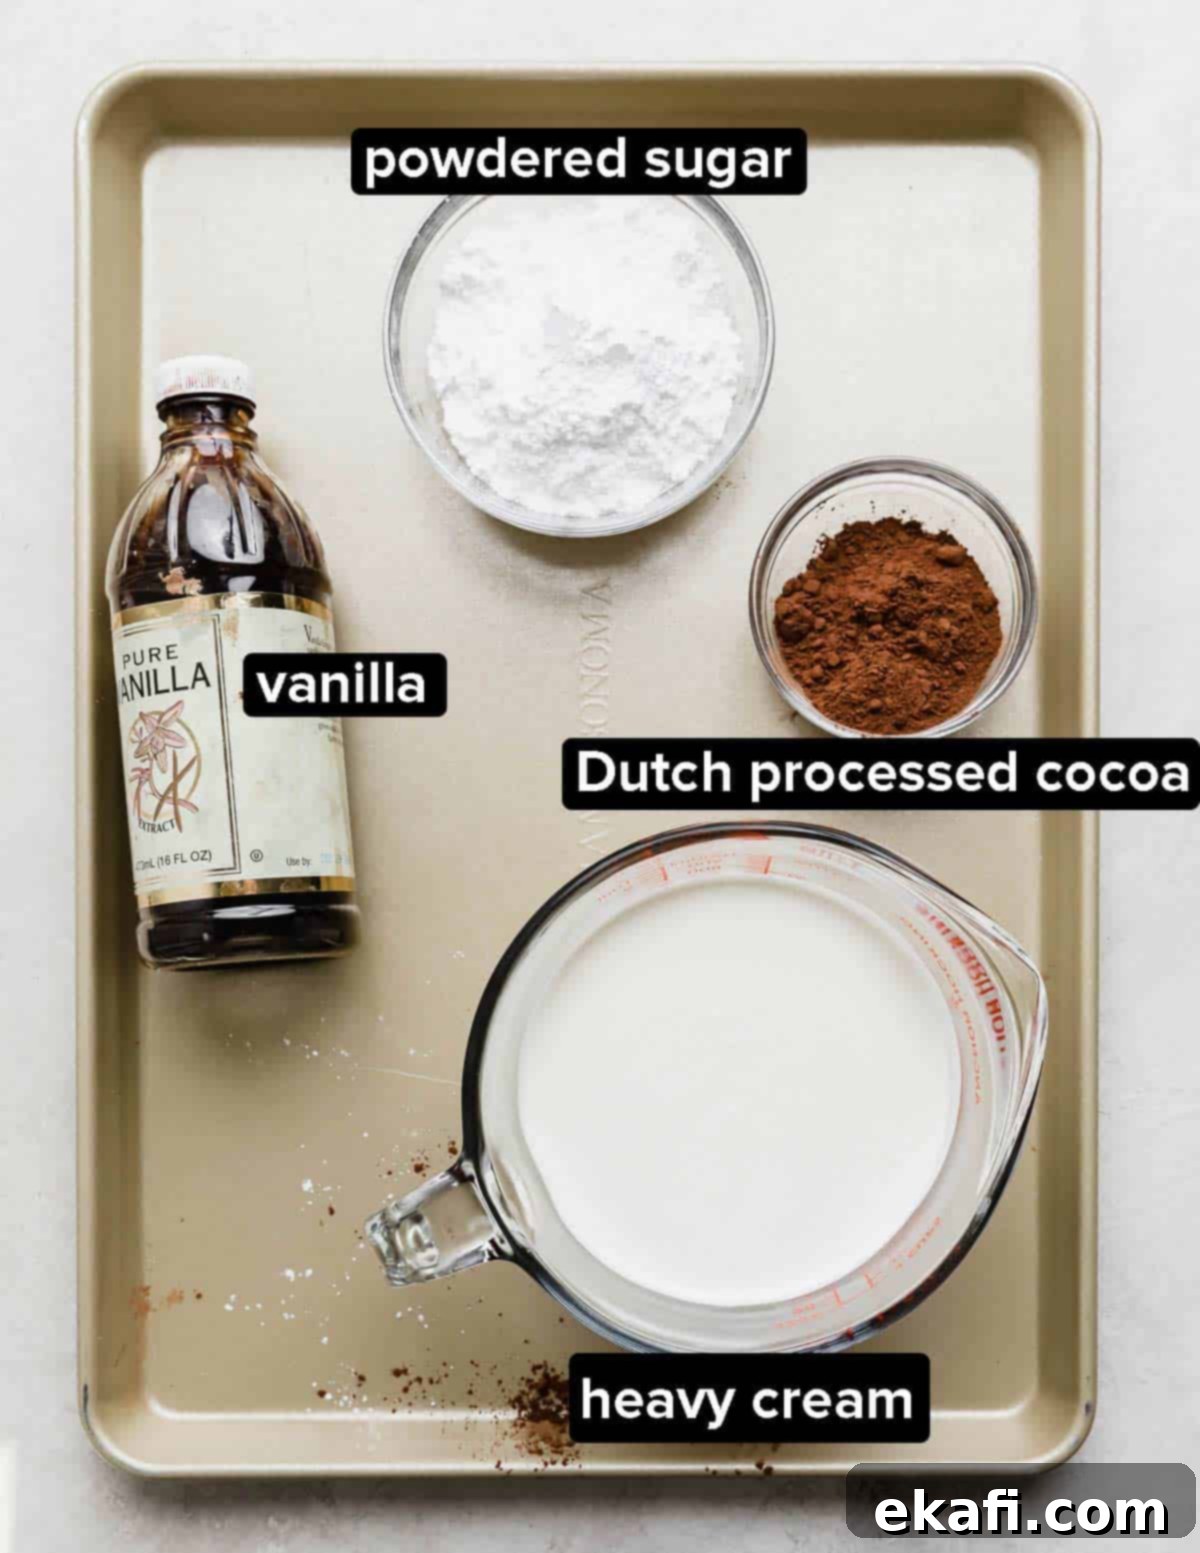
Easy Step-by-Step Guide to Making Chocolate Poke Cake
Follow these detailed steps to create your magnificent Triple Chocolate Poke Cake. Each step is designed for clarity and delicious results:
- Prepare Oven and Baking Pan: Begin by preheating your oven to 350°F (175°C). Take a 9×13-inch baking pan and thoroughly grease and flour it. This crucial step prevents the cake from sticking and ensures a clean release. Set the prepared pan aside, ready for your delicious batter.
- Bloom Cocoa and Combine Wet Ingredients: In a large mixing bowl, whisk together ¾ cup of unsweetened cocoa powder with 1 cup of hot water. Continue whisking until the cocoa is fully dissolved and the mixture is smooth – this “blooming” process truly enhances the chocolate flavor. Next, incorporate 1 cup of room-temperature buttermilk, ½ cup of vegetable oil, and 1 teaspoon of vanilla extract, whisking until everything is well combined. Finally, add 2 room-temperature large eggs and gently mix until just incorporated. Ensure your wet ingredients are at room temperature for the best emulsion and cake texture.
- Fold in Dry Ingredients: To the same large mixing bowl with your wet ingredients, add 1¾ cups of all-purpose flour, 1¾ cups of granulated sugar, 2 teaspoons of baking soda, 1 teaspoon of baking powder, and ½ teaspoon of salt. Using a whisk or spatula, gently combine the dry ingredients with the wet until just moistened. The key here is to avoid overmixing, which can lead to a tough cake. A few small lumps are perfectly fine!
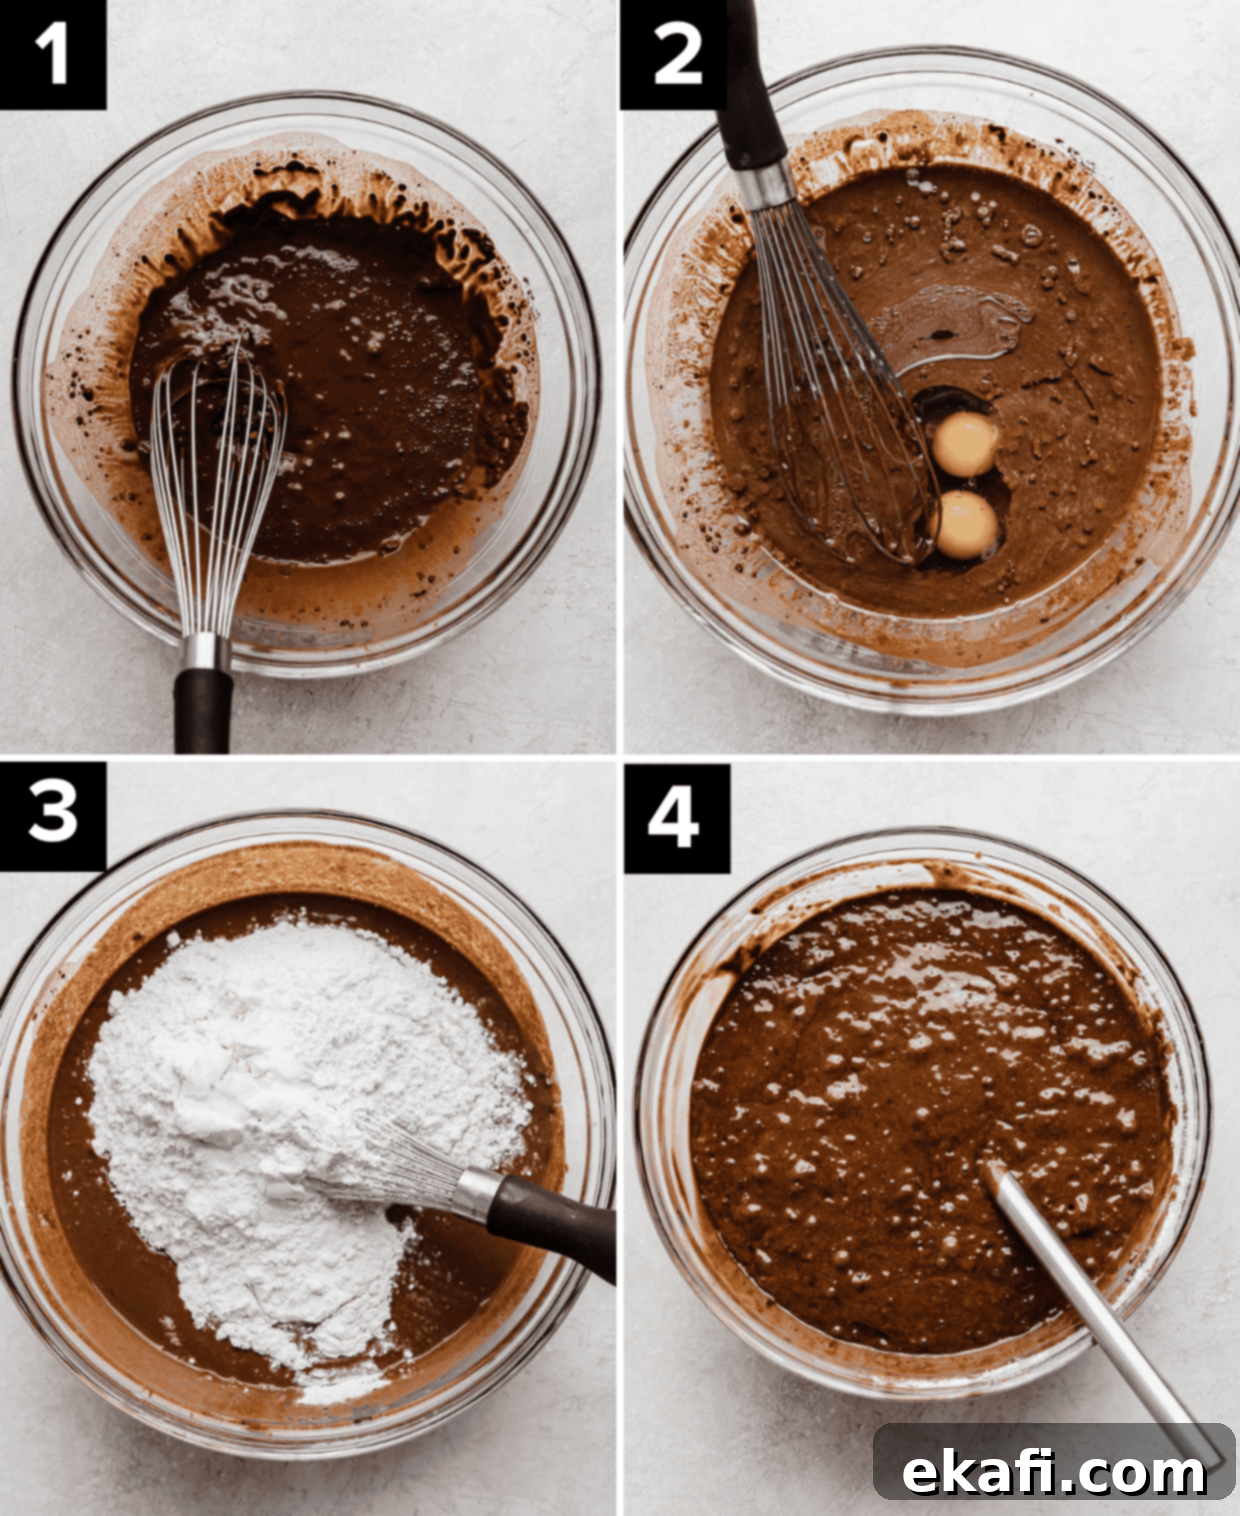
- Bake the Chocolate Cake: Pour your beautifully mixed batter evenly into the prepared baking pan. Bake in the preheated oven at 350°F (175°C) for approximately 30-40 minutes. The cake is done when a toothpick inserted into its center comes out clean or with a few moist crumbs attached. Once baked, remove the cake from the oven and place it on a wire rack to cool completely. This cooling step is essential before poking!
- Prepare Dry Pudding Ingredients: While the cake cools, start on your rich chocolate pudding. In a small saucepan, whisk together ⅔ cup of granulated sugar, ⅓ cup unsweetened cocoa powder, 2 tablespoons of cornstarch, and a pinch of salt. Ensure there are no lumps, as this dry mixture forms the base of your smooth pudding.
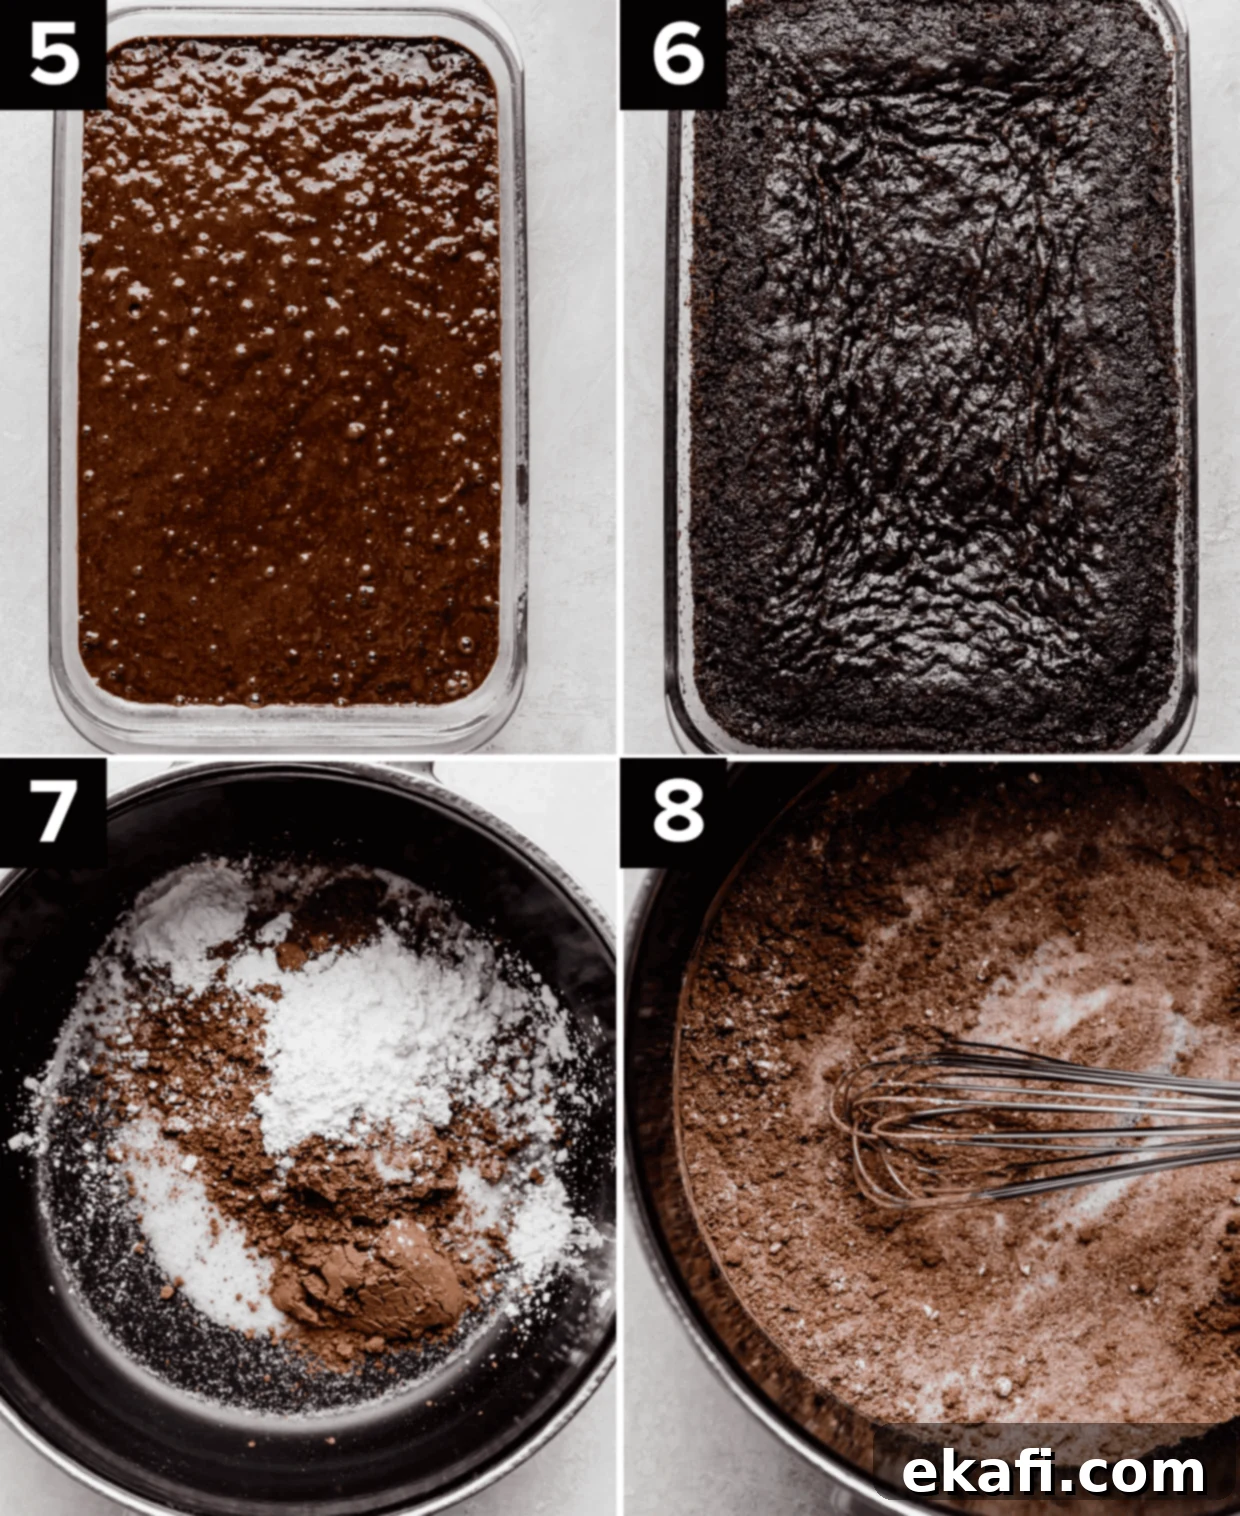
- Cook the Homemade Pudding: Place the saucepan over medium-high heat and gradually pour in 2½ cups of milk over the chocolate-sugar mixture. Whisk continuously and vigorously to prevent sticking and ensure a smooth consistency. Keep stirring as the mixture comes to a boil, then continue to boil for a full minute, still stirring, to activate the cornstarch and thicken the pudding properly. It should be noticeably thick and glossy.
- Finish the Pudding and Cool Briefly: Remove the cooked pudding from the heat immediately. Stir in 1 tablespoon of butter and 2 oz of chopped semi-sweet chocolate until both are completely melted and incorporated, adding a luxurious sheen and extra richness. Allow the pudding to cool for precisely 5 minutes – no longer! This short cooling period is crucial; if it cools for too long, it will become too thick to properly seep into the cake, impacting the moistness you desire.
- Generously Poke the Cake: While your pudding cools for those crucial 5 minutes, turn your attention back to the cooled cake. Using a skewer, the blunt end of a wooden spoon, or even a thick straw, poke holes all over the surface of the cake. Aim for holes about ½ inch apart. Don’t be shy; these holes are the channels for your decadent pudding!
- Pour Pudding and Chill: Immediately after the 5-minute cooling period, pour the still-warm chocolate pudding evenly over the entire top of the poked cake. Gently tap the pan a few times on your counter to encourage the pudding to seep deeply into all the holes, ensuring every slice is incredibly moist. Cover the cake with plastic wrap and refrigerate for at least 4 hours, or ideally, overnight. This chilling time allows the pudding to fully set and meld with the cake.
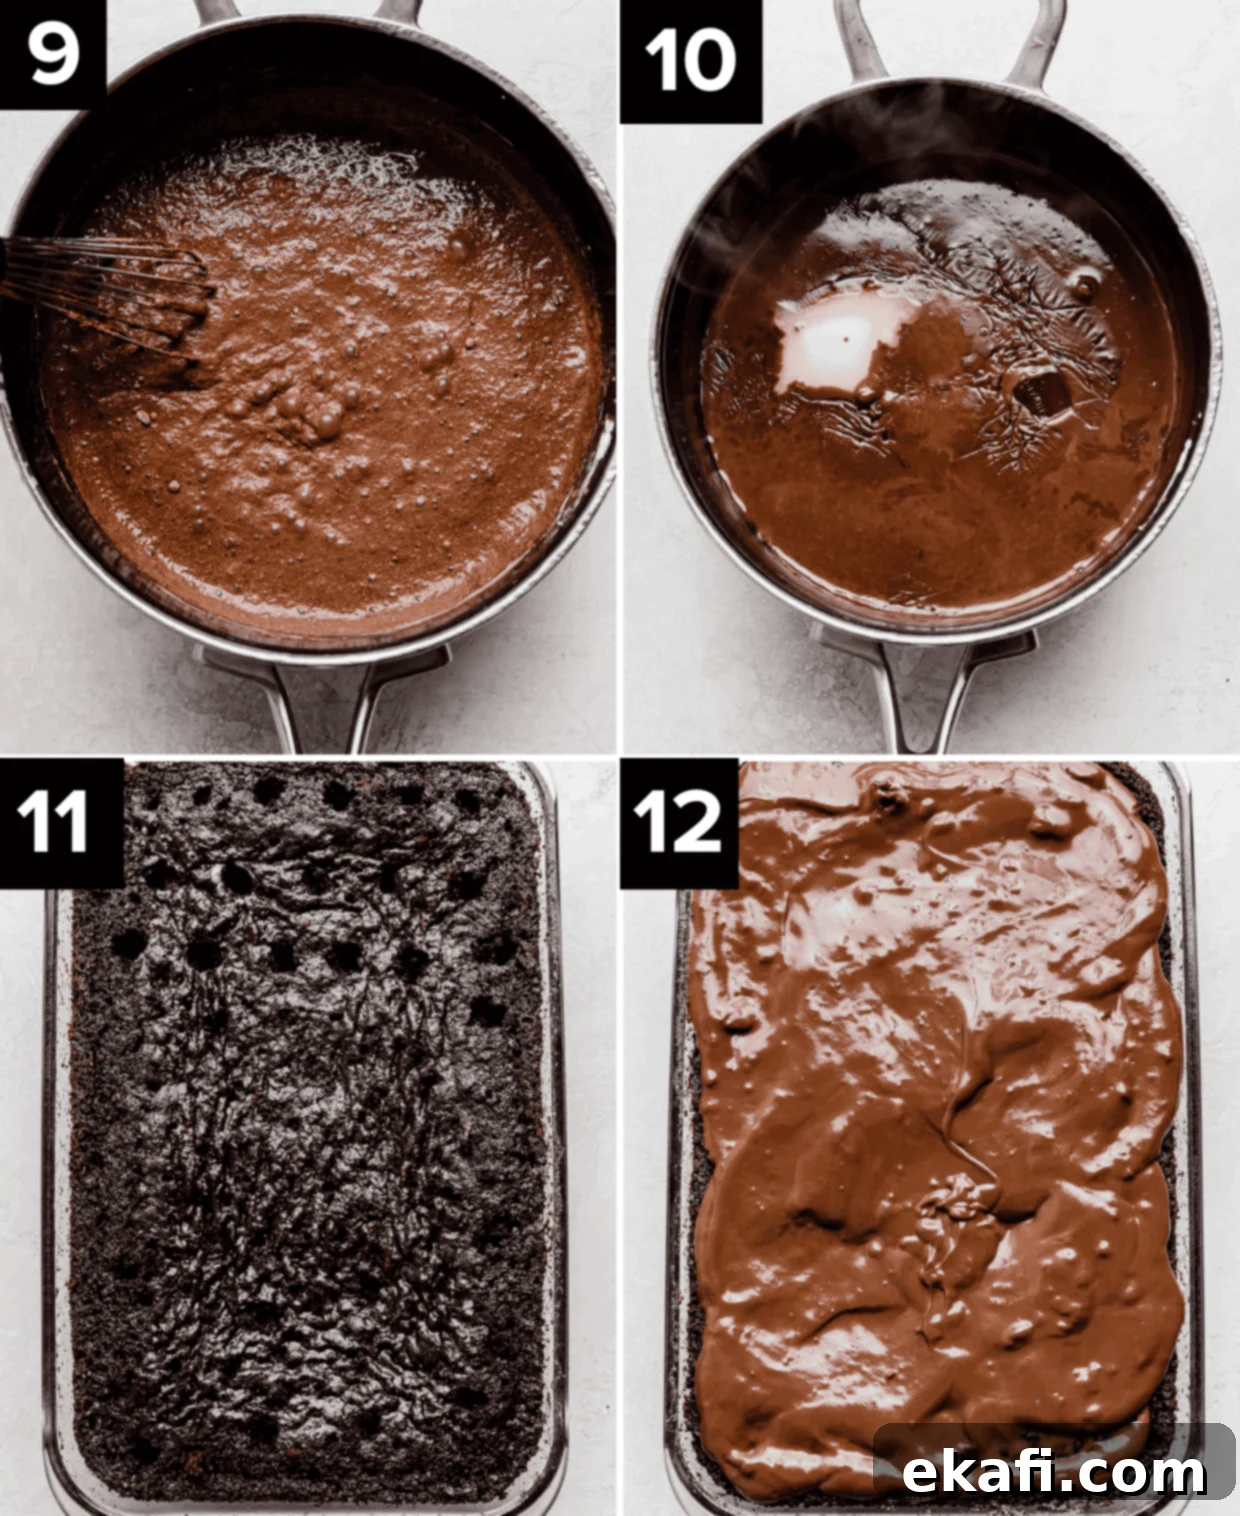
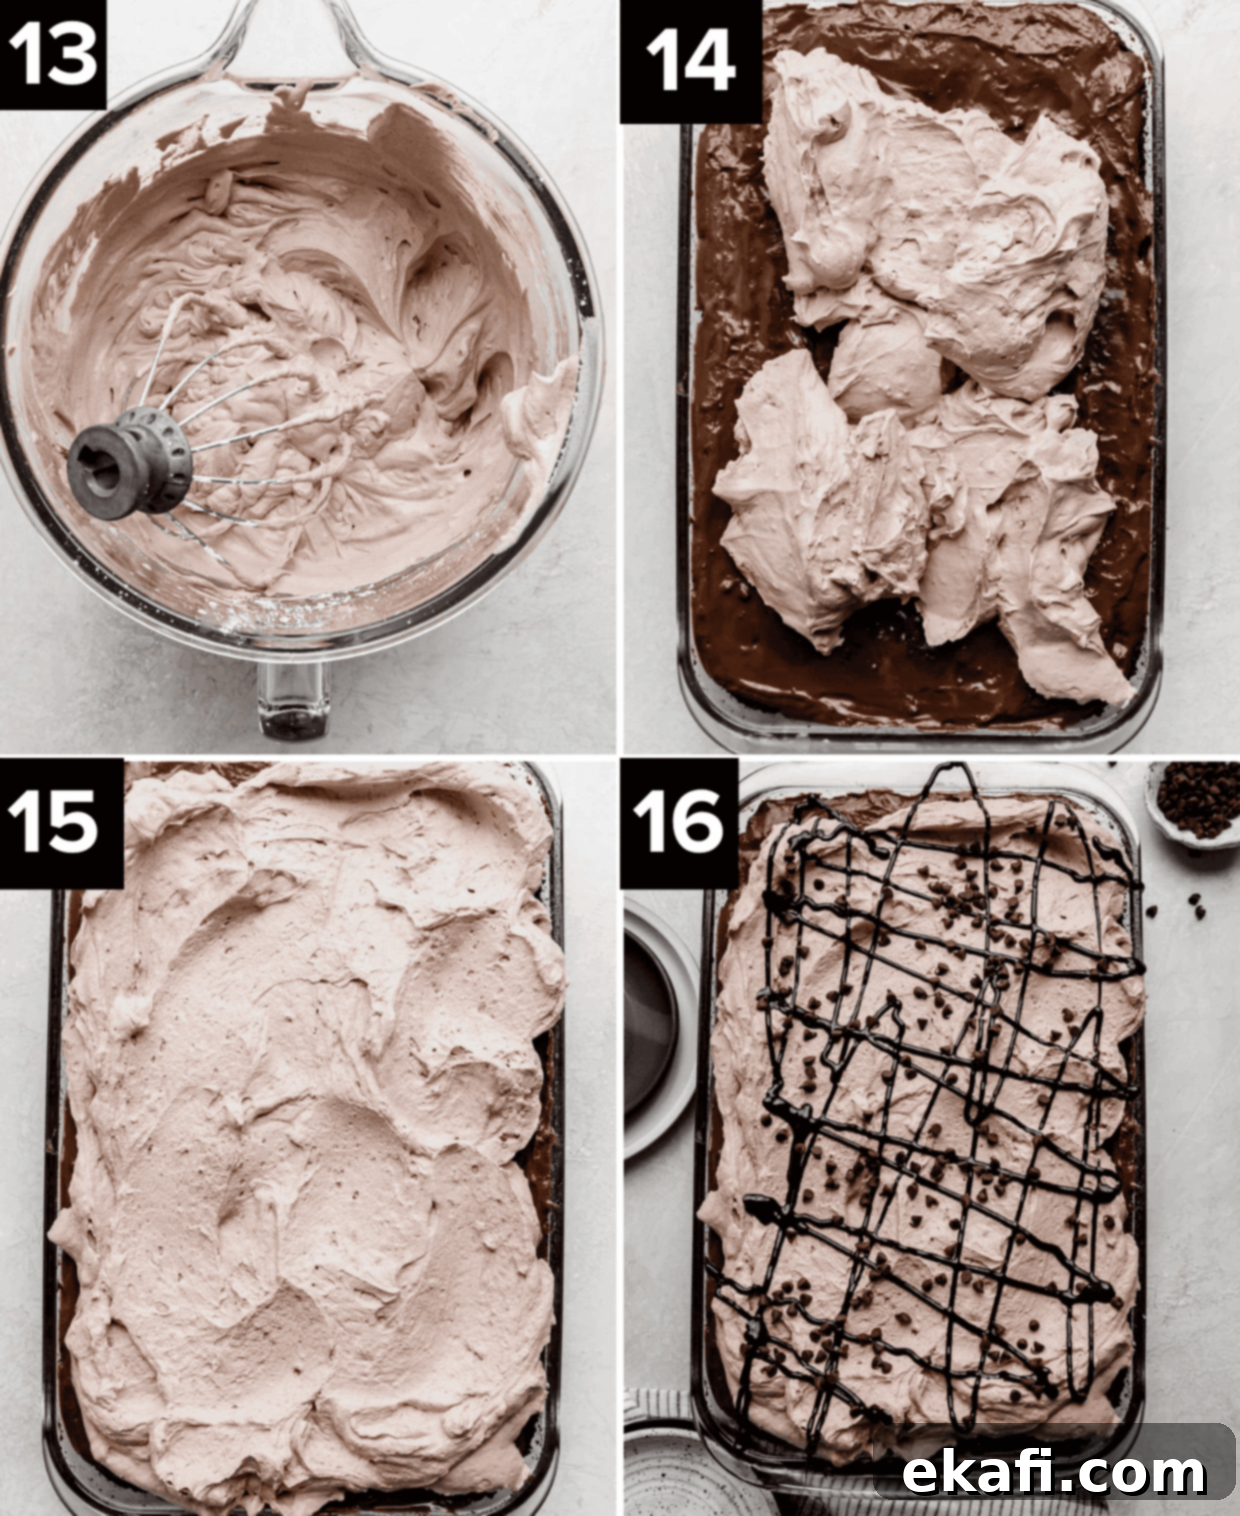
- Whip Up Chocolate Whipped Cream: In a large, chilled bowl, using a hand mixer (or stand mixer with a whisk attachment), beat 3 cups of very cold heavy whipping cream until soft peaks begin to form. This means the cream holds its shape slightly but still collapses. At this point, add 1 cup of powdered sugar, 3 tablespoons of Dutch-processed cocoa powder, and ½ teaspoon of vanilla extract. Continue beating until stiff peaks form – the whipped cream should hold its shape firmly when the beaters are lifted.
- Decorate and Serve Your Cake: Gently spread the decadent chocolate whipped topping evenly over the chilled poke cake. For an extra touch of indulgence and visual appeal, feel free to get creative with additional garnishes! Drizzle with chocolate sauce, sprinkle on mini chocolate chips for added texture, or add some elegant chocolate shavings or sprinkles.
- Enjoy Chilled: This triple chocolate poke cake is best served thoroughly chilled. Slice, serve, and savor every moist, chocolatey bite!
Expert Tips for Your Perfect Chocolate Poke Cake
To ensure your Triple Chocolate Poke Cake turns out absolutely perfect every time, keep these valuable tips in mind:
- Embrace Homemade Whipped Cream: While you can certainly opt for boxed cake mix and instant chocolate pudding to save time, I cannot stress enough the importance of making the chocolate whipped cream from scratch. Trying to incorporate cocoa powder into store-bought whipped toppings like Cool Whip simply won’t yield the same rich flavor, fluffy texture, or beautiful color. The homemade version truly elevates this dessert!
- Seasonal Variations: Get creative with flavors! For a delightful holiday or winter twist, transform this into a peppermint chocolate poke cake by adding ½ teaspoon of peppermint extract to the cake batter. This simple addition brings a refreshing, festive touch that pairs wonderfully with the deep chocolate notes.
- Topping Ideas Galore: The mini chocolate chips and chocolate shavings for the top are optional, but I highly recommend them! They add a wonderful textural contrast to the smooth cake and creamy topping. Chocolate syrup is also a fantastic addition for serious chocolate lovers. If you’re feeling adventurous, a drizzle of luscious caramel sauce would also be incredibly delicious, or even a warm, homemade hot fudge sauce for an extra layer of indulgence. Remember, when it comes to chocolate, more is always a great idea!
- The Golden Rule for Pudding: Pay close attention to the pudding’s cooling time! I repeat, do NOT let the pudding cool for too long! As it cools, it rapidly thickens, making it difficult for it to properly seep into the poked holes of the cake. For the most incredibly moist and flavorful chocolate poke cake with pudding, you want the pudding to be warm enough to flow freely and deeply combine with the cake layers. A perfectly absorbed pudding is what makes this cake so special.
Make Ahead, Storing, and Freezing Your Chocolate Poke Cake
Planning ahead or managing leftovers? Here’s how to handle your delicious poke cake:
- Make Ahead: This cake is truly a star when prepared in advance. In fact, it only gets better with a day or two in the refrigerator, allowing all those incredible chocolate flavors and the pudding to fully meld into the cake. You can comfortably make it 1-2 days before you plan to serve it.
- Storing Leftovers: Any leftover slices of this decadent cake should be stored in an airtight container or tightly covered with plastic wrap in the refrigerator. It will stay fresh and delicious for 3-5 days, though it’s unlikely to last that long!
- Freezing: I haven’t personally tested freezing this specific cake recipe. However, in theory, since both baked cakes and homemade pudding generally freeze well, this cake *could* potentially be frozen for up to 2 months. If you decide to freeze it, it is absolutely crucial that you do NOT add the chocolate whipped topping before freezing. Whipped cream tends to become watery and lose its fluffy texture once thawed, which would compromise the overall quality of your dessert. Freeze the cake and pudding layers, then add fresh whipped topping after thawing.
Frequently Asked Questions About Chocolate Poke Cake
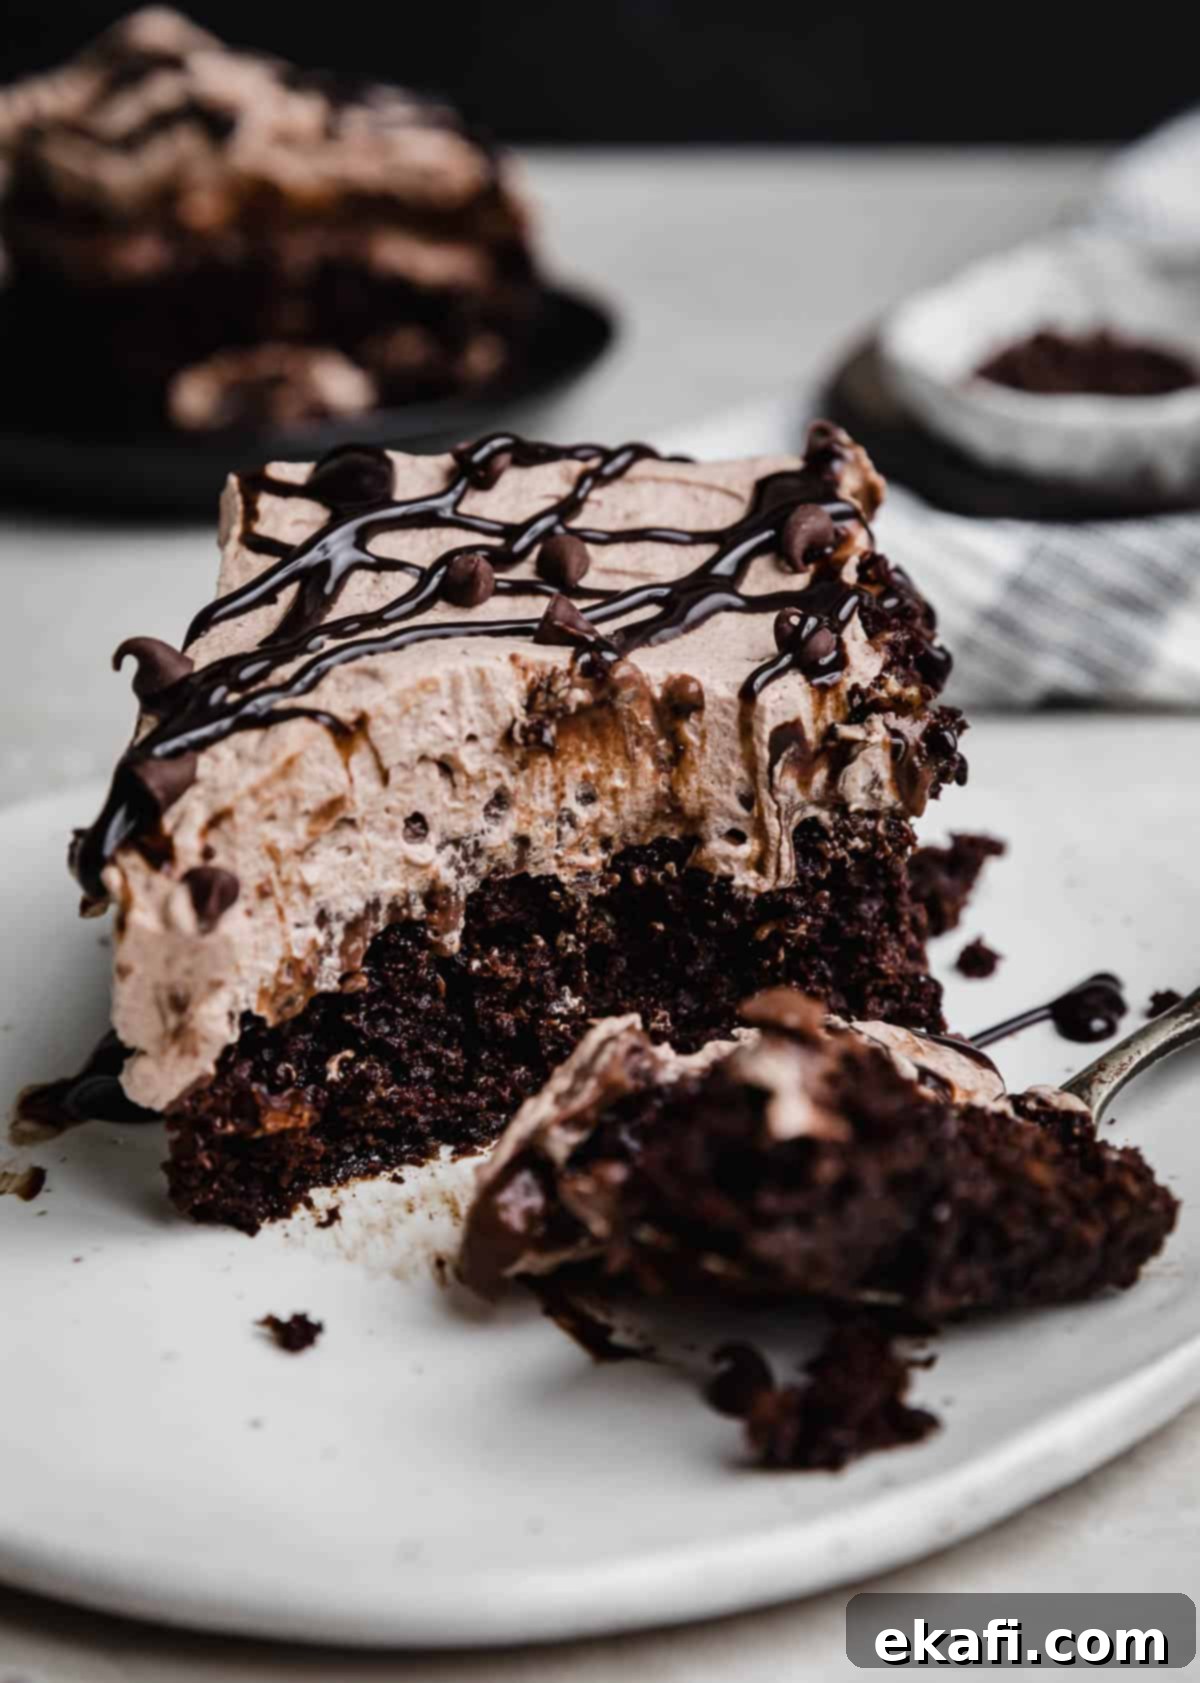
A Chocolate Poke Cake is a delightful dessert where a freshly baked chocolate cake is strategically poked with numerous holes across its surface. Once these holes are created, a liquid filling, such as sweetened condensed milk, a caramel sauce, or, in our case, a rich homemade chocolate pudding, is poured over the cake. The filling then seeps into these holes, creating an incredibly moist, tender, and intensely flavored cake that is far more decadent than a traditional one.
In theory, yes, you can freeze the chocolate poke cake layers (cake and pudding). Both baked cakes and puddings generally freeze quite well. However, it’s very important to note that I would strongly advise against freezing the cake with the chocolate whipped cream on top. Whipped cream tends to become liquidy and loses its fluffy texture when thawed, which would significantly detract from the cake’s quality. If you plan to freeze, do so before adding the whipped topping, and then prepare fresh whipped cream when you are ready to serve after thawing the cake.
Yes, absolutely. Refrigeration is essential for this chocolate poke cake for two main reasons. Firstly, this cake is designed to be served chilled; the cool temperature enhances its flavors and provides a refreshing eating experience, especially with the creamy pudding and whipped topping. Secondly, and more importantly for food safety, both the homemade chocolate pudding and the chocolate whipped topping contain a high dairy content. If left at room temperature for an extended period, these components could spoil quickly. Always keep your poke cake in the refrigerator when not being served.
More Decadent Recipes for Chocolate Lovers
If you’re a true chocolate connoisseur, don’t stop here! Explore these other incredible chocolate desserts that are sure to satisfy your cravings:
- Rich Chocolate Pound Cake
- Decadent Chocolate Tres Leches Cake
- Classic Chocolate Cake with Chocolate Cream Cheese Frosting
- Irresistible Triple Chocolate Chip Cookies
- Creamy Dark Chocolate Ice Cream
- Nostalgic Lunch Lady Brownies
Did you try this incredible Triple Chocolate Poke Cake recipe? I’d absolutely love to hear about your experience! Please leave a star rating and a review below the recipe card, or scroll down to the comments section. Your feedback helps us grow and inspires other home bakers.
Stay connected and discover more delicious recipes by following us on Instagram, TikTok, YouTube, Facebook, and Pinterest. We love seeing your culinary creations!
Print
SaveSaved!
Review
Chocolate Poke Cake
Ingredients
Chocolate Cake
- 3/4 cup unsweetened cocoa powder
- 1 cup hot water
- 1 cup buttermilk – at room temperature
- 1/2 cup vegetable oil
- 1 teaspoon vanilla extract
- 2 large eggs – at room temperature
- 1 3/4 cups all-purpose flour
- 1 3/4 cups granulated sugar
- 2 teaspoons baking soda
- 1 teaspoon baking powder
- 1/2 teaspoon salt
Chocolate Pudding Layer
- 2/3 cup granulated sugar
- 1/3 cup unsweetened cocoa powder
- 2 tablespoons cornstarch
- pinch salt
- 2 oz semi-sweet chocolate – chopped
- 2 1/2 cups milk – whole, 2% or skim is fine
- 1 tablespoon butter
Chocolate Whipped Topping
- 3 cups heavy cream – cold
- 1 cup powdered sugar
- 3 tablespoons Dutch processed cocoa powder – you can also use unsweetened cocoa if you’d like!
- 1/2 teaspoon vanilla extract
Additional toppings
- chocolate syrup – for drizzling
- mini chocolate chips
Equipment
-
13″x9″ glass baking pan
Instructions
-
Preheat oven to 350°F (175°C). Thoroughly grease and flour a 9×13 inch baking pan, then set it aside.
-
In a large bowl, whisk the cocoa powder and hot water until smooth to bloom the cocoa. Whisk in the room-temperature buttermilk, vegetable oil, and vanilla extract until well combined. Once these are mixed, whisk in the 2 room-temperature eggs. Finally, add the all-purpose flour, granulated sugar, baking soda, baking powder, and salt. Whisk gently until just combined, being careful not to overmix the batter.
-
Pour the cake batter evenly into the prepared pan. Bake for 30-40 minutes at 350°F (175°C), or until a toothpick inserted into the center of the cake comes out clean. Remove the cake from the oven and transfer it to a wire rack to cool completely.
-
To make the luscious chocolate pudding layer: In a small saucepan, whisk together the granulated sugar, unsweetened cocoa powder, cornstarch, and a pinch of salt until thoroughly combined. Place the saucepan over medium-high heat and gradually pour in the milk. Stir constantly and vigorously until the mixture comes to a boil. Continue to stir as you let it boil for 1 minute to ensure proper thickening.
-
Remove the pudding from the heat and immediately stir in the butter and chopped semi-sweet chocolate until melted and smooth. Allow the mixture to cool for exactly 5 minutes, but NO LONGER! If it cools too long, the pudding will become too thick and won’t effectively seep into the cake.
While the pudding is cooling, quickly use a wooden skewer, a thick straw, or the end of a wooden spoon to poke numerous holes all over the cooled cake, leaving about ½ inch between each hole. Pour the still-slightly-warm chocolate pudding over the entire cake, gently tapping the pan to encourage the pudding to thoroughly fill all the poked holes. Cover the cake tightly and refrigerate for at least 4 hours, or ideally, overnight, to allow the pudding to set and fully meld with the cake.
-
To create the fluffy chocolate whipped cream: Using a hand mixer (or stand mixer with a whisk attachment), beat the cold heavy cream in a large, chilled bowl until soft peaks form. Then, add the powdered sugar, Dutch-processed cocoa powder (or unsweetened cocoa if preferred!), and vanilla extract. Continue to beat the mixture until stiff peaks form. Spread this delightful chocolate whipped cream evenly over the surface of the chilled cake. For a truly irresistible finish, drizzle with chocolate syrup and garnish with mini chocolate chips or elegant chocolate shavings. Serve this masterpiece chilled and enjoy!
Notes
Nutrition
