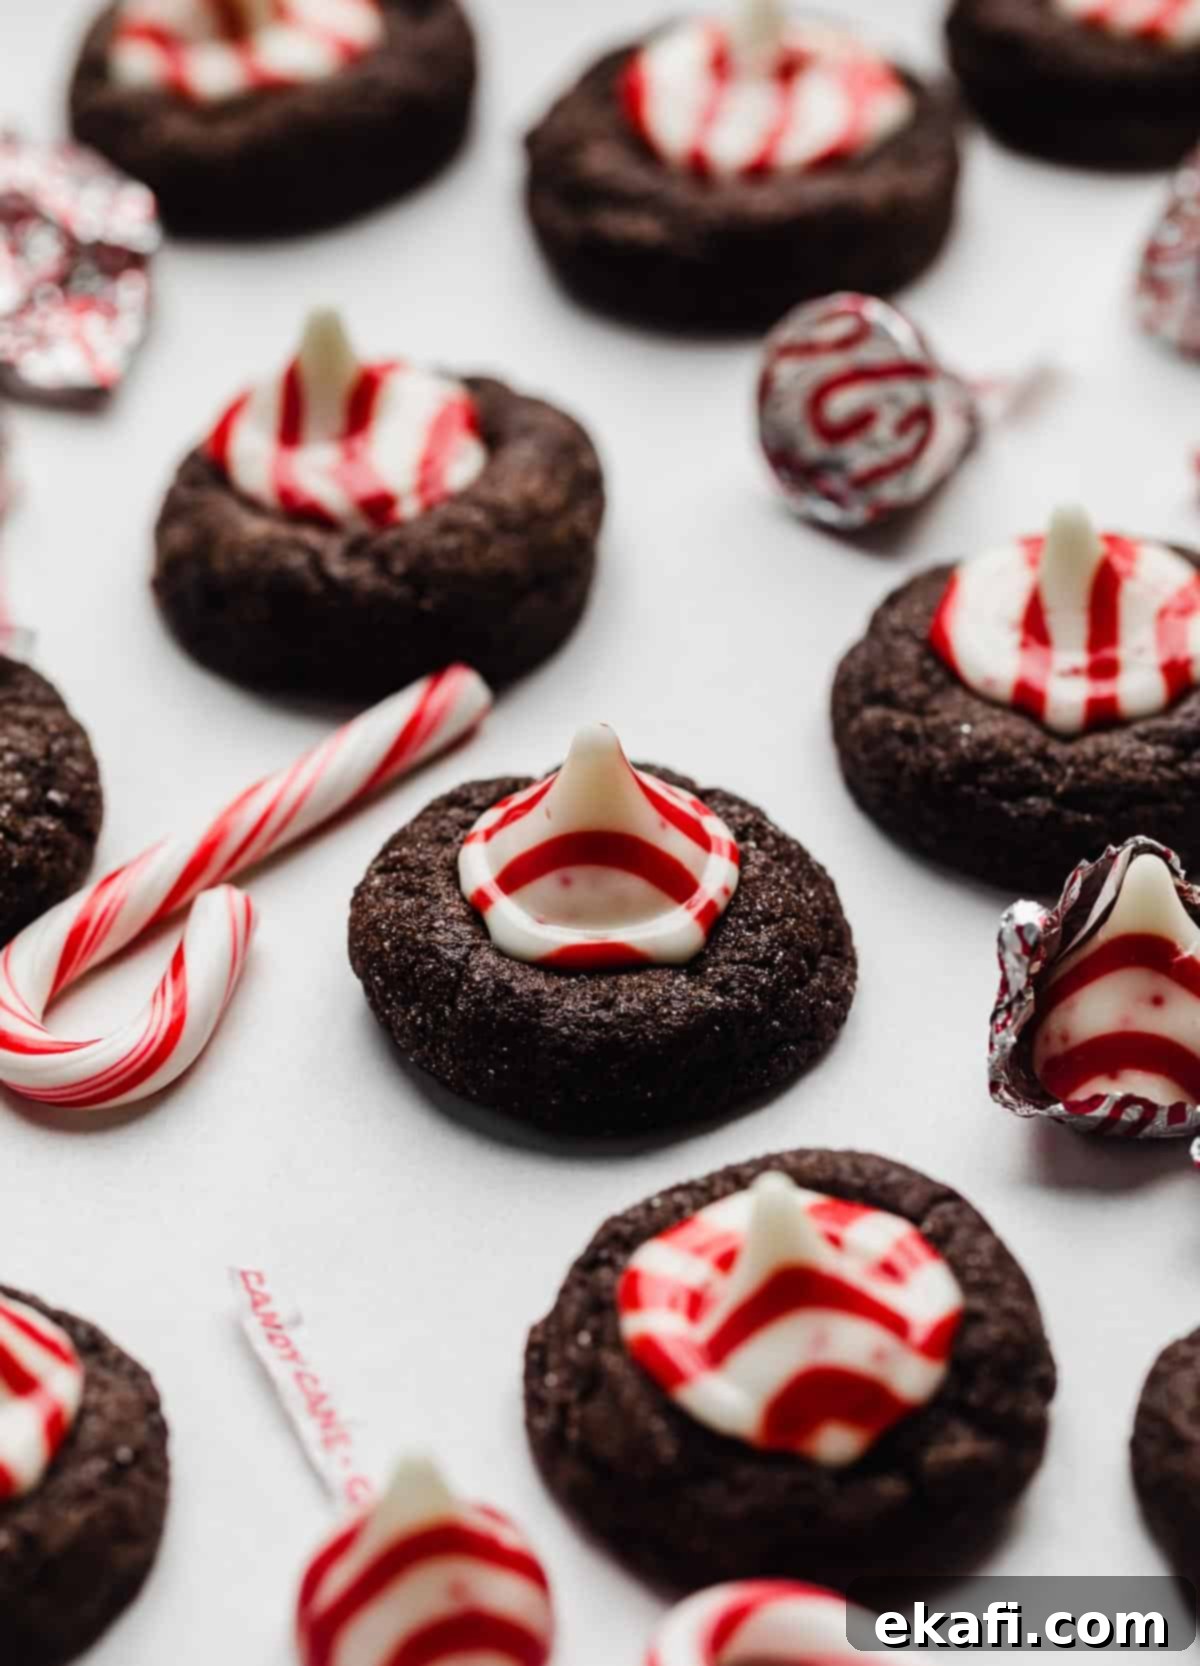
Irresistible Chocolate Peppermint Blossom Cookies: The Ultimate Festive Treat
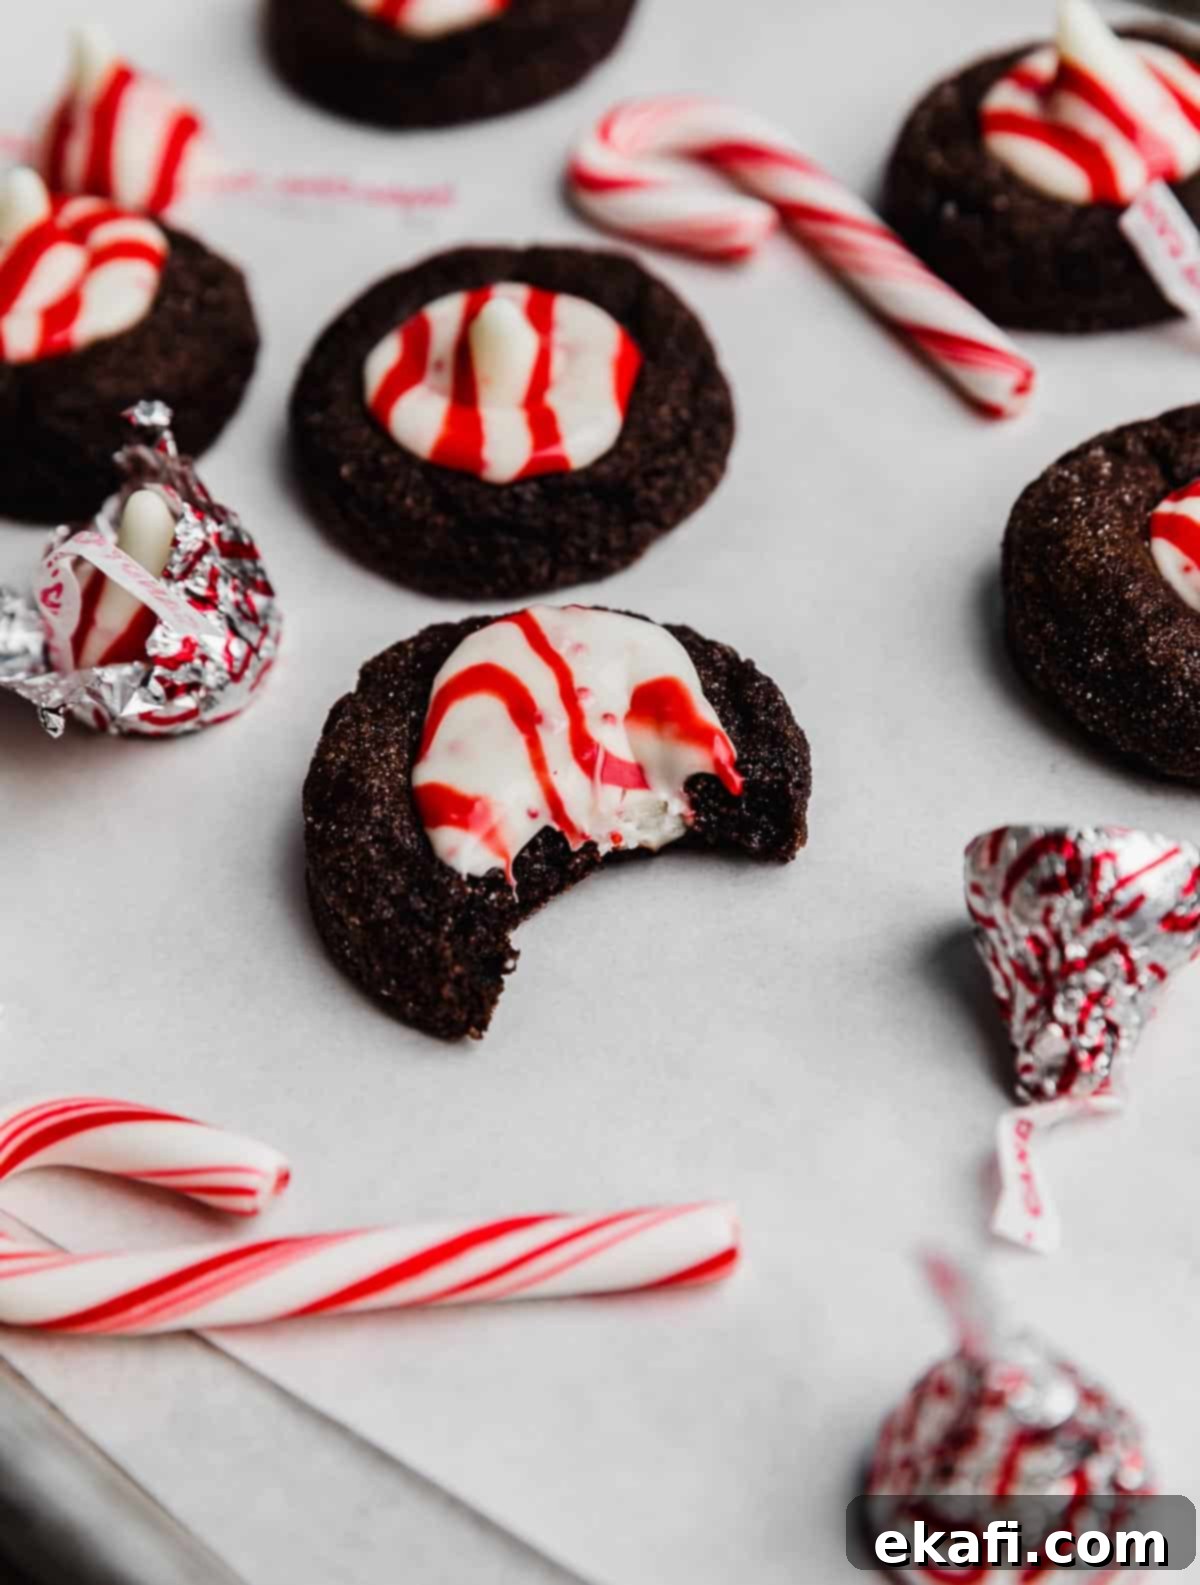
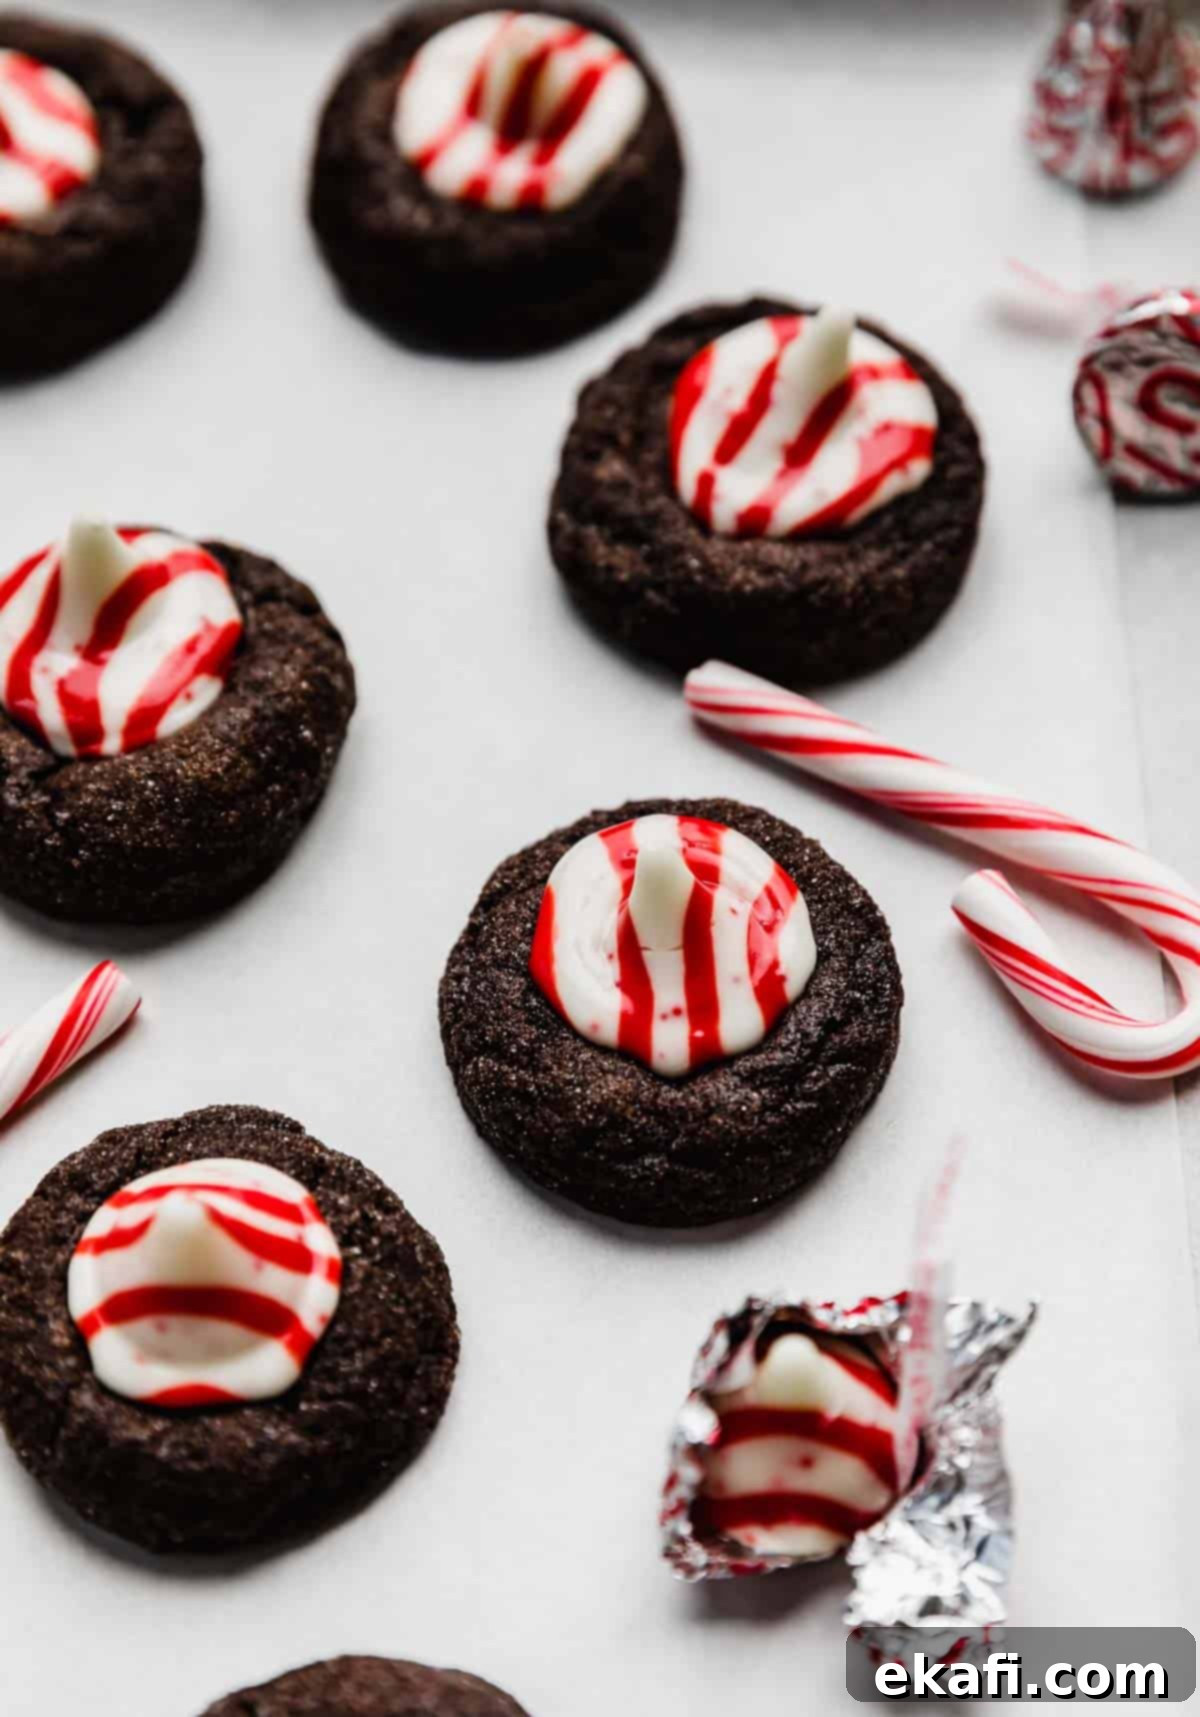
Get ready to be amazed, because these Chocolate Peppermint Kiss Cookies are truly phenomenal! Also known as Chocolate Peppermint Blossoms, these delightful treats feature soft, intensely rich chocolate cookies with a subtle hint of peppermint extract, crowned with a perfectly melty Peppermint Hershey’s Kiss. The result is a cookie that’s as beautiful to look at as it is delicious to eat. While I often share my baked goods with friends and neighbors, my family and I practically *devoured* every single one of these. They are, without a doubt, a must-make for the holiday season, bringing a burst of festive flavor to any celebration!
Peppermint is an iconic flavor that instantly evokes the magic and warmth of winter and Christmas. If you’re on the hunt for more delightful peppermint-infused sweet treats to make your holidays extra special, I’ve got you covered! My Christmas Ice Cream Cake layers creamy peppermint ice cream over a crunchy Oreo crust for a chilled festive delight. For a quick and easy option, try the Peppermint Bark Brownies, which cleverly uses a boxed brownie mix to get you to deliciousness in a snap. And for a truly effortless, movie-night-ready treat, my Candy Cane Popcorn is always a hit. But for now, let’s dive into the irresistible world of these chocolate peppermint kiss cookies!
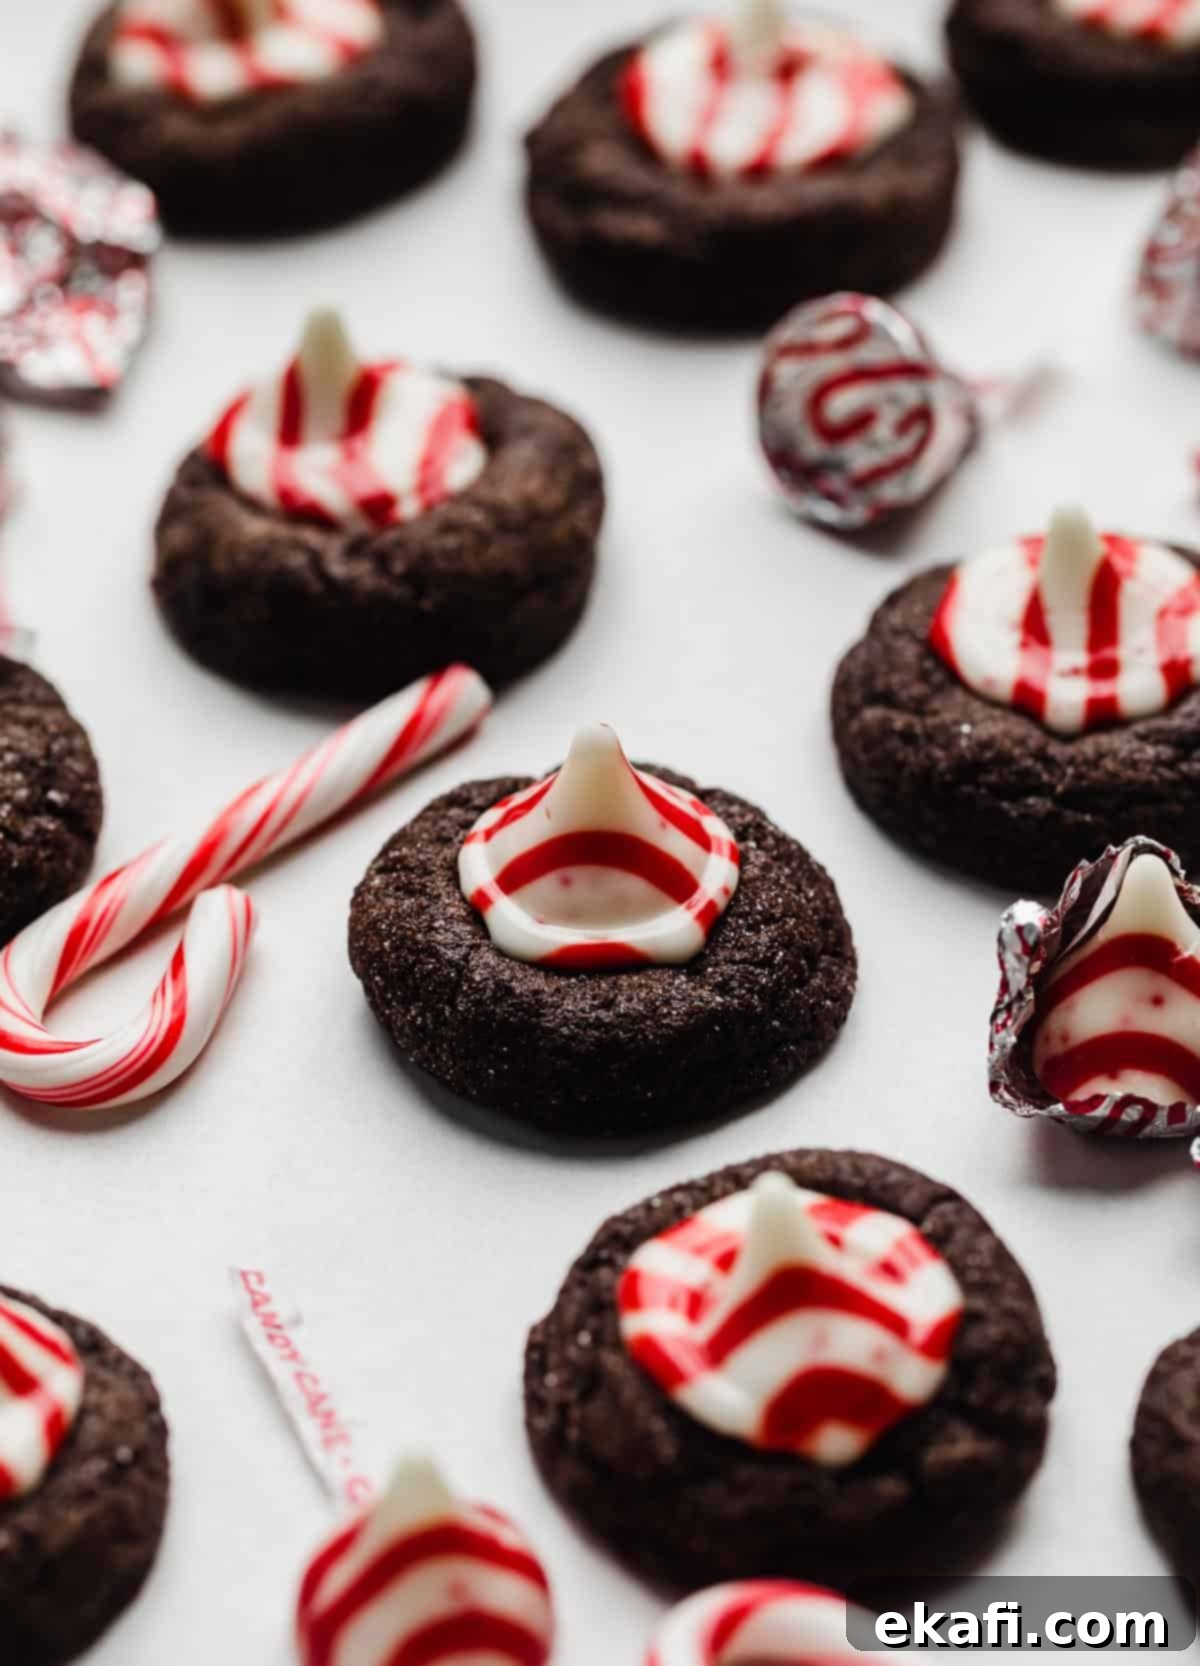
Why These Chocolate Peppermint Blossom Cookies Are a Holiday Must-Have
These aren’t just any holiday cookies; they’re a carefully crafted combination designed for maximum flavor and festive appeal. Here’s why this chocolate peppermint blossom cookie recipe is sure to become a cherished tradition in your home:
- Truly The Best Chocolate Peppermint Cookies. Many recipes fall short by only featuring peppermint candy pieces, often leaving the cookie base itself devoid of that signature minty freshness. My biggest pet peeve is a “peppermint” cookie that doesn’t actually taste like peppermint! That’s why I made sure these are TRUE peppermint chocolate cookies, infused with just the right amount of peppermint extract directly into the dough. This creates a deeply satisfying, cohesive flavor profile that’s balanced beautifully. We don’t go overboard with the extract, ensuring it complements, rather than overwhelms, the sweet peppermint Hershey’s Kiss on top, creating a symphony of chocolate and cool mint in every bite.
- An Effortlessly Elegant Peppermint Blossom Recipe. You don’t need to be a pastry chef to create stunning holiday treats. The dough for these cookies comes together quickly and easily, simplifying your holiday baking tasks. The magic truly happens when you press a festive peppermint Hershey’s Kiss onto the warm cookies straight from the oven. This simple step transforms a humble chocolate cookie into a visually striking “blossom” with its iconic shape and melting top, all with hardly any effort. They look incredibly impressive, making them perfect for gifting or serving at holiday parties.
- A Unique and Memorable Holiday Cookie. The winter holidays are undoubtedly peak cookie-baking season, and standing out from the crowd is key. While classic sugar cookies and gingerbread are wonderful, a unique offering like these chocolate peppermint kiss cookies provides a refreshing change. They offer a delightful contrast in both flavor and presentation, making them a standout addition to any cookie platter. The rich chocolate and cool peppermint combination is a sophisticated yet comforting flavor profile that will leave a lasting impression on your guests, setting your holiday spread apart.
Essential Ingredients for Perfect Peppermint Blossoms
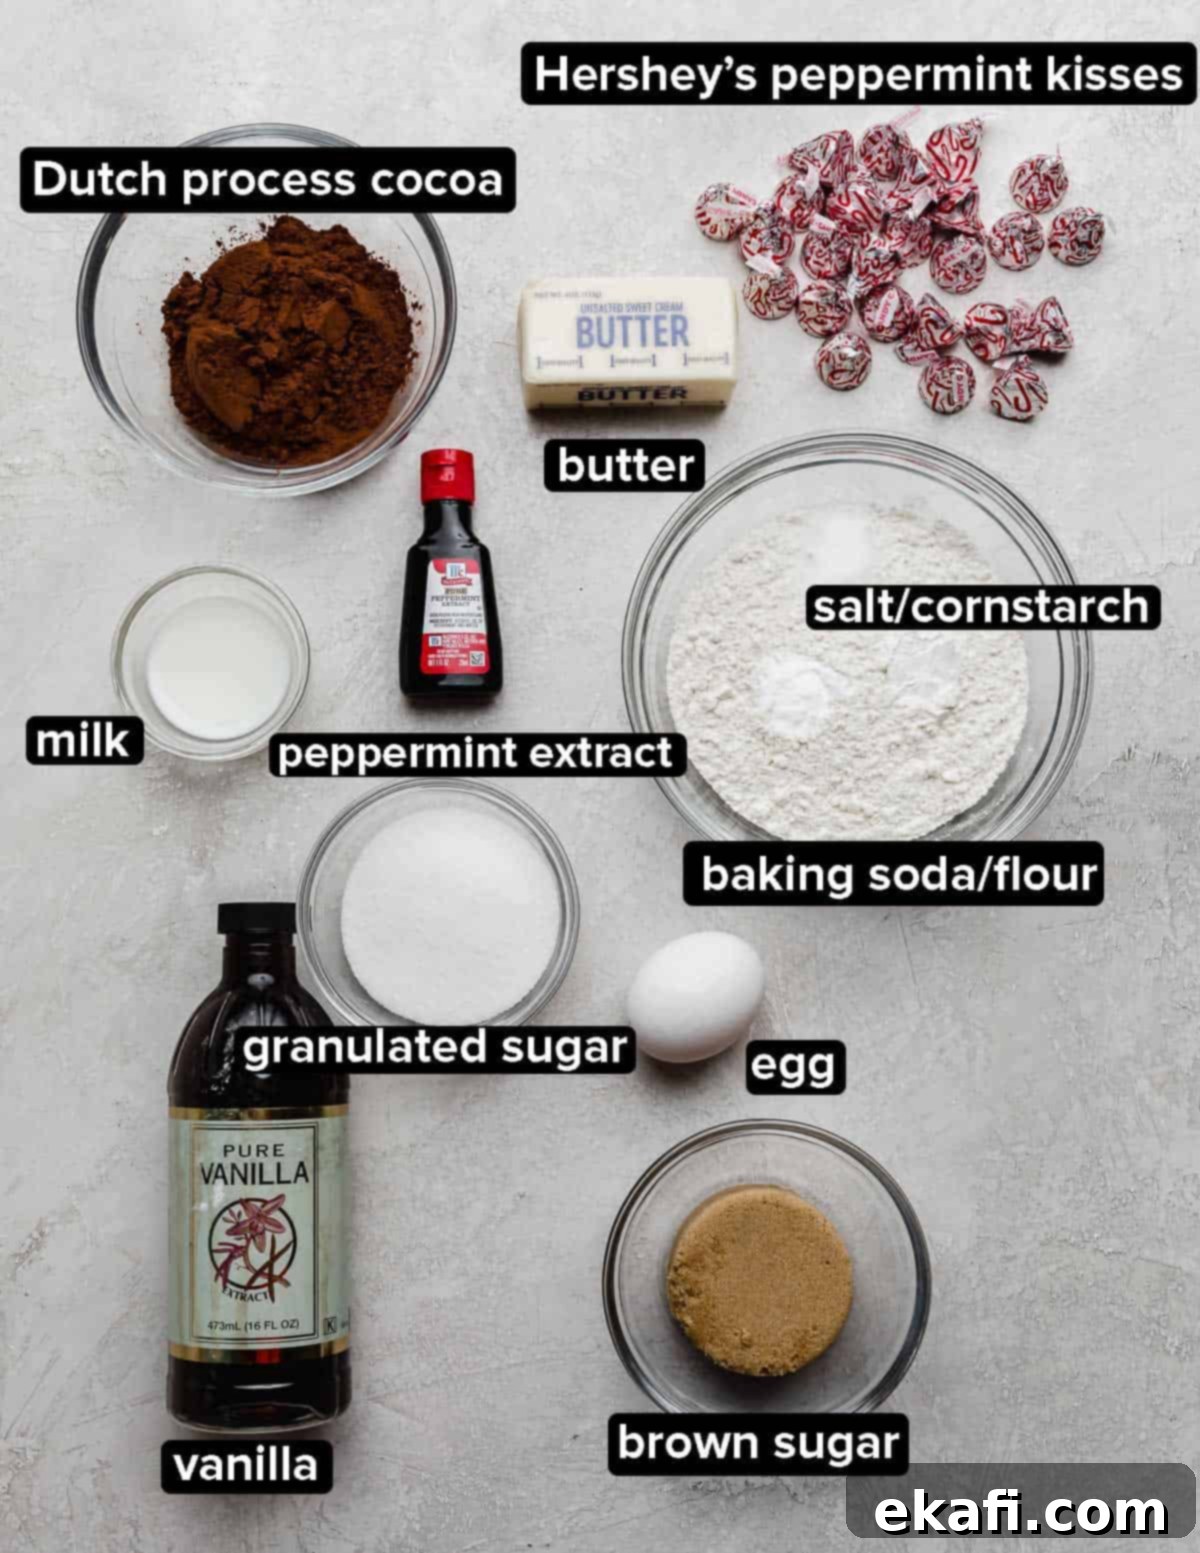
Every ingredient plays a crucial role in achieving the perfect balance of flavor, texture, and festive charm in these chocolate peppermint kiss cookies. Here’s a closer look at what you’ll need and why each component is important:
- Brown Sugar: This isn’t just for sweetness; brown sugar is key to giving these cookies their wonderfully chewy texture and a subtle molasses undertone that complements the rich chocolate. Make sure it’s packed when measuring for accuracy.
- Granulated Sugar: Used in conjunction with brown sugar, granulated sugar contributes to those desirable crisp edges that give way to a soft center. We’ll also roll the cookie dough balls in extra granulated sugar before baking, which creates a beautiful, sparkling exterior – perfect for adding a touch of holiday glitter!
- One Large Egg: Eggs are vital for binding all the ingredients together, providing structure and richness to the cookie dough. Bringing the egg to room temperature before mixing helps it emulsify more effectively with the butter and sugars, resulting in a smoother, more uniform dough and a better-textured cookie.
- Milk: Just a tablespoon of milk adds a touch of moisture, ensuring these chocolate peppermint cookies remain incredibly soft and tender, even after cooling. It prevents them from becoming dry or crumbly.
- Peppermint Extract: This is where the true “peppermint” flavor of the cookie itself comes from. Just a hint of this potent extract in the cookie dough provides that refreshing, cool kick, ensuring these are genuine chocolate peppermint holiday cookies, not just chocolate cookies with a peppermint topping.
- Vanilla Extract: Often underestimated, vanilla extract is a flavor enhancer. It doesn’t just add its own sweet aroma; it beautifully complements and deepens the flavors of both the chocolate and the peppermint, creating a more complex and harmonious taste experience.
- Dutch Process Cocoa Powder: My go-to for deep, rich chocolate flavor. Dutch process cocoa powder is alkalized, which mellows its acidity and gives it a darker color and a smoother, less bitter chocolate taste, perfect for these intensely chocolatey cookies. While you can use regular unsweetened baking cocoa, Dutch process will yield a more profound chocolate experience.
- Cornstarch: A secret ingredient for ultimate softness! A small amount of cornstarch helps keep these cookies incredibly soft and tender long after they’ve been baked, preventing them from drying out.
- Peppermint Hershey’s Kisses: Also commonly known as candy cane kisses, these special seasonal Hershey’s Kisses are the unmistakable star and key to these delicious candy cane kiss cookies! Their festive red and white stripes and unmistakable peppermint flavor make them the perfect crowning glory. Remember to unwrap them beforehand to save time.
How to Bake Perfect Chocolate Peppermint Blossom Cookies
Follow these detailed steps to create delicious and festive chocolate peppermint blossom cookies that will impress everyone:
- Prepare Your Oven and Baking Sheet. Begin by preheating your oven to 375°F (190°C). This ensures the oven is at the correct temperature for even baking. Line a sturdy baking sheet with parchment paper. Parchment paper prevents sticking and makes for easy cleanup, ensuring your cookies slide right off the tray. Set this aside.
- Unwrap Peppermint Kisses in Advance. This step is crucial for smooth baking! Unwrap all your Peppermint Hershey’s Kisses now, before you start mixing the dough. Trust me, trying to unwrap sticky kisses when your cookies are hot out of the oven is a frantic race against time. For this recipe, which yields approximately 32 cookies, you’ll need 32 kisses. Having them ready will make the process much more enjoyable.
- Cream Butter and Sugars Until Fluffy. In the bowl of a stand mixer fitted with the paddle attachment (or a large bowl with a hand mixer), combine ½ cup of room-temperature unsalted butter, ½ cup of packed light brown sugar, and ⅓ cup of granulated sugar. Beat on medium speed for 1-2 minutes until the mixture is light, fluffy, and pale in color. This creaming process incorporates air, which contributes to the cookies’ soft texture.
- Incorporate Liquid Flavorings. To the creamed butter and sugar mixture, add 1 large room-temperature egg, 1 tablespoon of milk, ½ teaspoon of peppermint extract, and ½ teaspoon of vanilla extract. Mix on low speed until all the ingredients are just combined and smooth. Be careful not to overmix at this stage.
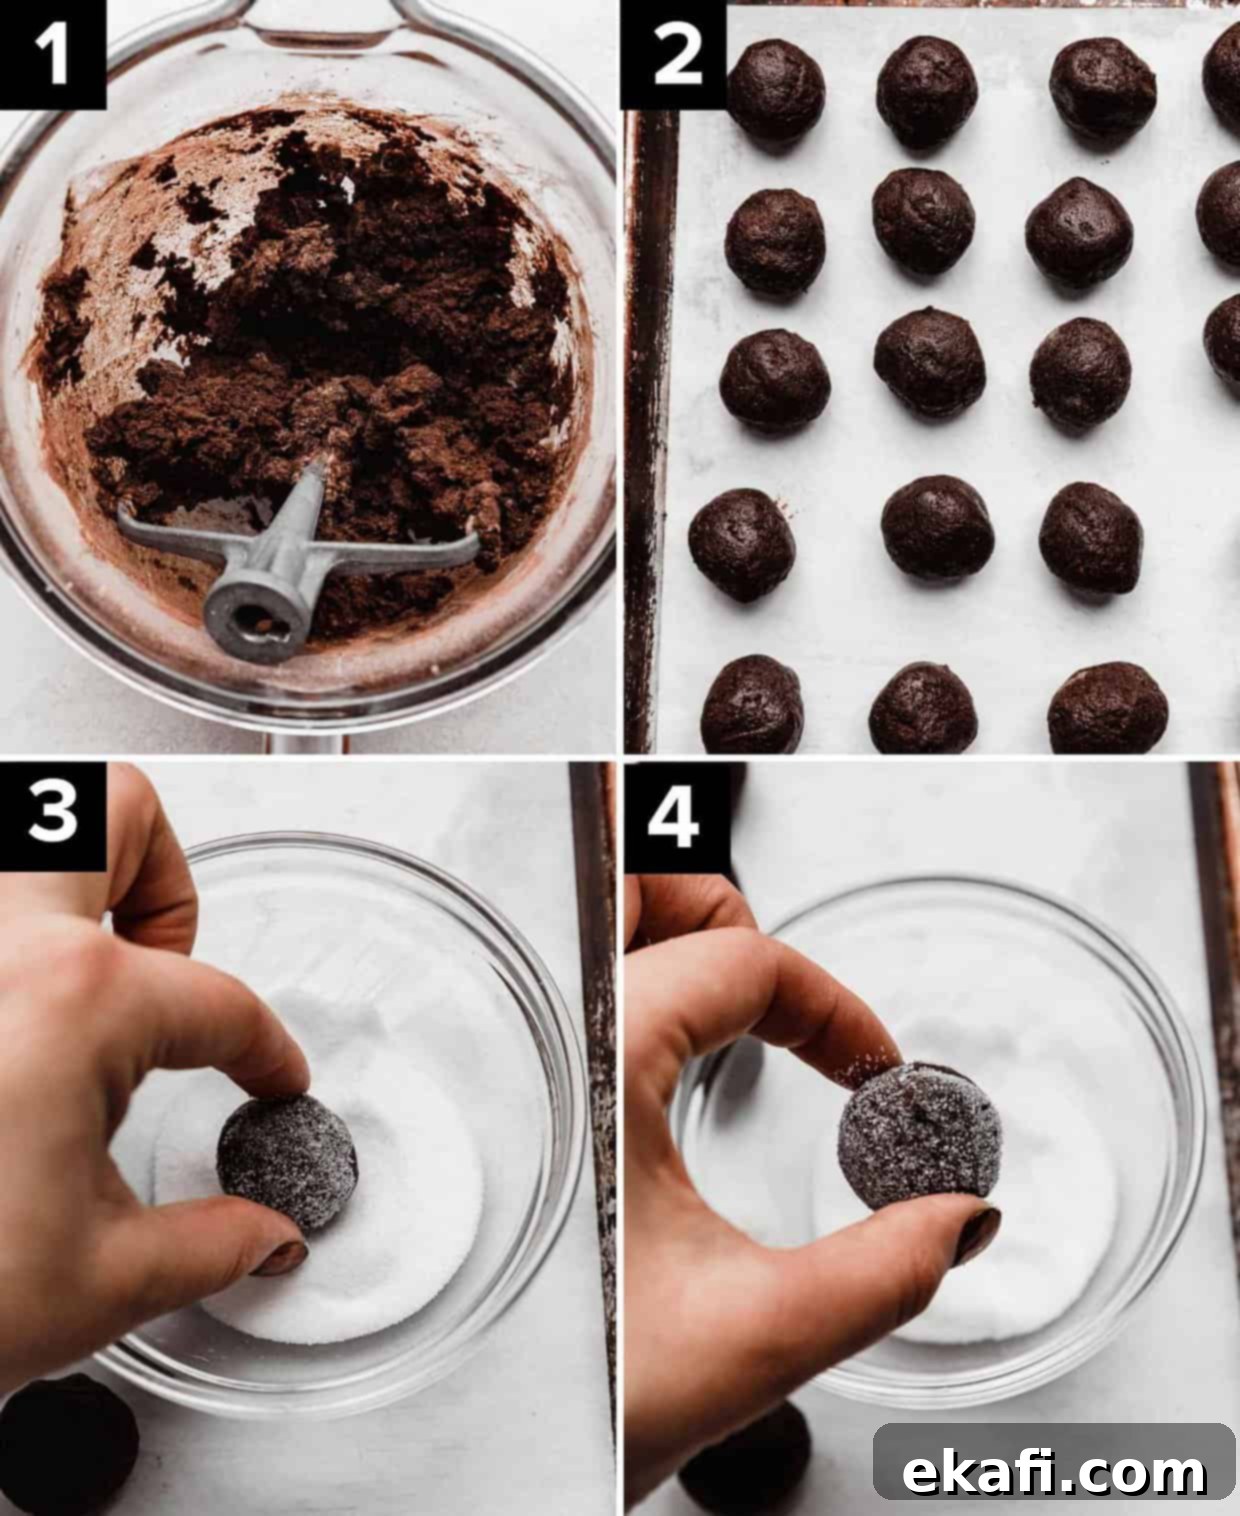
- Add Dry Ingredients to Form the Dough. Gradually add the dry ingredients: 1¼ cups of all-purpose flour, ½ cup of Dutch process cocoa powder, 1 teaspoon of cornstarch, ½ teaspoon of baking soda, and ½ teaspoon of salt. Mix on low speed until the dough just comes together and no streaks of dry flour remain. This is a very soft dough, which is intentional for a tender cookie. Avoid overmixing, as this can develop the gluten too much, leading to tough cookies.
- Form Uniform Cookie Dough Balls. Using a 2-teaspoon sized cookie scoop (this helps ensure consistent cookie size, which leads to even baking), portion the cookie dough into approximately 1-inch sized balls. This recipe should yield around 32 cookies.
- Roll in Granulated Sugar for Sparkle. Place about 3 tablespoons of granulated sugar in a small, shallow bowl. Roll each cookie dough ball thoroughly in the granulated sugar, ensuring it’s completely coated. This not only adds a lovely sparkle, perfect for the holidays, but also a slight crispness to the exterior. Place the sugar-coated cookie dough balls on your prepared baking sheet, ensuring they are about 2 inches apart to allow for spreading during baking.
- Bake to Perfection. Bake the cookies in the preheated oven for 6-7 minutes. Watch them carefully; the edges should be just set, and the centers might still look slightly soft. Overbaking can lead to dry cookies, so err on the side of underbaking for maximum chewiness and softness.
- Add the Peppermint Kisses Immediately. As soon as you remove the hot cookies from the oven, immediately and gently press one unwrapped Hershey’s Peppermint Kiss into the center of each cookie. The residual heat from the cookie will slightly melt the kiss, allowing it to adhere beautifully and creating that iconic “blossom” effect. Let the cookies cool on the baking sheet for about 5 minutes after adding the kisses. This allows them to set slightly and prevents them from breaking when you transfer them. After 5 minutes, move them to a wire rack to cool completely. Enjoy your festive chocolate peppermint blossom cookies!

Expert Tips for the Best Chocolate Peppermint Kiss Cookies
Achieving bakery-quality chocolate peppermint blossom cookies is easier than you think with these helpful tips and tricks:
- Size Matters for Cookie-to-Kiss Ratio: I personally prefer making these cookies on the smaller side, using a 2-teaspoon scoop to ensure a perfect cookie-to-kiss ratio in every bite. This creates a delightful balance where neither the chocolate cookie nor the peppermint kiss overpowers the other. However, if you prefer a larger, more substantial cookie, you can certainly make bigger dough balls. Just be aware that larger cookies might require an extra minute or two of baking time.
- Melty vs. Solid Kisses – Your Choice: Pressing the peppermint kisses onto the chocolate peppermint blossom cookies immediately out of the oven guarantees that gorgeous, slightly melty effect that I absolutely adore. The warm cookie gently softens the chocolate, creating a lovely, integrated topping. If you prefer your kisses to maintain their crisp, defined shape, a clever trick is to pop them in the freezer for about 10-15 minutes before baking. This makes them more solid and less prone to melting completely when pressed onto the hot cookies. Either way, always press them gently to avoid cracking the warm cookie.
- Dutch Process Cocoa Powder is Recommended, But Not Essential: While Dutch process cocoa powder is my favorite for these cookies due to its richer, darker chocolate flavor and color, you can absolutely use natural unsweetened baking cocoa if that’s what you have on hand. Just note that the cookies might not have quite the same deep, dark chocolate hue or intensity of flavor. For those curious, Dutch process cocoa is often labeled as “dark” baking cocoa in grocery stores – just check the ingredients to confirm it’s been alkalized.
- Explore Other Festive Hershey’s Kiss Flavors: The holiday season brings a delightful array of seasonal Hershey’s Kiss flavors! While I’m partial to the Peppermint Candy Cane Kisses for their festive look and classic flavor, don’t hesitate to experiment. Hot chocolate, sugar cookie, or even milk chocolate Kisses would be truly tasty variations on this cookie. Each offers a slightly different profile that could become your new favorite.
- Caramel Lovers, Rejoice with Rolos! For an utterly decadent twist, consider replacing the Peppermint Hershey’s Kisses with Rolos (caramel-filled chocolates). The gooey caramel center will melt beautifully into the warm chocolate cookie, creating a delightful caramel-chocolate experience. This variation is particularly good if you’re not a huge fan of peppermint or want to offer a different flavor profile on your cookie platter.
- Don’t Overbake for Softness: The key to soft, chewy cookies is to avoid overbaking. Cookies are often done when the edges are set but the centers still look slightly soft or underbaked. They will continue to cook slightly from residual heat once removed from the oven.
- Room Temperature Ingredients are Critical: Ensure your butter and egg are at room temperature. This allows them to cream together properly, creating an emulsified mixture that traps air, leading to a lighter, more evenly textured cookie. Cold ingredients don’t blend as well and can result in a denser cookie.
Make Ahead, Storing, and Freezing Your Peppermint Blossom Cookies
These chocolate peppermint kiss cookies are perfect for holiday meal prep, allowing you to enjoy fresh-baked goodness anytime. Here’s how to manage them efficiently:
Make Ahead: One of the best features of this recipe is its make-ahead potential. You can prepare the cookie dough up to two days in advance. Simply cover the bowl tightly with plastic wrap and store it in the refrigerator. When you’re ready to bake, let the dough come back to room temperature for about 30 minutes, or add a couple of minutes to the baking time if baking directly from cold. For even greater convenience, you can also roll the cookie dough balls in granulated sugar and then freeze them on a baking sheet. Once frozen solid, transfer them to a freezer-safe bag for later baking. You can bake them from frozen, adding an extra 2-4 minutes to the baking time.
Storing: To keep your baked chocolate peppermint blossom cookies fresh and soft, store any leftovers in an airtight container at room temperature. They will maintain their deliciousness and texture for 3-5 days. Ensure they are completely cooled before storing to prevent condensation, which can make them soggy.
Freezing: These cookies are excellent for freezing, either as unbaked dough or after baking, giving you fresh cookies whenever a craving strikes!
- Freezing Unbaked Cookie Dough: For freezing cookie dough, check out my comprehensive How to Freeze Cookie Dough Guide. In short, roll the dough into balls, coat in sugar, and flash freeze them on a parchment-lined baking sheet until solid. Then, transfer the frozen dough balls to a zip-top freezer bag or airtight container. They can be stored for up to 2-3 months. When ready to bake, you can bake them from frozen, adding a few minutes to the baking time.
- Freezing Baked Cookies: If you want to freeze baked cookies, first, let them cool completely. Then, arrange the baked cookies in a single layer on a parchment-lined baking sheet and freeze until solid (this is called “flash freezing”). Once they are frozen solid, transfer them to a heavy-duty zip-top freezer bag or an airtight container, separating layers with parchment paper if stacking. Stored this way, they will stay fresh for up to 2 months. To enjoy, simply thaw them at room temperature.
Chocolate Peppermint Blossom Cookies: Your Questions Answered
The original and most famous blossom cookies are peanut butter blossoms, a beloved classic invented by Ohio resident Freda Strasel Smith. She originally named her creation “Black-Eyed Susans” and entered them into a Pillsbury bake-off contest, where they won third place. Pillsbury then popularized her recipe, renaming them “peanut butter blossoms.” Today, the term “blossom cookie” has expanded to refer to any cookie that features a Hershey’s Kiss (or similar candy) pressed gently into the center immediately after baking, creating that distinctive “blossom” shape. Our chocolate peppermint blossoms are a perfect example of this delightful cookie style, offering a festive twist on a timeless concept.
Absolutely! These chocolate peppermint blossom cookies freeze beautifully, both baked and unbaked. For baked cookies, ensure they are completely cooled. Then, flash freeze them by placing them in a single layer on a parchment-lined baking sheet until they are hard. Once frozen solid, transfer them to a freezer-safe zip-top bag or an airtight container, separating layers with parchment paper if stacking. They can be stored in the freezer for up to 2 months. Simply thaw them at room temperature when you’re ready to enjoy. For freezing unbaked dough, refer to the “Make Ahead, Storing, and Freezing” section above for detailed instructions.
While often grouped together, mint and peppermint are distinct flavors. Peppermint has a strong, cooling, and sharp menthol flavor, which is characteristic of holiday treats. Spearmint (often just labeled “mint”) is much milder, sweeter, and more herbaceous, commonly found in chewing gum or savory dishes. Therefore, I highly recommend using peppermint extract for these cookies to achieve the intended festive flavor profile. If mint extract is the only thing you can find, you can certainly use it, but be aware that the final cookie will have a noticeably different, milder minty taste rather than the bold, refreshing kick of peppermint.
Flat cookies can often be caused by melted butter (butter should be room temperature but not melted), too little flour, or an oven that isn’t hot enough (always use an oven thermometer to verify). Hard cookies are typically a result of overbaking. Keep an eye on the clock and the cookie’s appearance; the edges should be just set, and the centers may still look slightly soft. Remember, cookies continue to bake for a few minutes on the hot baking sheet after coming out of the oven.
The key to getting the kisses to stick and melt beautifully is to press them onto the cookies *immediately* after they come out of the hot oven. The residual heat from the freshly baked cookie is enough to slightly melt the base of the kiss, allowing it to adhere. If you wait too long, the cookies will cool, and the kisses won’t stick as well. Gently pressing them into the center will create a slight indentation and secure them.
More Must-Make Holiday Cookies for Your Festive Table
Beyond these delightful chocolate peppermint blossoms, the holiday season is the perfect time to explore a variety of festive cookies. Here are some more of our family’s favorite recipes that are guaranteed to bring cheer to your celebrations:
- No Fail Sugar Cookies: The quintessential holiday cookie, perfect for decorating with festive icing and sprinkles.
- Soft Gingersnap Cookies: Warm, spicy, and perfectly chewy, these ginger snaps are a comforting taste of the holidays.
- White Chocolate Cranberry Oatmeal Cookies: A delightful combination of sweet white chocolate and tart cranberries in a hearty oatmeal cookie.
- Turtle Cookies: Indulgent chocolate cookies filled with gooey caramel and crunchy pecans, just like the classic candy.
- Snickerdoodles: Soft, tender, and coated in cinnamon sugar, these classic cookies are always a crowd-pleaser.
Did you make this recipe? I’d absolutely love to hear about your experience! Please leave a star rating and review right here on the blog, or simply scroll down to the recipe card and share your thoughts there. Your feedback means the world!
Stay up-to-date with all our latest delicious creations and behind-the-scenes fun by following us on Instagram, TikTok, YouTube, Facebook, and Pinterest. Don’t miss out on any festive fun!

Print
SaveSaved!
Review
Chocolate Peppermint Blossoms
Ingredients
- 1/2 cup unsalted butter – softened to room temperature
- 1/2 cup light brown sugar – packed
- 1/3 cup granulated sugar
- 1 large egg – at room temperature
- 1 tablespoon milk
- 1/2 teaspoon peppermint extract
- 1/2 teaspoon vanilla extract
- 1 1/4 cups all-purpose flour
- 1/2 cup Dutch process cocoa powder
- 1 teaspoon cornstarch
- 1/2 teaspoon baking soda
- 1/2 teaspoon salt
Garnishes
- 3 tablespoons granulated sugar – for rolling the cookie dough balls into
- 32 Hershey’s Peppermint Candy Cane Kisses – unwrapped (may need more depending on how many cookie dough balls you roll)
Equipment
-
Kitchen Aid stand mixer
-
pre-cut parchment paper
-
baking sheet
Instructions
-
Preheat oven to 375°F. Line a baking sheet with parchment paper and set aside. Ensure your Hershey’s Peppermint Candy Cane Kisses are unwrapped and ready.
-
In the bowl of a stand mixer fitted with a paddle attachment (or using a hand mixer in a large bowl), cream the softened butter, packed light brown sugar, and 1/3 cup granulated sugar on medium speed for 1-2 minutes until light and fluffy.
-
Add the room temperature egg, milk, peppermint extract, and vanilla extract. Mix on low speed until just combined, scraping down the sides of the bowl as needed.
-
Gradually add the all-purpose flour, Dutch process cocoa powder, cornstarch, baking soda, and salt to the wet ingredients. Mix on low speed until the dough comes together and no dry flour streaks remain. Be careful not to overmix.
-
Place 3 tablespoons of granulated sugar in a small bowl. Using a 2-teaspoon sized cookie scoop, portion the soft cookie dough into approximately 1-inch sized balls. Roll each cookie dough ball thoroughly into the sugar until coated. Place the sugar-coated balls on the prepared baking sheet, ensuring they are spaced 2 inches apart.
-
Bake for 6-7 minutes. The edges should be set, but the centers may still look slightly soft. Immediately remove from the oven and gently press one peppermint chocolate kiss into the center of each hot cookie. Let the cookies cool on the baking sheet for 5 minutes before carefully transferring them to a wire rack to cool completely. Enjoy your festive chocolate peppermint blossoms!
Notes
Nutrition
