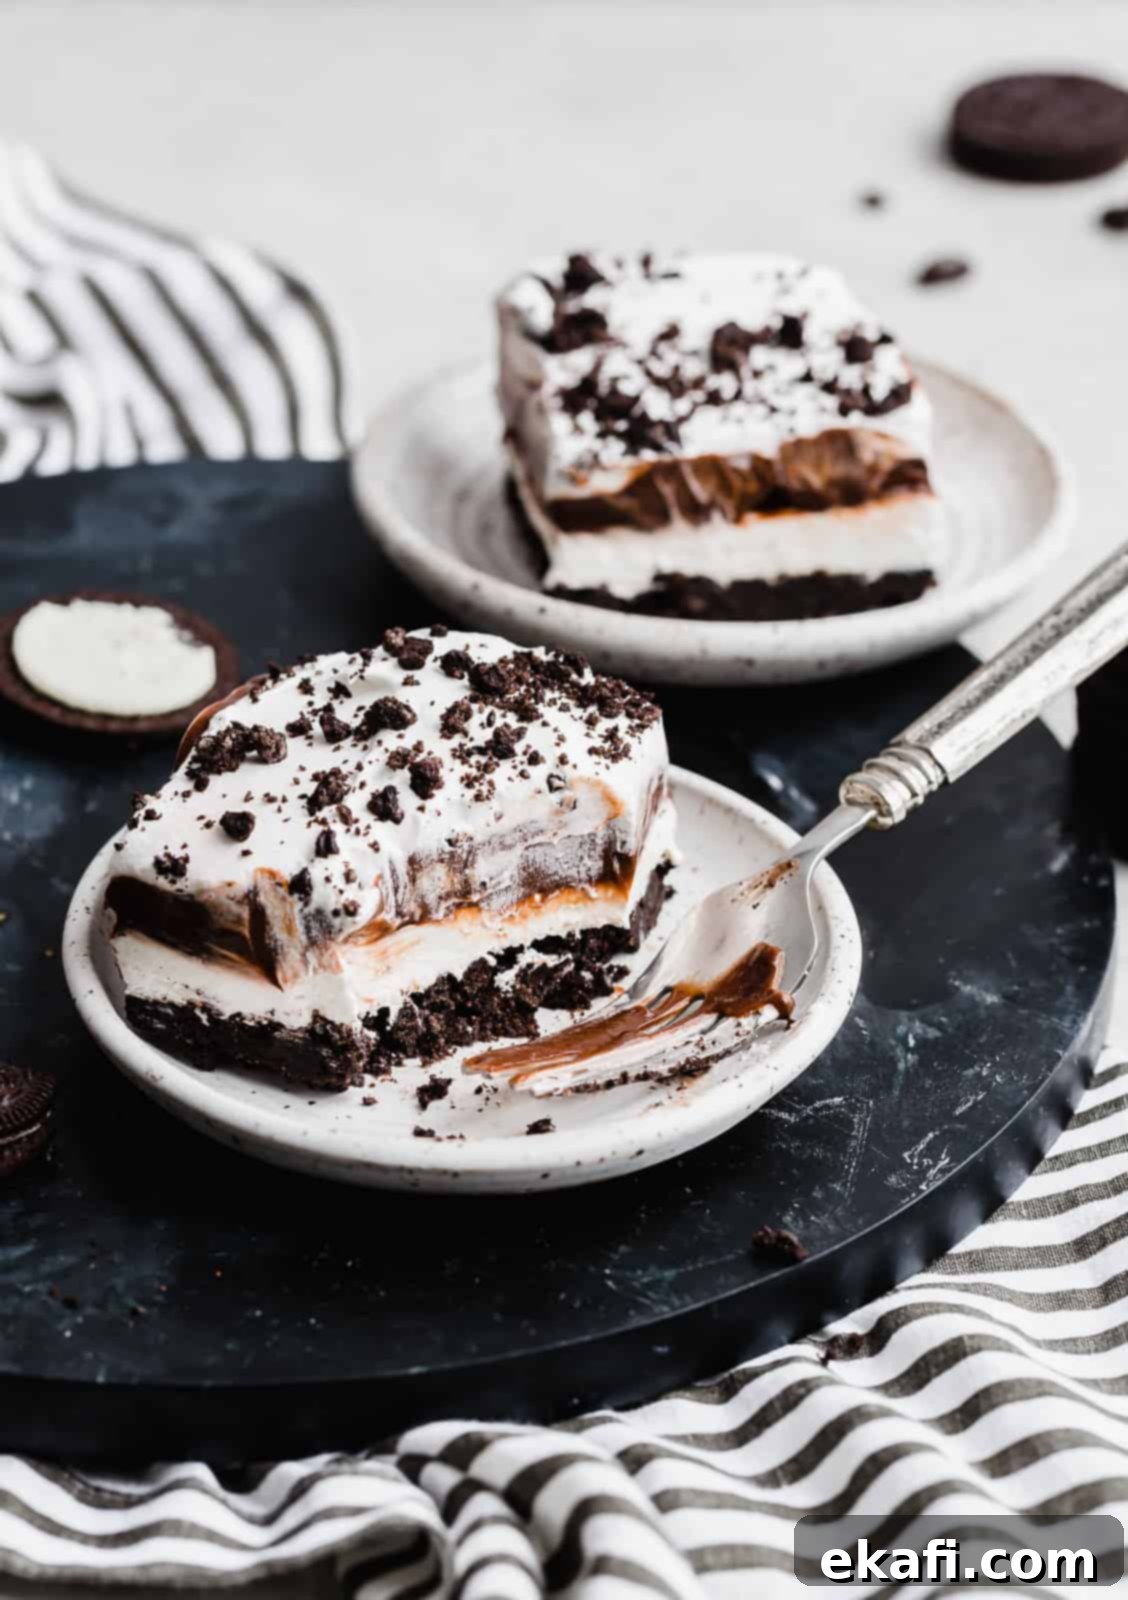
Easy No-Bake Oreo Dessert: The Ultimate Layered Treat
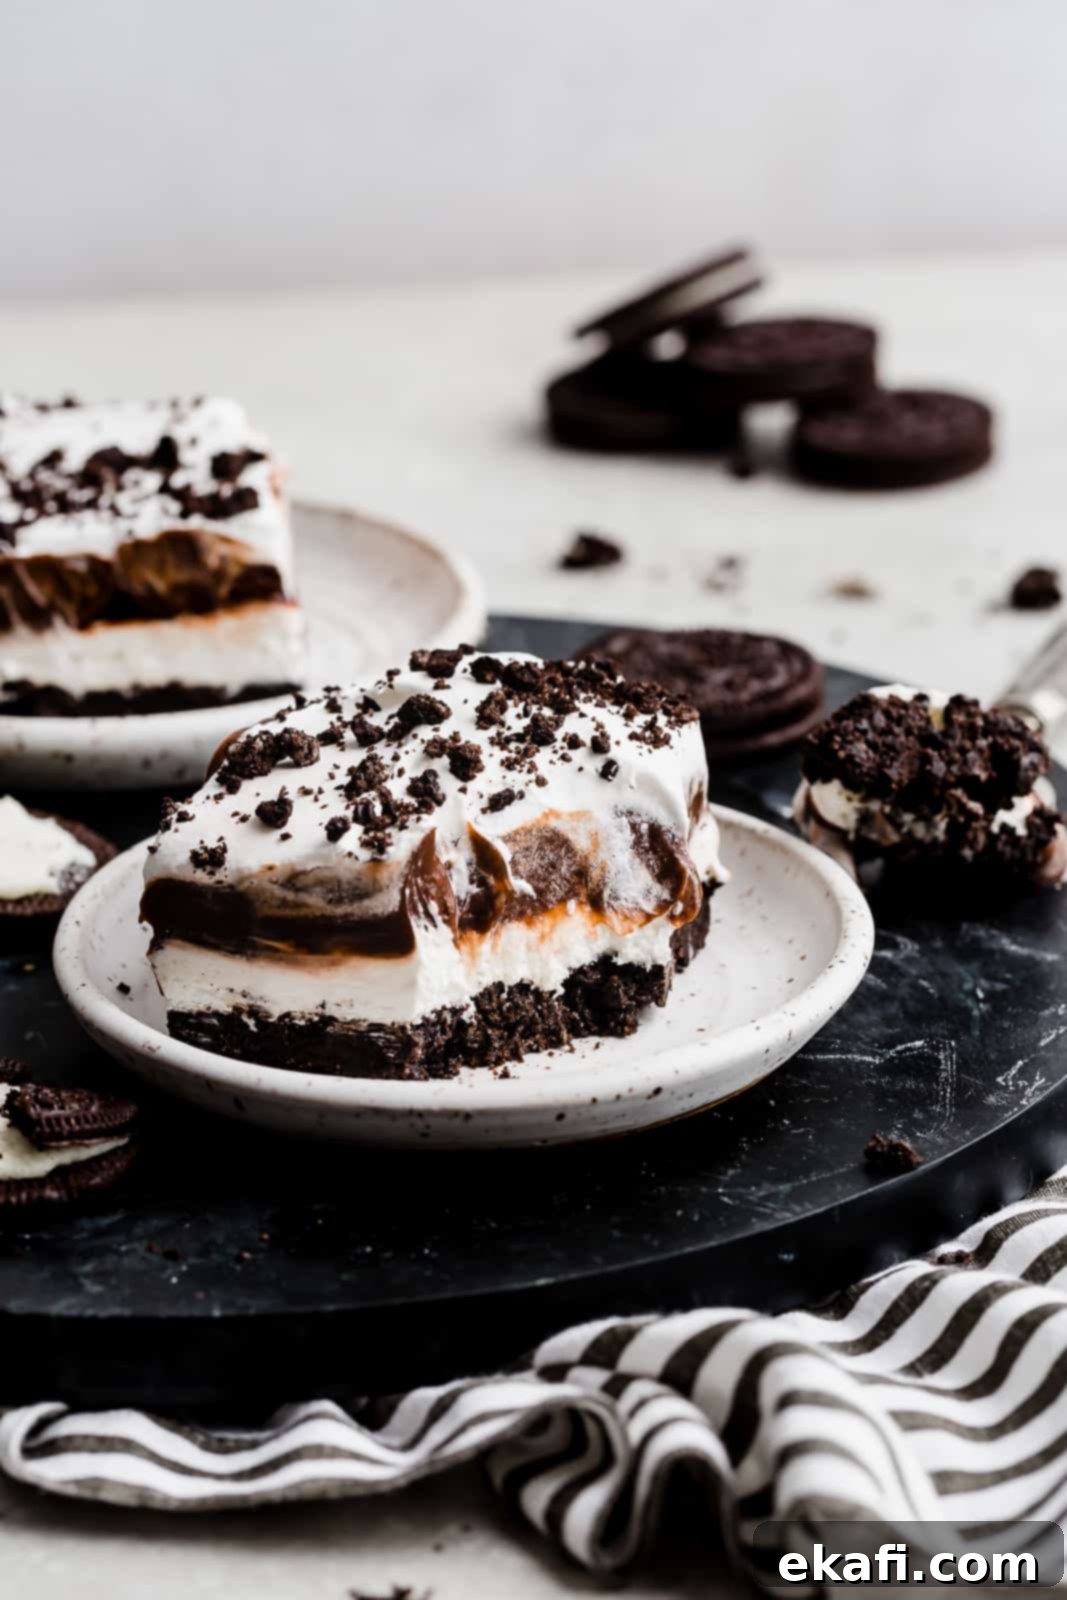
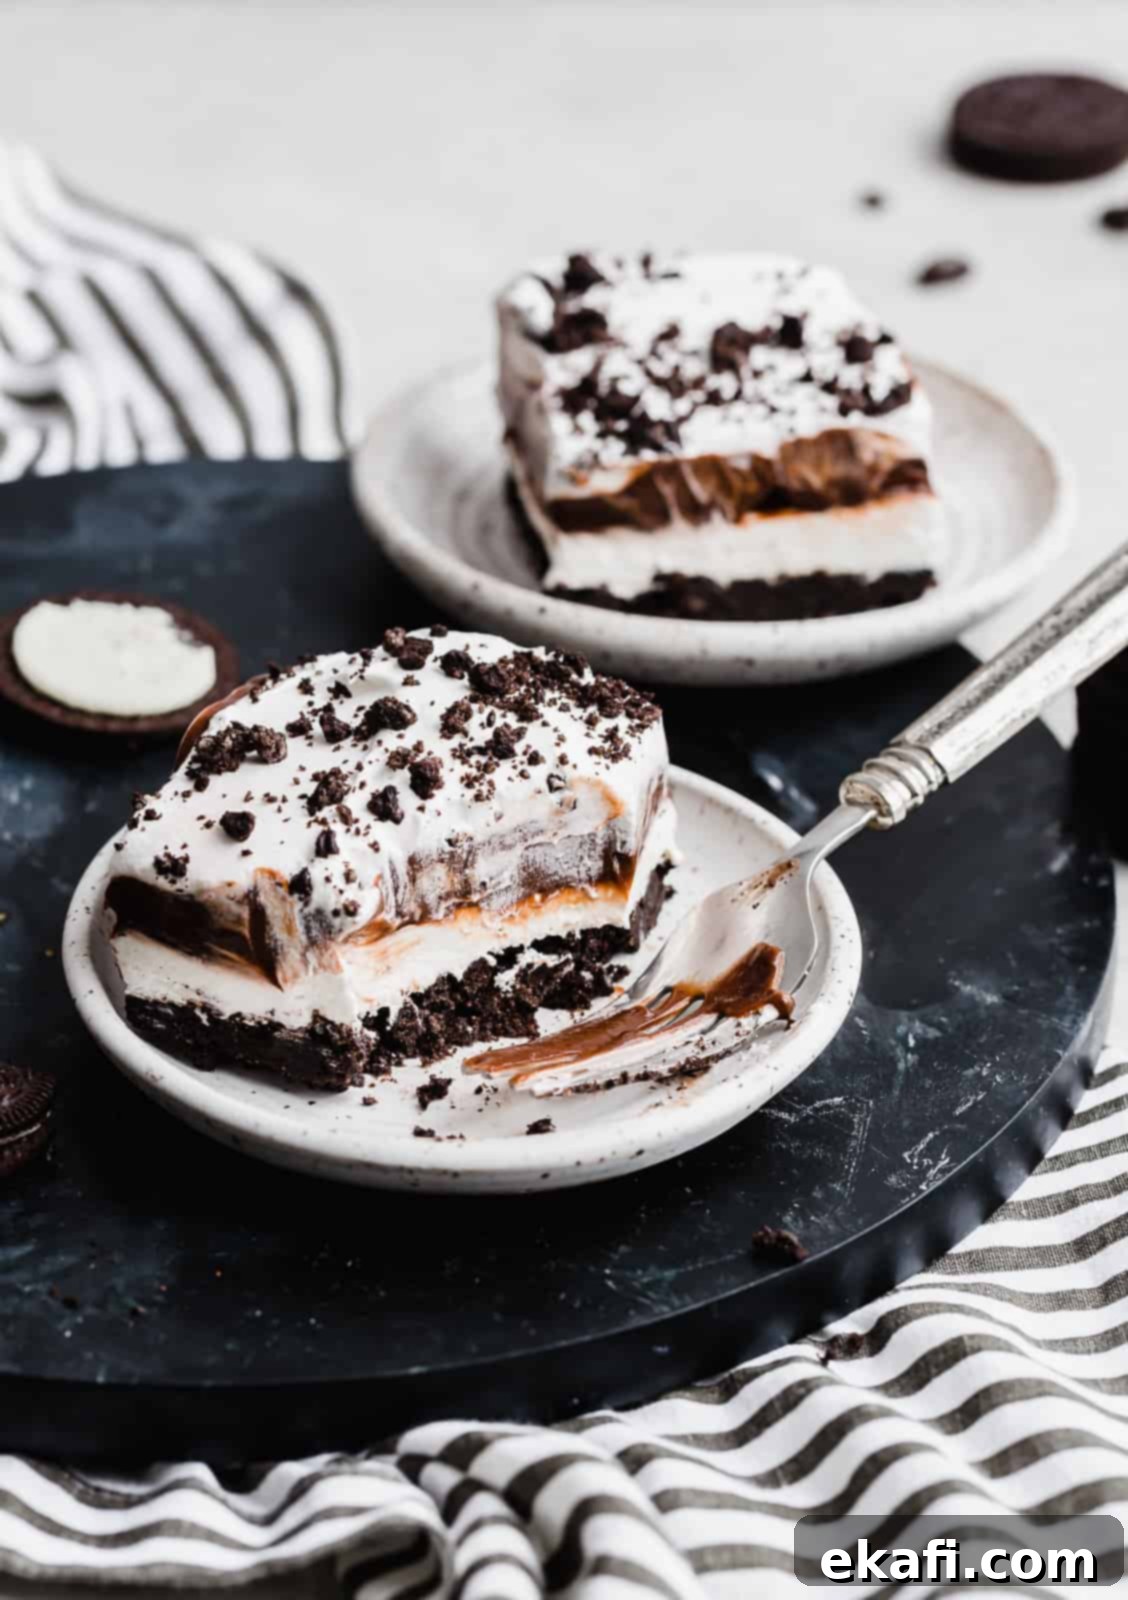
Prepare to delight your taste buds with this unbelievably easy and incredibly delicious No-Bake Oreo Dessert! This dessert is a true showstopper, boasting a symphony of textures and flavors across its delightful layers. Imagine a rich, crunchy Oreo crust, followed by a sweet and tangy cream cheese filling, a smooth and decadent chocolate pudding layer, all crowned with fluffy whipped cream and a sprinkle of crushed Oreo crumbs. It’s a dessert that comes together quickly, requires no oven, and is guaranteed to disappear in a flash!
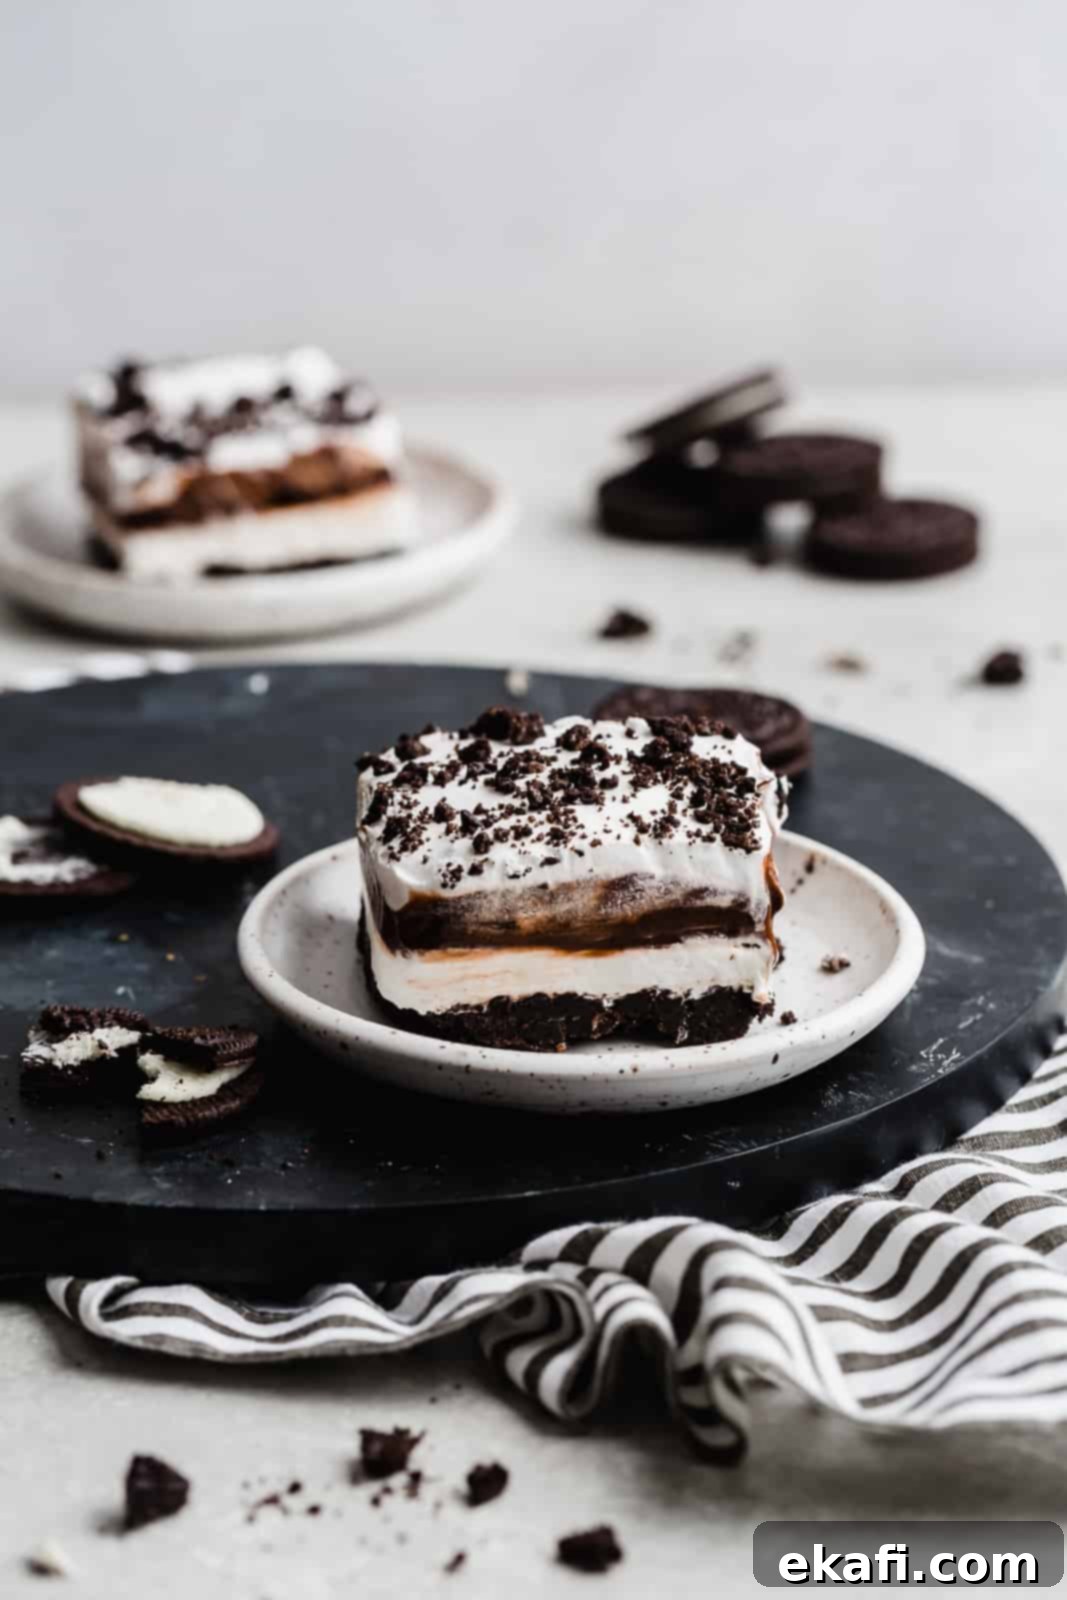
This magnificent creation is often referred to as a “lush dessert.” Perhaps you’ve heard the term? While I’ve always simply called them layer desserts, the name “lush dessert” perfectly captures their indulgent nature. These delightful treats are typically constructed with a foundational cookie crust, two distinct creamy fillings, and a generous whipped topping. Whether you assemble this no-bake Oreo dessert in a classic 13×9-inch baking pan for easy serving or showcase its stunning layers in an elegant glass trifle dish, it’s sure to impress both visually and gastronomically.
For those who share my undeniable love for all things Oreo, this dessert will be an instant favorite. My website is practically an ode to the iconic cookie, featuring an array of irresistible Oreo recipes. You can find everything from copycat Crumbl Oreo Sandwich Cookies, creamy Oreo milkshakes, fudgy Oreo truffle brownies, and a spectacular Oreo ice cream cake. If you’re a fan of homemade frozen treats, try my no-churn Oreo ice cream. And for a unique twist, explore Cookies ‘n Cream cookies and refreshing Oreo popsicles! Truly, there’s an Oreo recipe for every mood, season, and celebration.
Why You’ll Love This No-Bake Oreo Layer Dessert
The beauty of this particular dessert lies in its simplicity and versatility. It’s the perfect quick and easy no-bake dessert, ideal for those moments when you crave something decadent without the hassle of turning on your oven. You likely already have most of the ingredients readily available in your fridge or pantry. This is a wonderfully chilled dessert, offering a refreshing contrast to warmer weather, though it’s distinct from a frozen ice cream layered dessert. If you’re specifically seeking a frozen option, my Oreo ice cream cake recipe is an excellent choice.
Essential Ingredients for Your Oreo Delight
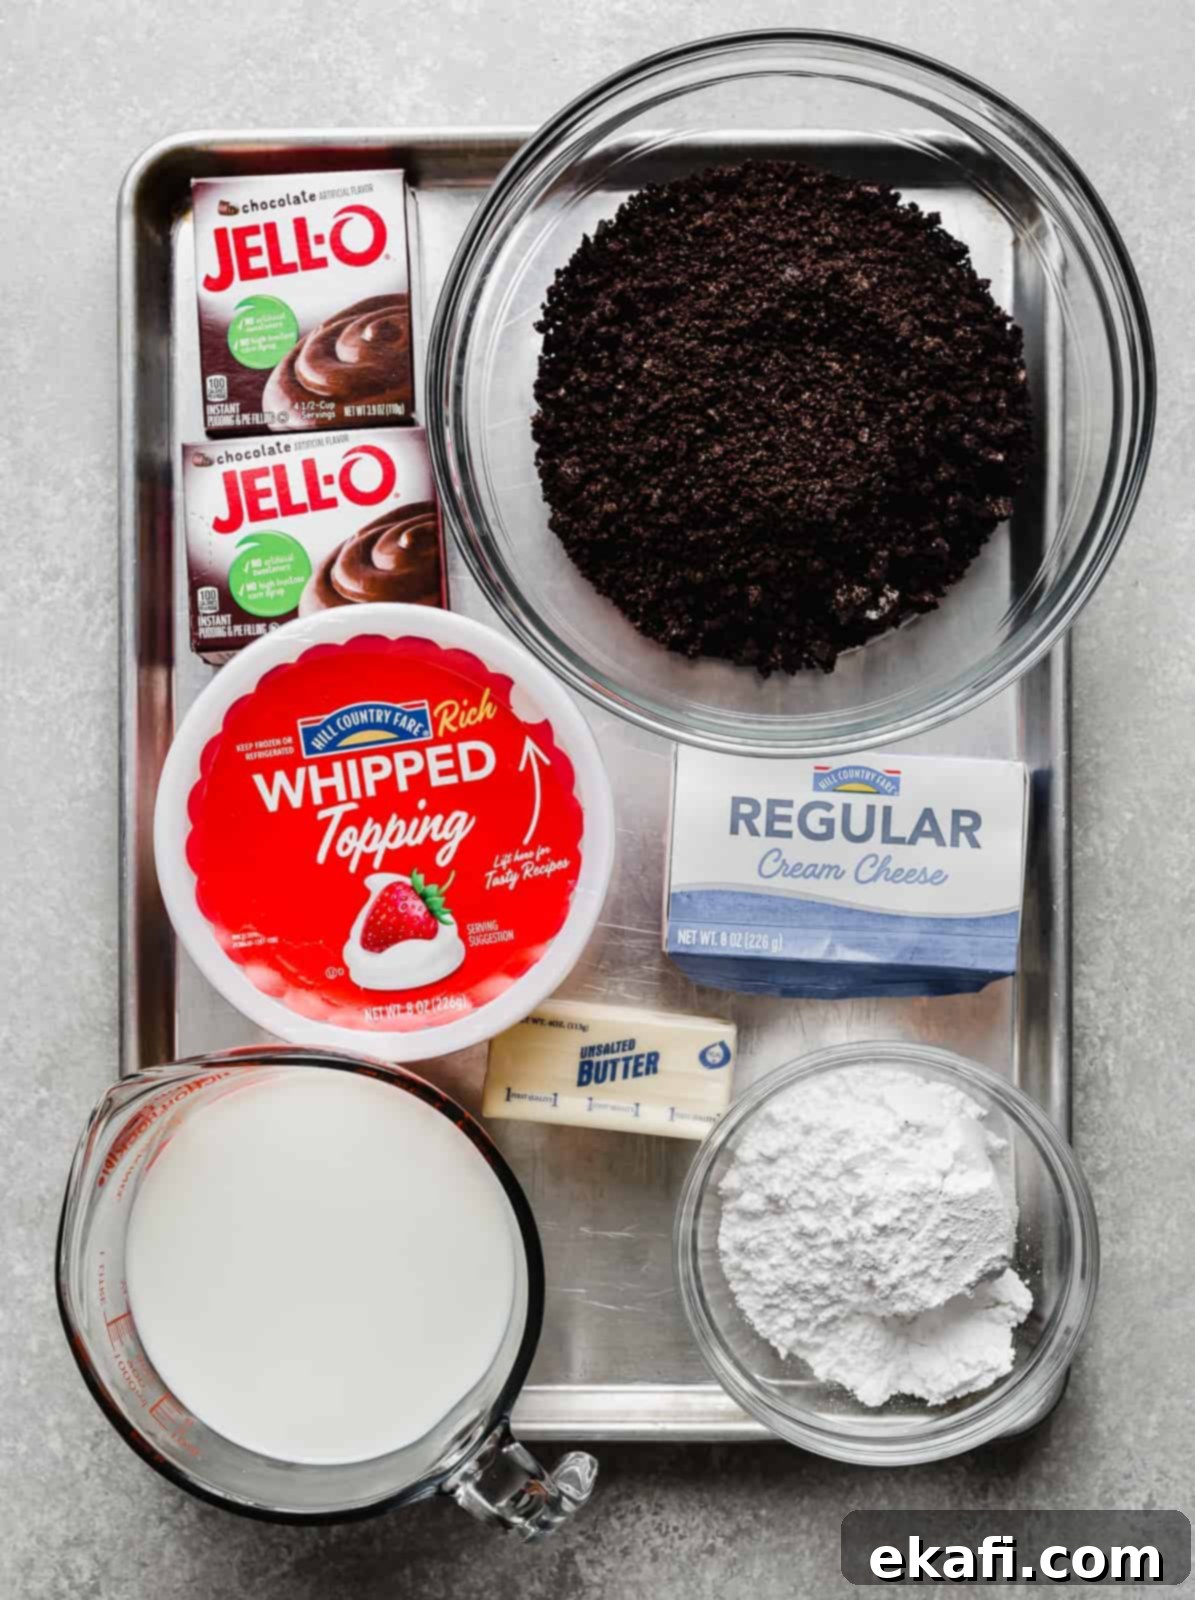
Crafting this incredible no-bake dessert requires a few key ingredients, each playing a crucial role in creating the perfect layered experience. Here’s what you’ll need:
For the Crunchy Oreo Crust:
- Oreo cookies: Approximately 40 cookies. Both regular and Double Stuf varieties work wonderfully, so use your favorite!
- Butter: Melted butter is essential. It acts as the binding agent, transforming the crushed Oreos into a firm, flavorful crust that holds together beautifully.
For the Creamy Cream Cheese Layer:
- Cream cheese: Softened cream cheese is vital for a smooth, lump-free filling. If you forget to take it out ahead of time, a quick 15-25 second microwave session can soften it perfectly. We want it nice and pliable to ensure it blends seamlessly.
- Powdered sugar: Also known as confectioners’ sugar. Its fine texture ensures a silky-smooth cream cheese layer without any gritty sugar granules.
- Cool Whip: This is a key ingredient for the airy, stable texture of this layer. Store-bought Cool Whip in a tub is highly recommended. While homemade whipped cream is lovely, it typically doesn’t hold up as well or provide the same firm structure needed for this layered dessert.
For the Rich Chocolate Pudding Layer:
- Instant Chocolate Pudding mix: This forms the delicious chocolate layer. You can use a high-quality instant mix for convenience, or if you prefer a from-scratch approach, try my homemade chocolate pudding recipe.
- Milk: Make sure your milk is cold! Any percentage (1%, 2%, or whole) will work. This is mixed with the pudding powder to create the luscious chocolate layer.
For the Fluffy Whipped Topping:
- Cool Whip: Again, the store-bought tub of Cool Whip is recommended for this final topping. Its stability ensures a beautiful, lasting finish that homemade whipped cream might not provide, especially after chilling.
How to Assemble Your No-Bake Oreo Dessert: Step-by-Step
Creating this impressive dessert is simpler than you might think. Follow these easy steps to build your irresistible No-Bake Oreo Layer Dessert:
Step 1: Prepare the Perfect Oreo Crust
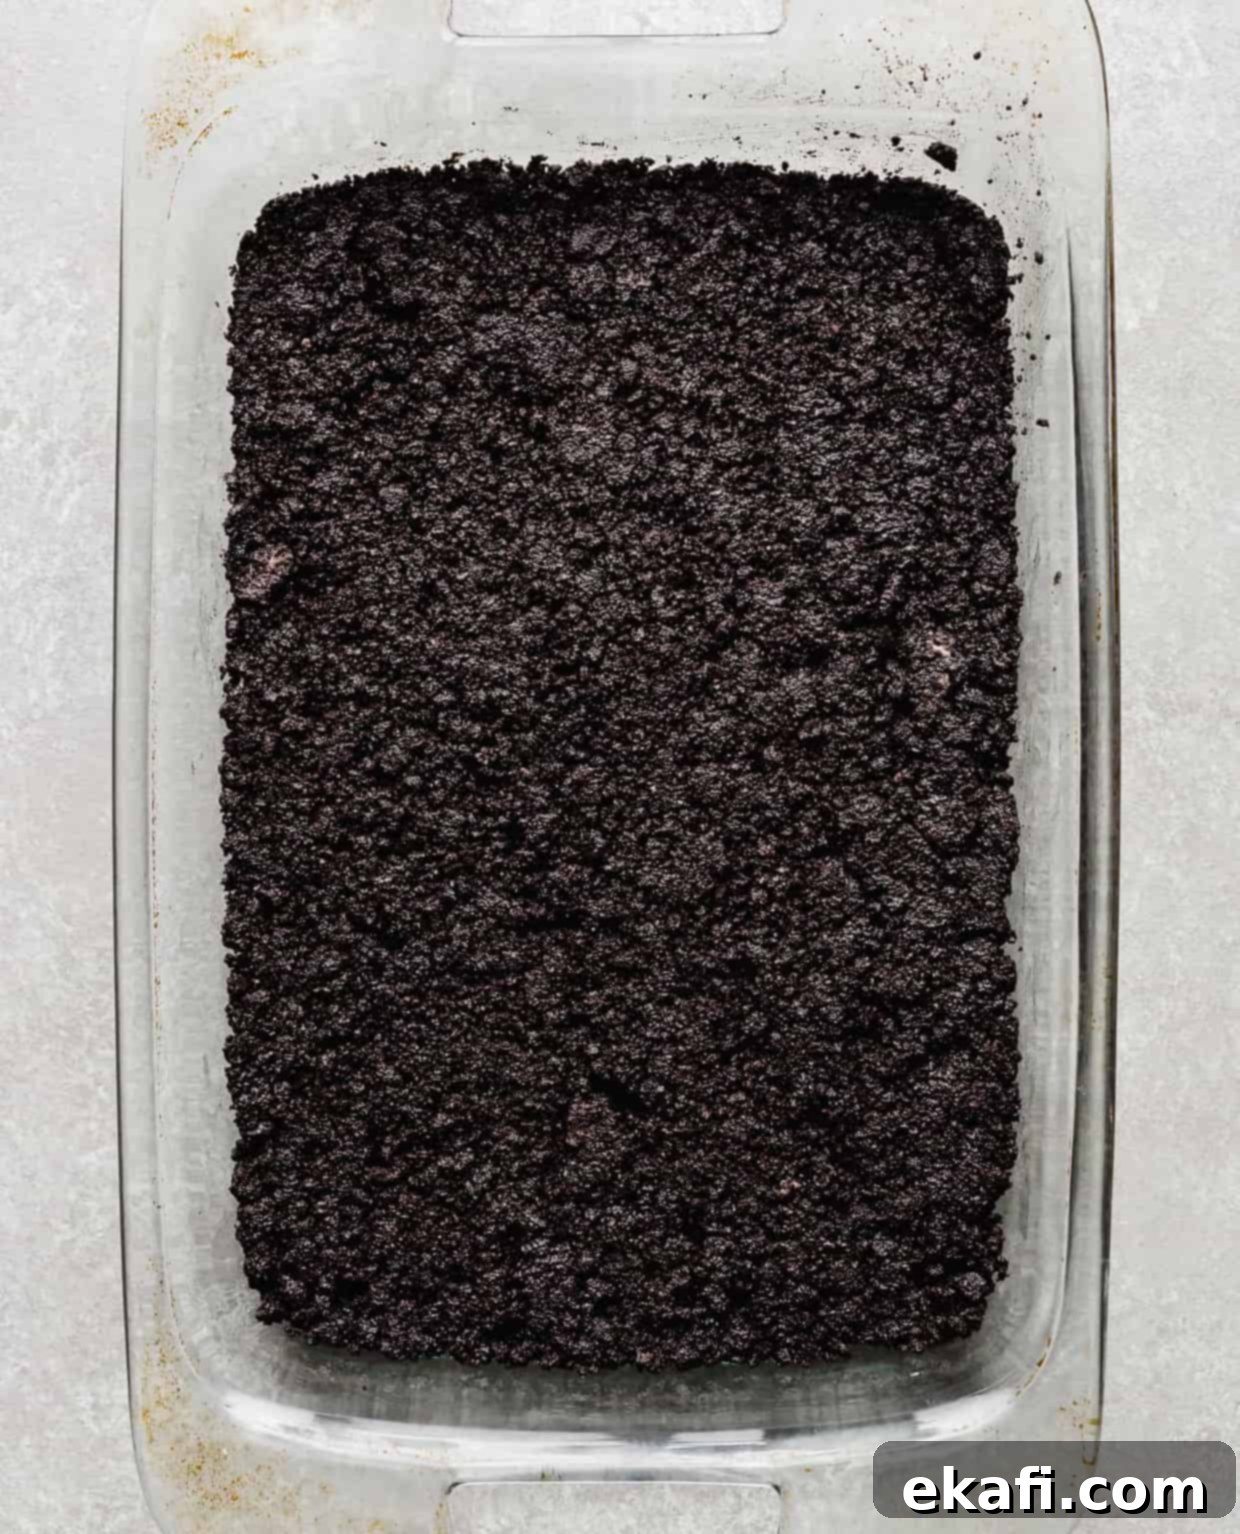
- Crush the Oreos: Begin by crushing your Oreo cookies. You can achieve this using a food processor for a quicker method, or by placing them in a sturdy Ziplock bag and rolling over them with a rolling pin. The key is to aim for crumbs that aren’t *too* fine; some slight Oreo chunks throughout the crust will add wonderful texture and visual appeal.
- Reserve and Combine: Once crushed, transfer the Oreo crumbs to a medium-sized bowl. Don’t forget to set aside about ¼ cup of these delicious crumbs. These will be saved for the very top layer, adding a beautiful finish and extra Oreo flavor. Stir the melted butter into the remaining Oreo crumbs, mixing thoroughly until everything is well combined and moistened.
- Form the Crust: Press the buttery Oreo mixture evenly along the bottom of a 13×9-inch baking dish. Use the back of a spoon or your hands to create a firm, compact crust. Once formed, place the dish in the refrigerator to chill while you prepare the next layers. This helps the crust set and firm up.
Step 2: Create the Luscious Cream Cheese Layer
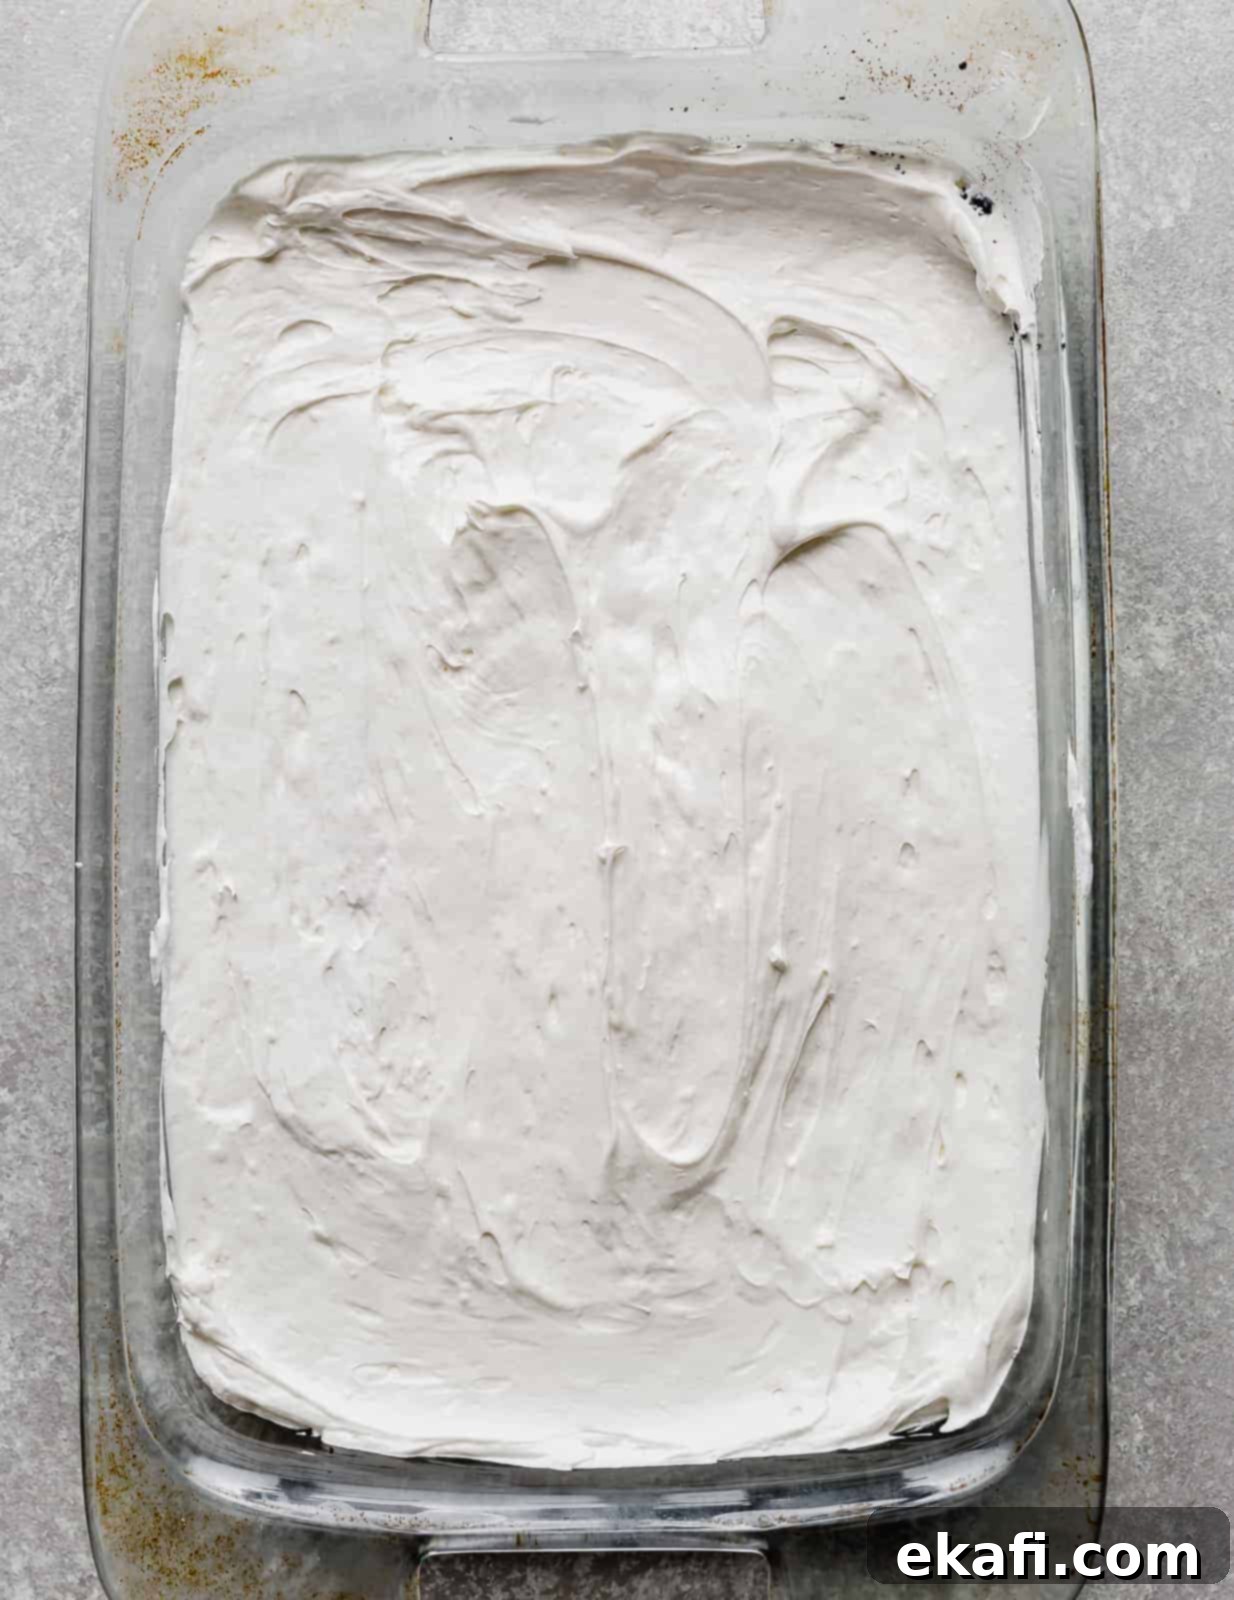
- Whip the Cream Cheese: In a medium mixing bowl, beat the softened cream cheese until it is perfectly smooth and free of any lumps. This is crucial for a velvety texture. As a helpful tip, I often microwave my cream cheese for 20-30 seconds to ensure it reaches that ideal softness. Once smooth, beat in the powdered sugar until fully incorporated and the mixture is light and fluffy.
- Fold and Spread: Gently fold one 8-oz tub of Cool Whip into the cream cheese mixture using a spatula. Be careful not to overmix, as this can deflate the whipped topping. Once combined, carefully spread this creamy mixture evenly over your chilled Oreo crust. Return the dish to the refrigerator while you move on to the next step.
Step 3: Assemble the Pudding and Final Topping
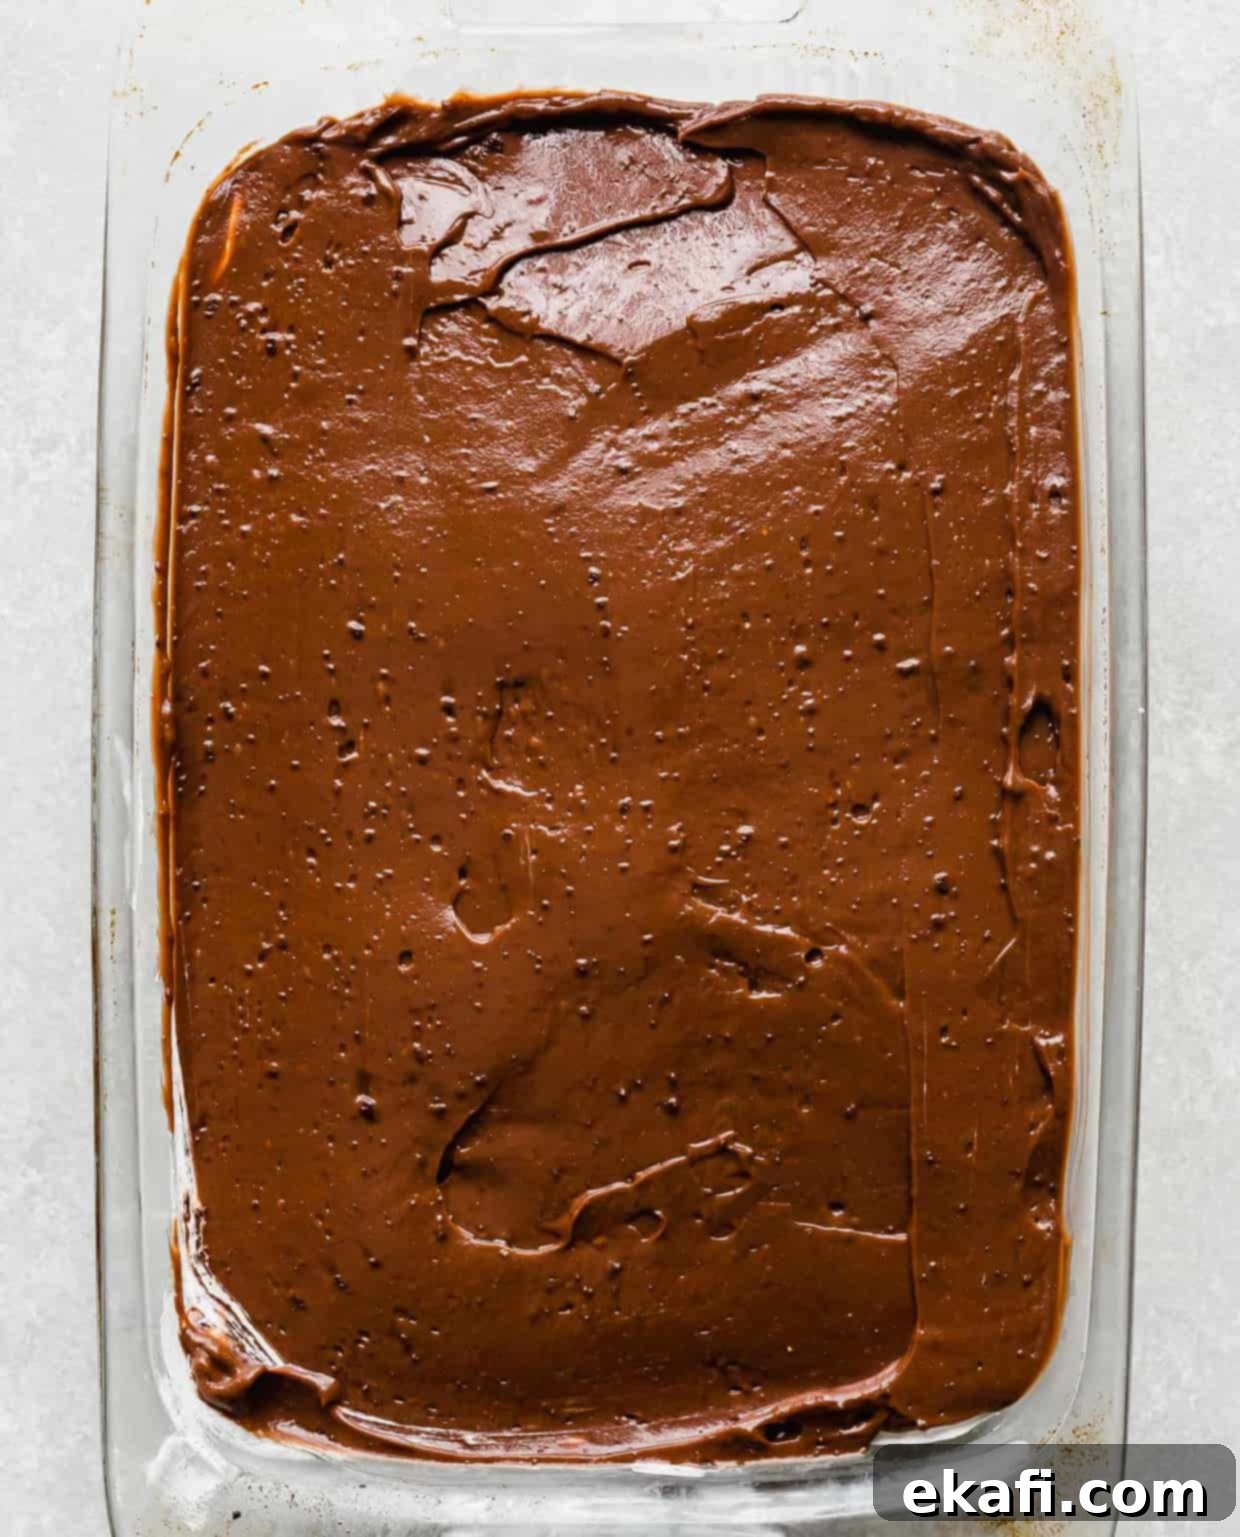
- Mix and Set Pudding: In a large bowl, whisk together the dry instant chocolate pudding mix and the cold milk for precisely 2 minutes. Allow the mixture to sit undisturbed for another 5 minutes to fully thicken. Once thickened, spread this rich chocolate pudding evenly over the cream cheese layer in your pan.
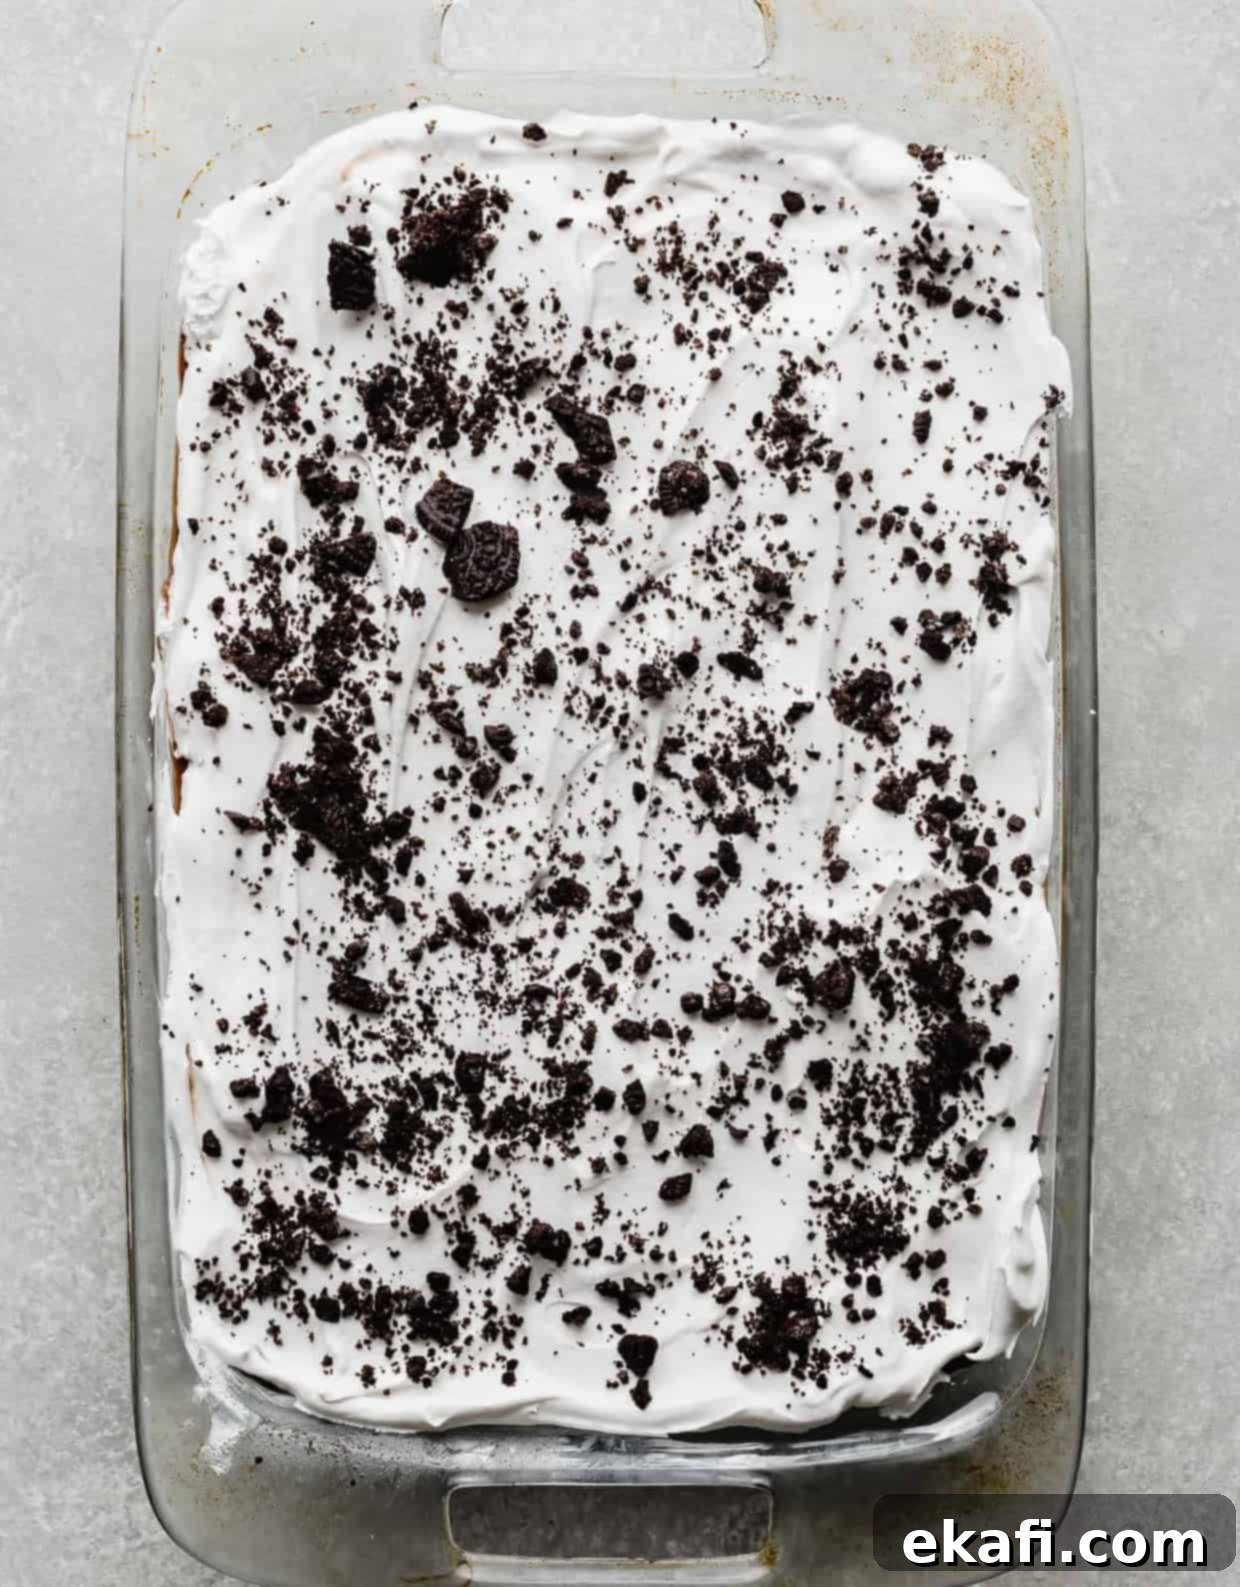
- Final Touches: Carefully spread the remaining 8 oz tub of Cool Whip over the chocolate pudding layer. Finish your masterpiece by sprinkling the reserved crushed Oreo crumbs generously over the top. This not only adds a beautiful garnish but also an extra burst of Oreo flavor and crunch.
Once all layers are assembled, refrigerate the dessert for at least 4 hours, or ideally overnight, to allow all the layers to set properly and meld their flavors. When you’re ready to enjoy this delightful treat, simply slice and serve!
Handy Tools for This Recipe
While this recipe is quite straightforward, having the right tools can make the process even smoother:
- Mixing bowls – a good set of various sizes is always a kitchen essential!
- 13×9-inch baking dish – ideally a glass one to beautifully showcase those tempting layers.
- Food processor or a large Ziplock bag and rolling pin for crushing Oreos.
- Electric mixer (handheld or stand mixer) for beating the cream cheese.
- Spatula for folding and spreading.
Top Tips for No-Bake Oreo Dessert Success
Achieving a perfect layered dessert is all about a few simple techniques. Keep these tips in mind for the best results:
- Cool Whip is Your Best Friend: For both the cream cheese layer and the top layer, Cool Whip is highly recommended. Its stability and firm texture will hold up much better than homemade whipped cream, especially during chilling and serving.
- Don’t Over-Crush Your Oreos: When preparing the crust, resist the urge to turn your Oreos into a fine powder. Leaving some slight Oreo chunks adds a delightful textural contrast that elevates the crust from good to great.
- Softened Cream Cheese is Non-Negotiable: A smooth, lump-free cream cheese layer is essential. Ensure your cream cheese is at room temperature and soft before beating. If you’re short on time, a quick microwave session (15-25 seconds, unwrapped) or a warm water bath (still foiled) can speed up the softening process. Just be careful not to melt it!
- Chill Time is Critical: Do not rush the chilling process. A minimum of 4 hours, or ideally overnight, allows all the layers to set properly, become firm, and for the flavors to fully meld together. This ensures clean slices and a truly satisfying dessert experience.
- Serve Chilled: This dessert is best enjoyed cold. Keep it refrigerated until just before serving.
Frequently Asked Questions (FAQs)
How do you soften cream cheese quickly?
The best way to soften cream cheese is to set it out at room temperature for a few hours. If you’re in a hurry, here are a couple of tricks:
- Microwave Method: Remove the foil packaging and place the cream cheese in a microwave-safe bowl. Microwave it for 15-20 seconds on medium power. Check its softness; if it’s not fully softened, microwave in 5-second increments until it’s pliable. Be careful not to let it melt!
- Warm Water Bath: Keep the cream cheese wrapped and sealed in its foil. Place it in a bowl of warm water for a few minutes, rotating it halfway through. This gentle warmth will soften it without cooking.
Can I use homemade whipped cream in this dessert?
While homemade whipped cream is delicious, I strongly recommend using Cool Whip for this specific recipe. Cool Whip contains stabilizers that help it hold its shape much better, especially when layered and chilled for an extended period. Homemade whipped cream tends to soften and can make the layers less distinct over time.
Can I use a dairy-free whipped topping?
I haven’t personally tested this recipe with a dairy-free whipped topping. However, many brands offer dairy-free alternatives that might work. If you try it, please let me know your results! If you’re looking for a homemade dairy-free whipped cream option for other desserts, you might enjoy my coconut whipped cream recipe.
How long does No-Bake Oreo Dessert last?
When stored properly in an airtight container in the refrigerator, this No-Bake Oreo Dessert can last for up to 3-4 days. The crust might soften slightly over time, but the flavors will remain delicious.
Can I make this dessert ahead of time?
Absolutely! This is one of the best make-ahead desserts. In fact, making it the day before you plan to serve it is ideal, as it gives all the layers ample time to set and for the flavors to fully develop. Just ensure it’s tightly covered in the refrigerator.
More Irresistible Dessert Recipes to Try
If you loved this No-Bake Oreo Dessert, you’ll surely enjoy these other sweet treats from my kitchen:
- Classic Chocolate Chip Cookie Bars
- Decadent 7 Layer Bars
- Fun Oreo Cake Pops
- Delicious Oreo Donuts
- Homemade Oreo Cookies
- Moist Oreo Poke Cake

Print
SaveSaved!
Review
No-Bake Oreo Dessert
Ingredients
Crust
- 40 Oreo cookies – regular or double stuf is fine
- 1/2 cup unsalted butter – melted
Cream Cheese Layer
- 8 oz cream cheese – softened
- 1 cup powdered sugar
- 8 oz Cool Whip
Chocolate Layer
- 2 3.9 oz packages instant chocolate pudding mix
- 3 1/4 cups cold milk – 1%, 2%, or whole is fine
Whipped Topping Layer
- 8 oz Cool Whip
Equipment
-
13″x9″ glass baking pan
Instructions
Crust
-
Crush the Oreos (either in a food processor) on in a Ziplock bag and then use a rolling pin to help crush the Oreos. They shouldn’t be in *too* fine of a crumb. Have some slight Oreo chunks throughout. Place the Oreo crumbs in a medium sized bowl. Measure out ¼ cup of Oreo crumbs to use for the top! Stir the melted butter into the Oreo’s and mix to combine. Transfer the Oreo mixture to a 13×9 inch dish. Press the crumb mixture along the bottom of the pan. Refrigerate while you prep the remaining ingredients.
Cream Cheese Layer
-
In a medium bowl beat the cream cheese until smooth (don’t want any lumps). Key to getting a smooth cream cheese layer is to have the cream cheese softened (I’ll even microwave the cream cheese for 20-30 seconds to ensure it’s soft). Once smooth, beat in the powdered sugar.
Using a spatula, fold the cool whip into the cream cheese mixture. Spread this mixture over the oreo crust. Place back in the fridge while you prep the pudding.
Make the Pudding Layer
-
In a large bowl mix the pudding and milk for 2 minutes. Let the mixture sit another 5 minutes then spread the pudding over the cream cheese layer. Spread the 8 oz Cool Whip over the pudding and top with the remaining crushed Oreos.
-
Refrigerate for 4 hours or overnight, to let set.
Notes
Nutrition
