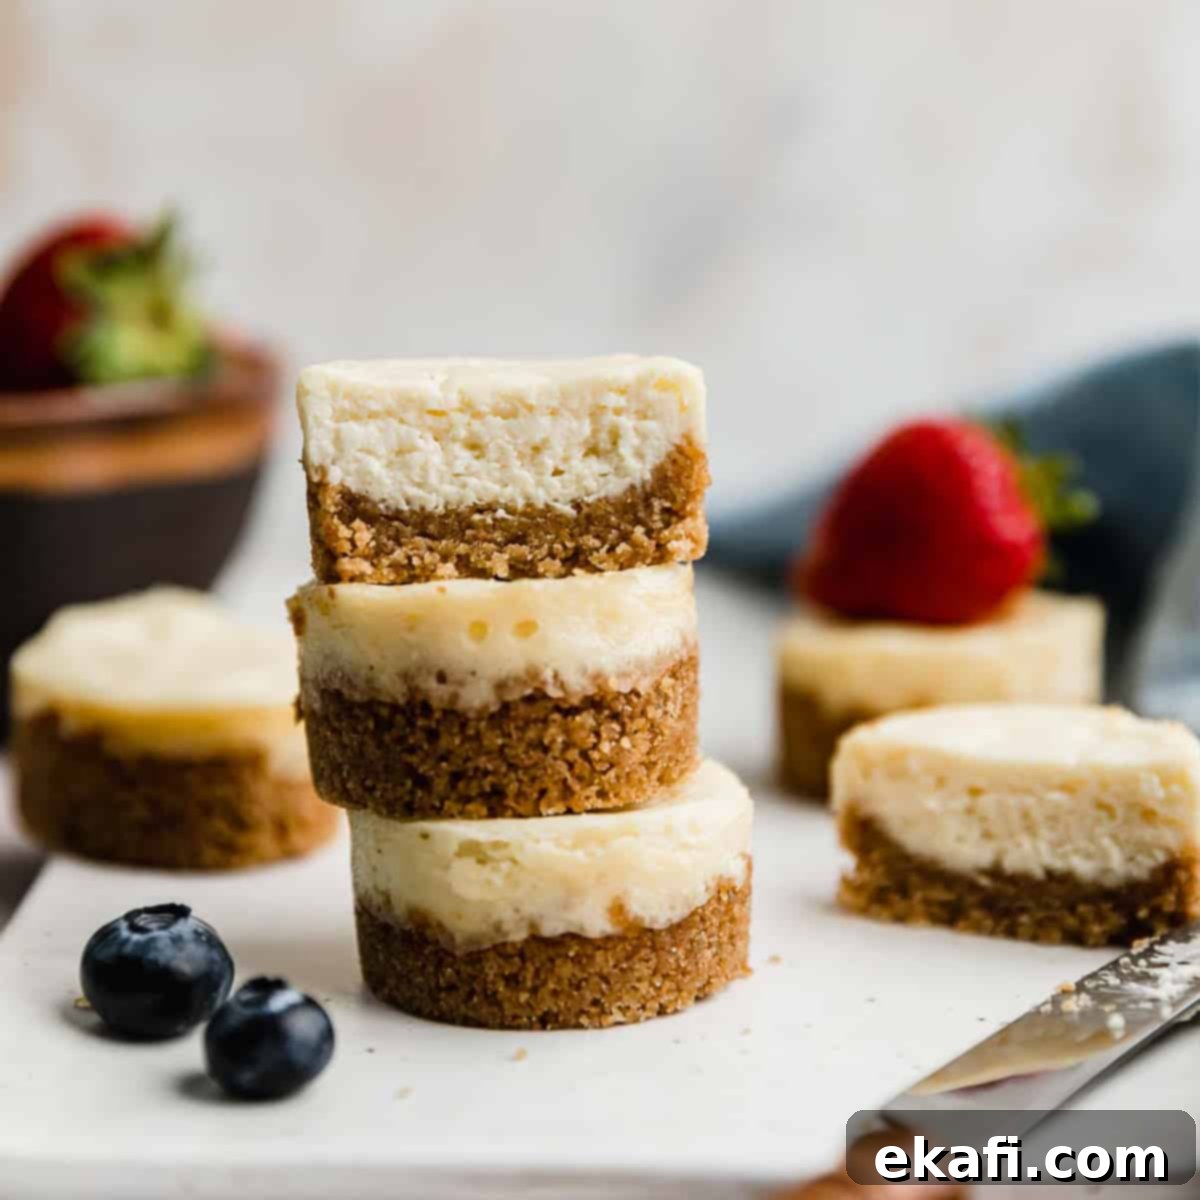
Easy & Elegant Mini Cheesecakes: Your Go-To Recipe for Perfect Bite-Sized Desserts
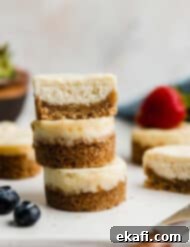
Indulge in the pure delight of these exquisite Mini Cheesecakes, a dessert that perfectly balances rich, creamy indulgence with charming, bite-sized elegance. Each mini cheesecake features a luscious, velvety filling baked to perfection atop a sweet, buttery graham cracker crust. These delightful treats are not just delicious; their petite size makes them the ideal dessert for any special occasion, from sophisticated weddings and elegant bridal or baby showers to lively brunches, festive parties, and everything in between. They offer all the luxurious flavor of a classic cheesecake without the fuss of slicing or serving, making them a crowd-pleaser every time.
If you’re looking for an alternative or simply craving more cheesecake goodness, explore some of our other fantastic recipes. For a delightful no-bake option that’s perfect for fall, be sure to try our No-Bake Mini Pumpkin Cheesecake. Or, for a classic, effortless treat, our Easy No-Bake Cheesecake offers pure convenience. And for those who love to experiment, our Raspberry Cheesecake Cookies recipe brings a delightful twist to the traditional. Truly, can one ever have too much cheesecake? We think not!
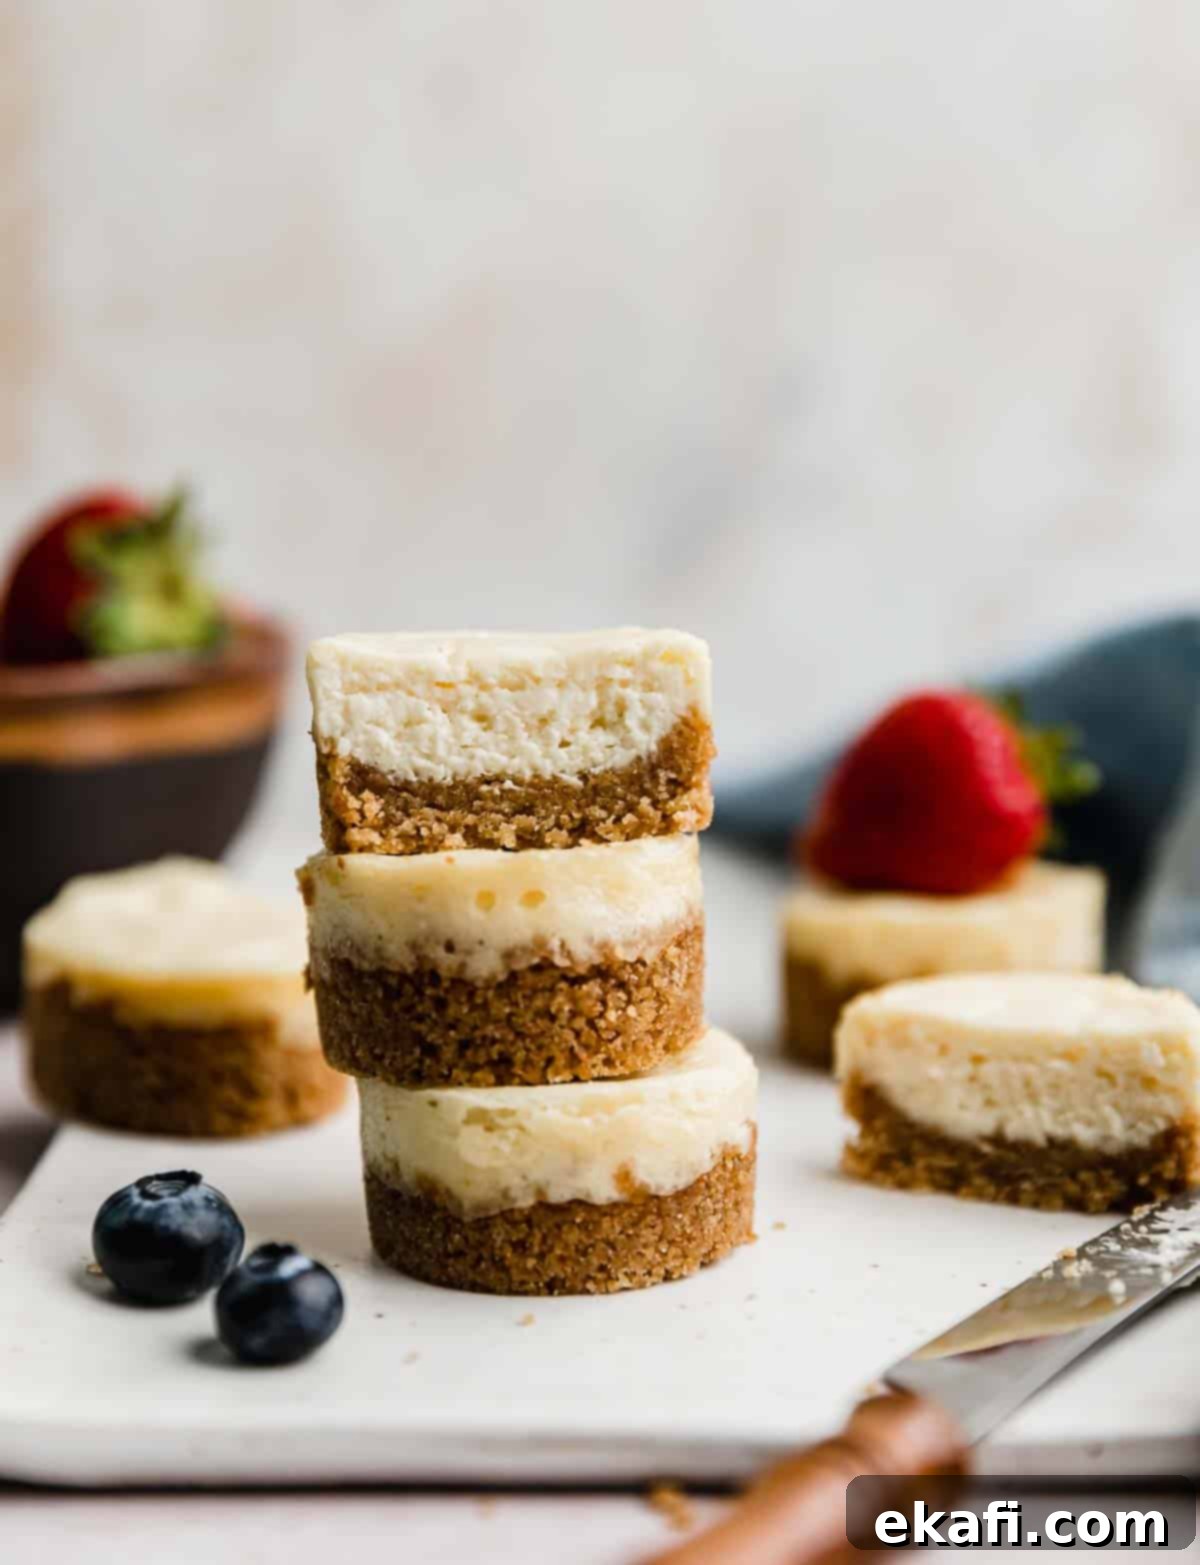
Why This Mini Cheesecake Recipe Works So Well
- Perfectly Portioned & Delicious Cheesecake Bites. These mini cheesecakes are not only incredibly delicious with their smooth, creamy texture and sweet, tangy flavor, but their individual size makes them an absolute dream for entertaining. They’re the ultimate finger food dessert, perfect for elegant wedding receptions, charming baby showers, sophisticated bridal showers, delightful brunches, lively graduation parties, and countless other celebrations. Guests can easily grab a single serving without the need for plates and forks, making cleanup a breeze and presentation effortlessly chic.
- An Effortlessly Easy Cheesecake Recipe (No Water Bath Needed!). Say goodbye to the complexities often associated with baking cheesecakes! This recipe simplifies the process, allowing you to whip up perfectly smooth and sweet individual cheesecakes in no time. The best part? There’s absolutely no need for a messy or intimidating water bath. This omission alone makes the recipe far more approachable for home bakers of all skill levels, ensuring a flawless bake without the added stress.
- Customize with Toppings to Your Heart’s Desire! One of the most enjoyable aspects of these adorable mini cheesecakes is their incredible versatility when it comes to toppings. They act as a perfect canvas for countless flavor combinations. Get creative and adorn them with a dollop of fresh whipped cream, a medley of vibrant fresh berries (strawberries, blueberries, raspberries), a spoonful of fruit compote, a swirl of luscious chocolate ganache, a drizzle of rich caramel sauce, your favorite fruit pie filling, a vibrant fruit jam, or even a sprinkle of toasted nuts. The possibilities are endless, allowing you to tailor them to any theme, season, or personal preference.
Essential Ingredient Notes for the Best Mini Cheesecakes
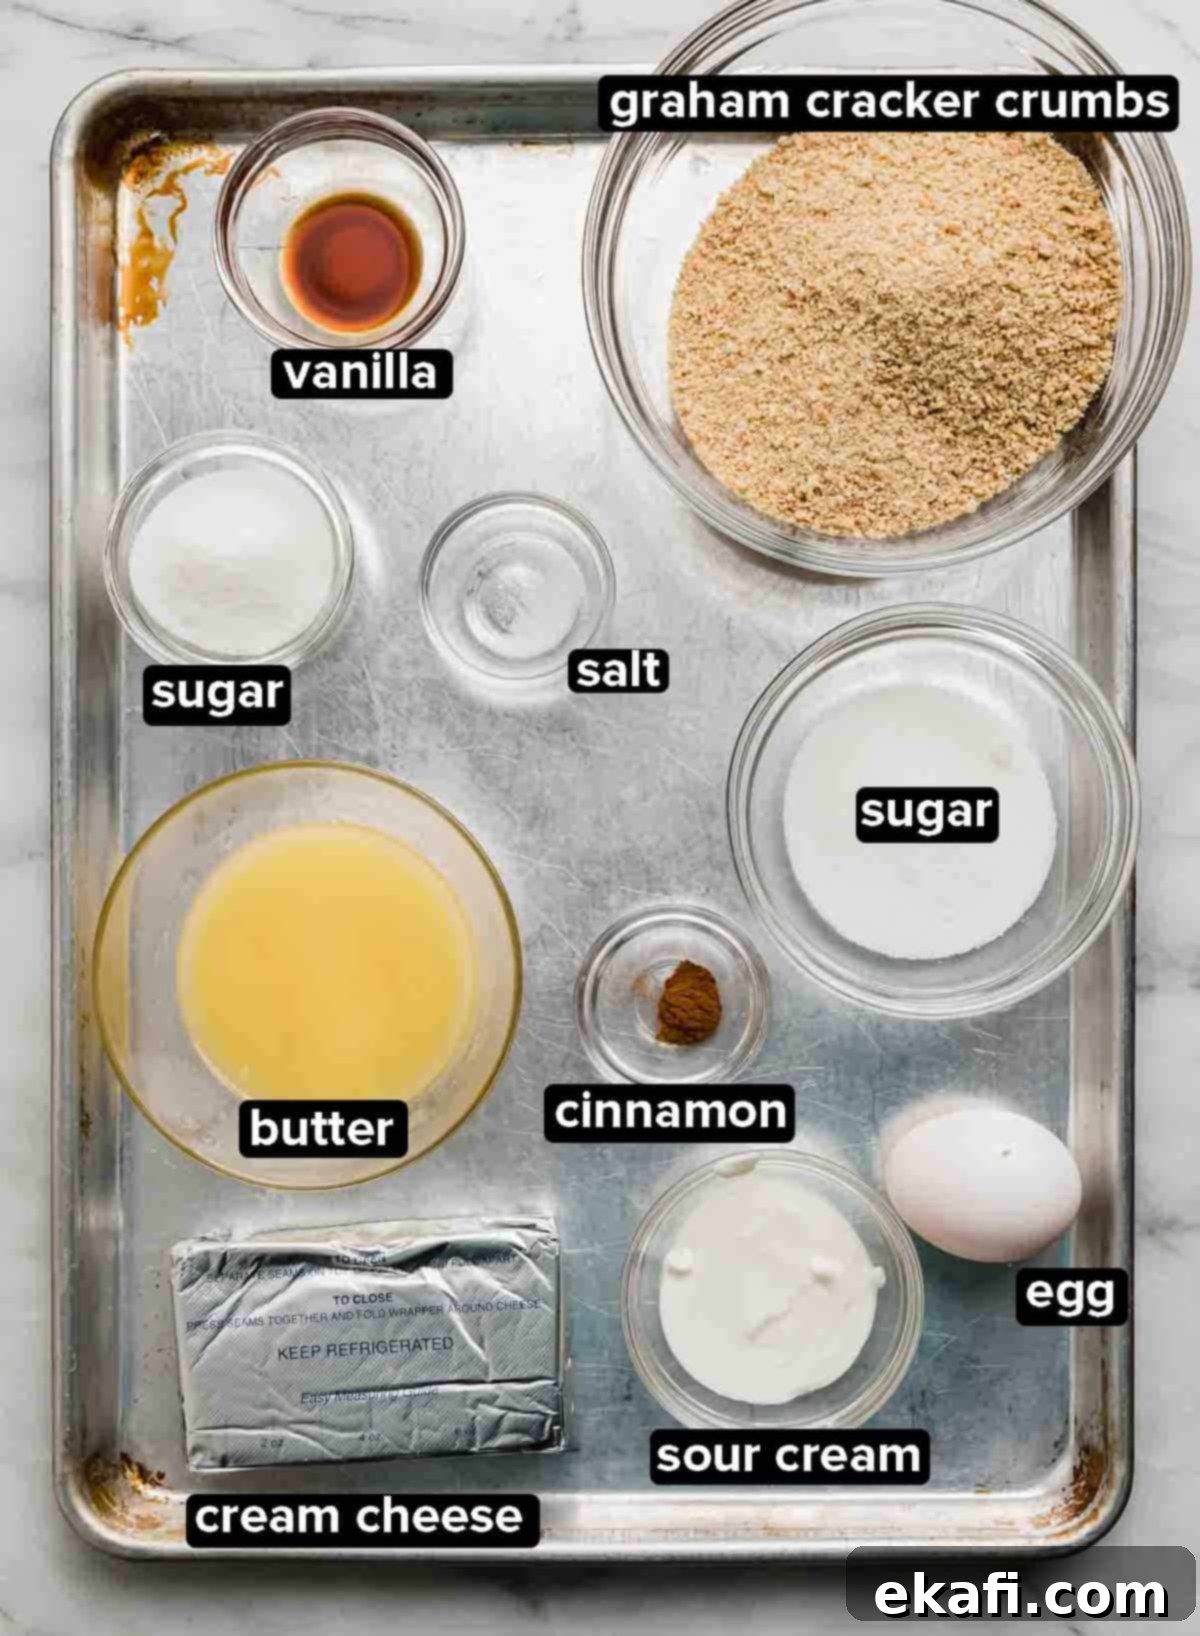
- Graham Cracker Crumbs: The foundation of your delicious crust! For the finest crumbs, which yield a perfectly uniform and firm crust, use a food processor. If you don’t have one, simply place the graham crackers in a sturdy ziplock bag and use a rolling pin to crush them into a fine, sandy texture. You want to avoid large chunks for a smooth crust.
- Granulated Sugar: This recipe utilizes sugar in two key areas. A small amount is added to the graham cracker crust mixture to provide sweetness and help bind the crumbs. The majority, however, goes into the creamy cheesecake filling, contributing to its luscious sweetness and smooth texture.
- Ground Cinnamon: While entirely optional, a touch of ground cinnamon in the graham cracker crust adds a wonderful warmth and depth of flavor that complements the creamy cheesecake beautifully. We highly recommend including it for that extra special touch!
- Melted Butter: Crucial for binding your graham cracker crumbs together, the melted butter ensures your crust is firm and holds its shape. When adding it to the crust ingredients, be sure to mix thoroughly until every crumb is moistened. This prevents a crumbly crust and creates that perfect buttery base.
- Cream Cheese: This is the star of your cheesecake filling! For the absolute smoothest consistency, it is imperative that your cream cheese is at true room temperature. This allows it to incorporate easily with other ingredients without forming lumps. Always opt for full-fat cream cheese for the richest flavor and the most luxurious, velvety texture in your mini cheesecakes.
- Cream: You have a choice here between heavy cream or sour cream, both offering distinct benefits. Heavy cream will contribute to an even richer, denser filling, while sour cream will add a subtle tanginess that brightens the flavor and can help achieve a slightly lighter, yet still creamy, texture. Whichever you choose, ensure it’s also at room temperature.
- Egg: As this is a classic baked mini cheesecakes recipe (unlike no-bake versions), the egg is a vital ingredient. It acts as a binder and emulsifier, providing structure, richness, and helping the cheesecake set properly during baking. The presence of the egg is precisely why baking is required.
- Vanilla Extract: A splash of good quality vanilla extract enhances all the other flavors in the cheesecake filling, adding a classic, comforting aroma and taste that is simply indispensable.
Step-by-Step Instructions: Crafting Your Perfect Mini Cheesecakes
- Prepare the Pan and Oven. Begin by preheating your oven to 350ºF (175ºC). Lightly spray the sides and bottom of a mini cheesecake pan with nonstick cooking spray. This will ensure your delicate cheesecakes release effortlessly later.
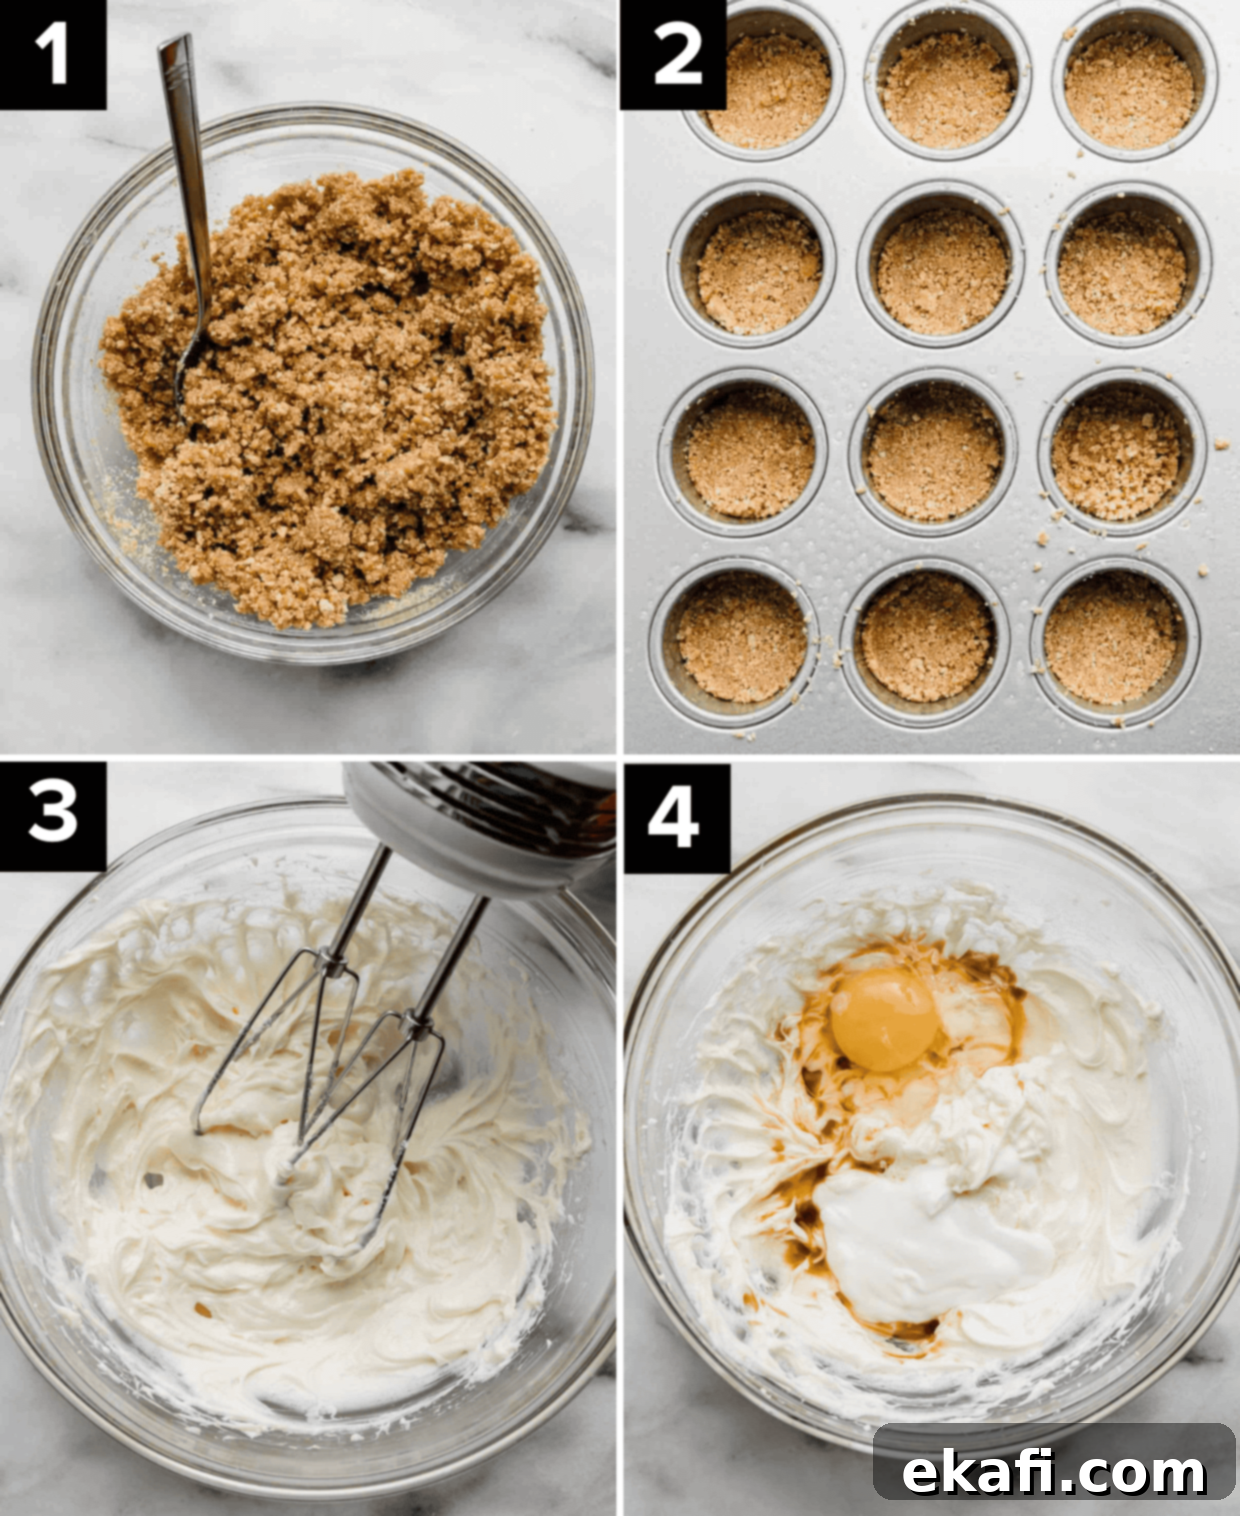
- Make the Buttery Graham Cracker Crust. In a medium-sized mixing bowl, combine 1 1/3 cup graham cracker crumbs, 2 tablespoons granulated sugar, 1/8 teaspoon salt, and, if using, 1/4 teaspoon ground cinnamon. Pour in 6 tablespoons of melted butter and mix thoroughly until all ingredients are well combined and the mixture resembles wet sand. Every crumb should be moistened to ensure a cohesive crust.
- Press Graham Cracker Mixture into Pan. Evenly distribute the graham cracker crust mixture among the 12 cups of your mini cheesecake pan. This will be approximately 1/8 cup of mixture per cup. Using the back of a spoon or your fingertips, press the mixture down firmly into an even layer at the bottom of each cavity. This creates a solid base for your filling.
- Bake the Mini Cheesecake Crusts. Carefully place the pan containing the pressed crusts into your preheated oven. Bake for 8-10 minutes, just until the crusts are lightly golden and fragrant. Remove the pan from the oven and allow the crusts to cool completely on a wire rack. While they cool, reduce your oven temperature to 325ºF (160ºC) for the cheesecake filling.
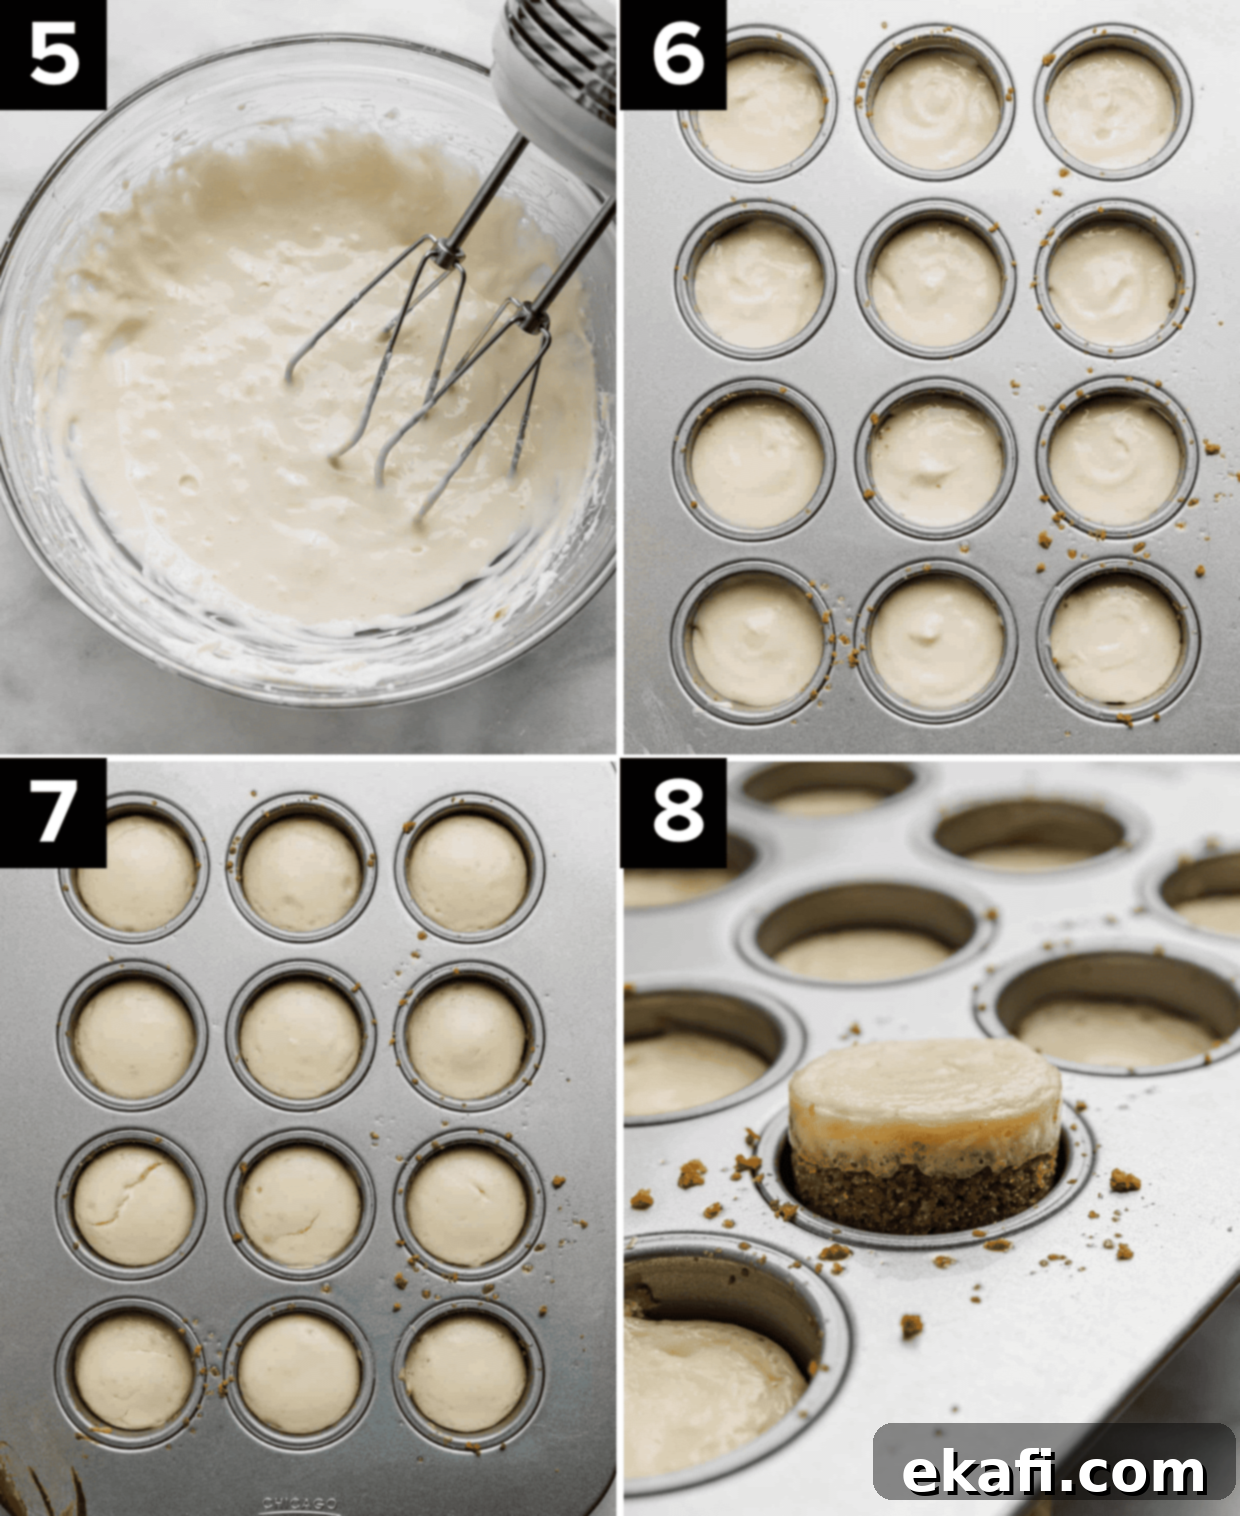
- Prepare the Creamy Mini Cheesecakes Filling. In a large bowl, add 8 oz of room temperature cream cheese and 1/4 cup granulated sugar. Using an electric mixer on medium speed, beat the mixture until it is perfectly smooth and free of any lumps. This step is crucial for a silky filling. Next, add 2 tablespoons of heavy cream (or sour cream), 1 large room temperature egg, and 1 teaspoon vanilla extract. Beat again on medium-low speed until all ingredients are just combined. Be careful not to overmix at this stage.
- Portion Filling into the Cooled Crusts. For a neat and easy filling process, transfer your creamy cheesecake batter to a piping bag or a large ziplock bag with one corner snipped off. Carefully pipe the cheesecake filling directly on top of each cooled graham cracker crust, aiming for about 2 tablespoons of batter per crust. This method helps prevent spills and ensures even distribution.
- Bake the Mini Cheesecakes. Place the filled pan back into the oven, now set to 325ºF (160ºC), and bake for 18-20 minutes. It’s important to keep a close eye on them; start checking at 18 minutes. The cheesecakes are done when the edges are set and the centers show just a slight jiggle. It is crucial they do not turn golden brown on top, as this indicates overbaking, which can lead to a dry, cracked texture.
- Allow to Cool Gradually. Once baked, remove the mini cheesecakes from the oven and let them cool in the pan on a wire rack for at least 30 minutes. You may notice the tops settling slightly, which is normal. After this initial cooling, use a thin knife to gently go around the edges of each cheesecake to help loosen them from the pan sides.
- Remove and Chill the Mini Cheesecakes. Once sufficiently cooled in the pan, gently press up on the base of each cheesecake cavity (if using a pan with removable bottoms) until the cheesecake comes out easily. If using a regular muffin tin, you might need to use cupcake liners or run a thin knife around the edge more carefully. Cover your delicious mini cheesecakes and transfer them to the refrigerator to chill thoroughly for at least 2-4 hours before serving. Chilling is essential for them to fully set and for optimal flavor and texture.
- Serve and Enjoy! Serve these individual cheesecakes chilled with your favorite toppings. Fresh berries like strawberries, blueberries, or raspberries are always a hit. Other fantastic options include a dusting of powdered sugar, a drizzle of luscious caramel sauce, a spoonful of sweet jam, a dollop of fruit pie filling, or a swirl of homemade whipped cream. Get creative and enjoy these perfect bite-sized desserts!
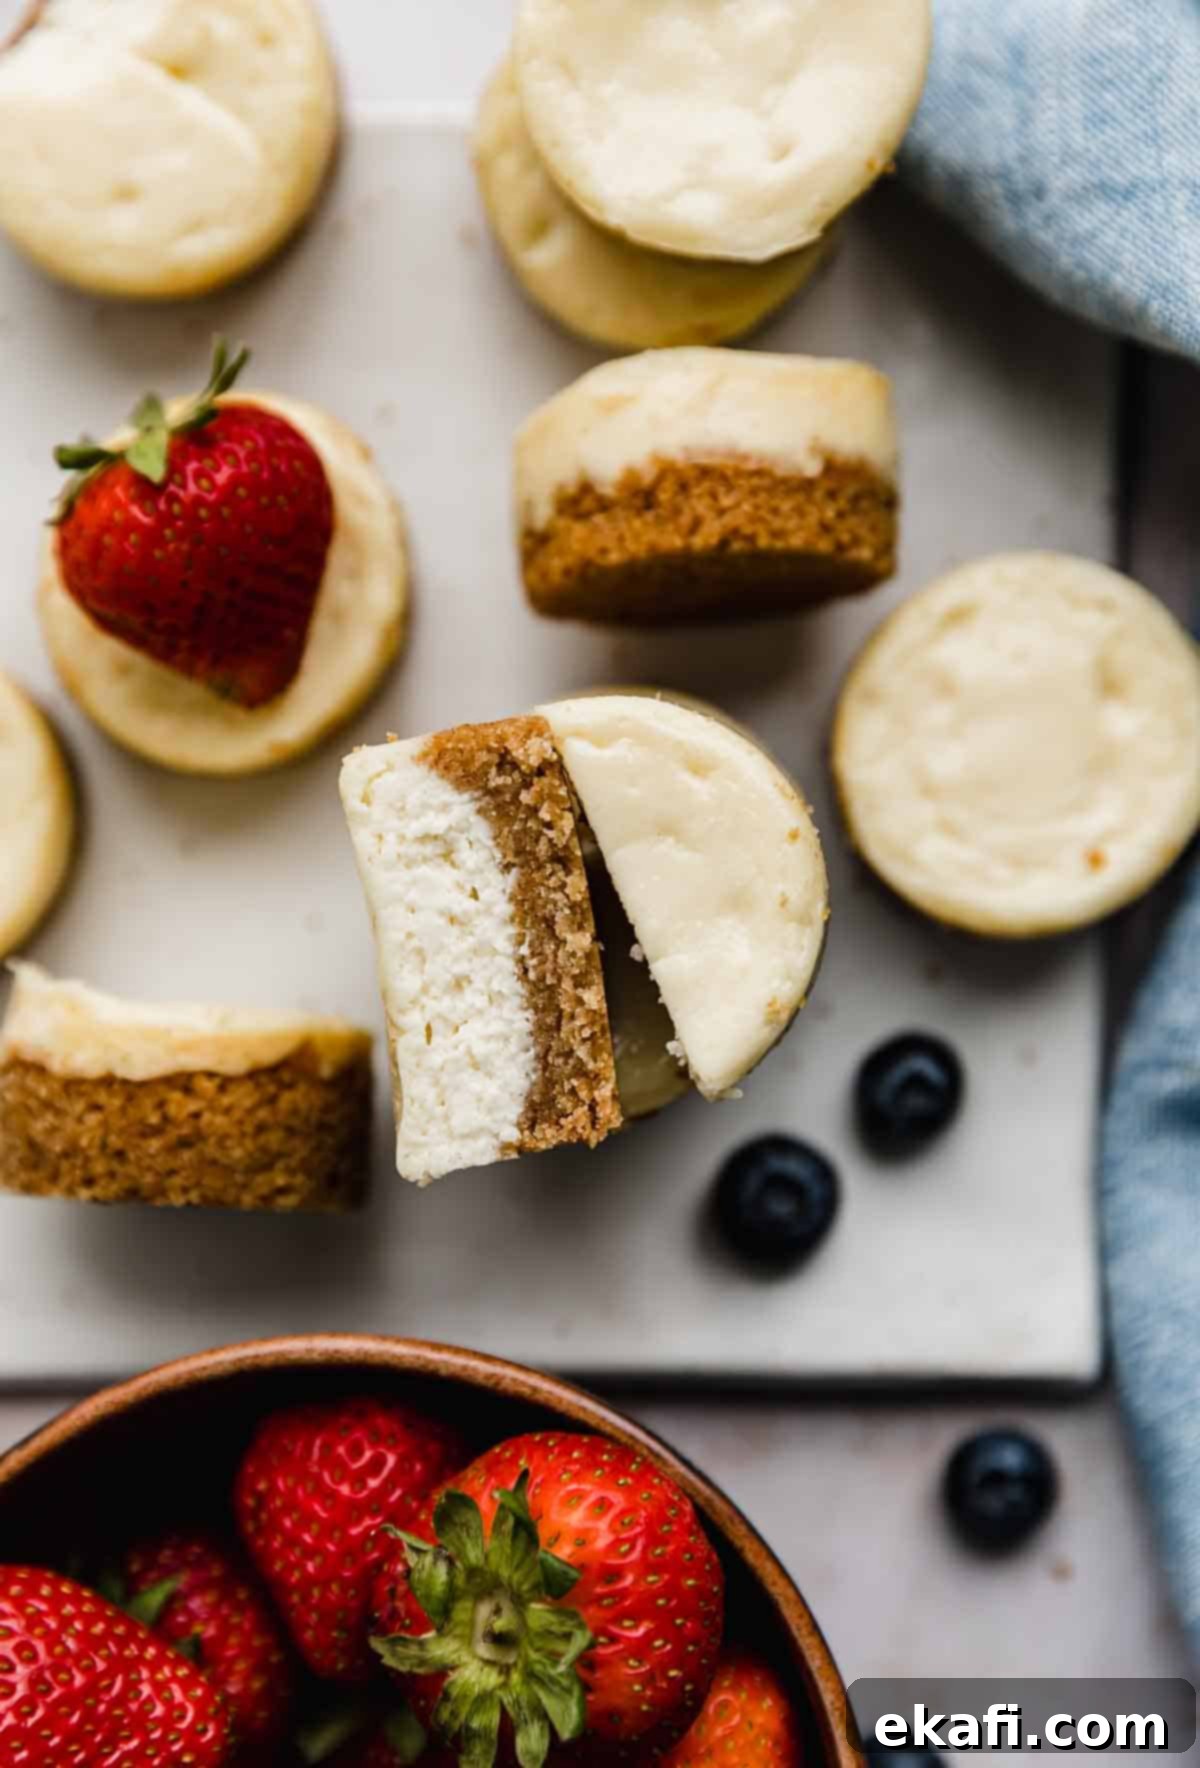
Top Tips for Perfect Mini Cheesecakes
Achieving bakery-quality mini cheesecakes is easier than you think with these expert tips:
- Always Use Room Temperature Ingredients! This cannot be stressed enough. Cream cheese, eggs, and sour cream/heavy cream should all be at true room temperature. This ensures that they blend together seamlessly, creating a perfectly smooth, lump-free batter and the best possible texture in your baked cheesecakes. Cold ingredients lead to lumpy batter and can result in overmixing.
- A Piping Bag Makes Filling a Breeze. While not strictly necessary, using a piping bag (or a sturdy ziplock bag with a corner snipped off) makes portioning the creamy cheesecake filling into the small crusts significantly easier and much cleaner. It helps achieve uniform filling and prevents batter from getting onto the crust edges or pan sides.
- Invest in a Mini Cheesecake Pan. If you plan to make mini cheesecakes often, a dedicated mini cheesecake pan with removable bottoms is a game-changer. It makes removing the delicate cheesecakes incredibly easy, ensuring they come out perfectly intact and beautifully shaped every time.
- Do Not Overbake! Overbaking is the arch-nemesis of a perfectly moist cheesecake. Keep a close watch through your oven light, and remove the cheesecakes as soon as their edges are set and the centers have a slight, gentle wobble. If the tops start to turn golden brown, they are likely overcooked, which will result in a dry, dense, and potentially cracked cheesecake.
- Allow Ample Time to Cool Gradually. Patience is key here. Mini cheesecakes need sufficient time to cool in their pan before you attempt to remove them. This gradual cooling helps them set properly, preventing cracks on the surface and ensuring they retain their beautiful shape. Rushing this step can lead to structural issues and a less appealing appearance.
- Avoid Overmixing the Batter. Once the cream cheese and sugar are smooth, add the egg and cream and mix only until just combined. Overmixing, especially after adding the egg, can incorporate too much air into the batter. This air will expand during baking and then deflate rapidly upon cooling, often leading to unsightly cracks on the cheesecake surface.
- Scrape Down the Bowl Frequently. During the mixing process, especially when creaming the cream cheese and sugar, make sure to stop and scrape down the sides and bottom of your mixing bowl with a spatula several times. This ensures all ingredients are thoroughly incorporated and prevents unmixed lumps from ending up in your final batter.
Make Ahead, Storing, and Freezing Your Mini Cheesecakes
These mini cheesecakes are fantastic for meal prep or entertaining, as they can be prepared in advance and stored to maintain their freshness:
Make Ahead: To simplify your party preparations, you can prepare the graham cracker crusts and the cheesecake filling a day in advance. Store the baked and cooled crusts in an airtight container at room temperature. The cheesecake filling can be stored separately in an airtight container in the refrigerator. When you’re ready to serve, simply assemble the cheesecakes by piping the filling into the cooled crusts, bake, and chill as directed.
Storing Leftovers: Any leftover mini cheesecakes should be stored in an airtight container in the refrigerator for up to 3-4 days. It is crucial to ensure they are well-covered to prevent them from absorbing any unwanted odors from other foods in the fridge, and to protect them from drying out, which would compromise their delicious, creamy texture.
Freezing for Longer Storage: To enjoy these delightful treats even longer, you can freeze them. Once the mini cheesecakes have completely cooled, wrap each one individually first in plastic wrap, then again in aluminum foil. This double layer of protection helps prevent freezer burn. Store the individually wrapped cheesecakes in an airtight container or a heavy-duty freezer bag for up to 2-3 months. To thaw, simply transfer them to the refrigerator overnight before serving. This gradual thawing ensures they retain their best texture and flavor.
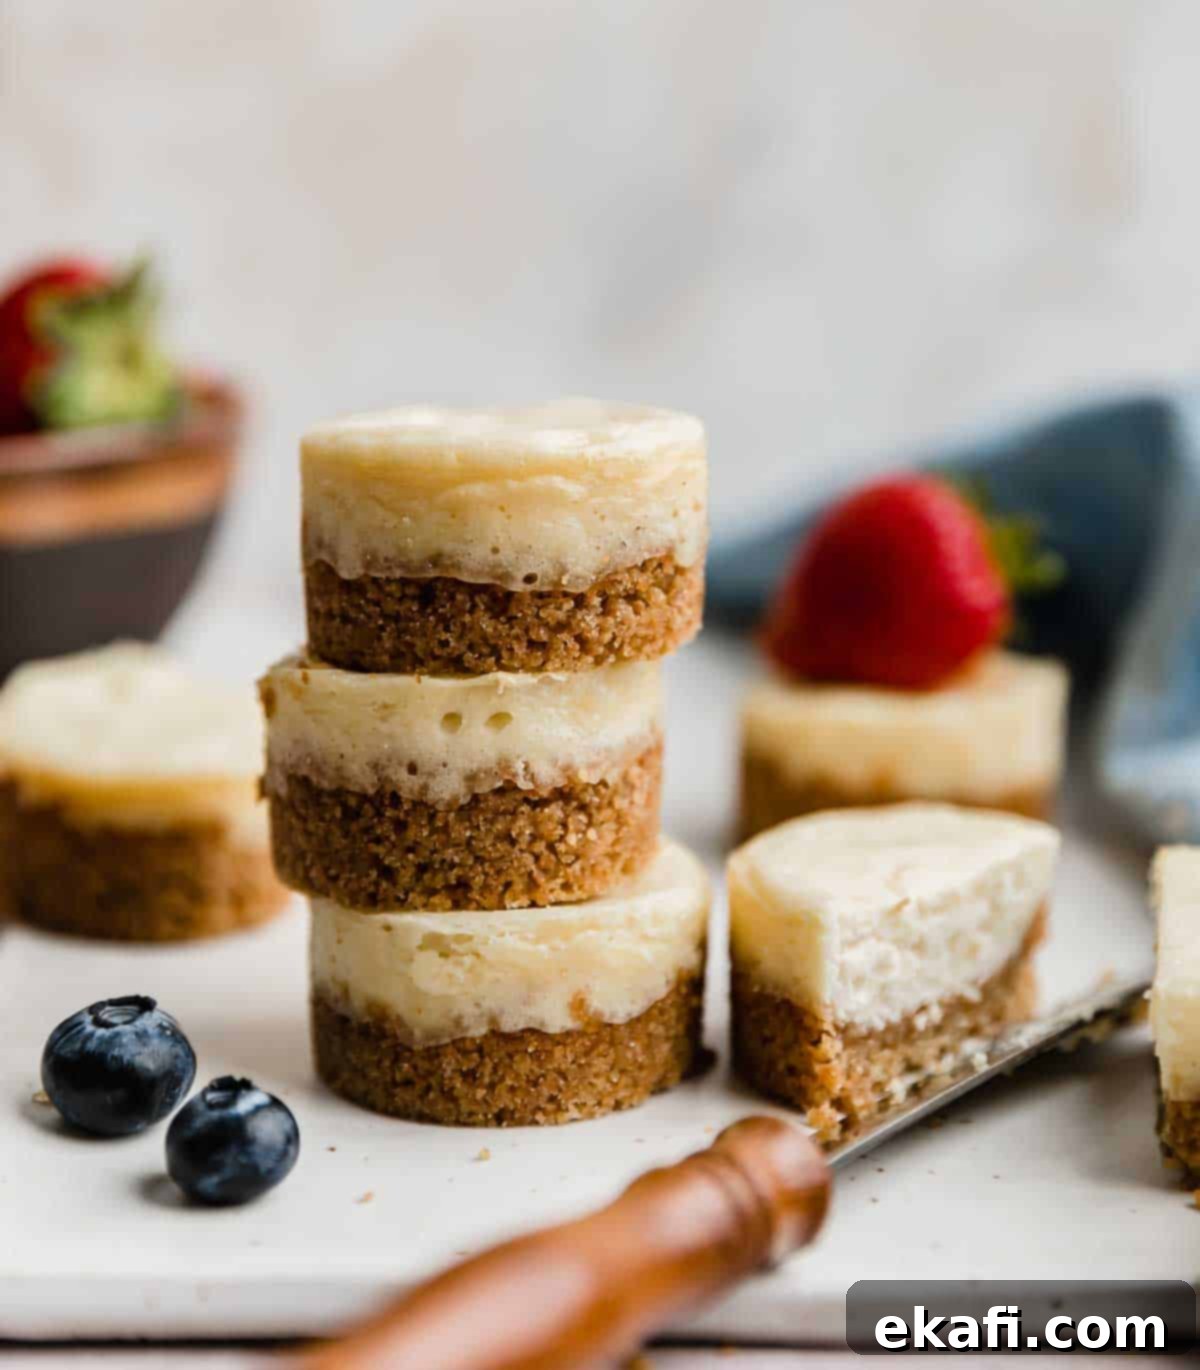
Mini Cheesecakes: Frequently Asked Questions
While the idea of pre-made crusts is tempting for convenience, it’s generally not recommended for these mini cheesecakes. Our recipe specifically calls for baking the crusts directly in a mini cheesecake pan, which allows for uniform pressing and pre-baking. Store-bought individual crusts are typically larger and designed for different baking methods, making them difficult to adapt for this specific mini cheesecake pan without transferring and potentially compromising their structure. Plus, a homemade graham cracker crust simply tastes so much better and fresher!
Yes, you can use low-fat cream cheese, but please be aware that it will likely affect the final texture and richness of your mini cheesecakes. Full-fat cream cheese provides a significantly creamier, more luxurious mouthfeel and a richer flavor. Low-fat versions may result in a slightly firmer or less decadent cheesecake. If you do opt for low-fat, consider adding a tiny bit more heavy cream to try and maintain some of the desired creaminess.
Absolutely, you can use a standard muffin tin for this recipe! However, you’ll need to make a couple of adjustments and keep a few things in mind. The cheesecakes will be slightly larger in a regular muffin tin, so you’ll likely need to adjust the baking time, potentially requiring a few extra minutes for them to set properly. Additionally, removing them from a standard muffin tin can be a bit trickier since the bottoms don’t push up. To troubleshoot this, we highly recommend using paper cupcake liners – they’ll make removal much easier. Also, note that the sides of muffin tins are typically slightly slanted, so your mini cheesecakes won’t have the perfectly straight, uniform sides you’d get from a specialized mini cheesecake pan.
Preventing cracks is key for a beautiful presentation. Several factors contribute to cracks, and here’s how to avoid them: ensure all dairy ingredients are at room temperature for smooth blending; avoid overmixing the batter, especially after adding the egg, as this incorporates too much air; do not overbake (check for a slight jiggle in the center); and allow the cheesecakes to cool slowly and completely in the pan before attempting to remove them. Rapid temperature changes and overbaking are common culprits.
Definitely! This classic recipe provides an excellent base for customization. You can easily incorporate other flavorings to suit your taste. Consider adding a teaspoon of lemon zest for a bright, citrusy note, a tablespoon of cocoa powder for a chocolate twist, a touch of almond extract for a nutty flavor, or even a teaspoon of espresso powder for a coffee-infused treat. Just be mindful of the quantity to ensure it doesn’t drastically alter the batter’s consistency.
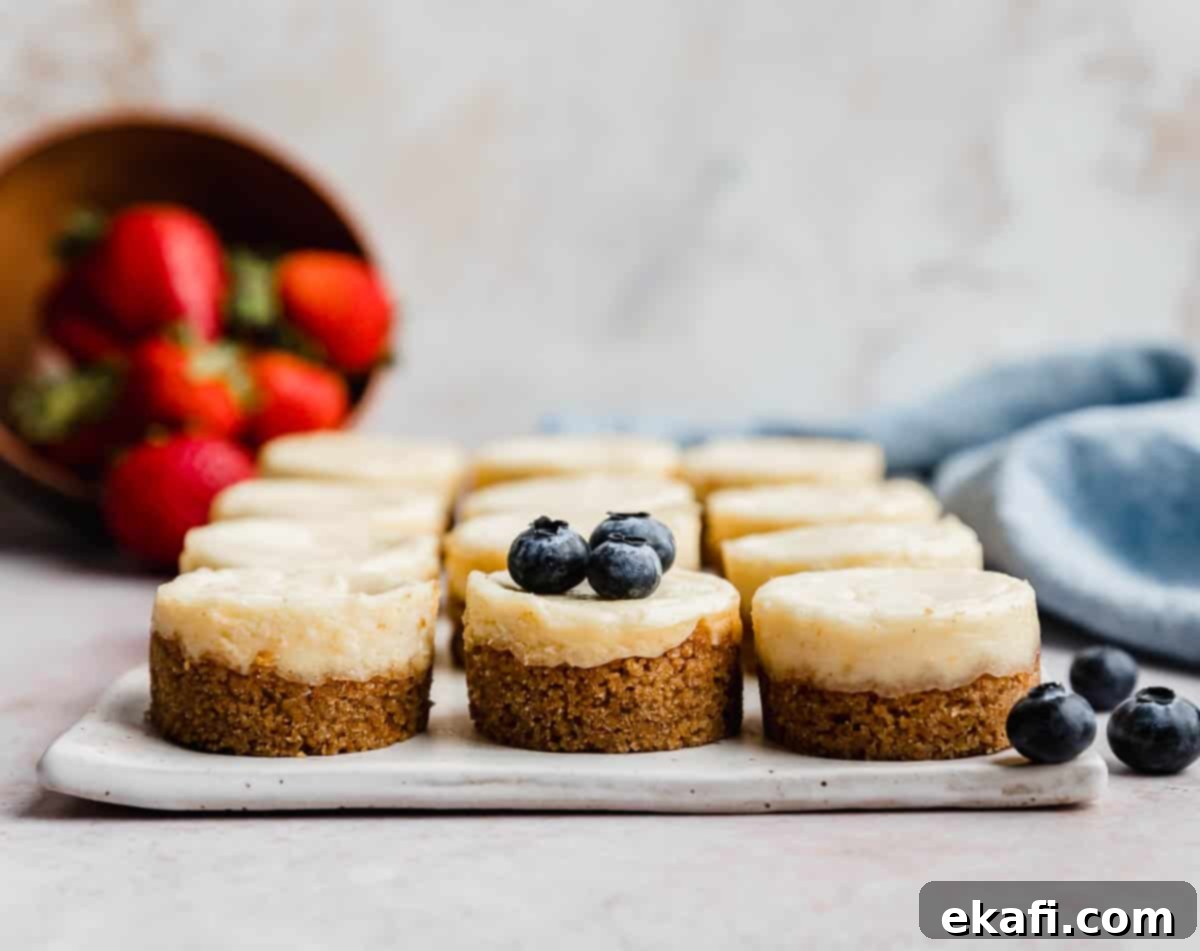
Explore More Delicious Cheesecake Recipes
- Creamy Nutella Cheesecake Recipe
- Crumbl Salted Caramel Cheesecake Cookies
- Crumbl New York Cheesecake Cookies
We hope you thoroughly enjoy making and sharing these delightful mini cheesecakes! Did you try this recipe? We’d absolutely love to hear about your experience! Leave a star rating and review right here on the blog post, or simply scroll below the recipe card to share your thoughts. Your feedback helps us and other bakers!
Stay up-to-date with all our latest recipes and baking adventures by following us on Instagram, TikTok, YouTube, Facebook, and Pinterest. Happy baking!
Print
SaveSaved!
Review
Mini Cheesecakes
Ingredients
Graham Cracker Crust
- 1 1/3 cup graham cracker crumbs – finely crushed
- 2 tablespoons granulated sugar
- 1/8 teaspoon salt
- 1/4 teaspoon ground cinnamon – (optional, but highly recommended!)
- 6 tablespoons unsalted butter – melted
Cheesecake Filling
- 8 oz cream cheese – full-fat, very soft at room temperature
- 1/4 cup granulated sugar
- 2 tablespoons sour cream – or heavy cream, at room temperature
- 1 large egg – room temperature
- 1 teaspoon vanilla extract
Equipment
-
mini cheesecake pan
Instructions
-
Preheat your oven to 350°F (175°C). Prepare your mini cheesecake pan by lightly spraying the bottom and sides of each cavity with nonstick cooking spray. (A link to the specific pan we use is provided in the blog post and above the list of ingredients if you’re viewing on an electronic device.)
-
In a medium bowl, combine the graham cracker crumbs, granulated sugar, salt, and ground cinnamon (if using) with the melted butter. Mix until all ingredients are thoroughly combined and the mixture has the consistency of wet sand. Distribute this mixture evenly among the 12 cups of the mini cheesecake pan, pressing it firmly into the bottom of each well to form a compact crust (approximately 1/8 cup per well). Bake for 8-10 minutes, then remove from the oven and let cool completely.
-
While the crusts cool, reduce the oven temperature to 325°F (160°C).
-
To make the cheesecake batter: In a large bowl, beat the room temperature cream cheese and granulated sugar on medium speed with an electric mixer until the mixture is perfectly smooth and creamy, with no lumps. Add the heavy cream (or sour cream), the room temperature egg, and vanilla extract. Beat again on medium-low speed until just combined. Avoid overmixing once the egg is added. For easier filling, transfer the batter to a piping bag or a ziplock bag with a corner snipped off. This allows for precise and clean portioning into each well. Fill each cooled crust with approximately 2 tablespoons of batter.
-
Bake for 18-20 minutes in the preheated 325°F (160°C) oven, or until the edges are set and the centers show just a slight jiggle. It’s crucial not to overbake; check at 18 minutes. Remove from the oven and let cool in the pan on a wire rack for at least 30 minutes. The tops may sink slightly, which is normal. Once cooled further, use a thin knife to gently go around the edges of each cheesecake to help loosen them. Carefully push up on the base of each cavity (if your pan has removable bottoms) until the cheesecakes come out. (Note: Our mini cheesecakes usually release easily from the bottom metal disks, but if yours don’t, you can gently slide a table knife between the crust and the metal disk to free the cheesecake.) Cover the cheesecakes and chill them in the refrigerator for at least 2-4 hours before serving for best results.
-
For serving, garnish your individual cheesecakes with your favorite toppings such as fresh berries (strawberries, blueberries, raspberries), a dusting of powdered sugar, a drizzle of luscious caramel sauce, a dollop of whipped cream, a spoonful of fruit jam, or your preferred fruit pie filling. Enjoy every delicious bite!
Notes
Store any leftover mini cheesecakes in an airtight container in the fridge for up to 3-4 days to maintain their freshness and prevent them from drying out or absorbing odors.
Nutrition
