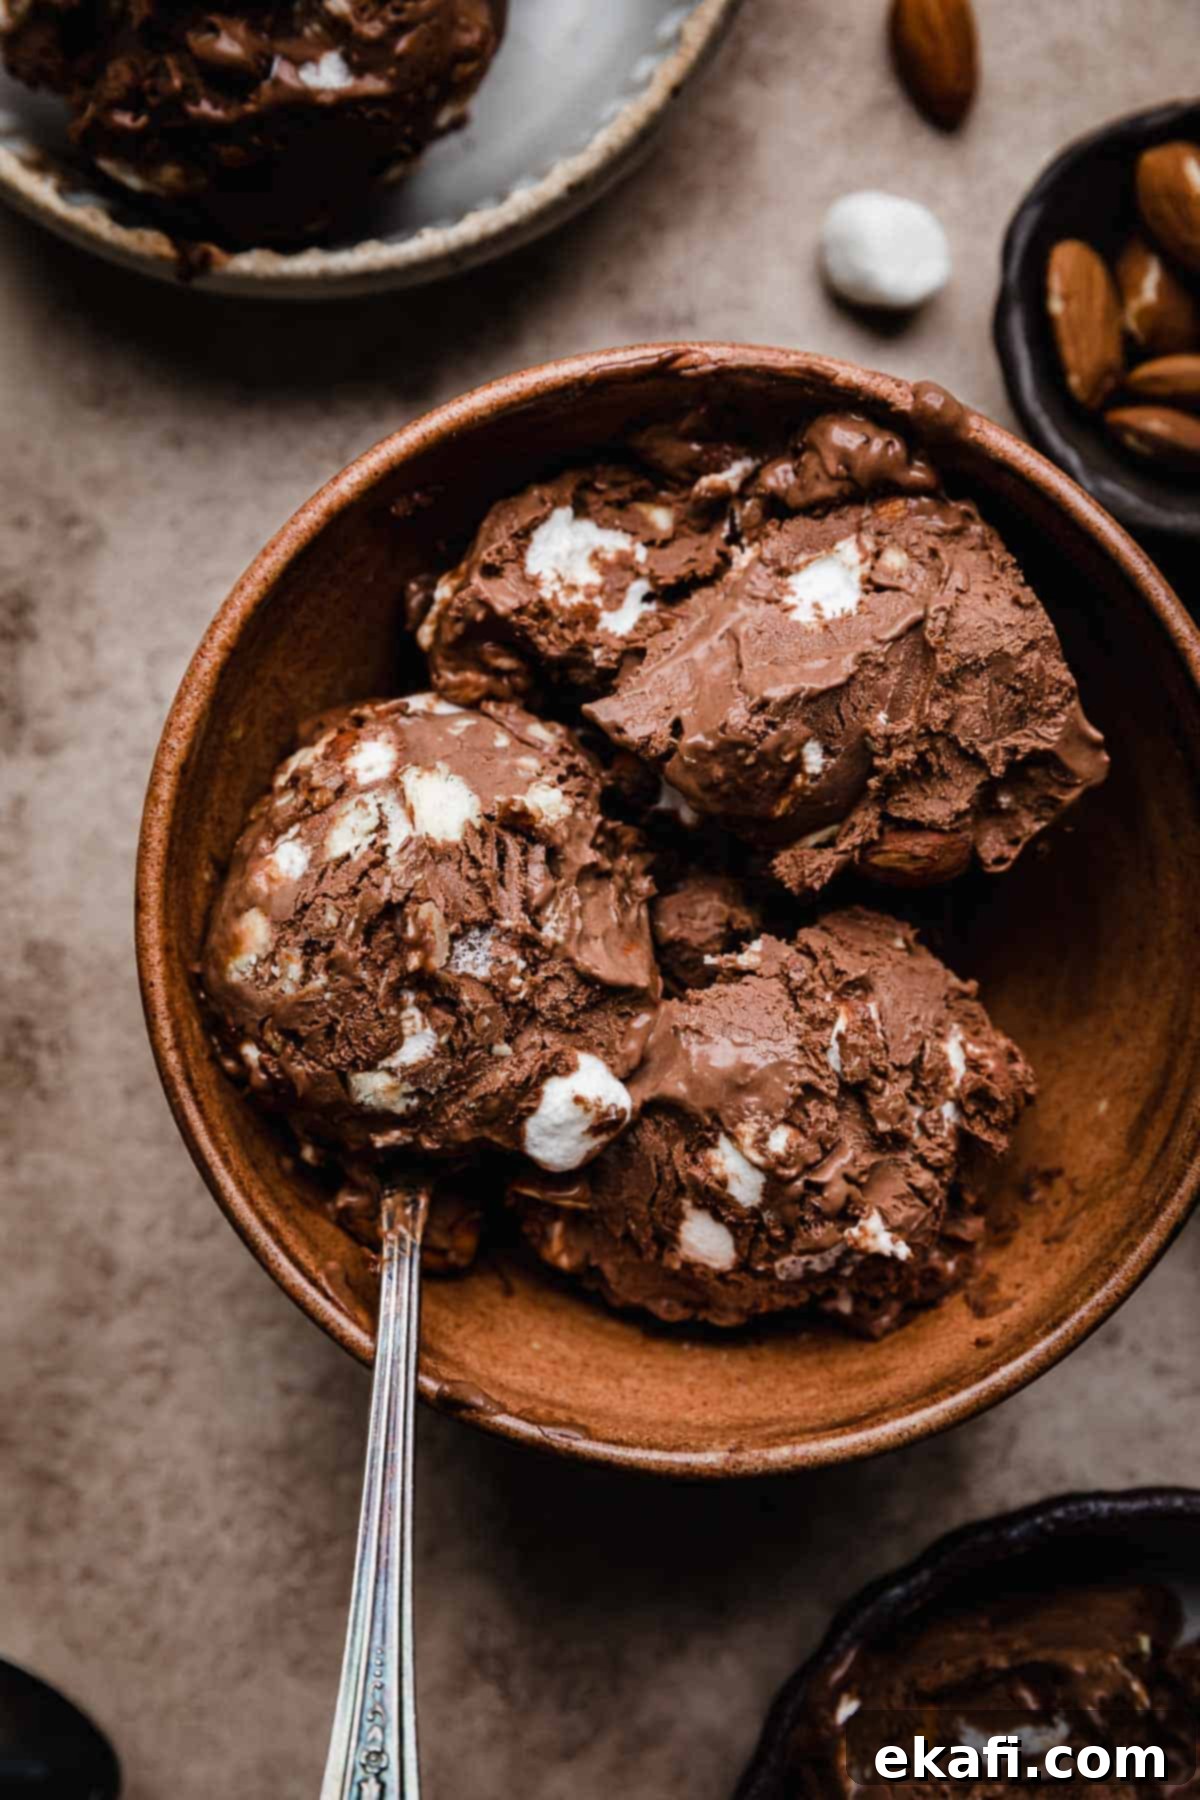
Creamy Homemade Rocky Road Ice Cream: The Ultimate Recipe for Chocolate, Marshmallow & Almond Delight
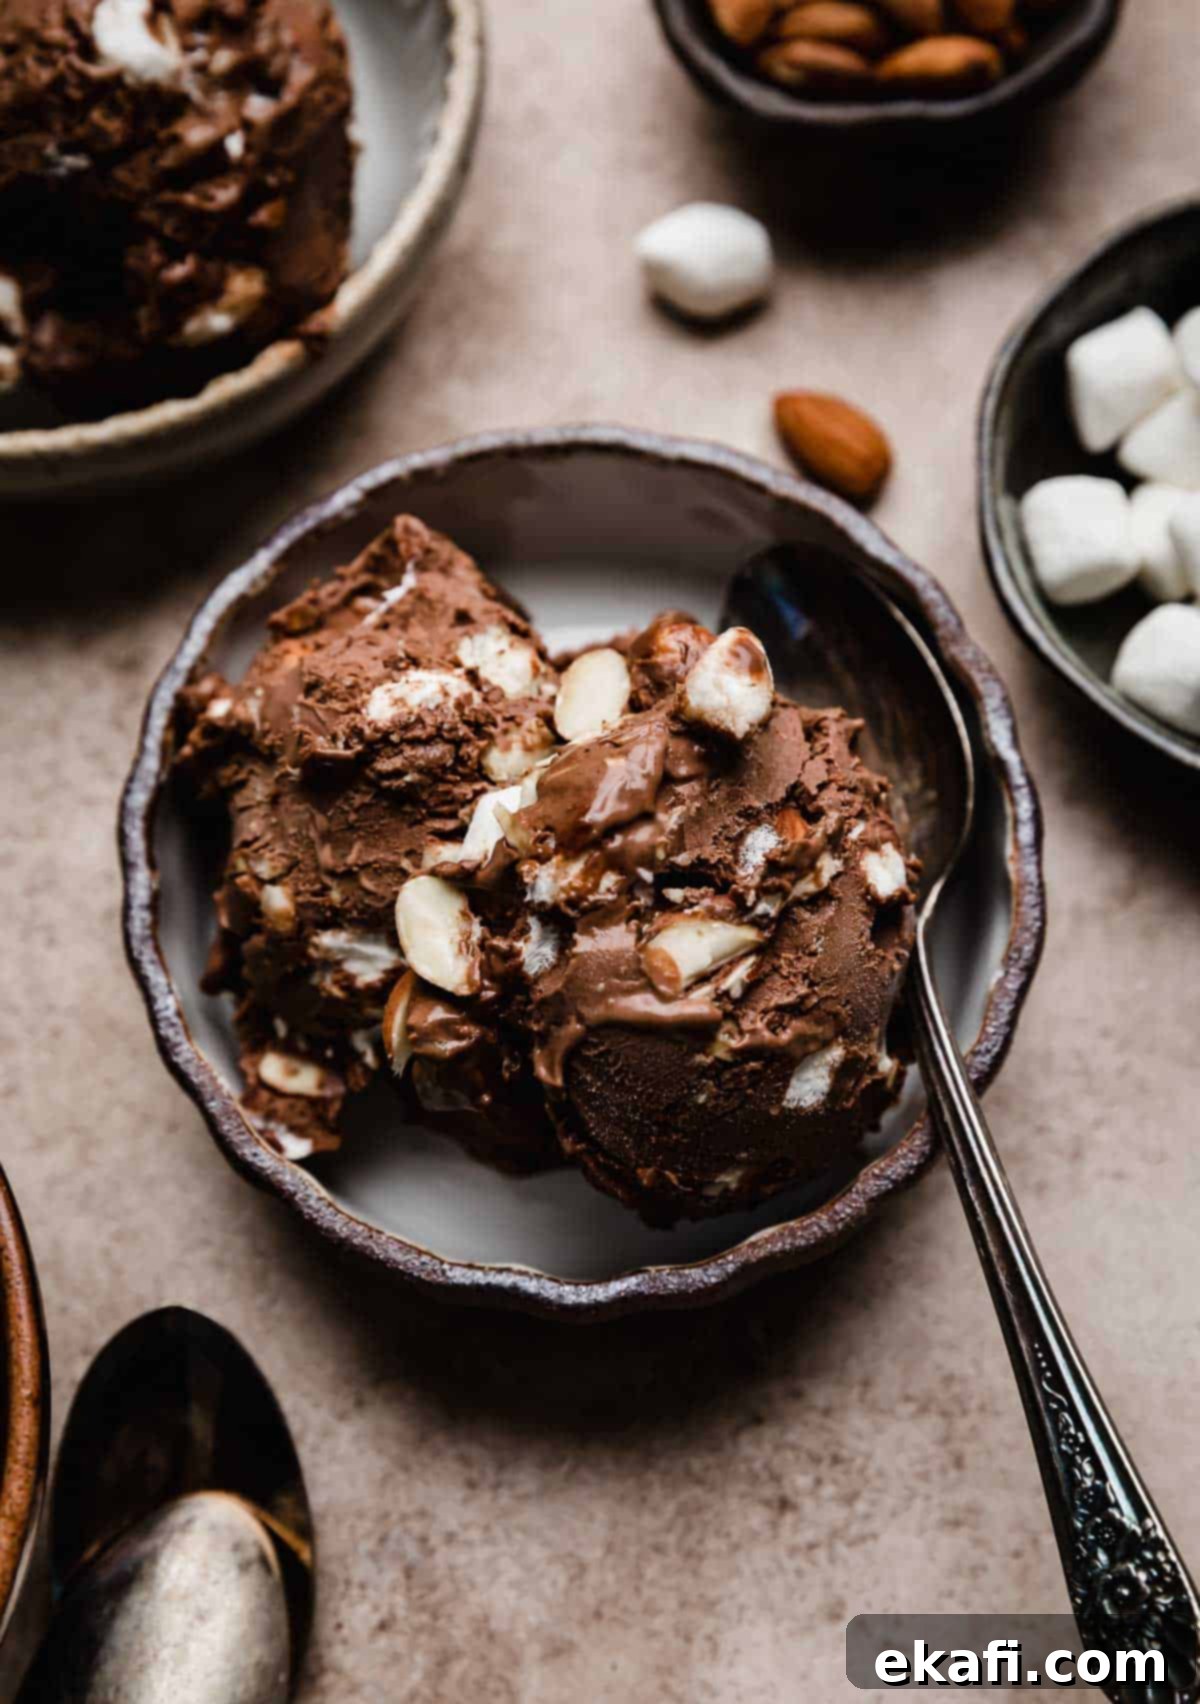
Prepare your tastebuds for an unforgettable journey with this truly exceptional homemade rocky road ice cream recipe! Imagine a scoop of deeply rich, velvety chocolate ice cream, generously studded with delightfully chewy mini marshmallows and perfectly crunchy roasted almonds. This isn’t just ice cream; it’s a symphony of textures and flavors in every single spoonful, promising a delightful escape from the ordinary.
Our recipe elevates the classic rocky road experience by building on a foundation of my absolute favorite Dark Chocolate Ice Cream. This ensures a chocolate base that is intensely flavorful and unbelievably smooth, making it the perfect canvas for our beloved mix-ins. If you’re a chocolate connoisseur looking for more delightful variations, don’t miss exploring my German Chocolate Ice Cream, renowned for its caramel-coconut-pecan topping, and the nostalgic Cosmic Brownie Ice Cream, a playful twist on a childhood classic.
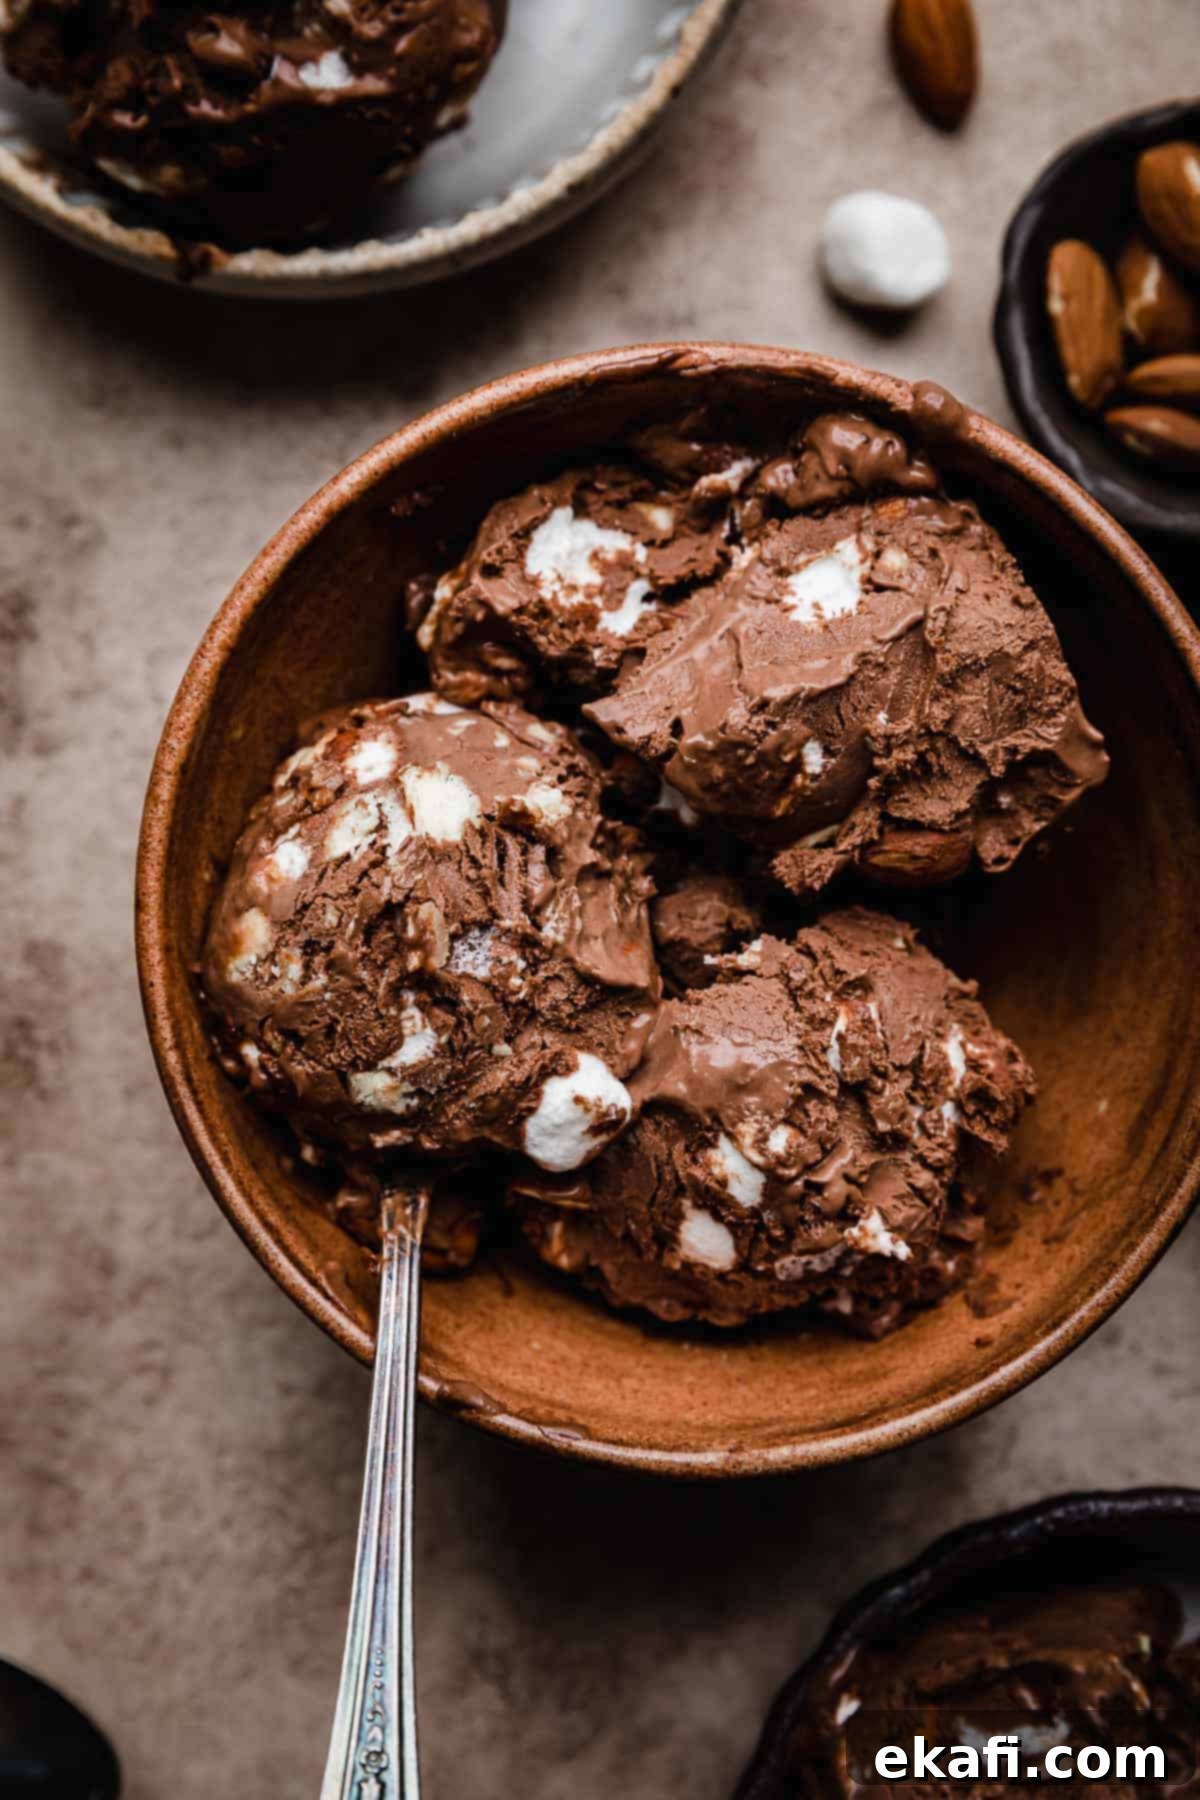
Why This Homemade Rocky Road Ice Cream Recipe is a Must-Try
Creating your own Rocky Road ice cream at home is an incredibly rewarding experience, offering unparalleled flavor and freshness. This specific recipe stands out for several compelling reasons, guaranteeing a superior frozen dessert that store-bought versions simply can’t match.
- The Best Rocky Road Ice Cream You’ll Ever Make: Forget the disappointment of store-bought cartons where the “rocky” part feels more like a sparse pebble path. Our recipe meticulously calls for the perfect generous ratio of marshmallows and nuts to our decadent chocolate ice cream base. This means every single scoop, every bite, is guaranteed to be brimming with those signature chewy and crunchy inclusions, creating an authentic and satisfying Rocky Road experience that truly lives up to its name. You control the abundance, ensuring perfection in every spoonful.
- Crafted with Simple, Wholesome Ingredients: One of the most significant advantages of homemade ice cream is knowing exactly what goes into it. Unlike many commercial brands packed with stabilizers, artificial flavors, and preservatives, our recipe relies on a handful of straightforward, high-quality ingredients. The rich custard base is a simple yet effective blend of fresh eggs, luxurious cream, and just the right amount of sugar. The only additions after churning are the natural crunch of nuts and the gooey sweetness of marshmallows, ensuring a pure, additive-free indulgence you can feel good about.
- Remarkably Ready to Enjoy Immediately: Often, the fresh, soft churn of homemade ice cream requires an additional “hardening” period in the freezer before it reaches that ideal scoopable consistency. This unique chocolate ice cream base, however, churns to an incredibly thick and substantial texture right out of the machine. This means less waiting and more immediate gratification – you can dive into your creamy, chunky Rocky Road perfection the moment it’s done churning, a truly delightful perk for impatient dessert lovers!
- Fully Customizable to Your Liking: Homemade means ultimate control! Want more nuts? Go for it. Prefer a different type of marshmallow? Easy. This recipe provides a fantastic foundation that you can tweak to your heart’s content, making it truly *your* best Rocky Road ice cream.
- A Fun and Rewarding Culinary Project: Making ice cream from scratch is not only delicious but also a wonderfully engaging activity. It’s a fantastic project for a weekend, a great way to involve family members, and offers immense satisfaction when you present a dessert crafted entirely by your own hands. The process, from custard making to churning, is surprisingly simple and deeply gratifying.
Essential Ingredients for Perfect Rocky Road Ice Cream
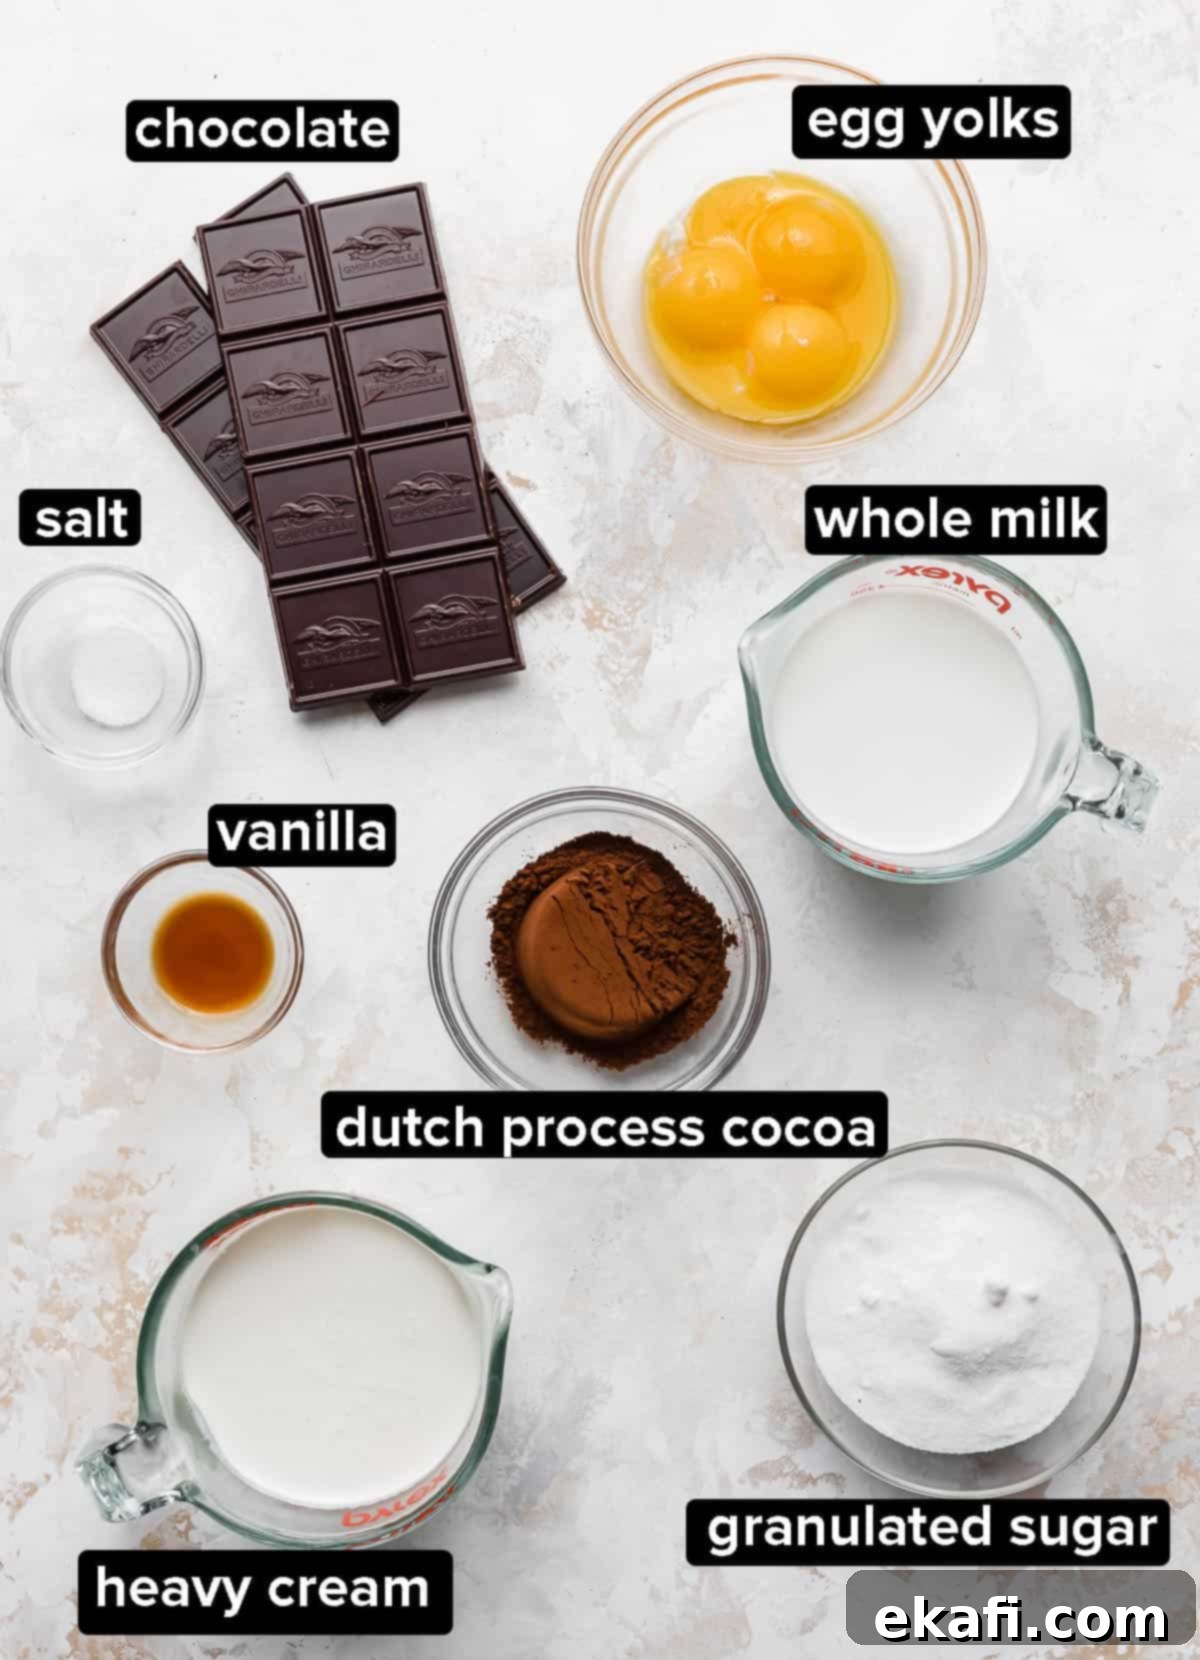
The secret to truly outstanding homemade Rocky Road ice cream lies in the quality and careful selection of each ingredient. Here’s a closer look at what you’ll need and why each component is crucial for achieving that irresistible flavor and texture:
- Granulated Sugar: Beyond simply providing sweetness, sugar plays a vital role in the final texture of your ice cream. It acts as an antifreeze, lowering the freezing point of the mixture, which prevents the formation of large ice crystals. This results in a much softer, smoother, and more scoopable ice cream, rather than a hard, icy block. Don’t be tempted to reduce the sugar too much, or you’ll compromise the texture.
- Dutch Process Cocoa Powder: For that deep, rich chocolate flavor we all crave in Rocky Road, Dutch process cocoa powder is our secret weapon. Unlike natural unsweetened cocoa, Dutch process cocoa has been treated with an alkali to reduce its acidity. This gives it a darker color and a milder, less bitter, and profoundly richer chocolate taste, enhancing the overall depth of the ice cream without any harsh notes.
- Whole Milk and Heavy Whipping Cream: These are the cornerstones of any truly creamy homemade ice cream. The high fat content in both whole milk and especially heavy whipping cream is essential for creating that luxurious, velvety texture. Fat particles help stabilize the air incorporated during churning and prevent excessive ice crystal growth, resulting in an incredibly smooth and decadent mouthfeel. Skimping on fat will lead to a less rich, icier product.
- Bittersweet Chocolate: To further intensify the chocolate experience, we incorporate solid bittersweet or semi-sweet chocolate. Chopping and melting a high-quality chocolate bar into the warm custard base adds a complex, nuanced chocolate flavor that complements the cocoa powder beautifully. It contributes to the richness and depth, creating a multi-layered chocolate profile.
- Vanilla Extract: Often underestimated, a good quality vanilla extract is a flavor enhancer in chocolate recipes. It doesn’t just add its own sweet aroma; it brightens and deepens the chocolate flavor, making it taste even more pronounced and well-rounded. Opt for pure vanilla extract for the best results.
- Egg Yolks: The foundation of our creamy ice cream is a luscious custard, and egg yolks are the key thickener. When gently cooked, the proteins in the egg yolks bind and emulsify the mixture, giving the ice cream its characteristic velvety body and preventing it from becoming too icy. They also contribute to the overall richness and mouthfeel, making each spoonful feel truly indulgent.
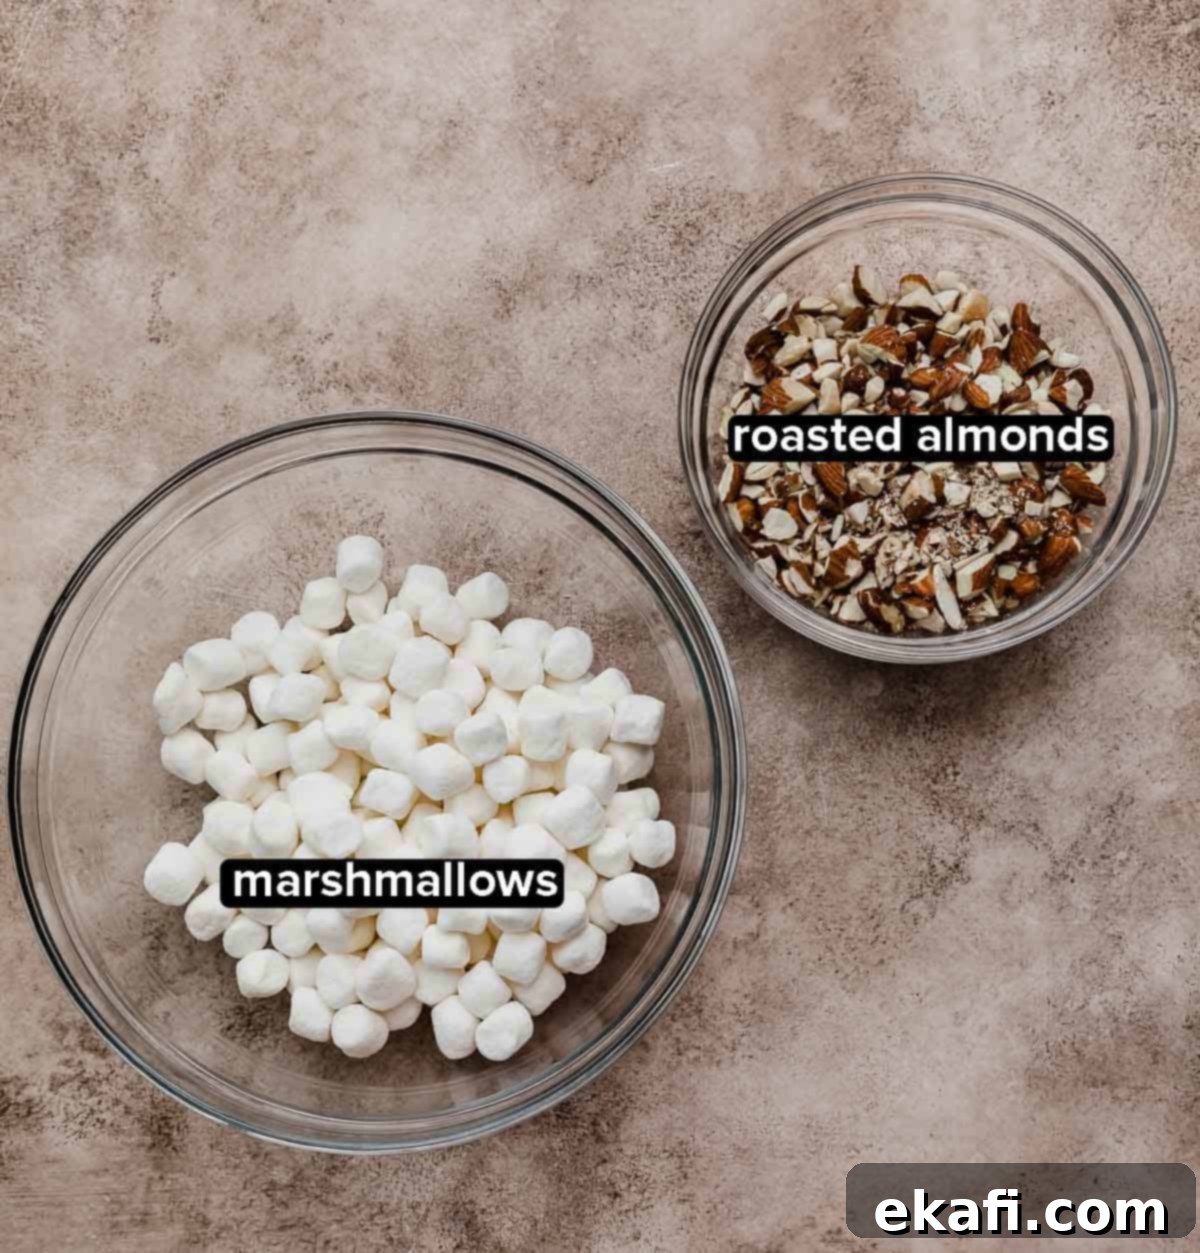
- Roasted Almonds: The “rocky” component that provides a delightful crunch! Roasting the almonds before incorporating them is a crucial step. This process intensifies their nutty flavor, brings out their natural oils, and ensures they retain their satisfying crispness even when frozen in the ice cream. Roughly chopping them ensures a good distribution and an enjoyable texture in every bite.
- Mini Marshmallows: The other iconic “road” component, mini marshmallows add pockets of soft, chewy sweetness throughout the chocolate base. Their unique texture means they don’t freeze solid, remaining delightfully soft and gooey within the cold ice cream. They provide a wonderful contrast to the crunchy almonds and smooth chocolate.
How to Make The Best Homemade Rocky Road Ice Cream
Creating this decadent Rocky Road ice cream is a straightforward process, but paying attention to each step ensures a creamy, perfectly textured result. Follow these detailed instructions for a dessert that will impress everyone.
- Prepare Your Ingredients and Equipment: Begin by organizing your workspace and prepping your core ingredients. Roughly chop 1 cup of roasted almonds; ensure they are cool if you’ve roasted them yourself. Finely chop 8 ounces of bittersweet or semi-sweet chocolate. The finer the chop, the more smoothly it will melt into the custard. In a small bowl, separate 4 egg yolks and lightly beat them with a fork until just combined. This makes them easier to temper. Crucially, if your ice cream maker requires a frozen bowl, now is the time to ensure it’s properly chilled and ready to go!
- Combine Dry Ingredients: In a medium-sized saucepan, whisk together ¾ cup of granulated sugar, ⅓ cup of Dutch process cocoa powder, and ¼ teaspoon of salt. It’s essential to whisk these thoroughly to break up any cocoa powder clumps, which can otherwise create an inconsistent texture or flavor in your ice cream base. A smooth, lump-free dry mixture is the first step to a smooth custard.
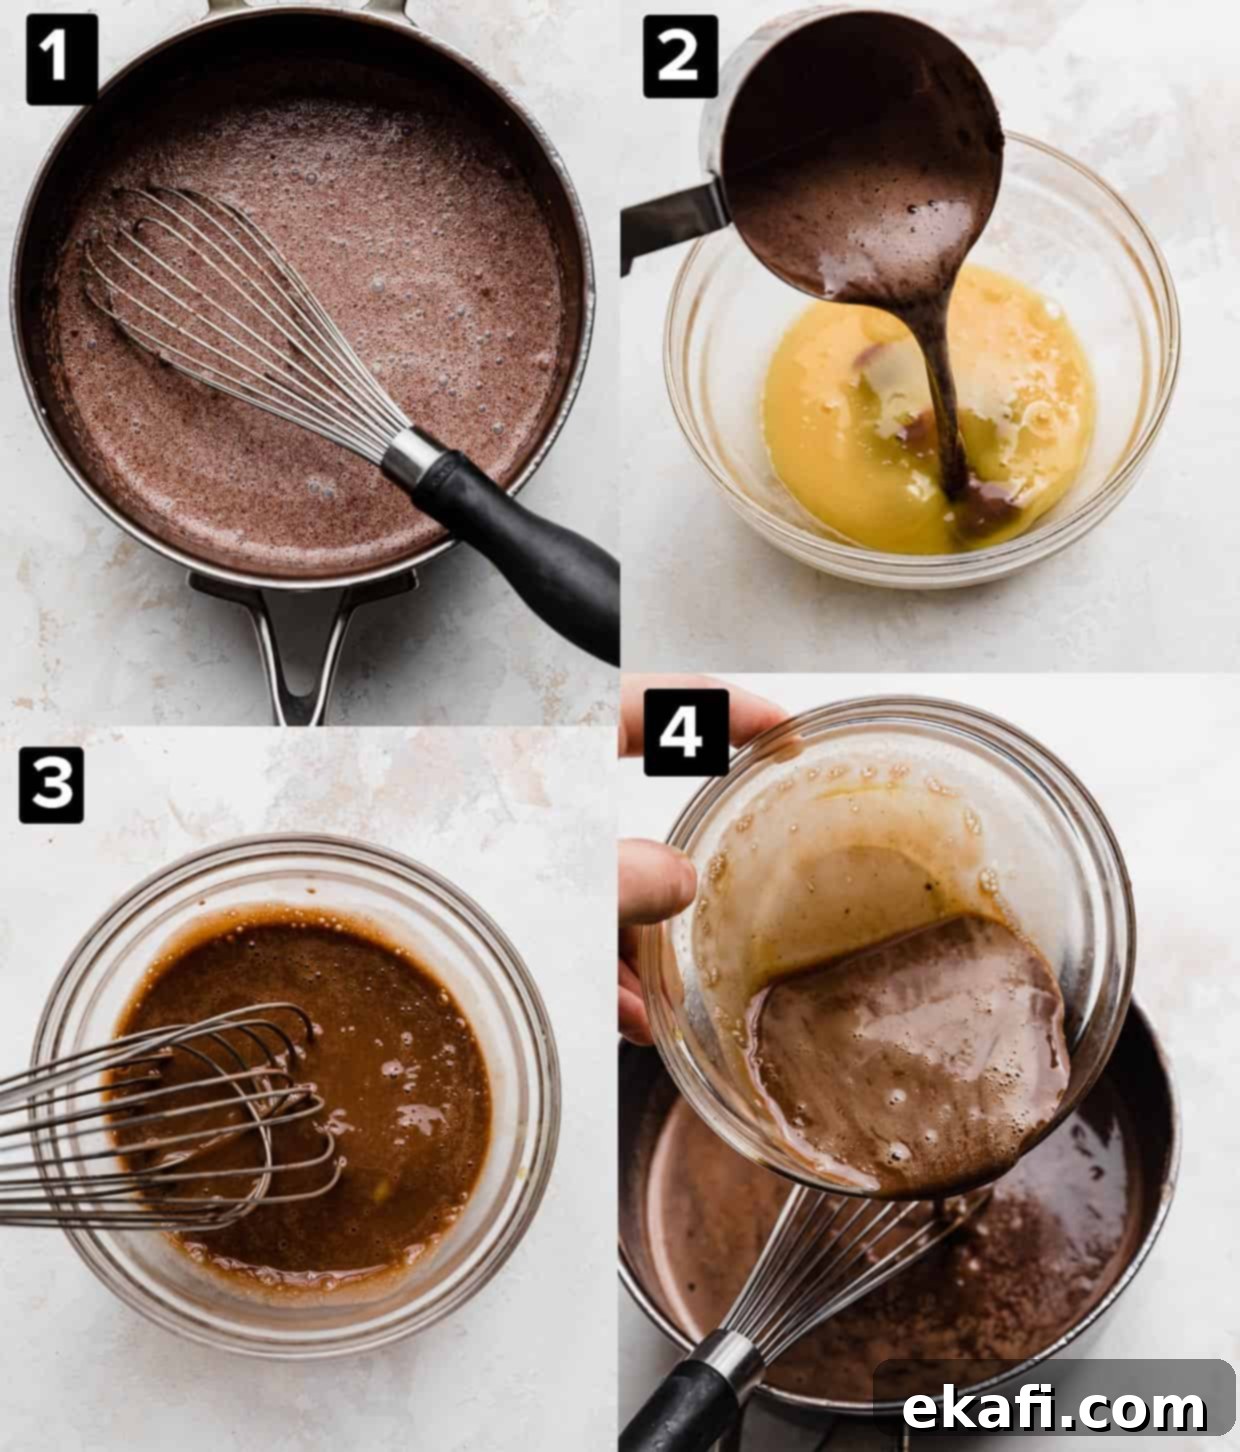
- Introduce Dairy and Heat Gently: Place your saucepan on the stove over medium-low heat. While continuously whisking the cocoa-sugar mixture, slowly pour in 1 cup of whole milk and 2 cups of heavy cream. Continue to stir constantly, allowing the ingredients to fully combine and the sugar to dissolve. Heat the mixture until it just begins to simmer—you’ll notice small bubbles forming around the edges of the pan. This gentle heating helps infuse the chocolate flavor without scorching the dairy. Immediately remove the pan from the heat once simmering begins.
- Carefully Temper the Egg Yolks: Tempering is a critical step to prevent the egg yolks from scrambling when added to the hot milk mixture. Slowly, in a steady stream, pour about ½ cup of the warm milk mixture into your bowl of beaten egg yolks, whisking the egg yolks vigorously and continuously as you pour. This gradually raises the temperature of the egg yolks. Next, slowly drizzle this warmed egg yolk mixture back into the saucepan with the rest of the chocolate mixture, still stirring constantly. The slow pouring and persistent whisking ensure the eggs are gently incorporated and don’t cook prematurely.
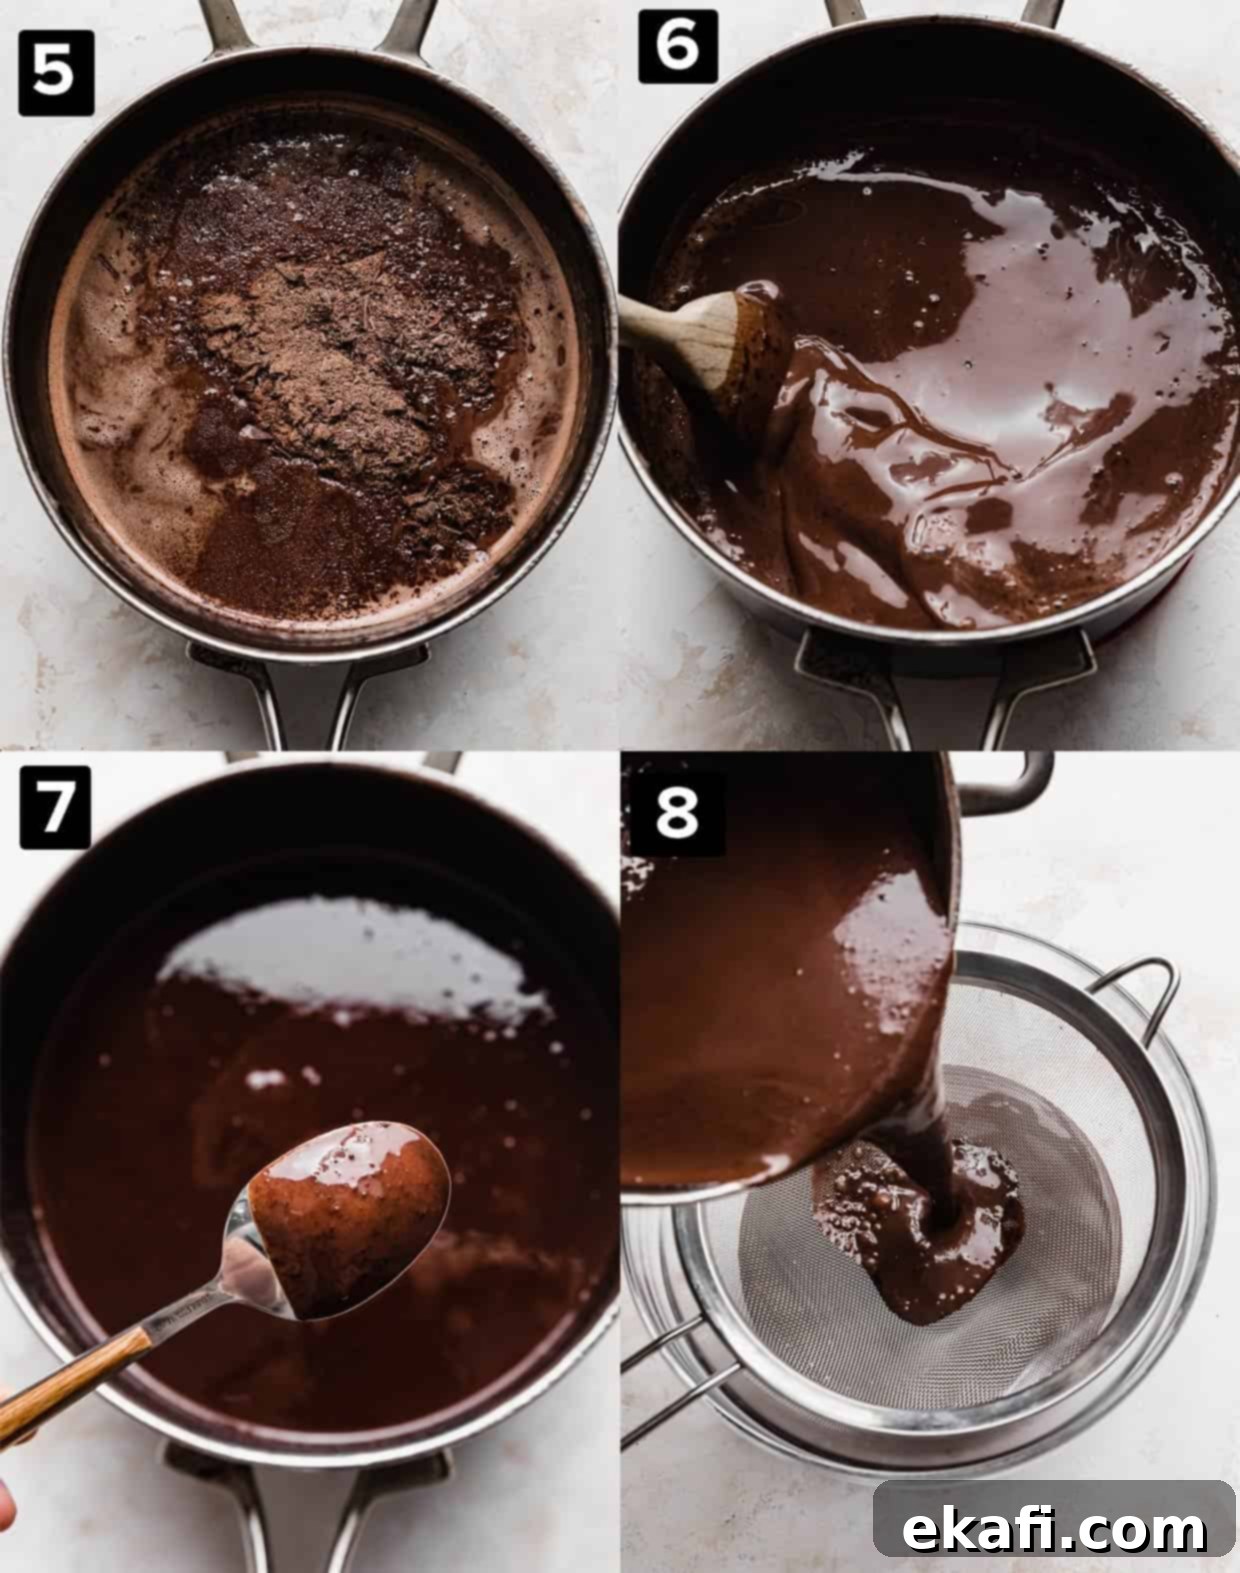
- Melt in the Chopped Chocolate: With the tempered egg yolks now incorporated, add the 8 ounces of finely chopped bittersweet or semi-sweet chocolate to the warm chocolate-egg mixture in the saucepan. Stir gently but continuously until the chocolate is completely melted and the mixture is smooth and glossy. The residual heat from the custard should be sufficient to melt the chocolate perfectly, contributing to a richer, more complex chocolate flavor.
- Thicken the Custard to Perfection: Return the saucepan to the stove over very low heat. Stir the mixture constantly, heating it gently until it thickens enough to coat the back of a spoon. This means when you lift the spoon and draw a line across the back with your finger, the line should hold and not run. This typically takes about 5-7 minutes. It is absolutely crucial NOT to let the mixture boil, as this can cause the eggs to curdle. If you have an instant-read thermometer, aim for a temperature of 170°F (77°C) for optimal thickening and food safety. Once the desired thickness is achieved, remove it from the heat immediately.
- Strain, Chill, and Rest: As soon as the mixture is off the heat, stir in 1 teaspoon of vanilla extract to enhance the flavors. Next, strain the entire ice cream mixture through a fine-mesh strainer into a large, clean bowl. This step removes any tiny bits of cooked egg or undissolved cocoa, ensuring an incredibly smooth and luxurious custard base. To cool the custard quickly and prevent further cooking, place the bowl on top of an ice bath (a larger bowl filled with ice and cold water). Stir the custard frequently until it reaches room temperature. Rapid cooling is important for texture. Once it’s at room temperature, cover the bowl tightly with plastic wrap and refrigerate for at least 4 hours, or ideally, up to 1 day. This chilling period is vital for the flavors to meld and for the mixture to become thoroughly cold, which is essential for proper churning and a creamy end product.
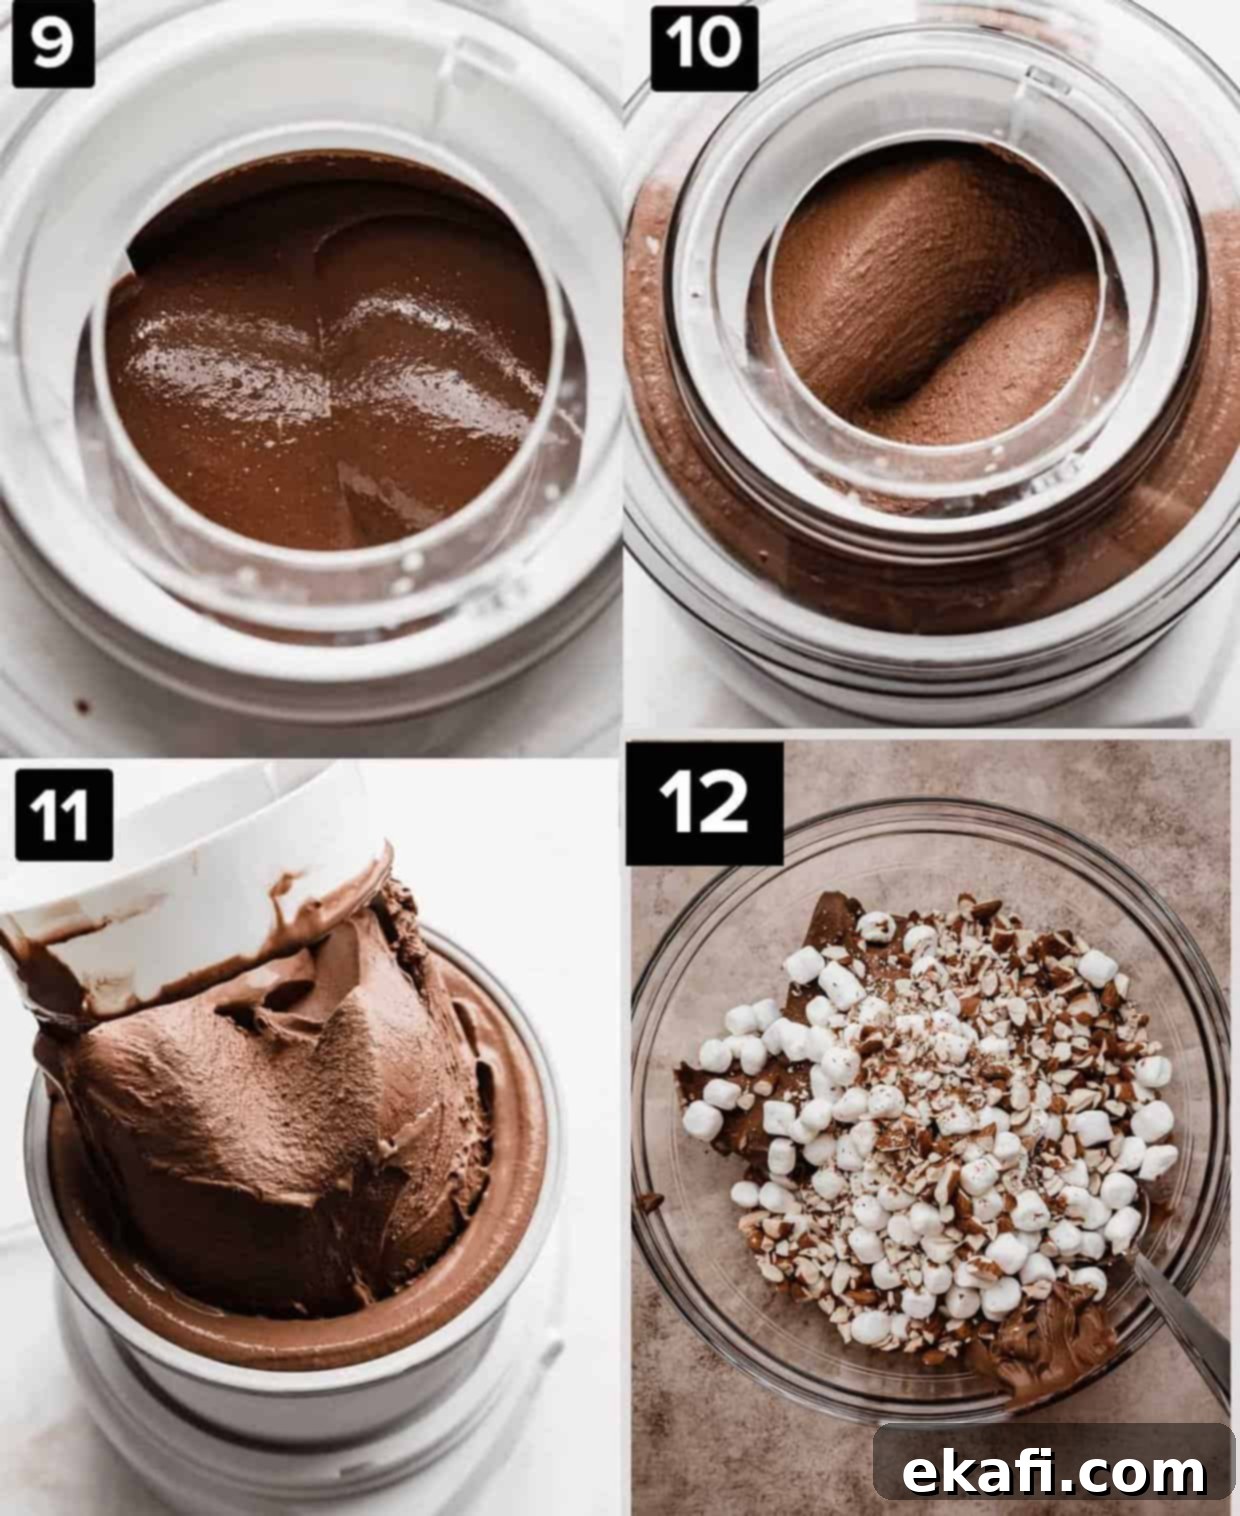
- Churn the Chocolate Base: Once your chocolate custard is thoroughly chilled, remove it from the refrigerator. Give it a quick stir, then pour it into the bowl of your ice cream maker. Churn according to your specific ice cream maker’s instructions. This process usually takes 20-30 minutes, during which the mixture will thicken and expand as air is incorporated and ice crystals form into a smooth, creamy consistency.
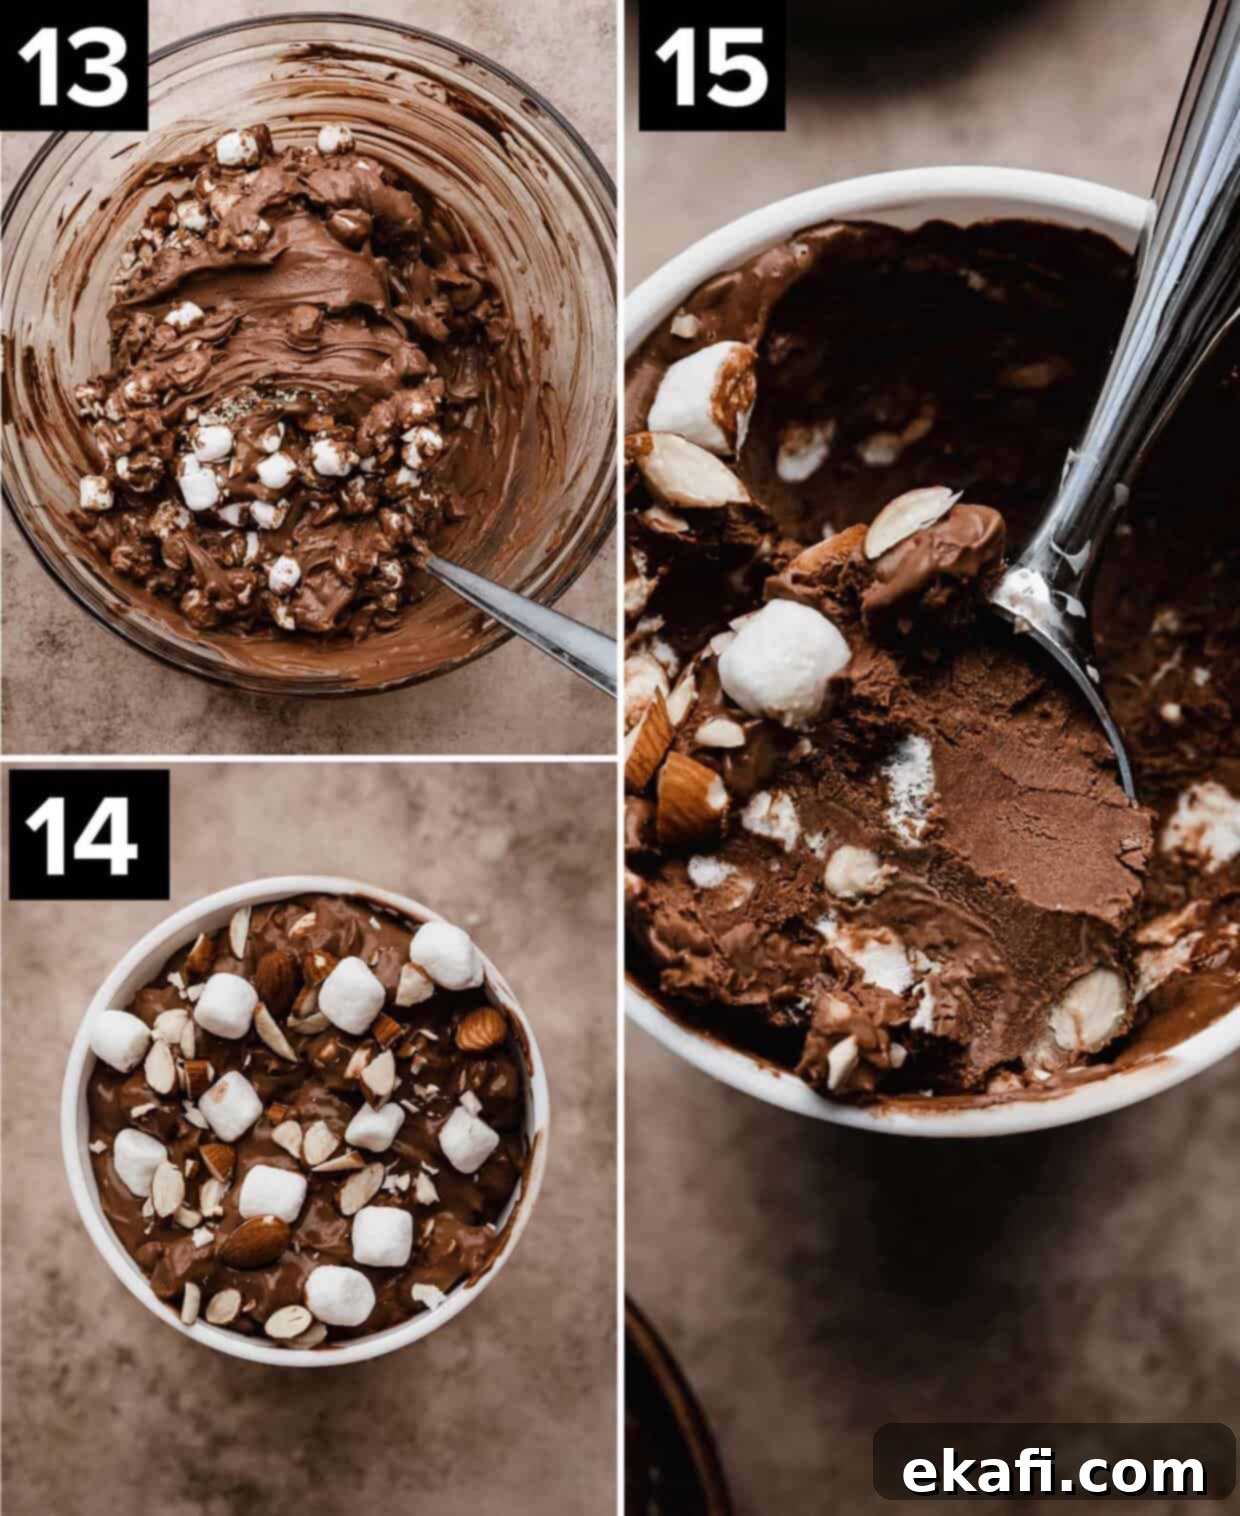
- Fold in the Signature Mix-Ins: As soon as the ice cream has finished churning and has reached a thick, soft-serve consistency, it’s time to add the “rocky” and “road” elements! Gently stir in 1 cup of chopped roasted almonds and 2 cups of mini marshmallows. The softness of the freshly churned ice cream allows for easy and even distribution of these delightful inclusions.
- Serve Immediately or Freeze for Firmness: This particular ice cream is known for churning to a wonderfully thick consistency, often firm enough to enjoy right away like a decadent soft-serve. If you prefer a harder, more scoopable ice cream, transfer it to a freezer-safe, airtight container. Allow it to firm up in the freezer for an additional 2-4 hours before serving. This extra freezing time will create a more traditional scoop.
Expert Tips for the Best Rocky Road Ice Cream
Achieving the perfect creamy, chunky Rocky Road ice cream is easier with a few expert tips. These insights will help you avoid common pitfalls and enhance your homemade creation:
- The Importance of Full-Fat Dairy and Sugar: For that supremely smooth, scoopable texture, resist the urge to substitute with low-fat dairy options or reduce the sugar content. The fat in heavy cream and whole milk is crucial for richness and contributes to a luxurious mouthfeel. Sugar, as mentioned earlier, plays a dual role: it sweetens the ice cream and acts as an antifreeze, preventing the formation of large, icy crystals. Using the full recommended amounts ensures your ice cream remains soft and creamy, even after extended time in the freezer.
- Perfectly Roasted Almonds: While you can buy pre-roasted almonds, roasting your own is incredibly simple and allows you to control the level of toastiness and saltiness. To roast, preheat your oven to 350°F (175°C). Spread your raw almonds in a single layer on a sheet pan and roast for 15-20 minutes, stirring at least once halfway through. Keep a close eye on them, as nuts can burn quickly. They should be fragrant and lightly golden. Allow them to cool completely before chopping and adding to the ice cream, as warm nuts can affect the ice cream’s consistency.
- Nut Substitutions and Variations: Traditional Rocky Road features almonds, but don’t limit yourself! Peanuts offer a classic, salty-sweet crunch, while hazelnuts provide a rich, sophisticated flavor. For those with nut allergies, sunflower seeds are an excellent crunchy alternative. You can also simply omit the nuts entirely for a delightful chocolate and marshmallow ice cream. Feel free to experiment with pecans, walnuts, or even candied nuts for an extra special treat.
- Boost Your Chocolate Factor: If you’re a true chocoholic, consider swapping out 1 cup of mini marshmallows for 1 cup of your favorite chocolate chips or chunks. These will add another layer of chocolate texture and flavor, solidifying the base’s rich profile.
- Vanilla Rocky Road – A Delicious Twist: While chocolate is classic, a vanilla base offers a wonderfully different, yet equally delicious, Rocky Road experience. Simply use my Homemade Vanilla Ice Cream as your foundation, then add the almonds and marshmallows as directed. The creamy vanilla provides a beautiful contrast to the chewy and crunchy mix-ins.
- Elevate with Decadent Swirls: For an even more indulgent creation, swirl in some homemade sauces just before freezing. A ribbon of homemade Hot Fudge Sauce will add intense chocolate depth, or try my Salted Butterscotch Sauce for a delightful sweet and salty caramel note.
- Marshmallow Magic: Instead of traditional mini marshmallows, for an unbelievably airy and dreamy texture, consider swirling in spoonfuls of my Homemade Marshmallow Fluff during the final stages of churning or when layering into your freezer container. This creates beautiful pockets of soft, pillowy sweetness.
- Preventing Freezer Burn: When storing your ice cream, ensure it’s in an airtight container. Press a piece of plastic wrap directly onto the surface of the ice cream before sealing the container. This creates an extra barrier against air, which is the primary cause of ice crystals and freezer burn, keeping your ice cream fresh and delicious for longer.
Make Ahead, Storing, and Freezing Your Rocky Road Ice Cream
Planning ahead for your Rocky Road creation can make the process even smoother, and knowing how to properly store it ensures you can enjoy its deliciousness for weeks to come.
- Make Ahead: The beauty of a custard-based ice cream is that the base can be prepared in advance. You can make the entire chocolate custard mixture up to a day before you plan to churn it. This allows the flavors to deepen and ensures the mixture is perfectly chilled, which is crucial for achieving the best texture during churning. Simply cover it tightly and store it in the refrigerator.
- Storing Leftovers: To maintain the quality and prevent ice crystals, always store any leftover Rocky Road ice cream in an airtight container in the coldest part of your freezer. A good tip is to press a layer of plastic wrap directly onto the surface of the ice cream before sealing the lid. This minimizes air exposure and helps keep the ice cream smooth and creamy. It will remain delicious for up to 2 months.
- Freezing for Longevity: This Rocky Road ice cream recipe freezes exceptionally well. For optimal enjoyment, transfer your freshly churned ice cream into a freezer-safe container. While it can last for up to 2 months, be aware that after about a month, you might start to notice small ice crystals forming on the surface or throughout the ice cream. This is a natural process for homemade ice creams due to their lack of commercial stabilizers, but it doesn’t diminish the flavor significantly. For the best quality, try to consume it within 4-6 weeks.
Frequently Asked Questions About Rocky Road Ice Cream
Rocky Road ice cream is a classic American ice cream flavor, traditionally made with a rich chocolate ice cream base. It’s then generously mixed with crunchy nuts (most commonly almonds) and soft, chewy marshmallows. The combination creates a delightful contrast in textures and flavors that makes it so popular.
Rocky Road ice cream first emerged on the culinary scene in the late 1920s, with its invention often linked to the period after the devastating 1929 stock market crash. While its exact origins are debated, two prominent figures are often credited: William Dreyer (co-founder of Dreyer’s Grand Ice Cream) and George Farren, an employee at Fenton’s Creamery. Both have compelling stories claiming to be the originator of this beloved ice cream flavor.
Several factors can contribute to icy homemade ice cream. Using low-fat dairy products, significantly reducing the amount of sugar in the recipe, or not allowing your ice cream base to chill sufficiently before churning can all result in an icier texture. Additionally, not following your ice cream maker’s specific instructions (like churning time or having the bowl adequately frozen) can prevent proper aeration and lead to larger ice crystals. For a creamy result, always opt for full-fat dairy and adhere to recipe instructions for chilling and churning.
The charming name “Rocky Road” is believed to have originated during the Great Depression. The concept was to create a comforting treat that could “give folks something to smile about” during a difficult and uncertain time. The varied textures of the marshmallows and nuts within the smooth chocolate base metaphorically represented the “rocky road” of life, offering a moment of sweet indulgence and cheer.
While an ice cream maker is highly recommended for the creamiest results, you can make a no-churn version. This typically involves whipping heavy cream to stiff peaks and folding it into a sweetened condensed milk and cocoa powder base, then adding mix-ins. While delicious, the texture will be slightly different from a churned ice cream, usually a bit denser.
Rocky Road is delightful on its own! However, you can enhance the experience by serving it with a drizzle of chocolate fudge, a sprinkle of extra roasted almonds, or even a dollop of whipped cream. It also pairs wonderfully with a warm brownie or a slice of your favorite pie.
More Delightful Ice Cream Recipes to Explore
If you’ve loved making this Rocky Road, you’ll surely enjoy exploring other homemade ice cream flavors. Here are some more fantastic recipes to add to your frozen dessert repertoire:
- Birthday Cake Ice Cream
- Butterscotch Ice Cream
- Raspberry Ice Cream
- Apple Pie Ice Cream
- Chocolate Chip Cookie Dough Ice Cream
Did you make this delicious Rocky Road ice cream? We’d absolutely love to hear about your experience! Please take a moment to leave a star rating and a review directly on this blog post, or scroll below the recipe card to share your thoughts. Your feedback helps us and other home cooks!
Stay up-to-date with all our latest recipes and culinary adventures by following us on Instagram, TikTok, YouTube, Facebook, and Pinterest. Don’t forget to tag us in your creations!

Print
SaveSaved!
Review
Rocky Road Ice Cream Recipe
Ingredients
- 3/4 cup granulated sugar
- 1/3 cup Dutch process cocoa powder
- 1/4 teaspoon salt
- 1 cup whole milk
- 2 cups heavy cream
- 8 oz bittersweet chocolate – or semi-sweet chocolate, finely chopped
- 1 teaspoon vanilla extract
- 4 egg yolks – lightly beaten (I just use a fork)
Mix-Ins
- 1 cup roasted almonds – chopped
- 2 cups mini marshmallows
Equipment
-
ice cream maker
Instructions
-
In a saucepan combine the sugar, salt, cocoa powder. Whisk thoroughly so that there are no clumps of cocoa powder. While whisking, slowly add the milk and heavy cream. Turn the heat to medium-low. Stir constantly and bring to a simmer. (Just when bubbles form on the sides of the pan.) Remove from heat.
-
Place the beaten egg yolks in a small bowl. Gradually stir in ½ cup of the hot liquid to the egg yolks. Slowly drizzle the egg yolks back into the saucepan, stirring constantly. Add the chopped chocolate and stir to combine.
-
Place saucepan over low heat. Heat until thickened (it should coat the back of a spoon), about 5-7 minutes but DO NOT BOIL. If you have an instant read thermometer it should read 170°F.
-
Remove from heat. Stir in the vanilla extract. Pour the chocolate mixture through a sieve into a large bowl. Place the large bowl full of the chocolate mixture on top of an ice bath. Stir often, until the chocolate mixture reaches room temperature. Once it is room temperature, cover and chill in the refrigerator for 4 hours or up to 1 day.
-
Remove chocolate mixture from fridge. Pour into an ice cream maker and freeze according to manufacturer’s directions. Once finished churning stir in the chopped almonds and mini marshmallows. Enjoy right away (as this ice cream churns to be quite thick!) Or transfer to an airtight freezer safe container and freeze for 2-4 hours or until firm. Enjoy!
Nutrition
