Authentic Homemade Focaccia Bread Recipe: Light, Fluffy, & Herb-Infused
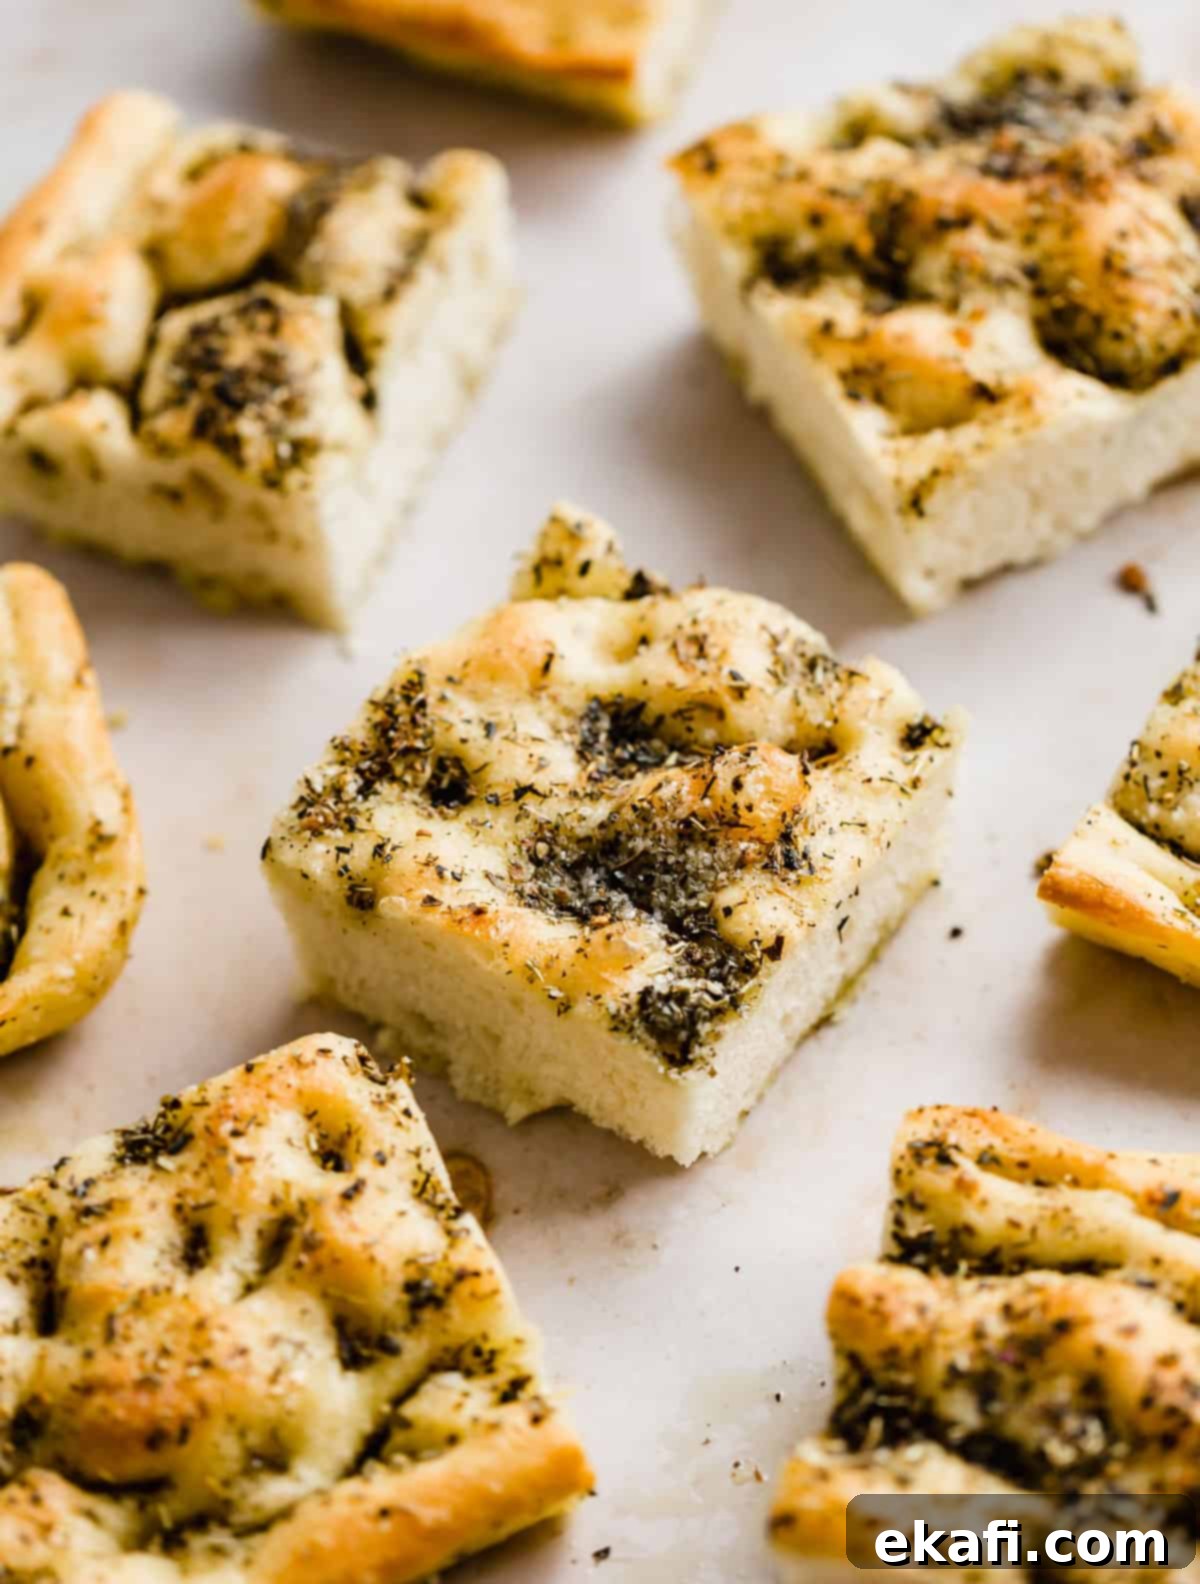
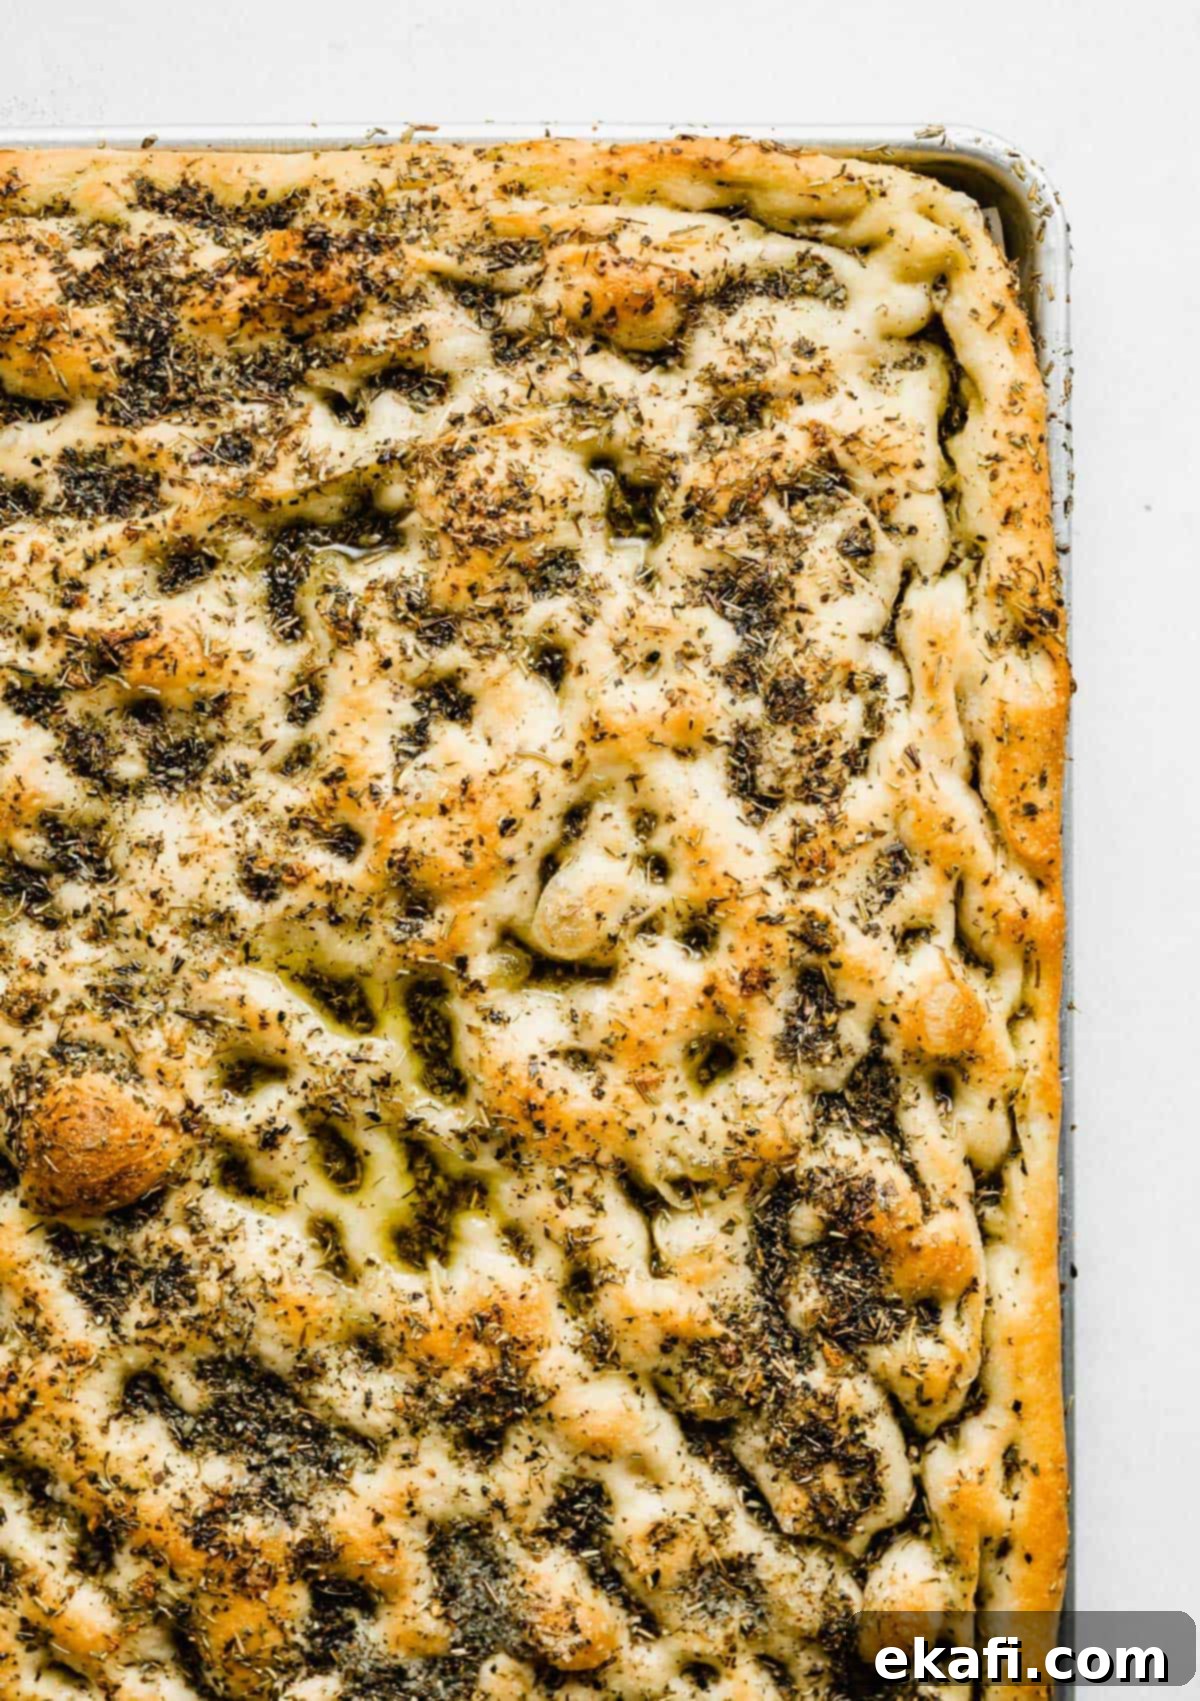
Prepare to elevate your baking game with this incredible Focaccia Bread recipe! Imagine a golden, aromatic flatbread, kissed with a fragrant herb-infused olive oil, boasting a wonderfully light and airy interior, complemented by a delicately crisp exterior. This isn’t just bread; it’s an experience. Perfect for a cozy family dinner or a vibrant gathering with friends, this focaccia will undoubtedly become a staple in your kitchen.
Its unparalleled texture and rich flavor make it an ideal companion for a myriad of dishes. Serve it warm alongside your favorite pasta creations for a truly authentic Italian meal. Think of it as the perfect sponge to soak up those delicious sauces!
This versatile bread is a dream come true for meal pairing. Picture it beside hearty Turkey Spinach Meatballs and Spaghetti, a comforting Cast Iron Lasagna, or delicate Homemade Ravioli. But its potential doesn’t stop there; transform it into a delectable Focaccia Pizza by adding your favorite toppings, or slice it horizontally for gourmet sandwiches. The possibilities are truly endless!
Why This Focaccia Recipe Stands Out
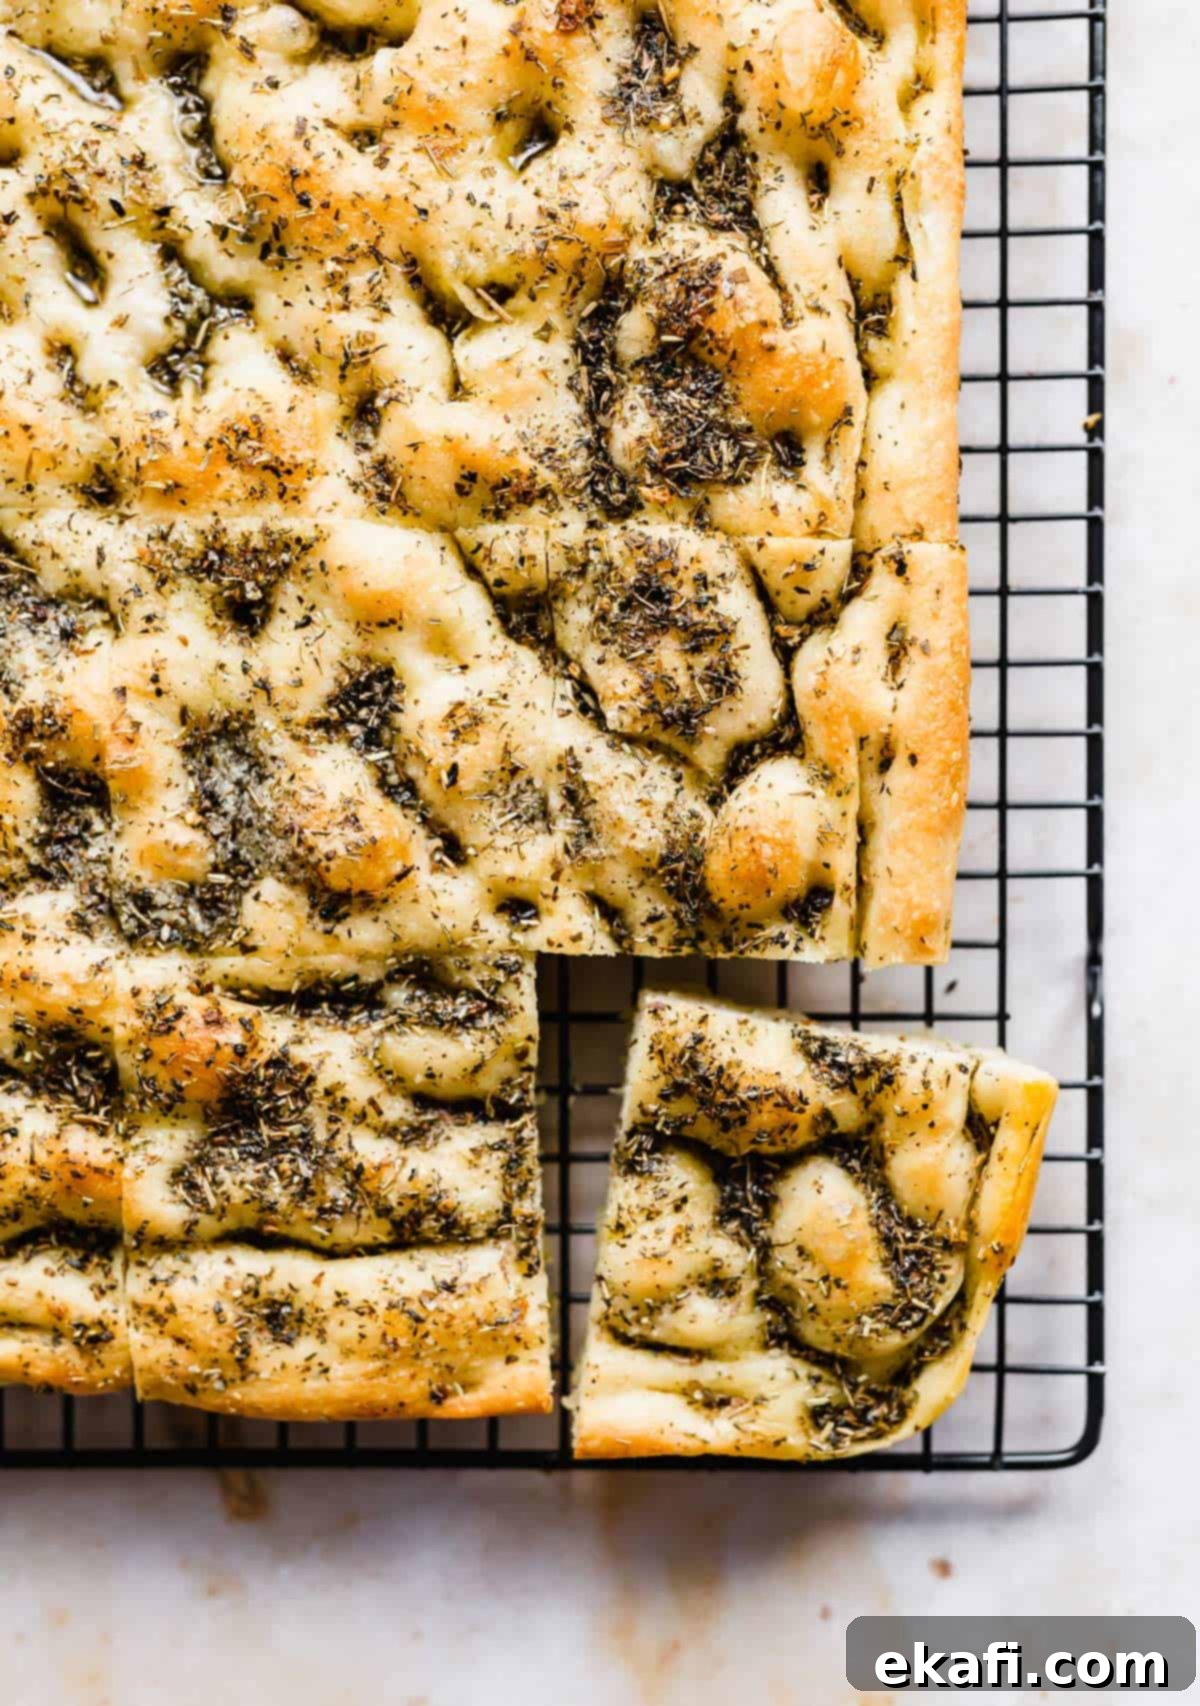
There are many focaccia recipes out there, but this one delivers consistently exceptional results. Here’s what makes it the best choice for achieving that perfect, bakery-quality focaccia right in your own kitchen:
- Richly Infused Herb Olive Oil. Focaccia inherently relies on olive oil for its signature moist and airy texture. This recipe takes that essential element to a new level by incorporating an herb-infused olive oil. By gently warming the oil on the stovetop with a blend of aromatic herbs and garlic, we unlock and deepen their flavors, allowing them to infuse beautifully into the oil. This process creates a intensely flavorful foundation that permeates every bite of the bread, resulting in an unforgettable taste experience.
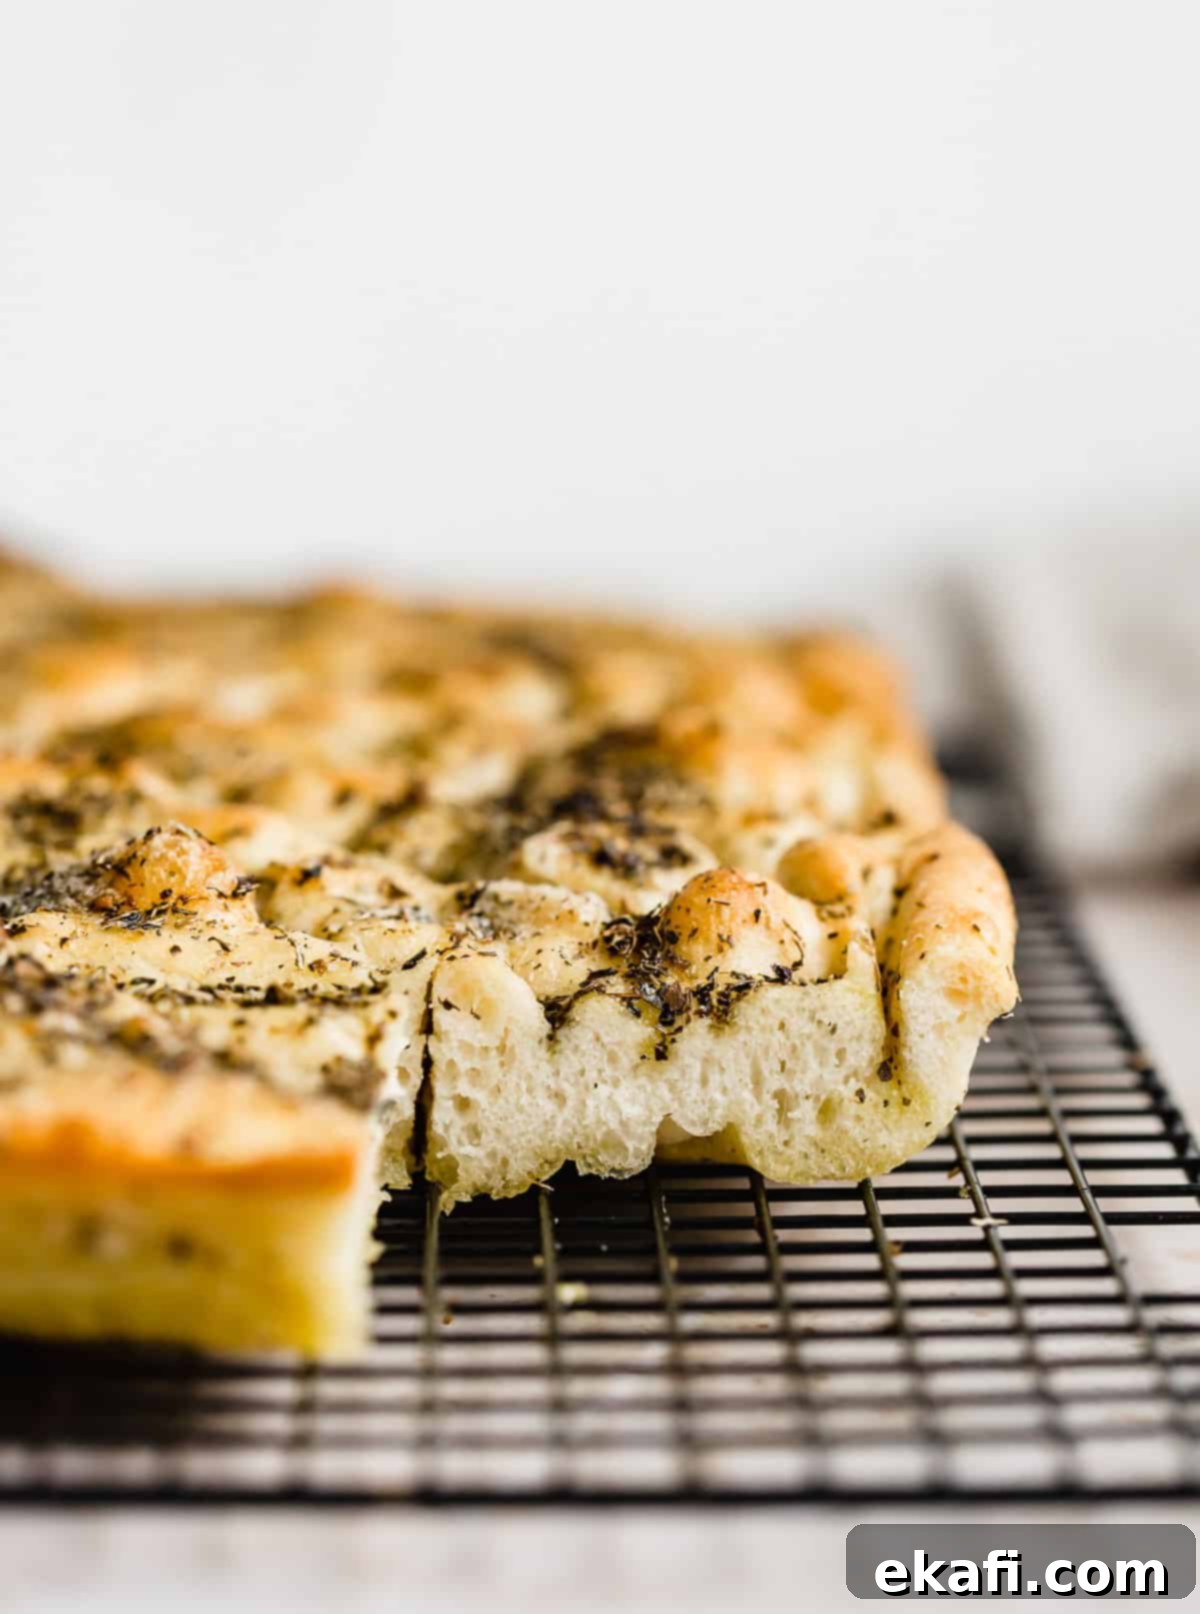
- Achieve a Perfectly Light and Airy Crumb. The hallmark of truly exceptional focaccia is its delicate, open, and airy crumb. This recipe excels in producing just that! Thanks to a meticulously guided proofing process and the generous use of quality olive oil, the dough develops numerous air pockets. These pockets expand during baking, creating a bread that is incredibly soft and tender on the inside, almost cloud-like, without being dense or heavy. It’s a texture that will impress even the most discerning bread enthusiasts.
- Customizable with Your Favorite Toppings. While delicious on its own, this focaccia recipe is also a fantastic canvas for creativity. It easily adapts to a wide variety of toppings, allowing you to personalize each batch to your taste. Before baking, feel free to add ingredients like sliced mushrooms, juicy cherry tomatoes, briny olives, crumbled feta or parmesan cheese, or even thinly sliced onions and rosemary. These additions not only enhance the flavor but also make your focaccia visually stunning, perfect for any occasion.
Essential Ingredient Notes for Perfect Focaccia
Crafting delicious focaccia starts with understanding your ingredients. Here’s a closer look at the key components and why they are important for this recipe:
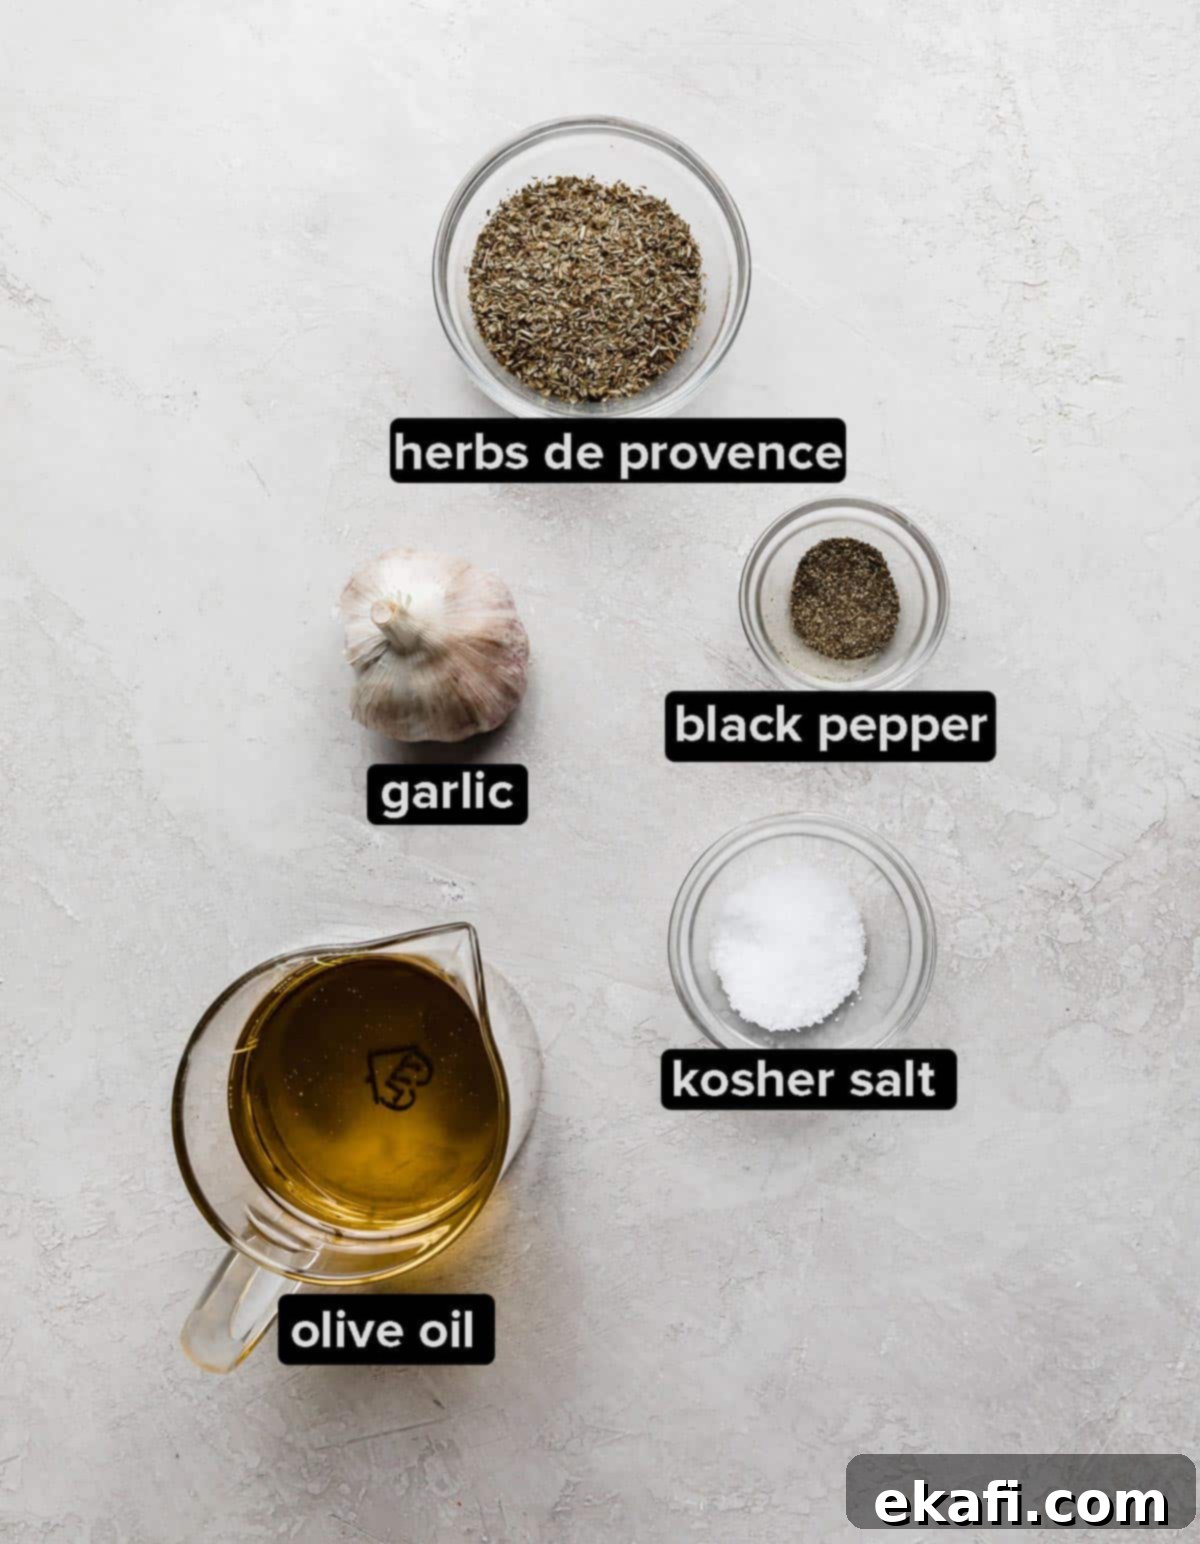
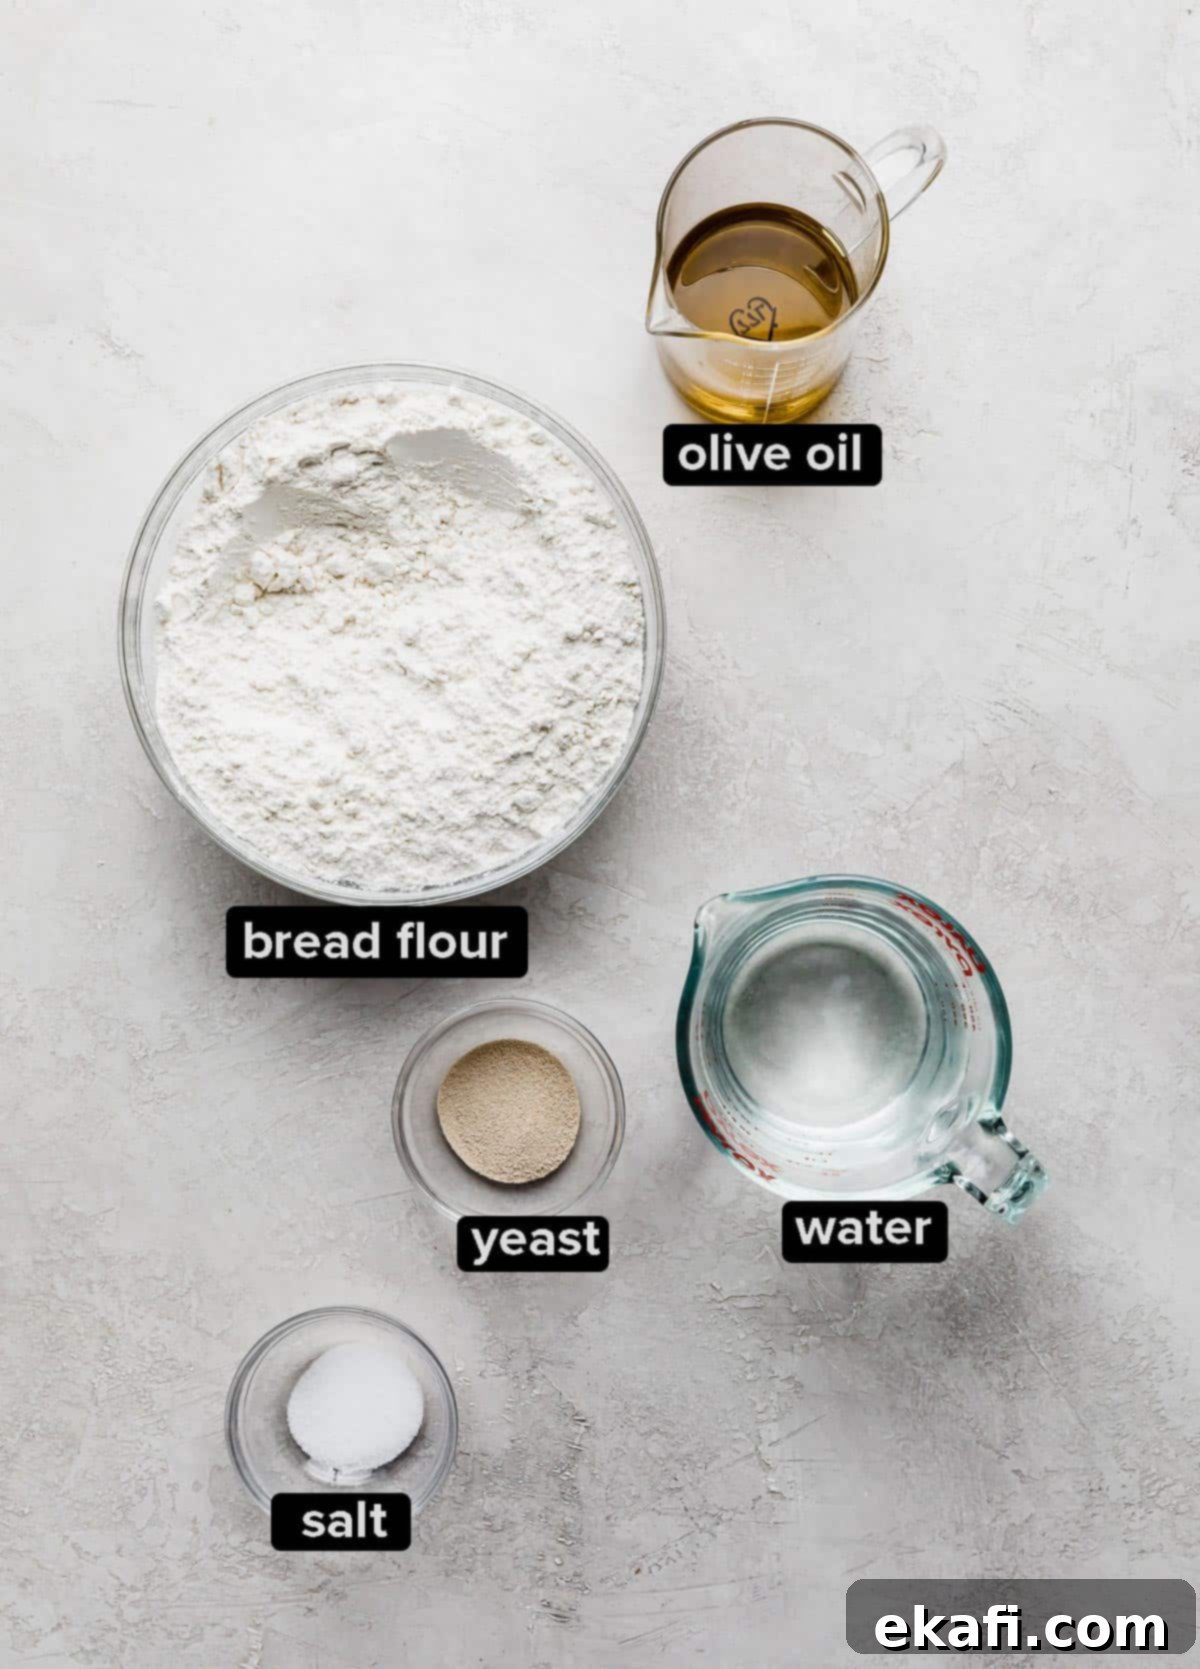
- Quality Olive Oil: The choice of olive oil is paramount, as it’s a star ingredient in focaccia, contributing significantly to its flavor and texture. This recipe uses a total of 2 cups of olive oil, so pick one you genuinely enjoy the taste of. Specifically, 1 ¾ cups are dedicated to our flavorful herbed oil, 6 tablespoons are incorporated directly into the dough for moisture and richness, and ¼ cup is used to generously coat the baking pan, preventing sticking and creating that desirable crispy bottom crust. Using a good quality extra virgin olive oil will make a noticeable difference in the final product.
- Fragrant Dried Herbs de Provence: This classic French herb blend typically includes thyme, basil, rosemary, tarragon, summer savory (which tastes similar to thyme), marjoram, oregano, and sometimes bay leaf or lavender. You can conveniently find this pre-mixed in a single jar at most grocery stores. Alternatively, feel free to create your own blend using individual dried herbs you have on hand, adjusting ratios to suit your preference. This blend imparts a wonderfully aromatic and savory depth to the focaccia.
- Fresh Garlic: While the recipe calls for 6 cloves of garlic, don’t be intimidated! The garlic flavor mellows and infuses beautifully into the olive oil during the gentle warming process, becoming a subtle, aromatic background note rather than an overpowering burst. It adds a crucial layer of savory complexity without making the bread excessively garlicky.
- Bread Flour: For focaccia, bread flour is highly recommended over all-purpose flour. The higher protein content in bread flour encourages greater gluten development, which results in a heartier, sturdier, yet still incredibly elastic dough. This makes the dough much easier to handle during the stretching and folding process and contributes to the focaccia’s characteristic chewy texture and open, airy crumb. It provides the necessary structure to trap all those wonderful air pockets.
- Instant Yeast: This recipe utilizes instant yeast, a baker’s best friend for its convenience. Unlike active dry yeast, instant yeast does not require prior activation (i.e., dissolving in warm water until foamy). It can be mixed directly with the dry ingredients, streamlining the dough-making process and saving you time without compromising on rise or flavor.
- Lukewarm Water: Since we’re using instant yeast, the water doesn’t need to be precise in temperature for activation. However, lukewarm water (around 95-105°F or 35-40°C) is still ideal as it helps the flour hydrate more effectively and encourages the yeast to start working comfortably, leading to a consistent and gentle rise. Avoid hot water, which can kill the yeast, and cold water, which will slow down fermentation too much.
Detailed Step-by-Step Instructions for Homemade Focaccia
Follow these detailed steps carefully to create a beautiful, flavorful focaccia bread that will impress everyone:
- Prepare the Herb-Infused Olive Oil. In a small saucepan, combine the 1 ¾ cups of olive oil with 2 ½ teaspoons of kosher salt. Stir the mixture gently over medium-low heat. Use a thermometer to monitor the temperature; you want it to reach between 100-110°F (38-43°C). This gentle warming helps to release the volatile oils from the herbs. Once the desired temperature is reached, remove the saucepan from the heat. Stir in the dried Herbs de Provence, 1 teaspoon of fresh ground pepper, and the minced garlic. Allow this fragrant mixture to steep (meaning, let the flavors develop and infuse into the oil) while you proceed with making the focaccia dough.
- Construct the Focaccia Dough. Begin by adding the bread flour, 2 teaspoons of salt, and instant yeast to the bowl of a stand mixer. Whisk these dry ingredients together thoroughly to ensure even distribution. Next, pour in the 6 tablespoons of plain olive oil (this is separate from the herb oil) and the 2 cups of lukewarm water. Attach the paddle attachment to your mixer and mix on low speed until all ingredients come together, forming a shaggy, sticky ball of dough. Once a sticky ball forms, switch to the dough hook attachment. Increase the mixer speed to medium and continue mixing for 5 minutes. During this time, the dough should transform into a tacky, cohesive ball that clears the bottom and sides of the bowl. If your dough is still too sticky and clinging excessively to the bowl, add one tablespoon of flour at a time until it begins to pull away. A slightly sticky dough is perfectly fine, but an overly dry or excessively sticky dough should be avoided.
- Initiate the Stretch and Fold Process (First Round). Lightly flour your work surface. Gently transfer the sticky dough onto it. Using your hands, pat the dough into a rough rectangular shape. Now, grab both ends of the rectangle and gently stretch the dough until its length roughly doubles its original size. Once stretched, fold the dough letter-style: fold one end over the middle, and then the other end over that, bringing it back to a rectangular shape. Lightly spritz the top surface of the folded dough with a little plain olive oil or nonstick cooking spray. Cover the dough loosely with plastic wrap and let it rest undisturbed for 15 minutes. This rest period allows the gluten to relax, making the dough easier to work with in subsequent steps.
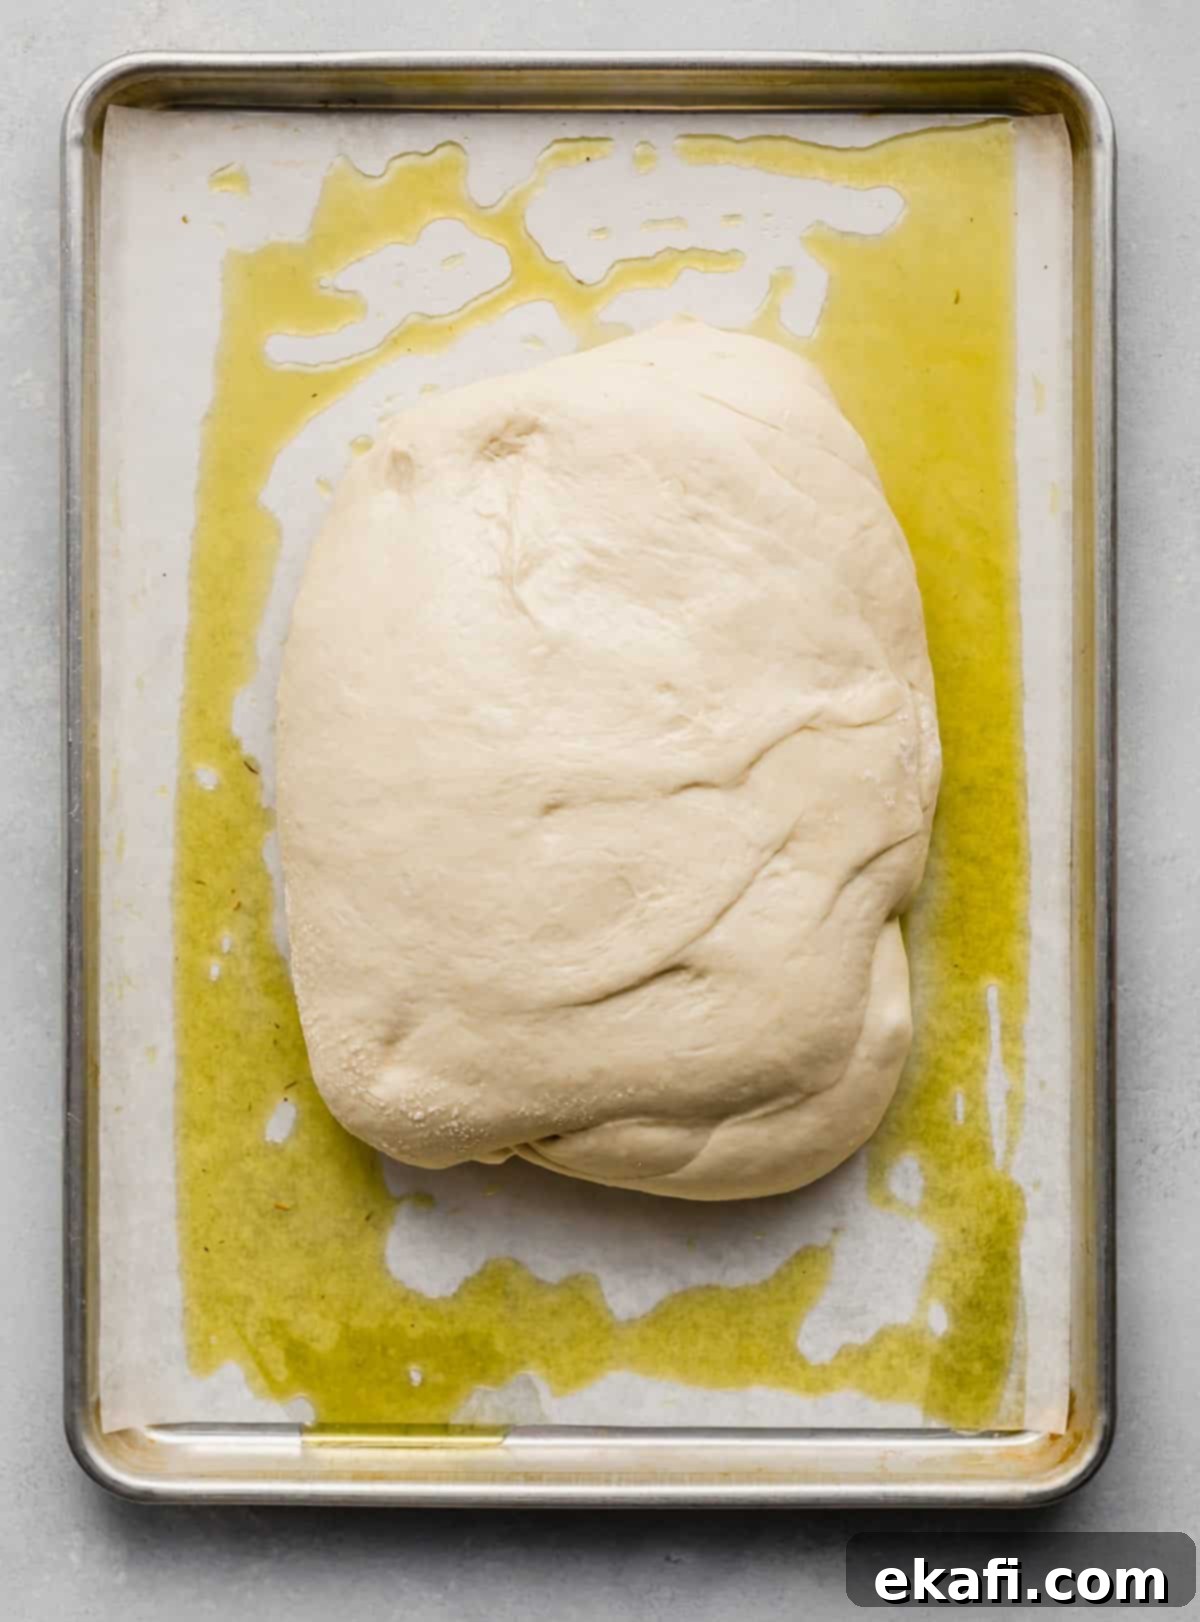
- Complete Two More Rounds of Stretch and Fold. Repeat the stretch and fold process. Gently stretch the dough into a rectangle and fold it letter-style. Spritz the top with olive oil or cooking spray, cover with plastic wrap, and let it rest for another 15 minutes. This second round further develops the gluten and builds strength. Perform the stretch and fold one final time. Spritz the dough again, cover with plastic wrap, and allow it to rest for a more extended period of 30 minutes. During these rest periods, the dough will visibly relax and slightly rise, though it won’t double in size at this stage. These folds are crucial for developing the airy texture.
- Prepare the Baking Sheet for its First Proof. Line a standard half-sheet baking pan (approximately 13×18 inches) with parchment paper. Pour the ¼ cup of plain olive oil onto the parchment and spread it evenly across the entire surface using your hands or a pastry brush. Ensure every corner is generously coated; this oil is critical for achieving a beautifully crisp bottom crust. Carefully transfer the focaccia dough onto the prepared baking sheet. Now, drizzle half of your previously prepared herb-infused olive oil directly over the top of the dough.
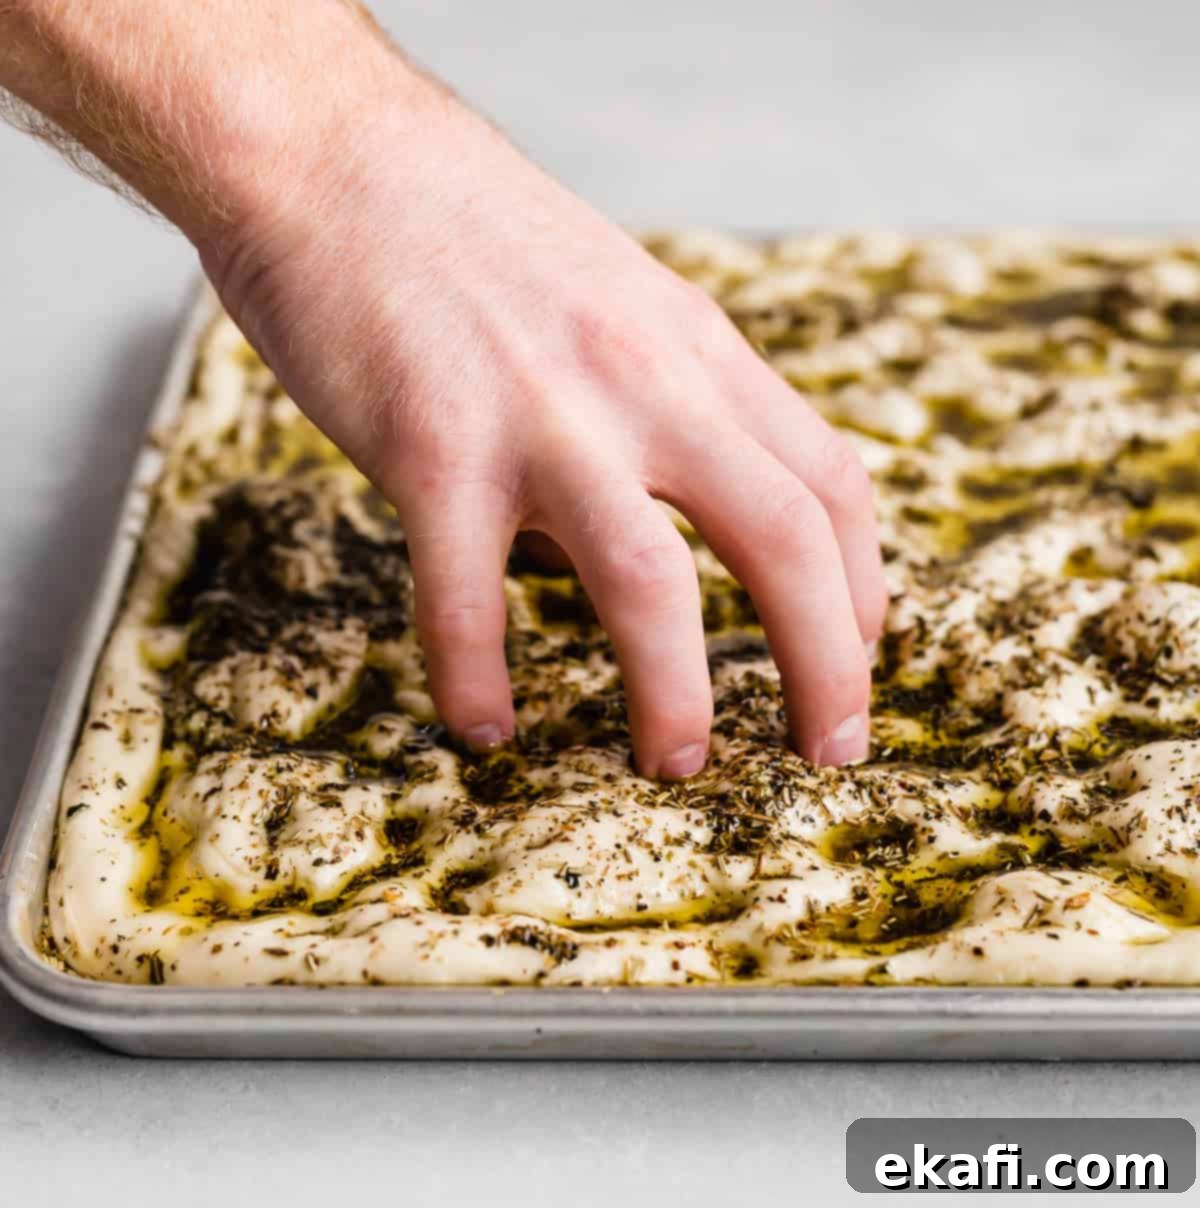
- Create Signature Dimples in the Dough. With clean, oiled fingertips, begin to gently dimple the dough across its entire surface. This means pressing your fingers down into the dough without tearing it, creating the characteristic indentations of focaccia. As you dimple, gently coax and inch the dough outwards to fill a majority of the baking pan. Don’t worry if it doesn’t reach the absolute corners at this point; it will spread further during the final proof. Add more of the herb oil as needed to the top of the dough, ensuring the entire surface is generously coated in the aromatic oil. These dimples not only give focaccia its distinct look but also serve to hold the flavorful oil, which in turn contributes to its rich taste and texture.
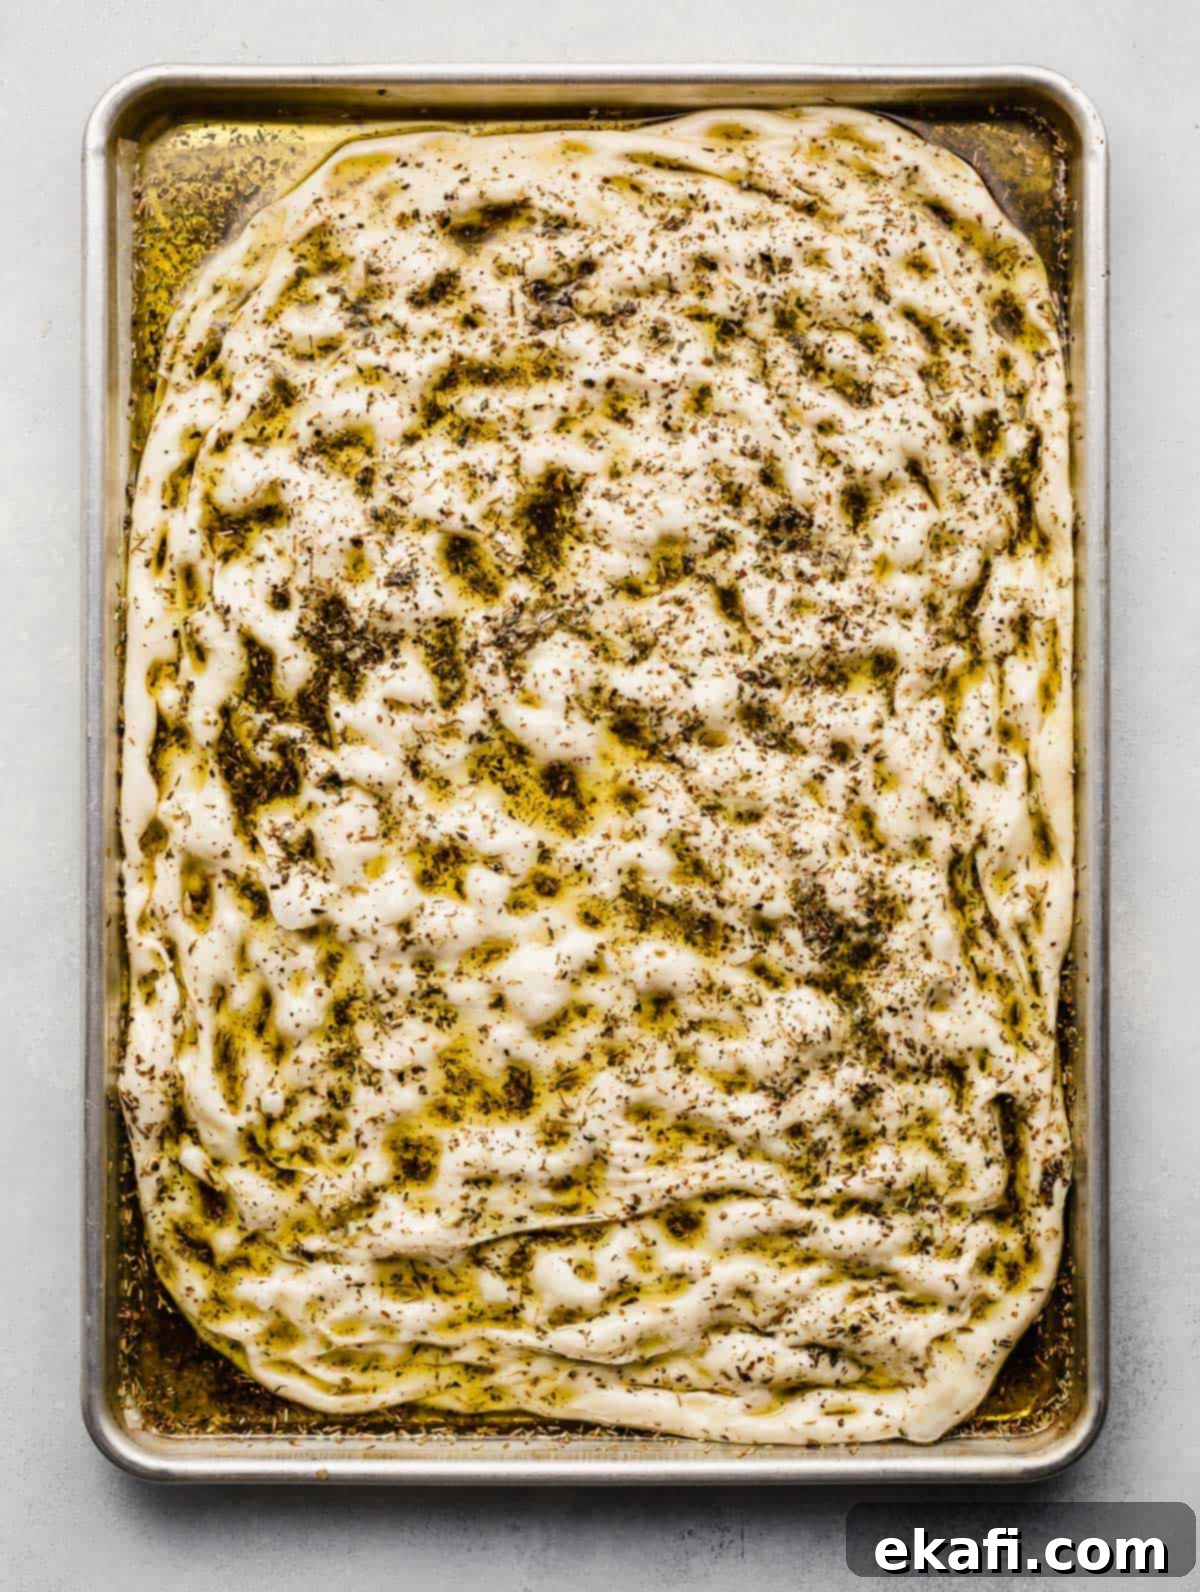
- Cover and Chill for Flavor Development. Loosely cover the entire baking pan with plastic wrap. Transfer the covered dough to the refrigerator and chill for a minimum of 2 hours, or ideally, overnight. This cold fermentation process is a secret weapon for developing deeper flavors in your focaccia and also makes the dough easier to handle. When you’re ready to bake, remove the pan from the fridge. Drizzle the remaining herb oil evenly over the dough and gently dimple it again with your fingertips. At this stage, the dough should be more relaxed and will easily spread to fill the sides and corners of the pan. Loosely cover the pan once more with plastic wrap and let it sit at room temperature for 1 hour, or until the dough has visibly doubled in size and is approximately 1 inch thick. This final proof is crucial for achieving that light, airy texture.
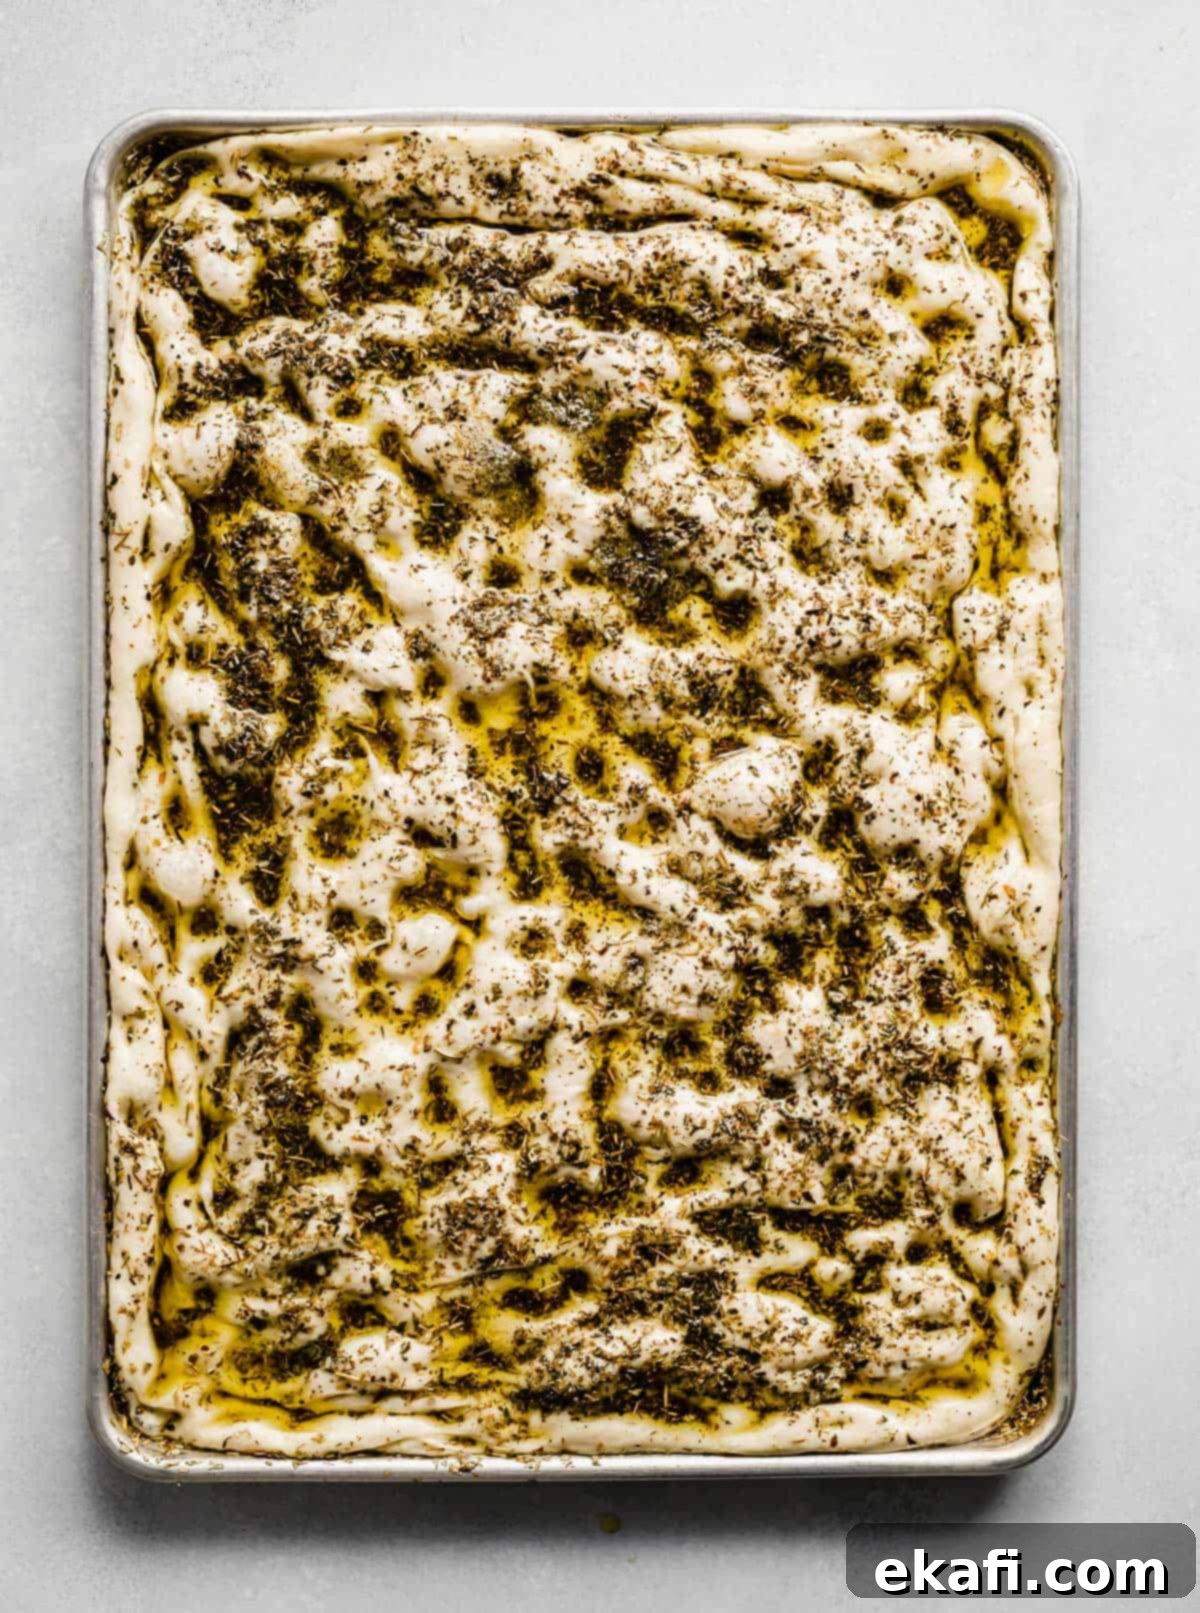
- Bake to Golden Perfection. Approximately 30 minutes into the final room temperature proofing, preheat your oven to a blazing 500°F (260°C). A very hot oven is essential for achieving the best oven spring and a crisp crust. Once the dough has doubled in size and the oven is preheated, remove the plastic wrap from the pan. Carefully place the dough into the preheated oven. Immediately reduce the oven temperature to 450°F (232°C). Bake for 10 minutes. Then, rotate the pan 180° to ensure even browning. Continue baking for an additional 5-8 minutes, or until the top of the focaccia is beautifully golden brown and the edges are crisp. Once baked, remove the focaccia from the oven and carefully transfer the bread (still on its parchment paper) to a wire cooling rack. Allow it to cool for at least 15 minutes before slicing and serving. This cooling time is crucial as it allows the internal structure of the bread to set and the flavors to fully develop.
Pro Tips for Baking the Best Focaccia Bread
Achieving focaccia perfection is easier with these expert tips and tricks:
- Plan Ahead with Overnight Chilling: For the most flavorful focaccia, utilize the overnight chilling option after dimpling the dough. This extended cold proof allows the flavors to deepen significantly and improves the dough’s texture, making it even more manageable. If you opt for an overnight chill, remember to remove the dough from the refrigerator at least 3 hours before baking. This gives it ample time to come to room temperature and undergo its final crucial proof, ensuring it doubles in size and achieves that signature airy crumb.
- Embrace the Stretch-and-Fold Technique: Resist the urge to use a rolling pin! The unique, open texture of focaccia is developed through the specific stretch, pull, fold, and dimpling techniques outlined in this recipe. A rolling pin would compress the delicate air pockets you’ve worked so hard to create. Trust the process; these manual manipulations are key to the focaccia’s characteristic chewiness and aeration.
- Precision with Oven Temperature is Key: A crucial factor for achieving that enviable oven spring and a crisp crust is a consistently hot oven. Ovens can be notoriously unreliable, so investing in an oven thermometer is highly recommended. This inexpensive tool will help you ensure your oven is at the precise 500°F temperature needed to kickstart the baking process, resulting in a perfectly risen focaccia.
- Prepare for Potential Olive Oil Drips: Given the generous amount of olive oil used, there’s a possibility of some spillage or drips in your oven while the bread bakes. To prevent a smoky mess or burnt oil, be prepared! If you have an extra-large baking sheet (larger than a standard half-sheet size), line it with aluminum foil and place it on the oven rack directly beneath your focaccia pan. This will act as a drip tray, catching any overflow. Alternatively, you can line the very bottom of your oven with a large sheet of aluminum foil.
- Unleash Your Creativity with Toppings: This focaccia is a blank canvas for your culinary imagination! For a delightful cherry tomato focaccia, simply press whole cherry or grape tomatoes onto the dimpled dough before baking. Other fantastic additions include thinly sliced black or green olives, caramelized onions, sautéed mushrooms, chopped sun-dried tomatoes (rehydrated if packed dry), fresh rosemary, or a sprinkle of shredded Parmesan or Pecorino Romano cheese. Combine several for a gourmet treat!
- Know When Your Focaccia is Perfectly Baked: You’ll know your focaccia is done when its top surface has achieved a beautiful, light golden-brown color. For absolute certainty, use an instant-read thermometer. Insert it into the center of the bread; the internal temperature should read 200°F (93°C) or slightly above. This ensures the bread is cooked through without being overbaked or dry.
- Repurpose Leftovers Ingeniously: Don’t let a single crumb go to waste! Transform any leftover focaccia into delicious croutons by cutting it into small cubes and toasting them in a pan with a little extra olive oil until crisp. These make an excellent addition to salads or soups. The remaining herbed olive oil can also be used as a flavorful dipping oil for other breads, or even as a dressing for salads.
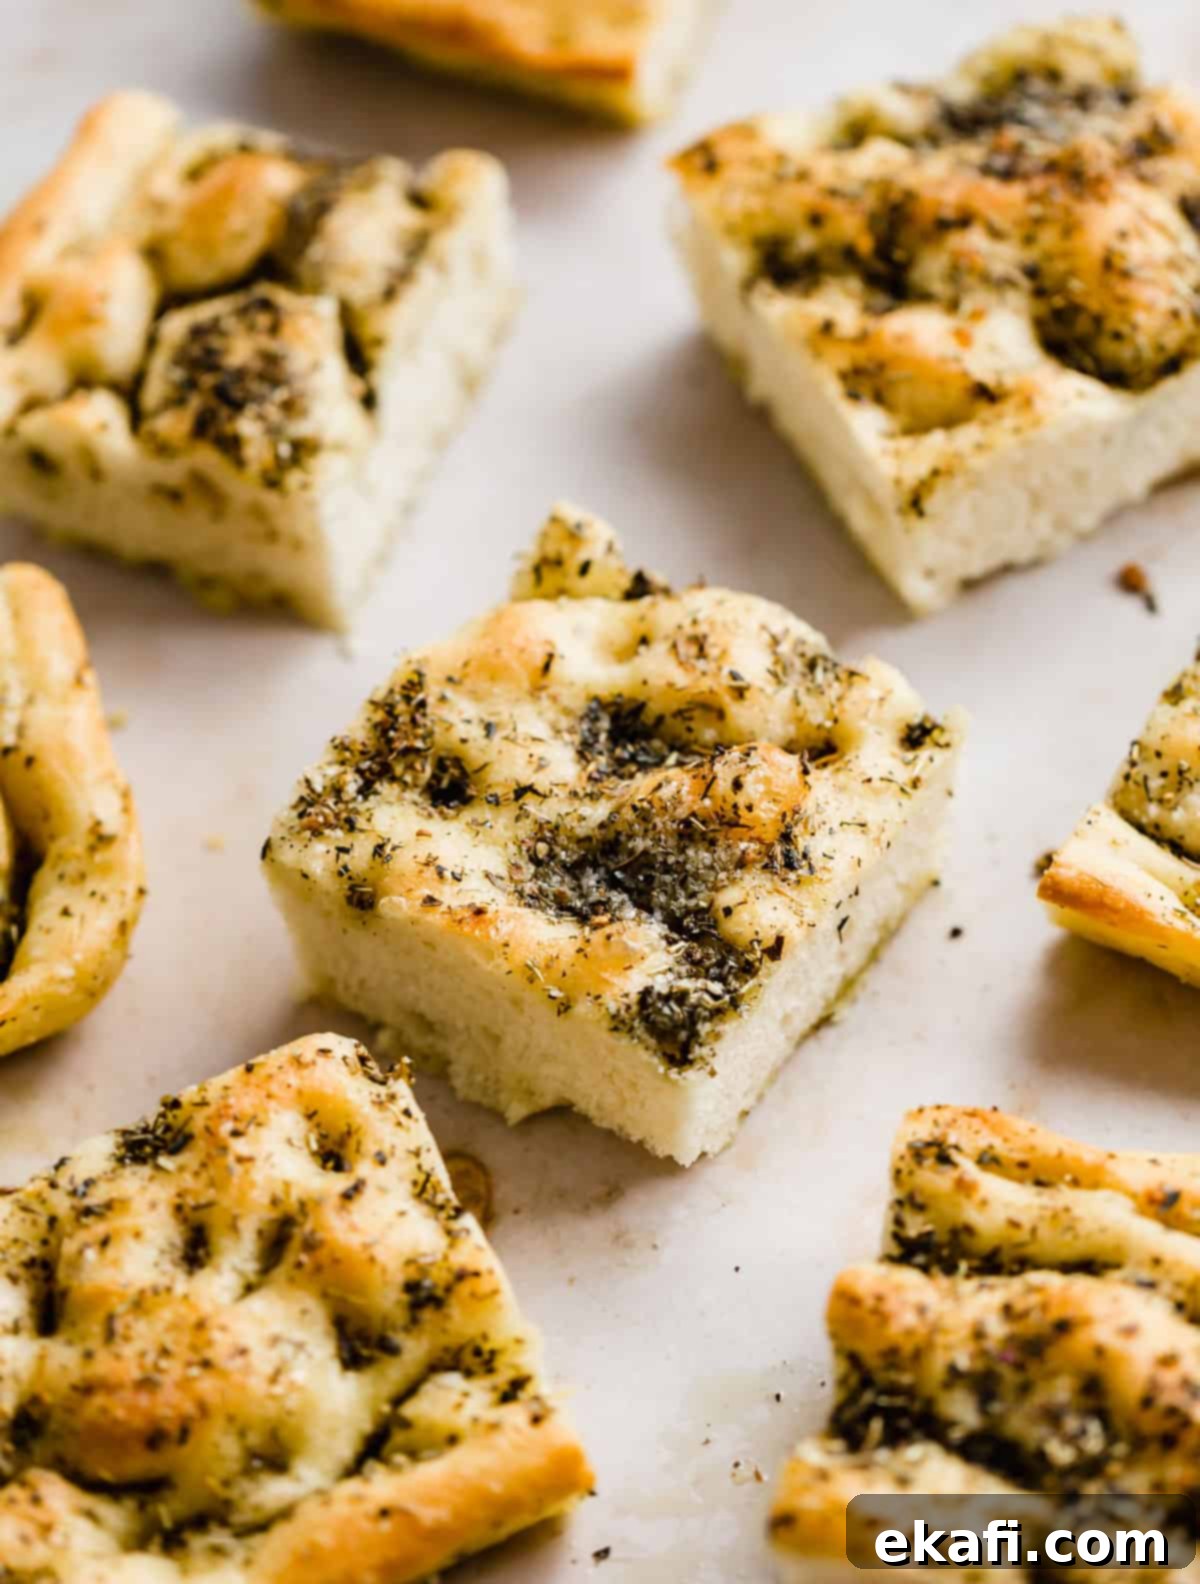
- Versatile Serving Options: Beyond squares, try cutting your baked focaccia into long, thick strips. These make fantastic “breadsticks” for dipping into sauces, hummus, or even more of that delicious herb oil! For a truly satisfying meal, slice cooled focaccia horizontally and use it as the base for robust sandwiches, perfect for showcasing its sturdy yet tender texture.
Make Ahead, Storing, and Freezing Your Focaccia
Focaccia is best enjoyed fresh, but thoughtful planning can extend its life and convenience:
- Make Ahead Option: If you plan to make this focaccia bread recipe ahead of time, the overnight proofing method is your best bet. Instead of chilling for just 2 hours after dimpling, let the dough undergo a slow, cold fermentation in the refrigerator overnight. On baking day, remove the pan from the fridge at least 3 hours before you intend to bake, allowing the dough to slowly come to room temperature and complete its final proof until it has noticeably doubled in size. Then, proceed with baking as directed. This ensures maximum flavor development and a perfect texture.
- Storing Leftovers: While focaccia is undeniably superior when fresh from the oven, you can store any leftovers in an airtight container or a large Ziploc bag at room temperature. To help maintain its quality for a bit longer, cut the bread into individual squares. Wrap each square tightly in a single layer of plastic wrap, followed by a layer of aluminum foil. This double-layer protection helps to prevent it from drying out too quickly. Stored this way, the bread should remain enjoyable for 2-3 days at room temperature. For best results, a quick warm-up in the oven or toaster oven can revive its crust and softness.
- Freezing for Future Enjoyment: Focaccia freezes beautifully, making it perfect for meal prepping. To freeze, cut the baked and cooled focaccia into individual squares or desired portions. Arrange these pieces in a single layer on a baking sheet and flash freeze them for about 1-2 hours until solid. This prevents them from sticking together. Once frozen solid, wrap each individual piece tightly in plastic wrap, then an additional layer of aluminum foil. Transfer the wrapped pieces to a large freezer-safe Ziploc bag, squeezing out as much air as possible. Focaccia can be stored in the freezer for up to 1 month. To reheat, simply thaw at room temperature and warm in a preheated oven until soft and warmed through.
Frequently Asked Questions About Focaccia Bread
Focaccia is a traditional Italian flatbread, known for its distinct dimpled surface, generous use of olive oil, and often adorned with herbs and other delicious toppings. It’s a wonderfully versatile bread, serving as an excellent side dish for salads, pasta dishes, or a variety of main courses. Due to its substantial thickness and robust structure, focaccia can also be sliced in half horizontally to create fantastic sandwich bread, perfect for packing with your favorite fillings.
There are a couple of reliable indicators for perfectly baked focaccia. Visually, the top crust should achieve a beautiful, light golden-brown hue, and the edges should appear crisp. For precise results, use an instant-read thermometer. Insert it into the thickest part of the bread; a fully baked focaccia will register an internal temperature of 200°F (93°C) or higher.
The primary difference between focaccia and many other types of bread lies in its significantly higher olive oil content. This abundance of oil, both in the dough and coating the pan and surface, is what gives focaccia its signature characteristics. When baked, the oil contributes to its unique texture: a wonderfully light, fluffy, and airy interior, riddled with numerous air pockets, contrasting beautifully with a slightly crisp and golden exterior. This combination of richness, moisture, and delicate structure sets it apart from denser, more traditional breads.
Yes, you can! If using active dry yeast, you’ll need to activate it first. Warm the lukewarm water (ensure it’s around 105-115°F or 40-46°C) and sprinkle the active dry yeast over it. Let it sit for about 5-10 minutes until it becomes foamy. Once activated, proceed with the recipe as normal, adding the yeast mixture when the recipe calls for water and oil. The total proofing times might be slightly longer, so always judge by the dough’s appearance (doubled in size) rather than strict timing.
A standard half-sheet baking pan (approximately 13×18 inches or 33×46 cm) is ideal for this recipe, providing enough surface area for the focaccia to spread and achieve a desirable thickness. Heavy-duty aluminum pans are excellent as they conduct heat evenly, promoting a uniform golden crust. You can also use a cast iron skillet for a thicker, slightly crispier crust, though you might need to adjust baking times and dough quantity for smaller pans.
More Delightful Bread Recipes to Explore
If you’ve enjoyed baking this focaccia, you’re sure to love these other fantastic bread recipes from our collection:
- Flaky Brioche Recipe
- Classic Bisquick Cornbread
- Irresistible Dinner Rolls Recipe
- Aromatic Rosemary Garlic and Parmesan Dinner Rolls
- Easy Homemade Naan Bread Recipe
Did you make this delectable focaccia bread? We’d absolutely love to hear about your experience! Click here to share your thoughts, leave a rating and review, or simply scroll down to the recipe card below and do so there. Your feedback helps us grow and inspires other home bakers!
Stay connected and up-to-date with our latest recipes and baking tips by following us on Instagram, Facebook, and Pinterest. Join our community of food lovers!
Print
SaveSaved!
Review
Focaccia Bread
Ingredients
Herb Oil
- 1 3/4 cups olive oil
- 1/4 cup dried herbs de provence
- 2 1/2 teaspoons kosher salt
- 1 teaspoon fresh ground pepper
- 6 garlic cloves – minced
Dough
- 5 cups bread flour – see note #1
- 2 teaspoons salt
- 2 teaspoons instant yeast
- 6 tablespoons olive oil
- 2 cups lukewarm water
- 1/4 cup olive oil – for spreading on the baking sheet
Equipment
-
baking sheet
Instructions
Herb Oil
-
In a small sauce pan add the olive oil and salt. Stir over medium-low heat until it reaches 100-110°F. Add the dried herbs, pepper, and garlic and stir to combine. Remove from heat and let the mixture steep while you make the focaccia dough.
Dough
-
In the bowl of a stand mixer add the bread flour, salt, and yeast. Whisk to combine. Next add the olive oil and water. Mix with the paddle attachment until the ingredients form into a sticky ball. Change to the dough hook and mix on medium speed for 5 minutes, or as long as it takes to form a tacky ball. The dough should clear the bottom and sides of the bowl. If yours doesn’t clear the sides of the bowl, add a tablespoon of flour at a time until the dough does so. IF by chance the dough sticks to the bottom of the bowl a little bit, that’s ok. We just don’t want a dry dough. (My dough always cleans the sides and bottom of the bowl).
-
Transfer the dough to a floured work surface. Pat the dough into a rectangle. Grab both ends and stretch the dough until it’s twice it’s size. Fold it letter style, over itself to return the dough back to a rectangular shape. Spritz the top of the dough with olive oil or nonstick cooking spray. Cover the dough with plastic wrap and let rest for 15 minutes.
-
Stretch and fold the dough again. Spritz the dough with nonstick cooking spray or olive oil, cover with plastic wrap and let rest for 15 more minutes.
-
One last time, stretch and fold the dough again. Spritz the dough with nonstick cooking spray or olive oil, cover with plastic wrap and let rest for 30 more minutes. The dough should rise slightly during this time (but won’t double in size).
-
Line a baking sheet with parchment paper and spread the ¼ cup of olive oil over the parchment (use your hands or a pastry brush), making sure the olive oil covers the entire surface.
-
Transfer the dough to the baking sheet. Spoon half of the herb oil over the dough.
-
Using your fingertips, dimple the dough, gently inching it to the a majority of the pan. The dough doesn’t have to fit into the corners at this time. Add more herb oil as needed to the top of the dough. You want the entire surface coated in oil.
-
Cover the pan with plastic wrap and place in the refrigerator for 2 hours (or overnight if you wish) see note #2.
-
Remove from the fridge. Drizzle remaining herb oil over the dough and dimple again. The dough should go to the sides and corners of the pan. Loosely cover with the plastic wrap and let sit at room temperature for 1 hour or until doubled in size.
-
See note #3. About 30 minutes into the proofing, preheat the oven to 500°F.
-
When ready to bake, remove the plastic wrap, place the dough in the oven and immediately turn the oven to 450°F. Bake for 10 minutes. Then, rotate the pan 180° and bake an additional 5-8 minutes or until the top is lightly golden brown.
-
Remove from the oven and transfer the bread to a cooling wrack. Let cool for 15 minutes before slicing and servings.
Notes
- If making this at high altitude, start with 4 cups of bread flour and work your way up gradually. High altitude baking can affect hydration, so it’s important not to make the dough overly dry. Adjust as needed to achieve a tacky, not dry, dough.
- If you choose to chill the dough overnight for enhanced flavor, remember to remove it from the fridge approximately 3 hours before you plan to bake. This crucial step allows the dough to slowly come to room temperature and complete its final proof, ensuring it doubles in size for the perfect airy texture.
- Be Prepared for Olive Oil Drips! Due to the generous amount of olive oil used, there’s a possibility of some overflow into your oven during baking. To prevent a smoky mess or a difficult cleanup, be proactive! If you own an extra-large baking sheet (one that’s larger than a standard half baking sheet), line it with aluminum foil and place it on the oven rack directly below the focaccia while it bakes. This will effectively catch any potential drips. Alternatively, you can line the very bottom of your oven with a large sheet of aluminum foil to catch any spills.
Recipe source: adapted from Brown Eyed Baker, who originally sourced the recipe from The Bread Bakers Apprentice cookbook.
Nutrition
This recipe was originally published on Sept. 21, 2020. It was republished on Feb. 23, 2022, to include additional information and photos.
