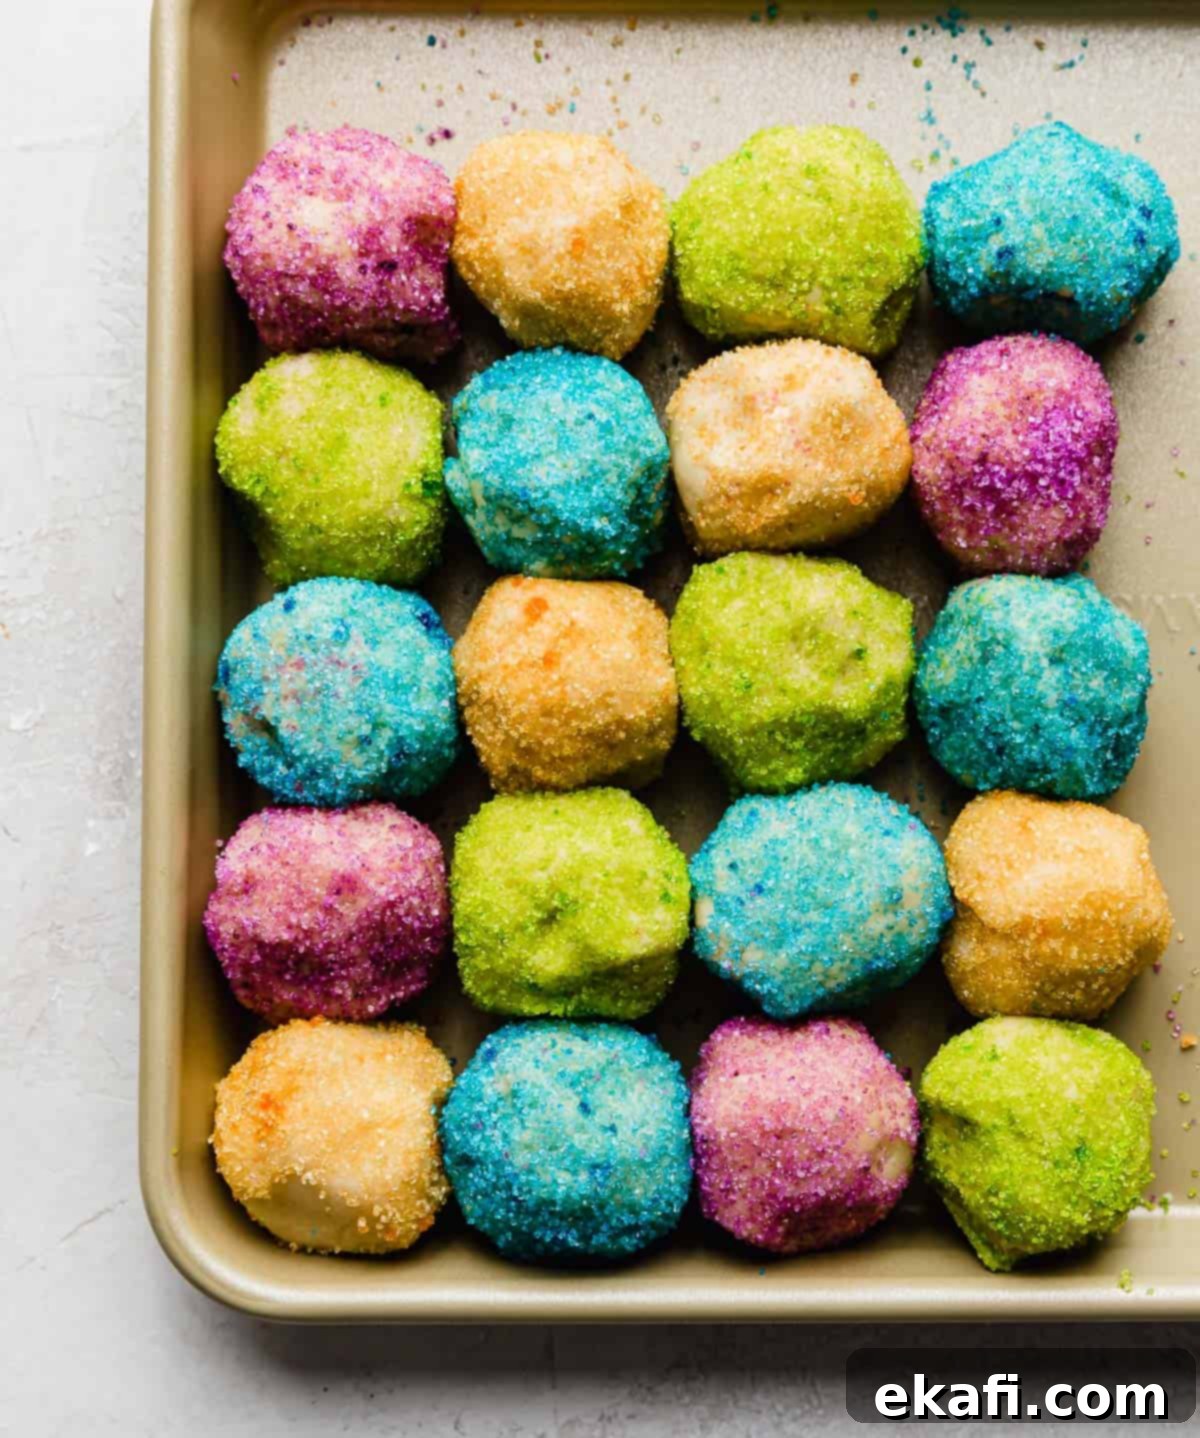
Irresistible One-Bowl Sugar Coated Cookies: Your Go-To Recipe for Festive Fun
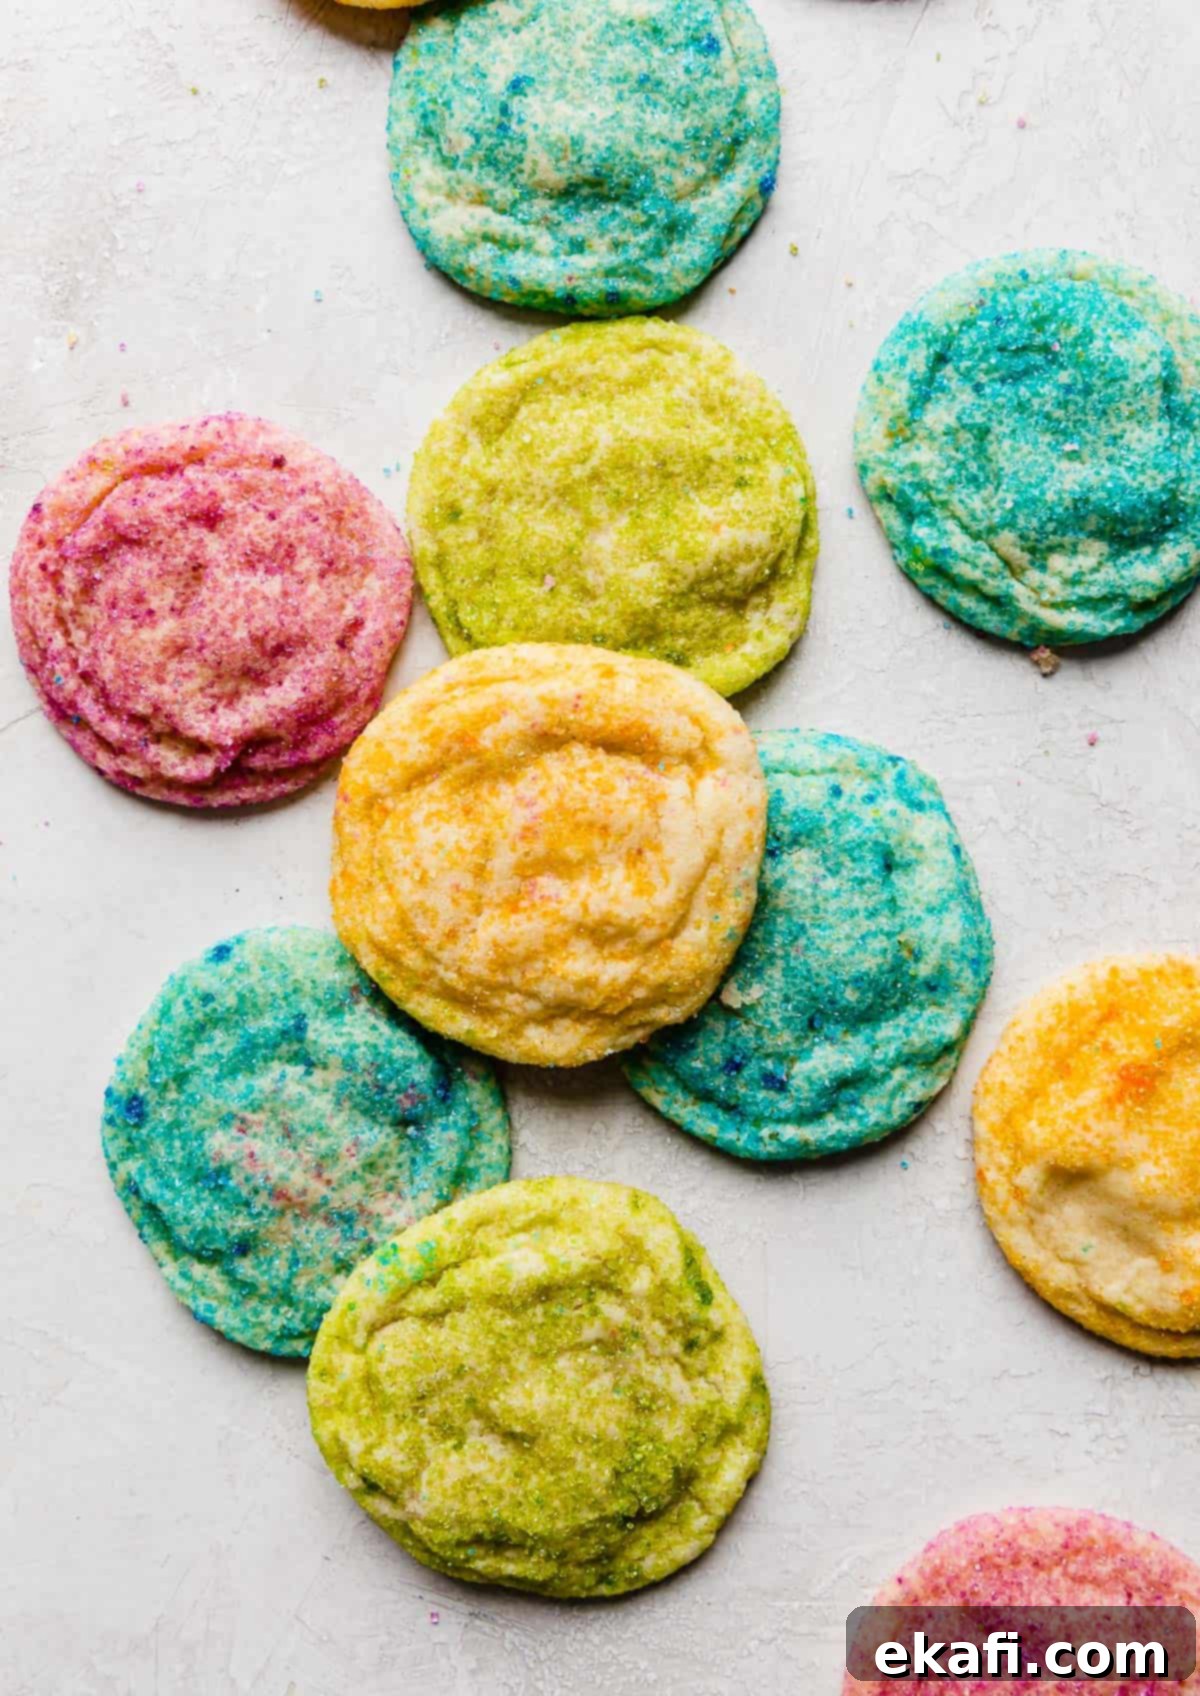
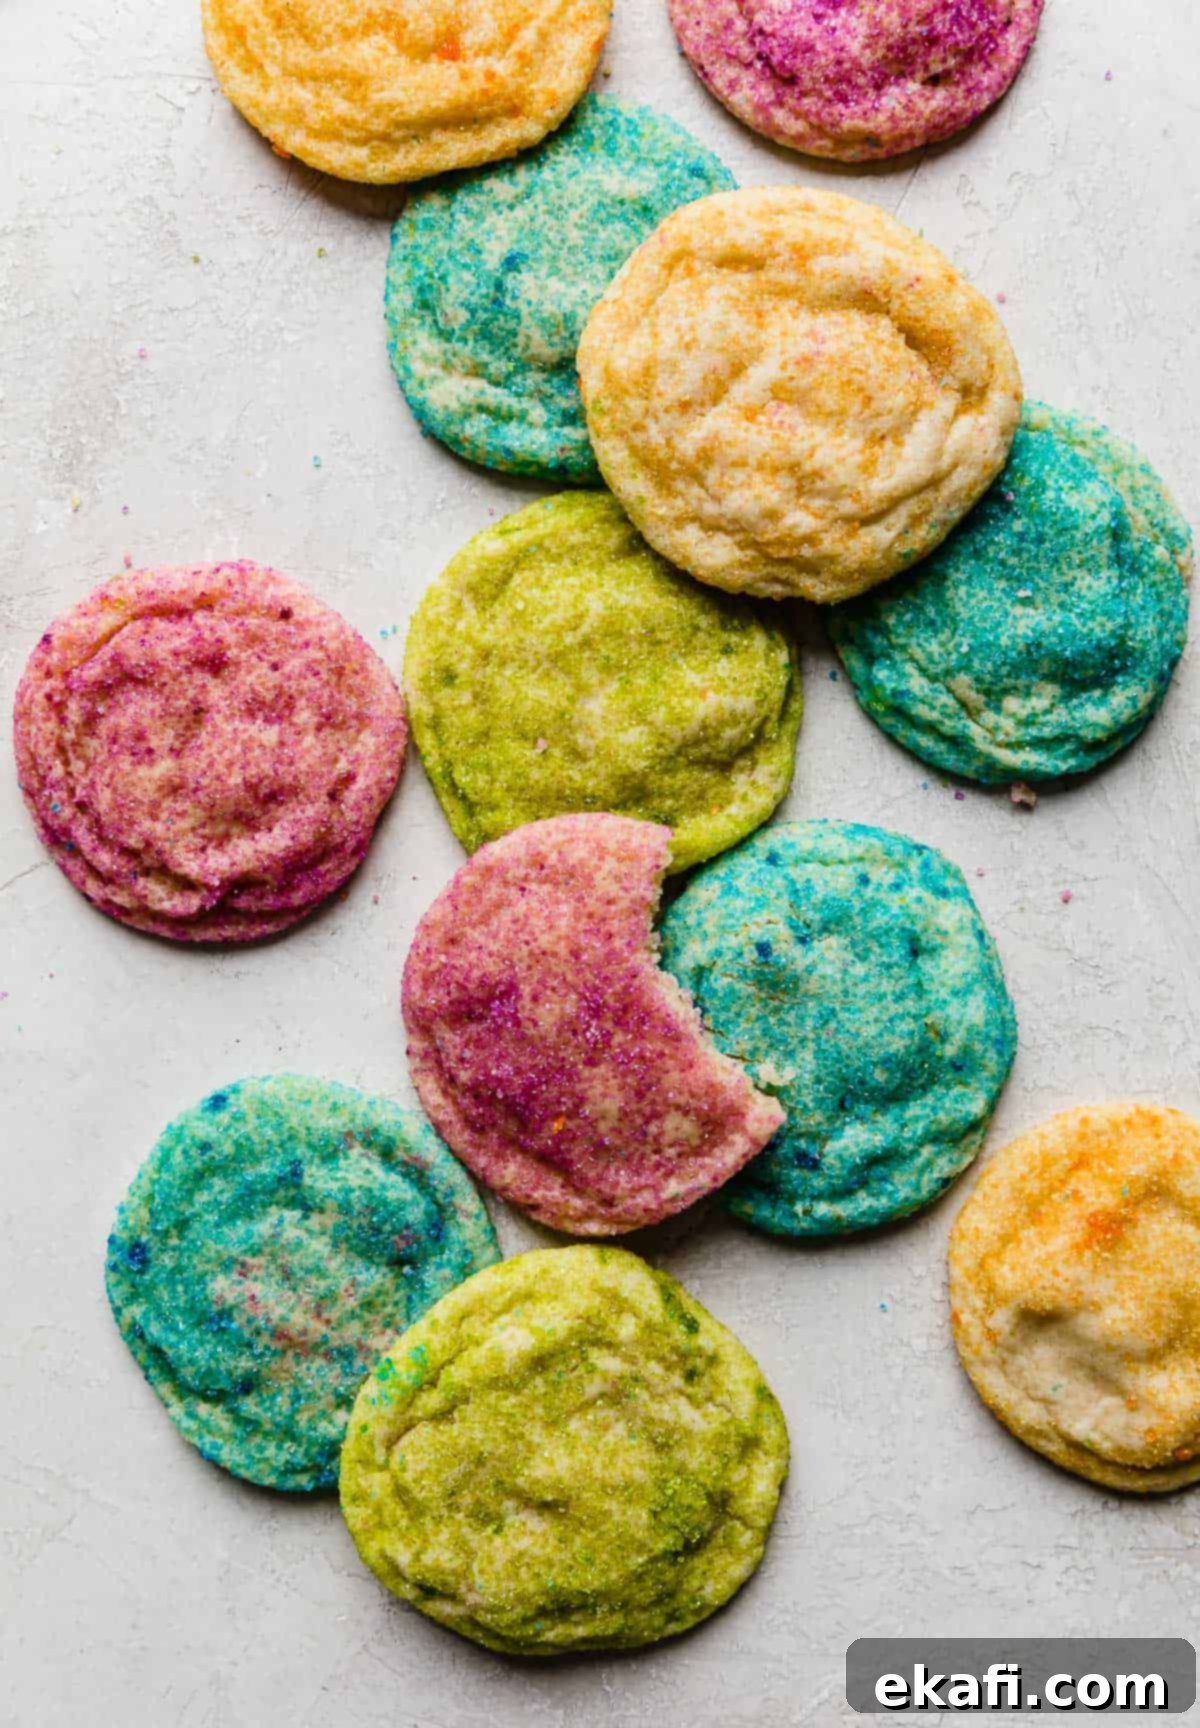
Get ready to bake some joy with these delightful Sugar Coated Cookies! Imagine soft, tender sugar cookies, each rolled in vibrant colored sugar, transforming them into an instant celebration. This incredibly easy, one-bowl recipe makes whipping up a batch of these fun treats a breeze, perfect for bakers of all skill levels. While they’re an absolute hit for springtime gatherings with their pastel hues, these versatile cookies are truly perfect for any holiday or season. Simply switch up your color palette, and you’ll have a batch of custom cookies ready for Christmas, Halloween, Valentine’s Day, birthdays, or just a bright everyday snack!
Looking for other fantastic sugar cookie recipes or sweet treats? If you prefer to roll out dough and use cookie cutters for beautifully shaped designs, my No Fail Sugar Cookies are an absolute must-try. They are consistently soft, wonderfully thick, and bake up perfectly every single time. For those who love a thick and chewy frosted sugar cookie that rivals your favorite bakery, you’ll adore my Crumbl Sugar Cookie Recipe. And for another whimsical treat, especially if you’re celebrating spring or Easter, be sure to check out my playful Bunny Bait snack mix!
Why This Sugar Coated Cookie Recipe Works So Well
This recipe isn’t just about beautiful cookies; it’s about making the baking process as enjoyable and stress-free as the eating! Here are a few reasons why these sugar coated cookies will quickly become a household favorite:
- Effortless One-Bowl Sugar Cookie Dough: Say goodbye to mountains of dirty dishes! This recipe streamlines your baking process by requiring just one bowl for mixing the dough. This means less cleanup, less fuss, and more time to enjoy your delicious creations. It’s perfect for busy weeknights, spontaneous baking sessions, or when you need a quick yet impressive dessert.
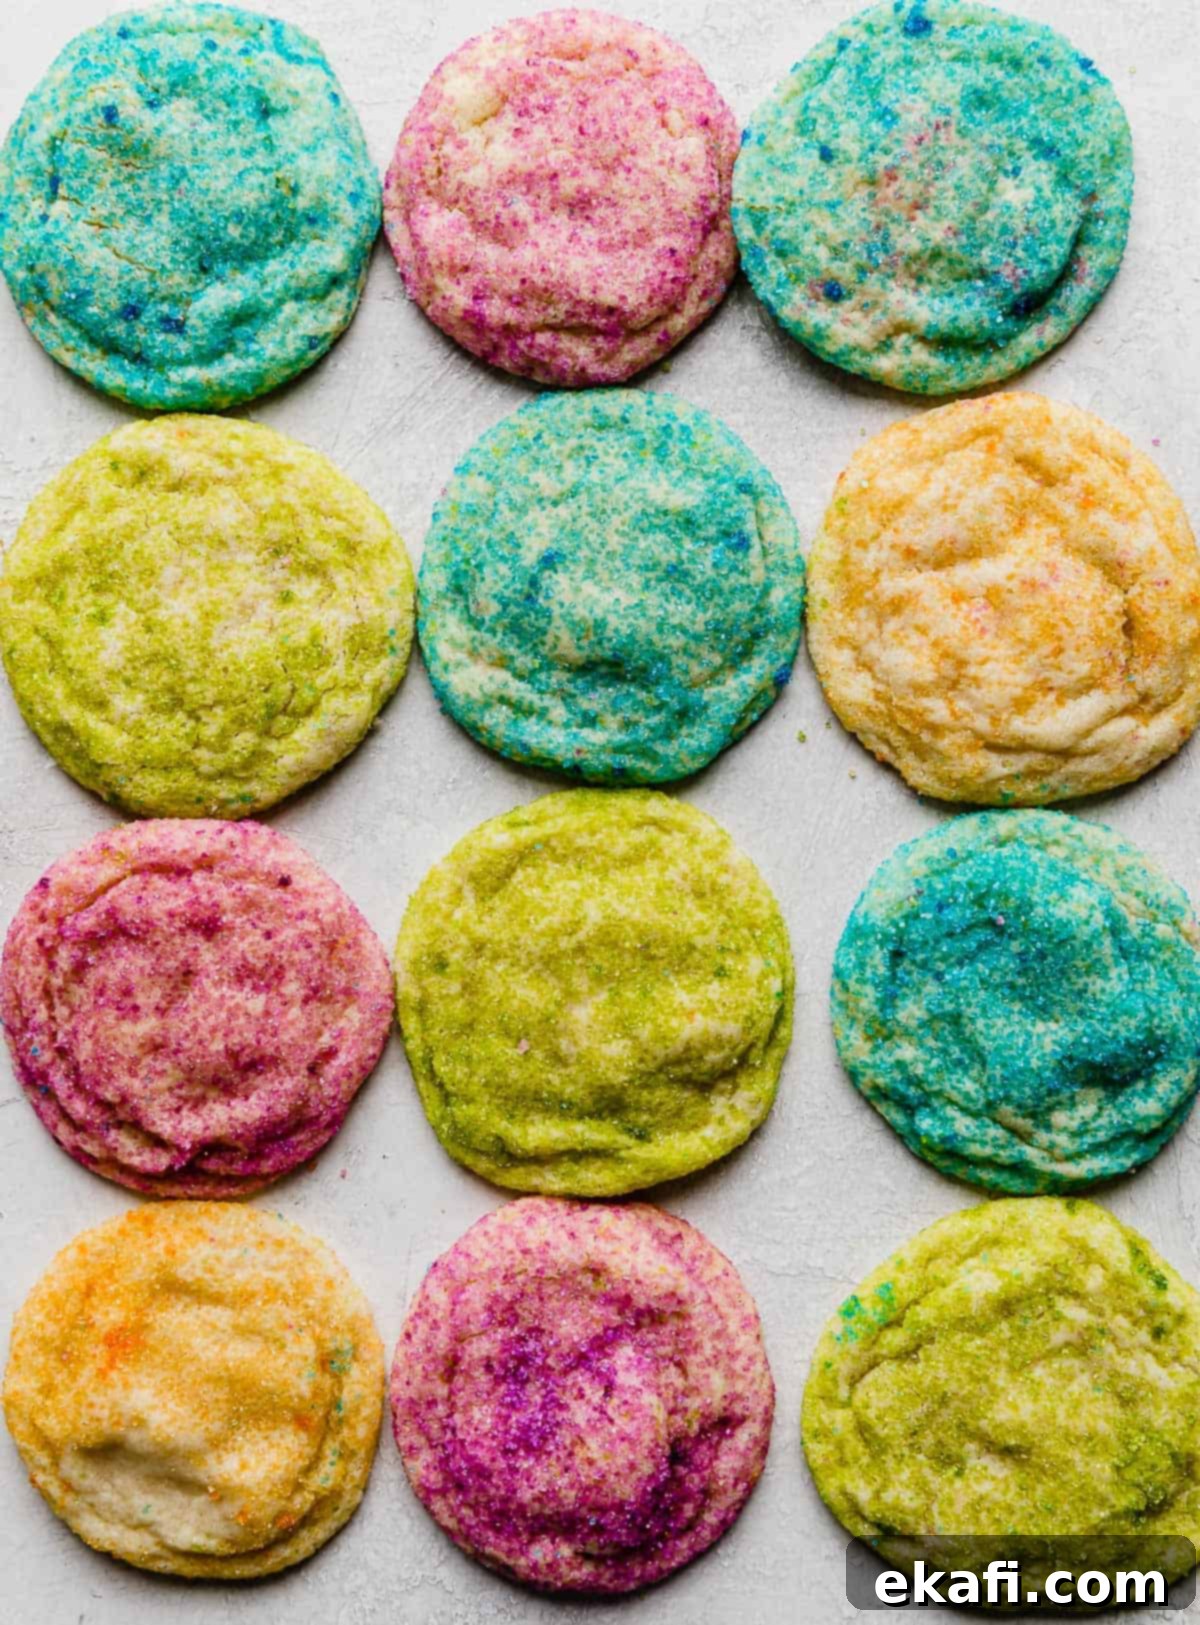
- Vibrant and Versatile Colored Sugar Coating: The magic of these cookies truly comes alive with their colorful sugar coating. You have complete creative freedom to use any colors, or even a mix of many, to match your desired theme. For a cheerful spring vibe, I often opt for soft pastel colors like light pinks, blues, yellows, and greens. But the possibilities are endless!
- Christmas: Dazzle with classic red and green sugar.
- Halloween: Get spooky with orange and black, or even purple and lime green.
- Valentine’s Day: Sweeten things up with pink, red, and white.
- St. Patrick’s Day: Embrace the luck of the Irish with various shades of green.
- 4th of July: Show your patriotic spirit with bold red, white, and blue.
- Easter: Think bright yellows, baby blues, soft pinks, and minty greens.
- Birthdays & Baby Showers: Coordinate the sugar colors with your party theme for a personalized touch.
- Everyday Fun: Use rainbow sprinkles, sparkly sugars, or any combination that sparks joy!
The colored sugar not only adds stunning visual appeal but also provides a delightful crunch and extra sweetness with every bite.
- Soft, Chewy Texture: We’ve perfected the balance of ingredients to ensure these cookies come out perfectly soft and chewy every single time, never dry or crumbly. The key lies in the precise ratio of flour to fat and the baking technique, which we’ll cover in detail.
- Quick to Prepare: From start to finish, these cookies are surprisingly quick to make. With minimal prep and a short bake time, you can have fresh, warm, sugar-coated treats ready in under 30 minutes.
Ingredient Notes for Perfect Sugar Coated Cookies
Each ingredient plays a crucial role in achieving the perfect texture and flavor for these delightful sugar cookies. Here’s a detailed look at what you’ll need and why:
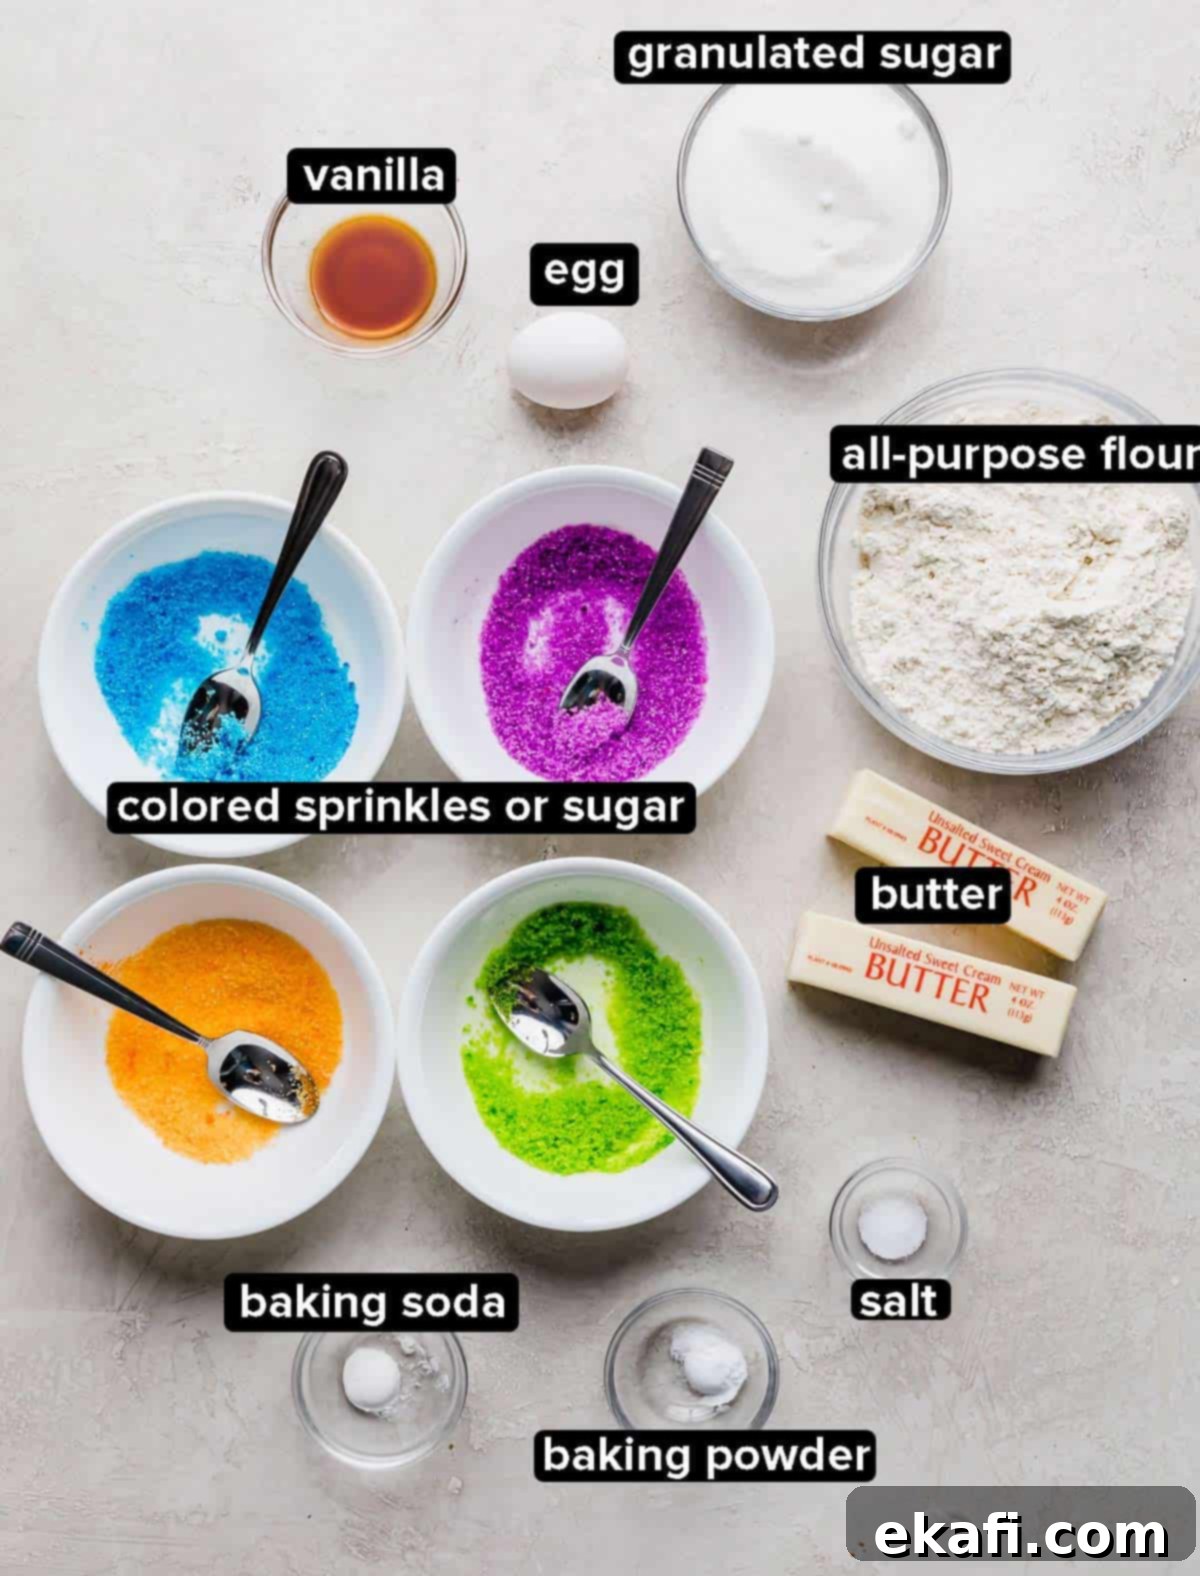
- Unsalted Butter: It’s crucial to use unsalted butter and ensure it’s at room temperature (softened, but not melted). Room temperature butter creams beautifully with sugar, creating tiny air pockets that contribute to a light and fluffy cookie dough. Using unsalted butter gives you precise control over the salt content in your recipe. If you only have salted butter on hand, simply reduce the amount of added salt by ¼ teaspoon for every ½ cup of butter used in the recipe.
- Granulated Sugar: This recipe calls for granulated sugar in two ways. Firstly, it’s a primary ingredient within the cookie dough, contributing to its sweetness and tender texture. Secondly, and most notably, it’s the base for our colorful coating! We’ll use extra granulated sugar to dye with food coloring, creating the beautiful, vibrant exterior that defines these cookies. The sugar coating also adds a delightful crunchy texture.
- Egg: The egg serves as a vital binding agent, holding the cookie dough together and preventing it from crumbling. It also contributes to the richness and moisture content of the cookies, helping them maintain their shape while baking and ensuring a tender crumb. Make sure your egg is at room temperature for better emulsification with the butter and sugar mixture.
- Vanilla Extract: High-quality vanilla extract is the star of the show when it comes to flavor in these sugar coated cookies. Since sugar cookies are inherently simple, vanilla is the main flavoring agent that truly elevates the taste. Don’t skimp on good vanilla; it enhances the overall warmth and sweetness of the cookie, making each bite incredibly satisfying. For a twist, you could experiment with almond extract or a combination of vanilla and lemon extract.
- All-Purpose Flour: The right amount of flour is critical for achieving the perfect cookie texture. It provides structure to the dough. Too little flour, and your cookies might spread too much and be flat; too much, and they could become dry and tough. Always measure your flour correctly – spoon it into your measuring cup and then level it off with a straight edge (the spoon and level method) to avoid overpacking.
- Baking Soda & Baking Powder: These two leavening agents work in tandem to give our cookies their signature soft and slightly puffy texture. Baking soda reacts with acidic ingredients (though less prominent here, it reacts with residual acids in butter and flour) and helps with spread, while baking powder provides an initial lift in the oven, contributing to a chewy interior. Together, they ensure the cookies rise beautifully without becoming cakey.
- Food Coloring: This is where the fun begins for your colored sugar! If you opt for store-bought colored sugar, you won’t need extra food coloring. However, making your own is simple and allows for endless customization. For best results, use gel food coloring as it’s more concentrated and less likely to water down your sugar. Start with 1-3 drops per ¼ cup of granulated sugar, mixing until evenly colored. You can add more coloring for a brighter hue or more sugar to lighten it. If the sugar feels a bit damp after coloring, spread it on a plate and let it air dry for 30 minutes before using.
Step-by-Step Instructions for Easy Sugar Coated Cookies
Follow these simple steps to create a batch of vibrant and delicious sugar coated cookies. Remember, proper technique ensures the best results!
- Prepare Your Colored Sugar: Before you start mixing the dough, prepare your colored sugar. Place different colors of granulated sugar into small, separate bowls. If you’re making your own, add 1-3 drops of gel food coloring per ¼ cup of sugar and mix well until uniform. This ensures it’s ready for rolling immediately.
- Preheat Oven & Line Baking Sheet: Preheat your oven to 350°F (175°C). Line a baking sheet with a silicone baking mat or parchment paper. This prevents sticking and ensures even baking.
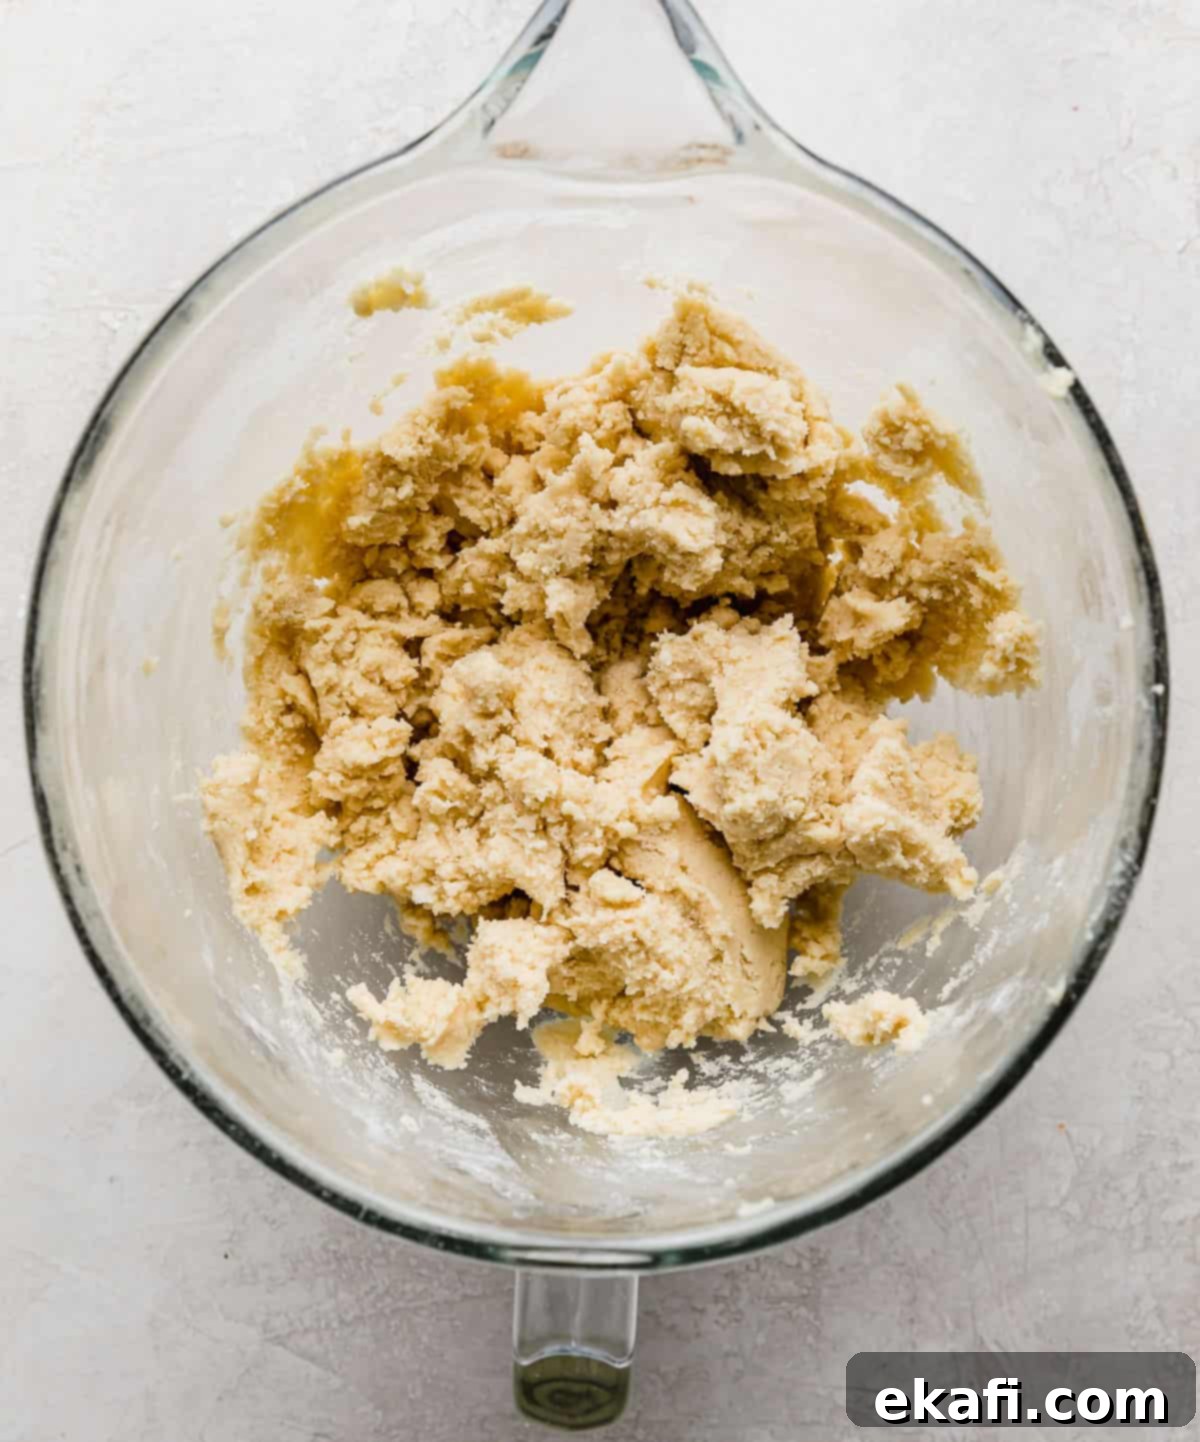
- Cream Butter and Sugar: In a large bowl, using a hand mixer or a stand mixer fitted with a paddle attachment, cream together the softened unsalted butter and granulated sugar until the mixture is light, fluffy, and pale in color, typically 2-3 minutes. This step incorporates air, which is crucial for a soft cookie. Scrape down the sides of the bowl with a spatula as needed to ensure everything is well combined.
- Add Egg and Vanilla: Beat in the room temperature egg and vanilla extract until they are fully incorporated into the butter mixture. Mix just until combined; do not overmix at this stage.
- Incorporate Dry Ingredients: Gradually add the all-purpose flour, baking soda, baking powder, and salt to the wet ingredients. Mix on low speed until the dough just comes together. It’s important to stop mixing as soon as the flour is incorporated. Overmixing will develop the gluten, resulting in tough cookies. The dough should be soft but manageable.
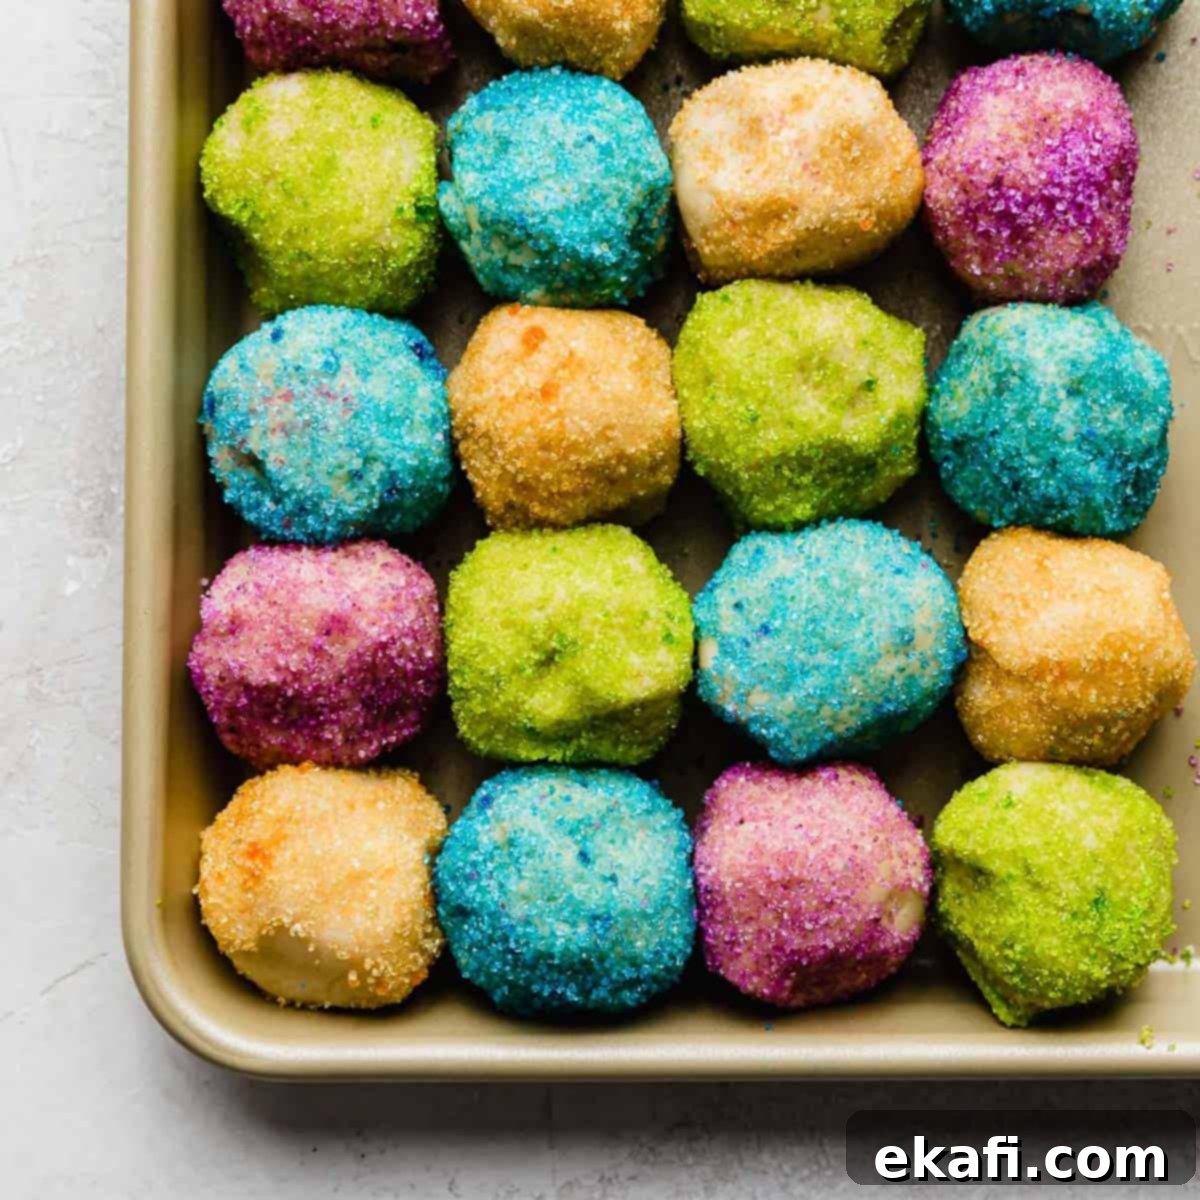
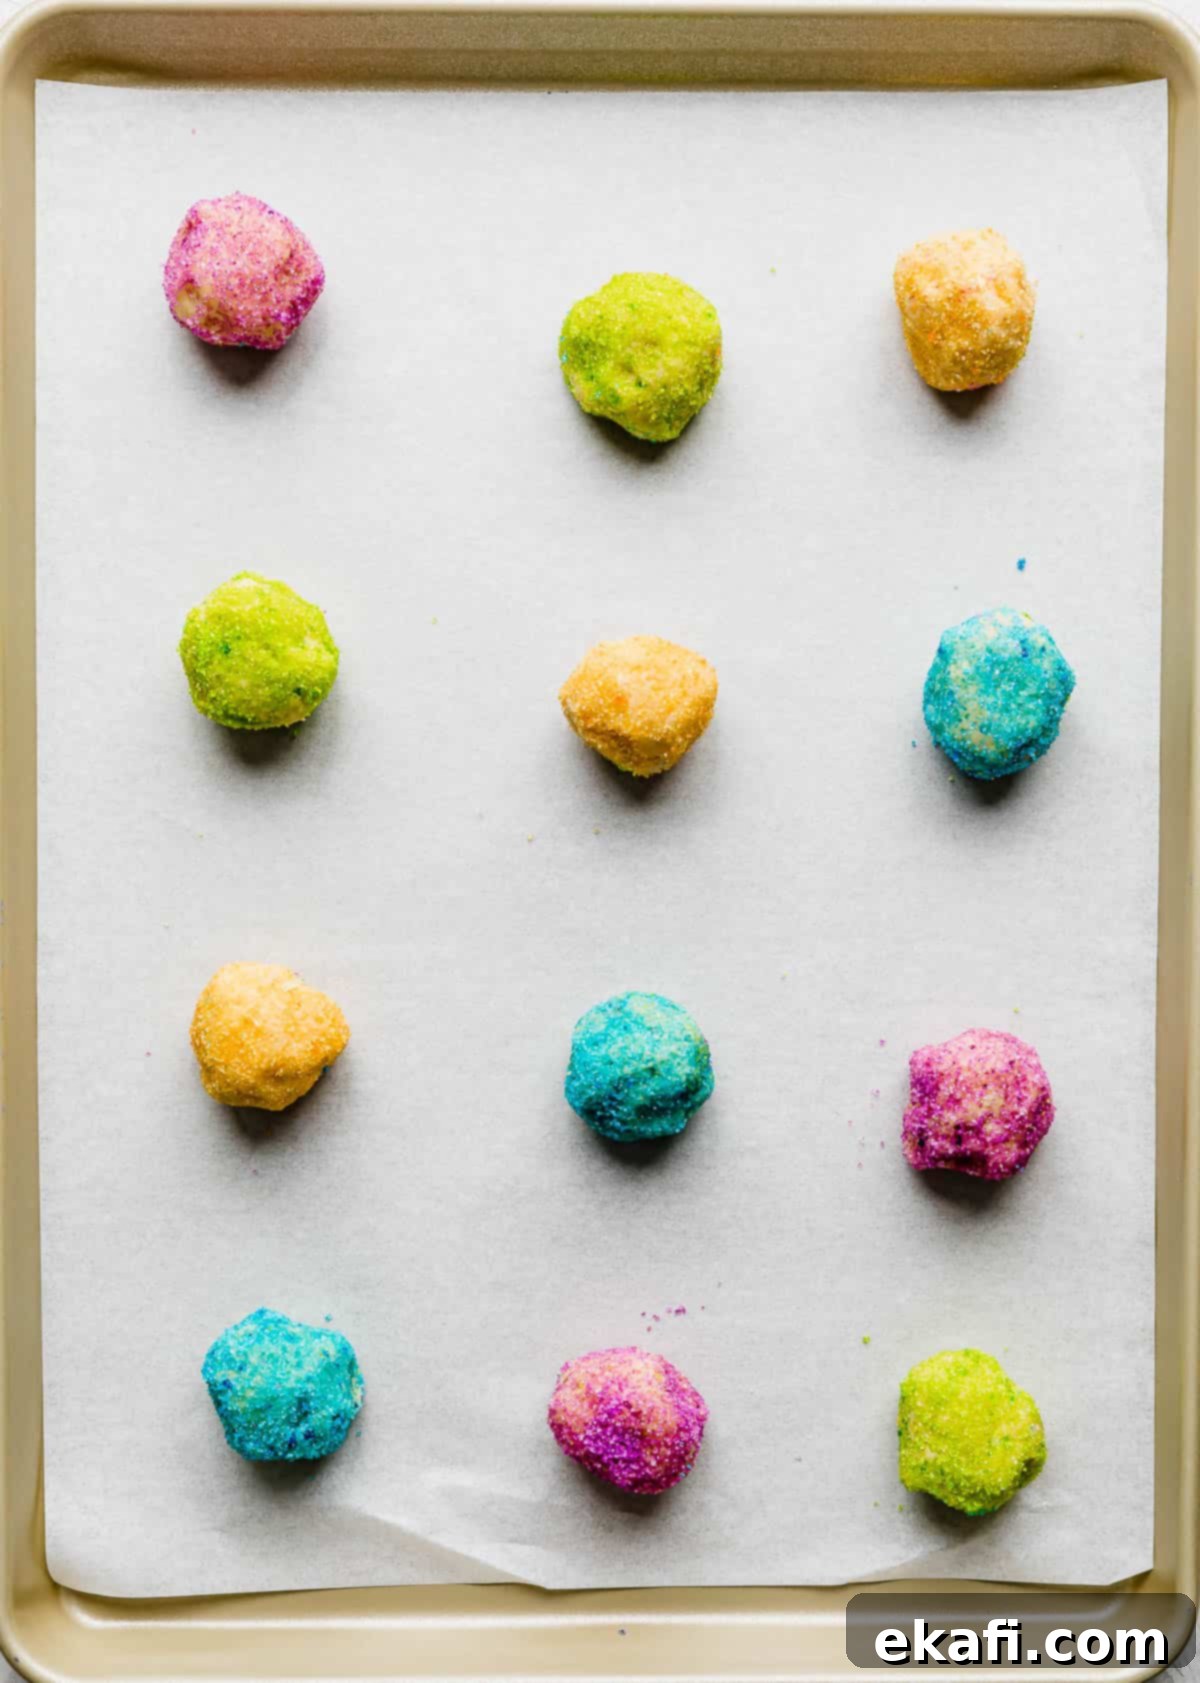
- Scoop and Roll in Colored Sugar: Scoop the dough into 2-tablespoon sized balls. A cookie scoop works perfectly for uniform sizing. Immediately roll each dough ball in your chosen colored sugar, ensuring it’s completely coated. The dough needs to be fresh and slightly tacky for the sugar to stick well. Place the sugar coated cookie dough balls on your prepared baking sheet, leaving about 2 inches of space between each to allow for spreading.
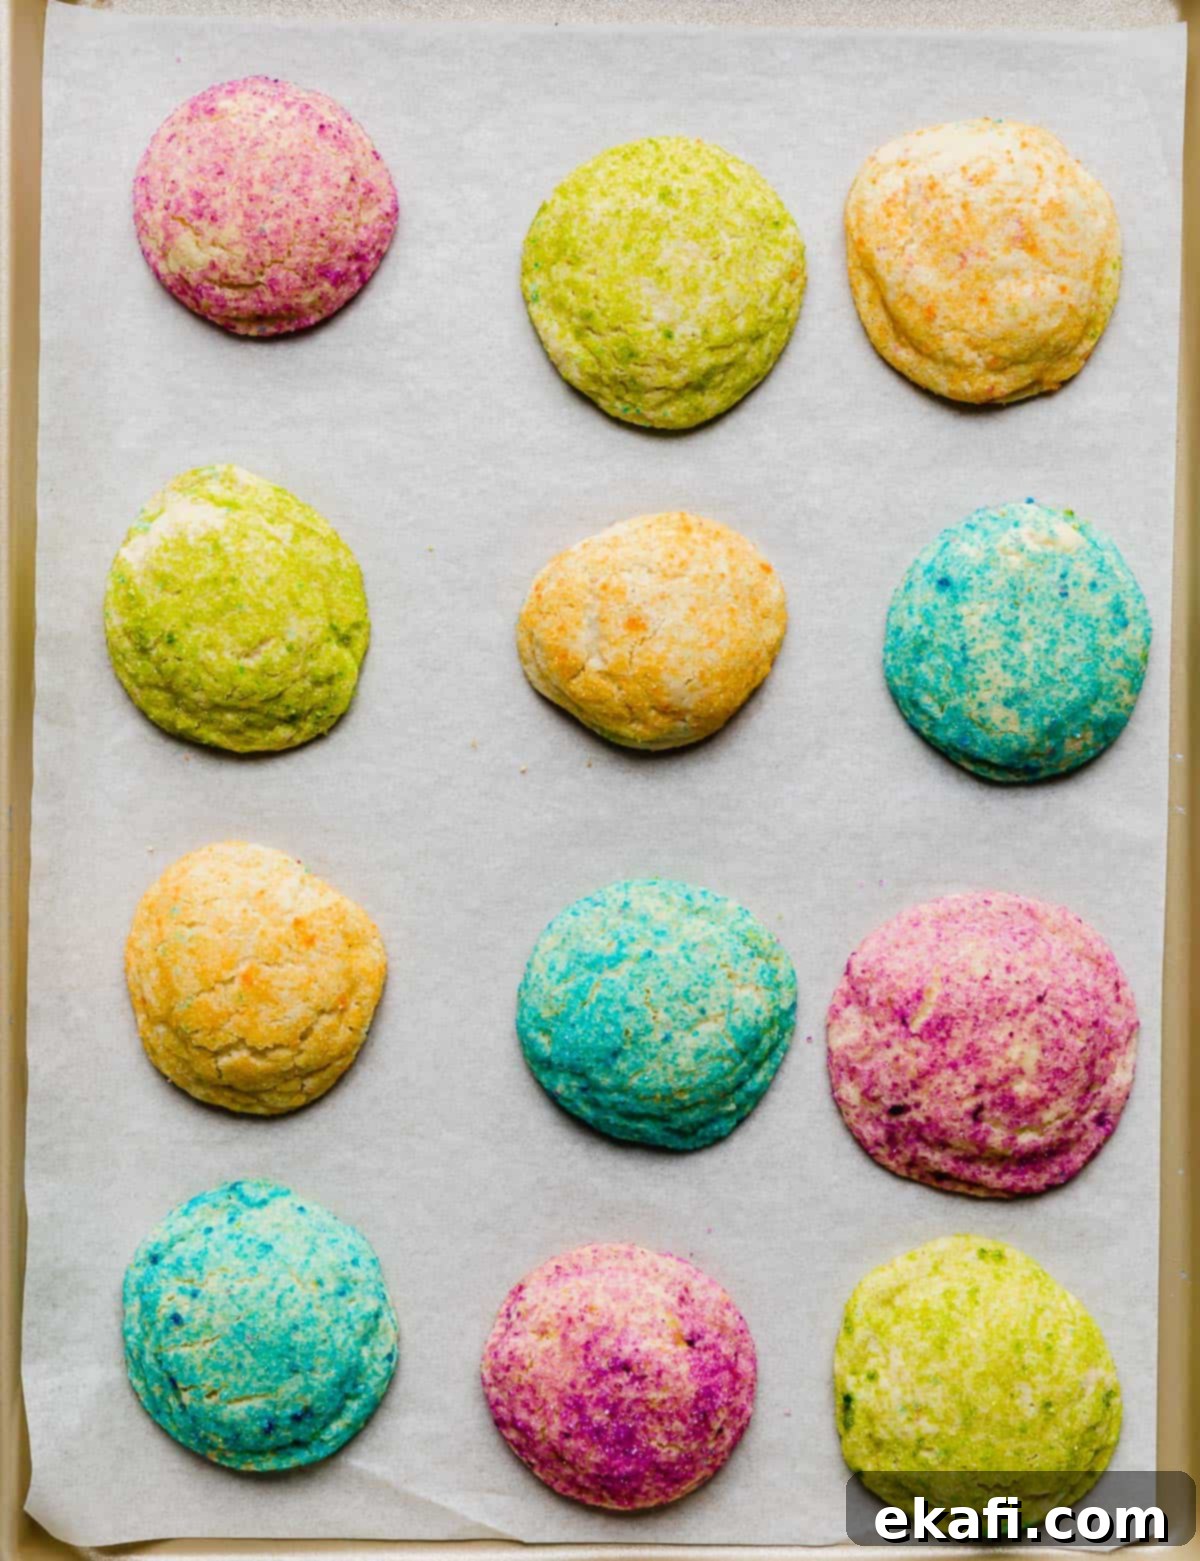
- Bake to Perfection: Bake the colored sugar cookies in the preheated oven for 9-11 minutes. The exact time will depend on your oven, so watch them carefully. You know they’re done when the edges are just set and the tops no longer appear wet or shiny, but the centers still look slightly soft or puffy. It’s crucial not to overbake, as this is the secret to a soft and chewy texture.
- Cool on the Pan, Then Rack: Once baked, remove the cookies from the oven and let them cool on the baking sheet for at least 5 minutes. This allows them to continue setting from the residual heat and prevents them from breaking when transferred. After 5 minutes, carefully transfer the cookies to a wire rack to cool completely. This step is important for achieving a crisp edge and chewy center.
Pro Tips for the Best Sugar Coated Cookies
Achieving perfectly soft, chewy, and visually appealing sugar coated cookies is easy with these expert tips:
- Do Not Overmix the Dough: This is arguably the most crucial tip for tender cookies. Once you add the dry ingredients, mix only until the flour streaks disappear and the dough just forms. Overmixing develops gluten, which leads to tough, dense, and less enjoyable cookies. A soft dough is a happy dough!
- Roll in Colored Sugar Immediately: For the best sugar coating, roll your dough balls in the colored sugar right after you’ve formed them. If the dough balls sit on the counter for too long, their surface can dry out slightly, making it difficult for the colored sugar to adhere properly. Freshly rolled dough is slightly tacky and will grab onto the sugar beautifully, ensuring a vibrant and crunchy coating.
- Master the Baking Time for Chewy Perfection: The key to a soft, chewy sugar cookie is to *slightly* underbake them. You should remove the cookies from the oven when the edges are just set and appear lightly golden, but the tops still look a little puffy and not completely shiny or deeply golden. They might even look slightly underdone in the very center, and that’s exactly what you want! The cookies will continue to cook and set for an additional 5 minutes on the warm baking sheet from residual heat. This carry-over cooking is essential for achieving that perfect soft and chewy texture, preventing them from becoming crunchy.
- For Flatter Cookies: If you prefer a slightly flatter, chewier sugar cookie (though this recipe aims for a tender, slightly puffy one), you can try reducing the oven temperature to 350°F and baking for 11-13 minutes. Keep a close eye on them, as oven temperatures can vary.
- Uniformity is Key: Use a cookie scoop to ensure all your dough balls are the same size. This promotes even baking, meaning all your cookies will be perfectly done at the same time.
- Room Temperature Ingredients: Always ensure your butter and egg are at room temperature. This allows them to emulsify properly, creating a smooth, consistent dough that bakes more evenly.
Make Ahead, Storing, and Freezing Options
These sugar coated cookies are fantastic fresh, but they also keep well, and the dough can be prepared in advance for ultimate convenience:
- Storing Baked Cookies: Once completely cooled, store your sugar coated cookies in an airtight container or a large Ziplock bag at room temperature. They will stay fresh, soft, and delicious for 2-3 days. For longer storage, see freezing options below.
- Freezing Cookie Dough: These cookies are excellent for freezing ahead of time!
- Form the dough into 2-tablespoon sized balls and roll them in your colored sugar as directed.
- Place the sugar-coated dough balls on a baking sheet lined with parchment paper, ensuring they don’t touch.
- Flash freeze for about 15-30 minutes, or until the dough balls are firm.
- Transfer the firm dough balls to an airtight freezer-safe container or a heavy-duty Ziplock bag. Freeze for up to 1-2 months.
- When you’re ready to bake, simply remove the desired number of dough balls from the freezer and place them on a prepared baking sheet. Bake from frozen at 350°F (175°C), adding an extra 1-3 minutes to the baking time (typically 10-14 minutes total), or until the edges are set and the tops are no longer shiny.
- Making Dough Ahead of Time: You can prepare the cookie dough up to 12-24 hours in advance.
- After mixing, place the dough in an airtight container and refrigerate.
- When ready to bake, remove the dough from the refrigerator and let it sit at room temperature for about 30-60 minutes, or until it reaches a scoopable and rollable consistency.
- Then, proceed with rolling in colored sugar and baking as directed in the recipe.
Common Questions About Sugar Coated Cookies
Making your own colored sugar is incredibly simple and fun! For every ¼ cup of granulated sugar, start with 1-3 drops of gel food coloring (gel colors are preferred as they are more concentrated and won’t thin out your sugar as much as liquid coloring). Mix the sugar and coloring vigorously with a spoon or in a small sealed bag until the color is evenly distributed. You can add more coloring for a deeper, more vibrant hue, or mix in more plain sugar to achieve a lighter pastel shade. If your colored sugar feels a bit damp after mixing, spread it out on a plate or a small baking sheet and let it air dry for about 20-30 minutes before using. This prevents clumping and ensures a beautiful, sparkling coating on your cookies.
Absolutely, freezing sugar cookie dough is a fantastic time-saver! These sugar coated cookies freeze beautifully. To do so, first prepare the dough as instructed, then roll it into 2-tablespoon sized balls and coat them in your desired colored sugar. Next, place the coated dough balls on a baking sheet lined with parchment paper and flash freeze them for about 15-30 minutes, or until they are completely firm. Once firm, transfer the dough balls to a heavy-duty airtight container or a freezer-safe Ziplock bag. They can be stored in the freezer for 1-2 months. When you’re ready to bake, simply arrange the frozen dough balls on a prepared baking sheet and bake them directly from frozen. You may need to add an additional 1-3 minutes to the recommended bake time (so, 10-14 minutes total) to ensure they are perfectly cooked through while maintaining their soft, chewy texture.
If your sugar cookies are coming out hard, there are typically two main culprits: the flour-to-fat ratio and, most commonly, overbaking. This particular sugar coated cookie recipe is carefully balanced with an ideal flour-to-fat ratio to promote softness and chewiness. However, even with a perfect ratio, overbaking will inevitably lead to a hard, crunchy cookie. The key to achieving that wonderfully soft sugar cookie texture is to pull them out of the oven when they are *slightly* underbaked. Look for these visual cues: the edges of the cookies should appear just set and possibly a very light golden, and the tops should no longer be shiny, but the centers might still look a little soft or doughy. This is perfectly fine! The magic happens during the cooling process: the cookies will continue to set and firm up from the residual heat of the baking pan for about 5 minutes. Allowing them this crucial cooling time on the pan before transferring them to a wire rack will help them achieve that ideal, irresistible soft and chewy texture every single time, truly making them the best sugar cookies!
More Delicious Cookie Recipes to Explore
- Crumbl Cookie Recipes – Recreate your favorite bakery treats at home.
- Oatmeal Chocolate Chip Cookies – A comforting classic with a delightful texture.
- Brownie Mix Cookies – Quick and easy cookies using a boxed brownie mix.
- Cookies and Cream Cookies – Indulgent cookies packed with crushed sandwich cookies.
Did you make this recipe for sugar coated cookies? I’d absolutely love to hear about your experience! Leave a rating and review right here on the blog post, or scroll down to the recipe card below and share your thoughts there. Your feedback helps other bakers!
Stay up-to-date with all our latest recipes and baking adventures by following us on Instagram, TikTok, Facebook, and Pinterest. Don’t miss out on more delicious inspiration!
Print
SaveSaved!
Review
(One Bowl) Sugar Coated Sugar Cookies
Ingredients
- 1 cup unsalted butter – softened to room temperature
- 1 1/4 cup granulated sugar
- 1 large egg – at room temperature
- 2 teaspoon vanilla extract – pure vanilla for best flavor
- 2 1/2 cups all-purpose flour – spooned and leveled
- 1/2 teaspoon baking soda
- 1/2 teaspoon baking powder
- 1/4 teaspoon fine sea salt
- colored sugar – store-bought or homemade with food coloring
Equipment
-
Stand Mixer or Hand Mixer
-
Large Mixing Bowl
-
Baking Sheets
-
Parchment Paper or Silicone Baking Mats
-
Wire Rack
-
Cookie Scoop (optional, for uniform size)
Instructions
-
Prepare Colored Sugar: Place the colored sugar in small, separate bowls. If making your own, combine granulated sugar with 1-3 drops of gel food coloring per 1/4 cup sugar until desired color is achieved.
-
Preheat Oven: Preheat oven to 350°F (175°C). Line a baking sheet with a silicone baking mat or parchment paper.
-
Cream Butter and Sugar: In the bowl of a stand mixer fitted with a paddle attachment (or using a large bowl and hand mixer), cream the softened butter and granulated sugar together until light and fluffy, about 2-3 minutes. Scrape down the sides of the bowl as needed.
-
Add Wet Ingredients: Add the room temperature egg and vanilla extract. Beat until just combined.
-
Mix Dry Ingredients: Add the all-purpose flour, baking soda, baking powder, and salt to the bowl. Mix on low speed until the dough just forms and no dry streaks of flour remain. Be careful not to overmix.
-
Scoop and Coat: Scoop the dough into 2-tablespoon sized balls. Immediately roll each dough ball thoroughly in the colored sugar to completely coat. Place the sugar coated cookie dough balls on the prepared baking sheet, ensuring they are at least 2 inches apart.
-
Bake and Cool: Bake for 9-11 minutes, or until the edges are just set and the tops are no longer shiny (they may still look slightly soft in the center). Remove from the oven and let cool on the pan for 5 minutes. Then, transfer the cookies to a wire rack to cool completely. Store in an airtight container at room temperature.
Notes
Store your baked sugar coated cookies in an airtight container or Ziplock bag at room temperature for 2-3 days to maintain their freshness and soft texture.
Nutrition
