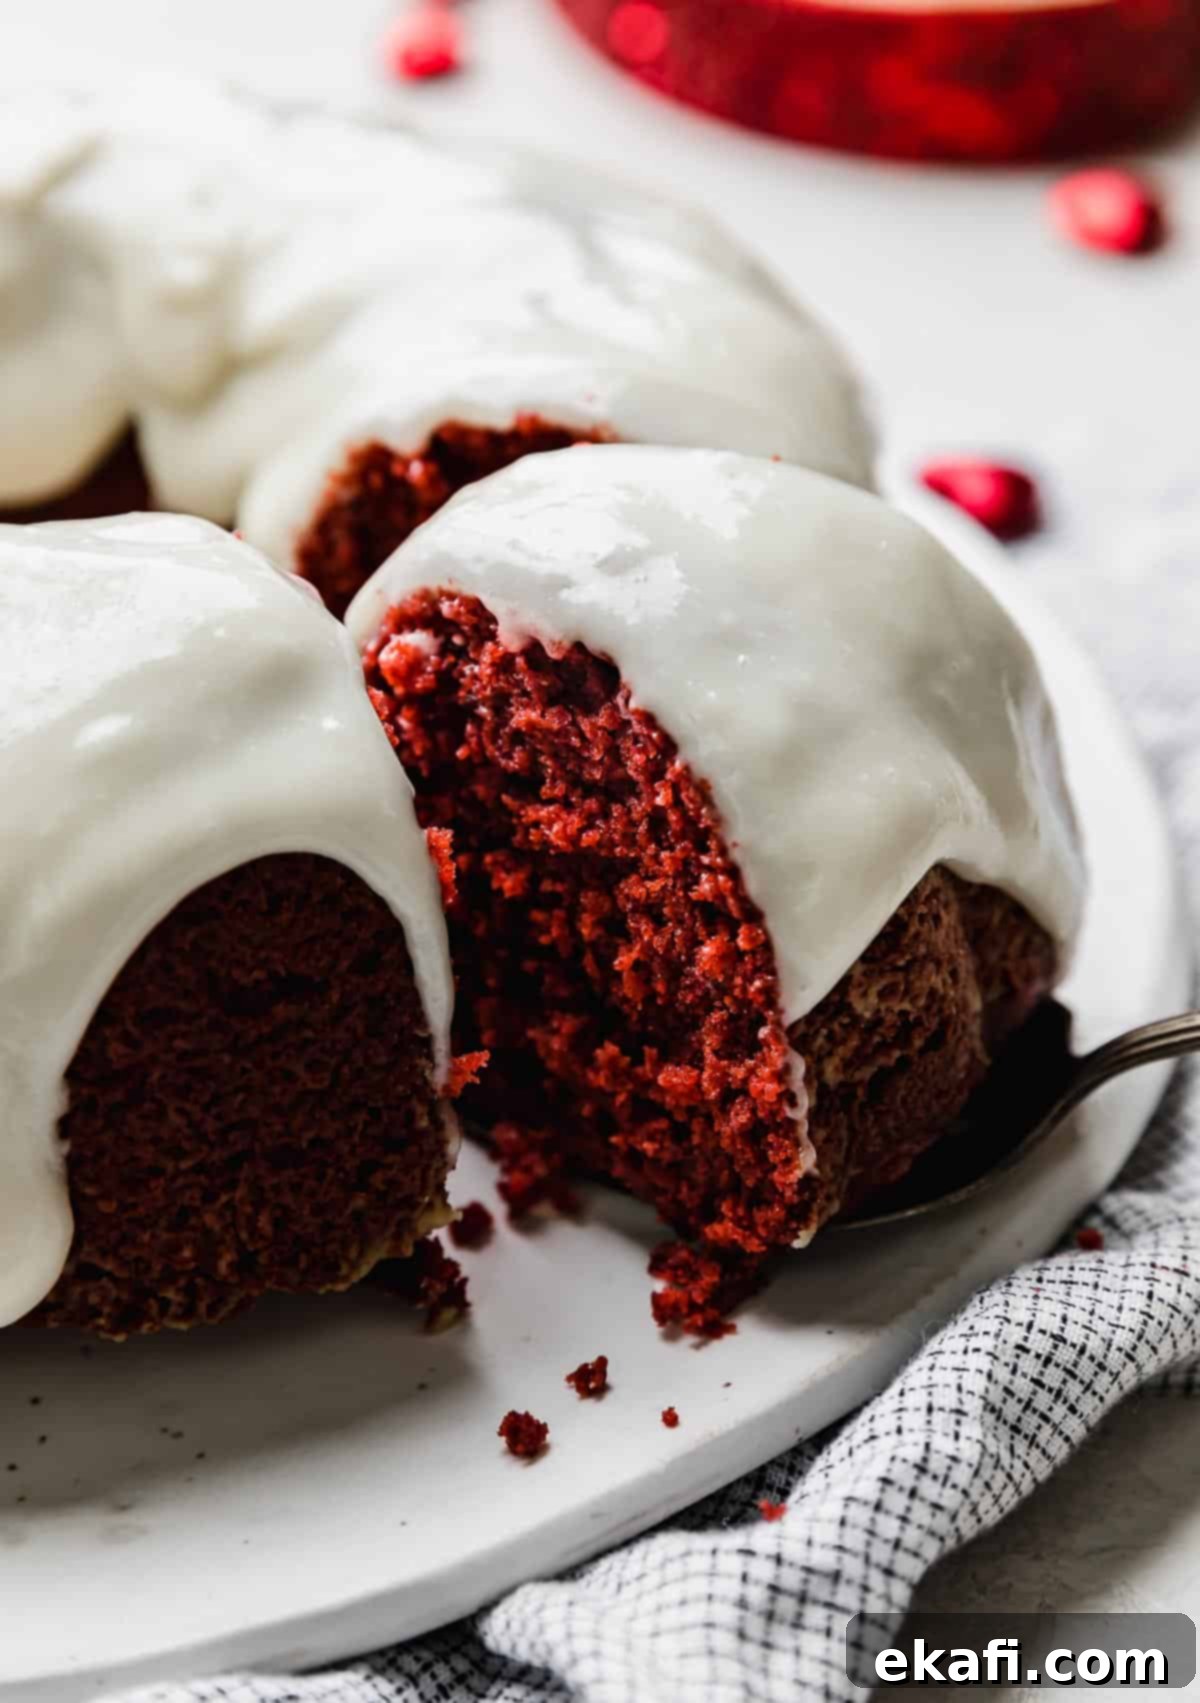
Ultimate Moist Red Velvet Bundt Cake: A Showstopping Dessert for Any Occasion
There’s something truly magical about the deep, festive red of a classic red velvet cake, especially when it graces the table for special occasions like Christmas, Fourth of July, or Valentine’s Day. Combine that vibrant hue with the elegant, effortlessly chic presentation of a bundt cake, and you have a dessert that’s not just delicious but also a true showstopper. This exquisite Red Velvet Bundt Cake recipe brings together the best of both worlds: an incredibly moist and tender crumb that defies the often-dense reputation of some bundt cakes, all crowned with a luscious, tangy cream cheese glaze. It’s an easy-to-make masterpiece that promises to impress, whether you’re a seasoned baker or just starting your culinary journey.
My adoration for red velvet knows no bounds. Beyond this stunning bundt creation, my kitchen often buzzes with the delightful aroma of various red velvet treats. I’ve perfected recipes for a Classic Old-Fashioned Red Velvet Cake, a playful Oreo Red Velvet Cake, and perfectly portioned Red Velvet Cupcakes. My red velvet obsession even extends to brownies, with two unique variations: one featuring a light and airy whipped cream cheese frosting, and another topped with an indulgent Oreo truffle layer. And for those seeking something truly unconventional, I’ve even ventured into Red Velvet Rice Krispie Treats, Red Velvet Popcorn, and delightful Red Velvet Donuts. It’s safe to say, if it can be made red velvet, I’m probably trying it! This bundt cake, however, holds a special place, effortlessly combining glamour with a deeply satisfying flavor and texture.
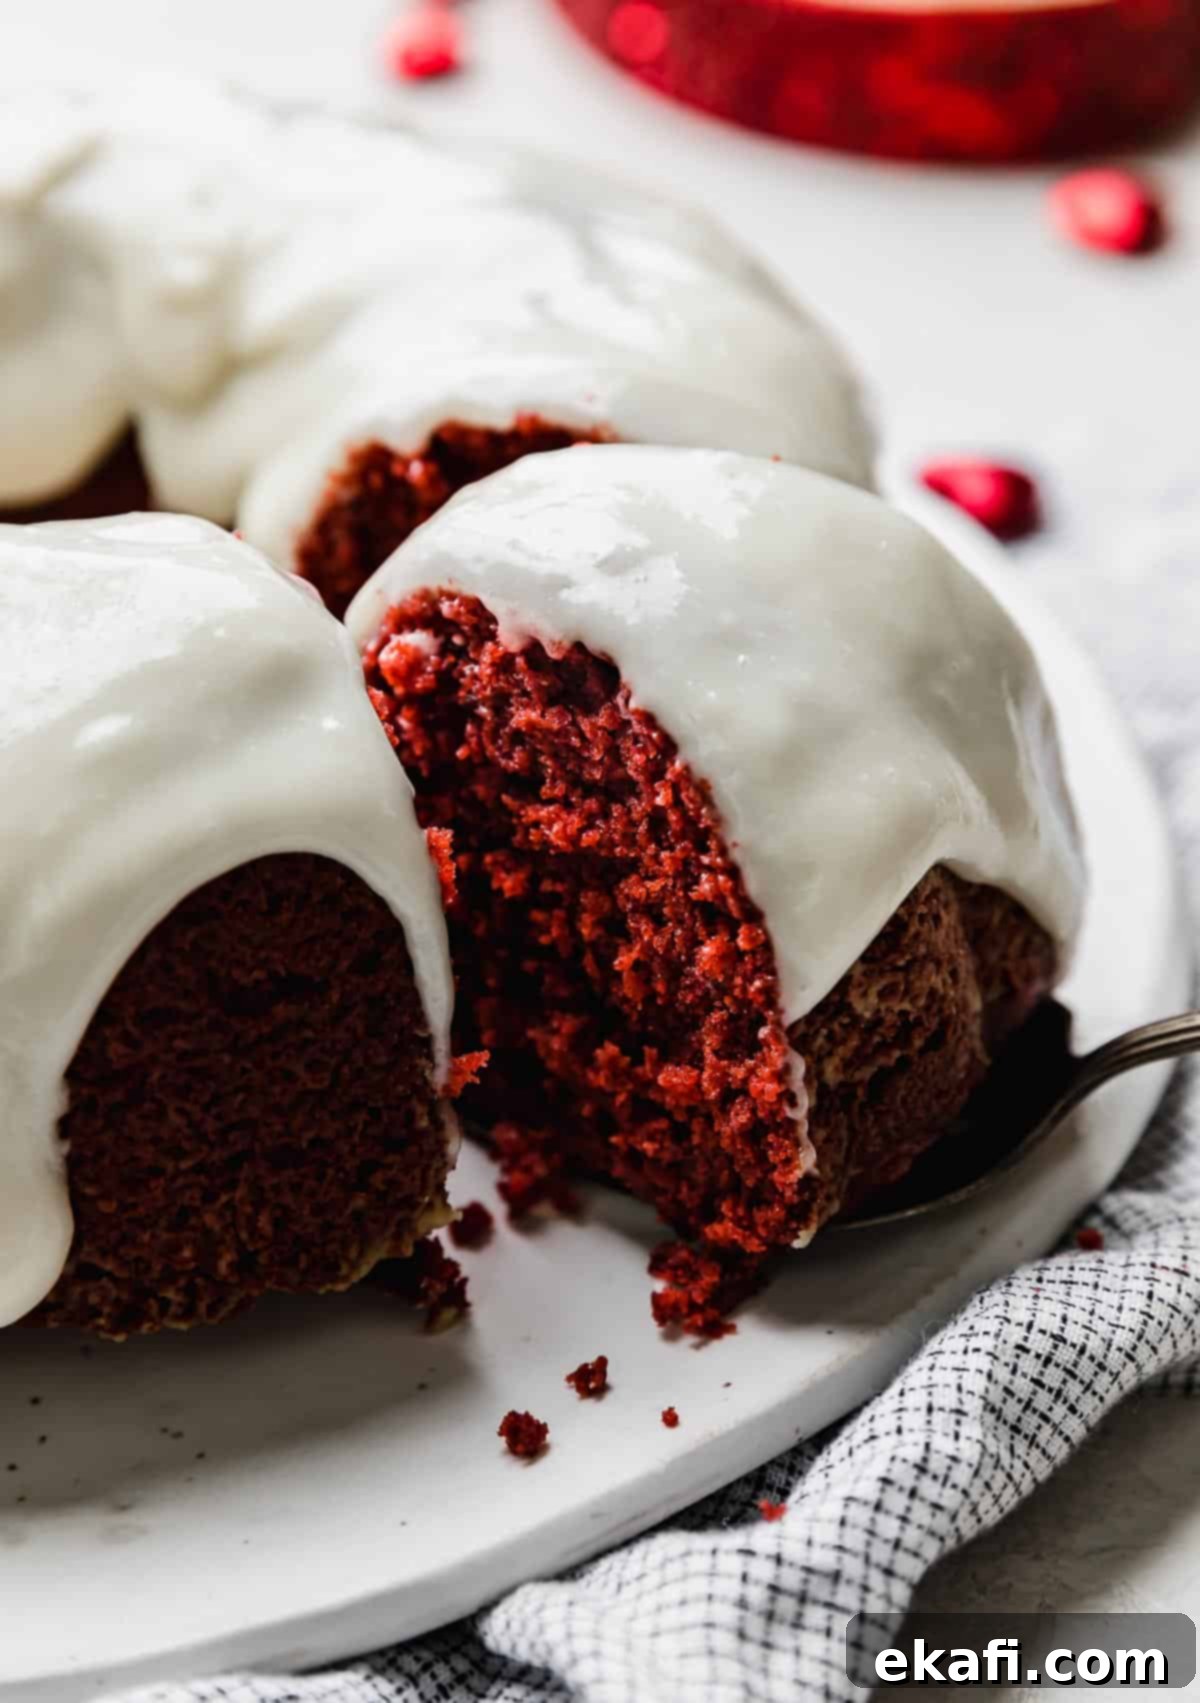
Why This Red Velvet Bundt Cake Recipe Stands Out
This isn’t just another red velvet cake; it’s a meticulously crafted recipe designed to deliver an exceptional baking experience and an unforgettable dessert. Here’s what makes this particular Red Velvet Bundt Cake truly special:
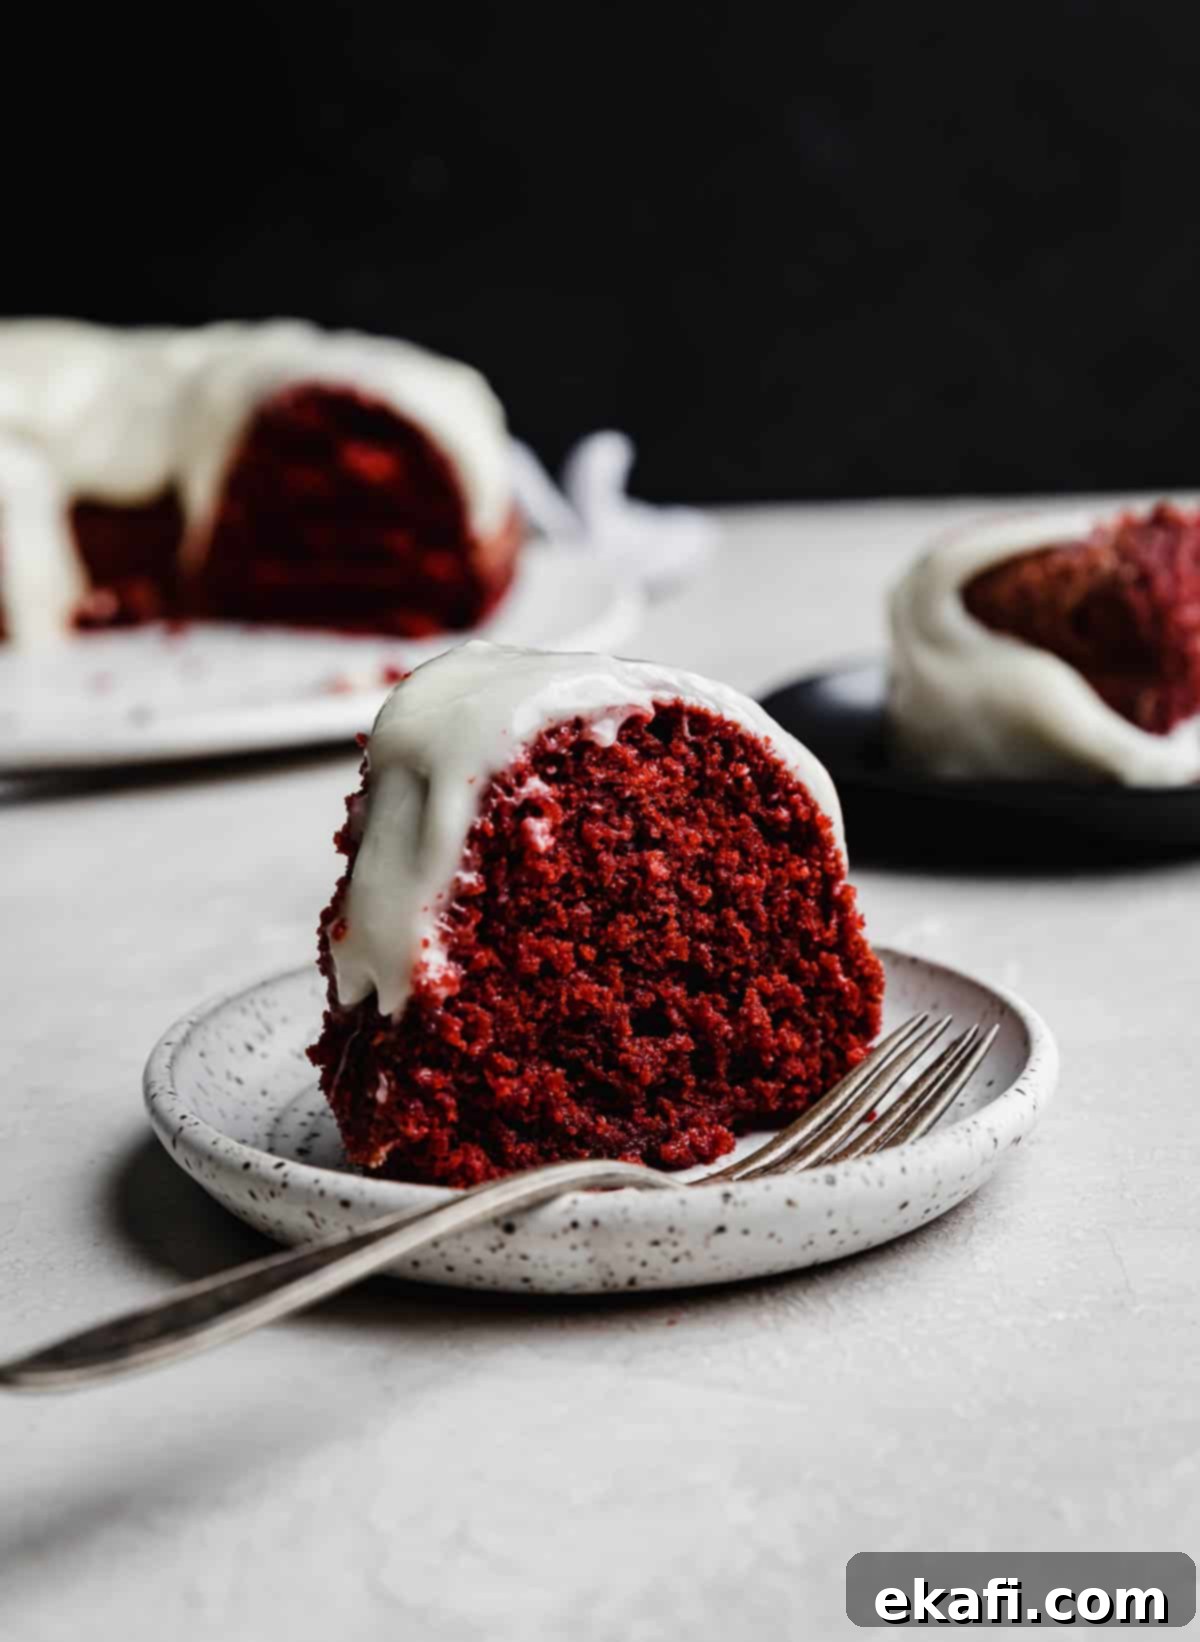
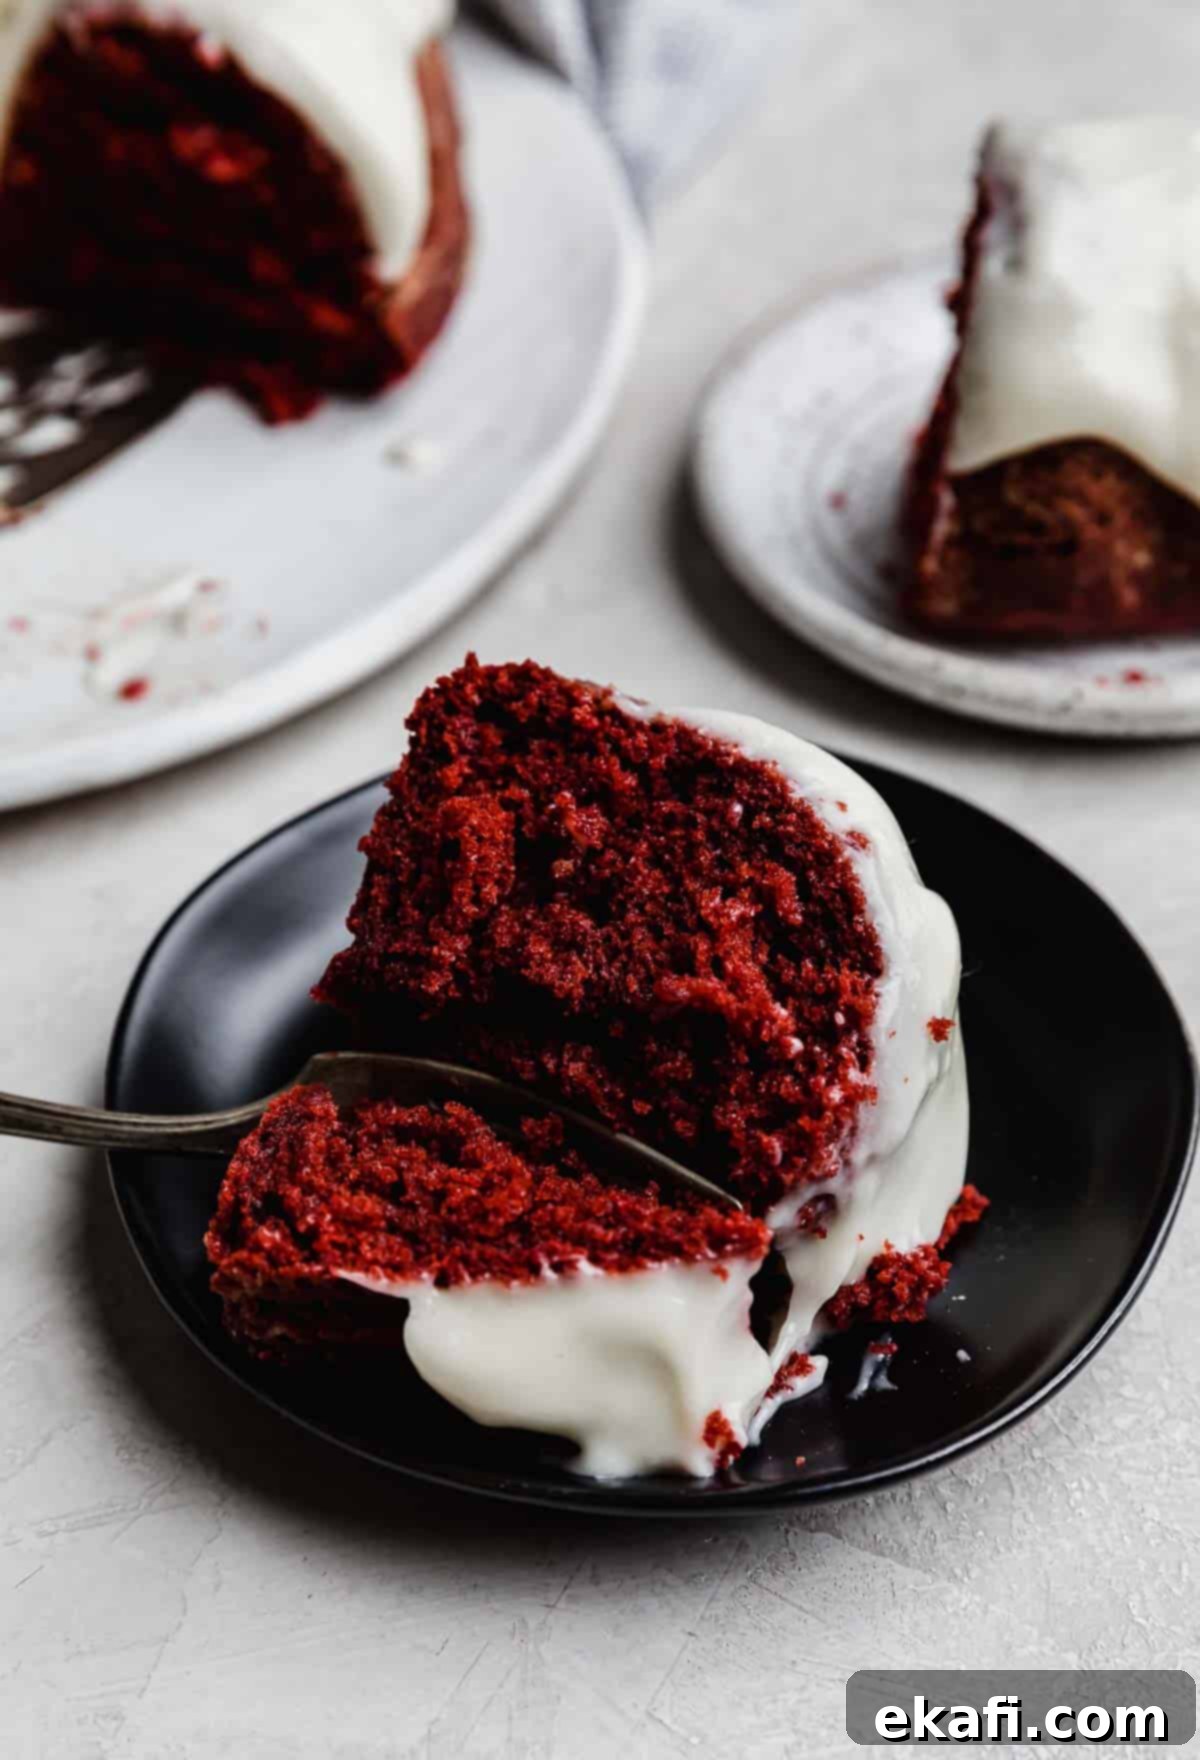
- Unrivaled Moist Red Velvet Bundt Cake. The golden rule for any cake, in my book, is that it absolutely *must* be moist! There’s nothing more disappointing than a dry, crumbly cake. This recipe masterfully avoids that common pitfall. By incorporating both buttermilk and vegetable oil, we achieve a uniquely tender crumb that melts in your mouth. Buttermilk reacts with the baking soda to create a light and airy texture, while vegetable oil, being a liquid fat, ensures long-lasting moisture, preventing the cake from drying out quickly. The result is a supremely moist cake, a delightful contrast to the dense texture sometimes found in other bundt cakes.
- Perfectly Balanced Cream Cheese Glaze. Red velvet cake and cream cheese frosting are an iconic duo, and for good reason! The tangy notes of cream cheese beautifully complement the subtle cocoa and vanilla flavors of the cake. For this bundt cake, I’ve opted for a glaze rather than a thick frosting, achieving a pourable consistency that elegantly drizzles over the cake, settling into its intricate crevices. It’s just the right balance – not too thin that it runs off entirely, and not too thick that it overwhelms the delicate cake. This glaze offers that essential tangy counterpoint without making the cake overly heavy.
- Showstopping Elegance, Surprising Simplicity. Bundt cakes inherently possess an air of sophistication and glamour. Their sculpted forms make them ideal centerpieces for any celebration, from a casual family gathering to an elegant holiday dinner or a heartfelt birthday celebration. The vibrant, deep red color of this cake immediately evokes a sense of festivity, making it an absolute showstopper for occasions like Valentine’s Day, Christmas, or an anniversary. Yet, despite its impressive appearance, this recipe is remarkably straightforward to prepare. There are no complex techniques or exotic ingredients required, just simple steps that yield truly spectacular results. It’s the perfect dessert for when you want to impress without the stress.
Key Ingredients for the Best Red Velvet Bundt Cake
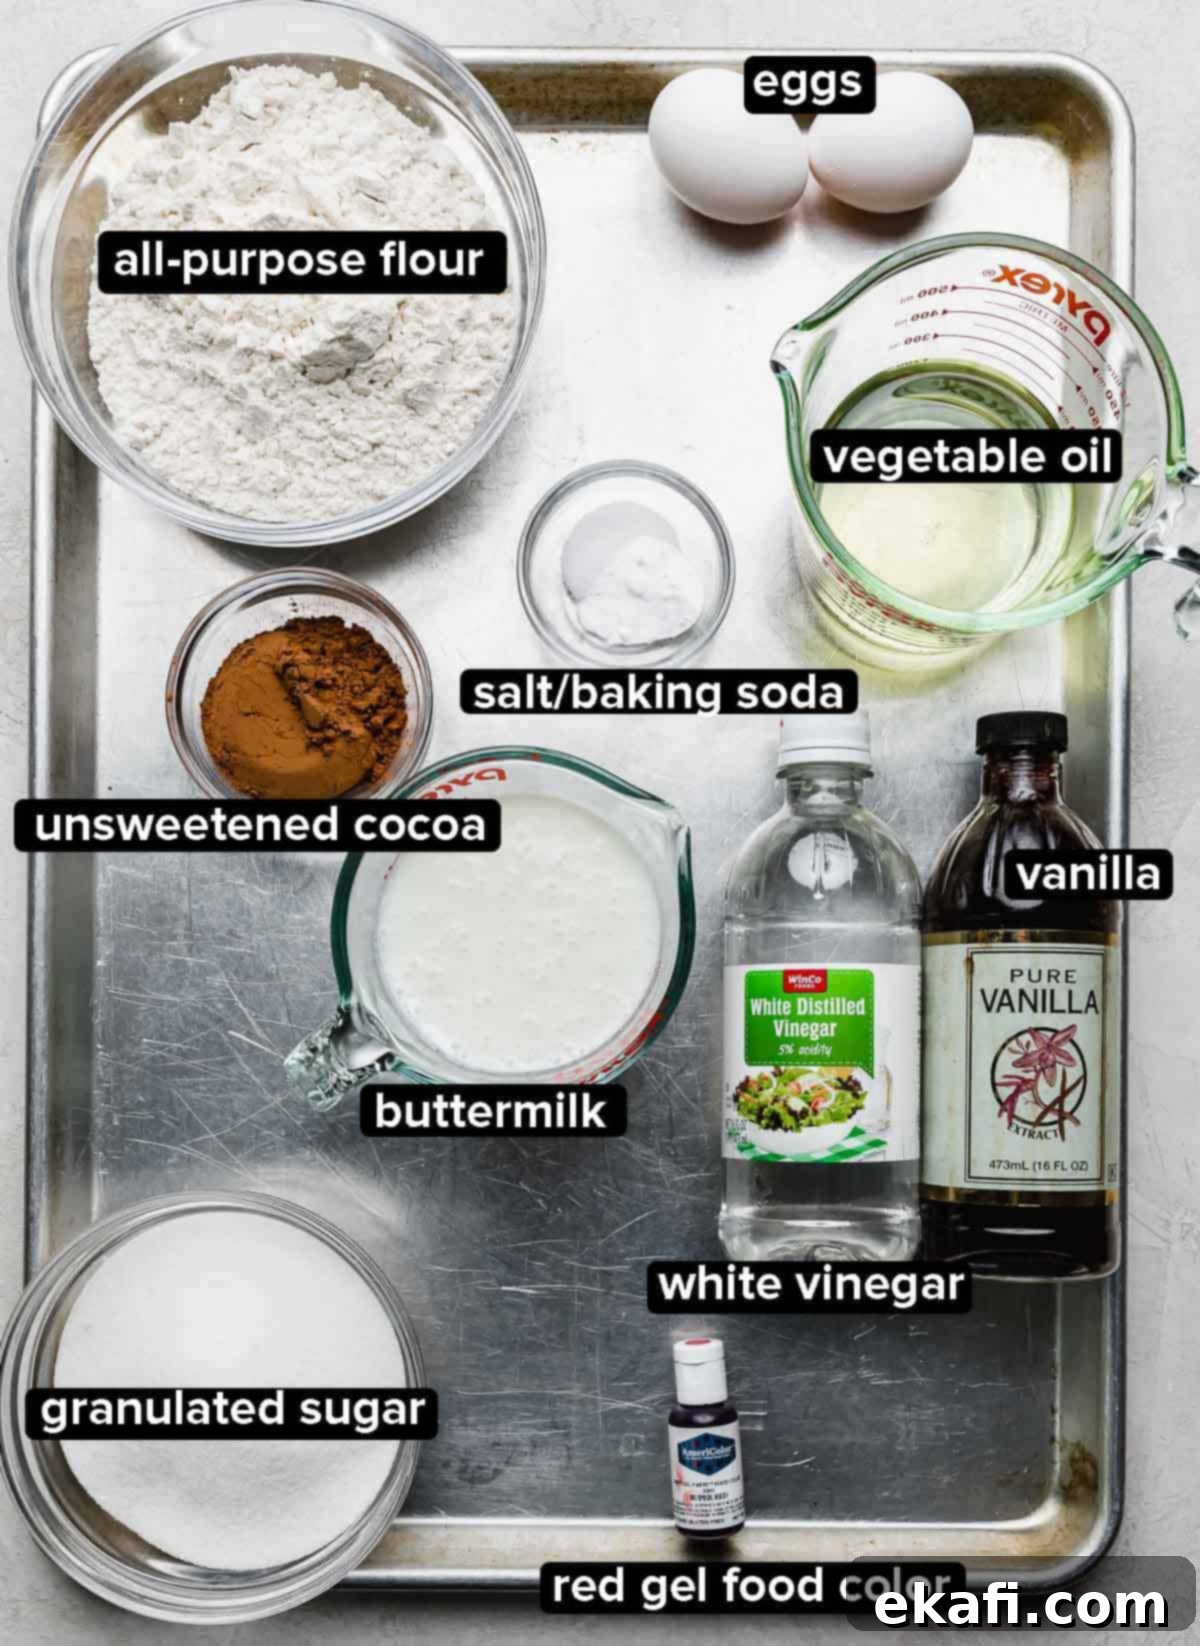
Crafting the perfect Red Velvet Bundt Cake relies on a thoughtful selection of ingredients. Each component plays a vital role in achieving that signature moistness, color, and tangy-sweet flavor profile. Here’s a closer look at what you’ll need and why:
- All-purpose flour: While some recipes call for cake flour, this recipe proudly uses standard all-purpose flour. Even with its slightly higher protein content, we achieve a wonderfully light and tender cake. The key is in the careful balance with other moistening and leavening agents.
- Granulated sugar: More than just adding sweetness, granulated sugar is crucial for the cake’s structure and texture. It helps to tenderize the crumb by interfering with gluten development and aids in retaining moisture, contributing to that desired soft and moist mouthfeel.
- Buttermilk: This essential ingredient is a powerhouse for red velvet cake. Its acidity reacts with baking soda to create carbon dioxide, which helps the cake rise, resulting in a lighter, fluffier texture. Beyond its leavening properties, buttermilk imparts a distinct tanginess and contributes significantly to the cake’s moisture and rich flavor.
- Vinegar: White vinegar is a non-negotiable component in classic red velvet. It’s another acidic ingredient that works in tandem with buttermilk and baking soda to ensure proper leavening. Historically, the reaction between acidic ingredients and natural cocoa powder (before Dutch-processed cocoa became common) was believed to enhance the reddish hue, alongside providing red velvet’s characteristic subtle tang.
- Baking soda: As the primary leavening agent in this recipe, baking soda relies on the acidity of buttermilk and vinegar to activate. This reaction produces gas that creates air pockets, giving the cake its lift and tender structure.
- Unsweetened cocoa powder: Red velvet cake is indeed a chocolate cake, but with a nuanced, understated chocolate flavor. We use unsweetened cocoa powder to achieve this delicate balance – it provides just a hint of rich chocolate depth without overpowering the other distinctive red velvet notes. Avoid Dutch-processed cocoa, which has a higher pH and would react differently with the acidic ingredients, potentially altering the color and rise.
- Vegetable oil: Unlike butter, which can make cakes denser and drier when cold, vegetable oil remains liquid at room temperature. This ensures your bundt cake stays incredibly moist and tender for longer, providing a truly soft and delicate crumb. Canola oil works equally well.
- Vanilla extract: A generous amount of pure vanilla extract enhances the overall flavor profile, adding warmth and depth that beautifully complements the subtle cocoa and tangy buttermilk.
- Eggs: Large, room-temperature eggs are vital for providing structure, richness, and emulsification in the cake batter. They help bind the ingredients together, create a stable crumb, and add to the cake’s luxurious texture.
- Red gel food coloring: To achieve the iconic, vibrant red color of red velvet cake, gel food coloring is highly recommended. Gel colors are far more concentrated than liquid food coloring, meaning you need less to achieve an intense hue without adding excess moisture to your batter. This results in a more striking and professional-looking finish.
- Cream cheese: The star of the glaze! Full-fat, room-temperature cream cheese is essential for a smooth, rich, and tangy icing that perfectly balances the sweetness of the cake.
Easy Step-by-Step Instructions for Your Perfect Red Velvet Bundt Cake
Baking this stunning Red Velvet Bundt Cake is a straightforward process, even for beginner bakers. Follow these detailed steps to ensure a flawless, moist, and delicious result every time.
- Prepare your oven and bundt pan: Begin by preheating your oven to 325°F (160°C). This ensures the oven is at the correct temperature when the cake goes in, promoting an even rise. Next, generously coat a 10 or 12-cup bundt pan with nonstick cooking spray. Don’t skimp on this step, especially if your bundt pan has an intricate design! After spraying, lightly flour the pan, rotating and tapping out any excess. This dual approach of oil and flour creates a non-stick barrier that guarantees your beautiful bundt cake releases cleanly from the pan, preserving its elegant shape.
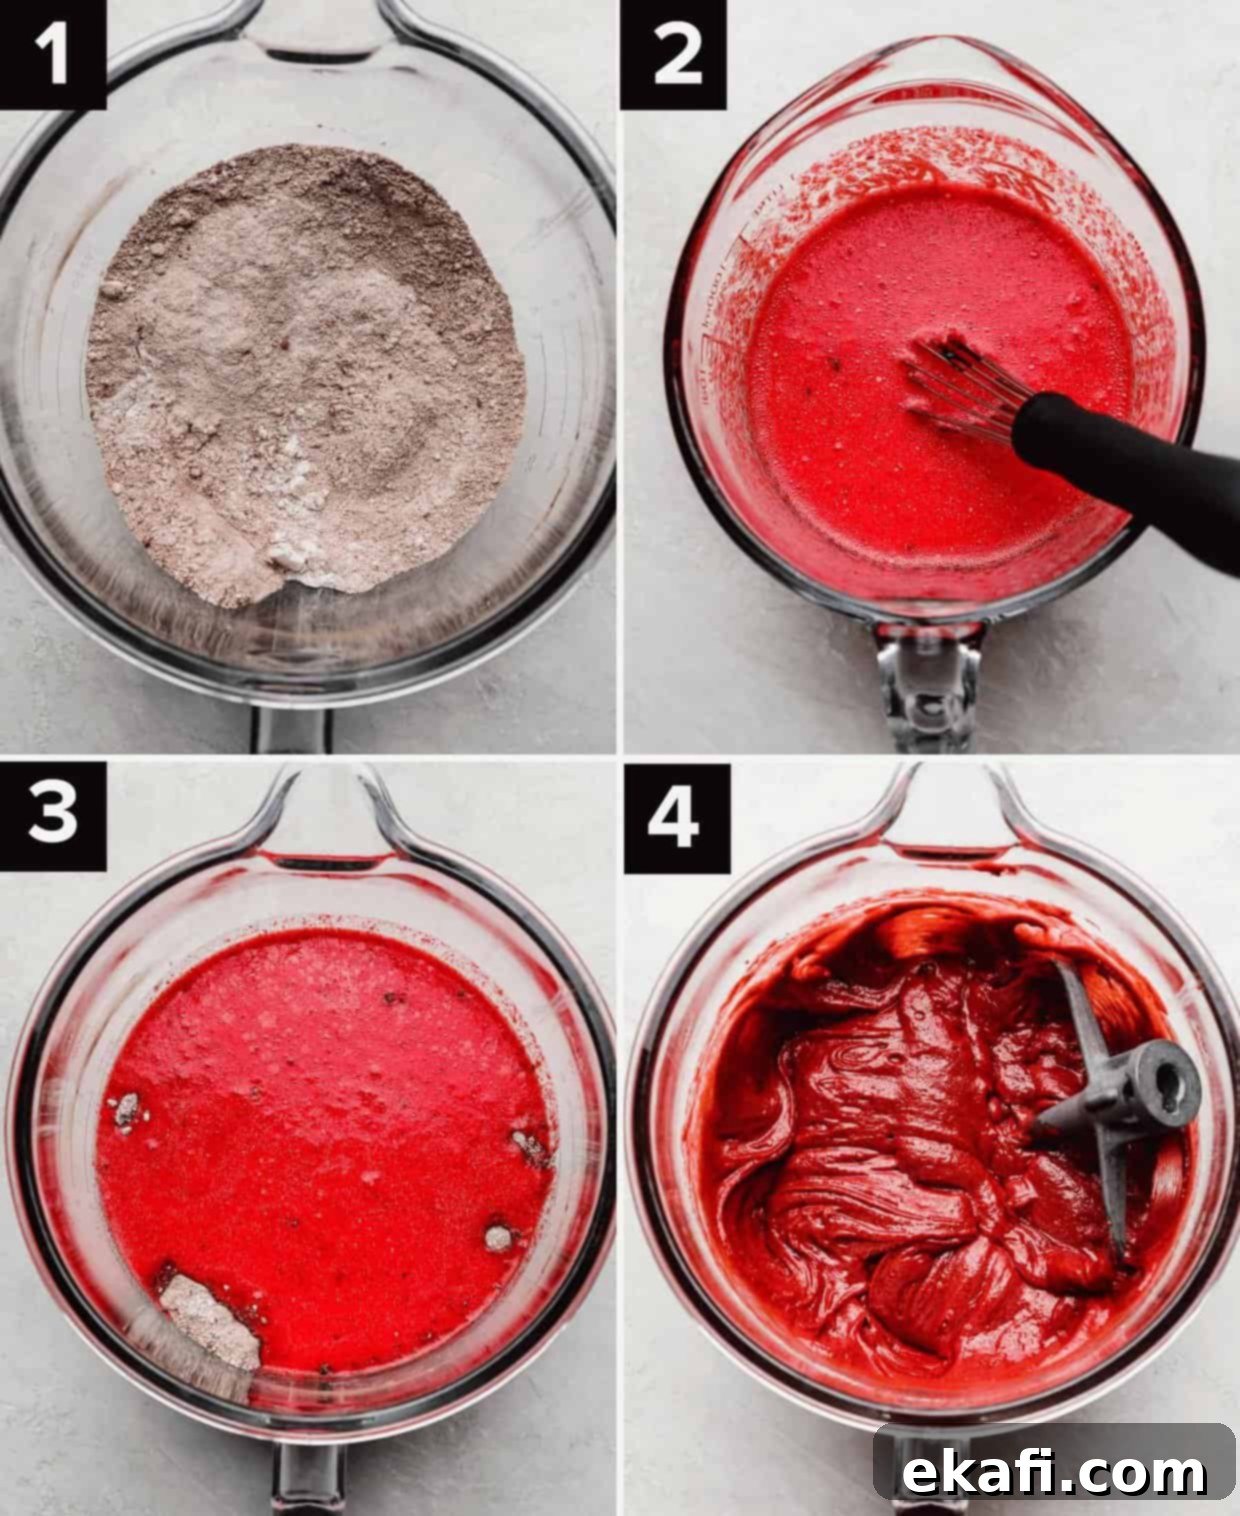
- Combine the dry ingredients: In a large mixing bowl, or the bowl of your stand mixer fitted with the whisk attachment, combine the dry ingredients. Whisk together 2½ cups of all-purpose flour, 1½ cups of granulated sugar, 4 tablespoons of unsweetened cocoa powder, 1 teaspoon of baking soda, and 1 teaspoon of salt. Whisking ensures these ingredients are thoroughly combined and evenly distributed, preventing pockets of leavening agents or salt in the final cake.
- Whisk together the liquid ingredients: In a separate medium-sized bowl, whisk together the wet components. Combine 1 cup of buttermilk, 1 cup of vegetable oil, 2 teaspoons of vanilla extract, 2 large room-temperature eggs, 2 teaspoons of white vinegar, and 1 teaspoon of red gel food coloring. Whisk until all these ingredients are well integrated and the red color is evenly dispersed. Using room temperature eggs helps them emulsify better with the other liquids, leading to a smoother, more uniform batter.
- Gently combine wet and dry mixtures: Pour the vibrant red liquid ingredients into the large bowl containing your dry ingredients. If using a stand mixer, switch to the paddle attachment. Mix on low speed until the ingredients are just combined. Be careful not to overmix; overmixing can develop too much gluten in the flour, resulting in a tough cake. Mix only until no dry streaks of flour are visible, pausing occasionally to scrape down the sides and bottom of your bowl with a rubber spatula to ensure everything is thoroughly and evenly incorporated.
- Bake to perfection: Carefully pour the fully mixed red velvet cake batter into your meticulously prepared bundt pan. Place the pan in your preheated oven and bake for 43-50 minutes. The baking time can vary slightly depending on your oven, so it’s crucial to monitor for doneness. Overbaking is the arch-nemesis of a moist cake! To test if it’s done, insert a toothpick into the thickest part of the bundt. It should come out with a few moist crumbs clinging to it, but no wet batter. If it comes out completely clean, it’s likely slightly overbaked. If there’s still liquid batter, it needs a few more minutes.
- Cool the cake properly: Once baked, carefully remove your gorgeous red velvet bundt cake from the oven. Let the cake cool in its pan for precisely 10 minutes. This short cooling period in the pan allows the cake to firm up slightly, making it less prone to breaking when inverted. After 10 minutes, carefully invert the pan onto a wire rack to allow the cake to cool completely. Cooling on a wire rack ensures air circulation around the entire cake, preventing condensation and a soggy bottom. Do not attempt to glaze the cake before it is thoroughly cooled!
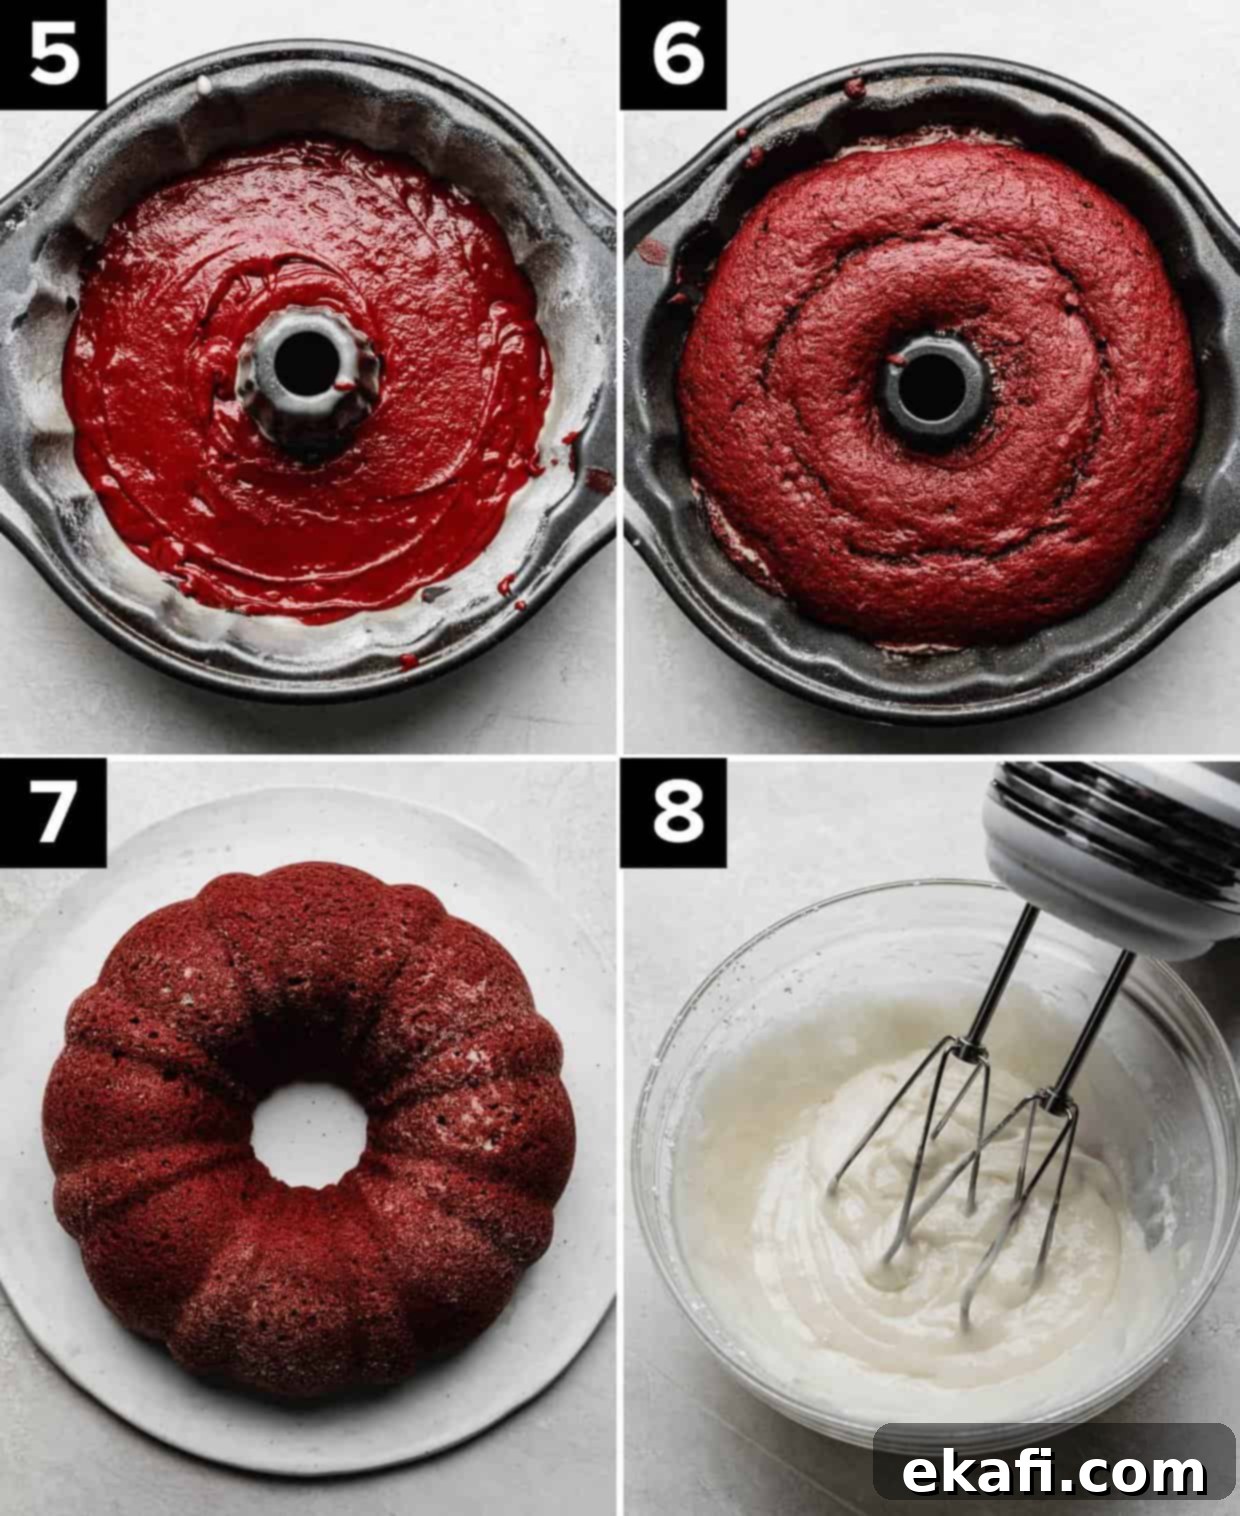
- Prepare the creamy cream cheese glaze: While your cake is cooling, it’s the perfect time to whip up the irresistible cream cheese glaze. In a medium bowl, combine 4 ounces of softened, room-temperature cream cheese, 2 cups of powdered sugar, 3 tablespoons of milk, and ½ teaspoon of vanilla extract. Beat these ingredients together with an electric mixer until the mixture is completely smooth and free of lumps. I personally love my cream cheese glaze to have a consistency similar to craft glue – thick enough to cling to the cake but still pourable. You can easily adjust the thickness to your preference: add a little more milk for a thinner glaze or a tablespoon of powdered sugar at a time for a thicker consistency.
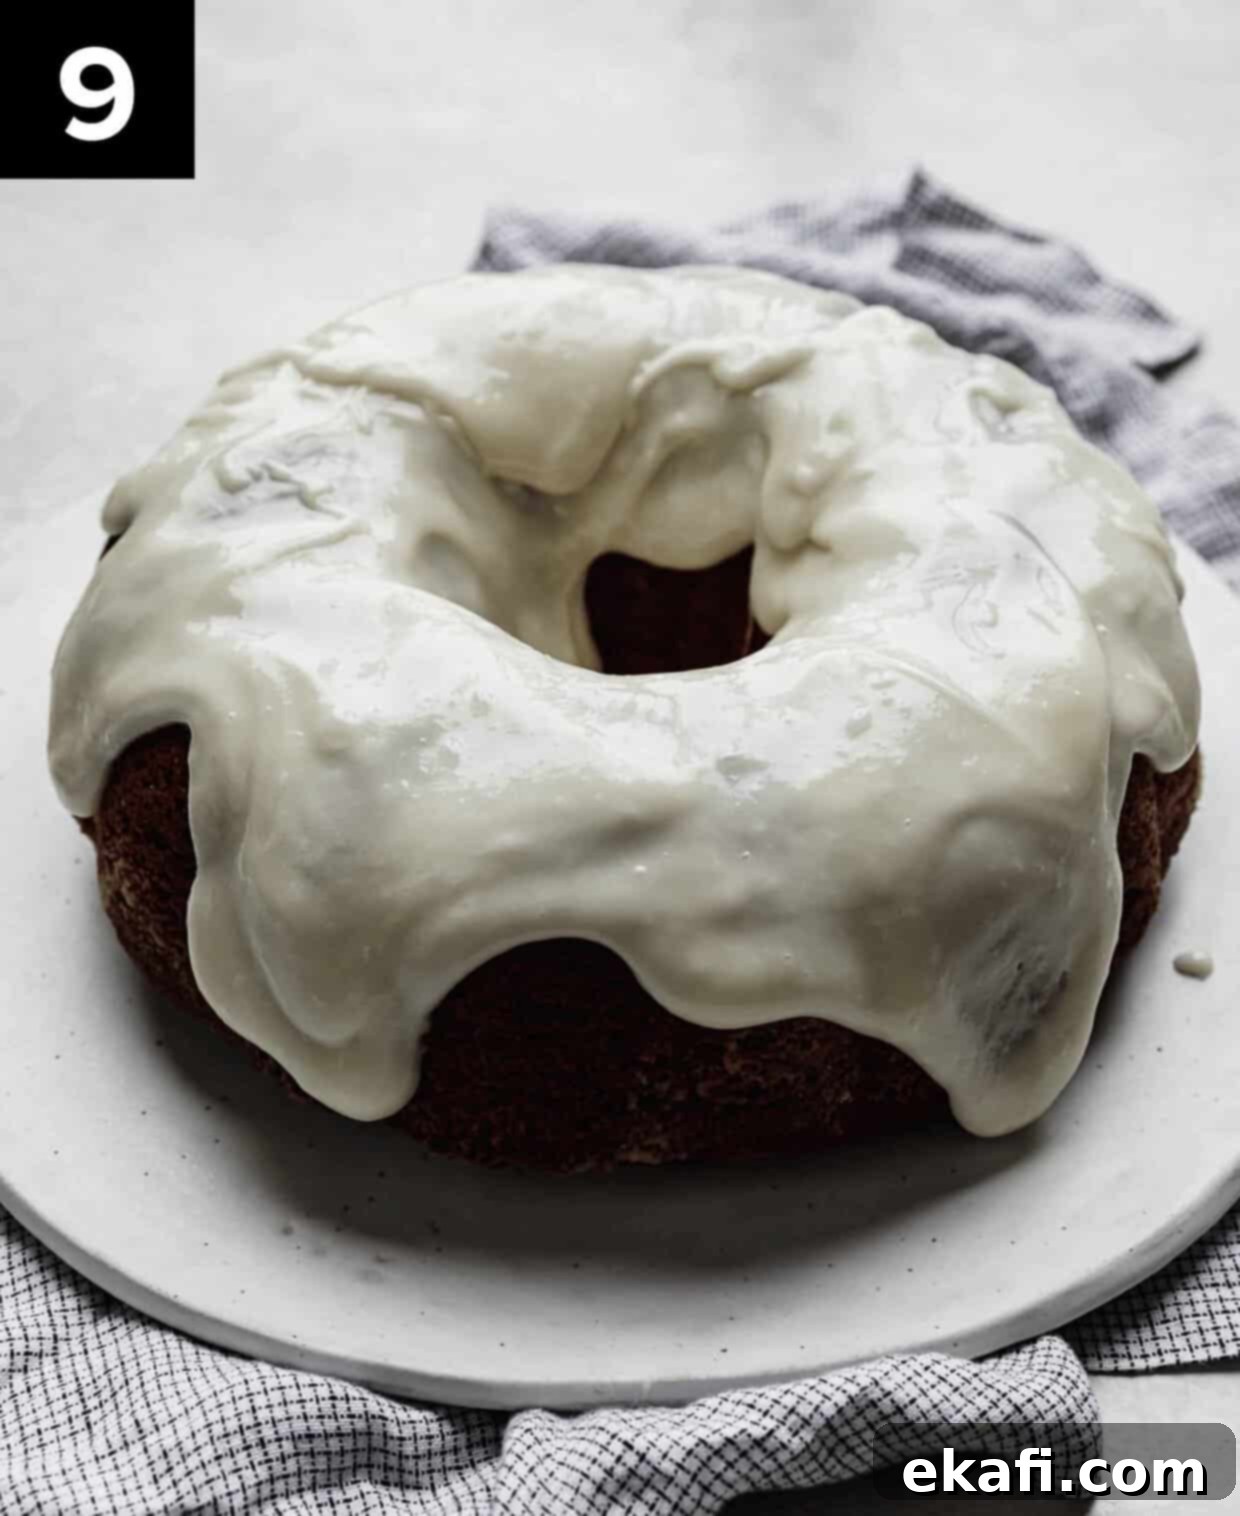
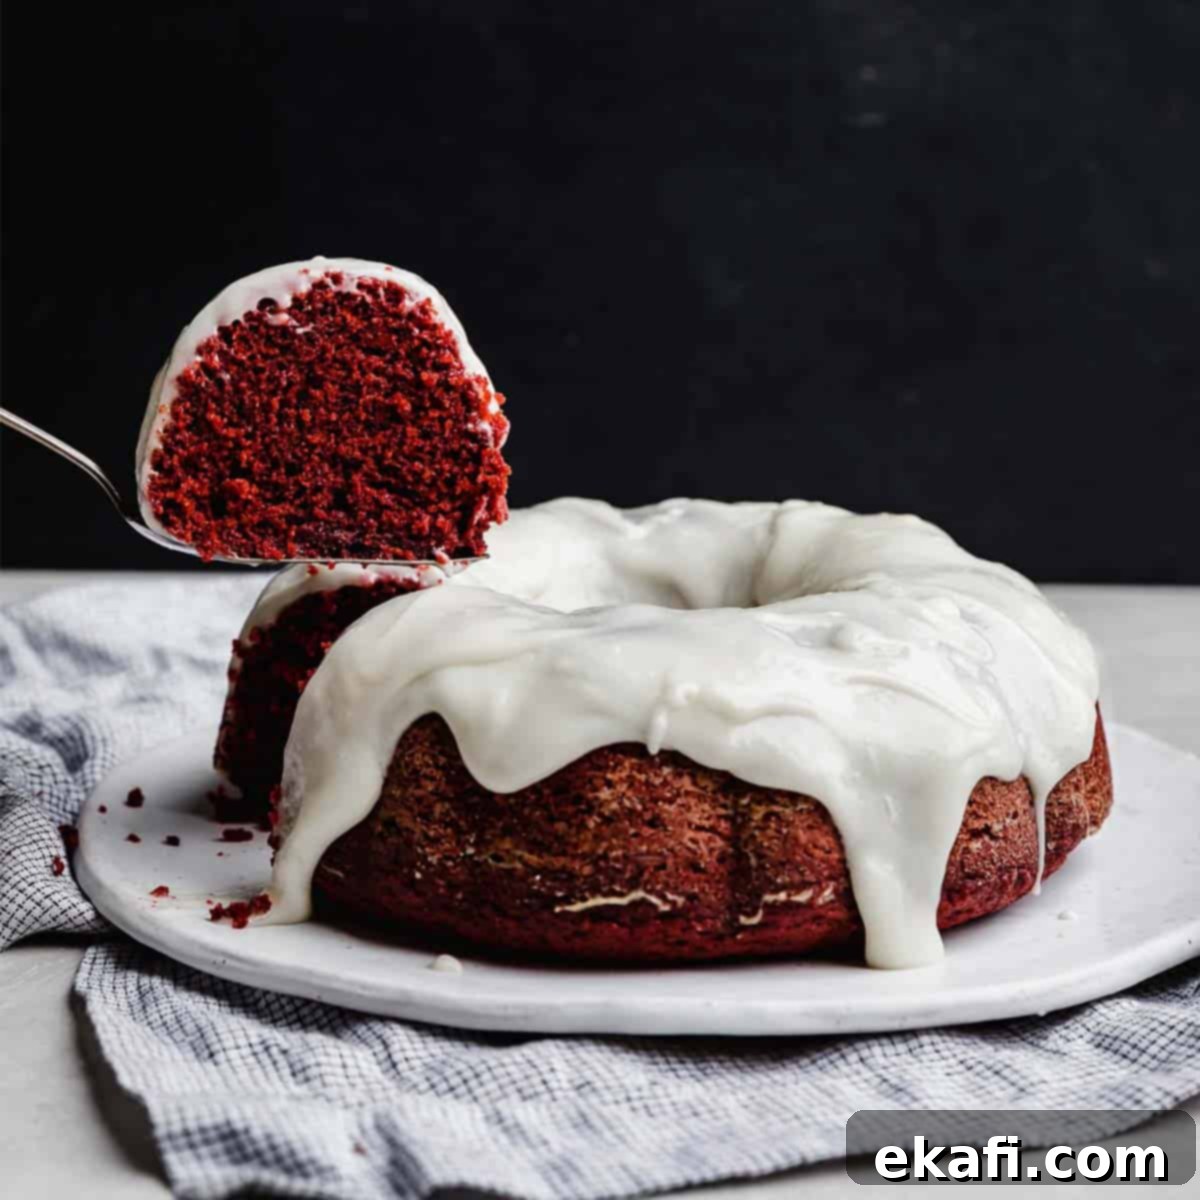
- Glaze and serve your masterpiece: Once the red velvet bundt cake is entirely cooled (this step is crucial!), pour your perfectly prepared cream cheese glaze evenly over the top, allowing it to cascade down the sides. For an extra festive touch, especially if you’re serving this for a holiday party, consider adding some colorful sprinkles, a dusting of cocoa powder, or even fresh berries (like raspberries or cranberries for Christmas). Slice, serve, and savor every moist, flavorful bite of your homemade Red Velvet Bundt Cake!
Expert Tips for a Flawless Red Velvet Bundt Cake
Achieving a picture-perfect and incredibly delicious Red Velvet Bundt Cake is easier than you think, especially with these insider tips:
Choose the Right Bundt Pan: I personally used a 12-cup bundt pan for my recipe, and the cake rose beautifully to about ¾ of the way up the sides. While a 12-cup pan certainly works, a 10-cup bundt pan would result in a slightly fuller, taller cake, which is often aesthetically pleasing for bundt designs. Both sizes are perfectly acceptable, but if you have a 10-cup pan, this recipe will fill it beautifully. Consider the visual impact you desire!
NEVER Overbake – Your Cake’s Moisture Depends on It! This is perhaps the most critical piece of advice for any cake, but especially for achieving that signature moist red velvet texture. Overbaking is the quickest way to turn a delicious, tender cake into a dry, crumbly disappointment. Begin checking your cake around the 43-minute mark, or even slightly sooner if your oven tends to run hot. A toothpick inserted into the center should emerge with moist crumbs clinging to it, not wet batter, and certainly not bone dry. Trust your instincts and the toothpick test!
Elevate Your Presentation with Simple Garnishes: The inherent elegance of a bundt cake is undeniable, but a few simple additions can truly transform it into a showstopping masterpiece. For holidays like Christmas or Valentine’s Day, vibrant festive sprinkles can add a playful touch. Fresh berries, such as raspberries or strawberries, not only provide a beautiful color contrast but also a burst of fresh flavor. Delicate chocolate shavings or curls can also add a touch of sophisticated flair. Even a light dusting of powdered sugar or a sprinkle of cocoa powder can make a big difference in presentation.
Master the Art of Greasing and Flourishing Your Bundt Pan: Bundt pans, particularly those with intricate patterns, can be notoriously tricky when it comes to cake release. To prevent your cake from sticking, a thorough and meticulous greasing and flouring process is essential. Don’t simply spray and go! Use a generous amount of nonstick cooking spray (or softened butter/shortening) to coat every nook and cranny. Then, lightly dust with all-purpose flour, rotating the pan and tapping it gently to ensure the flour adheres to all surfaces. Invert and tap out any excess flour. Given that this Red Velvet Bundt Cake will be draped in a rich cream cheese glaze, opting for a simpler bundt pan design can often reduce the risk of sticking, as ornate details can sometimes catch. However, with careful preparation, any pan can work!
Patience is Key: Cool Completely Before Glazing: It’s tempting to immediately pour that creamy glaze over your warm, freshly baked cake, but resist the urge! Applying glaze to a warm cake is a recipe for disaster – the glaze will melt, thin out, and simply slide right off, leaving you with a sticky mess and an unglazed cake. Ensure your Red Velvet Bundt Cake is completely, unequivocally cool to the touch before even thinking about the glaze. The thickness of your glaze also plays a role. If it’s too thin, it won’t adhere properly. Aim for that ‘craft glue’ consistency described in the instructions for optimal coverage and stability.
No Buttermilk? No Problem! Make Your Own: Buttermilk is a crucial ingredient for red velvet’s characteristic tang and moistness. If you don’t have any on hand, you can easily create a homemade substitute. Simply add 1 tablespoon of white vinegar or fresh lemon juice to a 1-cup measuring cup. Then, fill the rest of the cup with regular milk (dairy or non-dairy works) up to the 1-cup line. Stir gently and let it sit for 5-10 minutes. The milk will curdle slightly, becoming a perfectly suitable substitute for store-bought buttermilk. This quick trick ensures you can still make this delicious cake even without a trip to the store.
Make Ahead, Storing, and Freezing Your Red Velvet Bundt Cake
Planning ahead or managing leftovers is easy with this Red Velvet Bundt Cake. Proper storage ensures your cake remains fresh and delicious.
Make Ahead: This cake is an excellent candidate for making in advance, especially convenient for holiday preparations or busy schedules. Once you’ve applied the delightful cream cheese glaze, the cake must be stored in the refrigerator due to the perishable nature of cream cheese. When properly covered with plastic wrap or stored in an airtight container, it will remain fresh and delicious for 4-5 days in the fridge. If you prefer to bake the cake further in advance, you can bake the cake, let it cool completely, wrap it tightly in plastic wrap (without the glaze), and keep it at room temperature for 1-2 days. Then, simply prepare and apply the glaze just before serving.
Storing: To keep any leftover Red Velvet Bundt Cake at its best, ensure it’s covered. Either wrap individual slices or the entire remaining cake tightly in plastic wrap, or transfer it to an airtight container. Store it in the refrigerator. This method will keep the cake moist and fresh for 4-5 days, preserving its flavor and texture.
Freezing: The cake itself freezes beautifully, allowing you to extend its shelf life significantly. However, I strongly advise against freezing the cream cheese icing or the cake once it has been glazed, as the texture of cream cheese can become grainy and watery upon thawing. For best results when freezing, bake the cake, let it cool completely, and then wrap it in several layers of plastic wrap, followed by a layer of aluminum foil. Label and date it, then freeze for up to 1-2 months. When you’re ready to enjoy, thaw the cake overnight in the refrigerator, bring it to room temperature, and then prepare and apply a fresh batch of cream cheese glaze. For a comprehensive guide on preserving all types of cakes, be sure to consult my detailed resource on How to Store and Freeze Cakes!
Frequently Asked Questions About Red Velvet Bundt Cake
An unfrosted Red Velvet Bundt Cake can indeed be safely left out at room temperature for a day or two, provided it’s well-wrapped to prevent drying out. However, the quintessential accompaniment – cream cheese icing – is highly perishable. Once your cake is adorned with the delicious cream cheese glaze, it becomes a refrigerator-bound delight! Cream cheese contains dairy, which spoils quickly at warmer temperatures. To maintain its freshness, flavor, and food safety, always store the glazed cake in the fridge. This also helps the glaze set beautifully.
While red velvet cake does contain cocoa powder and possesses a subtle hint of chocolate flavor, it is distinctly different from a traditional chocolate cake. Classic chocolate cakes are typically rich, dark, and intensely chocolatey, often relying on a significant amount of cocoa or melted chocolate. Red velvet, on the other hand, features a much lighter touch of cocoa, which, when combined with buttermilk and vinegar, creates a unique flavor profile that is often described as tangy, mild chocolate, and vanilla. The red color, historically a result of a reaction between these ingredients, is now often enhanced with food coloring, making it visually striking but not primarily a chocolate-forward dessert.
Absolutely! Bundt cakes are excellent candidates for freezing, making them perfect for meal prep or saving for future indulgence. To freeze your Red Velvet Bundt Cake (without the glaze for best results), ensure it is completely cooled. Then, wrap it tightly in multiple layers of plastic wrap, followed by a layer of aluminum foil. This double-layer protection prevents freezer burn and helps maintain moisture. You can store your unfrosted bundt cake in the freezer for 1-2 months. When you’re ready to enjoy, simply thaw it overnight in the refrigerator, bring it to room temperature, and then prepare and apply a fresh batch of cream cheese glaze. For more detailed instructions and tips on freezing various types of cakes, be sure to consult my comprehensive guide on freezing cakes!
Explore More Delicious Bundt Cake Recipes
If you’ve fallen in love with the charm and simplicity of baking bundt cakes, there’s a whole world of flavors waiting for you to discover! Bundt cakes are incredibly versatile, offering endless possibilities for delicious variations. From comforting fall spices to bright citrus notes, there’s a bundt cake for every season and every craving. Here are some more fantastic bundt cake recipes from my collection that I highly recommend you try:
- Pumpkin Bundt Cake
- Lemon Poppy Seed Bundt Cake
- Chocolate Chip Bundt Cake
- Blood Orange Bundt Cake
- Apple Cider Bundt Cake
- White Chocolate Raspberry Bundt Cake
Did you bake this delightful Red Velvet Bundt Cake? I would absolutely love to hear about your experience! Your feedback is incredibly valuable. Please consider leaving a star rating and a review right here on the blog, or simply scroll down to the recipe card and share your thoughts there. Your insights help fellow bakers!
Stay connected with us for more delicious recipes, baking tips, and culinary inspiration! Follow us on Instagram, TikTok, YouTube, Facebook, and Pinterest. Let’s create more baking magic together!
Print
SaveSaved!
Review
Moist Red Velvet Bundt Cake
Ingredients
Red Velvet Cake
- 2 1/2 cups all-purpose flour
- 1 1/2 cups granulated sugar
- 4 tablespoons unsweetened cocoa powder
- 1 teaspoon baking soda
- 1 teaspoon salt
- 1 cup buttermilk
- 1 cup vegetable oil – or canola oil
- 2 teaspoons vanilla extract
- 2 large eggs – at room temperature
- 2 teaspoons white vinegar
- 1 teaspoon red gel food coloring
Cream Cheese Glaze
- 4 oz cream cheese – room temperature
- 2 cups powdered sugar
- 3 tablespoons milk – more or less as needed
- 1/2 teaspoon vanilla extract
Instructions
-
Preheat oven to 325°F. Generously spray a 10 or 12 cup bundt pan with nonstick cooking spray and lightly flour the pan. I used a 12 cup bundt pan, and it baked up only ¾ of the way, so it would fit perfectly in a 10 cup pan.
-
In the bowl of a stand mixer whisk flour, sugar, cocoa powder, baking soda and salt.
-
In a medium size bowl whisk the buttermilk, oil, vanilla, eggs, white vinegar, and red gel food coloring. Add the liquid ingredients to the dry ingredients and mix (with a paddle attachment) until just combined and no dry streaks remain. Scrape down the bottom and sides of the bowl so everything is evenly incorporated.
-
Pour the batter into the prepared bundt pan and bake in the oven for 43-50 minutes or until a toothpick inserted in the middle of the batter comes out with a few moist crumbs but no wet batter. Remove from the oven and let cool in the pan for 10 minutes before turning the cake out onto a wire rack to cool completely.
-
While the cake is cooling make the cream cheese glaze by beating the cream cheese, powdered sugar, milk, and vanilla in a medium bowl until smooth. If the glaze is too thick add more milk as needed. And if the glaze is too thin, add a tablespoon of powdered sugar at a time until desired consistency is reached. I like to shoot for a consistency similar to craft glue.
-
Once cake is cooled drizzle the glaze overtop of the cake. Enjoy! Store leftovers in the fridge covered for 4-5 days.
Nutrition
