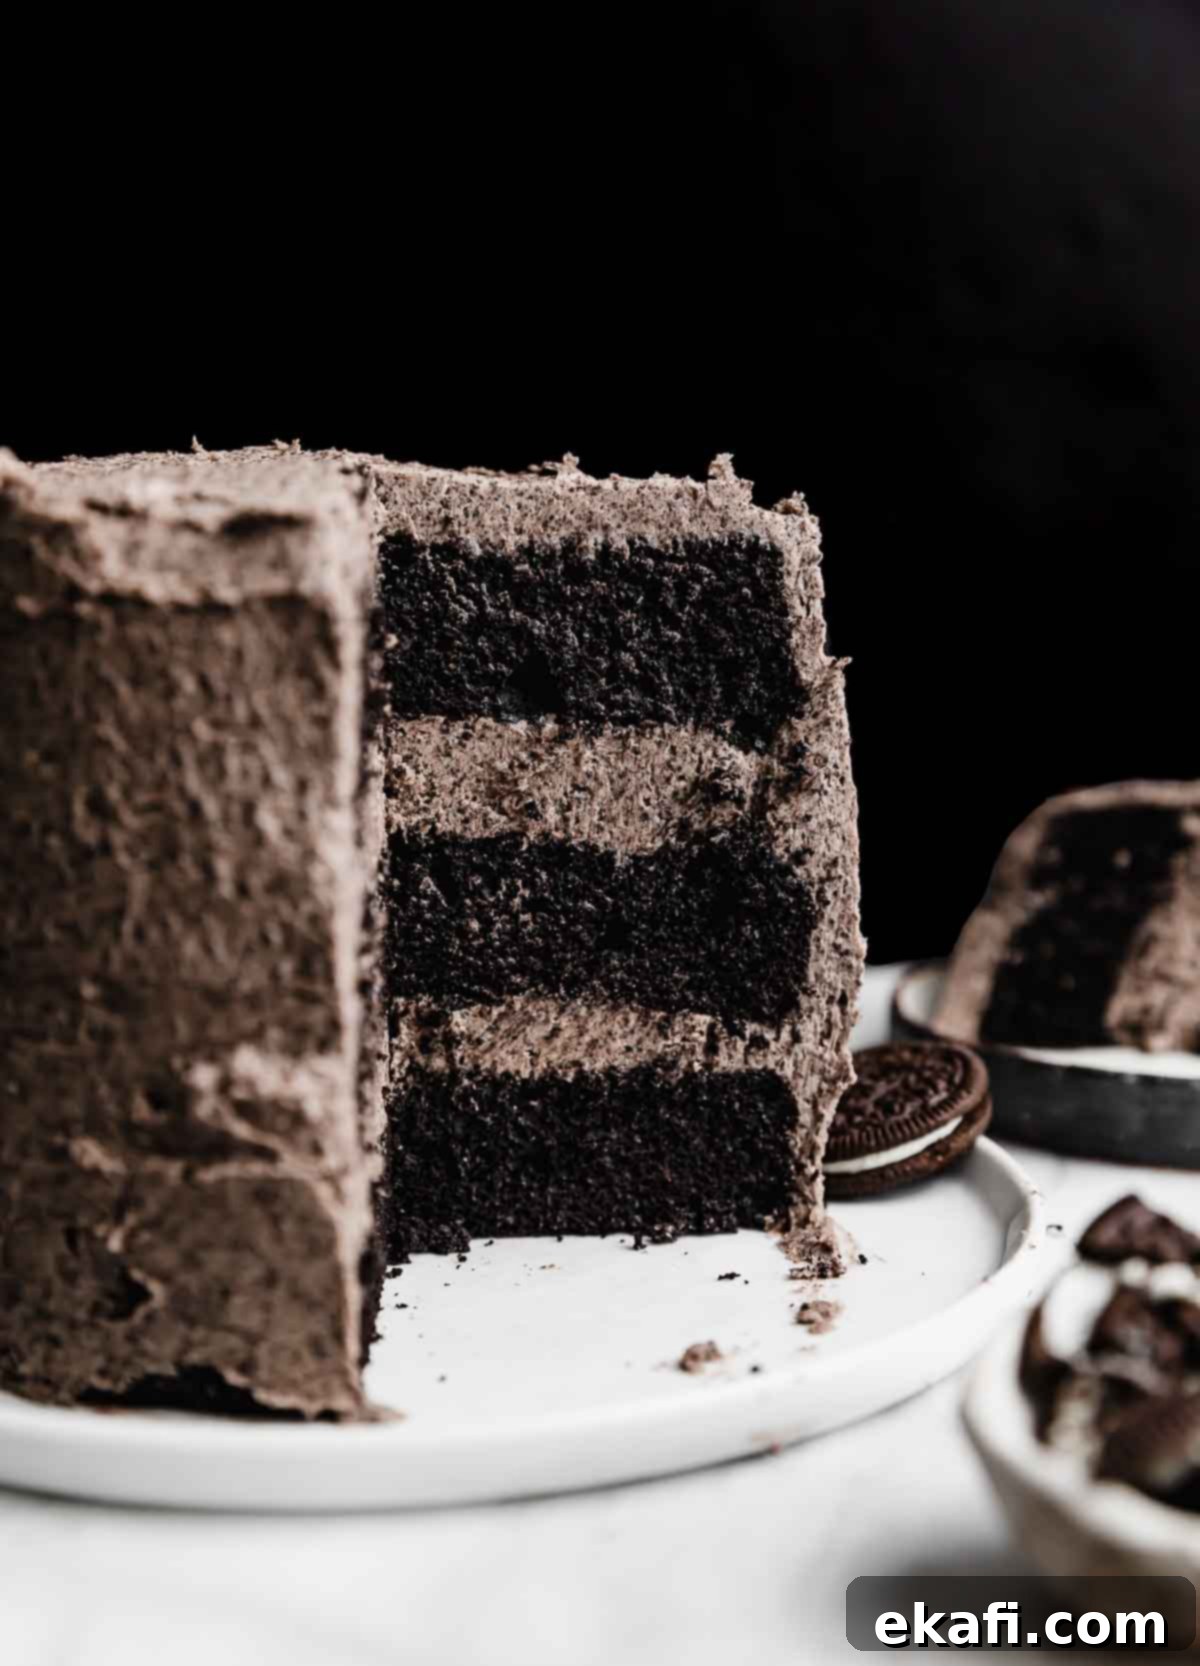
Ultimate Oreo Cake: Moist Black Cocoa Layers & Decadent Oreo Frosting
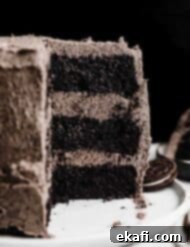
Prepare yourself for an extraordinary treat with this sensational Oreo Cake recipe! Imagine deliciously moist cake layers made with rich black cocoa powder, perfectly mimicking the iconic Oreo cookie flavor. These deeply colored, tender layers are then generously filled and frosted with the most incredible Oreo Frosting you’ve ever tasted, packed with crushed Oreo cookies.
Are you a dedicated Oreo enthusiast? Then you’ve come to the right place! We have a delightful collection of Oreo-inspired desserts that will make your taste buds sing. If you’re craving a single-serving version of this indulgent cake, our mouth-watering Oreo Cupcakes recipe is an absolute must-try. For a fun and unique twist on classic Oreo treats, get your hands on our moist Oreo Donuts. And if you’re looking for a quick, grab-and-go snack that’s bursting with cookies and cream goodness, our Oreo Muddy Buddies are simply irresistible!
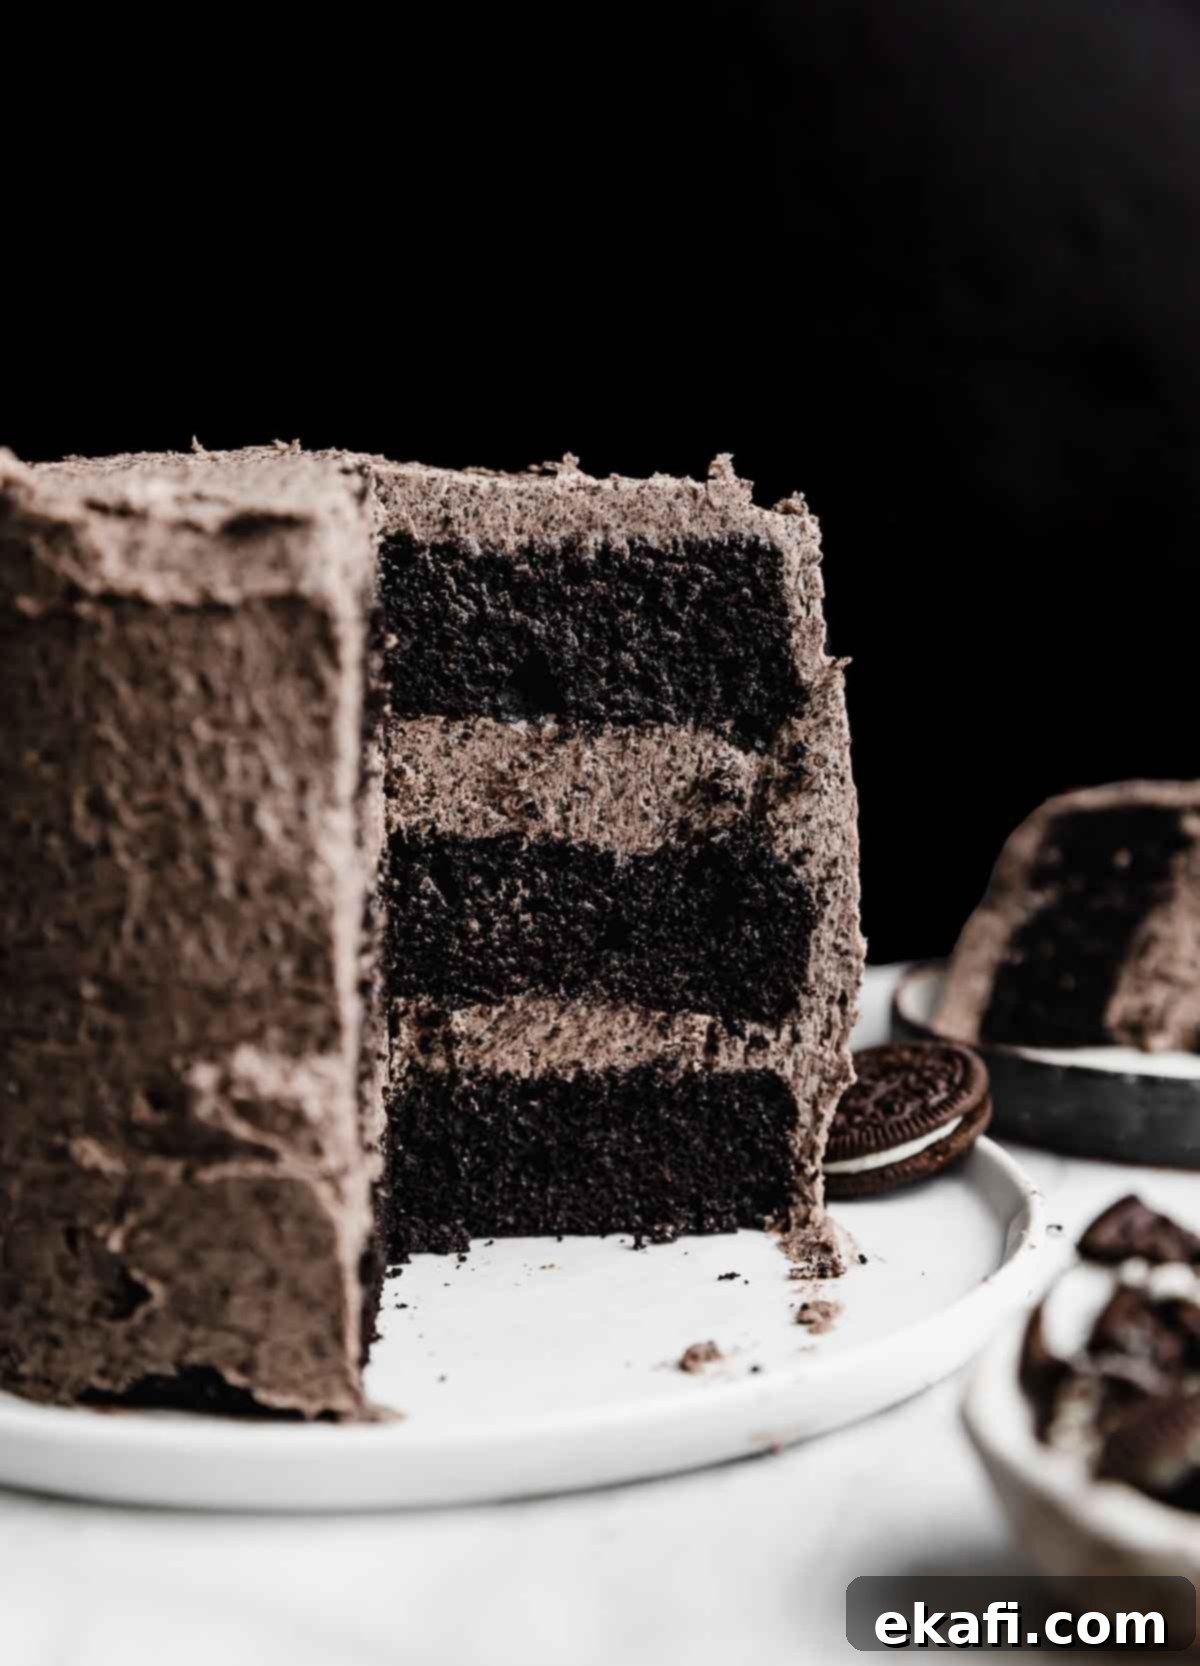
Why This Oreo Cake Recipe is a Must-Try
This isn’t just any Oreo cake; it’s a carefully crafted recipe designed to deliver the ultimate cookies and cream experience. Here’s why this particular recipe will become your go-to:
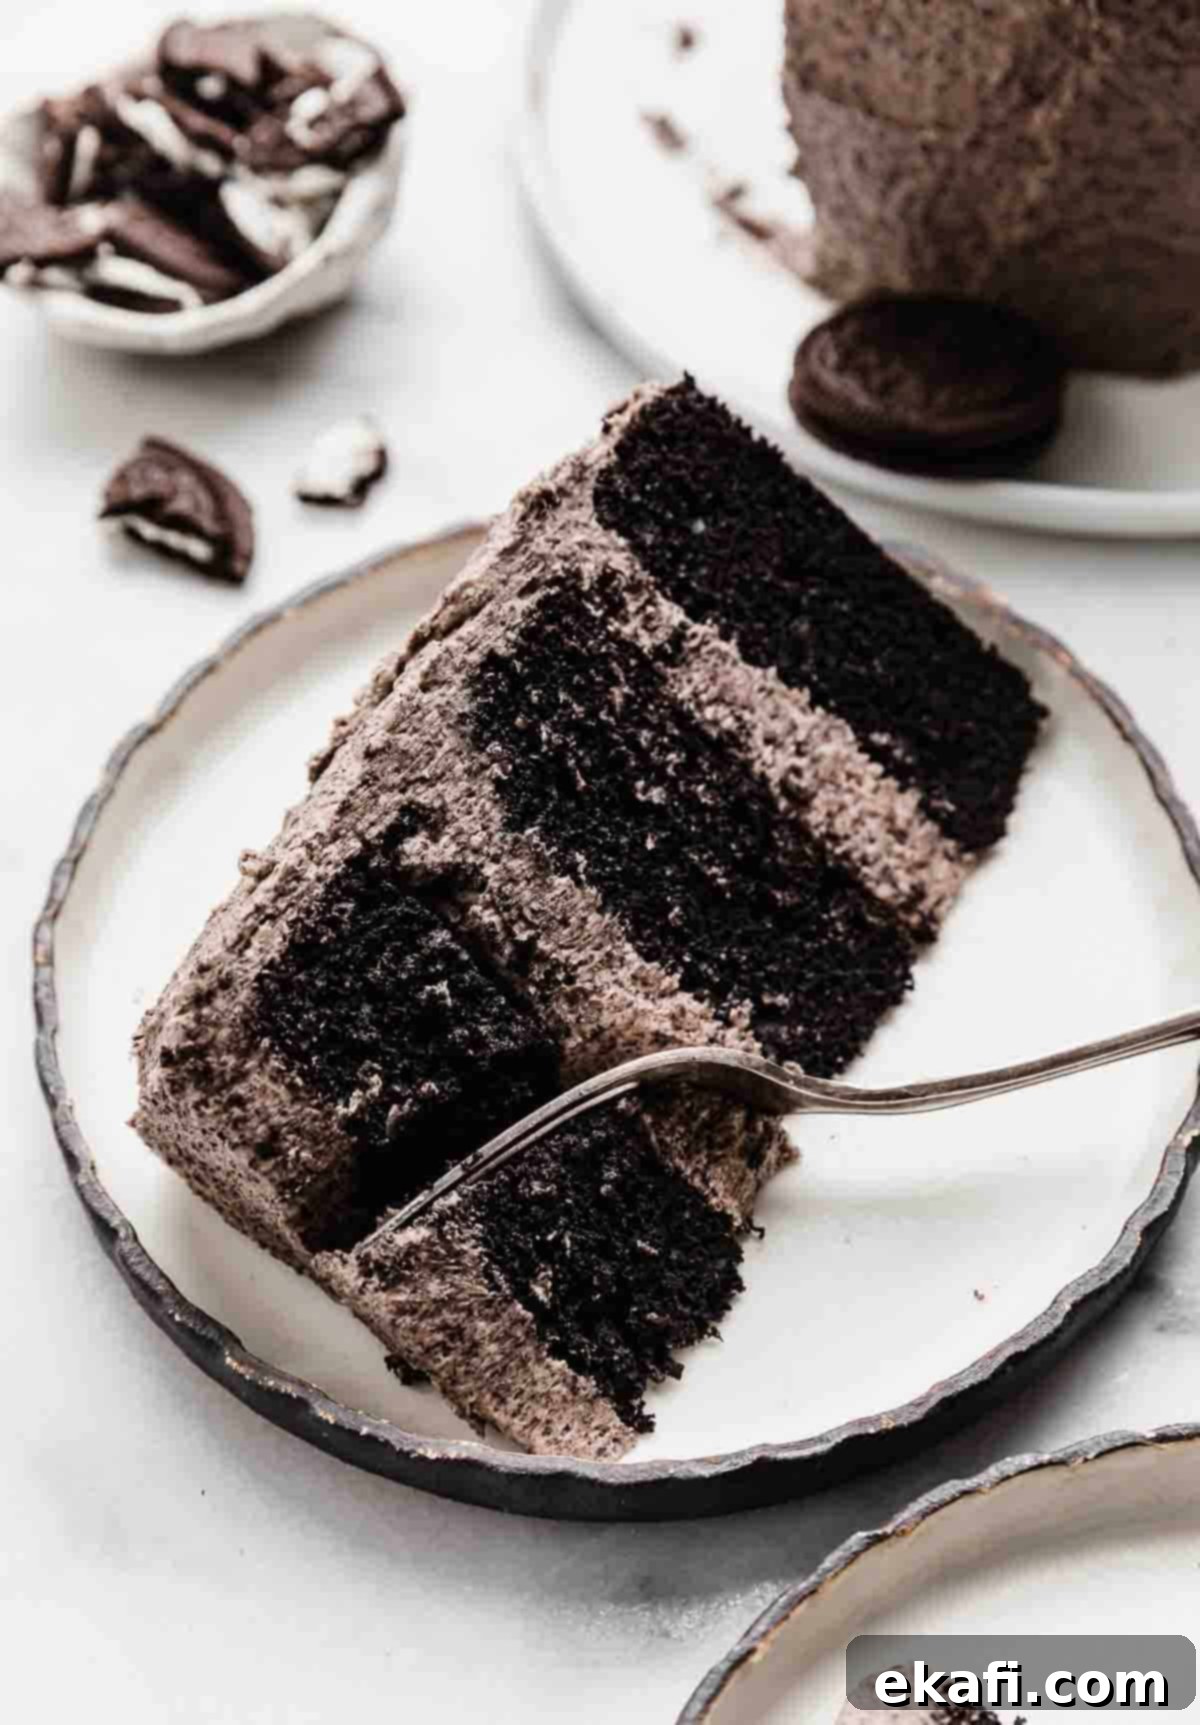
- Authentic Black Cocoa Powder Cake: Our recipe features cake layers made with a special Black Velvet Cake base, utilizing black cocoa powder. This key ingredient is what gives Oreo cookies their distinct dark color and unique, slightly bitter yet sweet flavor. The result is an ultra-rich, incredibly moist, and intensely flavorful cake that tastes exactly like the cookie part of an Oreo, but in cake form! It’s this deep flavor and color that elevates our cake above others.
- The Best Oreo Frosting, Period: We stand by the claim that this Oreo Frosting Recipe will truly change your dessert world! It’s a velvety smooth buttercream generously loaded with finely crushed Oreo cookies (cream filling included, of course!). The texture is heavenly, and the flavor is an explosion of cookies and cream goodness. It’s the perfect, decadent complement to the rich black cocoa cake layers, creating a harmonious balance that’s simply irresistible.
- Manageable 6-Inch Oreo Layer Cake: While grand layer cakes are beautiful, sometimes a more practical size is ideal. We adore 6-Inch Cake Recipes because they offer all the elegance and impressive presentation of a classic layer cake but in a much more manageable and less intimidating size. This smaller format is perfect for intimate gatherings, smaller families, or when you simply want to enjoy a beautiful homemade cake without committing to a massive dessert. It’s easier to bake, stack, and store, making it a fantastic choice for both novice and experienced bakers.
Essential Ingredients for Your Oreo Masterpiece
Understanding the role of each ingredient is key to achieving baking perfection. Here’s a closer look at what makes this Oreo cake so special:
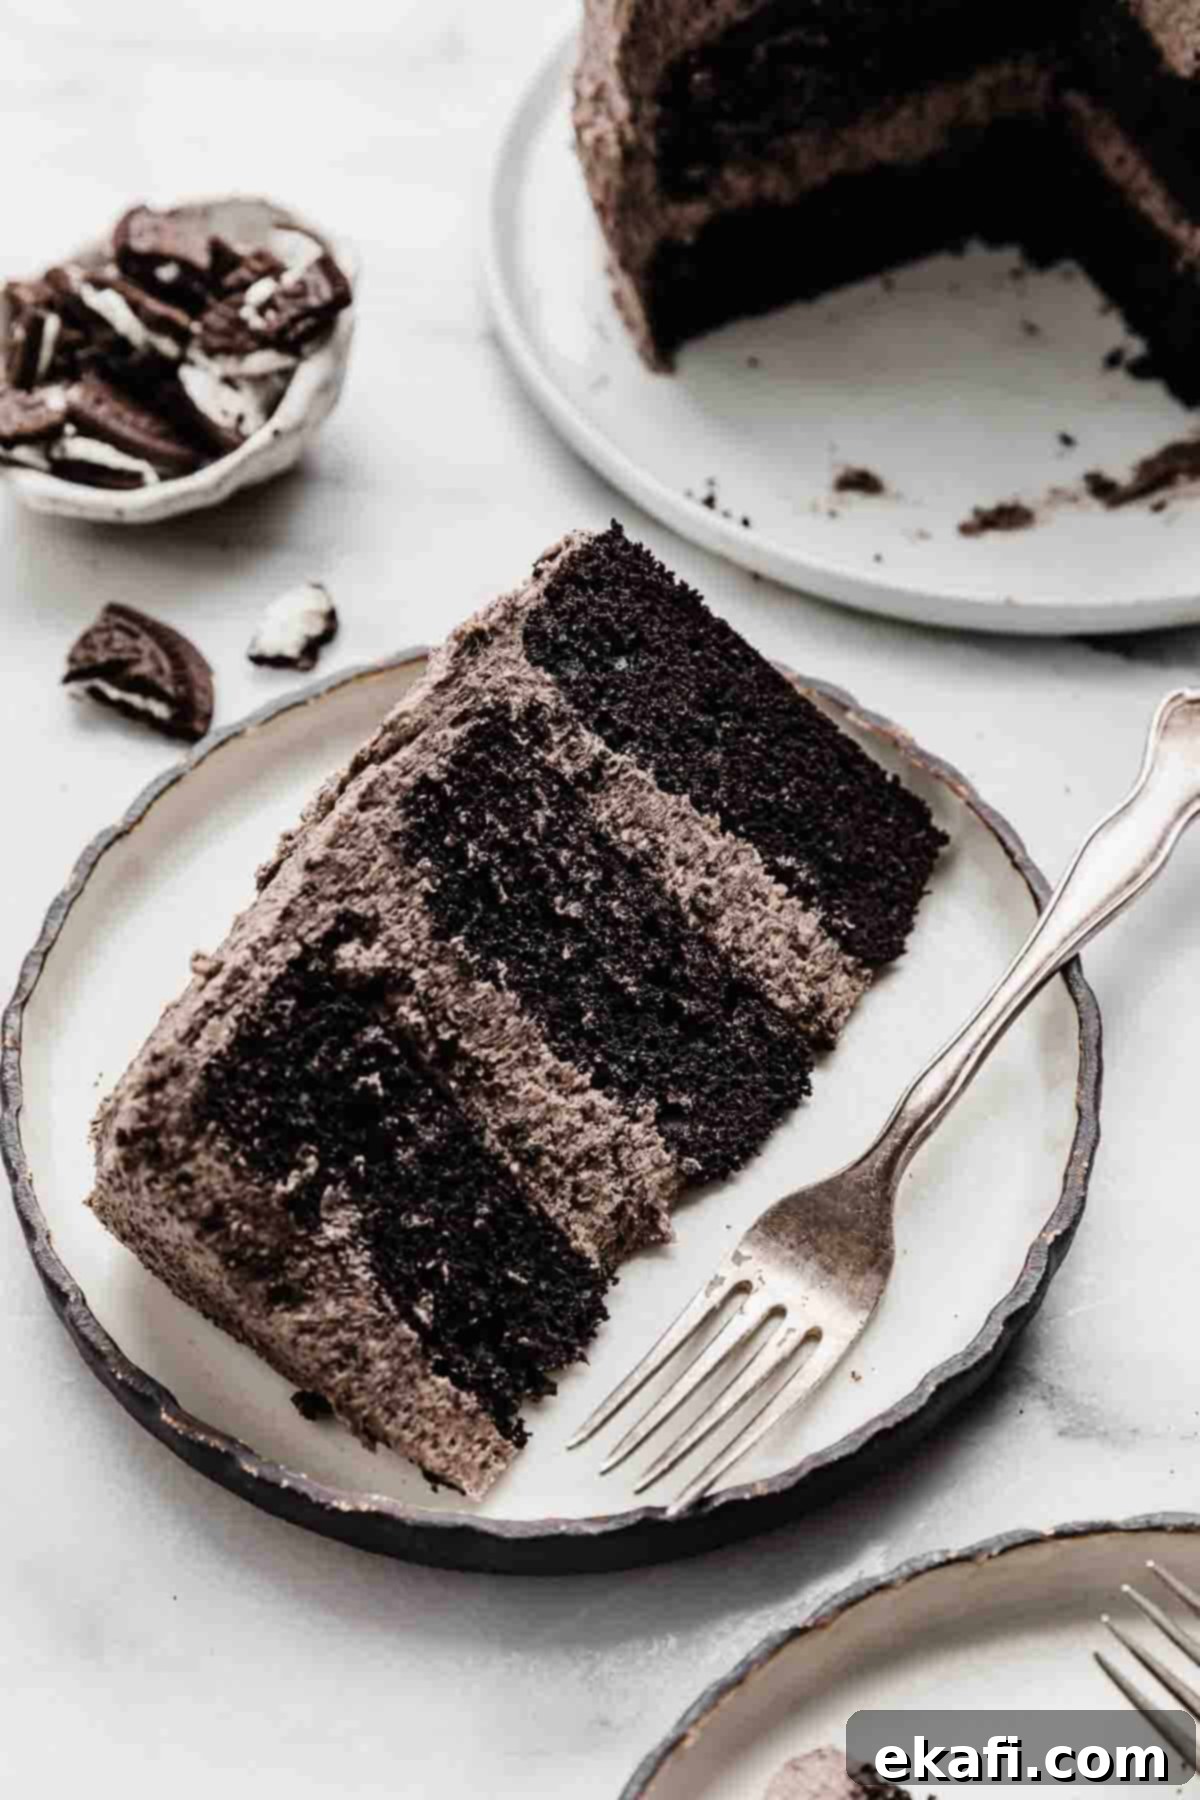
- Cake Flour: This isn’t your average all-purpose flour! Cake flour has a significantly lower protein content and is more finely milled. This results in less gluten development during mixing, leading to an incredibly soft, tender, and delicate cake crumb. It’s essential for achieving that light yet moist texture in our Oreo cake layers.
- Black Cocoa Powder: This is the secret ingredient that truly makes this an “Oreo” cake. Black cocoa powder is ultra-Dutch-processed, meaning it has a lower acidity and a very dark, almost black color. Its unique flavor profile is less bitter than natural cocoa and closely resembles the dark, deep taste of an actual Oreo cookie. It’s what gives our cake layers their characteristic rich black hue and authentic flavor. For a deep dive into this ingredient, consult my comprehensive Black Cocoa Powder Guide.
- Vegetable Oil: Unlike butter-based cakes, using vegetable oil ensures maximum moisture in your cake layers. Oil remains liquid at room temperature, contributing to a consistently moist and tender crumb that stays fresh longer. It’s a game-changer for a truly melt-in-your-mouth experience.
- Sour Cream: This ingredient is a powerhouse for adding moisture and richness to cakes. You can use full-fat sour cream for the best flavor and texture, or opt for light sour cream. Plain Greek yogurt can also be substituted for a similar effect. The acidity in sour cream also helps activate the baking soda, contributing to a good rise and tender crumb.
- Buttermilk: Similar to sour cream, buttermilk’s acidity plays a crucial role. It tenderizes the gluten in the flour, resulting in a softer cake, and reacts with the baking soda to create lift and airiness. Ensure your buttermilk is at room temperature for seamless incorporation into the batter.
- Black Food Coloring: While black cocoa powder provides a dark color, a touch of black gel food coloring (preferably gel, as it’s more concentrated and won’t thin the batter) can really deepen the hue, making your cake layers even more strikingly black, just like the real Oreo cookie wafers. This is optional but highly recommended for visual impact.
- Unsalted Butter: For the frosting, we use unsalted butter. This allows you complete control over the salt content in your Oreo buttercream, ensuring it’s perfectly balanced and not overly salty. Make sure it’s softened to room temperature for optimal creaming.
- Powdered Sugar: Also known as confectioners’ sugar, this is the base for our buttercream. While many recipes recommend sifting, for this particular Oreo frosting, you don’t need to worry about it. The finely crushed Oreo crumbs will already give the frosting a delightful, slightly textured consistency, so a perfectly smooth sugar base isn’t strictly necessary.
- Heavy Cream: This is essential for achieving a rich, creamy, and spreadable buttercream consistency. You’ll add it gradually, by the tablespoon, to control the thickness of your frosting. It also helps to lighten the frosting as it’s whipped.
- Oreo Cookies: The star of the show! When crushing your Oreos for the frosting, make sure to keep the delicious cream filling inside. This adds extra flavor, moisture, and authenticity to your Oreo crumbs, making your frosting truly irresistible. Fine crumbs are ideal for a smooth yet textured frosting.
Step-by-Step Guide to Baking Your Dream Oreo Cake
Follow these detailed instructions to create a stunning and delicious Oreo cake that will impress everyone!
Crafting the Perfect Black Cocoa Cake Layers
- Prepare Your Cake Pans with Precision: Begin by preheating your oven to 350ºF (175ºC) and positioning the oven rack in the center. This ensures even baking. Take three 6-inch round cake pans and generously spray them with a nonstick cooking spray that contains flour (such as Baker’s Joy or Pam Baking). For extra insurance against sticking, you can also line the bottoms of the pans with a circular piece of parchment paper before spraying. Set these prepared pans aside.
- Combine Dry Ingredients Thoroughly: In the large bowl of a stand mixer fitted with the whisk attachment, add the dry ingredients: 1 ¾ cups cake flour, 1 ¼ cups granulated sugar, ⅔ cup black cocoa powder, ¾ tsp baking soda, and ½ tsp salt. Whisk these ingredients together on low speed for about 30 seconds to ensure they are well combined and evenly distributed. This step prevents lumps and ensures consistent leavening throughout the cake.
- Prepare Wet Ingredients Separately: In a separate medium bowl or a large liquid measuring cup, whisk together the wet ingredients: ½ cup vegetable oil, ½ cup sour cream (full-fat for best results), ½ cup room-temperature buttermilk, 2 large room-temperature eggs, 2 tsp vanilla extract, ½ tsp white vinegar, and a few drops of black gel food coloring (if using, to enhance the dark color). Whisk until all these components are fully combined and smooth.
- Gently Combine Wet and Dry Mixtures: Pour the wet ingredients mixture into the stand mixer bowl containing the dry ingredients. Switch to the paddle attachment and mix on the lowest speed possible until *just* combined. It’s crucial not to overmix the batter, as this can develop the gluten in the flour, leading to a tough, dry cake. Mix only until no streaks of dry flour remain.
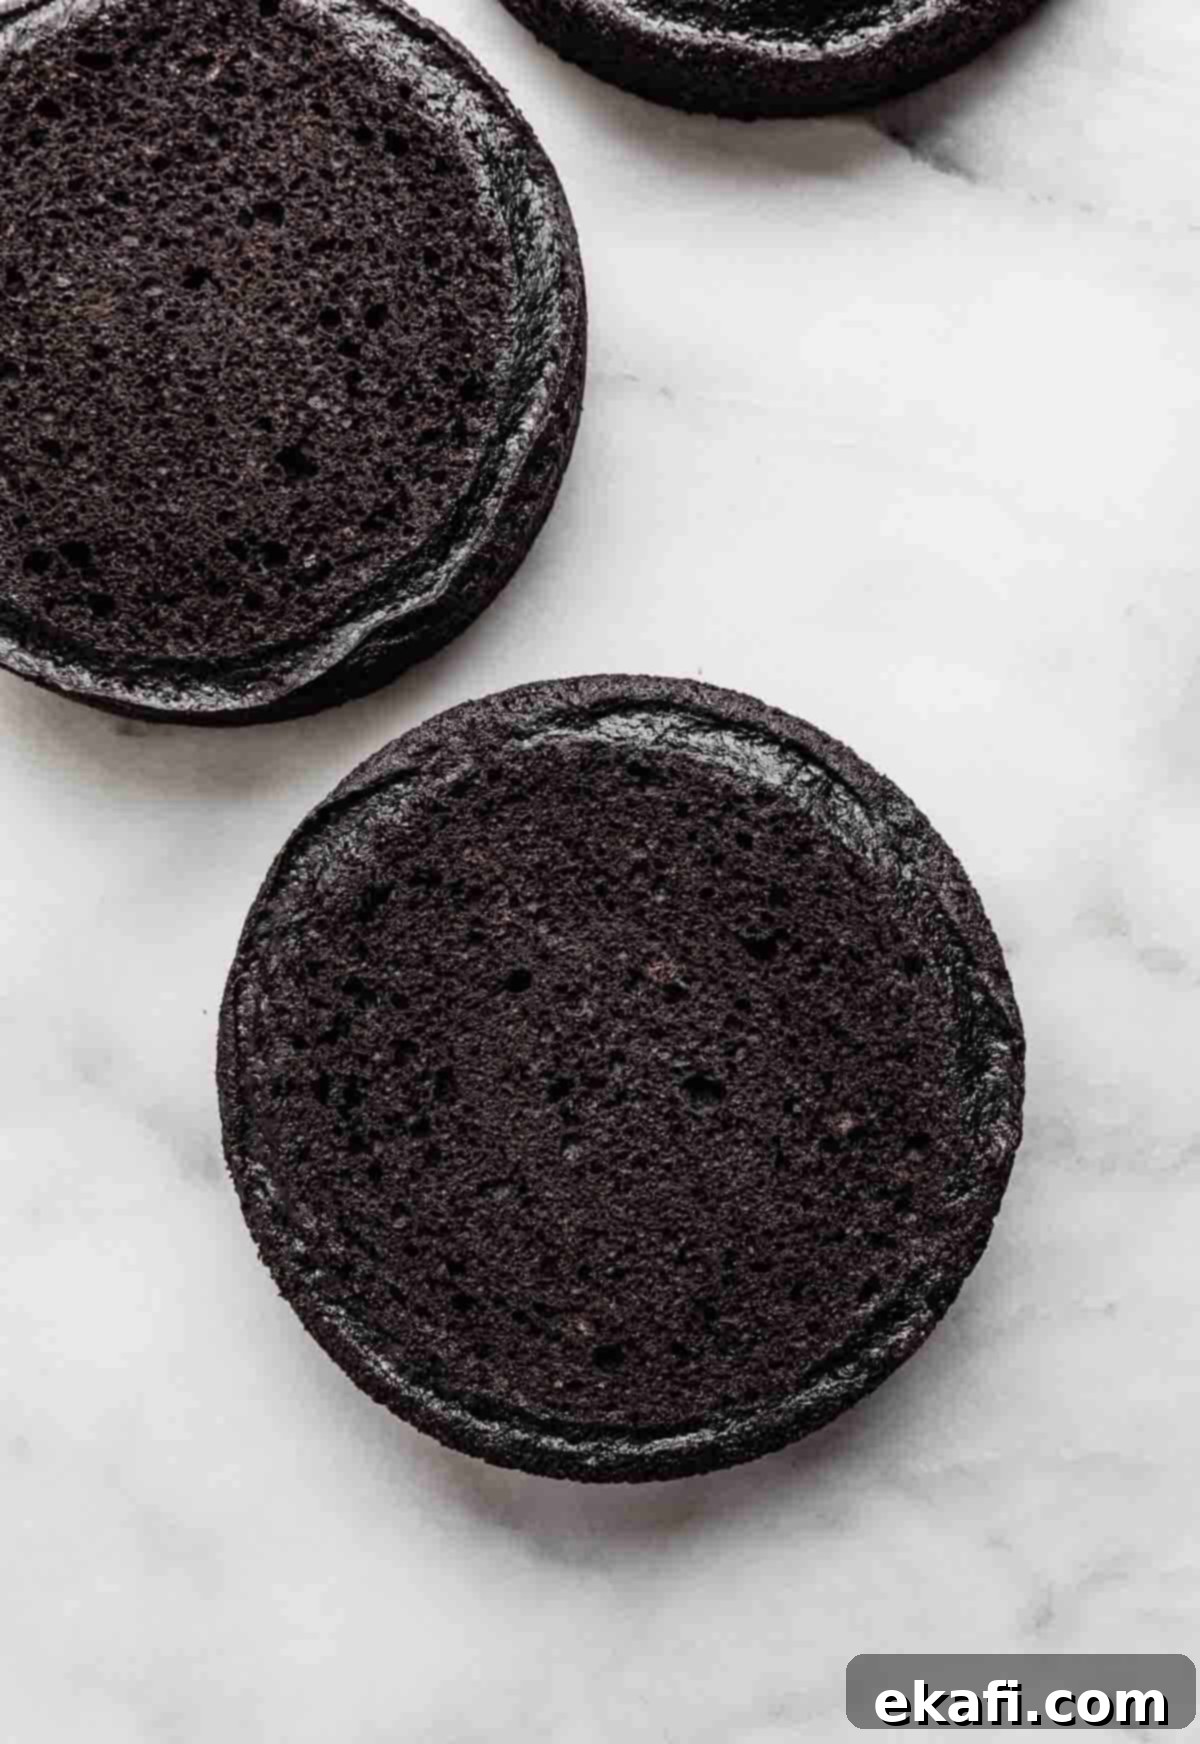
- Bake the Black Cocoa Cake Layers to Perfection: Using a kitchen scale, evenly distribute the cake batter among the three prepared cake pans. This ensures that each layer bakes uniformly and creates a level stack. Use an offset spatula to gently spread the batter into an even layer in each pan. Carefully place the cake pans on the middle rack of your preheated oven and bake for 25-28 minutes. The cakes are done when a toothpick inserted into the center of an Oreo cake layer comes out with a few moist crumbs attached, but no wet batter. Remove the cakes from the oven and let them cool in their pans on a wire rack for 10 minutes. After 10 minutes, carefully invert the cakes onto the wire rack to cool completely. Cooling completely is essential before frosting to prevent the frosting from melting.
Whipping Up the Dreamy Oreo Frosting
While your cake layers are cooling, prepare the rich and creamy Oreo frosting that makes this cake truly decadent.
- Cream the Unsalted Butter: In the bowl of a stand mixer fitted with the paddle attachment, add 1 ½ cups (3 sticks) of softened, room-temperature unsalted butter. Cream the butter on medium speed for about 2 minutes, until it’s light, fluffy, and pale in color. This process incorporates air and ensures a smooth frosting base.
- Combine Powdered Sugar and Heavy Cream: Gradually add 4 ½ cups of powdered sugar (confectioners’ sugar) and ⅓ cup of heavy cream to the creamed butter. Start mixing on low speed to prevent a sugar cloud, then increase to medium-high and whip until the mixture is smooth and fully incorporated. Scrape down the sides of the bowl as needed to ensure everything is evenly mixed.
- Incorporate Oreo Crumbs and Flavorings: Add 1 ½ tsp vanilla extract, ½ tsp salt, and the finely crushed Oreo crumbs (from 22 full Oreo cookies, remember to keep the cream filling!). Mix on medium speed for about 3-4 minutes until the frosting is light, fluffy, and well combined. The Oreo crumbs will make the frosting quite thick. If the consistency is too stiff, add additional heavy cream, 1 tablespoon at a time, until you reach your desired fluffy and spreadable texture.
Assembling and Frosting Your Oreo Masterpiece
Now for the exciting part – bringing your cake layers and frosting together to create a show-stopping dessert!
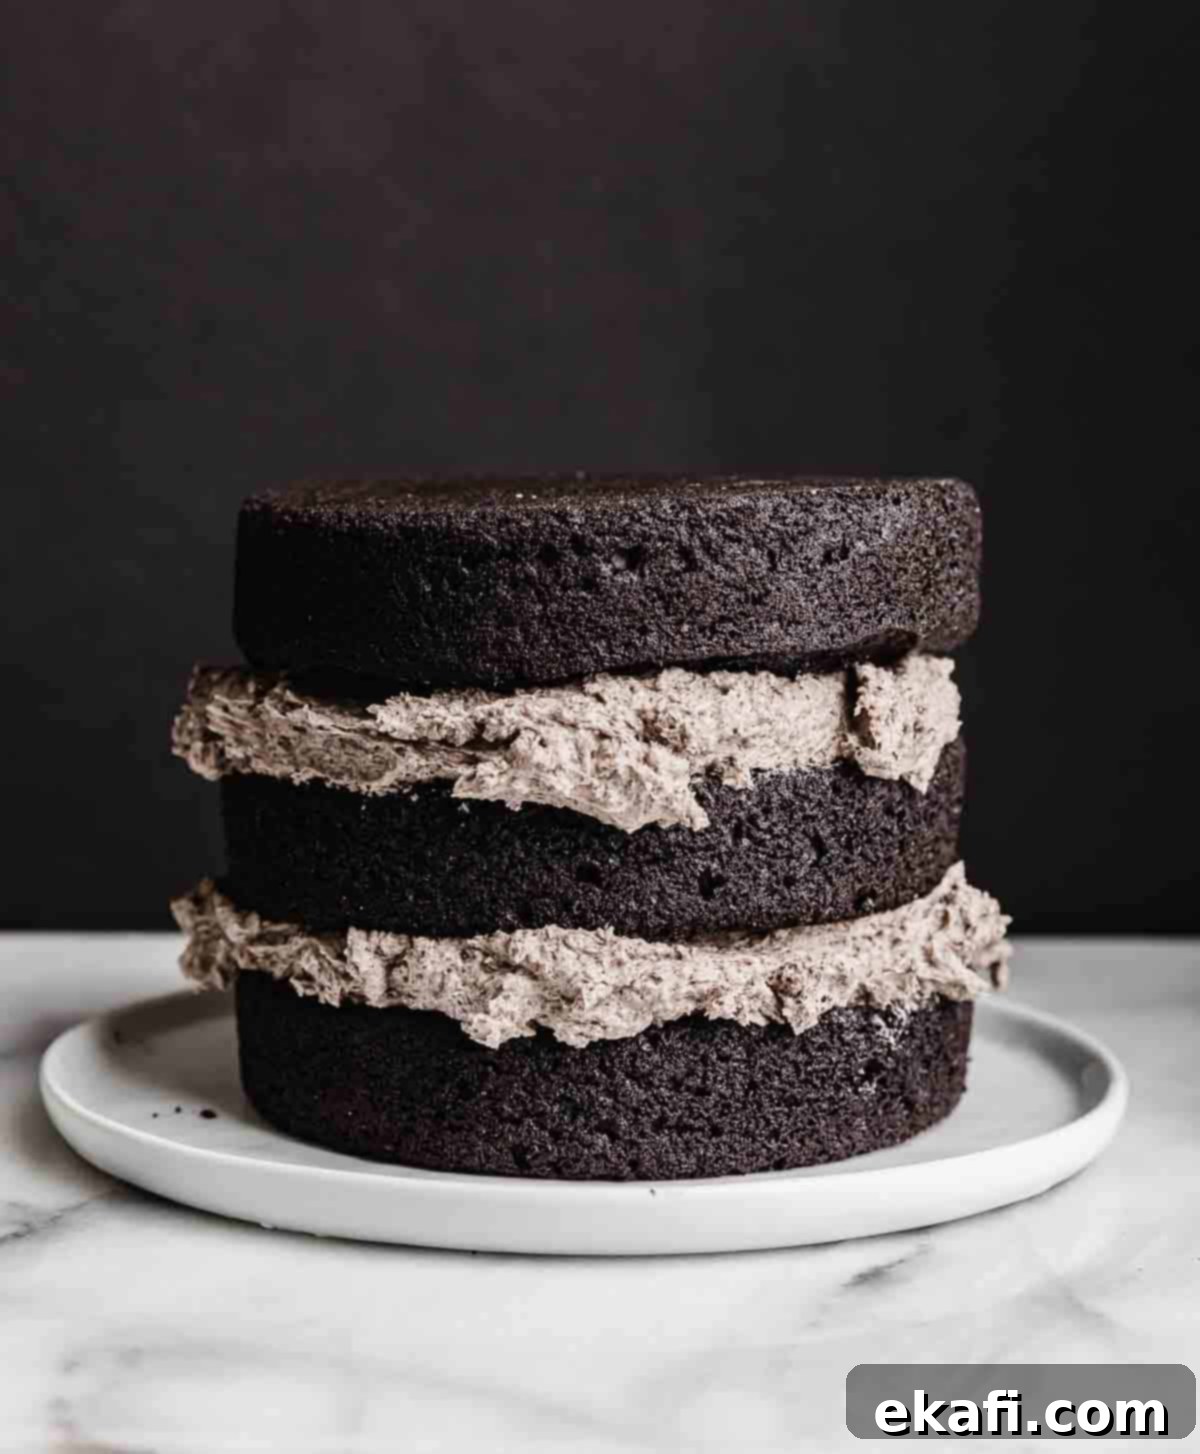
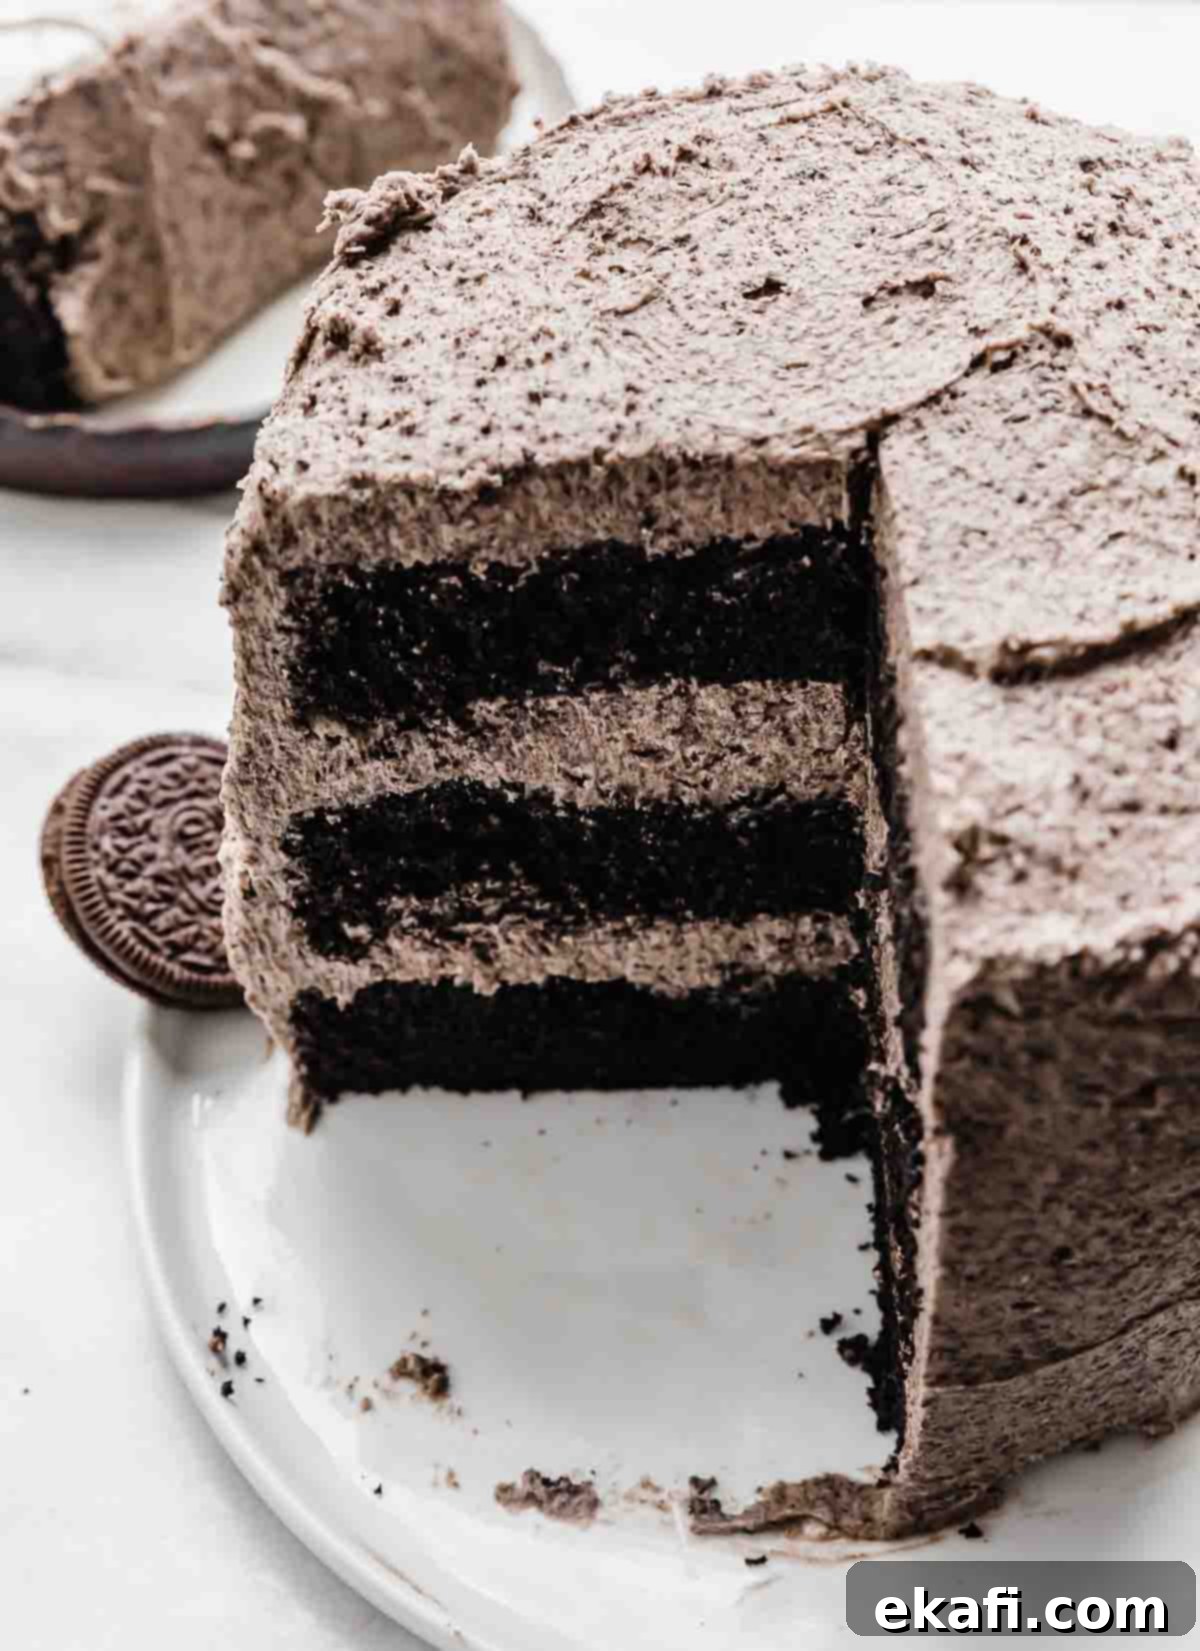
- Stacking the Cake Layers with Frosting: Once your cake layers are completely cool, place the first cake layer on your chosen cake stand or serving plate. Dollop a generous amount of Oreo frosting onto this layer. Using an offset spatula, spread the frosting evenly across the top, ensuring it reaches the edges. Gently place the second cake layer directly on top of the frosted first layer and repeat the frosting process. Finally, position the third cake layer on top.
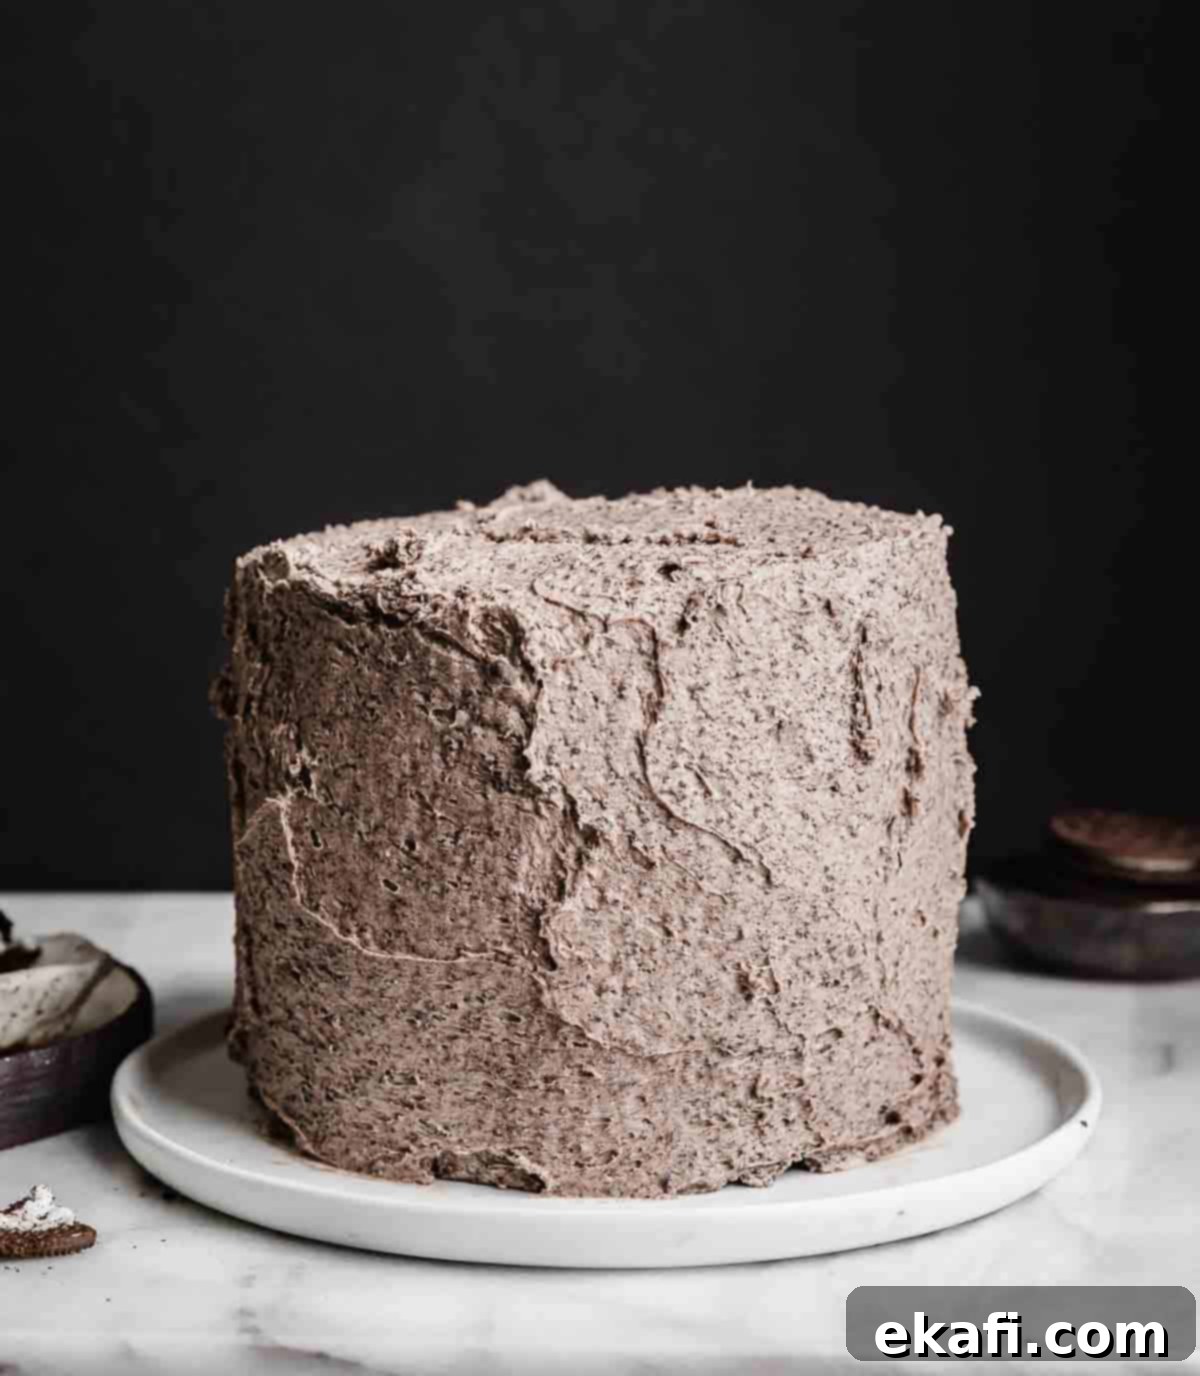
- Frosting the Entire Oreo Cake: With the remaining Oreo frosting, begin to cover the sides and top of the entire cake. Start with a thin “crumb coat” – this locks in any loose crumbs and creates a stable base for your final, smooth layer of frosting. Once the crumb coat is set (you can chill it in the fridge for 15-20 minutes to speed this up), apply the remaining frosting to achieve a smooth, even finish. If you plan to add any decorative piping, remember to use a piping tip with a wider opening. The crushed Oreo crumbs can easily clog smaller, finer tips, making piping difficult. Once frosted, your magnificent Oreo cake is ready to be sliced and served. Enjoy every decadent bite!
Expert Tips for a Flawless Oreo Cake
Achieving a perfect cake often comes down to a few crucial details. Keep these tips in mind for the best possible results:
- Avoid Overmixing the Batter: This is one of the most common baking mistakes! Overmixing cake batter develops the gluten in the flour excessively, leading to a tough, dense cake with a less desirable texture. Mix only until the ingredients are just combined and no dry streaks of flour remain. If you don’t have a stand mixer, a hand-held electric mixer works perfectly fine – just be mindful not to overdo it.
- Ensure Even Baking with Proper Rack Placement: For uniform baking across all three cake layers, always bake them on the same oven rack. Place the rack in the absolute center of your oven. This position allows for consistent heat circulation, ensuring your cakes rise evenly and bake through without one side browning faster than the other.
- Verify Oven Temperature with a Thermometer: Oven temperatures can be notoriously inaccurate. An oven that is too hot or too cold can significantly affect your cake’s texture and rise. I highly recommend investing in an inexpensive oven thermometer and keeping it in your oven at all times. This way, you can be certain that your oven is preheated to the exact temperature required for this recipe, preventing under-baked or over-baked results.
- Don’t Overbake for Optimal Moisture: The key to a truly moist cake is knowing when to pull it from the oven. Rather than waiting for a perfectly clean toothpick, I suggest removing the cake layers when a toothpick inserted into the center comes out with a few moist crumbs attached, but no wet batter. The cakes will continue to cook slightly from residual heat as they cool, leading to an incredibly tender and moist crumb.
- The Secret to Perfect Oreo Crumbs: For the most authentic Oreo flavor and texture in your frosting, it’s essential to use the entire Oreo cookie, including the cream filling! Place whole Oreos in a food processor and pulse until they form fine, even crumbs. The cream filling adds richness and helps create that signature Oreo taste throughout the buttercream.
- No Food Processor? No Problem!: If you don’t have a food processor, you can still make excellent Oreo crumbs. Simply place the desired number of Oreo cookies into a sturdy ziplock bag. Seal the bag completely, removing as much air as possible. Then, use a rolling pin to firmly roll over the bag, crushing the Oreos into fine crumbs. Continue rolling until you achieve a consistent, fine crumb texture suitable for your frosting.
Make Ahead, Storing, and Freezing Options for Convenience
Planning ahead can make baking a breeze. Here’s how to prepare and store your Oreo cake and its components:
- Make Ahead Cake Layers: You can absolutely bake the cake layers in advance! Once baked, let them cool completely to room temperature. Then, wrap each cake layer tightly in two layers of plastic wrap. They can be stored at room temperature for up to 24 hours, or in the refrigerator overnight. Frost them the next day when you’re ready to assemble and serve.
- Freezing Cake Layers for Longer Storage: If you need to prepare the cake layers more than a day in advance, freezing is your best option. After wrapping each cooled layer in two layers of plastic wrap, add an additional layer of aluminum foil for extra protection against freezer burn. Store the wrapped cake layers in the freezer for up to 2 months. When ready to use, remove them from the freezer and let them thaw in the refrigerator overnight before unwrapping and frosting.
- Preparing and Storing Oreo Frosting in Advance: The Oreo frosting can also be made ahead of time. Transfer the prepared frosting to an airtight container and store it in the refrigerator for up to 7 days. It also freezes exceptionally well for longer storage (up to 1 month).
- Reactivating Stored Frosting: Before using chilled or frozen frosting, allow it to come to room temperature. This will typically take 1-2 hours at room temperature for refrigerated frosting, or several hours for frozen frosting. Once softened, beat the frosting again in your stand mixer (with the paddle attachment) until it returns to a light, fluffy, and spreadable consistency. If it’s still too thick, add heavy cream 1 tablespoon at a time, beating after each addition, until you reach the perfect texture.
- Storing the Assembled Cake: An assembled and frosted Oreo cake can be stored covered at room temperature for 2-3 days. For extended freshness, or if your kitchen is particularly warm, store the cake in an airtight cake dome or container in the refrigerator for 4-5 days. While it’s always best enjoyed within the first day or two, proper storage will keep it delicious.
- Freezing the Whole Cake or Slices: You can even freeze the entire frosted cake or individual slices! For slices, wrap each piece tightly in plastic wrap, then a layer of aluminum foil. For a whole cake, chill it first until the frosting is firm, then wrap it securely in multiple layers of plastic wrap and foil. Freeze for up to 2 months. Thaw in the refrigerator overnight before serving.
For more comprehensive information on storing and freezing cakes, including detailed instructions on how to freeze cake layers, buttercream, and a whole decorated cake, be sure to check out my dedicated How to Store and Freeze Cakes guide!
Frequently Asked Questions About This Oreo Cake
Here are answers to some common questions about making this delightful Oreo cake:
No food processor? No worries! Simply place the Oreo cookies (with their cream filling) into a sturdy resealable plastic bag. Seal the bag completely, removing as much air as possible. Then, use a rolling pin or even the bottom of a heavy pan to firmly roll over the bag, crushing the Oreos. Continue rolling and pounding until you achieve fine, consistent crumbs. It might take a little more effort, but the results will be just as delicious for your frosting!
While this Oreo cake can be stored at room temperature for 2-3 days, it will definitely last longer and maintain its freshness and texture better if stored in the refrigerator. The buttercream, in particular, benefits from the cooler temperature. Regardless of where you store it, it’s crucial to cover the cake completely with a cake dome or plastic wrap to prevent it from drying out and to keep it fresh. Just be sure to bring it to room temperature for about 30-60 minutes before serving for the best flavor and texture.
For this specific “Oreo Cake” recipe, black cocoa powder is a crucial ingredient and truly irreplaceable. It provides that authentic dark color and unique, slightly bitter yet sweet flavor that perfectly mimics the cookie part of an Oreo. Regular Dutch-processed cocoa powder will give you a dark chocolate cake, but it won’t have the same intense black color or distinct flavor profile that makes this cake taste so much like an actual Oreo. If you can’t find black cocoa powder, I recommend ordering it online or seeking it out at specialty baking stores rather than substituting it, as the final result won’t be the same.
This recipe is specifically designed to capture the classic dark chocolate Oreo flavor with its black cocoa layers and traditional Oreo crumb frosting. If you’re looking to experiment with a non-traditional Oreo flavor, you might enjoy my Golden Oreo Cake recipe, which offers a delightful vanilla-based alternative using Golden Oreos. For this specific cake, sticking to classic Oreos (with their cream filling) is recommended to achieve the intended flavor profile.
More Irresistible Oreo-Inspired Desserts
If you can’t get enough of that classic cookies and cream flavor, explore some of our other fantastic Oreo recipes:
- Fudgy Oreo Brownies
- Oreo Red Velvet Cake
- Oreo Ice Cream Cake
- No Bake Oreo Dessert
Did you try this amazing Oreo Cake recipe? We would absolutely love to hear about your experience! Leave a star rating and a detailed review below the recipe card to share your thoughts. Your feedback helps us and other bakers in our community.
Stay connected and up-to-date with all our latest delicious creations by following us on Instagram, TikTok, YouTube, Facebook, and Pinterest. Don’t forget to tag us in your creations!
Print
SaveSaved!
Review
Oreo Cake
Ingredients
Black Cocoa Cake Layers
- 1 3/4 cups cake flour
- 1 1/4 cups granulated sugar
- 2/3 cup black cocoa powder
- 3/4 teaspoon baking soda
- 1/2 teaspoon salt
- 1/2 cup vegetable oil
- 1/2 cup sour cream – full fat or light is fine, can also substitute plain Greek yogurt
- 1/2 cup buttermilk – room temperature
- 2 large eggs – at room temperature
- 2 teaspoons vanilla extract
- 1/2 teaspoon white vinegar
- black food coloring – preferably gel food coloring, for deeper color
Oreo Frosting
- 1 1/2 cups unsalted butter – softened to room temperature (3 sticks/cubes of butter)
- 4 1/2 cups powdered sugar
- 1/3 cup heavy cream – more if needed, for desired consistency
- 22 full Oreo cookies – pulsed into fine powder (keep the filling inside the Oreo cookies for best flavor)
- 1 1/2 teaspoon vanilla extract
- 1/2 teaspoon salt
Equipment
-
Kitchen Aid stand mixer
-
6 inch round cake pans
-
kitchen scale
-
oven thermometer
-
Offset spatula
-
Wire cooling rack
Instructions
Black Cocoa Cake Layers
-
Preheat oven to 350°F (175°C). Place the oven rack in the middle of the oven. Generously spray three 6-inch round cake pans with nonstick cooking spray that contains flour (or line bottoms with parchment paper, then spray). Set aside.
-
In the bowl of a stand mixer fitted with the whisk attachment, whisk together the cake flour, granulated sugar, black cocoa powder, baking soda, and salt until well combined.
-
In a separate bowl or large liquid measuring cup, whisk together the vegetable oil, sour cream, room-temperature buttermilk, room-temperature eggs, vanilla extract, white vinegar, and a few drops of black gel food coloring (if desired, for a deeper color). Add the wet ingredients to the dry ingredients in the stand mixer bowl (switch to the paddle attachment) and mix on low speed until the ingredients are just combined. Do not overmix.
-
Pour the batter evenly into the three prepared cake pans. Use an offset spatula to spread the batter into an even layer in each pan. Tip: Use a kitchen scale to ensure equal amounts of batter in each pan for consistent layers.
-
Place the cake pans in the center of the oven and bake for 25-28 minutes. The cake is done when a toothpick inserted into the center comes out with a few moist crumbs but no wet batter (this ensures maximum moistness). Remove from the oven and let the cakes cool in their pans for 10 minutes before carefully inverting them onto a wire rack to cool completely.
Oreo Frosting
-
While the cake layers are cooling completely, prepare the Oreo frosting. In the bowl of a stand mixer fitted with a paddle attachment, cream the softened unsalted butter on medium speed until smooth and fluffy, about 2 minutes.
-
Gradually add the powdered sugar and ⅓ cup heavy cream. Start mixing on low speed, then increase to medium-high and whip until smooth and well incorporated. Scrape down the sides of the bowl as needed. Add the vanilla extract, finely crushed Oreos (with cream filling), and salt. Mix on medium speed for about 3-4 minutes until the frosting is light and fluffy. If the frosting is too thick due to the Oreo crumbs, add extra heavy cream, 1 tablespoon at a time, until you reach your desired spreadable consistency.
Assembly
-
Once cake layers are completely cool, place one cake layer on a cake stand or serving plate. Place a generous dollop of Oreo frosting on top and use an offset spatula to spread it into an even layer, reaching the edges. Place the second cake layer on top and repeat with more frosting. Position the third cake layer on top. Use the remaining frosting to cover the top and sides of the entire cake, smoothing with an offset spatula. Tip: If you plan to pipe the frosting for decoration, use a piping tip with a larger diameter to prevent the crushed Oreo cookies from clogging smaller tips. Slice and serve your delicious Oreo Cake! Enjoy!
Nutrition
