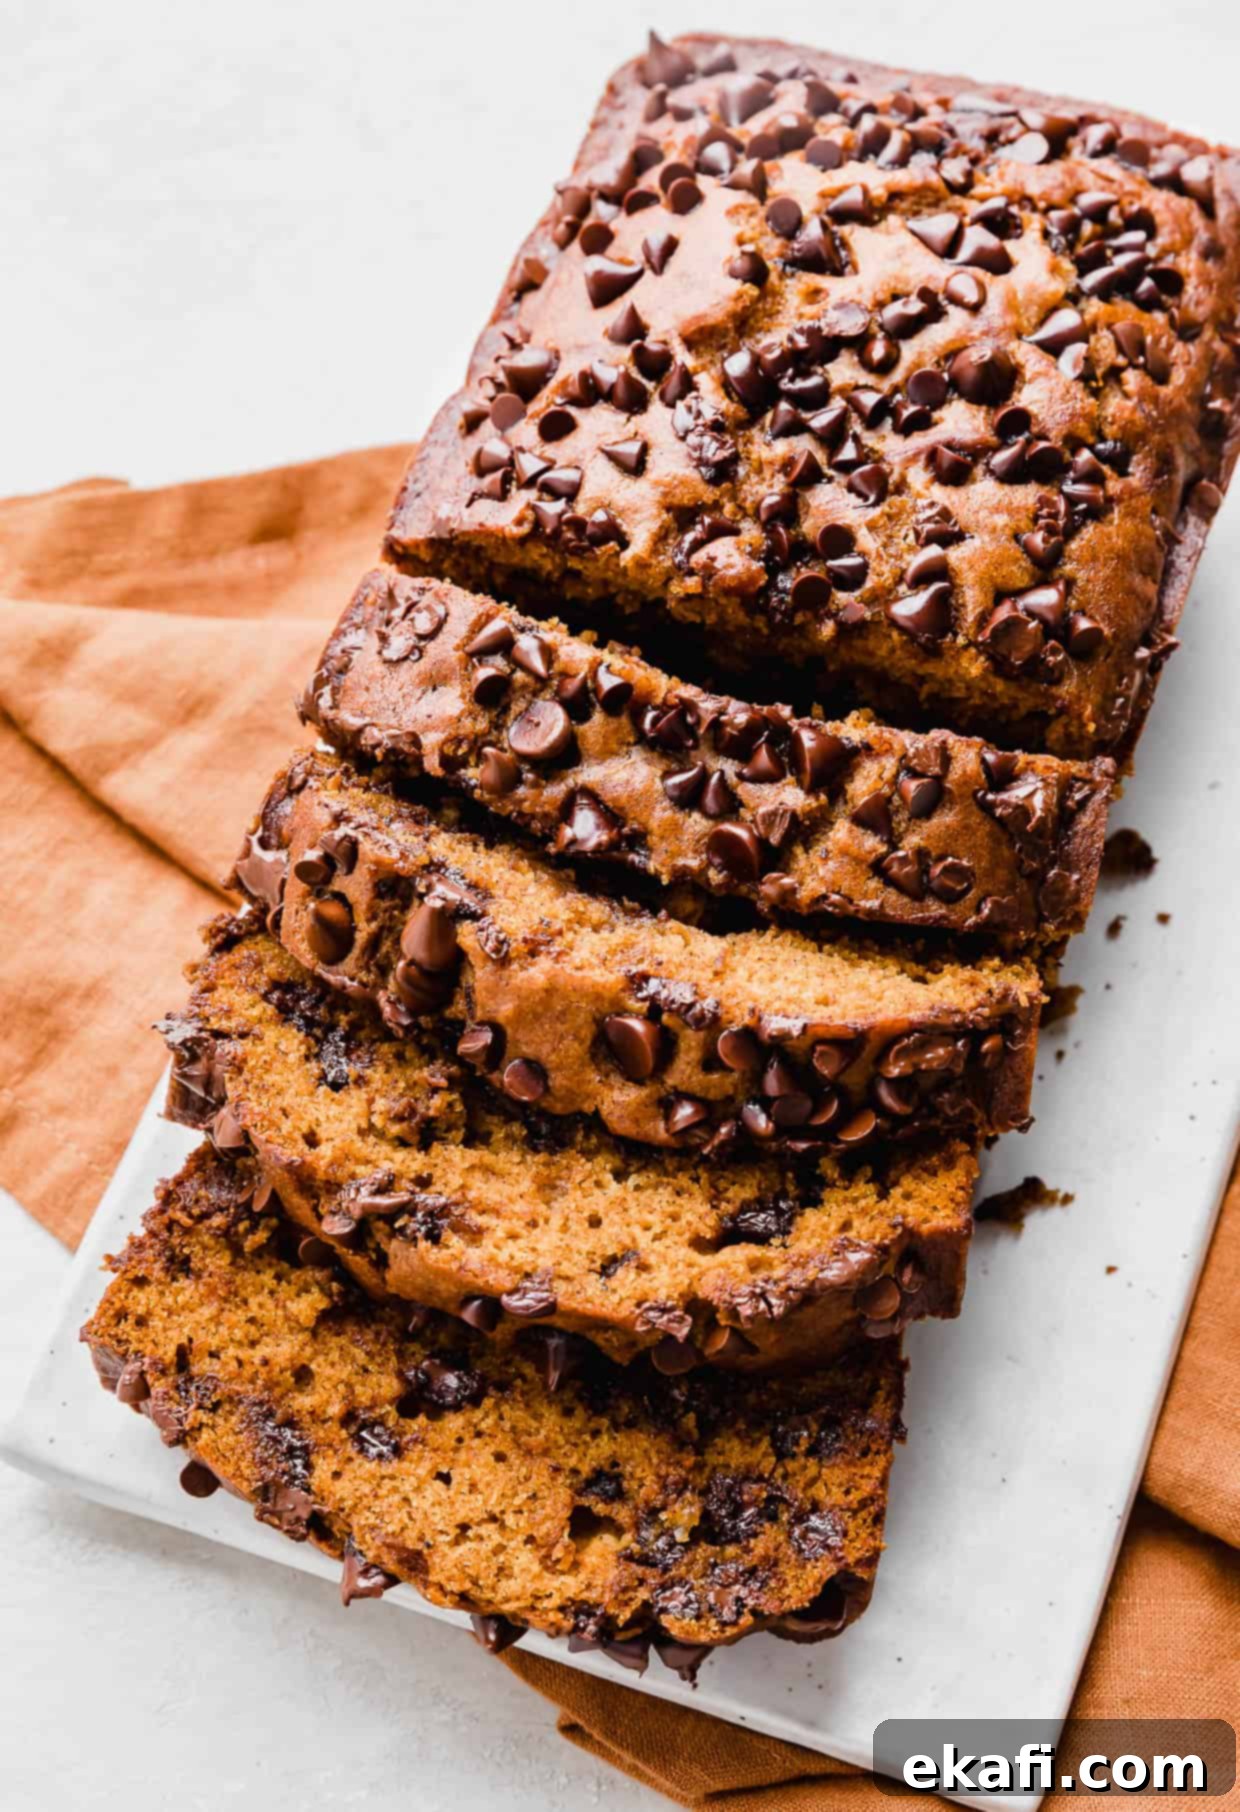
The Ultimate Moist Pumpkin Chocolate Chip Bread: Your Go-To Fall Recipe
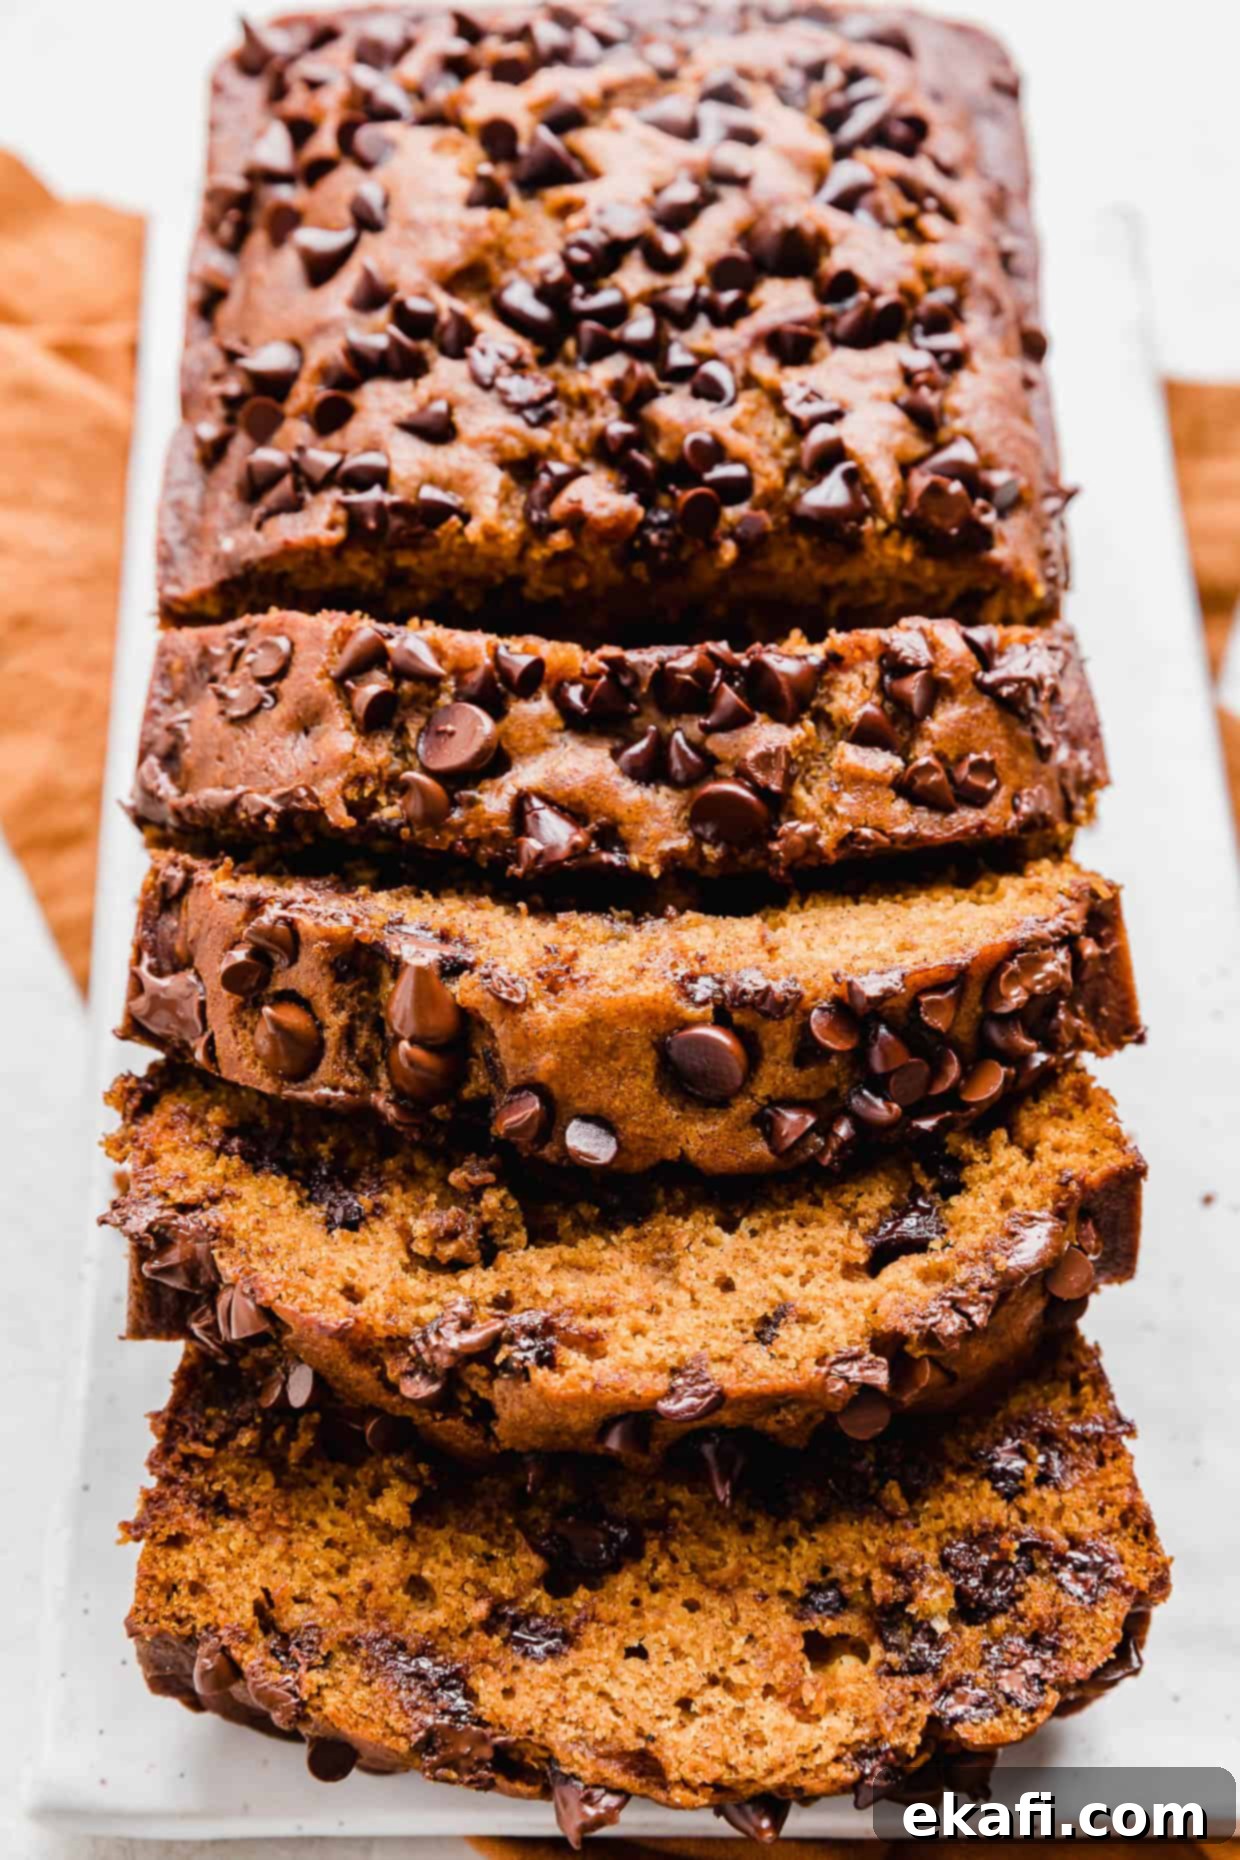
Welcome to the heart of autumn baking! This Pumpkin Chocolate Chip Bread isn’t just a recipe; it’s an experience. Imagine a slice of pure comfort: incredibly soft, unbelievably moist, and perfectly tender. Each bite is a harmonious blend of sweet, melty chocolate chips, the comforting warmth of aromatic fall spices, and the rich, earthy flavor of pumpkin. It’s the kind of treat that truly captures the essence of the season and will have everyone begging for more.
For me, there’s no combination quite as magical as pumpkin and chocolate chips. It’s a match truly made in culinary heaven, and pumpkin season easily ranks as one of my absolute favorite times of the year (right up there with football season!). If you’re as devoted to this flavor pairing as I am, you’ll adore my Pumpkin Chocolate Chip Cookies – essentially the chewy cookie version of this delightful quick bread! And don’t stop there; be sure to explore other mouth-watering creations like my Pumpkin Chocolate Chip Coffee Cake and fluffy Pumpkin Chocolate Chip Pancakes. These recipes are guaranteed to bring a cozy, delicious touch to any fall day.
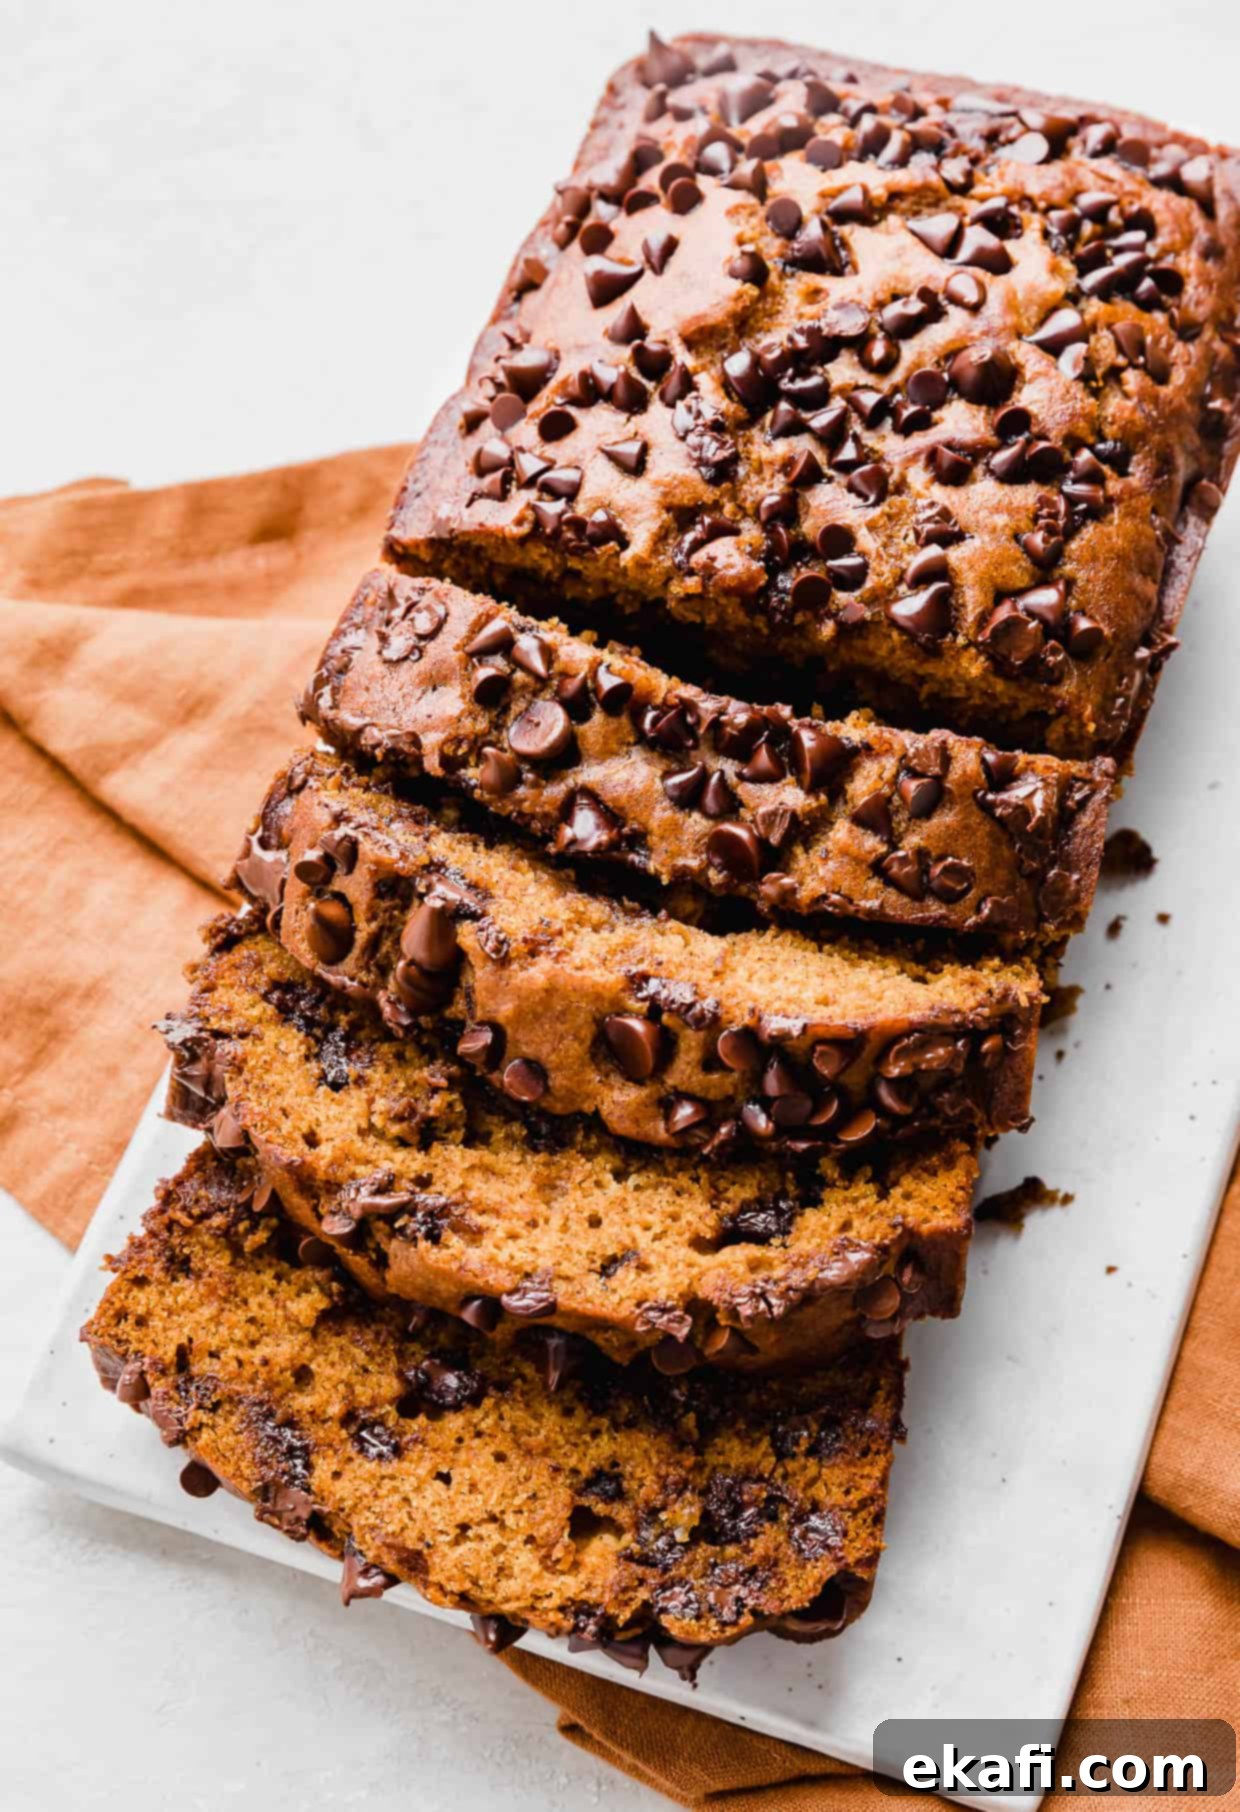
Why This Homemade Pumpkin Bread Recipe Stands Out
This isn’t just another pumpkin bread recipe; it’s truly special. Here’s why you’ll fall in love with making your own:
- Delicious & Irresistible Chocolate Chip Bread: What makes this pumpkin bread with chocolate chips so extraordinary is the abundance of melty, rich chocolate in every single bite. The chocolate provides a delightful contrast to the spiced pumpkin, creating a flavor profile that’s utterly addicting. It’s a treat that truly satisfies any sweet tooth and embodies the perfect balance of flavors.
- Unbeatable Homemade Freshness: Growing up, we had our favorites, like the Great Harvest pumpkin chocolate chip bread and the classic Libby’s Pumpkin Roll. While those hold nostalgic value, nothing compares to the taste and texture of freshly baked homemade pumpkin bread. This recipe yields a loaf that is significantly more moist, tender, and flavorful than anything you can buy at a store. You control the quality of ingredients, ensuring a superior end product every time.
- The Best Pumpkin Chocolate Chip Bread You’ll Ever Make: Prepare for a new family favorite! This quick bread recipe delivers a loaf that is consistently moist, incredibly soft, and bursting with authentic pumpkin flavor and a generous blend of warm, inviting fall spices. It’s perfectly delicious on its own, with a cup of coffee, or as a dessert. Its comforting aroma will fill your kitchen, making it a staple for your autumn baking repertoire.
Essential Ingredients for Perfect Pumpkin Chocolate Chip Bread
Creating the ultimate pumpkin chocolate chip bread starts with understanding the role each ingredient plays. Here’s a closer look at what you’ll need to achieve that perfect texture and flavor:
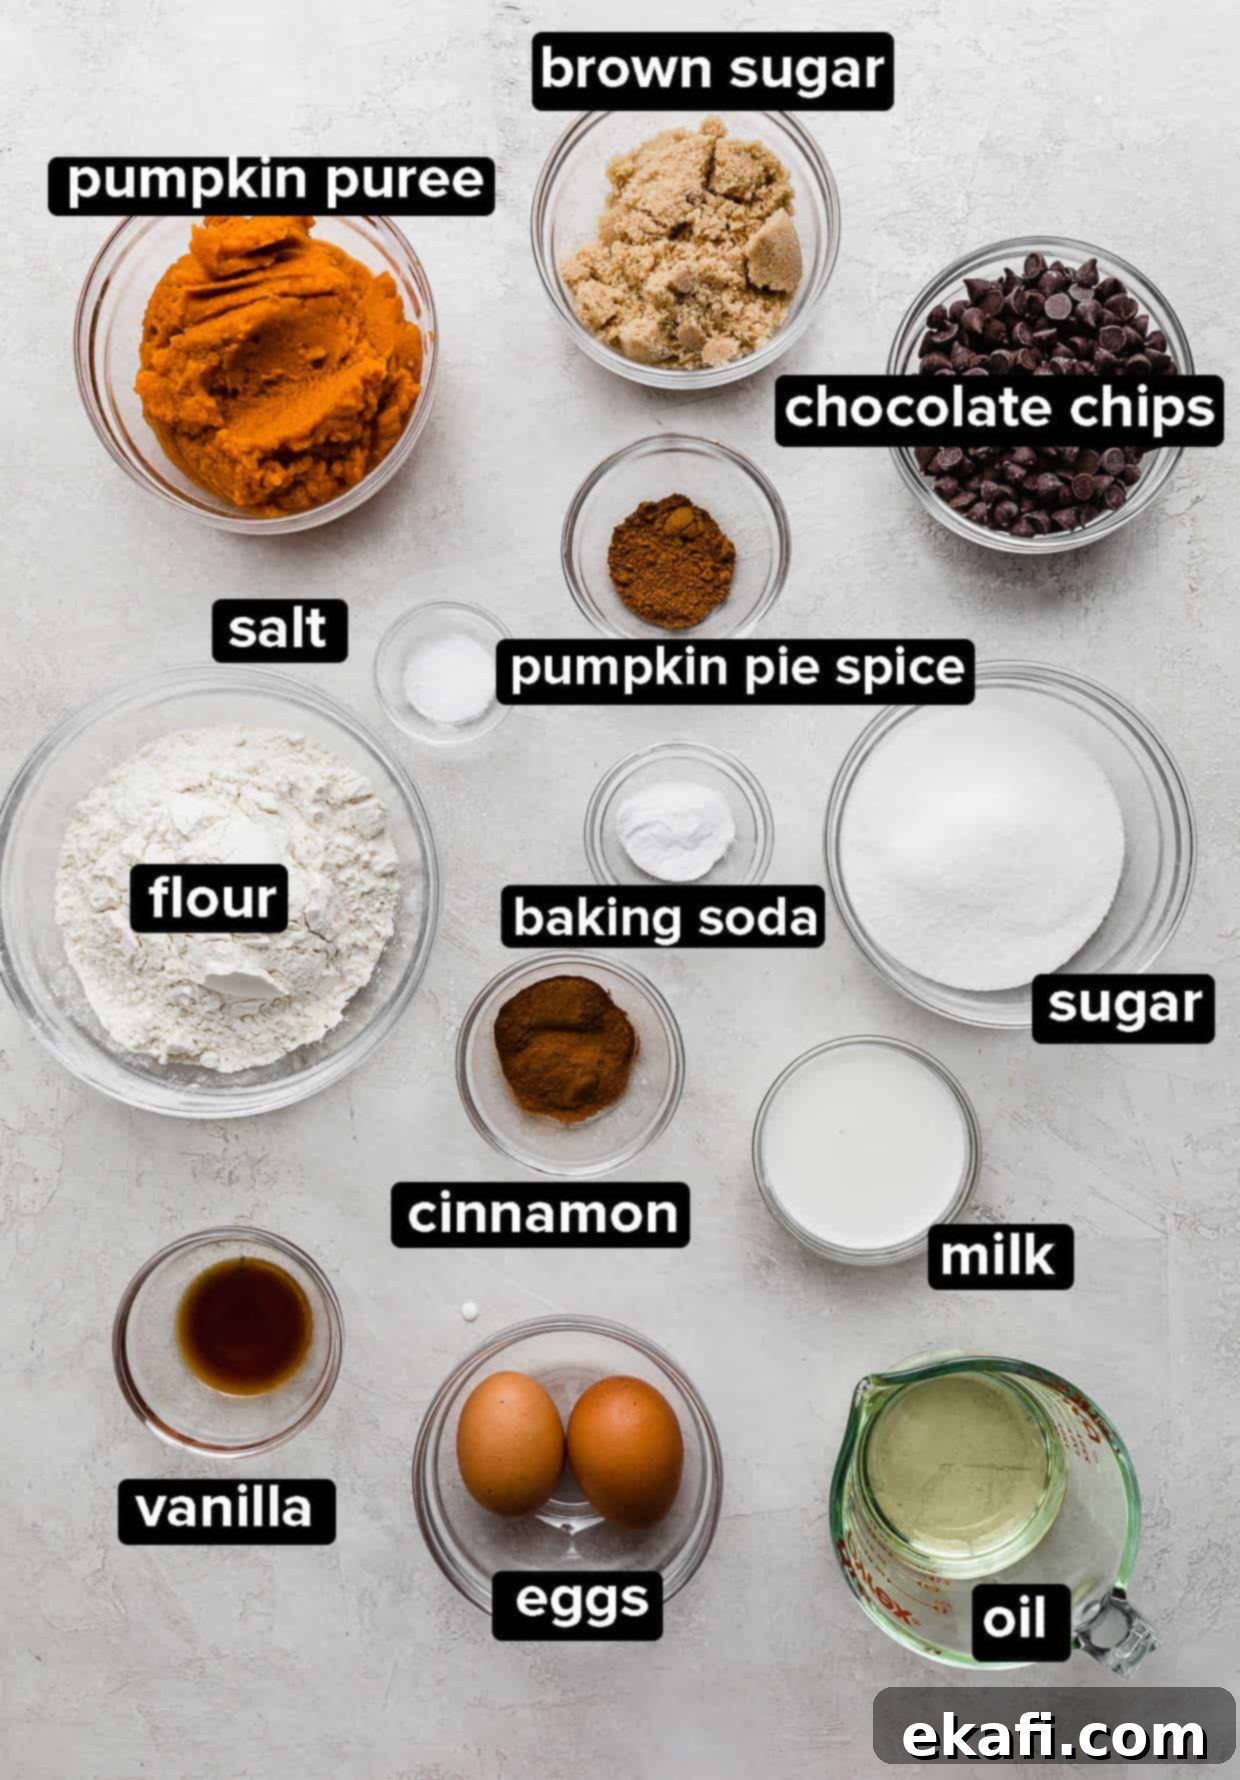
- All-Purpose Flour: There’s no need for specialized bread flour here; standard all-purpose flour works perfectly for this quick bread. Just be sure to measure it correctly using the spoon and level method to avoid a dense loaf.
- Baking Soda: This is our crucial leavening agent, responsible for the bread’s beautiful rise and tender crumb. Since this is a quick bread recipe, we rely on baking soda (and the acid in the pumpkin) instead of yeast.
- Ground Cinnamon: While pumpkin pie spice provides a medley of flavors, a little extra ground cinnamon truly elevates the overall warmth and aroma of the bread. The combination of cinnamon and chocolate chips is particularly delightful and enhances the cozy fall vibe.
- Pumpkin Pie Spice: This blend is a must-have for authentic pumpkin flavor, offering a perfect mixture of nutmeg, ginger, cloves, and allspice that pairs beautifully with the pumpkin and chocolate.
- Pumpkin Puree: I recommend a generous, heaping cup of pure pumpkin puree for maximum flavor and an incredibly moist texture. Pumpkin puree is key not only for its distinct taste but also for adding significant moisture, resulting in a wonderfully soft and tender crumb. Important: Always use pure pumpkin puree, not pumpkin pie filling, which contains added sugar and spices that will alter the recipe’s balance.
- Vegetable Oil: The inclusion of vegetable oil (or another neutral oil like canola) is essential for achieving a light and consistently moist pumpkin chocolate chip bread. Oil contributes to a softer texture and keeps the bread fresh longer compared to butter-based recipes.
- Milk: A touch of milk further enhances the bread’s moisture content and contributes to its overall soft, desirable texture. Whole milk or even a plant-based milk can be used.
- Semi-Sweet Chocolate Chips: Semi-sweet chocolate chips are my default for their balanced sweetness, which complements the pumpkin and spices without being overly rich. However, if you prefer a different sweetness level, feel free to substitute with milk chocolate chips for a sweeter profile or dark chocolate chips for a deeper, more intense chocolate flavor. Mini chocolate chips are also excellent for a more even distribution throughout the loaf.
Step-by-Step Guide to Baking Pumpkin Chocolate Chip Bread
Follow these simple steps to create a perfectly moist and delicious loaf:
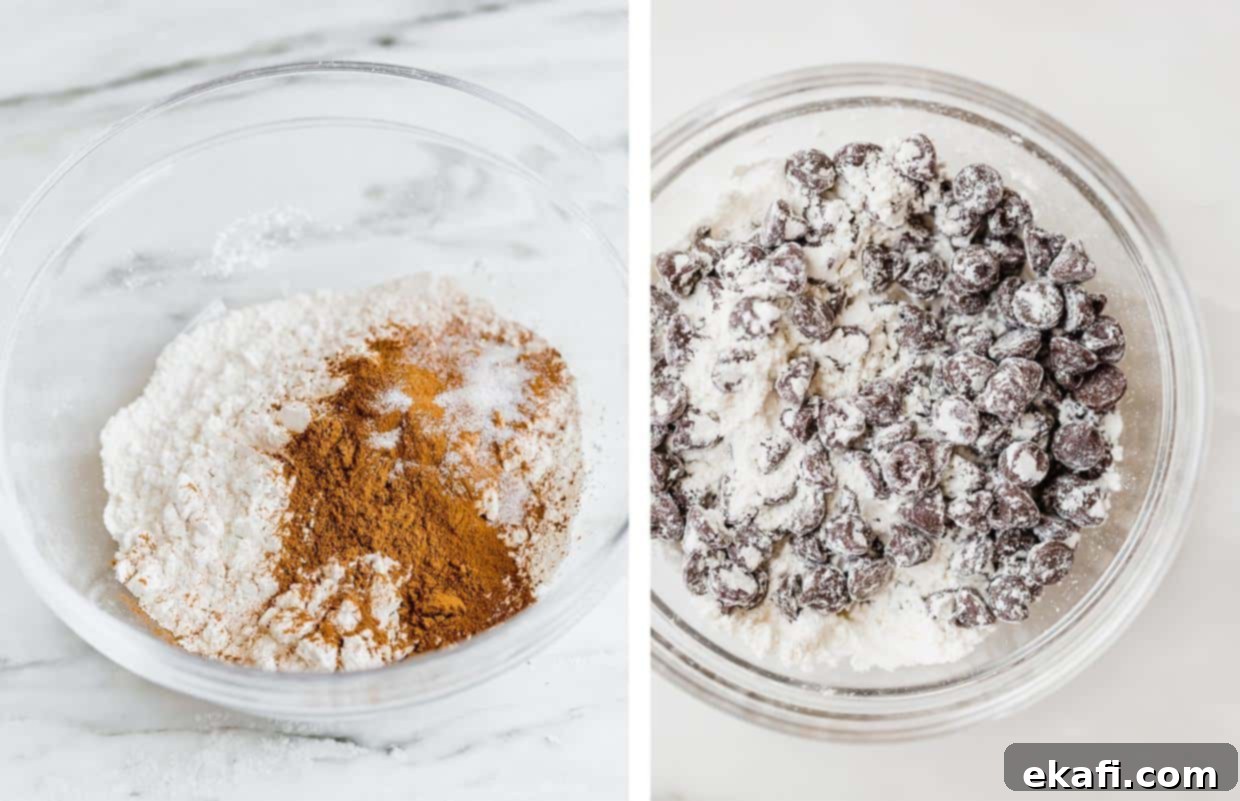
- Prepare Your Dry Ingredients: In a large mixing bowl, combine 1 ½ cups of all-purpose flour, the baking soda, pumpkin pie spice, ground cinnamon, and salt. Whisk these ingredients together thoroughly until well combined. This ensures the leavening and spices are evenly distributed throughout the batter.
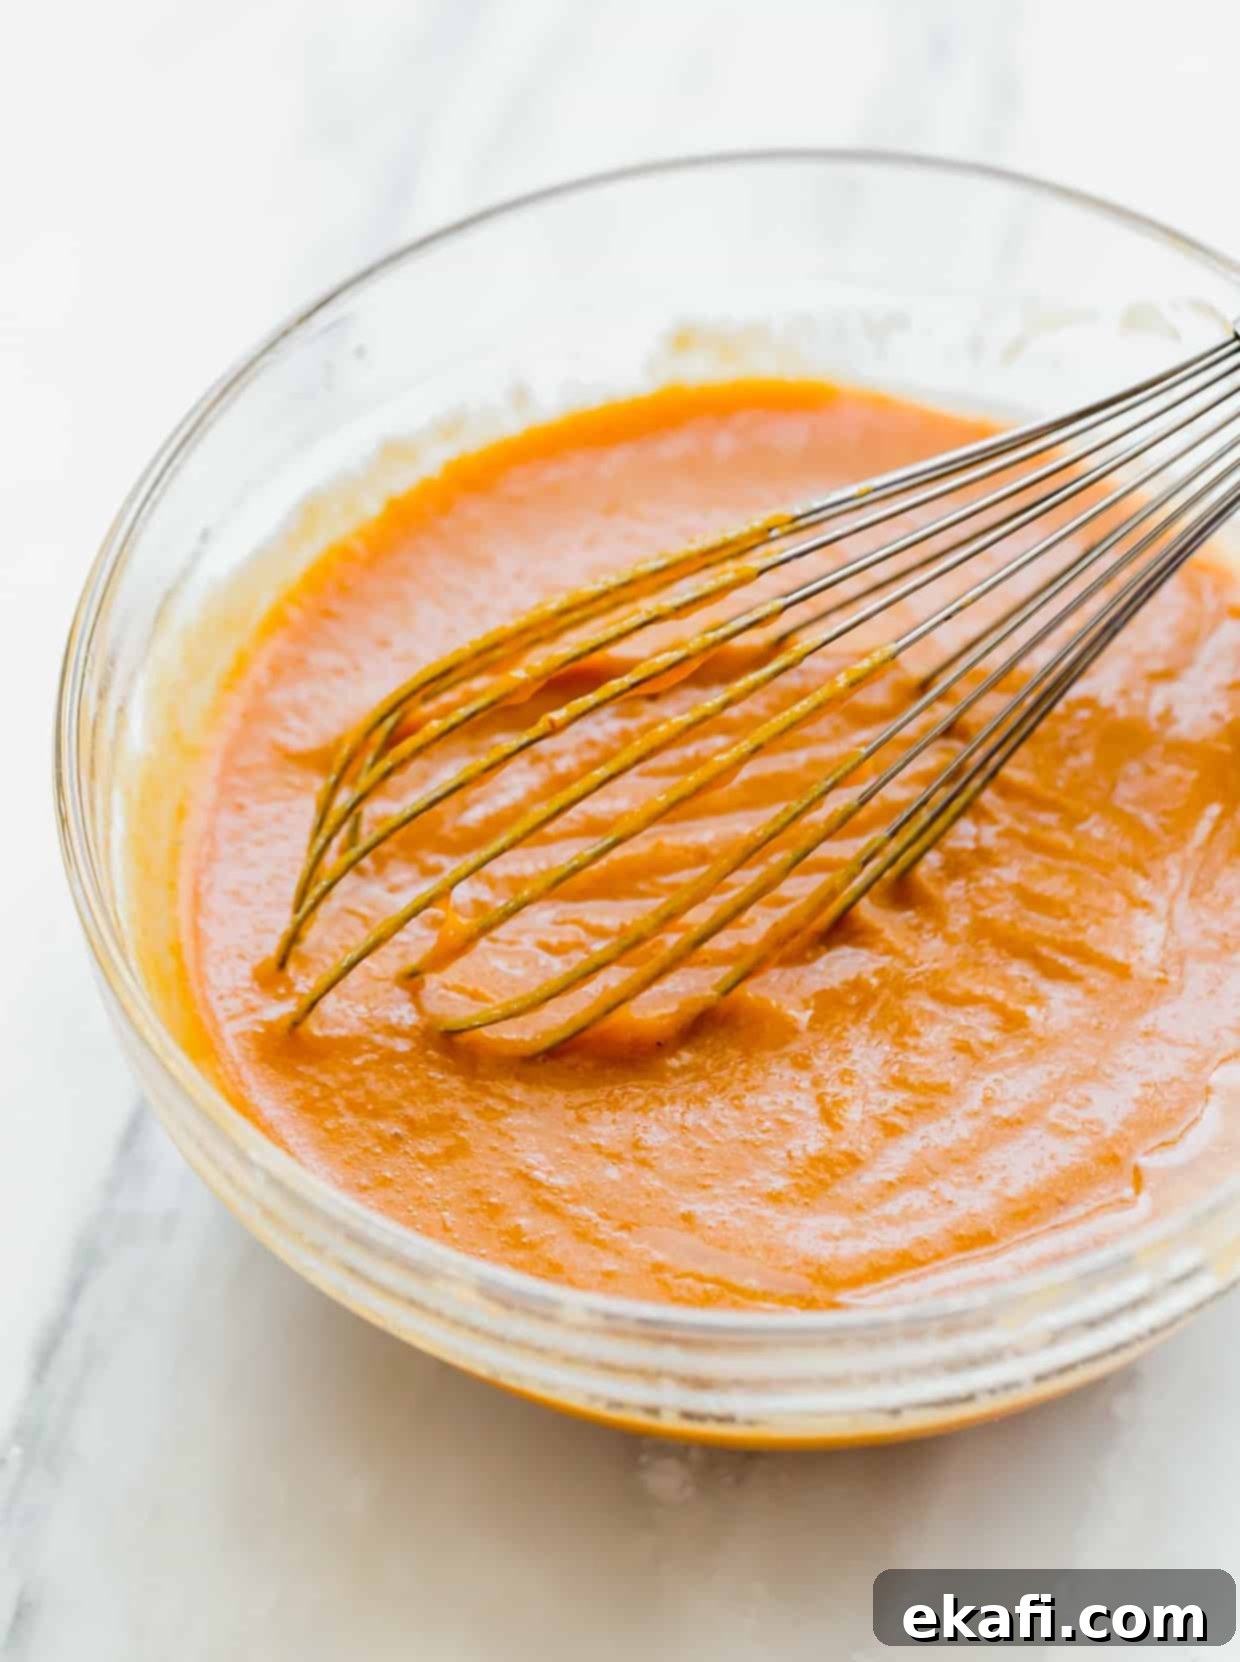
- Combine Your Wet Ingredients: In a separate medium bowl, whisk the eggs, granulated sugar, and light brown sugar together until they are smooth and well blended. Next, add the pumpkin puree, vegetable oil, and vanilla extract, followed by the milk. Whisk everything thoroughly until all the wet ingredients are fully incorporated and the mixture is uniform.
- Gently Mix Wet and Dry: Pour the pumpkin mixture (wet ingredients) into the bowl containing the flour mixture (dry ingredients). Using a rubber spatula, stir gently until the ingredients are just combined. It’s crucial not to overmix at this stage; a few streaks of flour are perfectly fine and will lead to a more tender bread.
- Coat and Fold in Chocolate Chips: In a small separate bowl, add the remaining ¼ cup of all-purpose flour. Toss the chocolate chips in this flour until they are lightly coated. This small but important step prevents the chocolate chips from sinking to the bottom of your loaf during baking. Gently fold the coated chocolate chips into the pumpkin bread batter until they are just distributed. Again, avoid overmixing.
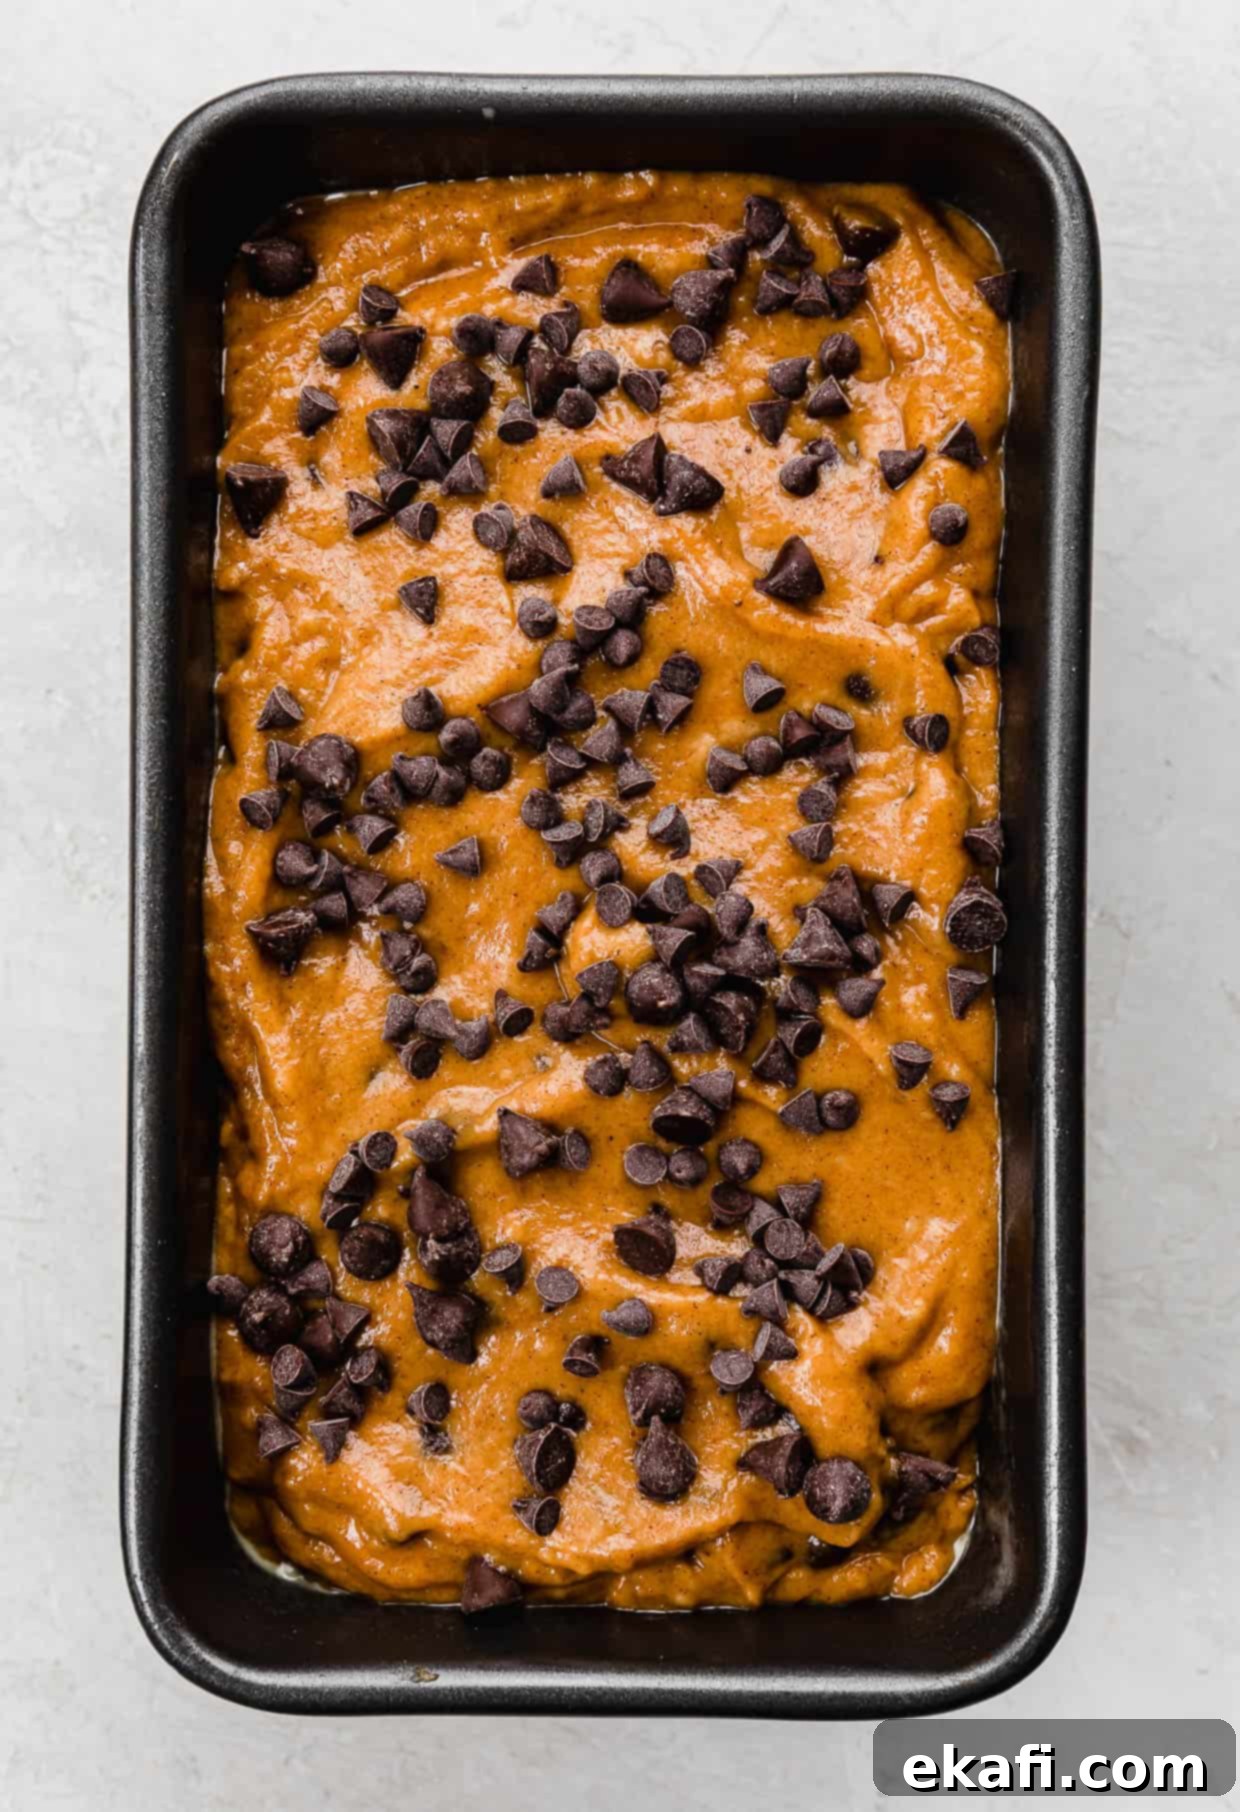
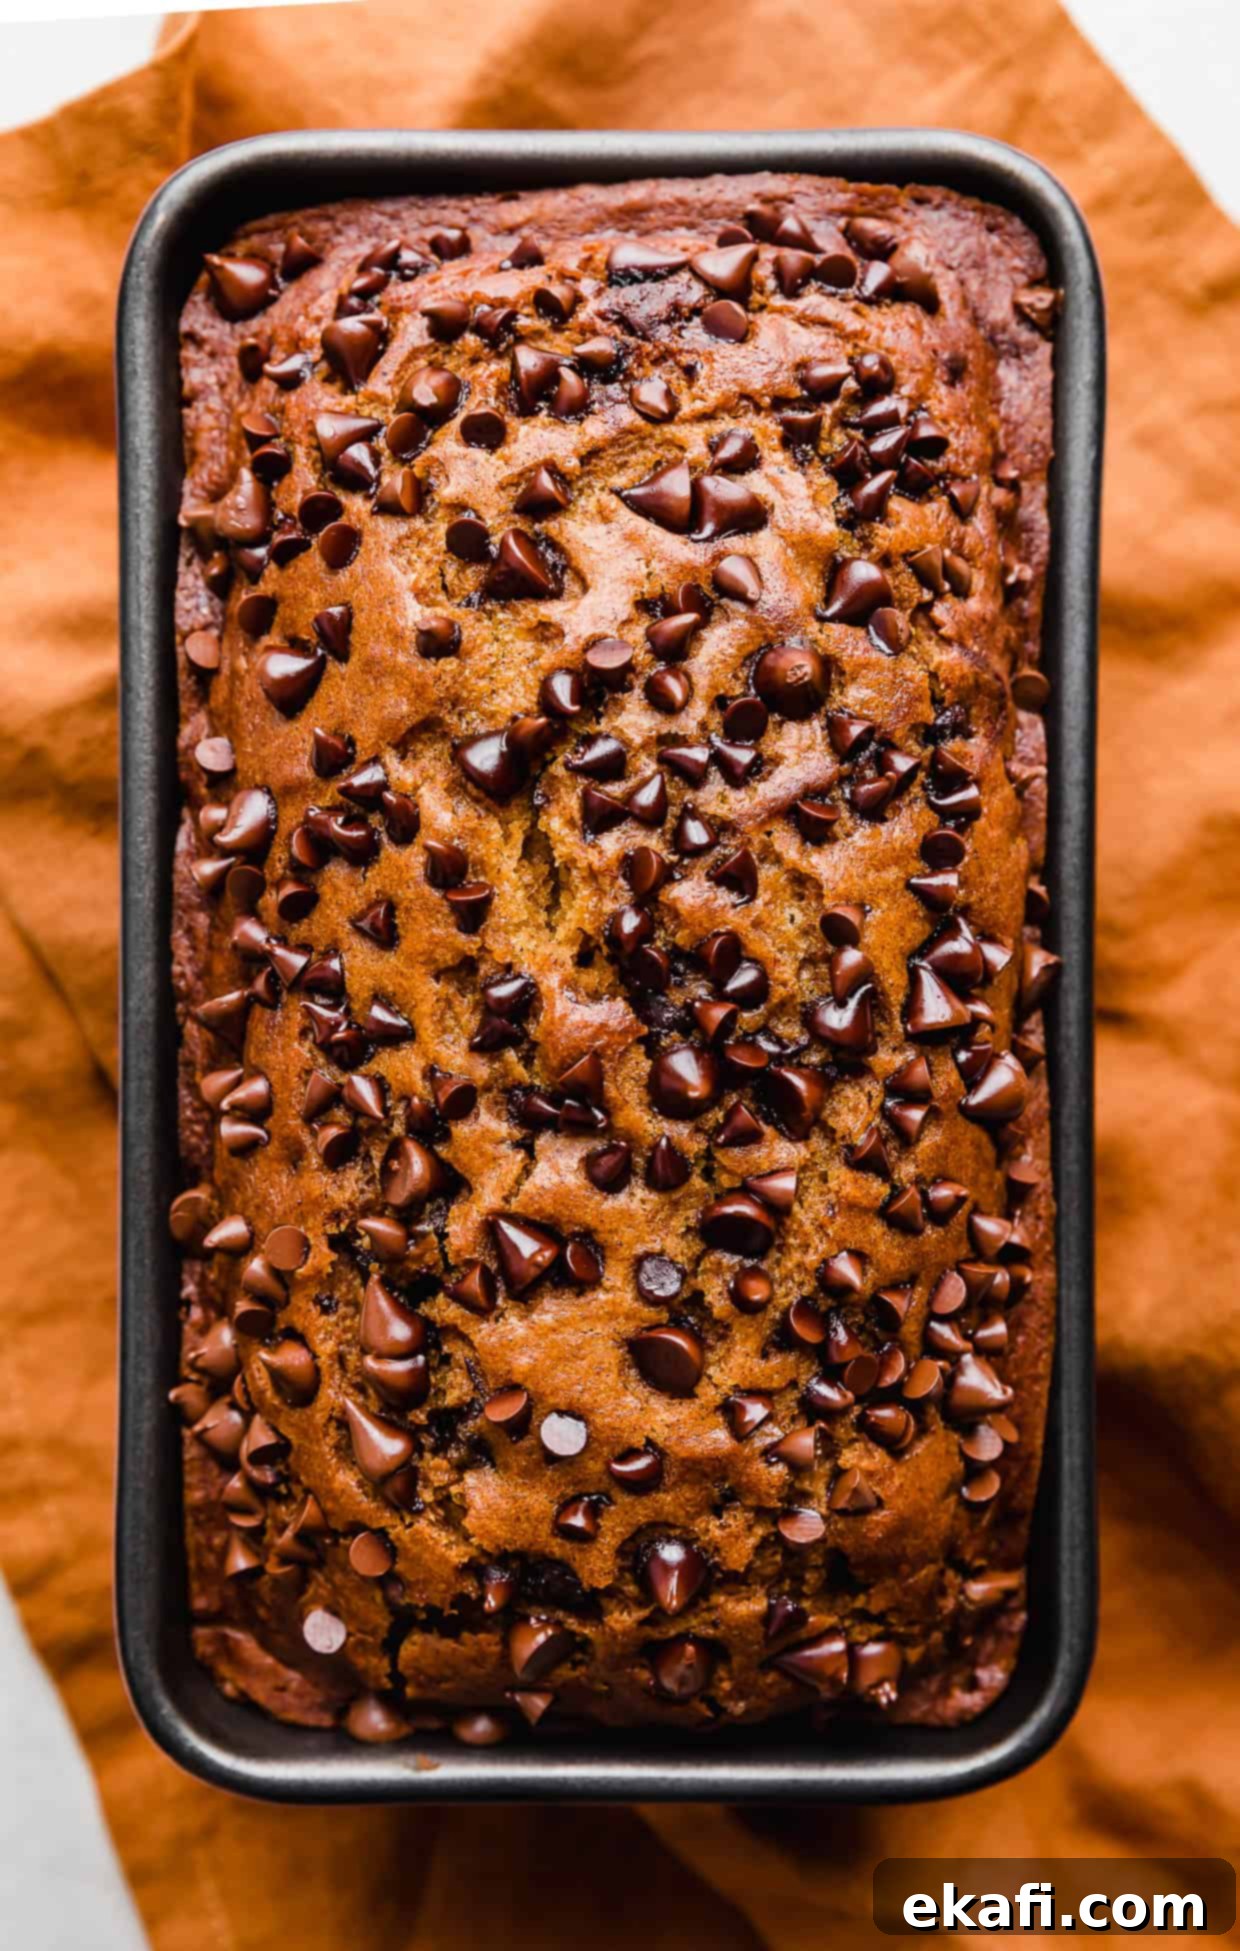
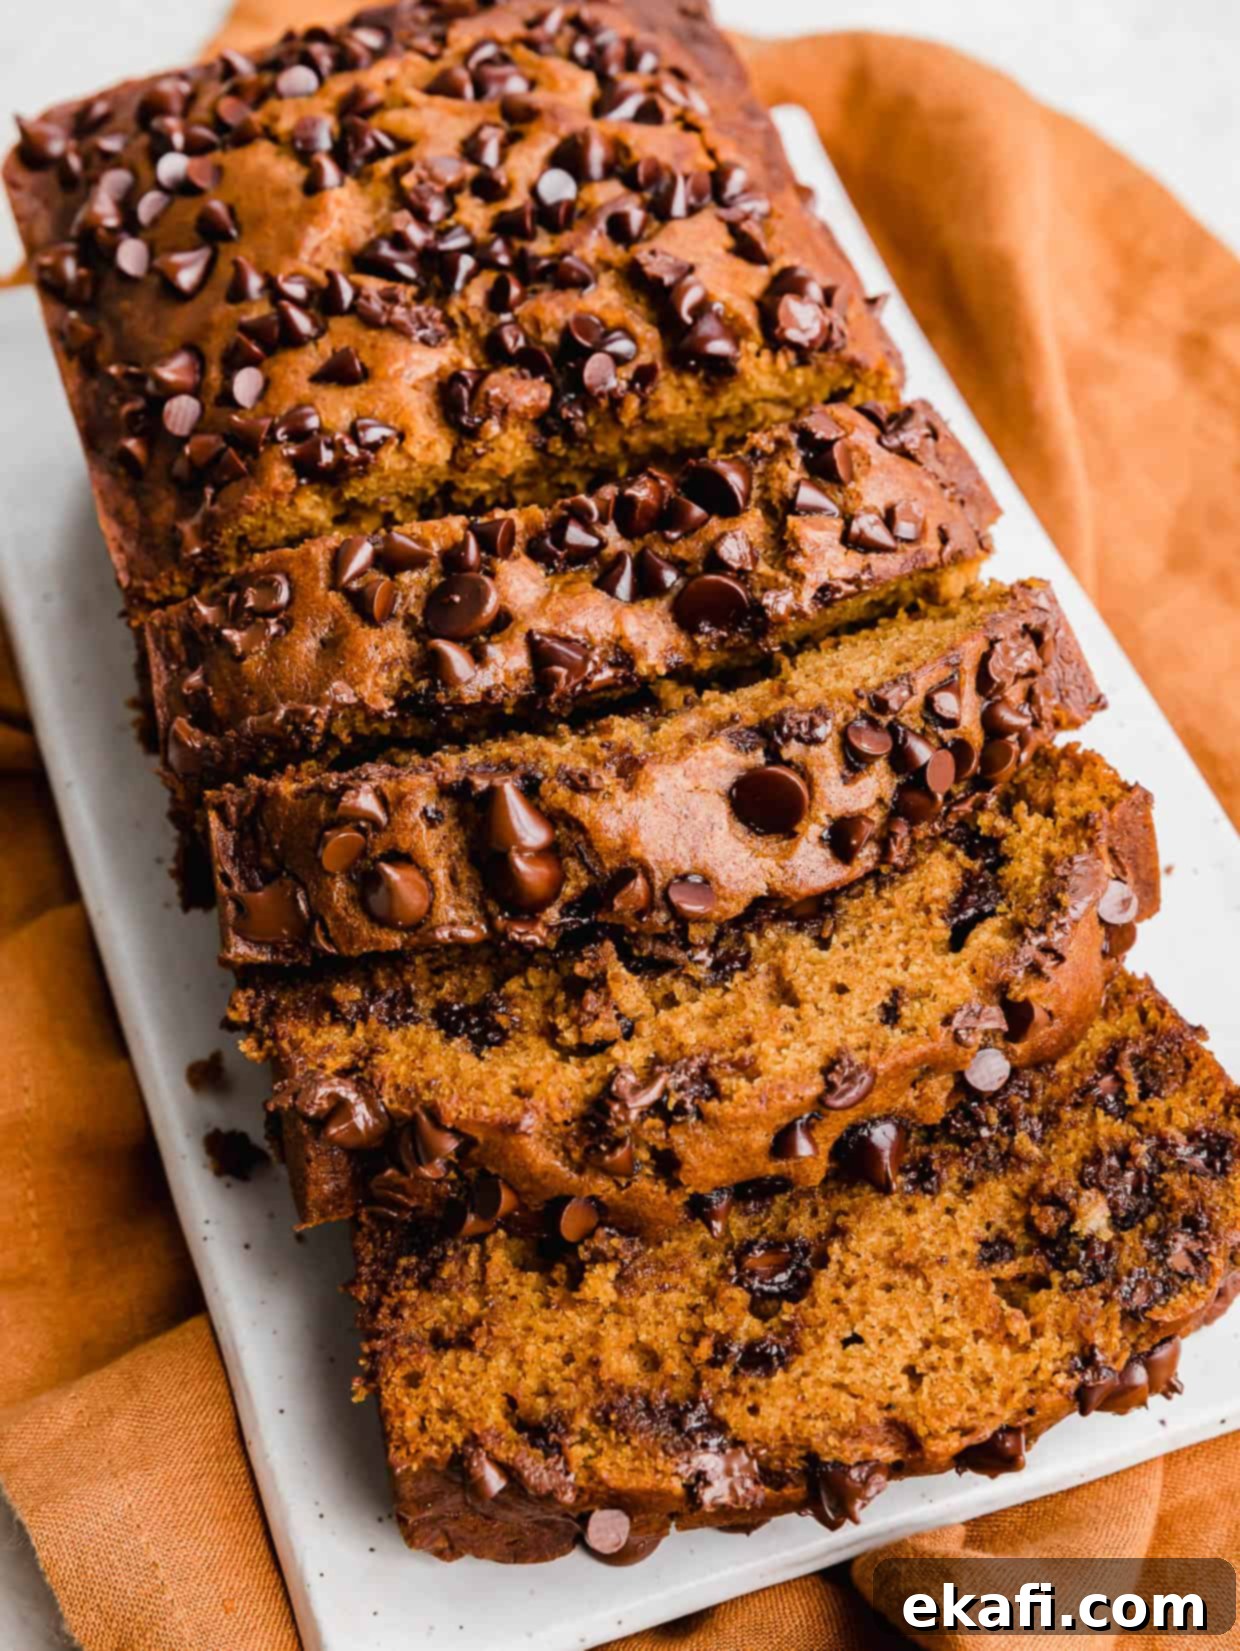
- Bake to Perfection: Pour the prepared batter into a 9×5-inch loaf pan that has been generously sprayed with nonstick cooking spray. For an extra touch, you can sprinkle a few mini chocolate chips or regular semi-sweet chips on top of the loaf before baking. Bake in a preheated oven at 350°F (175°C) for 65-75 minutes, or until a wooden skewer or toothpick inserted into the center of the loaf comes out clean or with a few moist crumbs attached (not wet batter). If the top starts browning too quickly, loosely tent the pan with foil. Remove from the oven and let it cool in the pan on a wire rack for at least 15-20 minutes before carefully removing it to cool completely. Slice and serve your delicious homemade pumpkin chocolate chip bread!
Expert Tips for the Best Pumpkin Chocolate Chip Bread
Achieving a perfectly baked, moist, and delicious pumpkin chocolate chip bread is easy with these helpful tips:
- Prevent Sinking Chocolate Chips: The secret to evenly distributed chocolate chips throughout your loaf is to toss them with a tablespoon or two of flour before adding them to the batter. This light coating creates a barrier that helps suspend the chocolate chips, preventing them from sinking to the very bottom during baking.
- Avoid Overmixing the Batter: Quick breads thrive on minimal mixing. Once you combine the wet and dry ingredients, stir just until the flour streaks disappear. Overmixing develops the gluten in the flour too much, which can result in a tough, dense, and less tender loaf. A few small lumps are perfectly acceptable!
- Lumps are Good: Unlike some baking recipes, a slightly lumpy quick bread batter is not a cause for concern. Similar to making fluffy pancake batter, lumps in quick breads indicate that you haven’t overmixed, which is crucial for a tender crumb.
- Prevent Over-Browning: If you notice the top of your pumpkin bread browning too quickly before the center is fully cooked, simply tent the loaf pan loosely with aluminum foil. I usually find myself doing this around the 30-40 minute mark of baking. This shields the top from direct heat, allowing the interior to finish baking without the crust burning.
- Embrace the Top Crack: Don’t fret if your pumpkin chocolate chip bread develops a crack on top during baking! This is actually a wonderful sign, characteristic of a well-risen and moist quick bread loaf. It indicates that the batter had a good rise in the oven, leading to that desirable soft interior.
- Grease Your Pan Thoroughly: For easy removal and a beautiful loaf, make sure your loaf pan is well-greased. I highly recommend using a baking spray like Baker’s Joy cooking spray, which contains both oil and flour, to prevent sticking.
- High Altitude Adjustments: This pumpkin chocolate chip bread recipe was developed and tested at a high altitude. If you are baking at a lower altitude, your bread may bake more quickly. I suggest starting to check for doneness around the 55-58 minute mark to avoid overbaking. (For reference, my loaf typically takes about 68 minutes at high altitude). Adjustments might include slightly reducing baking soda/powder or increasing liquid for optimal results at extreme altitudes, but for most, just monitoring the baking time is sufficient.
Make Ahead, Storing, and Freezing Instructions
This delicious pumpkin chocolate chip bread is perfect for making ahead and can be easily stored or frozen for future enjoyment:
- Storing at Room Temperature or in the Fridge: Once completely cooled, store your pumpkin chocolate chip bread covered tightly or in an airtight container at room temperature for about 3-4 days. For extended freshness, especially in warmer climates, you can store it in the refrigerator for up to 7 days.
- Freezing for Long-Term Enjoyment: This pumpkin bread with chocolate chips freezes beautifully! To freeze, first ensure the loaf is completely cooled. Then, wrap it tightly in a layer of plastic wrap, followed by a layer of aluminum foil. This double-wrapping method helps prevent freezer burn. Place the wrapped loaf in a large zip-top freezer bag, removing as much air as possible, and freeze for up to 3 months. When you’re ready to enjoy it, simply remove it from the freezer and place it in the refrigerator overnight to thaw. Bring it to room temperature before slicing and serving for the best texture and flavor. You can also warm individual slices slightly in the microwave or oven for a fresh-baked feel.
Common Questions About Pumpkin Chocolate Chip Bread
Start checking for doneness around the 55-minute mark, as oven temperatures can vary. The bread is typically done when a wooden skewer or toothpick inserted into the very center comes out clean, or with just a few moist crumbs attached. Avoid seeing any wet batter. Keep in mind that quick breads continue to bake slightly from residual heat as they cool in the pan for the first few minutes after being removed from the oven.
If you notice the top crust becoming too dark while the inside is still baking, simply create a loose tent with aluminum foil over the loaf pan. This will protect the top from further browning and allow the rest of the bread to cook through evenly. I often find myself covering mine with foil around the 50-minute mark, but timing can vary.
Absolutely! A crack on the top of quick breads is actually considered a positive sign by many bakers. Don’t worry if you see this on your pumpkin chocolate chip bread; it’s a characteristic indicator of a well-baked loaf. This crack often forms because the outside of the bread bakes and sets faster than the interior, and as the interior continues to rise, it pushes through the already set crust, creating that classic crack. It’s a sign of a moist batter and good oven spring!
Yes, you can! Freezing is an excellent way to preserve this delicious bread. To freeze, let the loaf cool completely to room temperature. Once cooled, double-wrap it tightly first in plastic wrap, then in aluminum foil. For extra protection against freezer burn, you can place the wrapped loaf into a large zip-top freezer bag. As a general guideline, quick breads can be safely frozen for up to 3 months. Thaw overnight in the refrigerator before bringing to room temperature to serve.
A quick bread is a type of bread that uses a chemical leavening agent, such as baking powder or baking soda, instead of yeast. This means it doesn’t require the kneading or rising time that traditional yeast breads do, making it much quicker and easier to prepare. Examples include muffins, scones, biscuits, and of course, delicious loaves like this pumpkin chocolate chip bread. One of my favorite things is adding chocolate chips to these easy, delightful quick breads!
Explore More Delicious Pumpkin Recipes for Fall!
If you’re a true pumpkin enthusiast, don’t miss out on these other fantastic recipes that celebrate the flavors of autumn:
- Mini No-Bake Pumpkin Cheesecakes: A quick and easy dessert with all the pumpkin spice flavor.
- Moist Pumpkin Cake: A wonderfully tender cake perfect for any gathering.
- Pumpkin Coffee Cake: Featuring a delightful streusel topping and cinnamon glaze, ideal for breakfast or brunch.
- Pumpkin Chocolate Chip Cookies: Chewy, soft, and loaded with pumpkin and chocolate.
- Pumpkin Bars: A classic fall dessert, often topped with cream cheese frosting.
- Pumpkin Baked Oatmeal Cups: A healthy and convenient breakfast option.
- Praline Pumpkin Pie: A decadent twist on a holiday classic.
Did you make this recipe? I’d love to hear about it! Leave a star rating and review or scroll below the recipe card and do so there.
Stay up-to-date by following us on Instagram, TikTok, YouTube, Facebook, and Pinterest.
Print
SaveSaved!
Review
Pumpkin Chocolate Chip Bread
Ingredients
- 1 3/4 cups all-purpose flour – divided
- 1 teaspoon baking soda
- 2 teaspoons ground cinnamon
- 3/4-1 teaspoon pumpkin pie spice
- 1/2 teaspoon salt
- 2 eggs
- 3/4 cup granulated sugar
- 1/2 cup light brown sugar
- 1 1/2 cups pumpkin puree
- 1/2 cup vegetable oil
- 1/2 teaspoon vanilla extract
- 1/4 cup milk
- 1 cup semi-sweet chocolate chips – plus more for sprinkling on top of the loaf!
Equipment
-
9×5 bread pan
Instructions
-
Preheat your oven to 350°F (175°C). Position your oven rack to the middle or lower third of the oven. Generously spray a 9×5-inch bread pan with nonstick cooking spray, or use a baking spray that contains flour for easy release. Set aside.
-
In a large mixing bowl, whisk together 1 ½ cups of all-purpose flour, baking soda, ground cinnamon, pumpkin pie spice, and salt until all the dry ingredients are thoroughly combined. Set this bowl aside.
-
In a separate medium bowl, whisk the eggs, granulated sugar, and light brown sugar together until they are smooth and well-blended. Then, add the pumpkin puree, vegetable oil, vanilla extract, and milk. Continue to whisk until all the wet ingredients are fully combined into a homogeneous mixture.
-
Pour the wet pumpkin mixture into the large bowl with the dry ingredients. Using a rubber spatula, gently stir the ingredients until they are just combined. It is important not to overmix; a few streaks of flour are acceptable and will result in a more tender bread.
-
In a small bowl, add the remaining ¼ cup of all-purpose flour. Add the semi-sweet chocolate chips and toss them gently until they are lightly covered in flour. This step helps prevent the chocolate chips from sinking to the bottom of your loaf during baking.
-
Carefully fold the flour-coated chocolate chips into the bread batter. Stir just enough to distribute the chips evenly; again, be mindful not to overmix the batter.
-
Pour the prepared batter into your greased loaf pan. For an extra touch, I like to sprinkle a few more chocolate chips (mini or regular) on top of the batter once it’s in the pan. Bake for 65-75 minutes, or until a wooden skewer or toothpick inserted into the center of the loaf comes out clean or with a few moist crumbs. (For reference, my loaf typically took about 68 minutes at high altitude). If the top of the bread begins to brown too quickly before it’s fully baked, loosely cover the loaf pan with aluminum foil to prevent further browning.
-
Once baked, remove the loaf pan from the oven and let the bread cool in the pan on a wire rack for at least 15-20 minutes. This allows the bread to set properly before being removed from the pan.
-
This delicious bread is also freezer-friendly! To freeze, ensure it’s completely cool. Double-wrap the cooled loaf in plastic wrap, then in aluminum foil, and place it in a zip-top freezer bag. It can be frozen for up to 3 months. When you’re ready to enjoy it, simply remove it from the freezer and thaw it overnight in the refrigerator, then let it come to room temperature before serving.
Video
Notes
Nutrition
