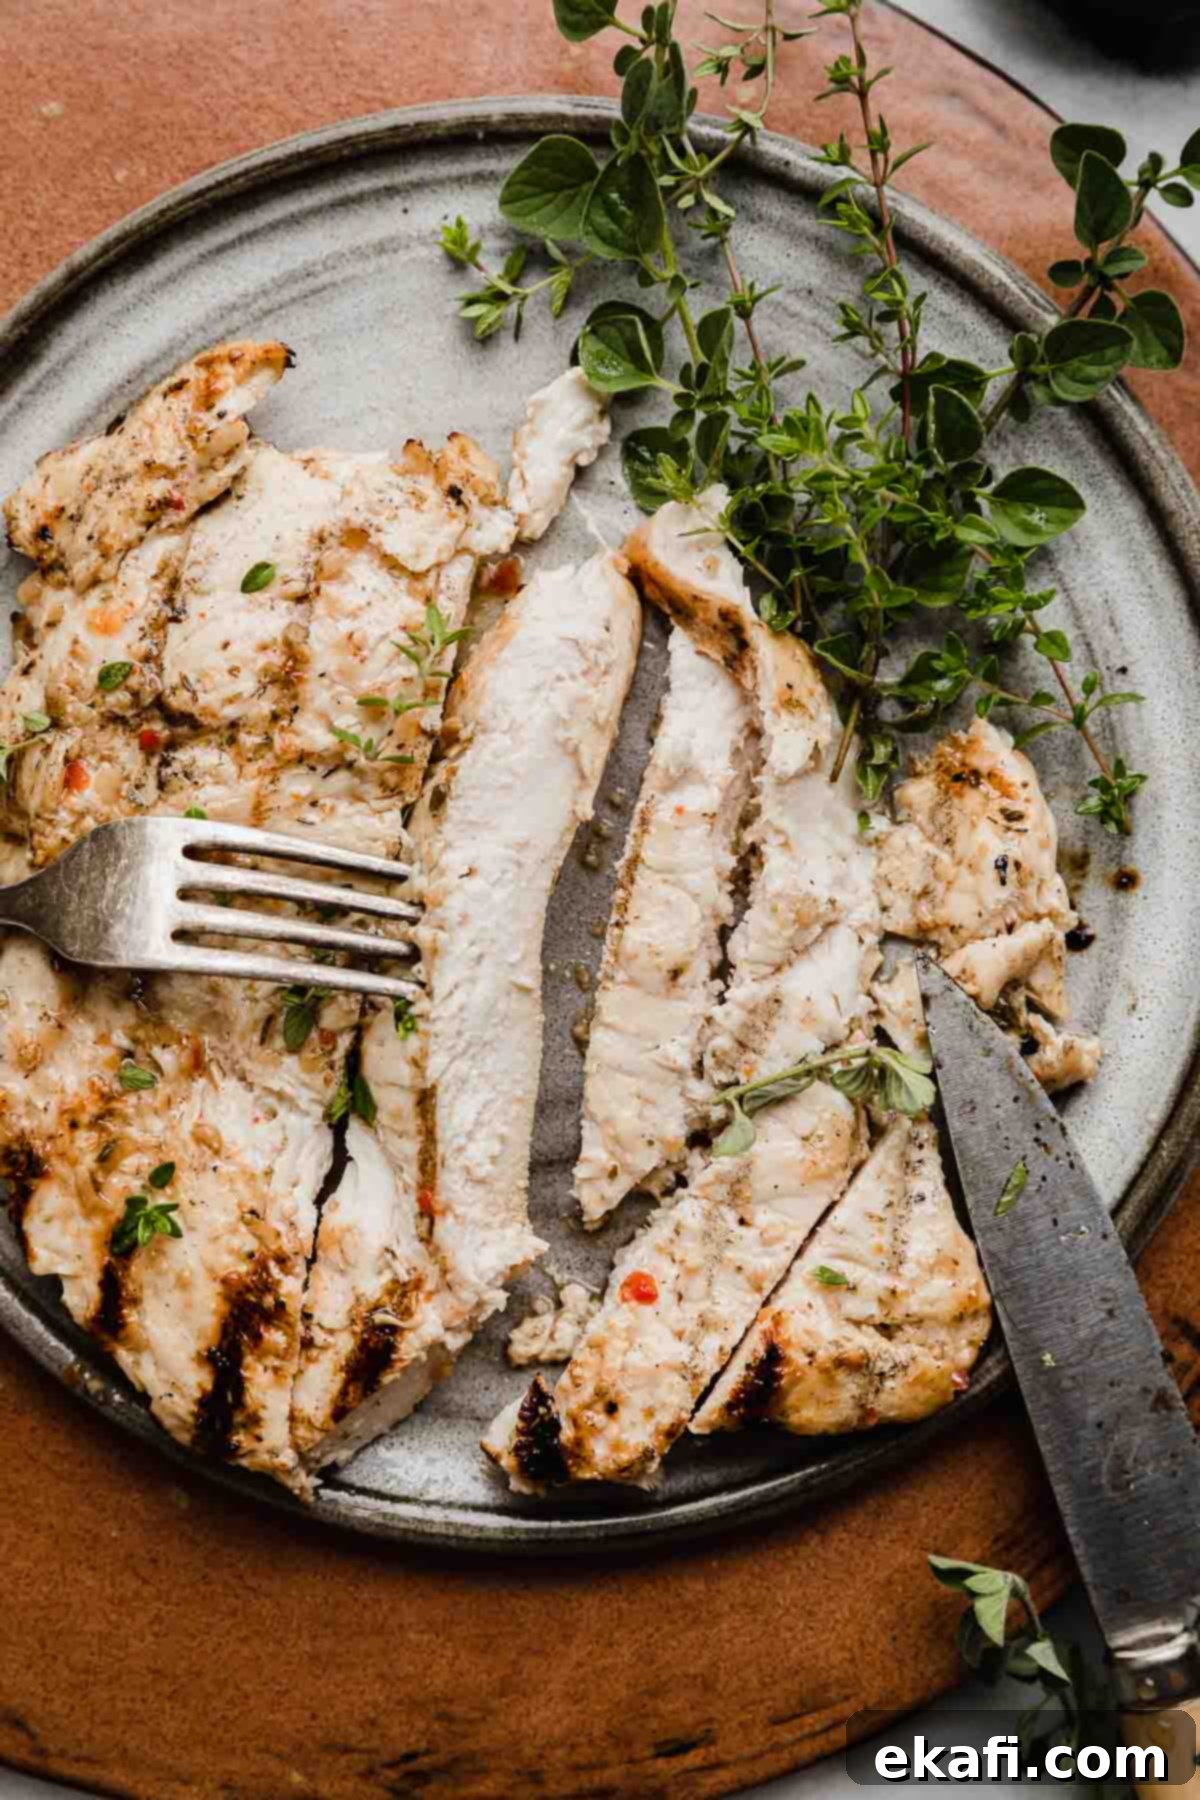
The Best Easy Italian Grilled Chicken Recipe: Juicy & Flavorful
Prepare to elevate your outdoor cooking skills and delight your taste buds with this incredibly easy and exceptionally delicious Italian Grilled Chicken recipe. Forget dry, bland chicken – our proven method guarantees perfectly cooked, juicy, and tender chicken breasts infused with a vibrant blend of zesty Italian dressing, aromatic herbs, and fresh lemon. Whether you’re a seasoned grill master or just starting your grilling journey, this recipe is meticulously designed to help you achieve restaurant-quality results right in your backyard. It’s the ultimate crowd-pleaser for any occasion, from casual weeknight dinners to festive summer barbecues, delivering maximum flavor with minimal effort.
This versatile grilled chicken pairs wonderfully with a diverse array of side dishes, allowing you to create a complete and satisfying meal. For a light, wholesome, and perfectly balanced dinner, I often serve it alongside crisp oven-roasted broccoli, which provides a delightful texture contrast, or sweet and tender brown sugar roasted carrots. If you’re looking for a more comforting option, creamy parsley potatoes are an excellent choice that beautifully complements the chicken’s savory, herbaceous notes. And for those craving something a little more substantial with extra carbs, our sheet pan gnocchi and vegetables recipe is not only incredibly quick to prepare but also packs in tons of fresh veggies and satisfying flavors, making it an ideal companion to this flavorful grilled chicken.
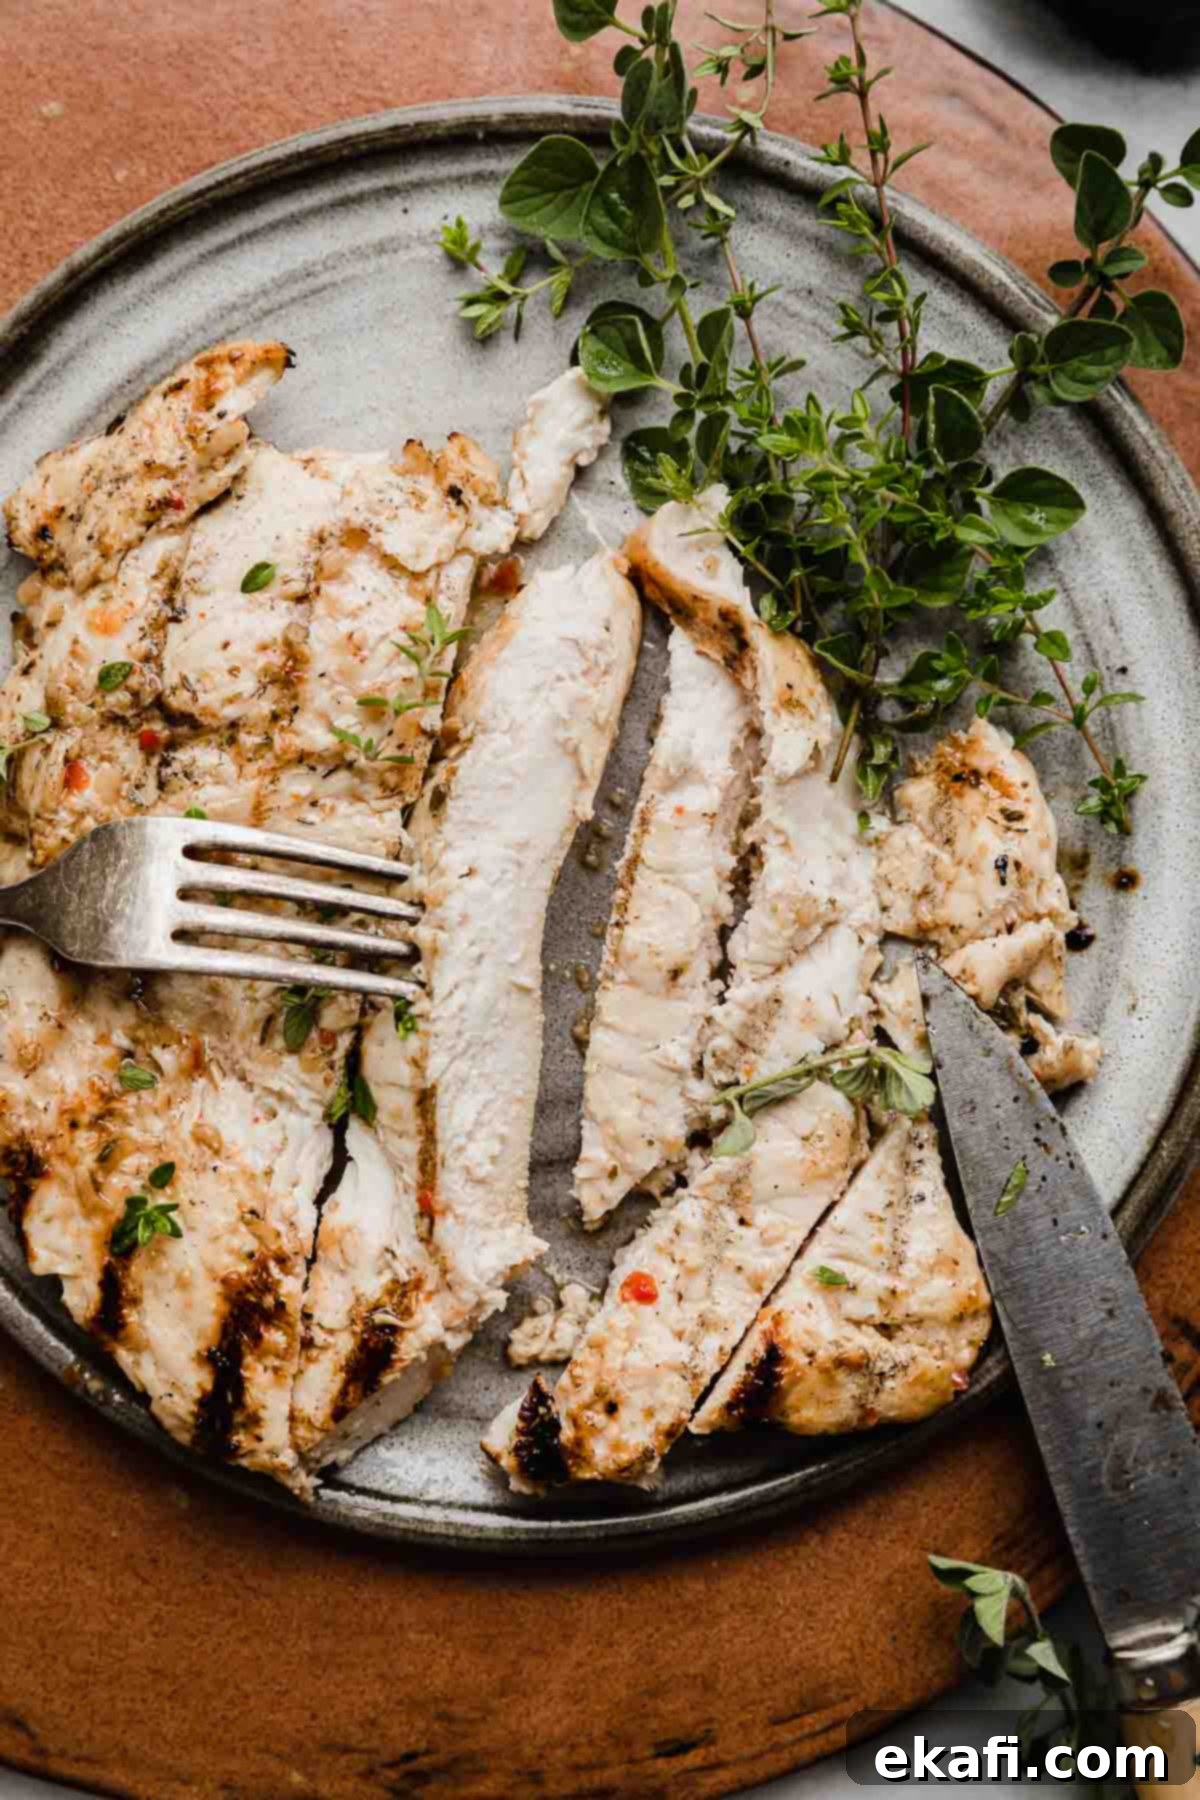
Why This Italian Grilled Chicken Recipe Will Be Your New Go-To
This isn’t just another grilled chicken recipe; it’s a blueprint for grilling success and a surefire way to bring smiles to the dinner table. Here’s why this particular approach to Italian grilled chicken will quickly become a staple in your culinary repertoire:
-
Gain Confidence in Grilling Every Time
For many home cooks, the grill can feel like an intimidating kitchen appliance. The fear of flare-ups, uneven cooking, or, worst of all, serving dry chicken often leads people to shy away from grilling. This recipe, however, is specifically designed to demystify the process and build your confidence. With clear, simple, and easy-to-follow steps, coupled with crucial tips like proper heat management and the indispensable use of an instant-read thermometer, you’ll learn to achieve consistently juicy, perfectly cooked results. Get ready to transform from a grilling skeptic into a confident grill master, effortlessly turning out delicious meals for any occasion.
-
Effortless and Unforgettable Chicken Marinade
The secret weapon behind truly delicious, moist, and flavorful grilled chicken is an exceptional marinade, and this recipe delivers precisely that without any fuss. By starting with a good quality, zesty Italian salad dressing as its base, we’re building on a foundation of perfectly balanced tanginess, savory notes, and subtle spice. We then elevate this convenient base with the bright, herbaceous punch of fresh thyme, the zesty acidity of fresh lemon juice, and the aromatic depth of minced garlic. This creates a potent, “set-it-and-forget-it” marinade that infuses every fiber of the chicken with incredible, complex flavor, ensuring each bite is a burst of Mediterranean goodness.
-
Versatile and Perfect for Any Occasion
Whether you’re planning a quick and healthy weeknight dinner after a busy day, preparing for a relaxed family meal, or hosting a lively weekend barbecue for friends and neighbors, this easy Italian chicken recipe perfectly fits every scenario. Its straightforward preparation means you spend less time in the kitchen and more time enjoying company or simply relaxing. Moreover, its universally appealing flavor profile ensures it’s always a hit with both kids and adults. The cooked chicken is also incredibly versatile – it can be enjoyed whole, sliced into salads, tucked into sandwiches, or added to wraps, making it ideal for meal prepping throughout the week.
Key Ingredients for Your Delicious Italian Grilled Chicken
The beauty of this recipe lies in its simplicity and the readily available, fresh ingredients. Here’s a closer look at what you’ll need and some helpful tips for selecting and preparing each component to ensure the best possible flavor and texture:
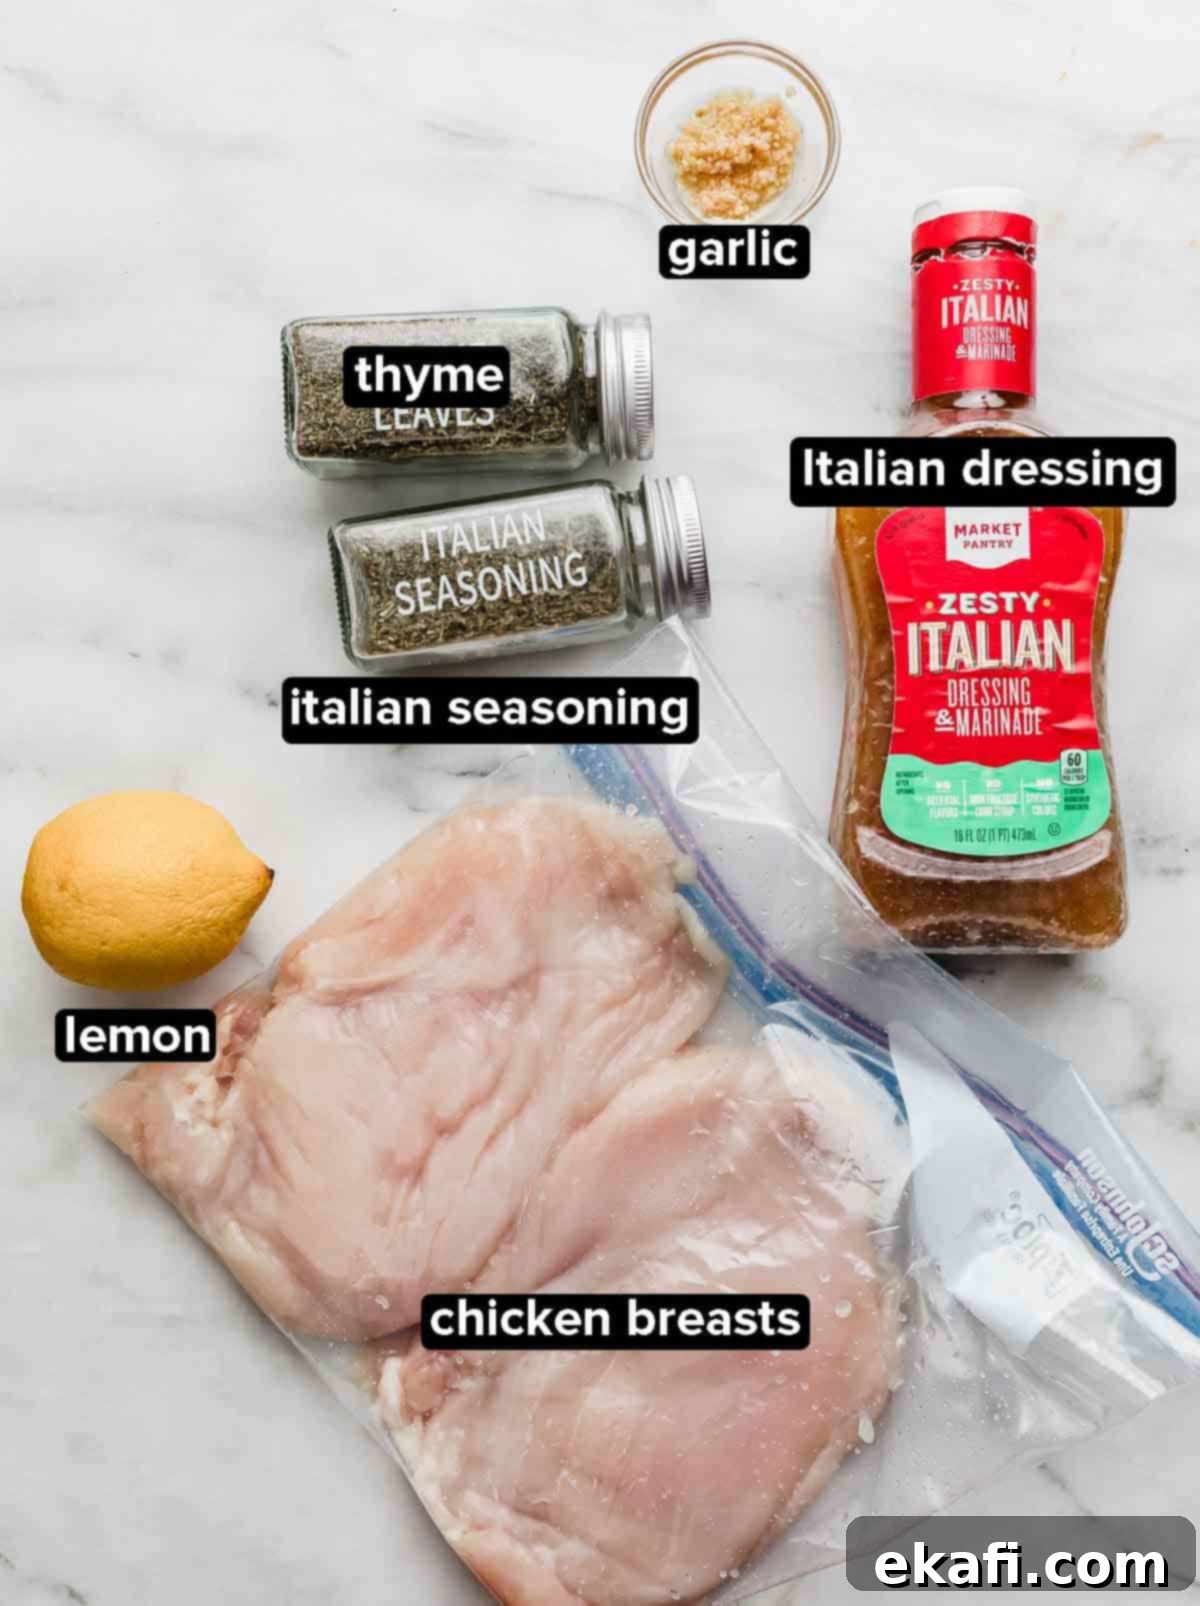
- Chicken Breasts: For optimal results and tender, juicy meat, we recommend using boneless, skinless chicken breasts. It’s crucial that they are fully thawed before you begin marinating to allow the flavorful Italian marinade to penetrate evenly. If your chicken breasts are particularly thick or uneven, consider pounding them lightly between two sheets of plastic wrap to an even ½ to ¾-inch thickness. This ensures more consistent cooking and prevents drier edges. While breasts are excellent, this versatile marinade also works beautifully with boneless, skinless chicken thighs or even chicken tenderloins; just be aware that their varying sizes will require adjustments to the cooking time.
- Italian Salad Dressing: This is the cornerstone and base of our quick and incredibly flavorful Italian chicken marinade. A good quality, zesty Italian dressing offers a convenient shortcut, providing a perfectly balanced blend of oil, vinegar, and a medley of herbs and spices. Don’t hesitate to use a light version if you’re aiming for a healthier option, or experiment with a creamy Italian dressing for an extra rich and indulgent flavor profile.
- Fresh Thyme: Fresh herbs impart an unparalleled aroma and bright, nuanced flavor that dried herbs can’t quite match. For the best taste, opt for fresh thyme. If fresh isn’t readily available, you can substitute with dried thyme, but remember that dried herbs are more concentrated. As a general rule, use half the amount of dried herbs compared to fresh (e.g., if the recipe calls for 2 tsp fresh, use 1 tsp dried).
- Italian Seasoning: To enhance and layer the classic Italian flavors even further, we add an extra touch of dried Italian seasoning in addition to the dressing. This blend typically features a fragrant mix of oregano, basil, rosemary, and marjoram, all of which beautifully complement the tangy, savory notes of the grilled Italian chicken breast, contributing to a deeper, more herbaceous, and complex taste.
- Fresh Lemon Juice: The vibrant acidity of freshly squeezed lemon juice plays a dual role in this recipe. Firstly, it brightens and elevates the overall flavor of the marinade, cutting through richness with its zesty notes. Secondly, it acts as a natural tenderizer for the chicken, helping to gently break down muscle fibers and ensuring a remarkably succulent and tender bite. While fresh is always superior, bottled lemon juice can be used as a convenient alternative if fresh lemons aren’t accessible.
- Minced Garlic: Garlic is an absolutely indispensable ingredient for its pungent, aromatic, and savory depth, which is fundamental to Italian cuisine. Pre-minced garlic is a fantastic time-saving option for busy cooks. However, if you prefer to use fresh garlic cloves, you will need approximately four medium-sized cloves, finely minced, to achieve the desired intensity and robust flavor profile.
Easy Step-by-Step Instructions: How to Grill Juicy Italian Chicken
Follow these straightforward steps to prepare perfectly juicy and incredibly flavorful Italian grilled chicken every single time, ensuring a meal that’s both simple to make and a joy to eat:
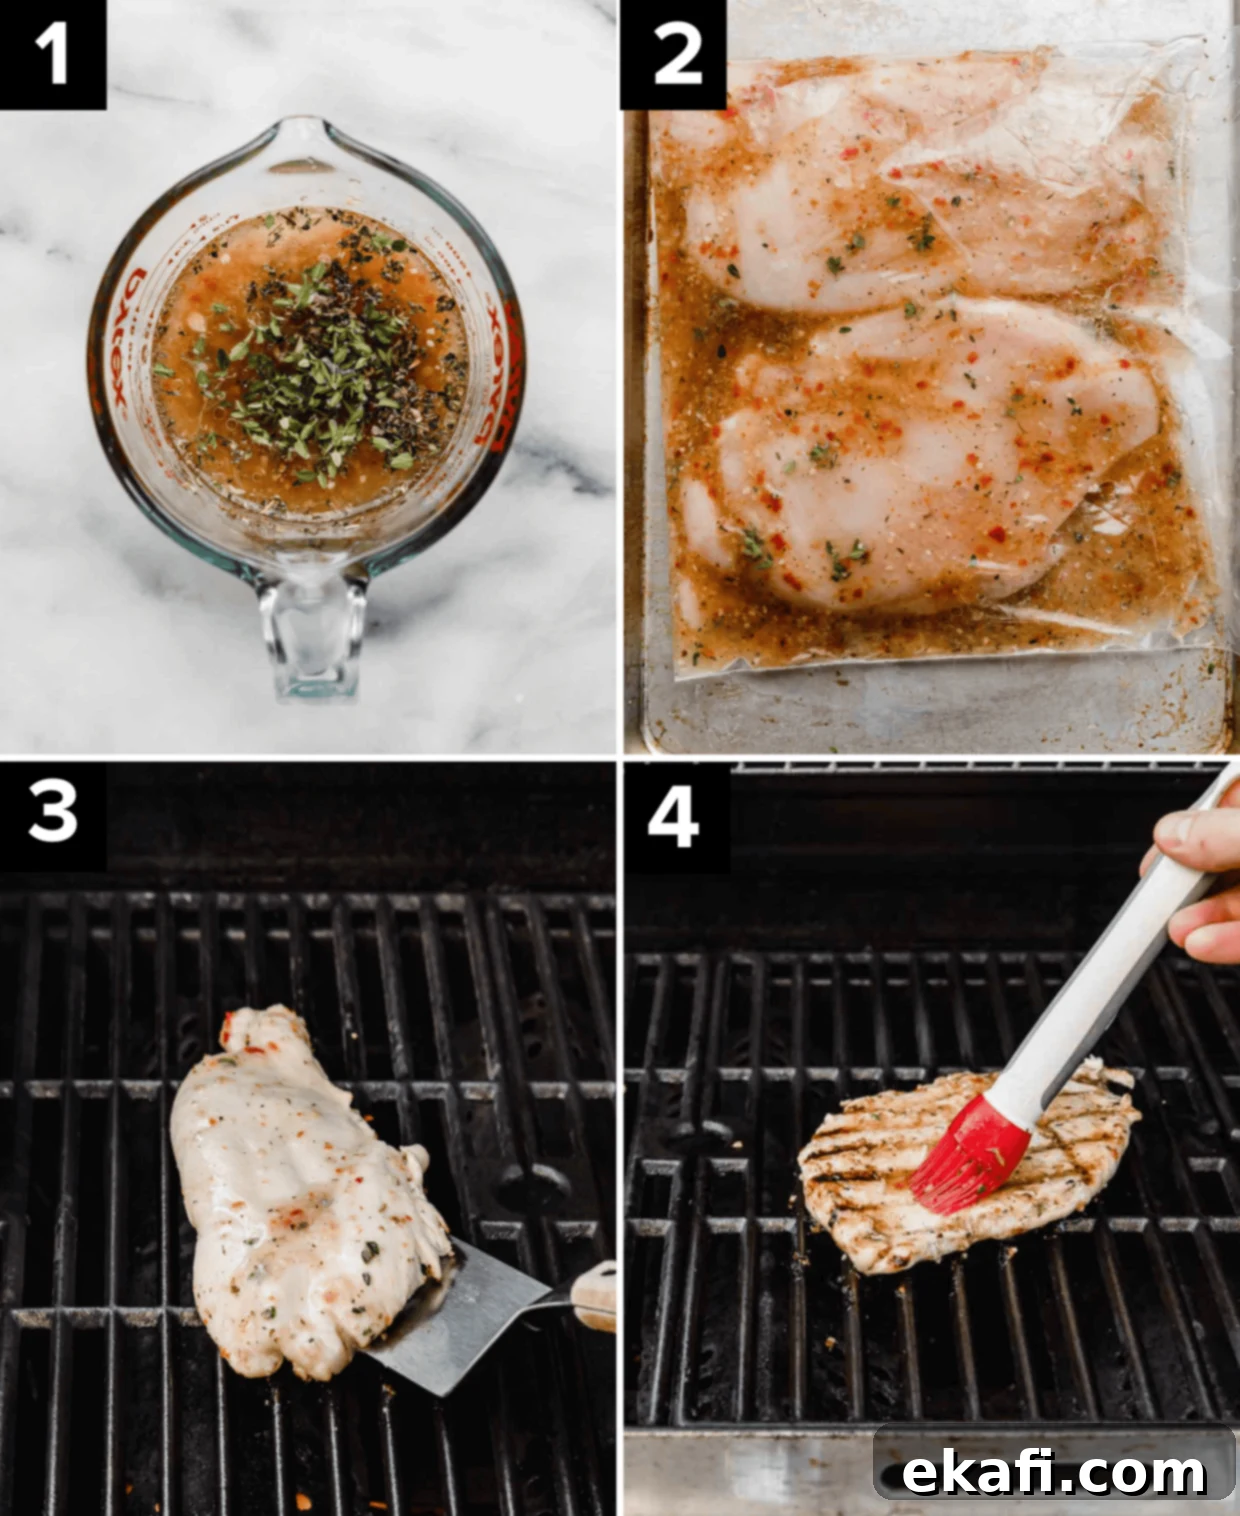
- Craft Your Flavorful Italian Marinade: Begin by combining all the marinade ingredients in a medium-sized bowl. Add 1 cup of Italian salad dressing, 2 teaspoons of fresh thyme (or 1 teaspoon of dried thyme if fresh is unavailable), 1 teaspoon of dried Italian seasoning, the freshly squeezed juice of 1 lemon, and 4 minced garlic cloves. Whisk all these components together thoroughly until they are well combined and create a homogeneous mixture. This is the rich, aromatic foundation for your chicken.
- Marinate the Chicken for Maximum Tenderness and Flavor: Once your marinade is prepared, immediately reserve ¼ cup of this fresh mixture in a separate, clean container. This reserved portion will be crucial for basting the chicken later on the grill. Pour the remaining Italian chicken marinade into a large, sturdy, and resealable plastic bag (like a Ziploc bag). Carefully add 4 boneless, skinless chicken breasts to the bag, ensuring that each piece is fully submerged and coated in the marinade. Seal the bag securely, pressing out as much air as possible. Place the sealed bag in the refrigerator and allow the chicken to marinate for a minimum of 3-5 hours. For truly exceptional flavor and unparalleled tenderness, I highly recommend marinating it overnight, or for up to 12-24 hours. Occasionally, gently massage the bag to ensure even distribution of the marinade.
- Prepare Your Grill and Chicken for Cooking: Approximately 15-20 minutes before you plan to start grilling, remove the marinated chicken from the refrigerator. This allows the meat to come slightly closer to room temperature, which promotes more even cooking. While the chicken rests, preheat your outdoor grill to a medium-high temperature, aiming for a consistent heat of 375ºF-400ºF. Ensure your grill grates are meticulously clean and lightly oiled to prevent any sticking once the chicken is placed on them. Before grilling, remove the chicken breasts from the ziploc bag and discard all of the marinade that contained raw chicken – it is unsafe to reuse.
- Grill the First Side and Begin Basting: Once your grill is preheated and ready, carefully place the marinated chicken breasts directly onto the hot grill grates. Cook this first side of the chicken for exactly 5 minutes without moving or disturbing the pieces. This critical step allows for the development of those beautiful, char-grilled marks and a delicious crust. After 5 minutes, carefully flip each chicken breast to the other side. Immediately, using a clean basting brush, generously brush the already cooked side of each chicken breast with the ¼ cup of fresh marinade you reserved earlier.
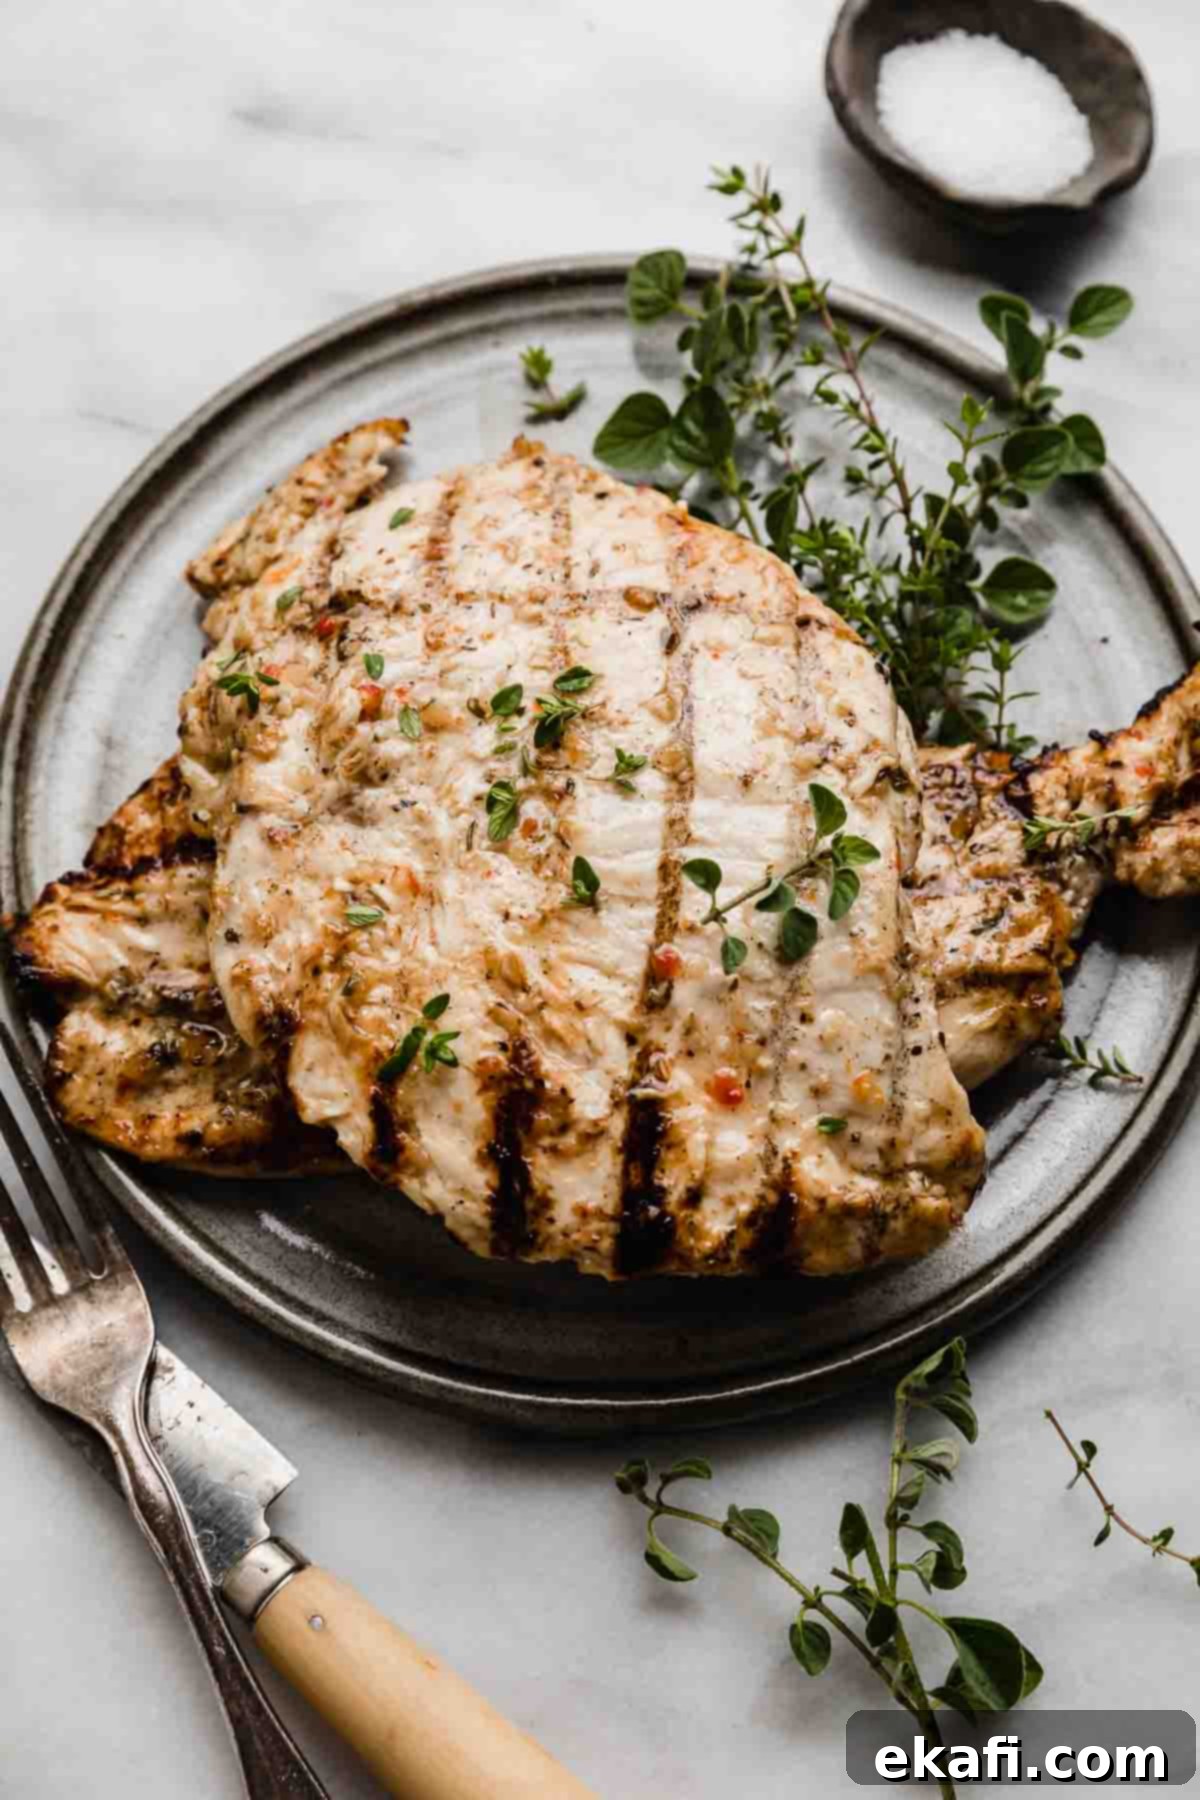
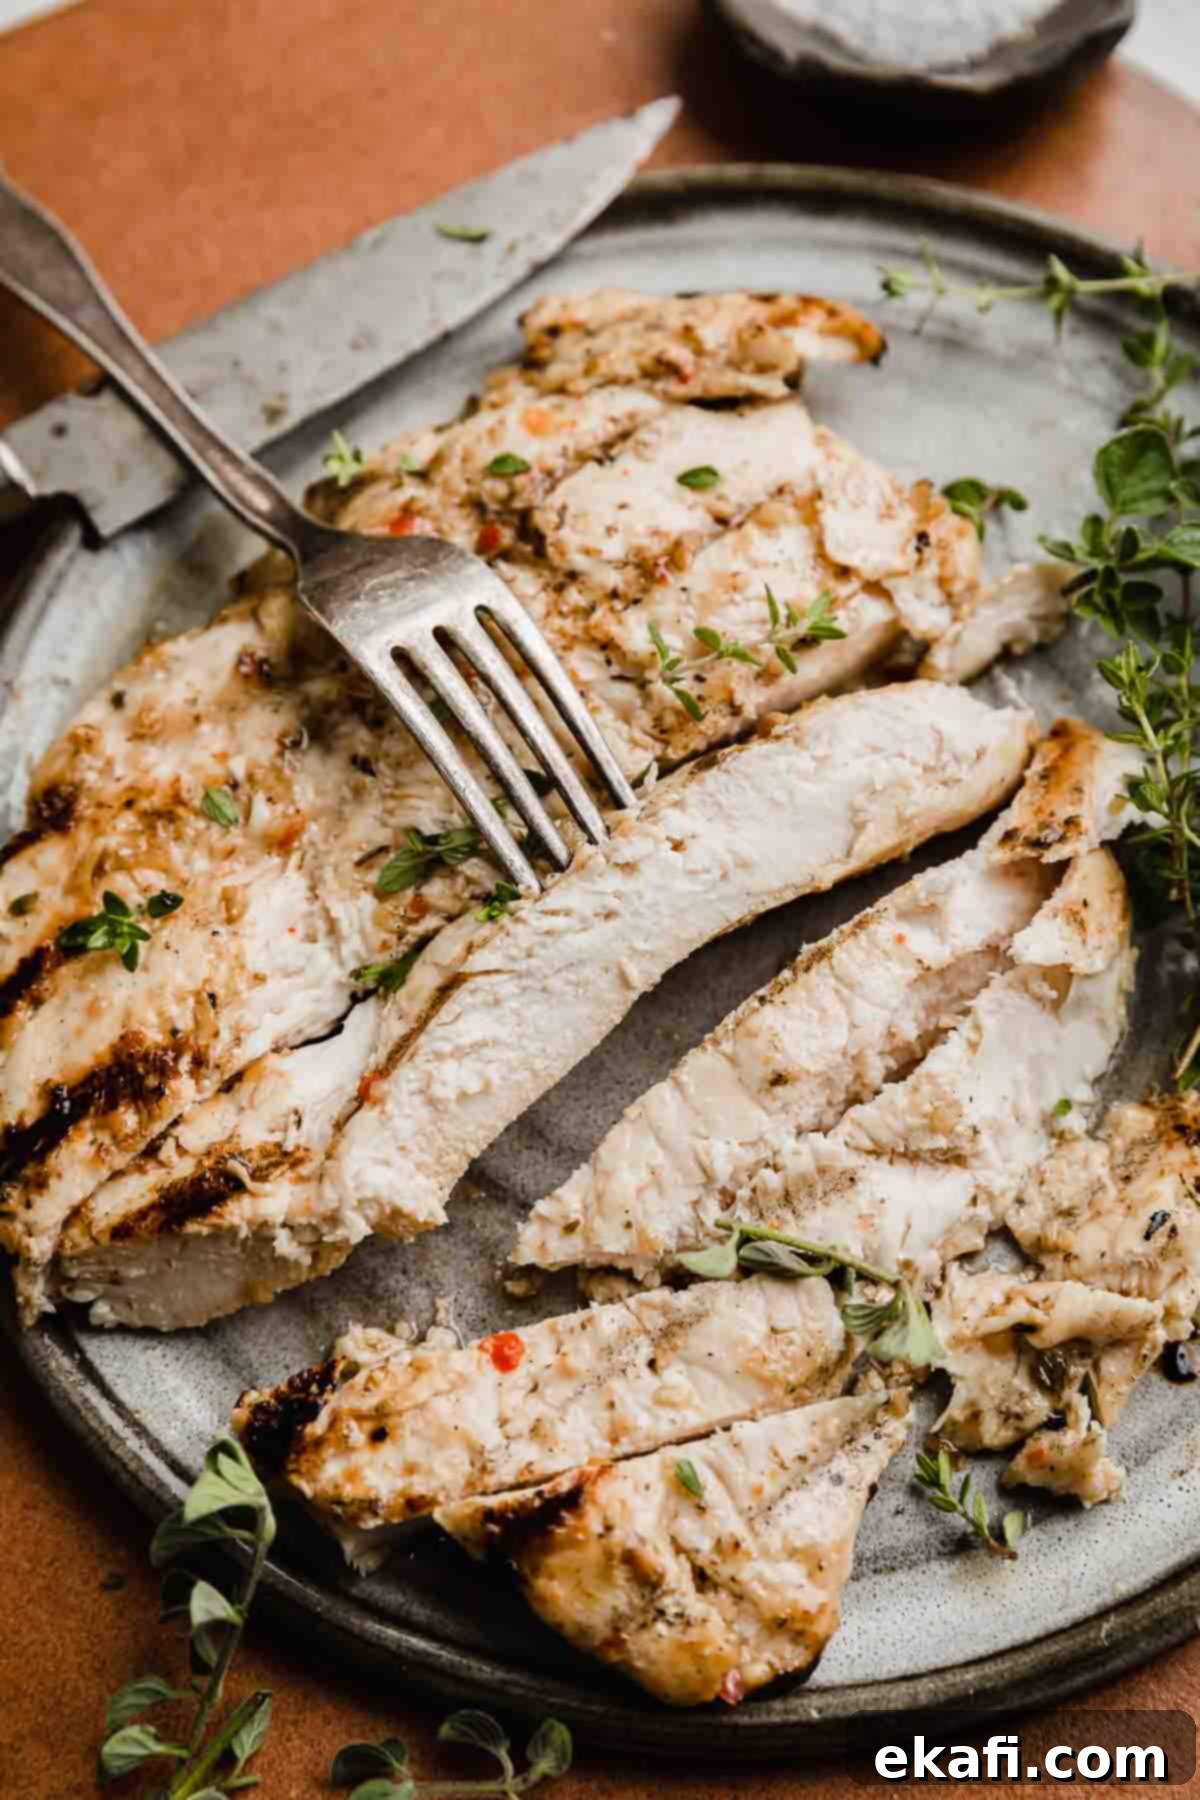
- Finish Grilling and Allow to Rest: Close the grill lid and continue to cook the chicken for an additional 5-6 minutes. The absolute key to achieving perfectly juicy chicken and avoiding dryness is not to overcook it. Use an instant-read thermometer to check the internal temperature by inserting it into the thickest part of the breast, making sure not to touch any bone. Remove the chicken from the grill when it reaches an internal temperature of 155ºF-160ºF (68°-71°C). Transfer the cooked chicken to a clean plate and tent it loosely with a sheet of aluminum foil. Let the chicken rest undisturbed for 5-10 minutes. This vital resting period allows the juices within the meat to redistribute evenly, ensuring a tender, incredibly moist, and utterly succulent result. Serve your delicious Italian grilled chicken hot and enjoy!
Top Tips for Perfectly Juicy Italian Grilled Chicken Every Time
Grilling chicken can sometimes feel like a delicate balance, but with a few expert tips and tricks, you can ensure your Italian grilled chicken is always perfectly cooked, incredibly tender, and bursting with flavor. Here are my tried-and-true secrets to grilling success:
-
Your Instant-Read Thermometer: The Ultimate Grilling Tool
This is, without a doubt, the single most important investment you can make for achieving consistently juicy grilled chicken. An instant-read thermometer eliminates all the guesswork, preventing the common pitfall of cutting into the chicken to check for doneness, only to find it dry and overcooked. While chicken is fully cooked and safe to eat at 165°F (74°C), the real magic happens when you remove the chicken from the grill a bit earlier, specifically when its internal temperature reaches 155ºF-160ºF (68°-71°C). This crucial step accounts for “carry-over cooking,” where the residual heat within the chicken continues to cook it for several minutes after it’s taken off the heat, ensuring it reaches 165°F while remaining incredibly moist and tender. Trust the thermometer, not your instincts alone!
-
Maximize Flavor and Tenderness with Adequate Marination Time
The longer your chicken sits submerged in the flavorful Italian dressing marinade, the deeper the flavors will penetrate into the meat, and the more tender the chicken will become. While a minimum of 3-5 hours will yield decent results, aiming for an overnight soak (ideally 8-12 hours, up to 24 hours) will provide noticeably superior results in both taste and texture. The acids present in the Italian dressing and fresh lemon juice work synergistically to gently break down the chicken fibers, guaranteeing a succulent and incredibly flavorful bite.
-
Pound Chicken Breasts for Even Cooking and Extra Tenderness
Chicken breasts often vary in thickness, with one end typically being much thicker than the other. To ensure even cooking and prevent parts from drying out while others are still cooking, it’s highly recommended to pound the chicken breasts to a uniform thickness. Place each breast between two pieces of plastic wrap and use a meat mallet or a rolling pin to gently pound the thicker sections until the entire breast is about ½ to ¾ inch thick. This simple but effective step guarantees that every part of your chicken cooks at the same rate, resulting in consistently tender meat from edge to edge.
-
Don’t Forget to Massage the Marinade
Once you’ve placed the chicken breasts into the sealed Ziploc bag with the marinade, take a moment to gently massage the bag. This action helps to distribute the marinade evenly over all surfaces of the chicken, ensuring every nook and cranny is coated and soaking up all those delicious, aromatic flavors. It also provides a light physical tenderizing action, further contributing to a tender final product.
-
The Power of Basting with Reserved Marinade
Reserving a portion of the fresh, unused marinade specifically for basting while the chicken cooks on the grill is a true game-changer. This step not only helps to lock in precious moisture as the chicken cooks, preventing it from drying out, but also adds an extra layer of vibrant flavor and contributes to developing a beautiful, golden-brown, caramelized exterior. Remember, always use *fresh*, reserved marinade for basting – never use any marinade that has come into contact with raw chicken, as this poses a food safety risk.
-
Adjust Cooking Times According to Your Grill’s Temperature
Not all grills are created equal, and temperatures can fluctuate. Always keep an eye on your grill’s built-in thermometer. If your grill consistently maintains a higher temperature, for example, around 400°F (200°C), you might find that your chicken cooks faster than the suggested times. In such cases, be prepared to reduce the cooking time slightly, perhaps to 4-4.5 minutes per side, instead of the suggested 5-6 minutes. The ultimate guide, however, remains your instant-read thermometer for precise doneness.
-
The Crucial Importance of the Resting Period
As highlighted earlier, removing the Italian dressing grilled chicken from the grill at 155ºF-160ºF (68°-71°C) is key. However, equally important, if not more so, is the resting period that follows. Once cooked, transfer the chicken breasts to a clean plate and loosely tent them with aluminum foil. Allowing the chicken to rest for 5-10 minutes is essential. This crucial time allows the superheated juices within the meat, which have been pushed to the center during cooking, to redistribute evenly throughout the entire breast. This process ensures that the internal temperature rises to the safe 165ºF (74°C) mark while simultaneously guaranteeing an incredibly moist, tender, and succulent result. Skip the rest, and you’ll lose much of that delicious juiciness!
-
Achieving Those Professional-Looking Grill Marks
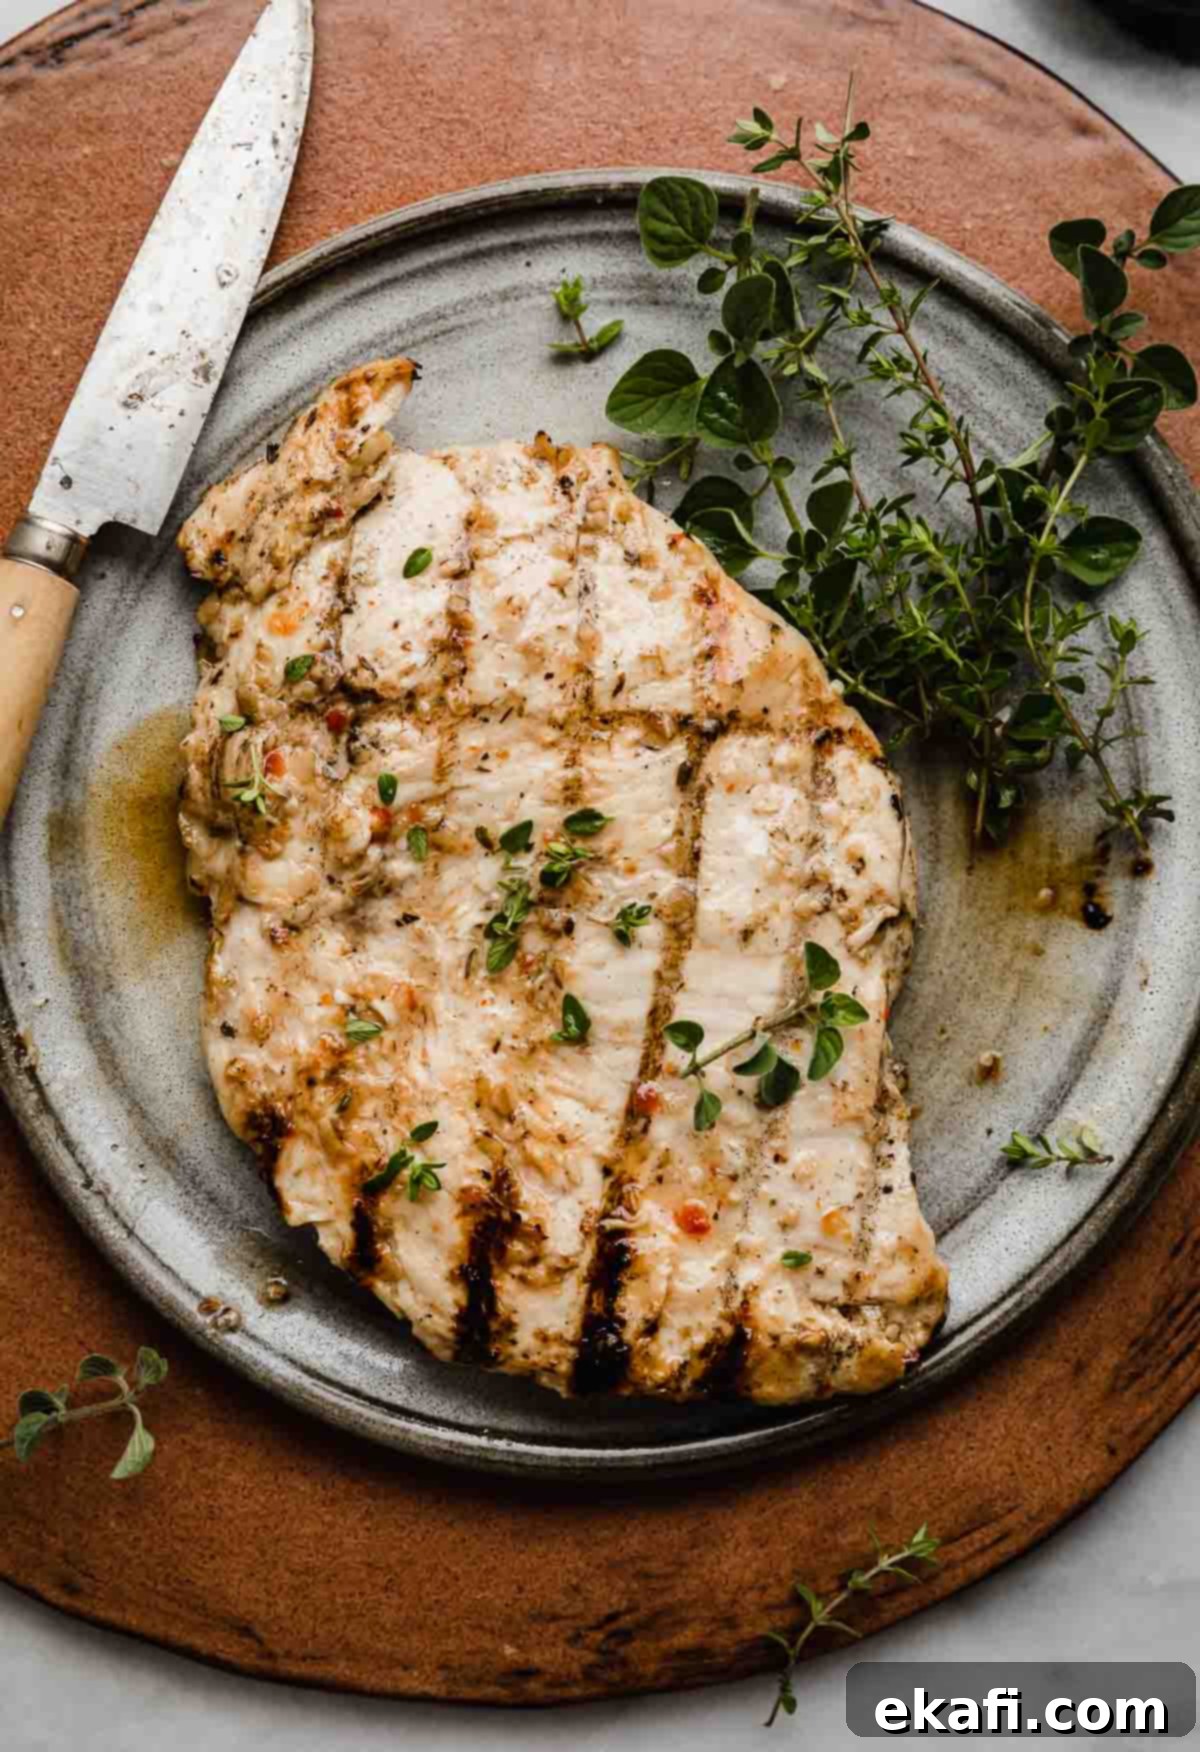
For those coveted, perfectly defined grill marks that scream “expertly cooked,” patience is your greatest virtue. Once you place the marinated chicken on the hot grill grates, **resist the overwhelming urge to move it**. Let it cook completely undisturbed for the full 5 minutes on the first side. This direct, consistent contact with the hot grates is what creates those distinct, dark char lines. Only flip the chicken once. Trying to reposition it will only smear or ruin those beautiful marks, so set it, sear it, then flip it!
Make Ahead, Storing, and Freezing Italian Grilled Chicken
This Italian grilled chicken recipe is incredibly versatile and perfectly suited for meal prepping, making your busy weeknights a breeze. Here’s how to best handle it at various stages, ensuring convenience and food safety:
- Make Ahead (Marinating): This recipe is a prime candidate for make-ahead meal prep! You can easily prepare the Italian marinade as instructed and then marinate the chicken in a sturdy, leak-proof ziplock bag or an airtight container a full day in advance. This extended marination period not only allows the vibrant flavors to deeply penetrate and tenderize the chicken, resulting in an even more delicious final product, but also significantly cuts down on active prep time on the day you plan to cook, freeing you up for other activities.
- Storing Marinating Chicken Safely: While your chicken is marinating, always ensure it is kept safely in the coldest part of your refrigerator. Double-check that the bag or container is securely sealed to prevent any potential leaks, which could lead to cross-contamination with other foods in your fridge.
- Storing Cooked Leftovers: If you find yourself with any glorious leftover grilled chicken, first allow it to cool completely to room temperature. Once cooled, transfer the chicken to an airtight container and promptly place it in the refrigerator. Properly stored, it will remain fresh and delicious for up to 3-4 days. When reheating, do so gently – a microwave on a low setting, a covered pan on the stovetop with a splash of broth, or a low oven setting are good options – to maintain its moisture and prevent it from drying out.
- Freezing Pre-Marinated Chicken: For ultimate convenience and future quick meals, you can marinate the chicken as directed and then freeze it raw, directly in the ziplock bag (ensuring it’s a freezer-safe bag). This is an excellent strategy for planning ahead. Be sure to label the bag clearly with the date and freeze for up to 3 months for best quality. When you’re ready to cook, simply thaw the chicken completely in the refrigerator overnight before grilling it according to the recipe instructions.
- Freezing Cooked Chicken: After grilling, allow the chicken to cool down completely to room temperature. To prevent dreaded freezer burn and preserve its quality, wrap each individual piece tightly in plastic wrap, then in aluminum foil, or place them in a single layer in a freezer-safe bag, pressing out all excess air before sealing. Label with the date. Cooked grilled chicken can be safely frozen for 2-3 months. When needed, thaw it in the refrigerator overnight and reheat gently using one of the methods mentioned above to ensure it retains its tenderness and flavor.
Italian Grilled Chicken: Your Most Asked Questions Answered
While you don’t *have* to marinate the chicken overnight, it is highly recommended for the best possible results. An extended marination period allows the vibrant flavors from the Italian dressing, aromatic herbs, and fresh lemon to deeply penetrate the chicken, resulting in a significantly more flavorful and remarkably tender outcome. If you’re pressed for time, a minimum of 3-5 hours will still yield good results, but marinating overnight (8-12 hours) is truly where the magic happens, transforming the chicken into something extraordinary.
Achieving those appealing, professional-looking grill marks is all about patience and direct contact with the hot grates. The key technique is to **not move your chicken breasts once you place them on the hot grill**. Lay the chicken carefully on the preheated grates and allow it to cook undisturbed for the recommended 5 minutes on the first side. This direct, consistent contact allows the grates to properly sear the chicken, creating those distinct, beautifully charred lines. Only flip the chicken once. Trying to reposition it after the initial placement will only smear or ruin those coveted grill marks!
Ensuring tender chicken involves several crucial steps. First, adequate marination time (preferably overnight) allows the acids in the marinade to gently break down muscle fibers. Second, for the most tender results, consider pounding your chicken breasts to an even thickness (about ½ to ¾ inch) before marinating. Chicken breasts are often thicker on one end, and pounding them out ensures uniform cooking, preventing parts from drying out while others are still cooking. This physical tenderization, combined with proper cooking to avoid overcooking (using a thermometer!) and the essential resting period after grilling, will guarantee remarkably tender and juicy chicken every time.
The ultimate secret to perfectly grilled, consistently juicy chicken every single time is the use of an instant-read thermometer. While chicken is fully cooked and safe to consume when it reaches an internal temperature of 165°F (74°C), the expert trick is to remove it from the grill when its internal temperature reaches 155°F-160°F (68°-71°C). This critical step accounts for “carry-over cooking,” a phenomenon where the residual heat in the chicken continues to cook it for several minutes after it’s removed from the direct heat source. Those who cook chicken directly to 165°F or higher on the grill will almost invariably end up with dry, overcooked meat. Trust the thermometer and embrace the resting process!
This is precisely because of the principle of “carry-over cooking” or “residual cooking.” When you remove the chicken breast from the intense heat of the grill, its exterior is significantly hotter than its interior. During the crucial resting period (when the chicken is tented loosely with foil), this external heat slowly and evenly transfers to the cooler center of the meat. This allows the internal temperature to gradually rise and equalize throughout the entire breast. This process ensures the chicken safely reaches the required 165°F (74°C) without losing its precious moisture, resulting in a supremely juicy and tender piece of meat. If you were to cook the chicken directly on the grill until the center hit 165°F, the exterior would become well overcooked and dry during that time.
While a reliable instant-read thermometer is highly recommended for accuracy and food safety, if you absolutely don’t have one, you can rely on visual and touch cues, though these are less precise. Carefully cut into the thickest part of the chicken breast. The meat should be completely opaque (showing no pinkness) throughout, and any juices that run out should be clear, not cloudy or reddish. The chicken should also feel firm to the touch. If there’s any doubt, it’s always better to cook it for a couple more minutes than to risk undercooking. However, be aware that relying solely on visual cues often leads to slightly overcooked chicken to ensure safety.
No, it is absolutely critical for food safety to never reuse any marinade that has come into contact with raw chicken for basting, saucing, or serving. This practice carries a high risk of cross-contamination with harmful bacteria present on raw poultry. To safely baste your chicken while it’s on the grill, you must always reserve a separate, fresh portion of the marinade *before* adding the raw chicken to the main batch. Any marinade that has touched raw meat should be discarded immediately after removing the chicken.
Certainly! If an outdoor grill isn’t available or if weather conditions aren’t ideal, a stovetop grill pan is an excellent and convenient alternative for preparing this recipe indoors. To use a grill pan, heat it over medium-high heat until it is smoking lightly – this indicates it’s hot enough for a good sear. Lightly brush the ridges of the pan with a high-smoke-point oil. Then, follow the same cooking times and basting steps outlined in the recipe. While you might not achieve the same intense smoky flavor as an outdoor grill, you’ll still get delicious indoor grilled chicken with appealing char marks and juicy tenderness. Just ensure good ventilation in your kitchen!
If you don’t have a bottle of store-bought Italian dressing on hand, it’s incredibly easy to whip up a simple yet flavorful homemade version. To make a quick substitute, combine ¼ cup of good quality olive oil, 2 tablespoons of red wine vinegar (or white wine vinegar for a milder taste), 1 teaspoon of dried Italian herbs (such as a blend of oregano, basil, and marjoram), 1-2 finely minced garlic cloves, a pinch of salt, and freshly ground black pepper. Whisk all these ingredients together vigorously until well emulsified. For an extra bright kick, you can also add a touch of Dijon mustard or an additional squeeze of fresh lemon juice.
More Delicious Chicken Recipes to Explore
If you’re a devoted fan of flavorful chicken dishes, you’re in luck! Here are some other fantastic and highly-rated chicken recipes from our collection that we think you’ll absolutely love:
- Chicken Massaman Curry
- Buffalo Chicken Bites
- Crispy Baked Chicken Drumsticks
- Curry Chicken and Rice
- Creamy Tuscan Chicken
Did you make this incredible Italian Grilled Chicken recipe? We’d absolutely love to hear about your experience! Please take a moment to leave a star rating and review right here on the blog post. Your valuable feedback not only helps us improve but also guides other home cooks in their culinary adventures. You can also scroll below the recipe card to leave your thoughts and tips!
Don’t forget to stay connected and up-to-date with all our latest delicious recipes, kitchen hacks, and cooking inspiration by following us on Instagram, TikTok, YouTube, Facebook, and Pinterest. We absolutely love seeing your culinary creations – remember to take a picture and tag @saltandbaker so we can see what you’re making!
Italian Grilled Chicken Recipe Card
This perfect Italian marinade creates an incredibly flavorful and juicy chicken that will become a family favorite! Easy prep, amazing results.

Prep Time: 10 mins
Cook Time: 12 mins
Total Time: 22 mins
Servings: 4 servings
Ingredients
- 4 boneless, skinless chicken breasts (approximately 1.5 lbs)
- 1 cup Italian salad dressing (zesty or your favorite)
- 2 teaspoons fresh thyme, chopped (or 1 tsp dried thyme)
- 1 teaspoon dried Italian seasoning
- 1 lemon, freshly juiced
- 4 garlic cloves, finely minced
Equipment
- Large resealable plastic bag
- Medium mixing bowl
- Basting brush
- Instant-read thermometer (highly recommended)
- Aluminum foil
Instructions
- Prepare the Marinade: In a medium-sized bowl, combine the Italian salad dressing, fresh thyme (or dried), dried Italian seasoning, freshly squeezed lemon juice, and minced garlic cloves. Stir vigorously until all ingredients are thoroughly combined to create your flavorful marinade.
- Reserve Marinade & Marinate Chicken: Immediately pour ¼ cup of this fresh marinade into a separate, clean container and set aside. This portion will be used later for basting. Transfer the remaining marinade into a large, resealable plastic bag. Add the chicken breasts to the bag, ensuring they are fully coated. Seal the bag, pressing out any excess air, and place it in the refrigerator. Marinate for a minimum of 3-5 hours, or ideally, overnight (8-24 hours) for the best flavor and tenderness.
- Prepare for Grilling: About 15-20 minutes before you plan to grill, remove the marinated chicken from the refrigerator to allow it to come slightly closer to room temperature. While it rests, preheat your outdoor grill to a medium-high heat, aiming for 375°F – 400°F. Ensure your grill grates are clean and lightly oiled to prevent sticking. Remove the chicken from the ziploc bag and discard all of the marinade that contained raw chicken.
- Grill First Side: Carefully place the marinated chicken breasts onto the preheated grill grates. Cook the first side for exactly 5 minutes without moving the chicken. This crucial step helps create beautiful grill marks and a delicious sear.
- Flip & Baste: After 5 minutes, carefully flip each chicken breast to the other side. Immediately and generously baste the already cooked side of each chicken breast with the ¼ cup of fresh marinade you reserved earlier, using a clean basting brush.
- Finish Cooking & Check Temperature: Close the grill lid and continue cooking for an additional 5-6 minutes. Insert an instant-read thermometer into the thickest part of a chicken breast (avoiding bone). Remove the chicken from the grill when its internal temperature reaches 155°F-160°F (68°-71°C).
- Rest & Serve: Transfer the grilled chicken to a clean plate and loosely tent it with aluminum foil to keep it warm. Allow the chicken to rest for 5-10 minutes. This resting period is essential for the juices to redistribute, ensuring perfectly moist and tender chicken that will reach a safe 165°F. Slice and serve hot!
Notes
- *The Secret to Juicy Chicken: An instant-read thermometer is your best friend! Remove the chicken from the grill when its internal temperature reads 155°-160°F (68°-71°C). The meat will continue to cook during the resting period, elevating to a safe and perfectly juicy 165°F (74°C) by the time it reaches your table. This prevents dry, overcooked chicken.
- **Grill Temperature Variations: If your grill consistently runs hotter (e.g., around 400°F/200°C), you may need to slightly reduce the cooking times, perhaps to 4.5-5 minutes per side, to avoid overcooking. Always check for doneness with your thermometer.
Nutrition Information (per serving)
(Based on original content, estimated values)
- Calories: 413 kcal (21% Daily Value)
- Carbohydrates: 11g (4% Daily Value)
- Protein: 49g (98% Daily Value)
- Fat: 18g (28% Daily Value)
- Saturated Fat: 3g (15% Daily Value)
- Polyunsaturated Fat: 7g
- Monounsaturated Fat: 5g
- Trans Fat: 0.1g
- Cholesterol: 145mg (48% Daily Value)
- Sodium: 847mg (35% Daily Value)
- Potassium: 947mg (27% Daily Value)
- Fiber: 1g (4% Daily Value)
- Sugar: 7g (8% Daily Value)
- Vitamin A: 151IU (3% Daily Value)
- Vitamin C: 20mg (24% Daily Value)
- Calcium: 43mg (4% Daily Value)
- Iron: 2mg (11% Daily Value)
Author: Whitney Wright
Course: Main Course
Cuisine: Italian
Did you make this recipe?
Please leave a star rating and review on the blog post letting me know how you liked this recipe! Take a picture and tag @saltandbaker on Tik Tok, Instagram, and Facebook so I can see what you’re making!
