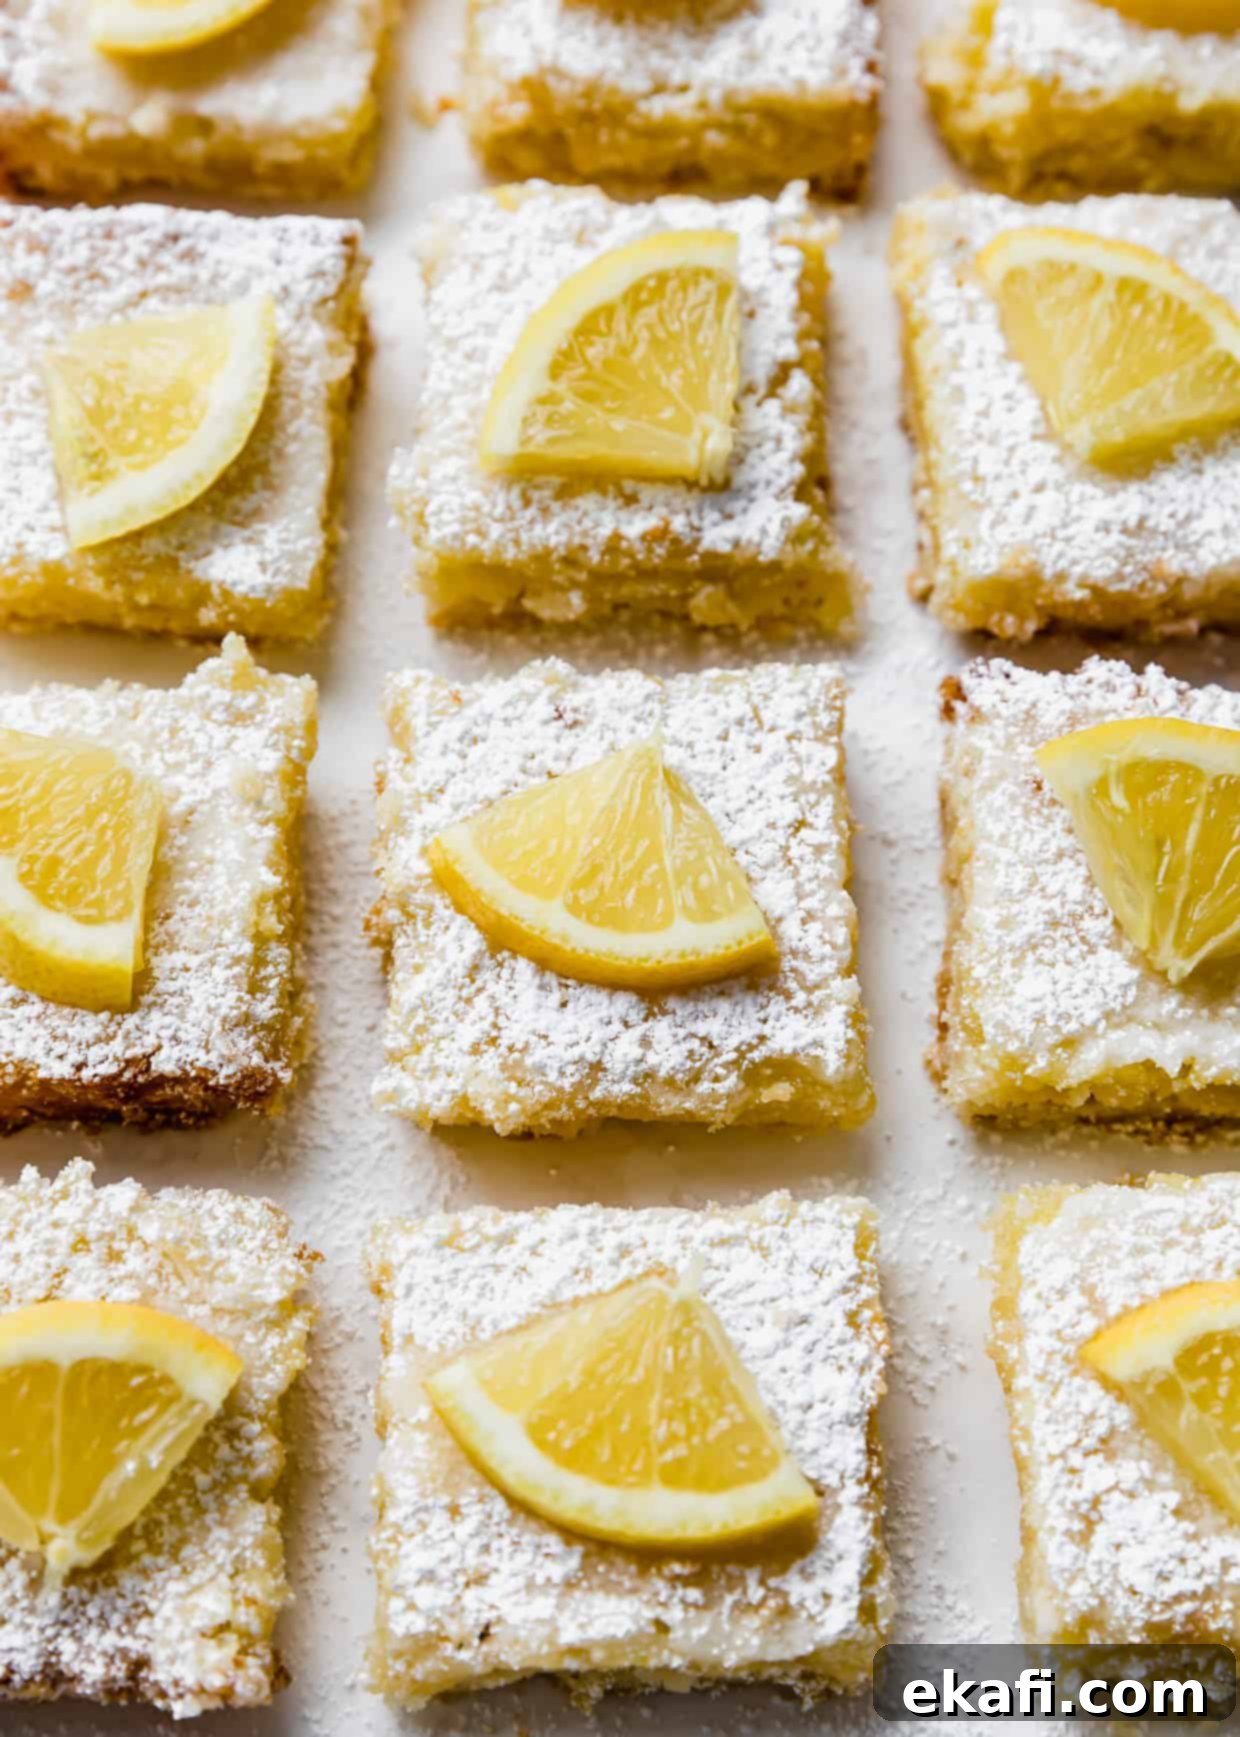
Best Old Fashioned Lemon Squares: The Ultimate Sweet, Tart & Easy Homemade Lemon Bar Recipe
Indulge in the bright, refreshing taste of these exquisite Old Fashioned Lemon Squares! This timeless dessert features a melt-in-your-mouth, delicately sweet, and buttery shortbread crust, perfectly complementing a creamy, intensely zesty lemon custard filling. Baked to golden perfection, each square is then kissed with a vibrant lemon glaze and a final dusting of powdered sugar, creating a truly irresistible treat. These lemon bars are deceptively simple to prepare, making them ideal for a casual Tuesday afternoon pick-me-up, yet elegant enough to grace the dessert table at a sophisticated wedding or special celebration. Their balanced sweet-tart flavor and inviting texture ensure they’ll be a crowd-pleaser every single time.
Looking for more ways to enjoy that delightful lemon flavor? Transform these classic lemon bars into a show-stopping dessert with my incredibly delicious and moist Lemon Bar Cake recipe. If you’re craving a lemon bar-inspired cookie, you simply must try my light and airy Lemon Powdered Sugar Cookies or my ultra-soft and chewy Lemon Crinkle Cookies. And for those who adore the classic combination of lemon and shortbread, don’t miss my delightful Lemon Shortbread Cookie Recipe. Each offers a unique way to savor the beloved citrus.
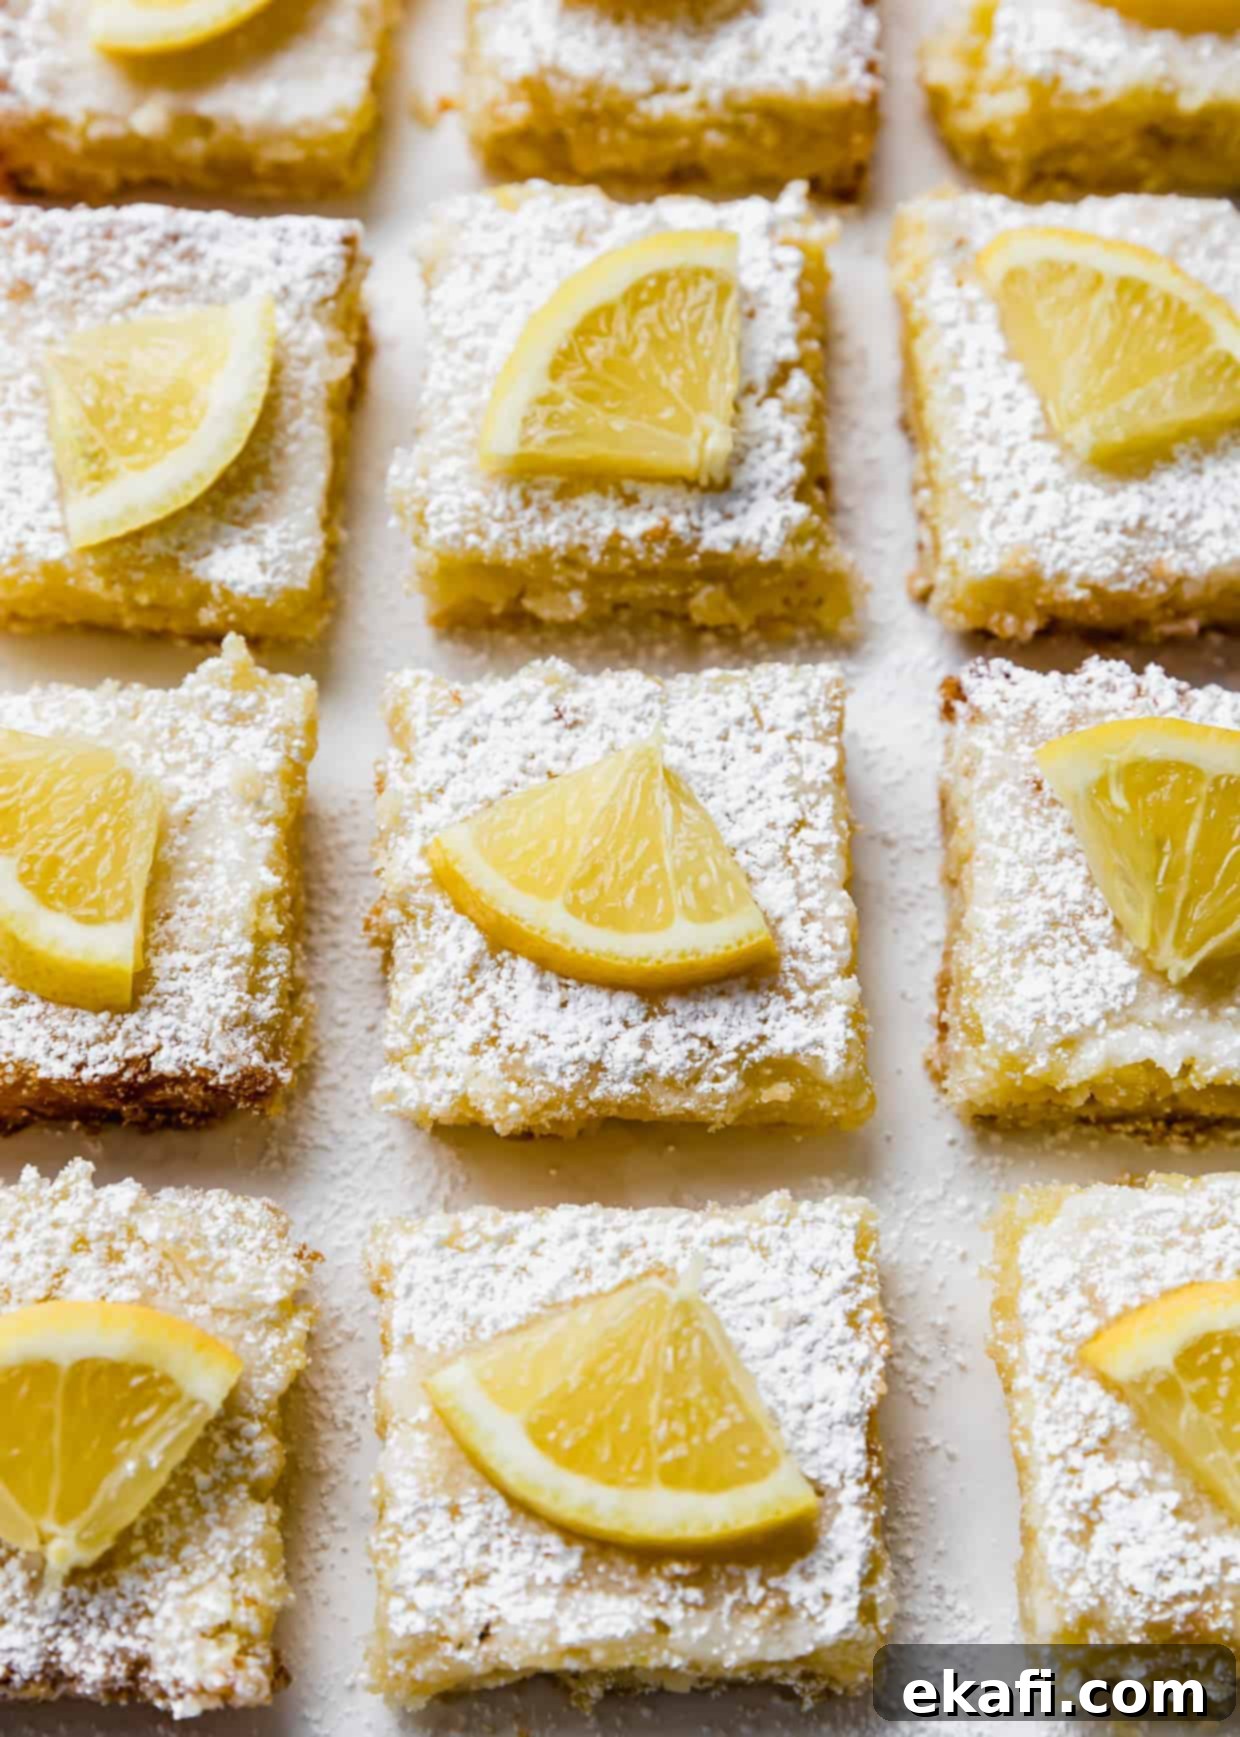
Why This Easy Lemon Squares Recipe Works So Well
- Looks Fancy, Yet Incredibly Simple: One of the greatest charms of these old fashioned lemon bars is their sophisticated appearance. They truly look like they belong on a beautifully set table, ready for a special occasion. However, don’t let their elegant facade fool you! This easy lemon bars recipe is surprisingly straightforward to make, requiring minimal effort and no complicated techniques. You’ll impress everyone with a dessert that tastes and looks like it took hours, but was whipped up in a flash. Plus, they’re so delightfully light and flavorful, you’ll want to ditch any tiny forks and just dive right in!
- Unforgettably Deliciously Tart Lemon Filling: What makes these the best lemon squares? It all comes down to the vibrant, perfectly balanced lemon filling. We use an abundance of fresh lemon juice and fresh lemon zest to create a bright, tangy, and irresistibly creamy custard. The fresh zest is particularly crucial, as it provides a concentrated burst of aromatic lemon oil that elevates the flavor beyond simple tartness. To further amplify that glorious lemon flavor, we finish these bars with an optional (but highly recommended!) lemon glaze, ensuring every bite delivers a true celebration of citrus.
Essential Ingredient Notes for Perfect Lemon Bars
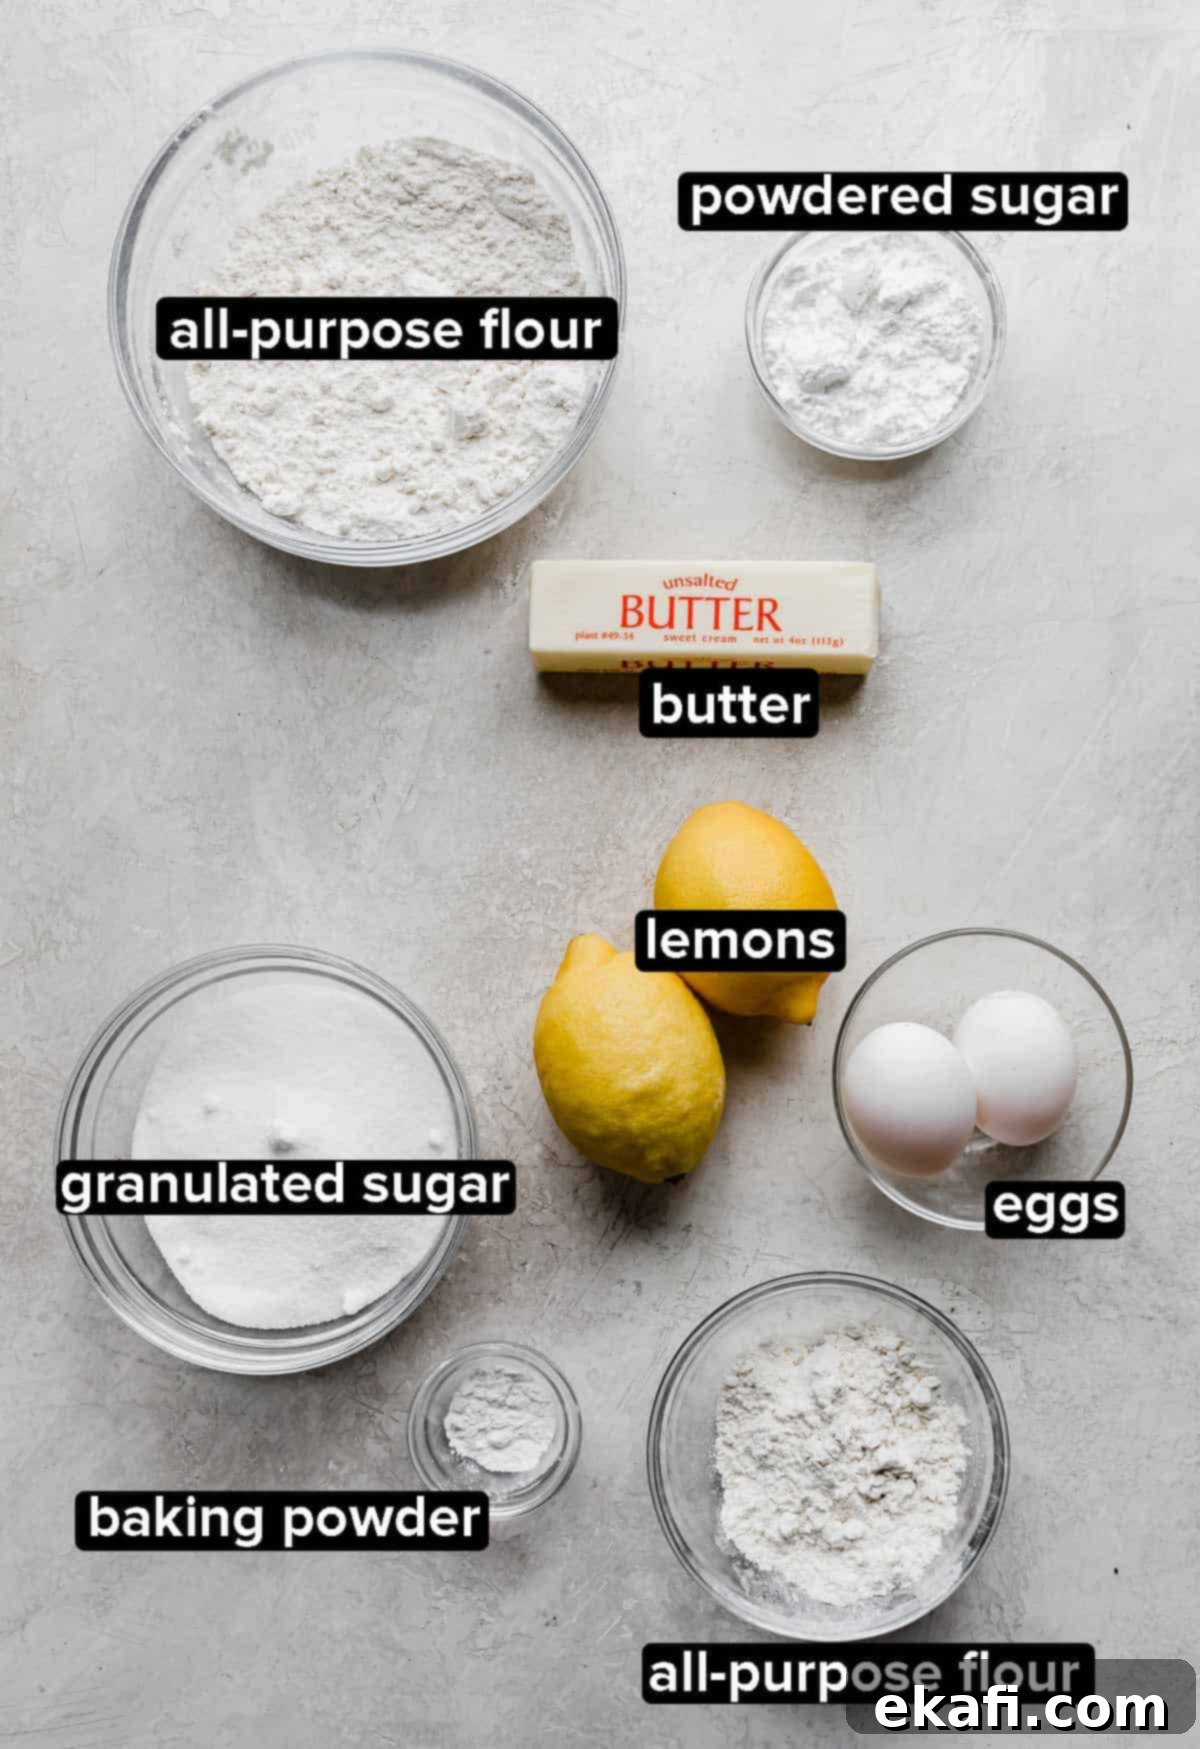
- Unsalted Butter: Softened unsalted butter is crucial for the tender, buttery shortbread crust. Using unsalted butter allows you to control the total salt content in your recipe. Ensure it’s truly softened (room temperature) for easy mixing and a uniform crust texture. The perfect butter/flour ratio forms the foundation of our classic shortbread base.
- All-Purpose Flour: This is the workhorse flour for both the crust and the filling. For the shortbread crust, it combines with butter and powdered sugar to create that signature crumbly, yet pressable, texture. Don’t be alarmed if the crust mixture feels very dry and crumbly at first; it will come together beautifully once you press it firmly into the pan. A small amount of flour in the lemon custard filling is also essential, helping to provide structure and prevent the custard from being too runny, ensuring it sets perfectly.
- Powdered Sugar (for crust): Powdered sugar (confectioners’ sugar) is used in the crust to provide sweetness and contribute to a smoother, more refined texture compared to granulated sugar, which could make the crust gritty.
- Granulated Sugar (for filling): While the lemon juice and zest provide intense tartness, granulated sugar in the filling is key to balancing these bright flavors. It creates a harmonious sweet-tart profile that is the hallmark of classic lemon squares.
- Baking Powder: A touch of baking powder is added to the custard filling. This leavening agent helps to keep the lemon custard light and airy as it bakes, preventing it from becoming overly dense and ensuring that delightful, creamy consistency.
- Eggs: Eggs are the absolute star ingredient for achieving that luscious, creamy, and perfectly set lemon custard filling. They act as a binder and thickener, transforming the liquid mixture into a rich, smooth custard when baked. Without them, you wouldn’t have that signature melt-in-your-mouth texture.
- Fresh Lemon Juice: This is where the magic happens! To achieve that truly vibrant, authentic lemon flavor, fresh lemon juice is non-negotiable. It’s the primary liquid ingredient for our zesty custard. I highly recommend using an easy handheld lemon juicer; it’s quick, efficient, and ensures you get every drop of that tangy goodness from fresh lemons.
- Fresh Lemon Zest: Don’t skip the zest! Using a fine lemon zester to capture the vibrant outer peel of fresh lemons is crucial. The zest contains concentrated aromatic oils that deliver a much sharper, more intense, and distinctly “lemony” flavor than juice alone. This ensures the bright lemon taste truly penetrates and shines through every single bite of your bars.
Easy Step-by-Step Instructions for Homemade Lemon Bars
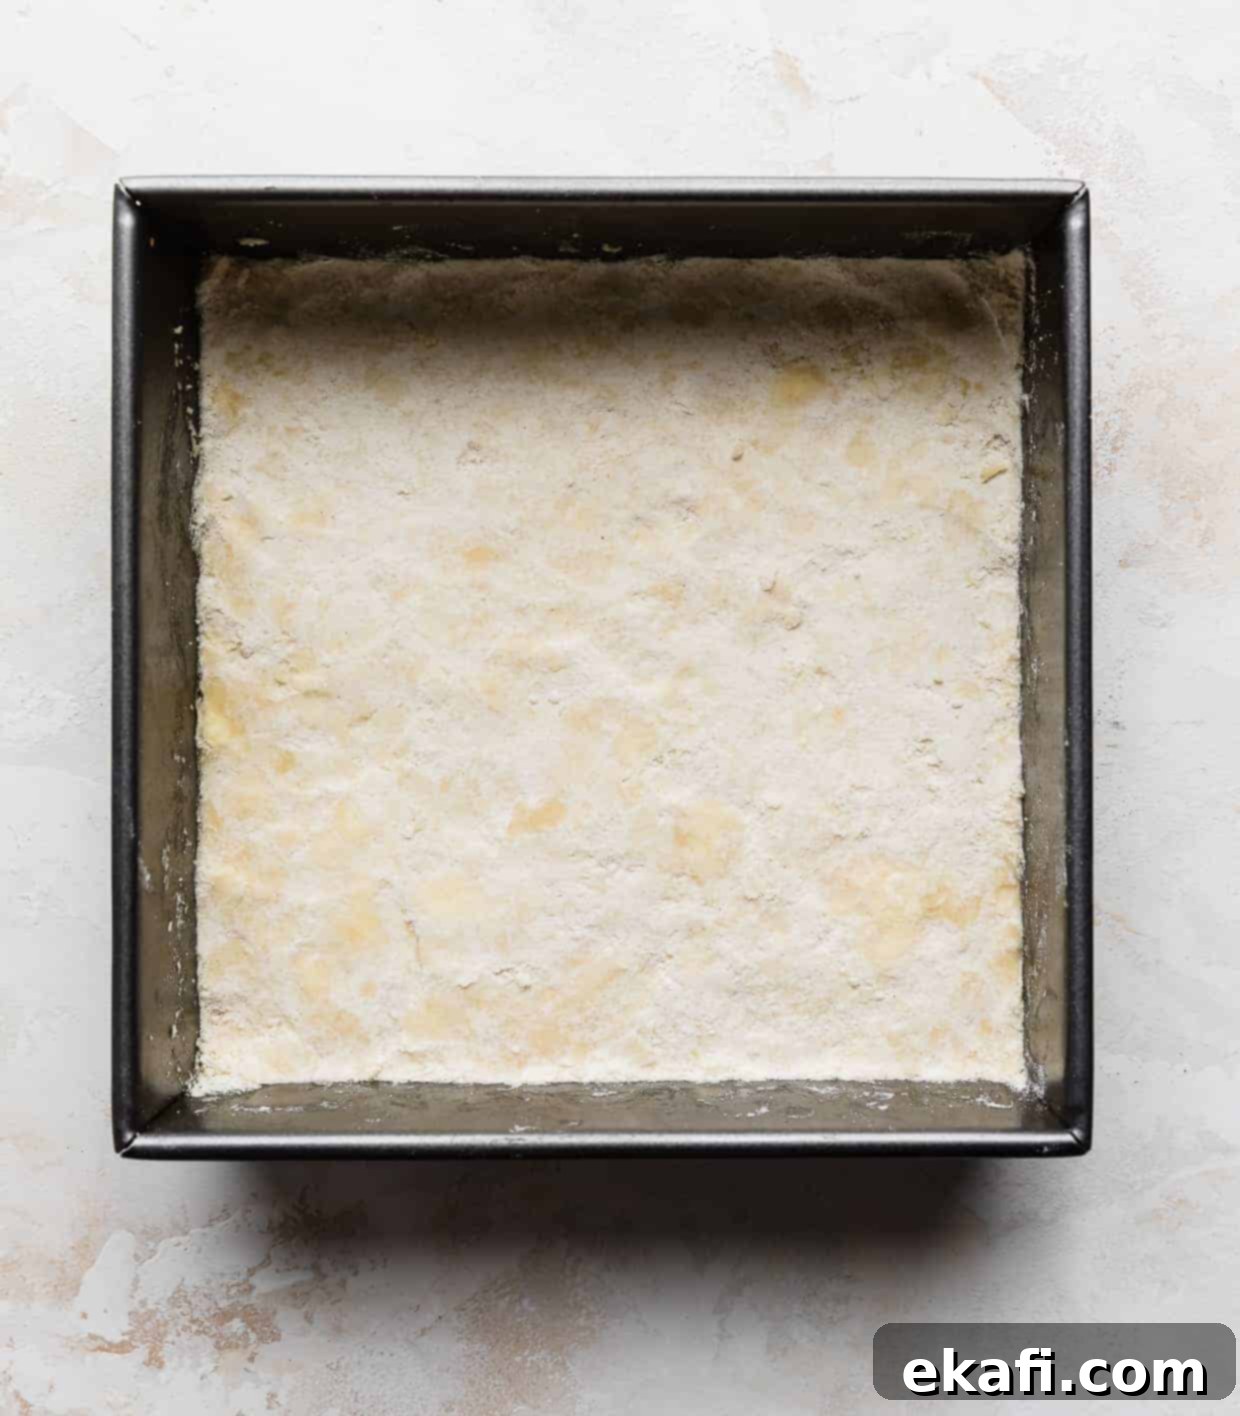
- Prepare the Pan and Make the Shortbread Crust: Begin by preheating your oven to 350ºF (175ºC). Line an 8×8-inch square baking pan (a metal pan is recommended for even baking) with parchment paper. Make sure the parchment paper extends up the sides of the pan; this will create “handles” for incredibly easy removal of the baked bars later. In a medium bowl, combine 1/2 cup softened unsalted butter, 1 cup all-purpose flour, and 1/4 cup powdered sugar. Mix with hand beaters for about 30 seconds until just combined, or use a fork. The mixture will appear dry and crumbly, which is exactly what you want for a classic shortbread.
- Press the Crust into the Pan: Transfer the crumbly shortbread mixture into the bottom of your prepared pan. Using your fingers or the bottom of a flat glass, firmly press the dough evenly across the bottom of the pan to form a compact crust. As you press, the mixture will come together to form a solid layer.
- Pre-bake the Crust: Place the pan with the pressed shortbread crust into the preheated oven. Bake for 15 minutes, or until the edges are lightly golden. Remove the crust from the oven and set it aside to cool slightly while you prepare the lemon filling. Keep your oven at 350ºF (175ºC).
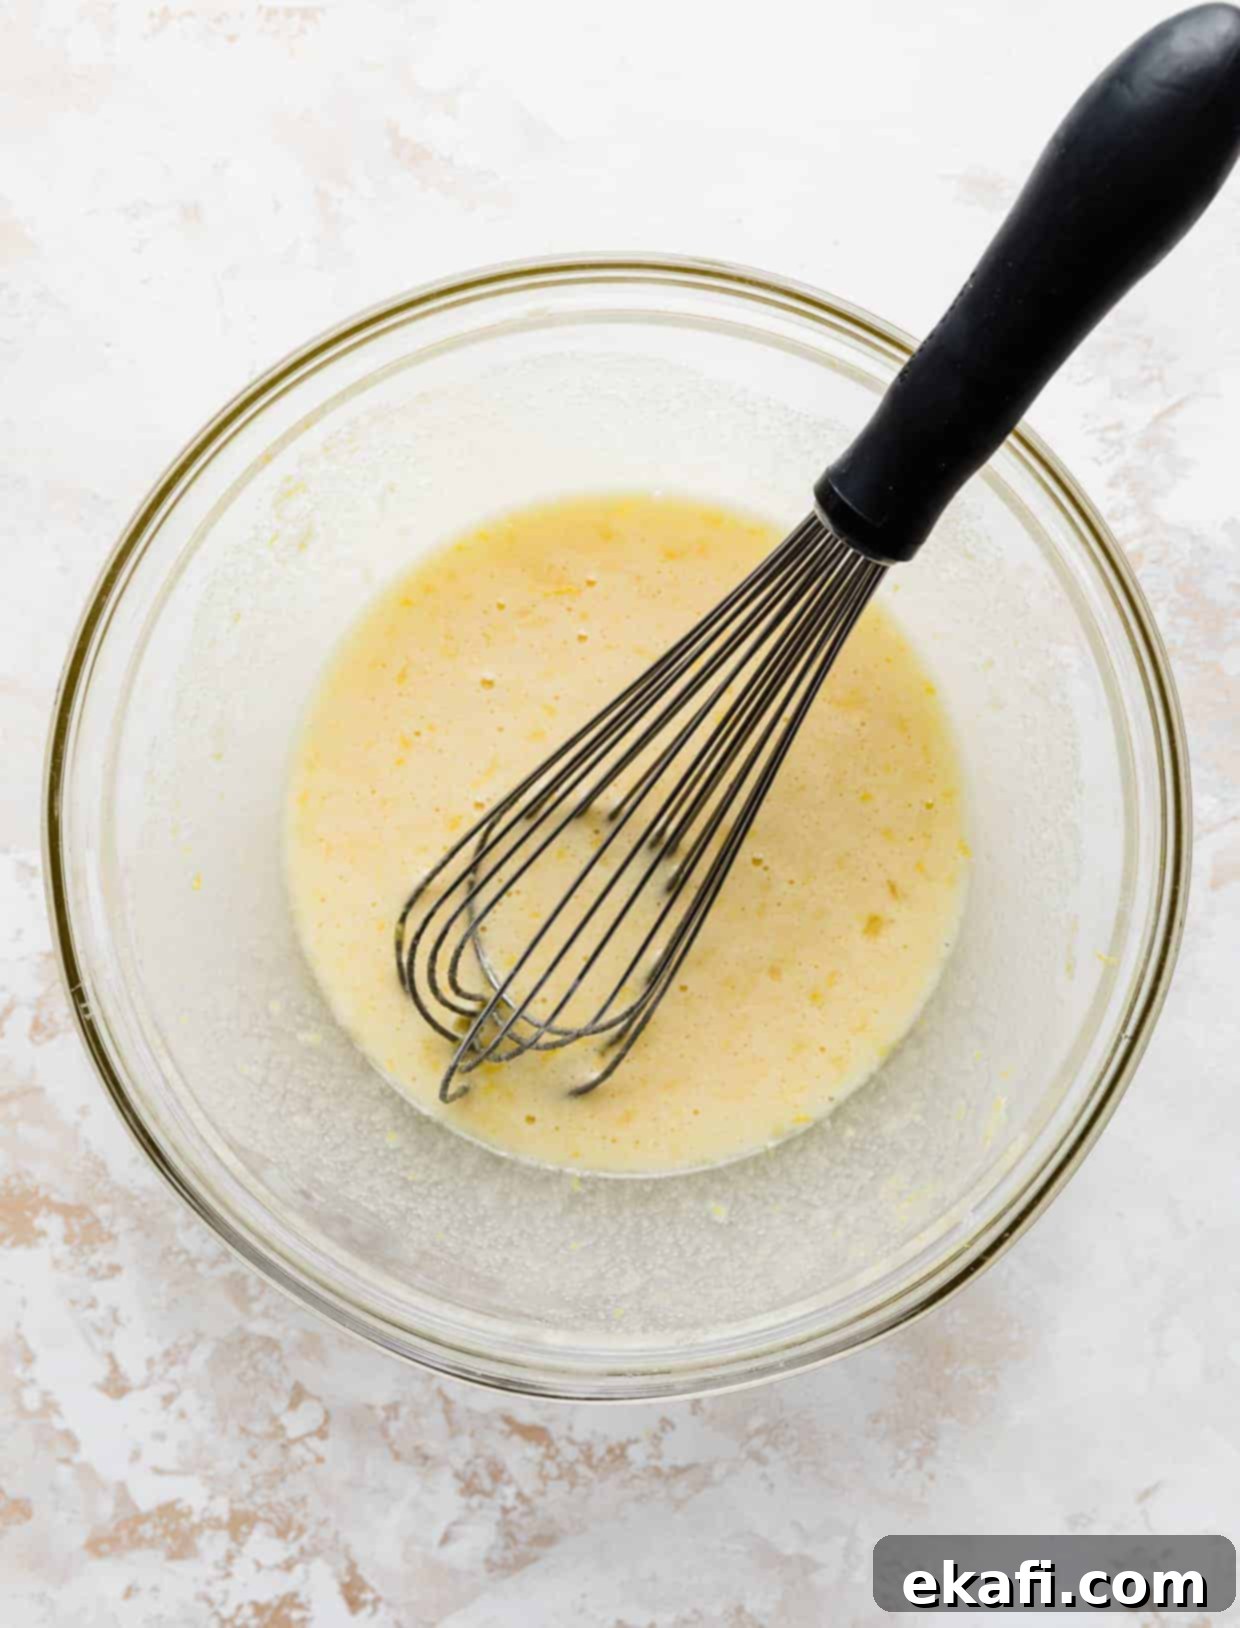
- Prepare the Zesty Lemon Bar Filling: In a separate medium bowl, combine 1 cup granulated sugar, 2 tablespoons all-purpose flour, and 1/2 teaspoon baking powder. Whisk these dry ingredients together thoroughly to ensure they are well combined. Then, add 2 large eggs, 2 tablespoons of fresh lemon juice, and the fragrant zest from 1 large lemon. Whisk everything together until the mixture is smooth and evenly incorporated.
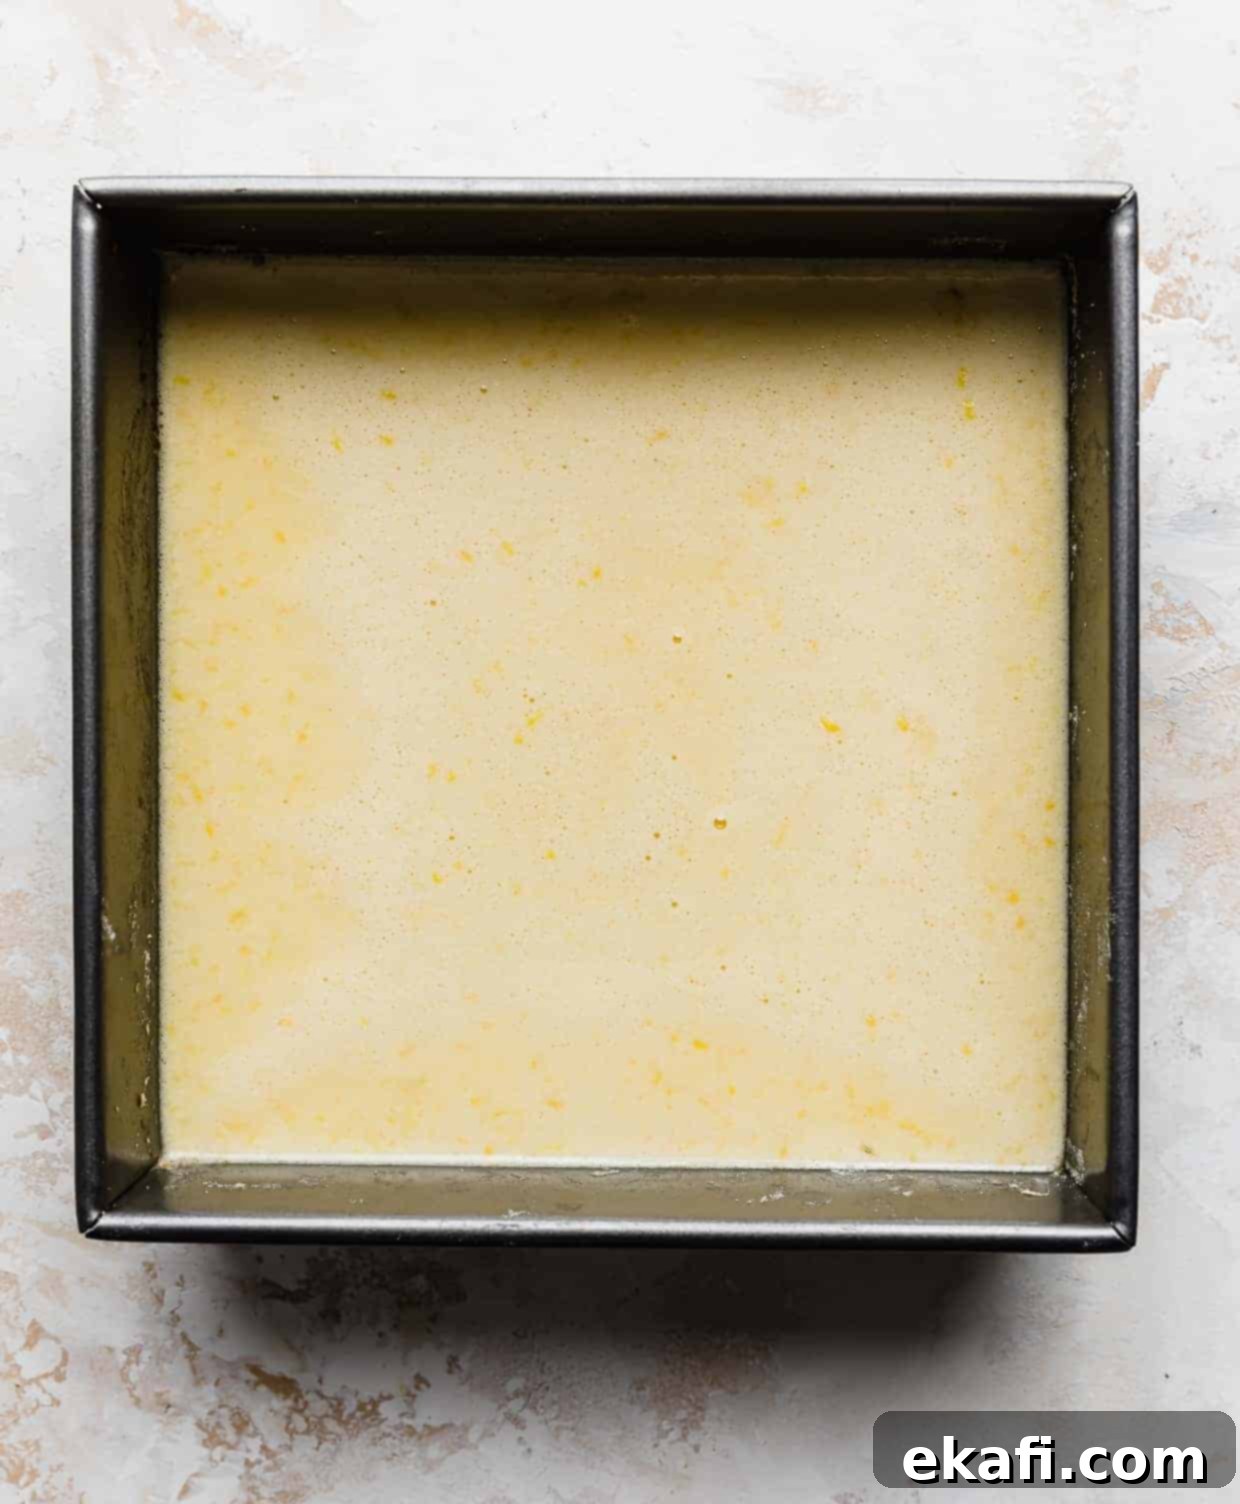
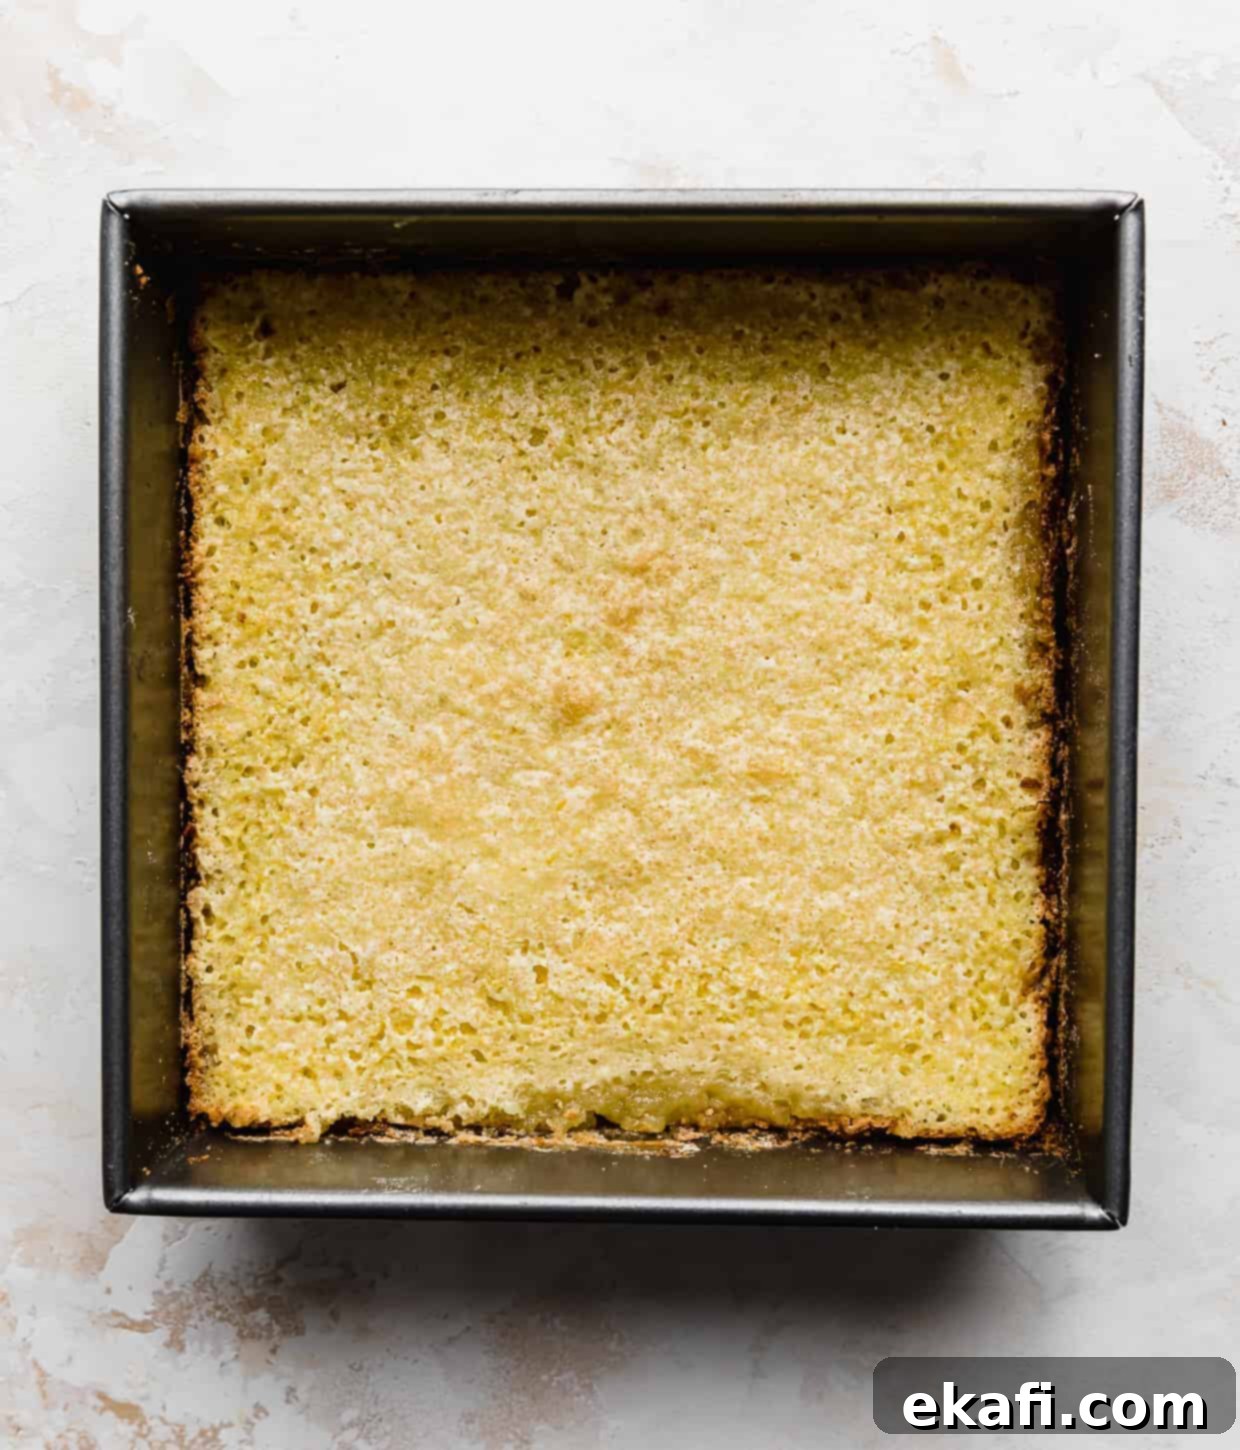
- Bake the Lemon Bars: Carefully pour the prepared lemon filling mixture over the warm, pre-baked shortbread crust in the pan. Return the pan to the 350ºF (175ºC) oven and bake for 20-22 minutes. The lemon bars are done when the filling appears set and firm in the center, and the edges have turned a beautiful golden brown. Avoid overbaking, as this can lead to a dry custard. Remove the pan from the oven and let the bars cool in the pan for at least 10 minutes before proceeding.
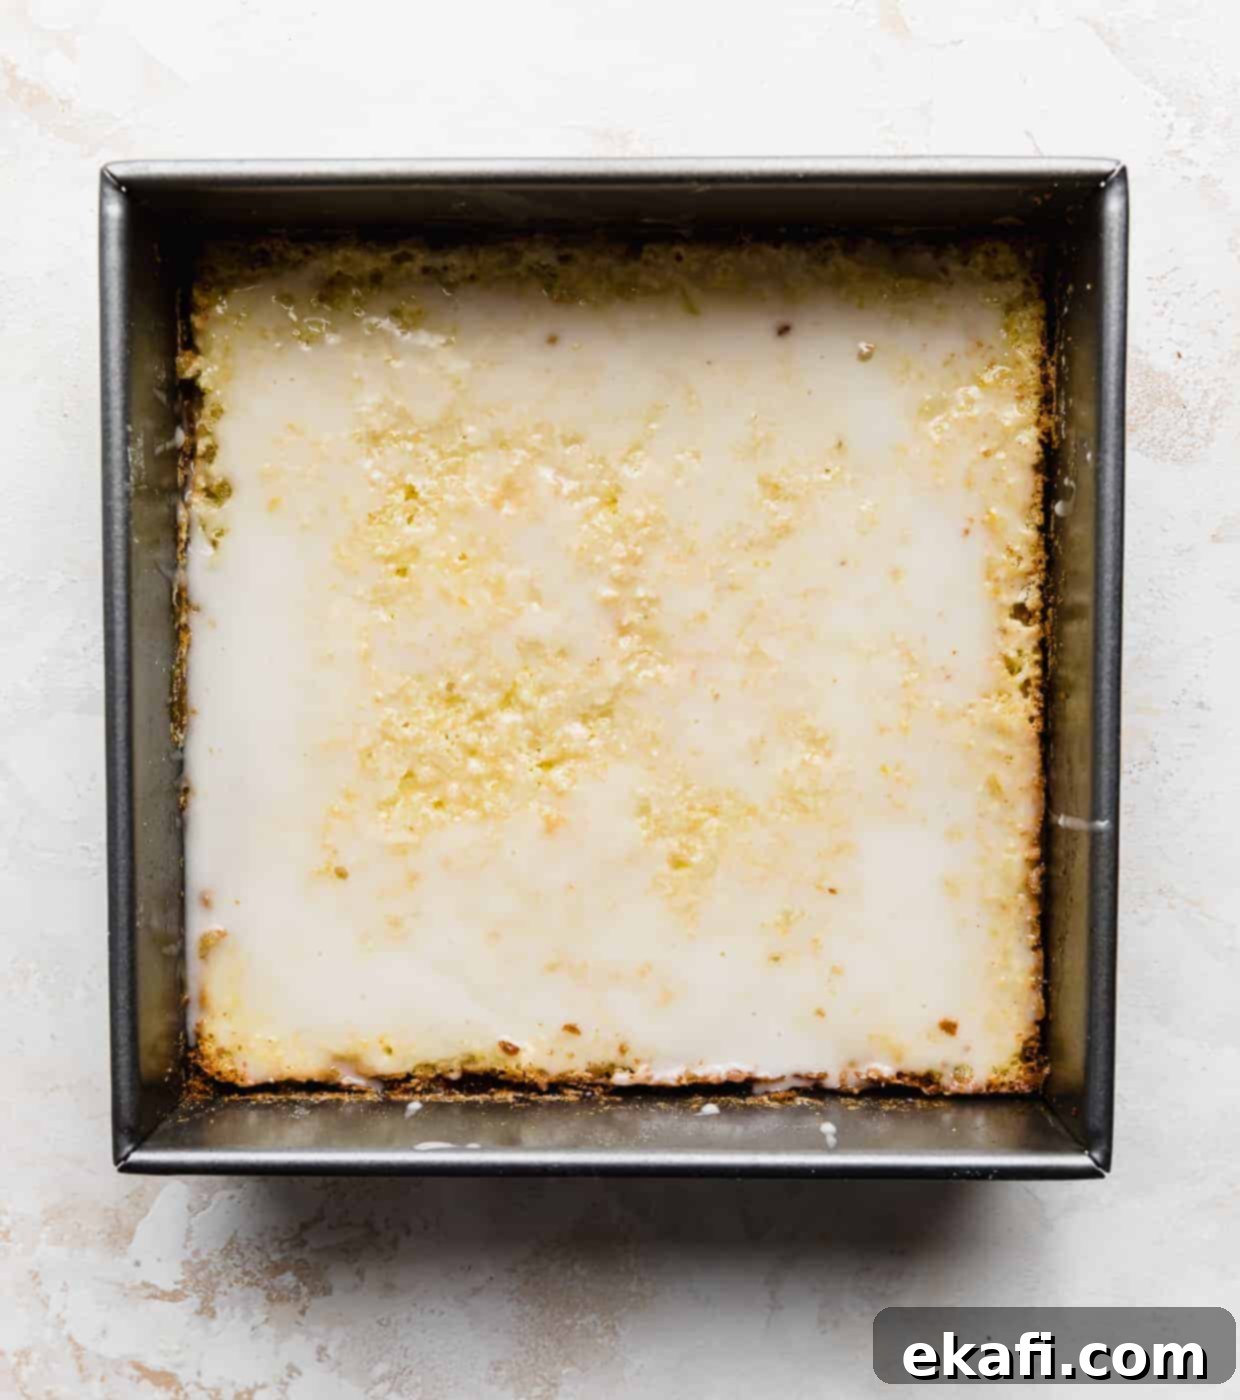
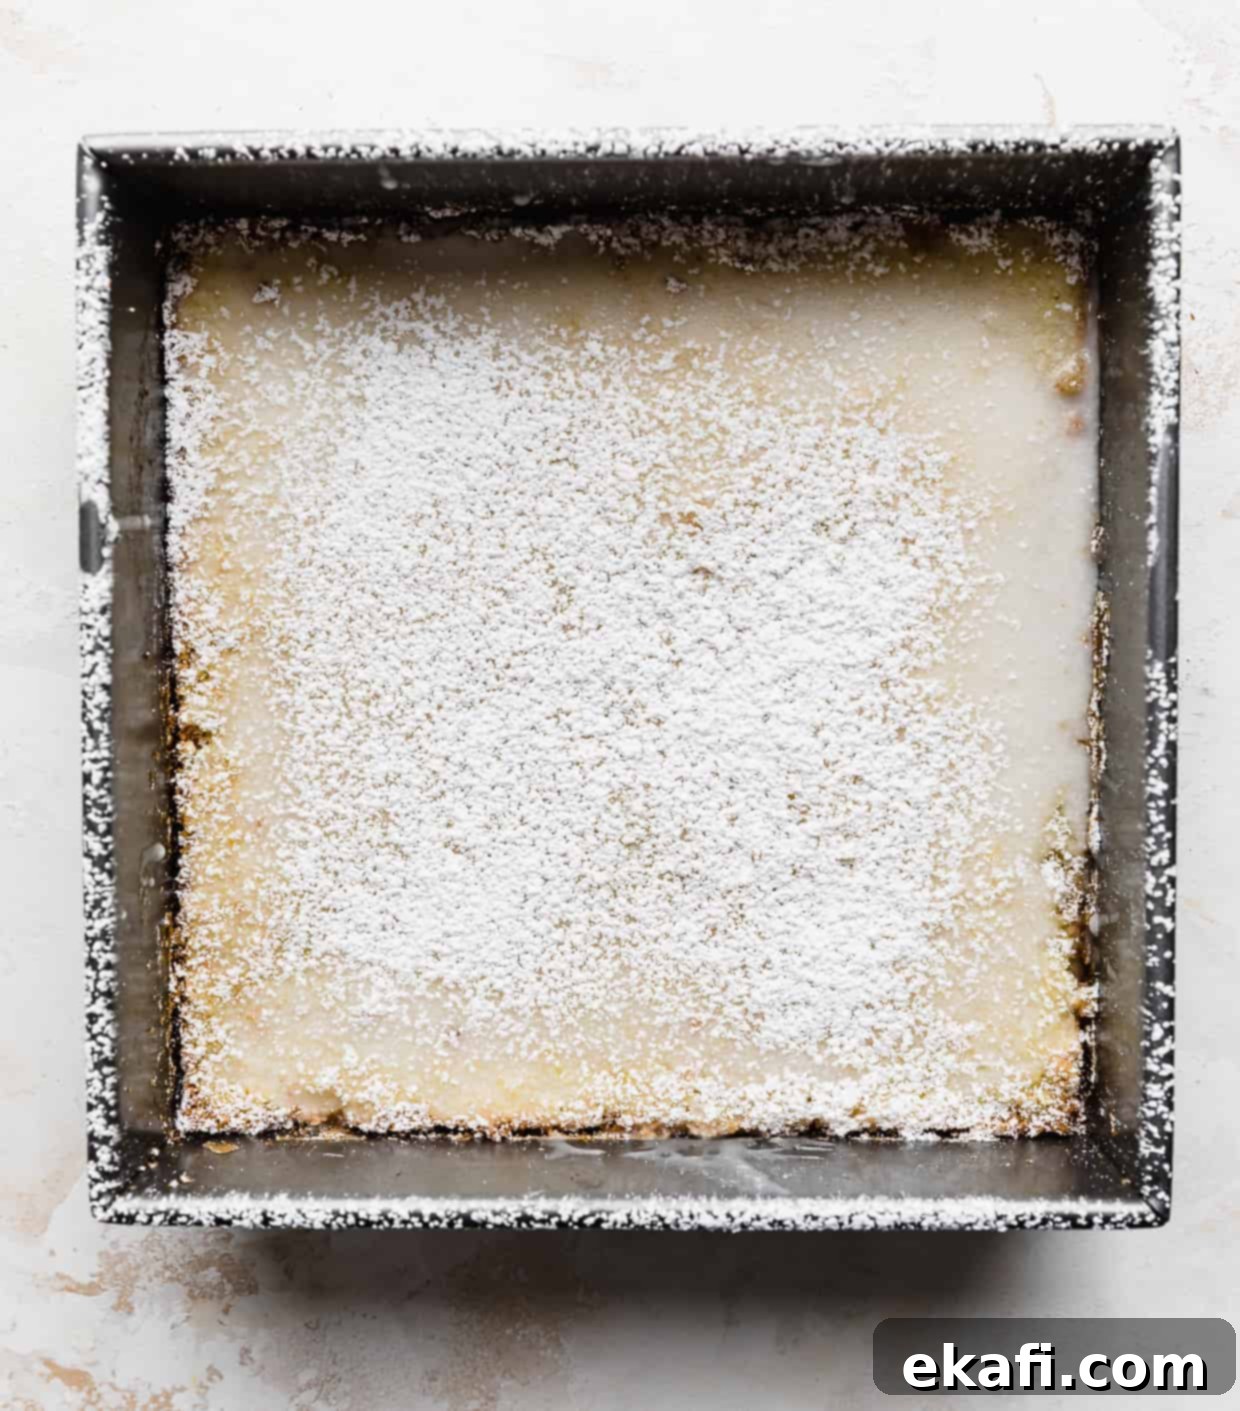
- Add the Lemon Glaze and Powdered Sugar (Optional but Recommended): While the bars are cooling, prepare the optional lemon glaze. In a small bowl, whisk together 1/2 cup powdered sugar and 1 tablespoon of fresh lemon juice until smooth. If the glaze is too thick, add a tiny bit more lemon juice, a few drops at a time, until it reaches a drizzly consistency. Drizzle this bright glaze evenly over the still-warm lemon bars. After glazing, lightly sprinkle the entire pan of bars with additional powdered sugar for that classic, elegant finish.
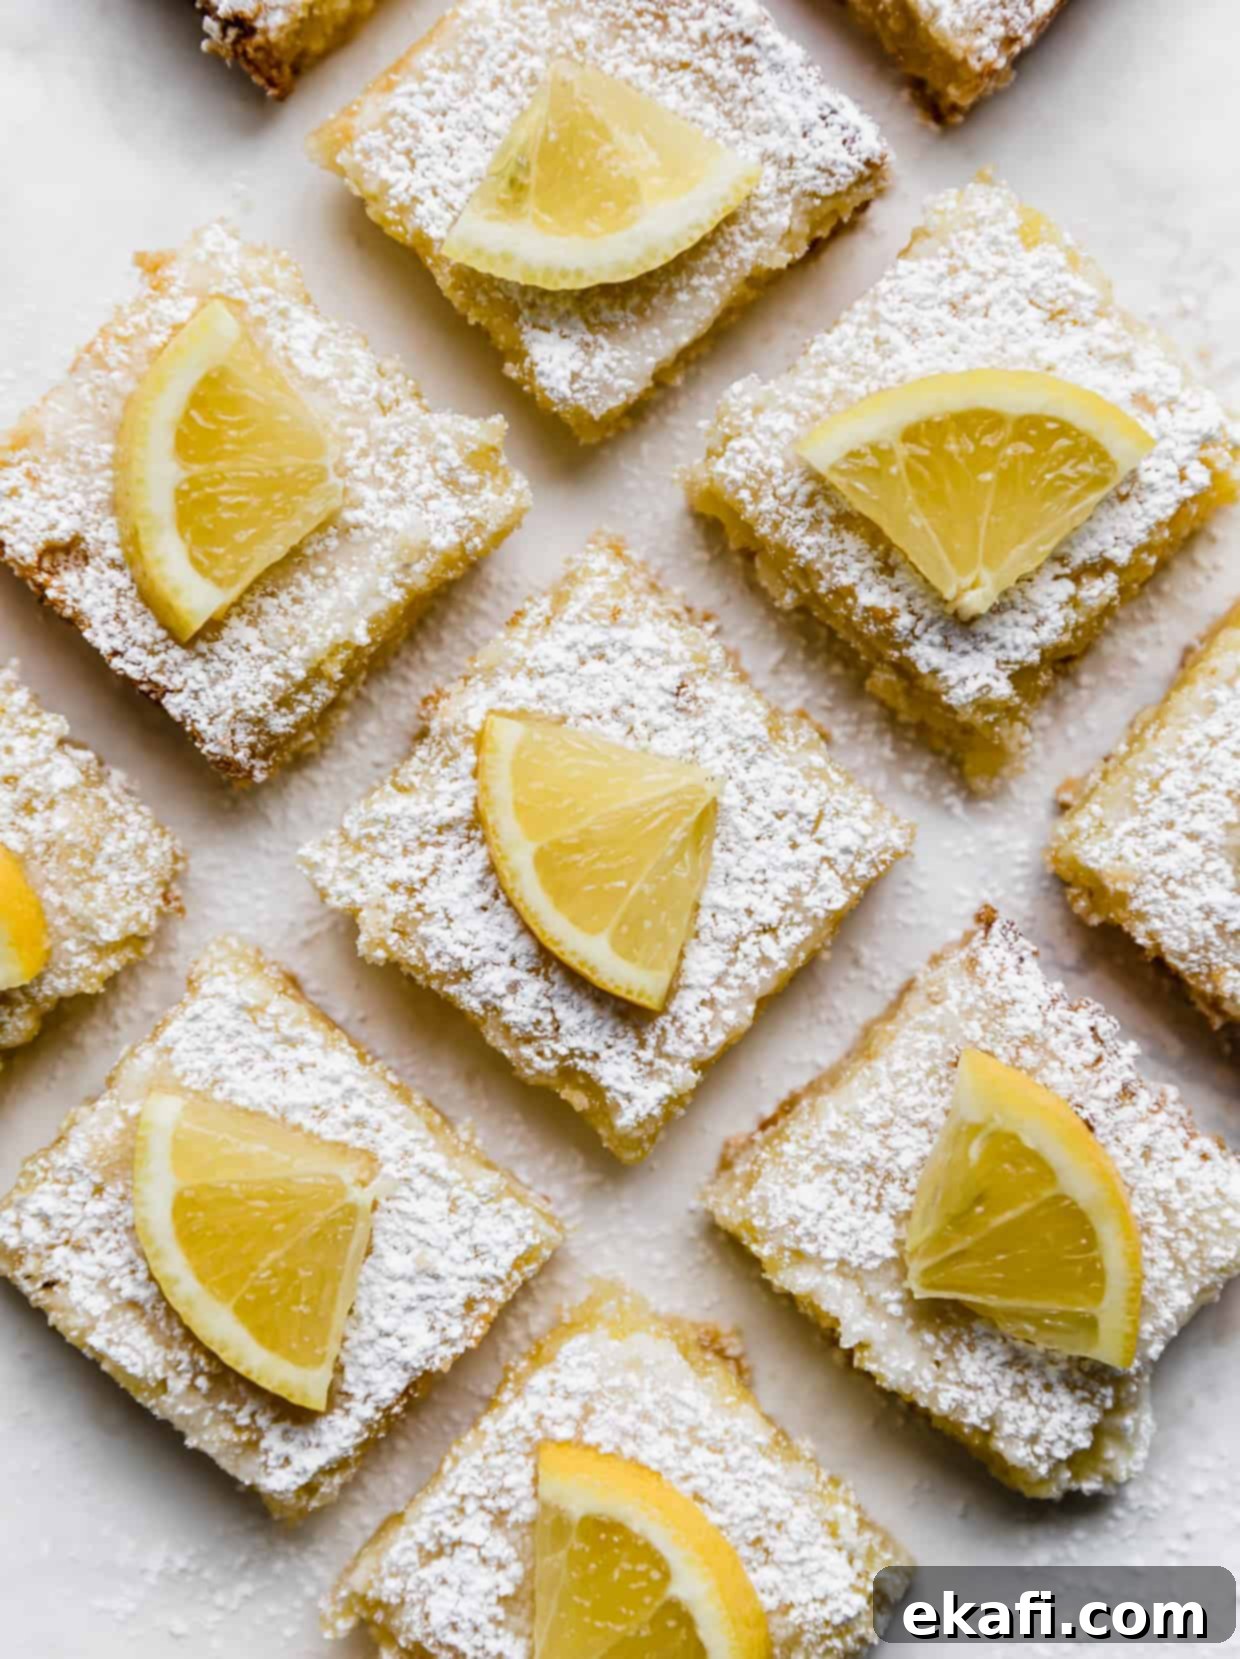
- Cool, Slice, and Serve: This step is critical for perfectly set, clean-cut lemon squares! Allow the bars to cool completely in the pan, preferably at room temperature or even in the refrigerator for a quicker chill. Once fully cooled and firm, gently lift the entire block of old fashioned lemon squares out of the pan using the parchment paper “handles.” Place them on a cutting board, and using a sharp, clean knife, slice them into individual squares. Serve and enjoy the delightful sweet-tart flavor!
Expert Tips for the Best Homemade Lemon Bars
Always Line Your Pan with Parchment Paper: Seriously, this is a game-changer! Ensure the parchment paper extends up the sides of your baking pan. These “handles” will make removing the entire slab of lemon bars from the pan incredibly easy and mess-free, allowing for perfect, clean slices. When I took the pictures for this recipe, I initially skipped this step, and I immediately regretted it! Learn from my mistake for smoother baking.
Don’t Worry About a Crumbly Crust Dough: When you’re mixing the shortbread crust ingredients, the mixture will indeed feel very dry and crumbly, not at all like a traditional dough. This is perfectly normal! Trust the process. As you firmly press the mixture into the bottom of the pan, the butter will soften slightly from the heat of your hands, and the crumbs will compact beautifully to form a cohesive, tender crust.
Embrace the Lemon Glaze (or Keep it Simple!): While the lemon glaze is technically optional, I am a huge advocate for it! Glazed lemon bars offer an extra layer of bright, tangy lemon flavor right on top, creating a delightful burst of citrus the moment the dessert touches your tongue. Furthermore, as the glaze slightly seeps into the warm bars, it adds an incredible extra softness to the top layer, which is a texture I absolutely adore. However, rest assured, these bars have a fantastic balance of sweet and tart flavors even without the glaze. It truly comes down to your personal preference for that extra lemon punch and tender finish!
A Light Dusting of Powdered Sugar is Key: You don’t need to heavy-handedly coat these lemon squares with powdered sugar. Just a light, delicate dusting is sufficient. This not only adds a subtle touch of extra sweetness but also provides that elegant, “old-fashioned” finish, making your homemade lemon bars look professionally baked and utterly irresistible.
These homemade lemon bars are incredibly versatile and perfect for almost any occasion. Serve them at bridal showers, baby showers, casual brunches, elegant afternoon tea parties, Sunday family gatherings, or simply whenever a craving for a bright, zesty, and satisfying sweet treat strikes — which, let’s be honest, could be any Wednesday evening!
Make Ahead, Storing, and Freezing Lemon Bars
Making Ahead: Lemon bars are a fantastic dessert to prepare in advance! You can bake them entirely, allow them to cool, and then store them uncut in an airtight container in the refrigerator for one to two days before you plan to serve them. This allows the flavors to meld beautifully and saves you time on the day of your event.
Storing Leftovers: Any leftover Old Fashioned Lemon Squares can be stored in an airtight container at room temperature for up to 3-4 days. While they are safe at room temperature (because both the crust and custard are baked), if you prefer them chilled or want to extend their freshness a bit longer, feel free to store them in the refrigerator. Just be aware that chilling can make the shortbread crust a bit firmer.
Freezing Lemon Bars: To freeze lemon bars, follow the recipe precisely up until the point where they are fully baked. Do not apply the powdered sugar or glaze yet. Allow the bars to cool completely in the pan. Once cooled, carefully remove the entire slab from the pan using the parchment paper. Cut the slab into individual squares. Arrange these cut lemon bars on a cookie sheet, ensuring they are spaced about half an inch or more apart. Place the cookie sheet in the freezer for approximately 30 minutes, or until the bars are firm and just frozen through. This prevents them from sticking together. Once firm, remove them from the freezer and individually wrap each lemon bar tightly in plastic wrap. Then, transfer the wrapped bars into a freezer-safe ziplock bag or airtight container. They can be stored in the freezer for up to 3 months.
Thawing and Serving Frozen Bars: When you’re ready to enjoy your frozen lemon bars, simply remove the desired number from the freezer and let them thaw at room temperature for an hour or two, or overnight in the refrigerator. Once thawed, you can then prepare and drizzle them with the optional lemon glaze and dust them with fresh powdered sugar right before serving for the best presentation and flavor.
While it is possible to freeze the entire block of lemon bars in the pan (or as an 8×8-inch slab), it’s crucial to wrap them extremely well in multiple layers of plastic wrap, followed by aluminum foil, and then place them in the largest freezer bag you can find. However, I often find it more convenient to cut them into individual portions before freezing, as I typically don’t have ziplock bags large enough for an entire 8×8-inch dessert block, and individual wrapping offers better protection against freezer burn.
Lemon Bar Recipe FAQs
Custard is a wonderfully versatile cooked mixture typically made from eggs and cream or milk. It can be prepared in various ways and adapted with different flavorings. If you’re a fan of “The Great British Baking Show” (it’s my favorite!), you’ll recognize the term used in reference to delicious custard tarts, a delicate crème anglaise (a classic vanilla custard sauce), or a rich crème patissière (a boiled pastry cream). Custards can be thickened with flour or cornstarch, infused with a myriad of flavors, and baked in the oven or cooked on the stovetop. In this lemon bars recipe, the eggs and a touch of flour create that incredibly smooth, set, and creamy lemon filling that truly defines the dessert. Fun fact: quiches are technically a savory form of custard, as they are typically made with eggs and cream! You can explore this further with my Spinach Quiche Recipe or learn more about custards at The Spruce Eats.
No, this specific recipe for old fashioned lemon bars is not gluten-free. Both the shortbread crust and the creamy lemon custard filling contain all-purpose flour. While you could attempt to substitute the all-purpose flour with a gluten-free flour blend, I have not personally tested this recipe with gluten-free alternatives. Therefore, I cannot guarantee that the texture or taste will be the same as the original. If you decide to try, good luck with your experiment!
Determining when your lemon bars are perfectly baked is crucial. The lemon curd filling should appear set and firm around the edges, and the edges themselves will turn a light golden brown. It’s important not to overbake them, as this can make the custard dry or rubbery. When gently nudged, the center of the custard filling should have a slight, delicate jiggle, but it should not appear runny or liquid. This slight jiggle indicates that it will continue to set as it cools, resulting in a perfectly creamy consistency.
For the best results and a beautiful presentation, allow these delicious lemon bars to cool for about 5-10 minutes after they come out of the oven. This slight cooling period allows the glaze (if you choose to use it, which is highly recommended for an extra burst of lemon!) to adhere nicely without running off. After glazing, or if skipping the glaze, lightly dust the bars with powdered sugar. Dusting them while slightly warm allows the powdered sugar to adhere better and gives them that classic, elegant finish.
Since both the shortbread crust and the lemon custard filling are thoroughly baked, you can safely store any leftover lemon bars in an airtight container at room temperature for 3-4 days. However, for extended freshness and a firmer, chilled texture that some people prefer, storing them in the refrigerator is a great option. They can last up to a week in the fridge. So, while not strictly necessary, feel free to refrigerate them if that’s your preference or if you plan to keep them longer.
Patience is a virtue when it comes to cutting lemon bars! It is absolutely essential to wait until the lemon bars have cooled completely in the pan before attempting to slice them. Cooling allows the creamy lemon filling to fully set and firm up. If you try to cut them while they are still hot or warm, the filling will be too soft and prone to oozing, resulting in messy, unappealing slices. Letting them cool completely ensures beautifully clean, sharp edges.
The absolute easiest way to achieve perfectly clean slices is to first lift the entire cooled slab of lemon bars out of the baking pan. This is precisely why lining your pan with parchment paper, leaving an overhang on the sides, is such a brilliant tip! Once the 8×8-inch square of lemon bars is completely cool and firm, use the parchment paper to gently lift it onto a clean cutting board. Then, using a sharp knife that you wipe clean between each cut (especially for the initial cuts), carefully slice the bars into your desired square or rectangular portions. Enjoy your beautifully presented, zesty lemon treats!
If your classic lemon bars are runny or fail to set properly, the most common reason is that they simply didn’t bake long enough. The custard filling needs adequate time in the oven to cook and coagulate the eggs, which is what gives it its firm, yet creamy, texture. Refer back to the “How do you tell when lemon bars are done?” section for visual cues to ensure proper baking time next time.
Cracking on the surface of your lemon bars can occur for a couple of reasons. It can sometimes happen if the lemon custard filling mixture was over-beaten, incorporating too much air. Another common cause is a drastic change in temperature during or after baking, such as baking at too high a temperature (which causes the top to set too quickly) or rapidly chilling them in the fridge immediately after taking them out of a hot oven. If your classic lemon bars have developed cracks, don’t fret! They will still taste absolutely delicious. Simply cover them with the optional lemon glaze and a generous dusting of powdered sugar, and any imperfections will be beautifully disguised, leaving you with a perfectly presentable and tasty dessert.
More Zesty Lemon Desserts Your Family Will Love
If you’ve fallen in love with the bright, tangy flavors of these lemon squares, you’re in for a treat! My family absolutely adores lemon desserts, and I’ve gathered some of our other cherished recipes for you to explore:
- Lemon Poppy Seed Cake with Cake Mix: An incredibly moist and flavorful cake that comes together easily, bursting with lemon and delightful poppy seed crunch.
- Lemon Zucchini Loaf: A clever way to enjoy fresh zucchini, transformed into a tender, lemon-infused quick bread. Perfect for breakfast or an afternoon snack.
- Lemon Ricotta Cookies: These cookies are unbelievably soft, pillowy, and infused with a subtle, delicate lemon flavor, thanks to the addition of ricotta cheese.
- Lemon Raspberry Cake: A stunning and delicious cake that pairs the tartness of lemon with the sweet-tart burst of fresh raspberries.
- Lemon Poppy Seed Scones: Flaky, buttery scones with a delightful lemon glaze and the crunch of poppy seeds – ideal for breakfast or tea time.
Did you make this delightful recipe? I would absolutely love to hear about your experience! Please take a moment to leave a star rating and review right here on the blog, or scroll down below the recipe card to share your thoughts. Your feedback helps other bakers!
Stay connected and up-to-date with all our latest recipes and baking adventures by following us on Instagram, TikTok, YouTube, Facebook, and Pinterest. Don’t miss out on more delicious inspiration!

Print
SaveSaved!
Review
Old Fashioned Lemon Squares Recipe
Ingredients
Crust
- 1/2 cup unsalted butter – softened to room temperature
- 1 cup all purpose flour
- 1/4 cup powdered sugar
Filling
- 1 cup granulated sugar
- 2 tablespoons all purpose flour
- 1/2 teaspoon baking powder
- 2 large eggs
- 2 tablespoons fresh lemon juice
- zest from 1 large lemon
Glaze (optional)
- 1/2 cup powdered sugar
- 1 tablespoon fresh lemon juice – you may need a bit more for the right drizzling consistency
Equipment
-
8×8 inch square baking pan (metal recommended for even heat)
-
Parchment paper (with overhang for easy lifting)
-
Lemon Zester (for fresh, aromatic zest)
Instructions
-
Preheat your oven to 350°F (175°C). Line an 8”x8” square pan with parchment paper, ensuring the paper extends up the sides to create “handles” for easy removal of the finished lemon bars.
-
In a medium bowl, combine the softened unsalted butter, all-purpose flour, and powdered sugar. Use hand beaters to mix for about 30 seconds, or thoroughly combine with a fork. The mixture will be notably dry and crumbly, not forming a traditional dough. Firmly press this crumbly mixture into the bottom of your prepared 8×8-inch pan. As you press, the crust will come together and compact.
-
Bake the shortbread crust in the preheated oven for 15 minutes, or until the edges are lightly golden. Remove it from the oven and let it cool slightly while you prepare the lemon filling. Keep your oven at 350°F (175°C).
-
In a separate medium bowl, whisk together the granulated sugar, 2 tablespoons all-purpose flour, and baking powder. Then, whisk in the 2 large eggs, 2 tablespoons of fresh lemon juice, and the zest from 1 large lemon until the mixture is smooth and well combined.
-
Carefully pour the lemon filling mixture evenly over the warm, pre-baked crust. Return the pan to the oven and bake for 20-22 minutes, or until the filling is set and the edges are beautifully golden brown. Remove from the oven and let cool in the pan for at least 10 minutes.
-
If you wish to add a lemon glaze (highly recommended for extra zest and softness), whisk together 1/2 cup powdered sugar with 1 tablespoon of fresh lemon juice in a small bowl until smooth and drizzly. Adjust lemon juice quantity as needed for desired consistency.
-
After the initial 10-minute cooling period, drizzle the optional glaze over the still-warm bars. Once glazed (or if skipping the glaze), generously sprinkle with extra powdered sugar for an elegant finish.
-
Allow the bars to cool completely in the pan before cutting. Once fully cooled, lift them out using the parchment paper handles, slice, and serve. Store any leftovers in an airtight container at room temperature for 3-5 days.
Notes
Nutrition
