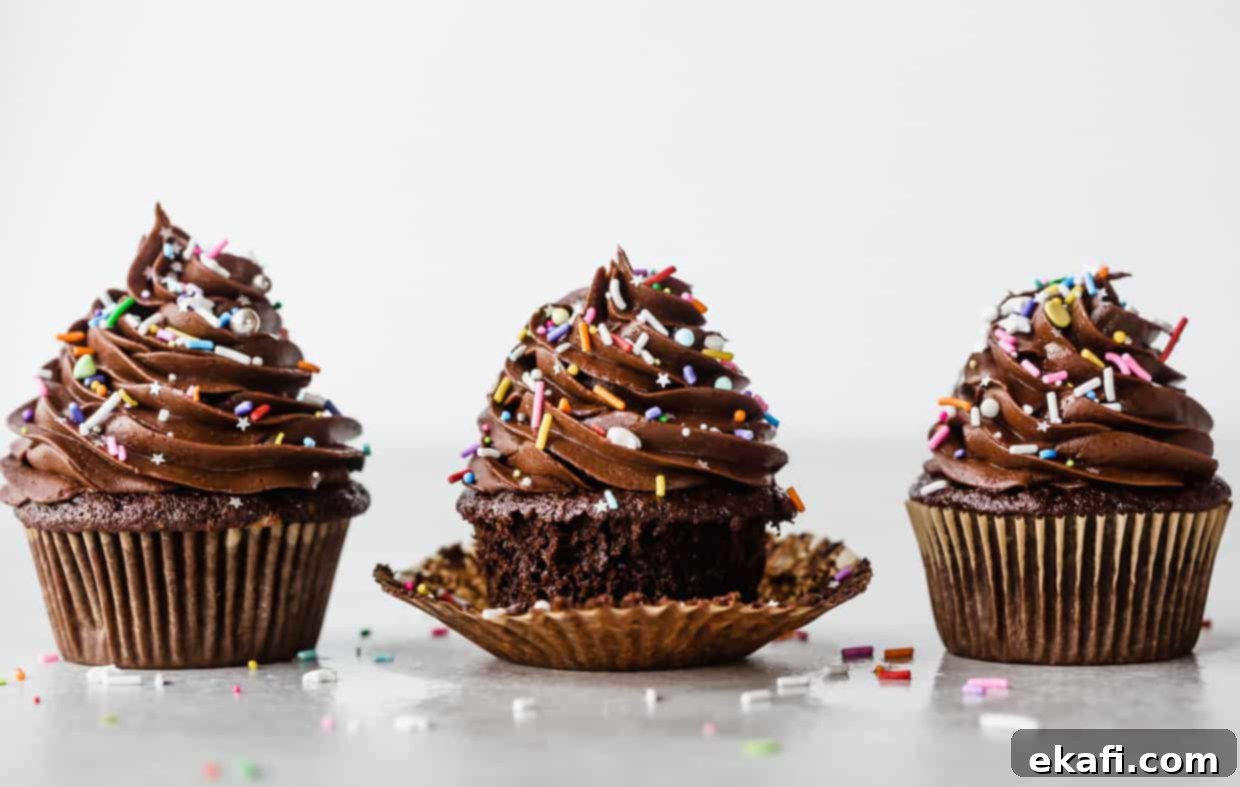
Best Ever Moist Chocolate Cupcake Recipe with Decadent Buttercream
Prepare to discover your new favorite dessert with this incredible chocolate cupcake recipe! These aren’t just any chocolate cupcakes; they are incredibly moist, intensely rich, and boast a perfectly tender crumb, all crowned with the creamiest Chocolate Buttercream made with real melted chocolate. What makes this recipe even better? You can have these delectable treats ready to enjoy in less than 30 minutes. Top them with a generous sprinkle of your favorite decorations, and you’ve got the ideal dessert for any special occasion, from birthday parties to simple weeknight indulgences. Get ready for a chocolate experience that will leave everyone asking for more!
If you’re reading this, chances are you’re a devoted chocolate lover and a passionate cake enthusiast. Well, you’re in for a real treat! These moist chocolate cupcakes are designed to satisfy even the most intense chocolate cravings. Paired with a generous swirl of my irresistible chocolate buttercream frosting, they create a symphony of flavors and textures that is truly unmatched. Whether you need a show-stopping dessert for a birthday celebration or just a comforting treat, this recipe is a guaranteed hit with both kids and adults alike. It’s time to bake some magic!
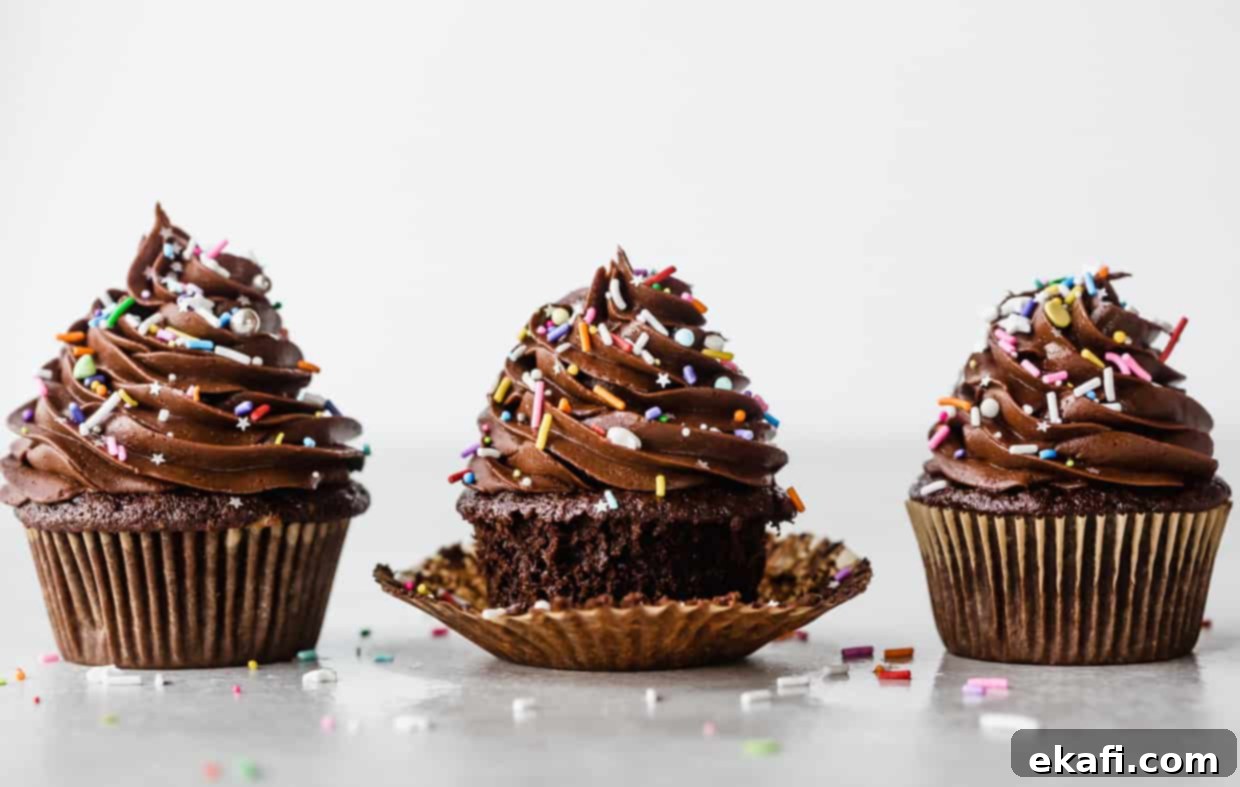
Why This Is Your Go-To Chocolate Cupcake Recipe
This isn’t just another chocolate cupcake recipe; it’s the culmination of tried-and-true techniques and perfectly balanced ingredients that deliver consistently spectacular results. Here’s why this recipe will quickly become your favorite for homemade chocolate cupcakes:
- Effortless & Fast: Chocolate Cupcakes in Under 30 Minutes! Yes, you read that right! If the promise of warm, fresh chocolate cupcakes in less than half an hour doesn’t make you want to grab your apron, I don’t know what will. This recipe is designed for efficiency without compromising on flavor or texture, making it perfect for last-minute cravings or busy schedules.
- Unbelievably Moist & Tender Texture: Say goodbye to dry, crumbly cupcakes! These chocolate beauties are incredibly moist, boasting a tender crumb that practically melts in your mouth. The secret lies in two powerhouse ingredients: buttermilk and vegetable oil. Vegetable oil, being a liquid fat at room temperature, ensures that your cupcakes remain wonderfully moist long after they’ve cooled. Buttermilk, an acidic ingredient, works its magic by breaking down gluten, resulting in that desirable soft and tender texture.
- Deep, Rich, and Intense Chocolate Flavor: The chocolate flavor in these cupcakes is truly exceptional – deep, complex, and satisfying. This intense richness is achieved by incorporating a generous 1/2 cup of high-quality natural unsweetened cocoa powder directly into the batter. This ensures that every bite is bursting with authentic chocolate goodness, setting these cupcakes apart from the rest.
- Versatile for Every Occasion: From spontaneous treats to elaborate celebrations, these chocolate cupcakes fit every bill. Their classic appeal and delightful taste make them a perfect choice for birthday parties, holiday gatherings, potlucks, or simply as a comforting dessert after a long day. Easy to customize with different frostings and sprinkles, they’re truly a blank canvas for your creative baking endeavors.
Essential Ingredients for Perfect Chocolate Cupcakes
Understanding the role of each ingredient is key to baking success. Here’s a detailed look at the components that make these chocolate cupcakes so special, along with some helpful tips:
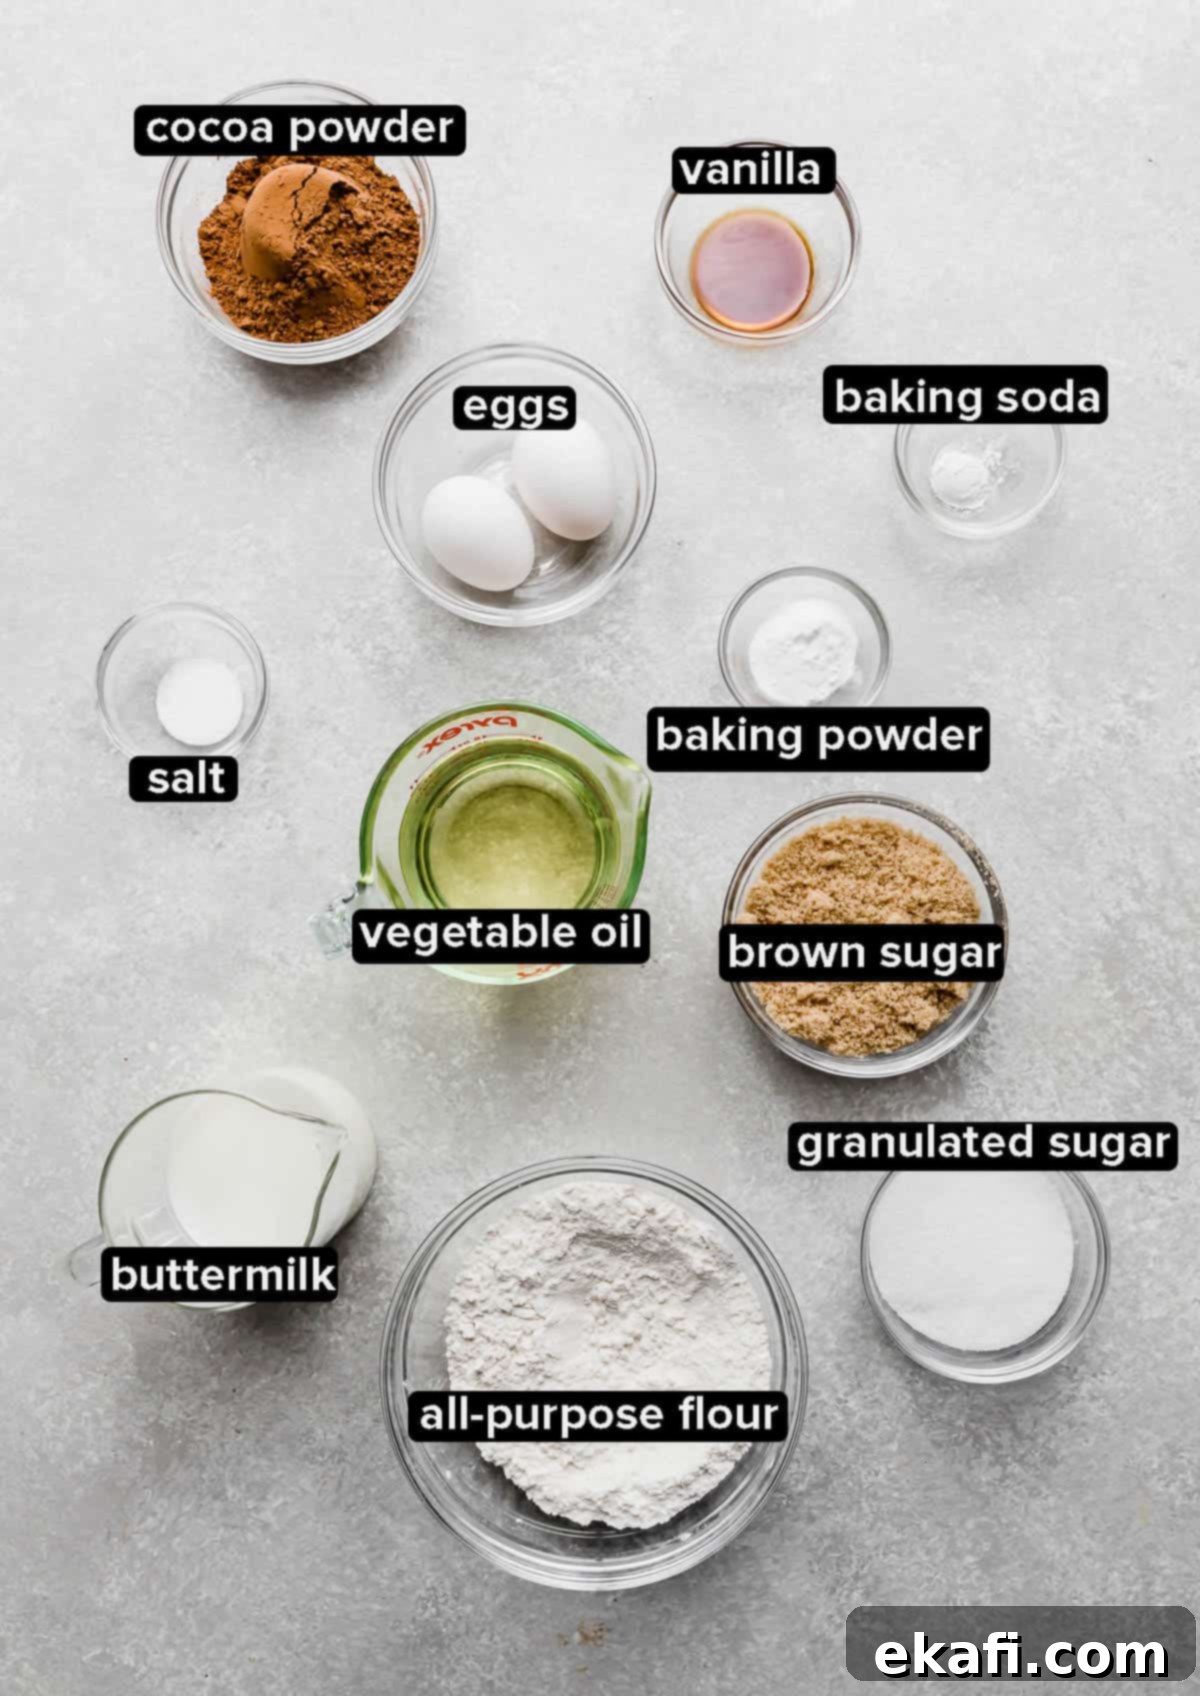
- Natural Unsweetened Cocoa Powder: This is crucial for our rich chocolate flavor. Natural cocoa powder is distinctly bitter and acidic, unlike Dutch-processed cocoa powder which is alkalized and has a milder, less acidic flavor. We use natural cocoa powder here because its acidity reacts with the baking soda in the recipe, contributing significantly to the cupcakes’ rise and tender texture. For a deeper dive into cocoa powders, explore my comprehensive cocoa powder guide.
- All-Purpose Flour: The structural foundation of our cupcakes. Using all-purpose flour provides the right balance of gluten to create a tender yet stable cupcake. Ensure you measure it correctly, preferably by weight if possible, or by spooning it into a measuring cup and leveling off.
- Kosher Salt: Far more than just a seasoning, salt plays a vital role in enhancing and balancing the chocolate flavor, preventing the cupcakes from tasting flat or overly sweet. Kosher salt has larger grains than table salt, so if you’re substituting table salt, remember to reduce the amount by a quarter. For example, if the recipe calls for 1 teaspoon of kosher salt, use only 3/4 teaspoon of table salt.
- Baking Powder: This leavening agent provides an initial lift to the cupcakes. It’s a double-acting leavener, meaning it creates gas bubbles once when mixed with wet ingredients and again when heated in the oven. Using baking powder alongside baking soda ensures we get the optimal rise and a light, airy texture.
- Baking Soda: Our primary leavener, activated by the acidic buttermilk and natural cocoa powder. The chemical reaction between baking soda and these acids produces carbon dioxide gas, which helps the cupcakes rise beautifully and contributes to their tender crumb. Always check the expiration date of your leavening agents for best results.
- Eggs: Eggs bind the ingredients, add moisture, richness, and contribute to the structure of the cupcakes. It’s essential to use room temperature eggs as they emulsify more effectively with other ingredients, creating a smoother, more uniform batter and a better rise.
- Buttermilk: A star ingredient for moist and tender cakes and cupcakes! Buttermilk serves two crucial purposes: it significantly boosts the moisture content, and its acidity reacts with the baking soda to aid in leavening, resulting in a delightfully soft and fluffy texture. If you don’t have buttermilk on hand, you can make a quick substitute by adding 1 tablespoon of white vinegar or lemon juice to a measuring cup, then filling the rest with regular milk to make 1/2 cup. Let it sit for 5-10 minutes until it slightly curdles.
- Vanilla Extract: Don’t skip the vanilla, even in a chocolate recipe! Vanilla extract doesn’t just add its own flavor; it profoundly enhances and rounds out the deep chocolate notes, making the overall taste more complex and satisfying. Use a good quality pure vanilla extract for the best flavor.
- Vegetable Oil: For the moistest cupcakes, vegetable oil is often preferred over butter. Unlike butter, which is solid at room temperature, oil remains liquid, ensuring that your cupcakes maintain their tender and moist crumb even after cooling. This makes for a consistently delightful eating experience.
- Brown Sugar & Granulated Sugar: This recipe uses a combination of both sugars. Granulated sugar provides sweetness and contributes to the crisp exterior, while brown sugar adds depth of flavor with its molasses notes and extra moisture, keeping the cupcakes soft and chewy. Ensure your brown sugar is packed when measuring.
Baking Bliss: Step-by-Step Instructions for Your Chocolate Cupcakes
Follow these detailed steps to achieve perfect, moist, and delicious chocolate cupcakes every time. Precision and care will yield the best results!
- Prepare Your Baking Station: Start by preheating your oven to 350°F (175°C). Line a standard 12-cup muffin tin with paper cupcake liners. This ensures easy removal and consistent baking.
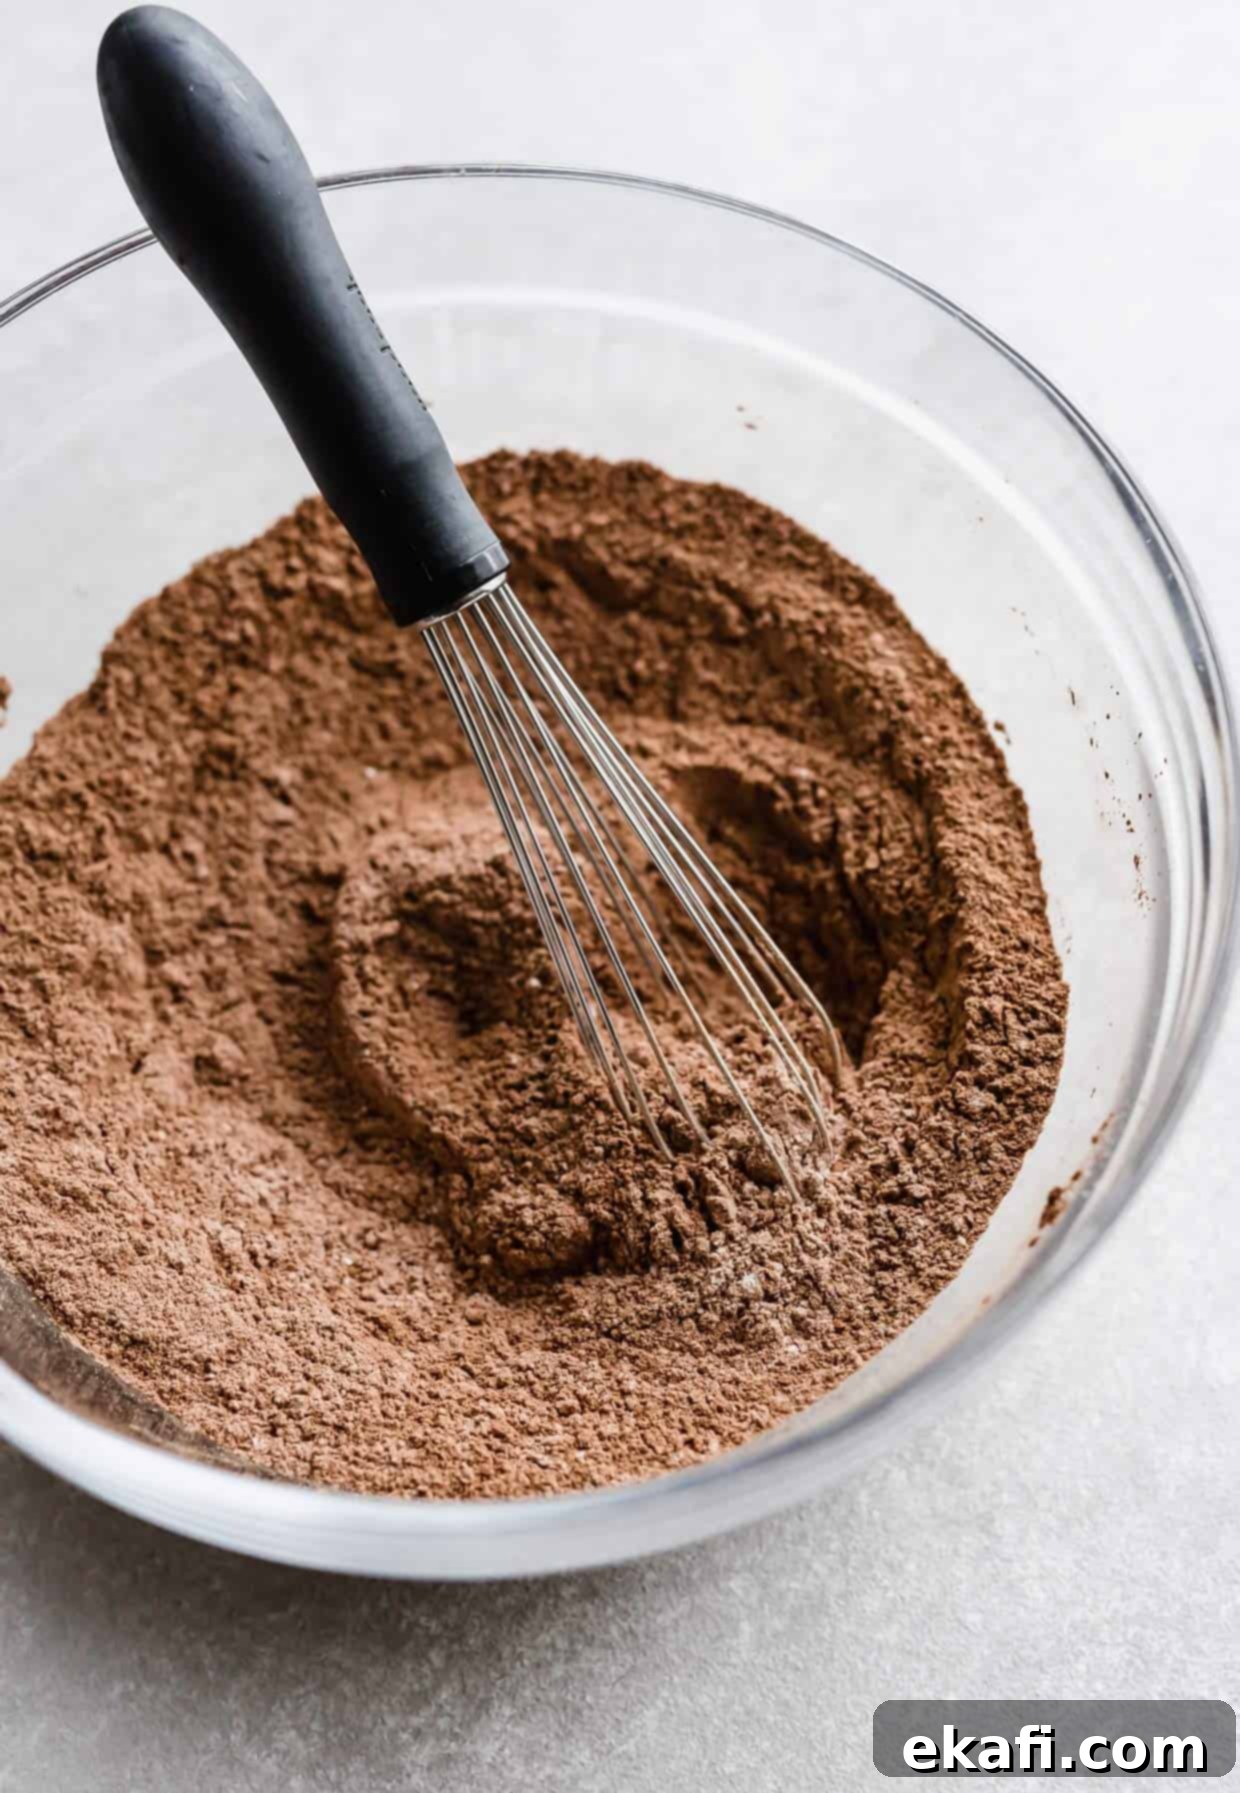
- Combine the Dry Ingredients. In a medium-sized bowl, whisk together the natural unsweetened cocoa powder, all-purpose flour, kosher salt, baking powder, and baking soda. Whisk thoroughly for about 30 seconds to ensure all ingredients are evenly distributed and aerated. Set this mixture aside. This step prevents lumps and ensures even rising.
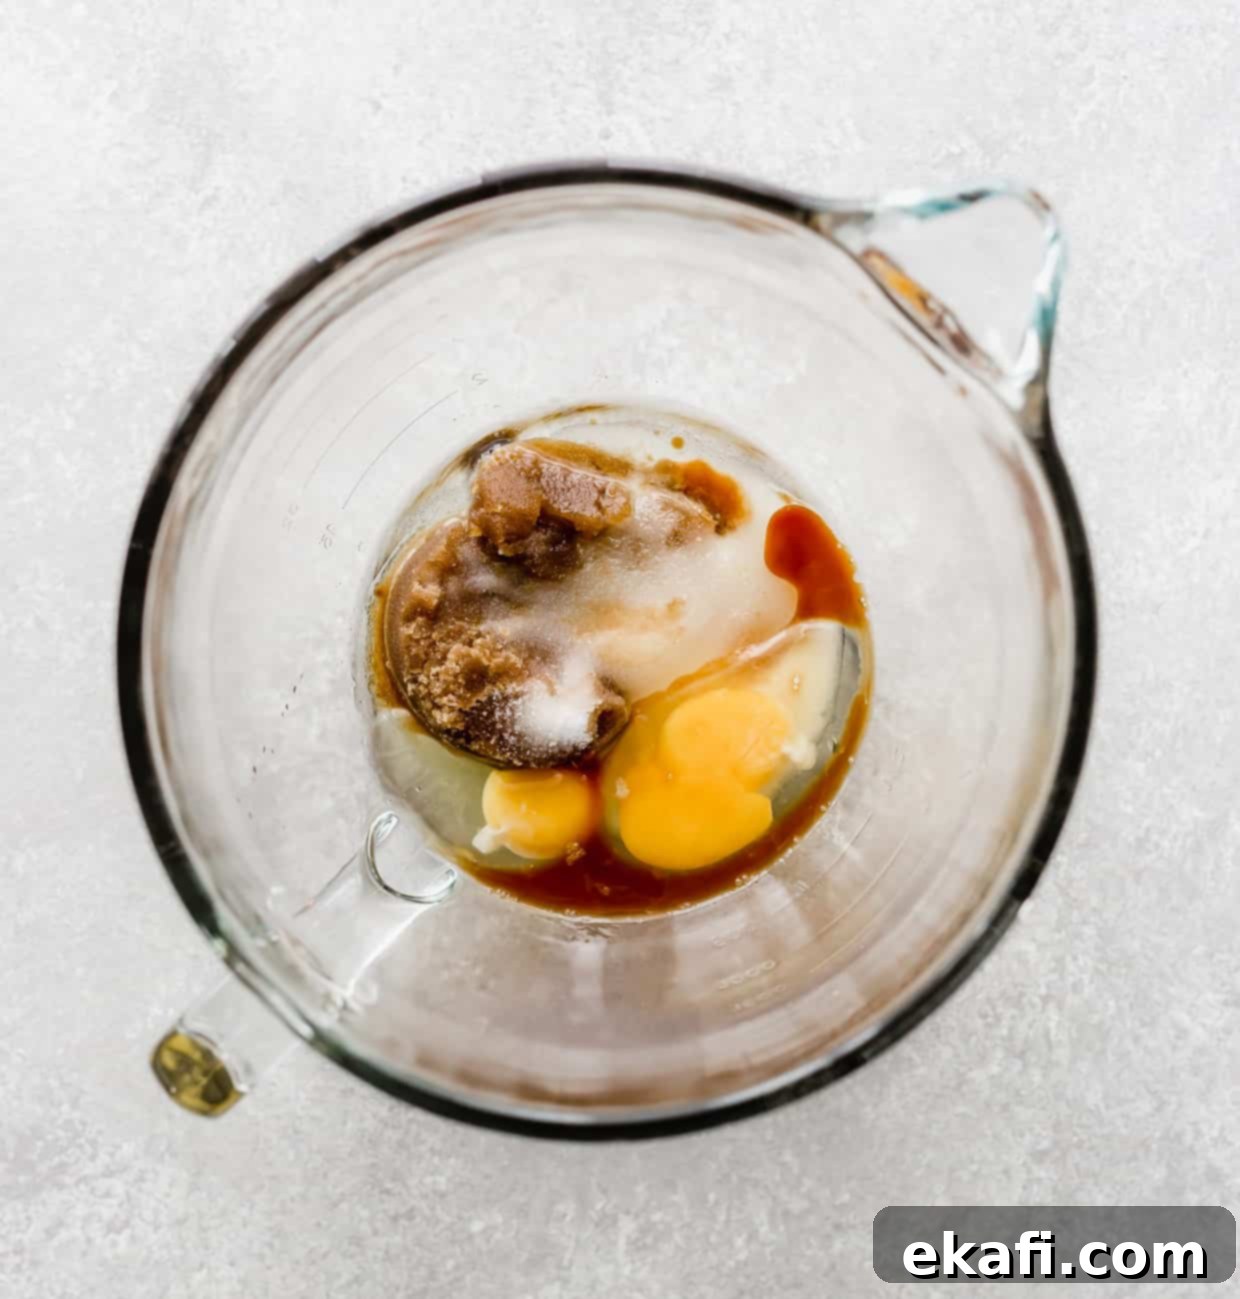
- Prepare the Wet Ingredients. In the bowl of a stand mixer fitted with the paddle attachment (or a large bowl with a hand mixer), add the room temperature eggs, brown sugar, granulated sugar, vegetable oil, and vanilla extract. Beat on medium speed for about 1 minute until the mixture is lightened in color, thoroughly combined, and slightly frothy. This creaming action incorporates air, which is vital for a light cupcake texture.
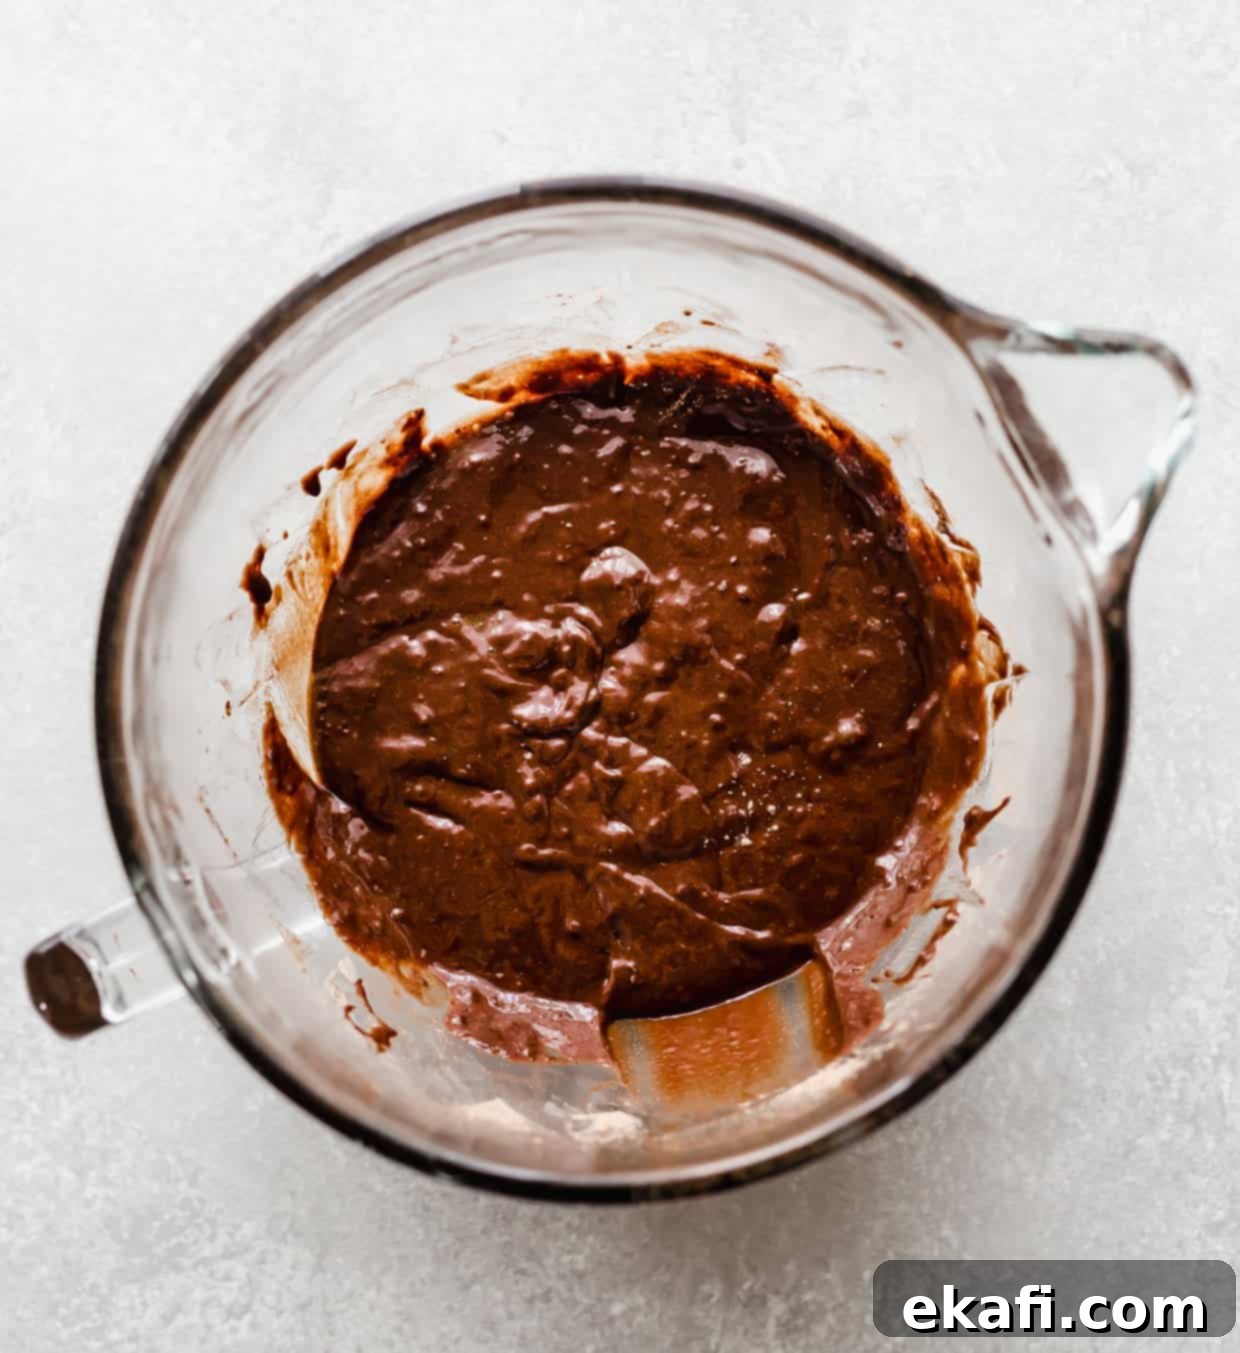
- Incorporate Dry Ingredients and Buttermilk. With your mixer set to low speed, alternate adding the dry ingredients mixture with the buttermilk. Begin with a third of the dry ingredients, mix just until combined, then add half of the buttermilk, mix, then another third of the dry ingredients, mix, the remaining buttermilk, and finally, the last third of the dry ingredients. Mix only until just combined after each addition. This “dry, wet, dry, wet, dry” method prevents overmixing and ensures a tender crumb. Stop mixing as soon as no dry streaks remain in the batter.
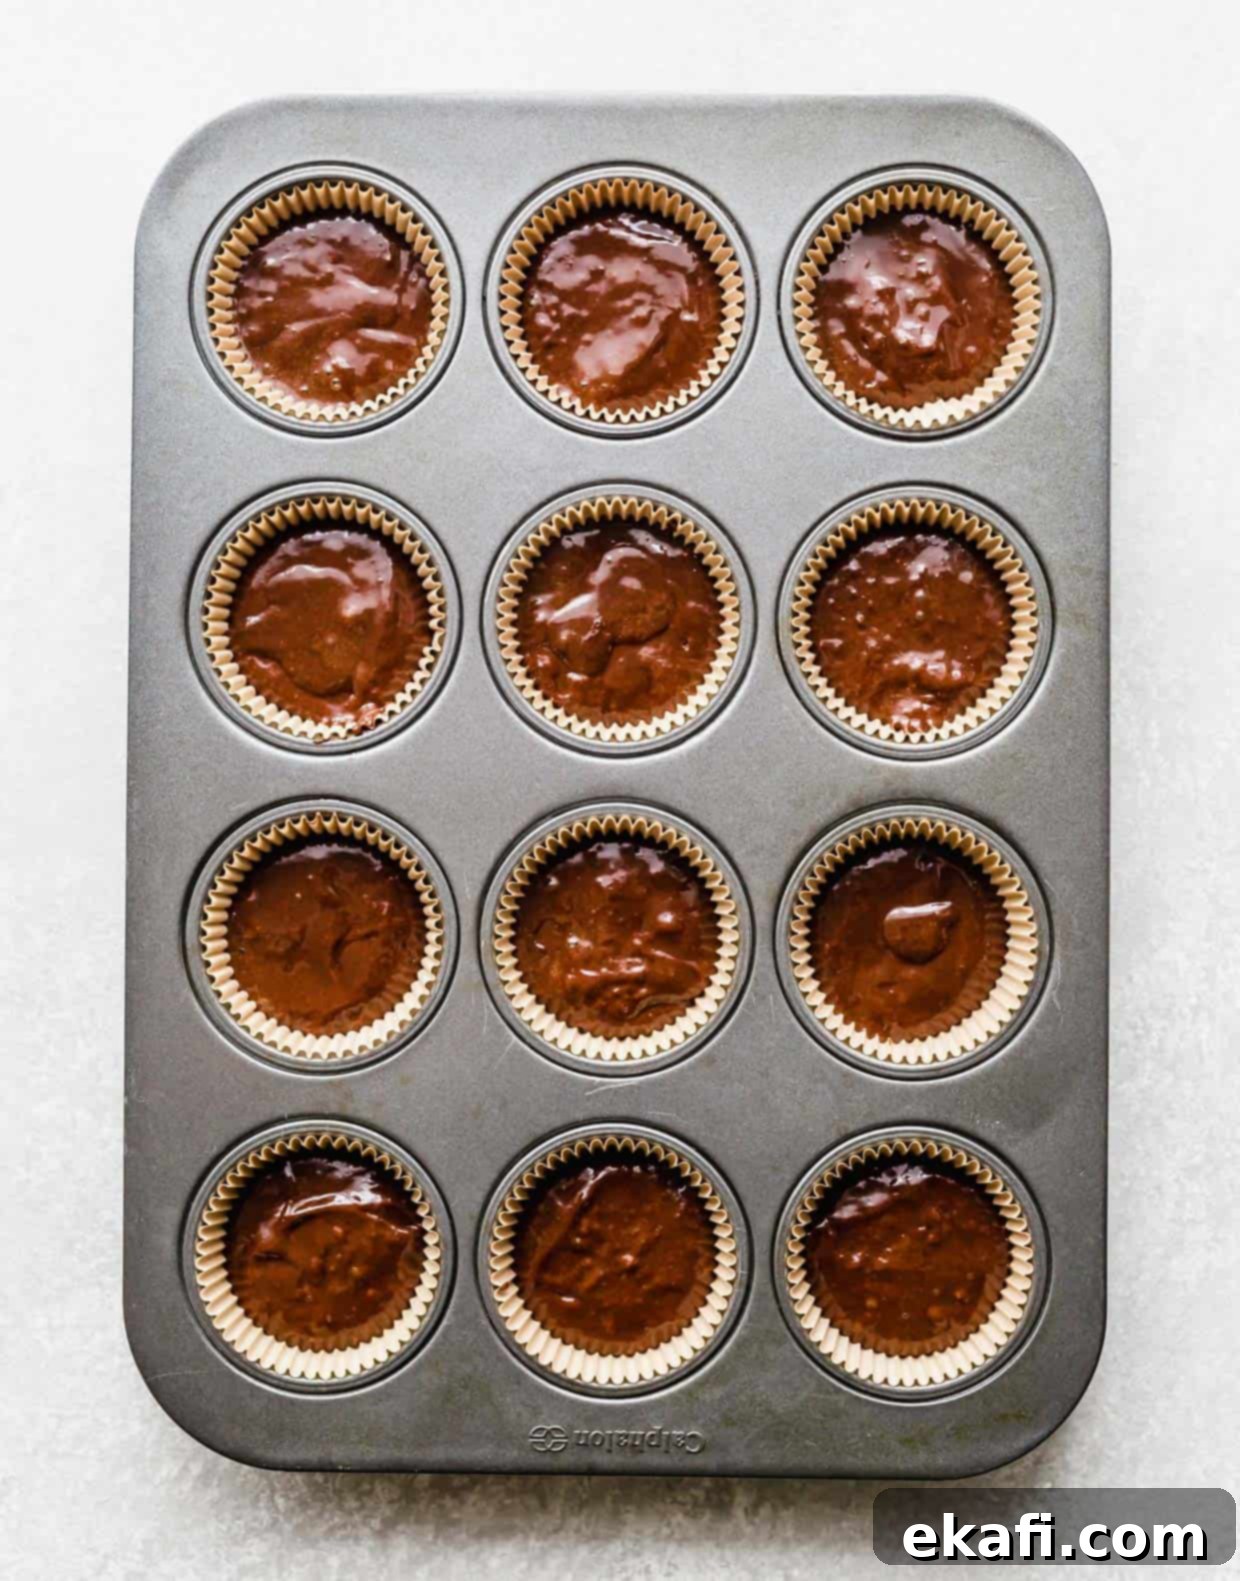
- Fill the Cupcake Liners. Carefully spoon the batter into the prepared cupcake liners. This is a crucial step for beautifully shaped cupcakes: only fill them half full. Resist the urge to fill them more than halfway, as overfilling will cause them to spill over the sides, stick to the pan, and result in an uneven rise. Filling them half full allows for the perfect dome-shaped cupcake as they bake and expand.
- Bake to Perfection. Place the muffin tin into your preheated oven and bake for 18-20 minutes. Baking times can vary slightly depending on your oven, so keep an eye on them. The cupcakes are ready when a toothpick inserted into the center of one comes out clean or with just a few moist crumbs attached. Avoid opening the oven door too early, especially in the first 10-12 minutes, as this can cause the cupcakes to sink.
- Cool Completely. Once baked, remove the cupcakes from the oven and let them cool in the muffin tin for about 5 minutes. Then, carefully transfer them to a wire rack to cool completely. This step is essential! Attempting to frost warm cupcakes will result in melted, messy frosting. Patience here will be rewarded with beautifully frosted treats.
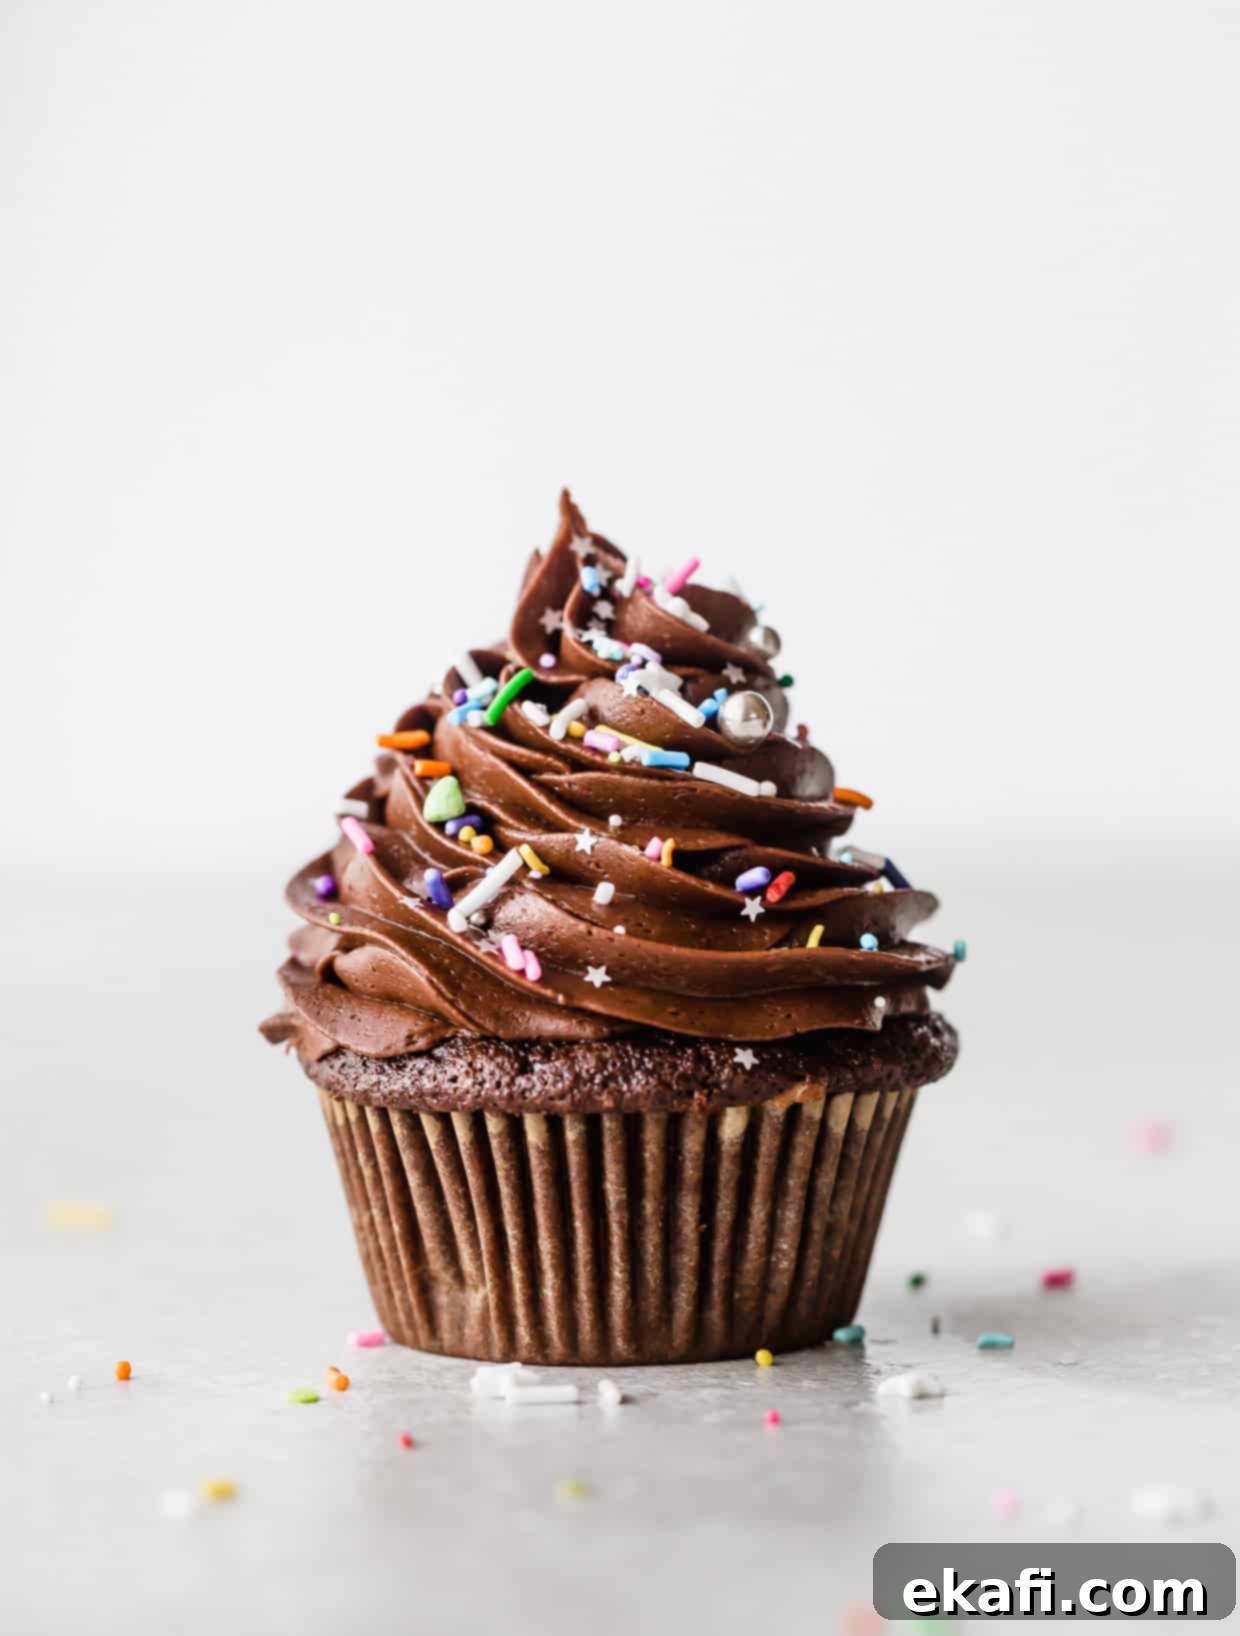
- Frost and Serve. Once fully cooled, it’s time for the best part! Frost your chocolate birthday cupcakes generously with homemade chocolate buttercream frosting with melted chocolate. Add sprinkles or other decorations if desired, and serve these delightful masterpieces!
Expert Tips for Flawless Chocolate Cupcakes
Achieving bakery-quality cupcakes at home is easier than you think with these expert tips:
- The Perfect Frosting Pairing: For an unbeatable combination, I highly recommend frosting these chocolate cupcakes with my luscious chocolate buttercream frosting recipe. Its creamy texture and rich flavor perfectly complement the moist cupcakes.
- Avoid Overmixing the Batter: This is one of the most common baking mistakes! Overmixing flour develops gluten excessively, which can lead to tough, dense cupcakes. Mix the batter only until the ingredients are just combined and no dry streaks of flour remain. A few small lumps are perfectly fine!
- Always Use Room Temperature Wet Ingredients: This tip applies to most baking recipes. Room temperature eggs, buttermilk, and oil emulsify much better with the other ingredients, creating a smoother, more uniform batter. This leads to a more consistent rise and a finer crumb in your finished cupcakes.
- Check Your Leavening Agents: If your cupcakes aren’t rising as expected, the culprit might be expired baking soda or baking powder. These ingredients lose their potency over time. To test baking soda, add a teaspoon to a bowl with a tablespoon of vinegar; it should bubble vigorously. For baking powder, mix a teaspoon with a tablespoon of hot water; it should also fizz.
- Fill Liners Precisely Half Full: This might sound counter-intuitive, but it’s crucial. Resist the temptation to fill cupcake liners more than halfway. Filling them 1/2 full allows the cupcakes to rise perfectly into a lovely domed shape without overflowing, sticking to the pan, or creating undesirable mushroom tops. This ensures a clean, professional-looking cupcake every time.
- Don’t Overbake: Overbaking is a sure way to dry out your cupcakes. Keep a close eye on them during the last few minutes of baking. As soon as a toothpick inserted into the center comes out clean or with minimal moist crumbs, they’re done.
- Cool Completely Before Frosting: As tempting as it is to frost warm cupcakes, don’t! The heat will melt your beautiful buttercream, turning it into a runny mess. Allow the cupcakes to cool entirely on a wire rack before applying any frosting.
- Understand Your Cocoa Powder: Learn more about cocoa powders and why using natural unsweetened cocoa powder is specifically important for the chemistry of this recipe, interacting perfectly with the baking soda and buttermilk.
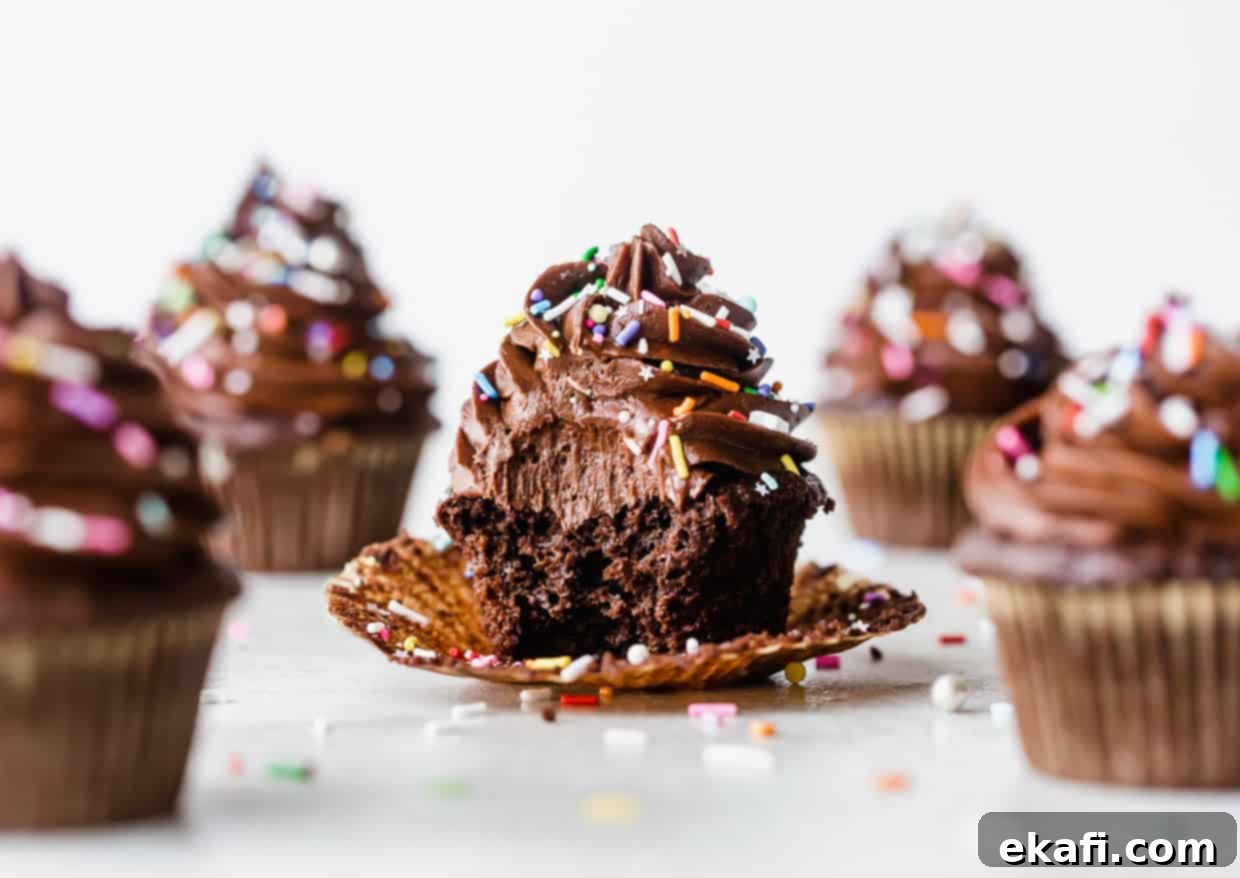
Make Ahead, Storing, and Freezing Your Chocolate Cupcakes
These delicious chocolate cupcakes are perfect for making in advance or freezing for later enjoyment. Here’s how to ensure they stay fresh and delightful:
- Make Ahead (Unfrosted): If you plan to bake ahead, you can store unfrosted chocolate cupcakes at room temperature. Place them in an airtight container for 1-2 days. This keeps them fresh and prevents them from drying out.
- Storing Frosted Cupcakes: Once you’ve frosted your cupcakes with that amazing chocolate buttercream, they need to be stored differently due to the dairy in the frosting. Keep them in an airtight container in the refrigerator.
- Refrigerated Shelf Life: Frosted and refrigerated cupcakes will maintain their quality for up to 1 week. However, for the absolute best taste and texture, it’s recommended to enjoy them within a few days of making them.
- Freezing Unfrosted Cupcakes: To extend their shelf life significantly, you can freeze unfrosted cupcakes. Once they are completely cooled, arrange them on a baking sheet and flash freeze them in the freezer until solid (this usually takes about 10-15 minutes). This step prevents them from sticking together. After they’re solid, wrap each cupcake individually in plastic wrap, then place them in an airtight container or a heavy-duty Ziplock bag. Frozen chocolate cupcakes can be stored in the freezer for up to 3 months.
- Thawing Unfrosted Cupcakes: When you’re ready to enjoy them, remove the desired number of frozen cupcakes from the freezer and let them thaw overnight in the refrigerator. Once thawed, unwrap them, bring them to room temperature, frost them, and serve!
- Freezing Frosted Cupcakes: You can also freeze cupcakes after they’ve been frosted! Flash freeze the frosted cupcakes on a baking sheet in the freezer until the frosting is completely solid (this might take around 20-30 minutes, depending on the thickness of the frosting). The goal is to be able to wrap them without smudging or damaging the frosting. Once solid, wrap each cupcake individually in plastic wrap, and then store them in an airtight container or Ziplock bag in the freezer for up to 2 months.
- Thawing Frosted Cupcakes: Thaw frosted cupcakes in the refrigerator overnight. Unwrap them just before serving to allow the frosting to come to a perfect, creamy consistency.
Frequently Asked Questions About Chocolate Cupcakes
For the moistest cupcakes, oil generally outperforms butter. This is because vegetable oil remains a liquid at room temperature, while butter solidifies. This property of oil ensures that your baked cupcakes retain more moisture, resulting in a more tender and desirable crumb that stays moist longer.
Absolutely, yes! That’s one of the primary reasons this stands as the best chocolate cupcake recipe. The key to their incredible moistness and tender texture lies in two critical ingredients: vegetable oil and buttermilk. Vegetable oil, being a liquid fat, ensures the cupcakes remain exceptionally moist at room temperature. Buttermilk, with its acidic properties, tenderizes the gluten in the flour, yielding an incredibly soft and delicate crumb.
It’s generally not recommended to substitute Dutch-processed cocoa powder for natural unsweetened cocoa powder in recipes like this one, and vice versa. The type of cocoa powder impacts the baking chemistry significantly. Natural unsweetened cocoa powder is acidic and reacts with baking soda to aid in leavening. Dutch-processed cocoa powder, on the other hand, is alkalized (neutralized) and therefore does not react with baking soda. Using the wrong type can affect the rise, texture, and even the final flavor of your cupcakes.
While you can make a quick substitute for buttermilk by adding 1 tablespoon of white vinegar or lemon juice to regular milk (letting it sit for 5-10 minutes until it curdles), using actual buttermilk is always best for flavor and texture. The acid content is perfectly balanced in real buttermilk, which is essential for reacting with the baking soda for a proper rise and tender crumb.
Cupcakes often sink due to several reasons: opening the oven door too early (especially in the first 10-12 minutes), overmixing the batter, using expired leavening agents, or underbaking. Ensure your oven temperature is accurate, mix gently, use fresh baking soda and powder, and bake until a toothpick comes out clean.
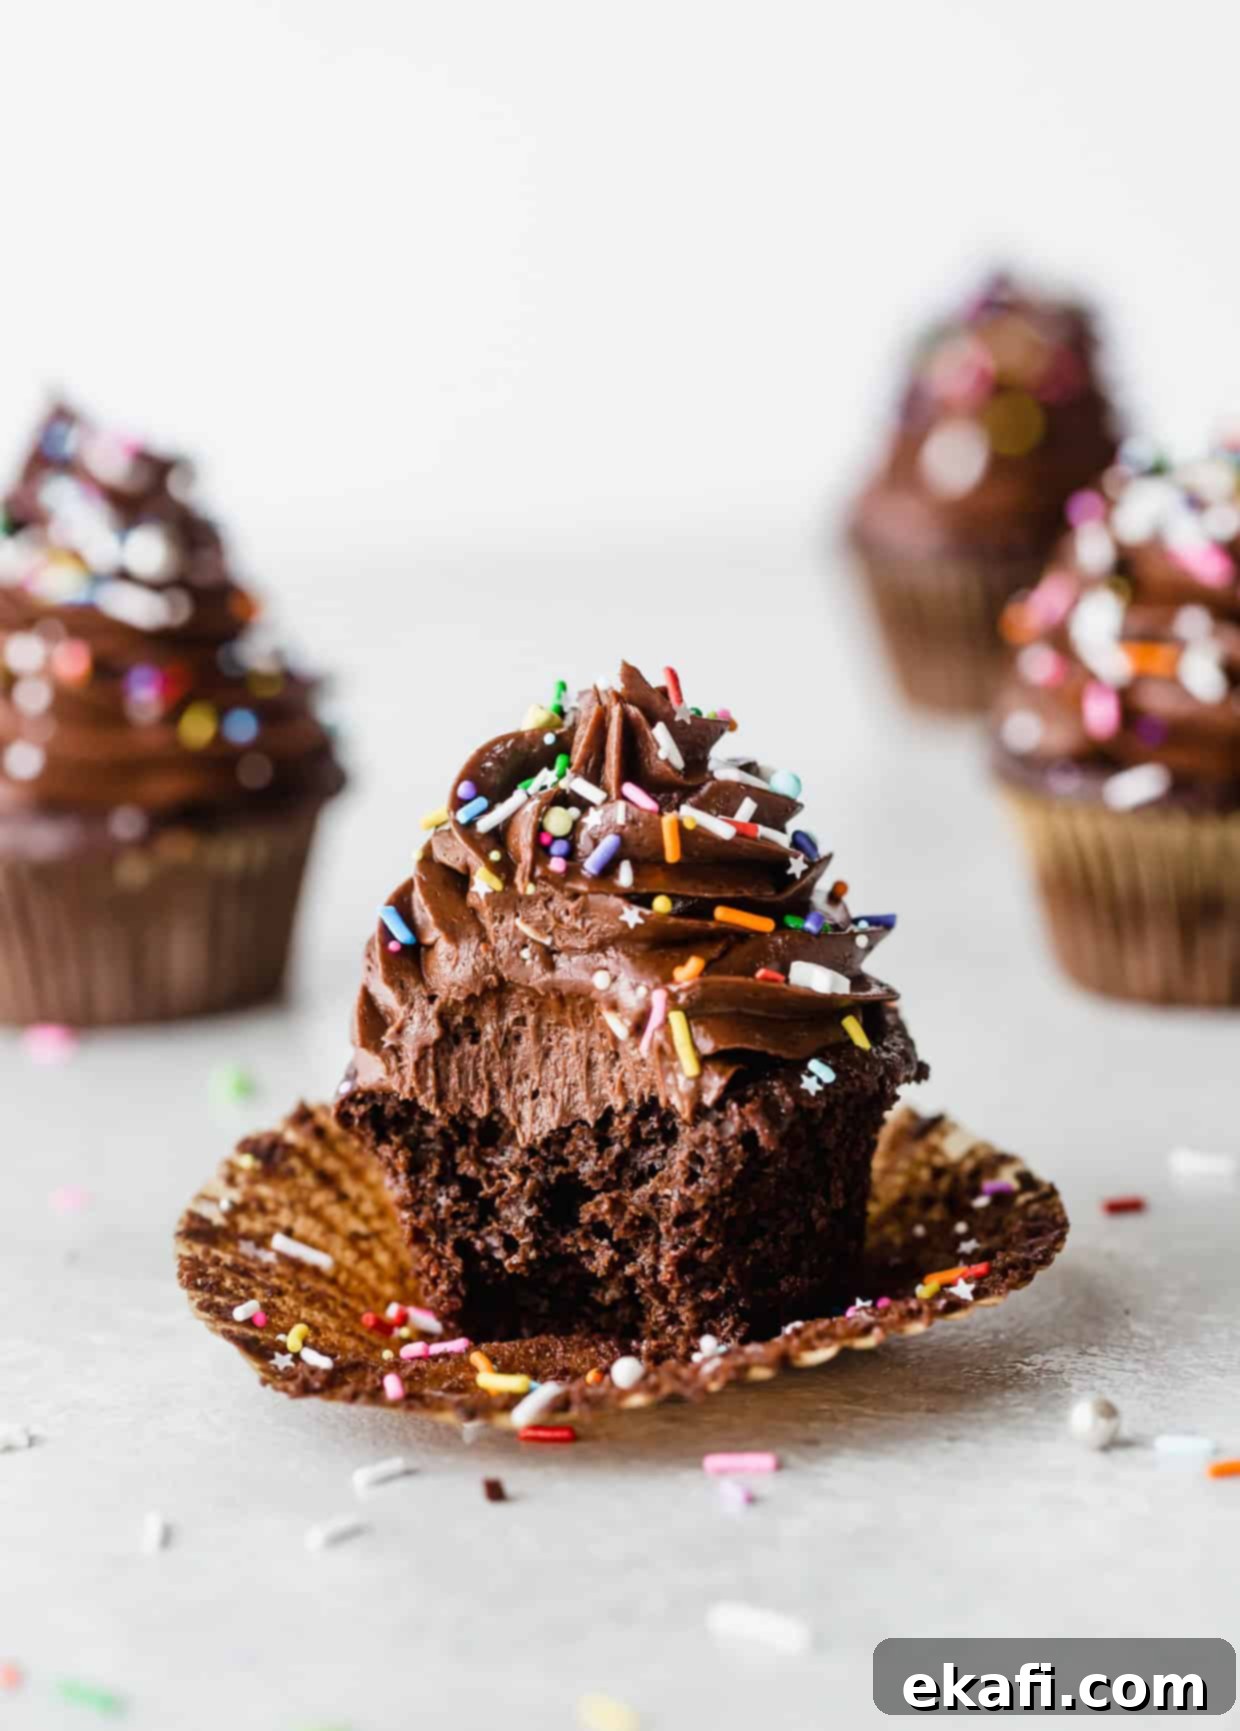
Explore More Delicious Cupcake Recipes
If you’ve fallen in love with these chocolate cupcakes, you’ll surely enjoy exploring other fantastic cupcake creations from my collection:
- Chocolate Orange Cupcakes – A delightful citrus twist on a classic chocolate treat.
- Black Velvet Cupcakes – A sophisticated, deep-hued cupcake with a rich flavor.
- Basketball Cupcakes – Fun and festive, perfect for sports enthusiasts.
- Best EVER German Chocolate Cupcakes – An indulgent classic with a luscious coconut-pecan frosting.
Did you try this irresistible chocolate cupcake recipe? I would absolutely love to hear about your baking experience! Click here to leave a star rating and a review, or simply scroll down to the recipe card below and share your thoughts. Your feedback helps me improve and inspires other home bakers!
Stay connected and never miss a new recipe! Follow us on Instagram, Facebook, and Pinterest for daily inspiration and baking tips.
Print
SaveSaved!
Review
Best Chocolate Cupcake Recipe
Ingredients
- 1/2 cup natural unsweetened cocoa powder
- 3/4 cup all purpose flour
- 1/4 teaspoon kosher salt
- 3/4 teaspoon baking powder
- 1/2 teaspoon baking soda
- 2 large eggs – at room temperature
- 1/2 cup buttermilk
- 2 teaspoons vanilla extract
- 1/3 cup vegetable oil
- 2/3 cup brown sugar – packed
- 1/2 cup granulated sugar
Equipment
-
cupcake pan
Instructions
-
Preheat the oven to 350°F.
-
In a large bowl whisk the cocoa powder, flour, salt, baking powder, and baking soda. Set aside.
-
In the bowl of a stand mixer fitted with the paddle attachment add the eggs, granulated sugar, brown sugar, oil, and vanilla. Mix on medium speed for 1 minute or until thoroughly combined.
-
With the mixer on low, alternate adding the dry ingredients with the buttermilk starting and ending with the dry ingredients. (Dry, buttermilk, dry, buttermilk, dry). Don’t overmix.
-
Line a regular sized muffin tin with cupcake liners. Fill the liners half full. If you fill them over halfway, they will spill over! Don’t do it. Only fill half full.
-
Bake for 18-20 minutes or until a toothpick inserted in the center comes out clean.
-
Let cool in pan for 5 minutes, then remove to a wire rack to cool completely.
-
Frost with chocolate buttercream frosting.
Notes
Use room temperature wet ingredients.
Make Ahead, Storing and Freezing:
You can store unfrosted cupcakes at room temperature in an airtight container for 1-2 days. Once the cupcakes have been frosted store them in an airtight container in the fridge.
Refrigerated cupcakes will last for up to 1 week.
To freeze cupcakes, once completely cooled, flash freeze the cupcakes on a baking sheet in the freezer until solid (about 10 minutes) then wrap the cupcakes individually in plastic wrap (if unfrosted) and store in an airtight container or Ziplock bag. Frozen chocolate cupcakes will last in the freezer for up to 3 months.Remove from the freezer and let thaw overnight in the fridge, then unwrap, frost and serve!
Recipe adapted from Sally’s Baking Addiction.
Nutrition
This recipe was originally published on June 14, 2019. It was republished on Jan. 18, 2022, to include additional information and photos.
