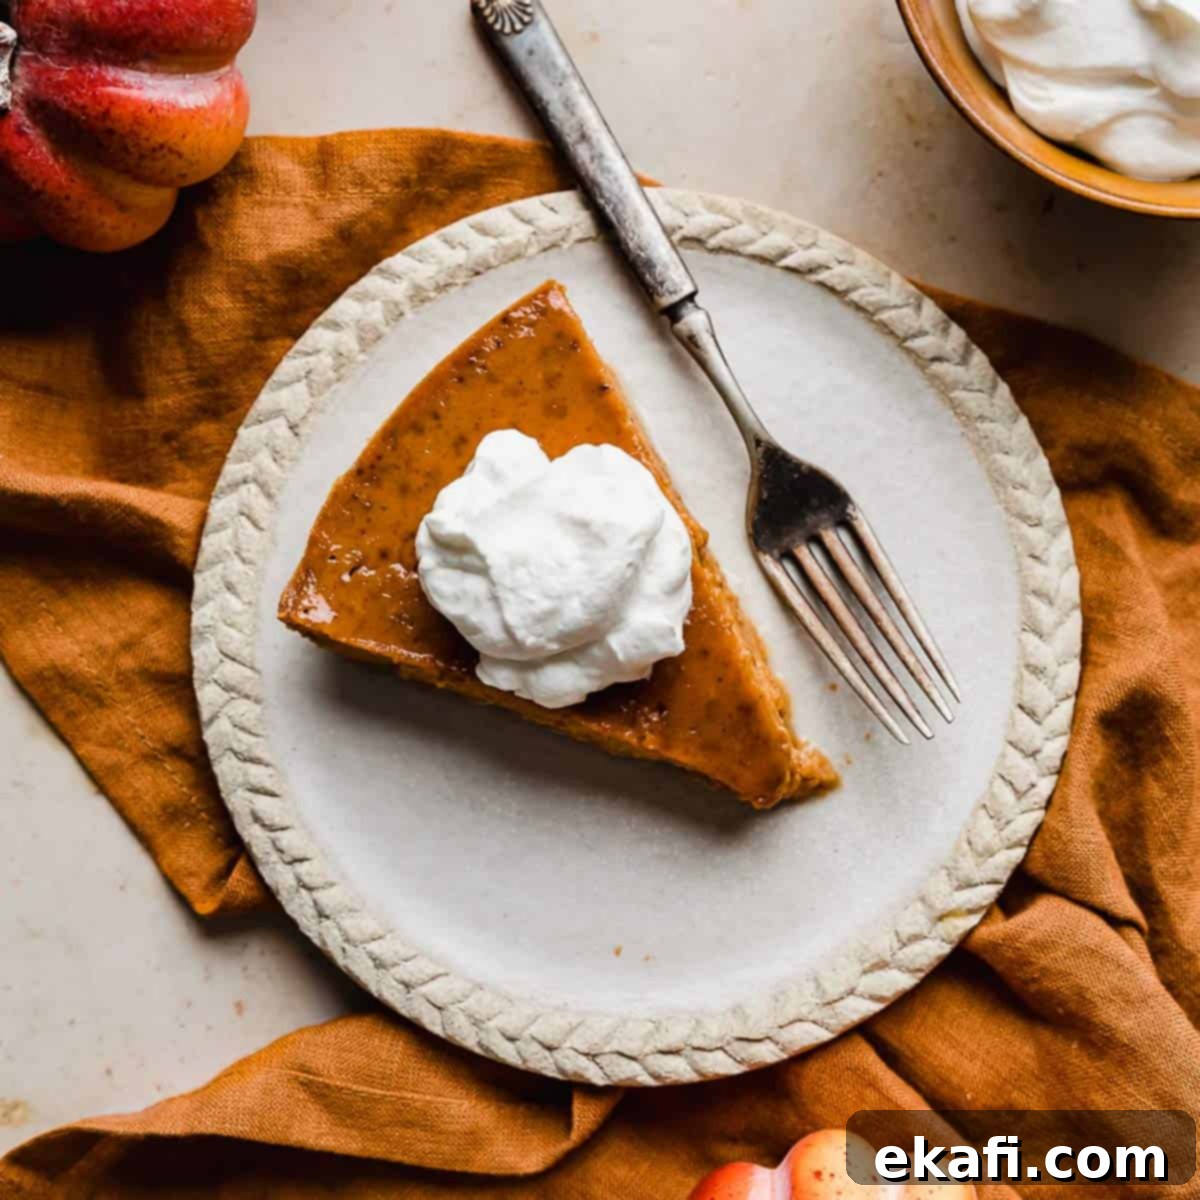
Indulge Guilt-Free: The Ultimate Healthy & Easy Crustless Pumpkin Pie (Gluten-Free!)
Craving a classic pumpkin pie this holiday season but looking for a healthier alternative? This Crustless Pumpkin Pie is your perfect solution! It’s an irresistibly delicious, creamy, and smooth dessert that truly delivers on flavor without the extra calories and gluten from a traditional crust. You’ll be so enchanted by its rich taste and delightful texture, you won’t even miss the crust! Imagine serving a dessert that everyone can enjoy, including those with dietary restrictions, while still feeling wonderfully indulgent.
It’s always a treat to discover a healthy version of a beloved classic that doesn’t compromise on taste. This recipe brings you all the quintessential warm spices you desire in a pumpkin pie – cinnamon, ginger, cloves, and nutmeg – but significantly cuts down on the fat and additional calories typically found in a buttery crust. It’s a guilt-free pleasure, ideal for Thanksgiving, Christmas, or any festive gathering where you want to offer a lighter yet deeply satisfying dessert. However, if you’re a purist who truly adores a flaky butter crust, don’t worry! You can always explore my Traditional Pie Crust recipe, which is the very same one I use for my delectable Praline Pumpkin Pie. But for today, let’s celebrate the beauty and simplicity of a pie that lets its creamy pumpkin filling shine!
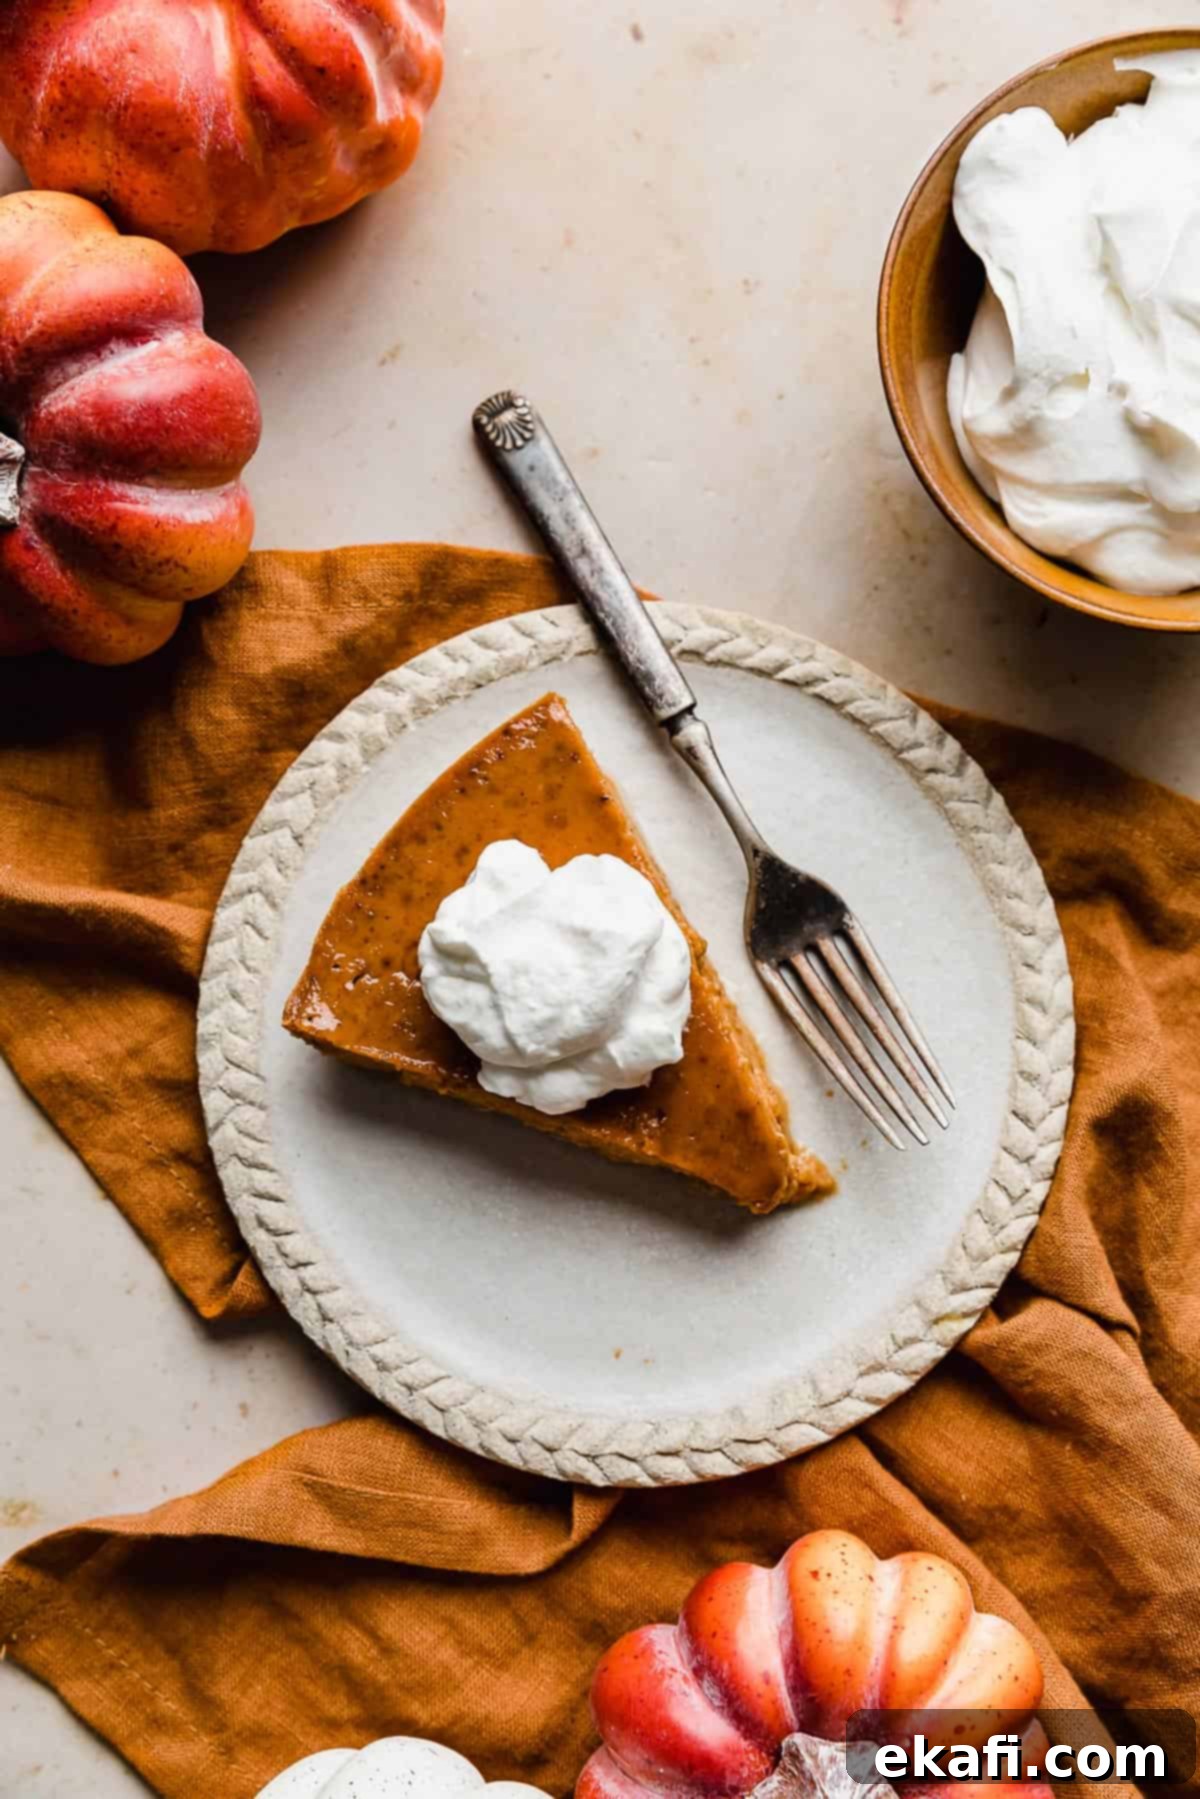
Why This Crustless Pumpkin Pie Recipe Works So Well
This remarkable crustless pumpkin pie isn’t just another dessert; it’s a smart and delightful choice for countless reasons. Here’s why this recipe will become your go-to for holiday gatherings and beyond:
- No need to make a crust: This truly is the best crustless pumpkin pie recipe for busy bakers or anyone looking to simplify their holiday preparations. If you’re pressed for time, lack the desire to fuss with a homemade pie crust, or simply want to significantly cut down on the time and effort spent on Thanksgiving or Christmas dinner prep, then a pumpkin pie without crust is the perfect solution! It eliminates an entire step of baking, rolling, and chilling, freeing you up to focus on other dishes or simply enjoy more time with your loved ones. Plus, it’s a game-changer for those who find pie crusts intimidating. Problem solved, deliciously!
- A genuinely healthy pumpkin pie recipe: For those aiming to serve a healthier dessert this year, perhaps for Thanksgiving or a special diet, this crustless version is an excellent option. It offers all the traditional, comforting flavors of classic pumpkin pie, satisfying your dessert cravings, but in a much healthier format since you don’t have the rich, buttery crust adding extra fat and calories. Pumpkin itself is a nutritional powerhouse, packed with Vitamin A, fiber, and antioxidants, making this pie a truly wholesome indulgence that feels light yet completely satisfying.
- Incredibly easy crustless pumpkin pie: You’ll be amazed at how quickly and effortlessly this crustless pumpkin pie recipe comes together. The prep time is literally just minutes, involving simple mixing of ingredients in a single bowl. After a quick stir, you simply pour the luscious filling into a greased pie dish, and the oven does all the hard work! This minimal-fuss approach means less stress in the kitchen and more time to enjoy the delightful aromas filling your home. It’s perfect for beginner bakers or anyone seeking a straightforward, foolproof dessert. 😀
Essential Ingredient Notes for Your Perfect Crustless Pumpkin Pie
Achieving the perfect creamy texture and rich flavor of this crustless pumpkin pie starts with understanding the role of each key ingredient. Here’s what you need to know to ensure your pie turns out beautifully every time:
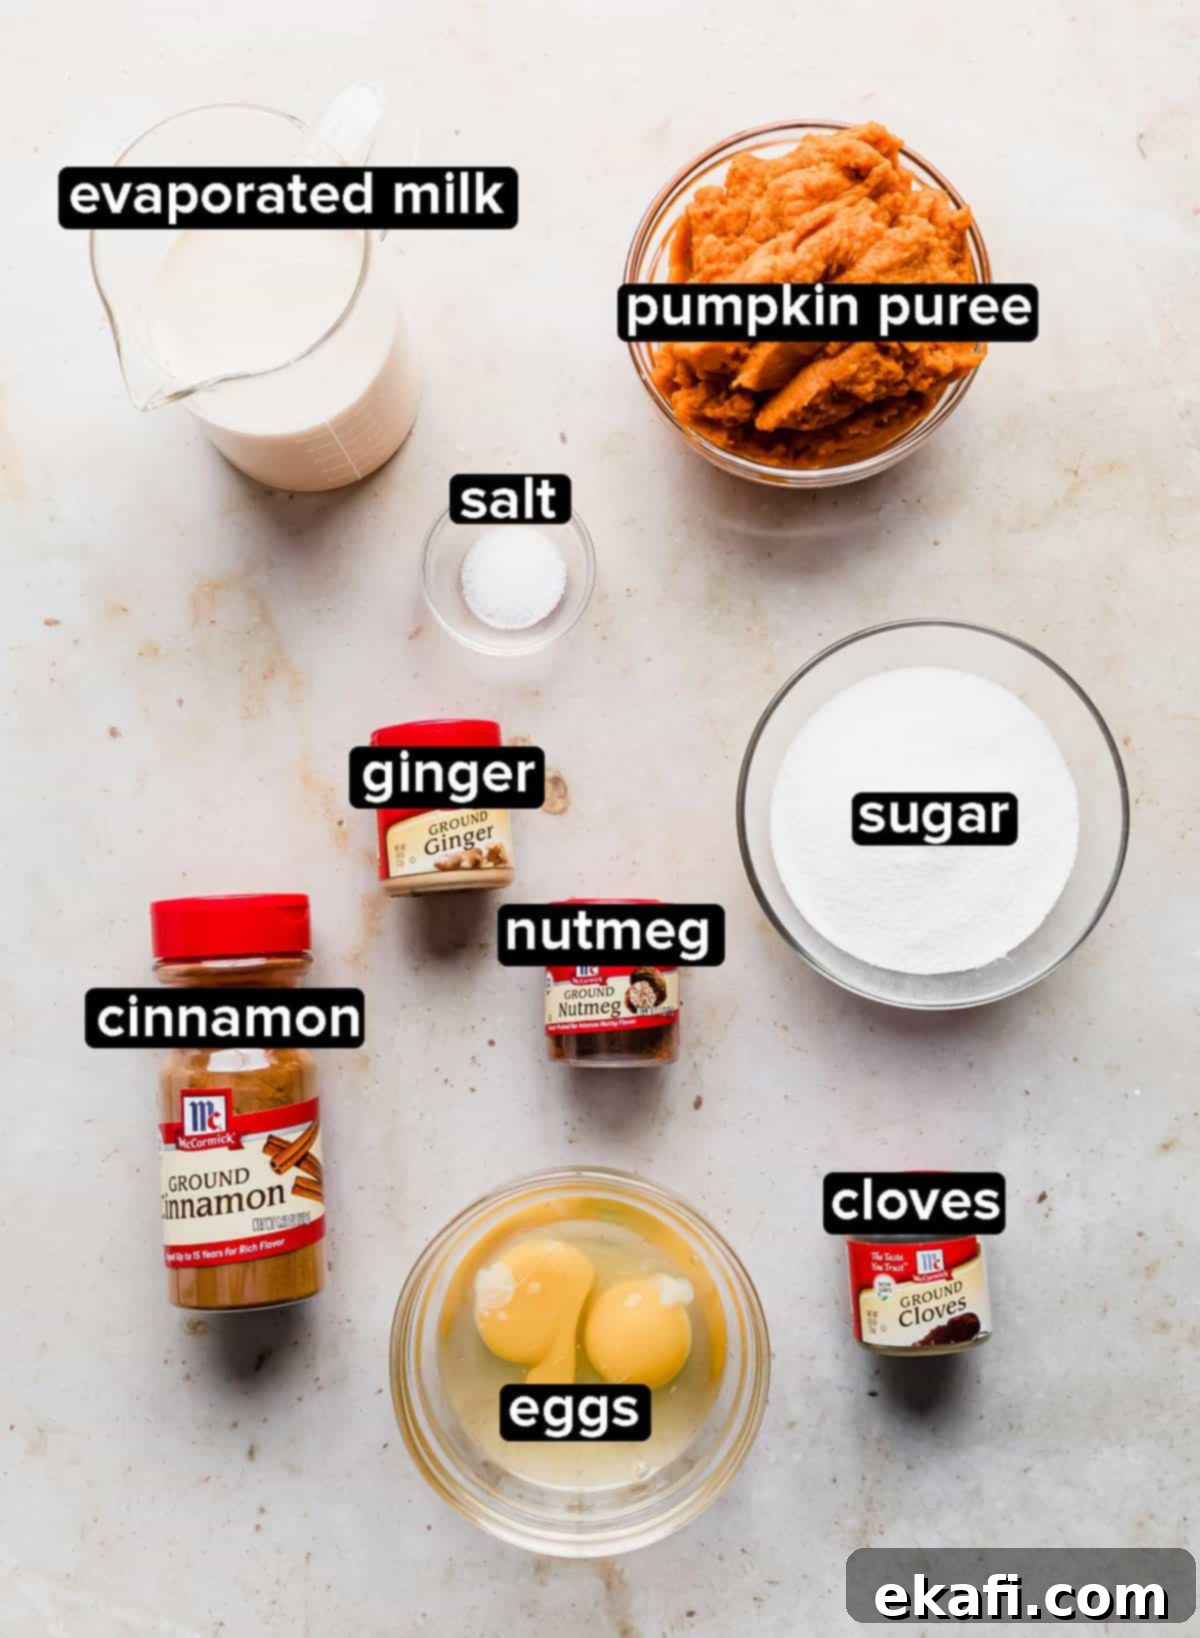
- Evaporated Milk: This isn’t just regular milk; it’s a concentrated form of milk that has been heated to remove about 60% of its water content. The result is a richer, thicker, and creamier consistency than ordinary milk, which is crucial for giving our crustless pumpkin pie that wonderfully smooth, custard-like texture we all adore. Do not confuse it with sweetened condensed milk, which contains added sugar and would make your pie far too sweet and dense.
- Eggs: Eggs are absolutely vital in this recipe, just as they are in most traditional pumpkin pies. They act as a primary binding agent, helping the pie filling set into a firm yet delicate custard. Without the eggs, you would essentially be baking a spiced pumpkin puree, which would not firm up into a sliceable, cooked texture, but rather remain a loose, soupy mixture. They contribute significantly to the overall structure and delicious mouthfeel.
- Pumpkin Puree: For consistent and reliable results, I highly recommend using canned pumpkin puree. My personal favorite is Libby’s pumpkin puree, known for its consistent quality and flavor, which makes a truly delicious crustless Libby’s pumpkin pie! It’s critical to remember that pumpkin puree is *not* the same as canned pumpkin pie filling, which already contains added sugars and spices. Always opt for 100% pure pumpkin puree to control the sweetness and spice levels yourself.
- Spices: The heart of any great pumpkin pie lies in its warming spices! This recipe for the best crustless pumpkin pie filling uses a carefully balanced combination of ground cloves, cinnamon, ginger, and nutmeg. This specific blend creates that iconic, comforting autumn flavor that is both aromatic and perfectly balanced. While pumpkin pie spice mix might seem convenient, I advise against it here because these pre-mixed blends often have varying ratios of spices, which can alter the final taste. Using individual spices allows for precise control over the flavor profile, ensuring a truly exceptional pie.
Easy Step-by-Step Instructions for Your Crustless Pumpkin Pie
Making this crustless pumpkin pie is incredibly straightforward. Just follow these simple steps for a perfect, creamy dessert every time:
- Prepare the Pie Plate: Begin by generously spraying a 9-inch pie dish with nonstick cooking spray. This crucial step helps prevent the pie from sticking and ensures easy serving, especially without a crust. While you do this, preheat your oven to 325°F (160°C) to ensure it’s at the ideal temperature when your filling is ready.
- Combine Eggs and Pumpkin Puree: In a large mixing bowl, crack 2 large eggs. Whisk them thoroughly until they are light and well combined. Then, add one 15 oz (approximately 425g) can of pure pumpkin puree to the beaten eggs. Mix these two ingredients together until they are fully incorporated and the mixture is smooth and evenly orange.
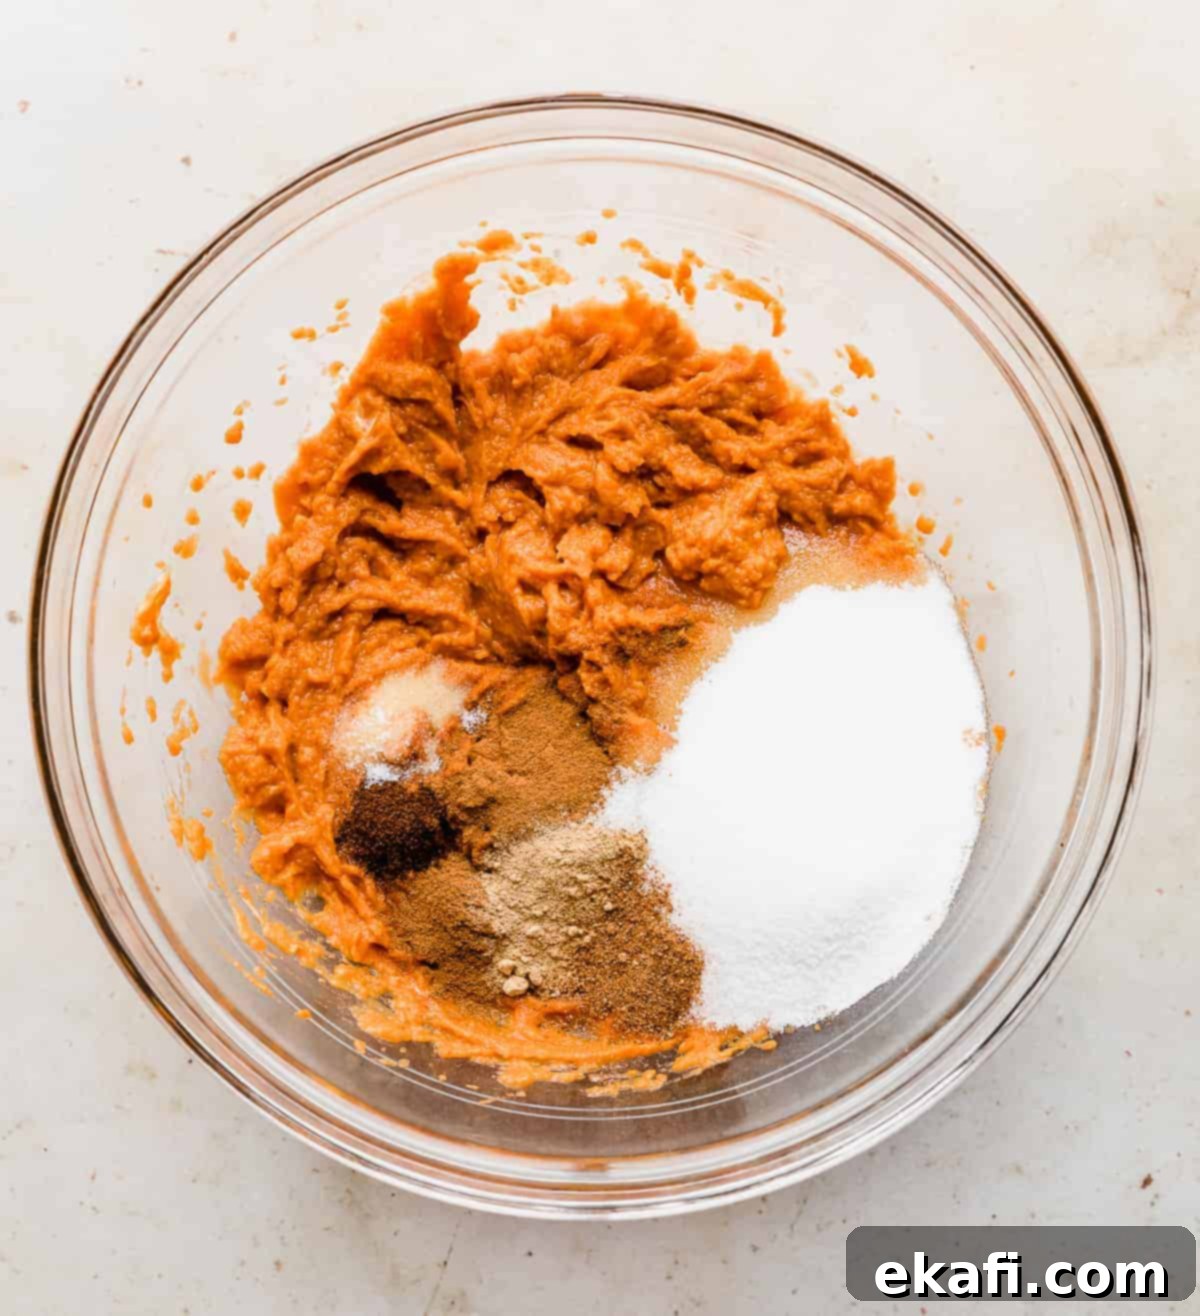
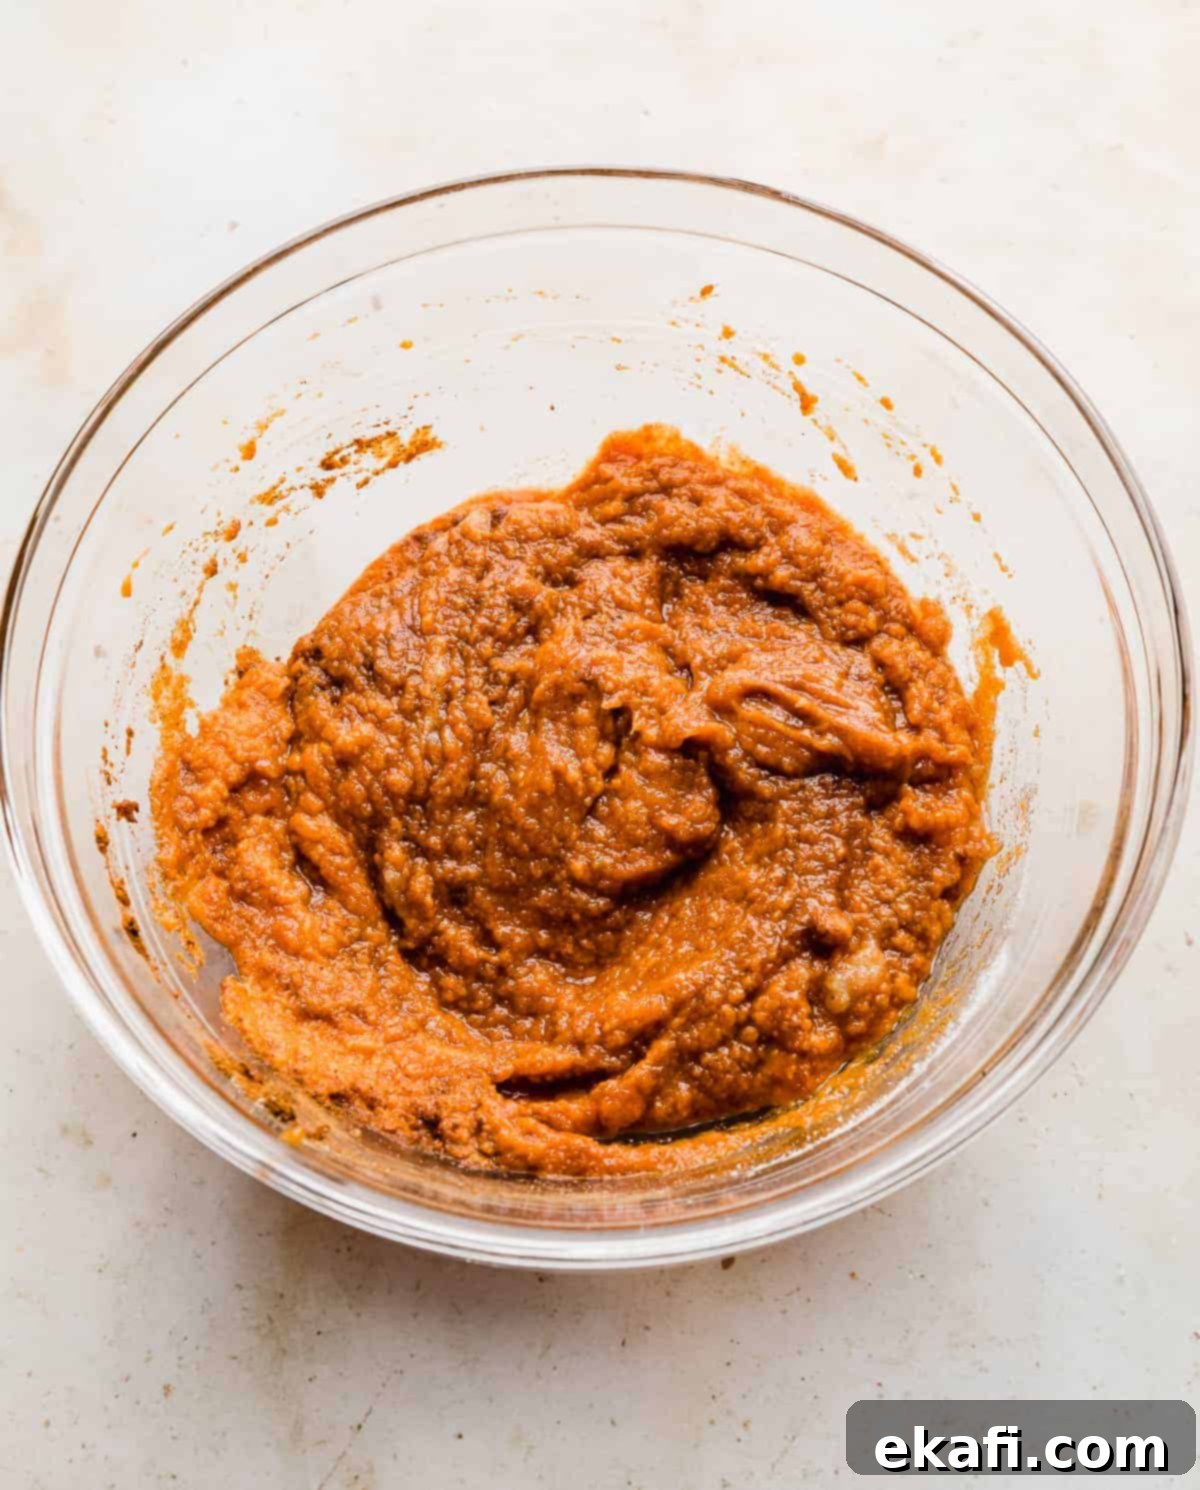
- Add Sugar and Spices: Now comes the “everything nice” part! To your pumpkin and egg mixture, add 3/4 cup (150g) of granulated sugar, 1 teaspoon of ground cinnamon, 1/2 teaspoon of ground ginger, 1/4 teaspoon of ground cloves, 1/4 teaspoon of ground nutmeg, and 1/2 teaspoon of salt. Use a rubber spatula to partially mix these dry ingredients into the wet mixture. You don’t need to fully combine them yet.
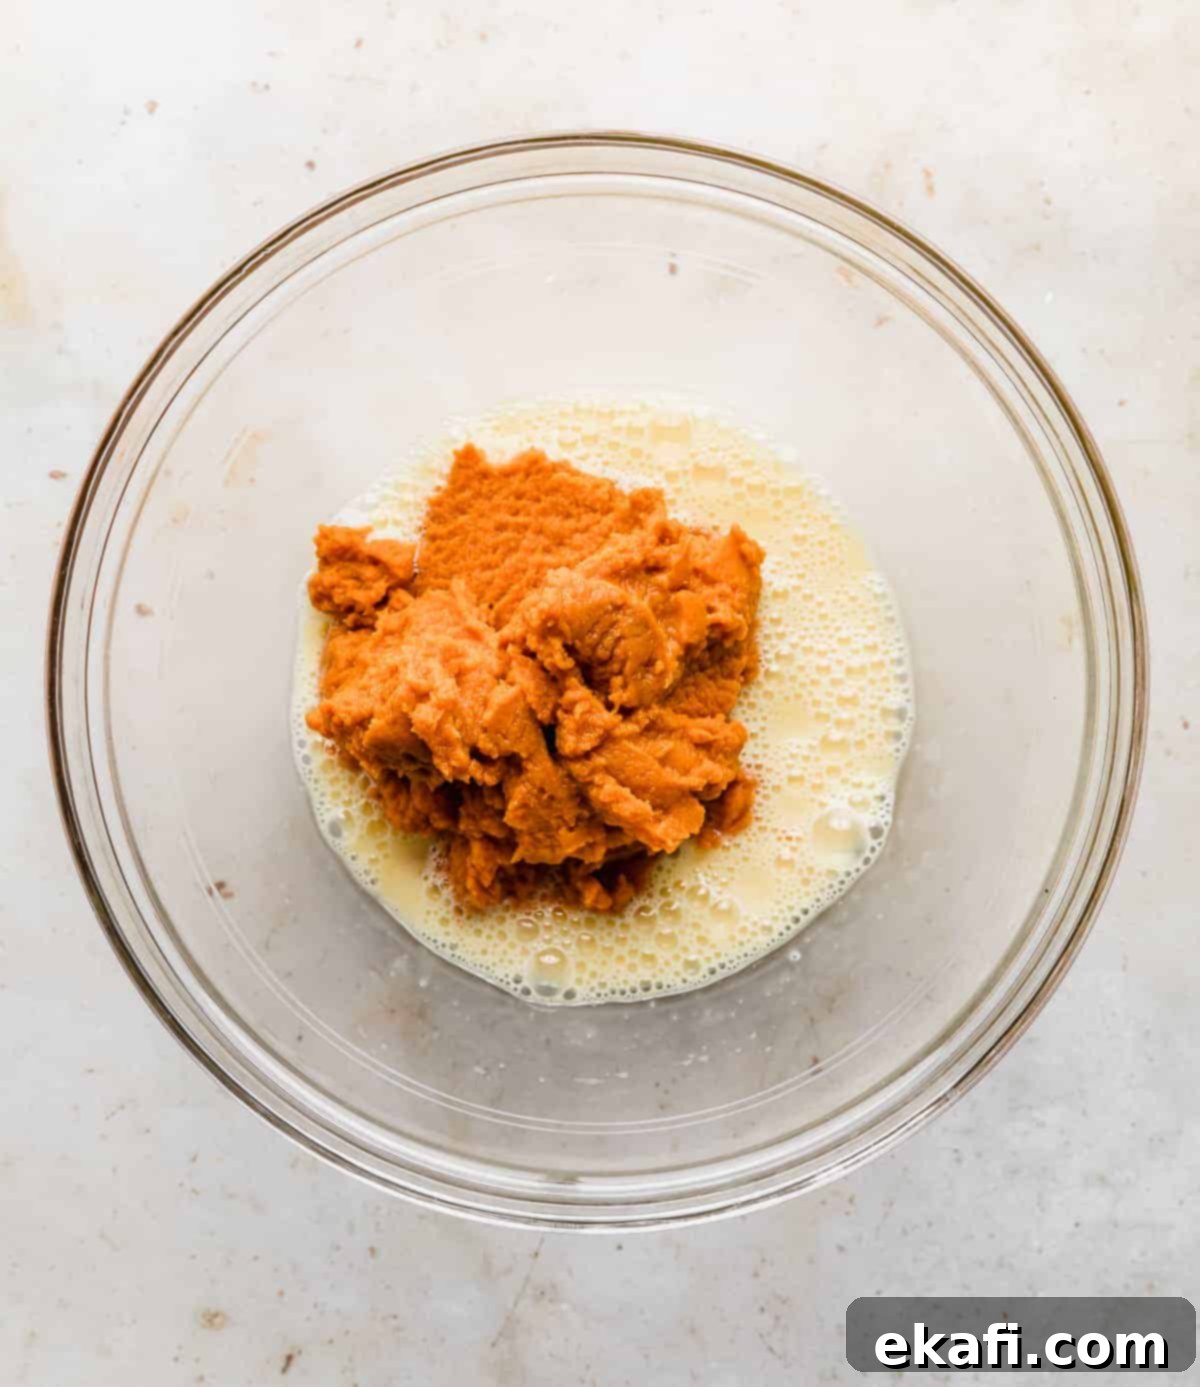
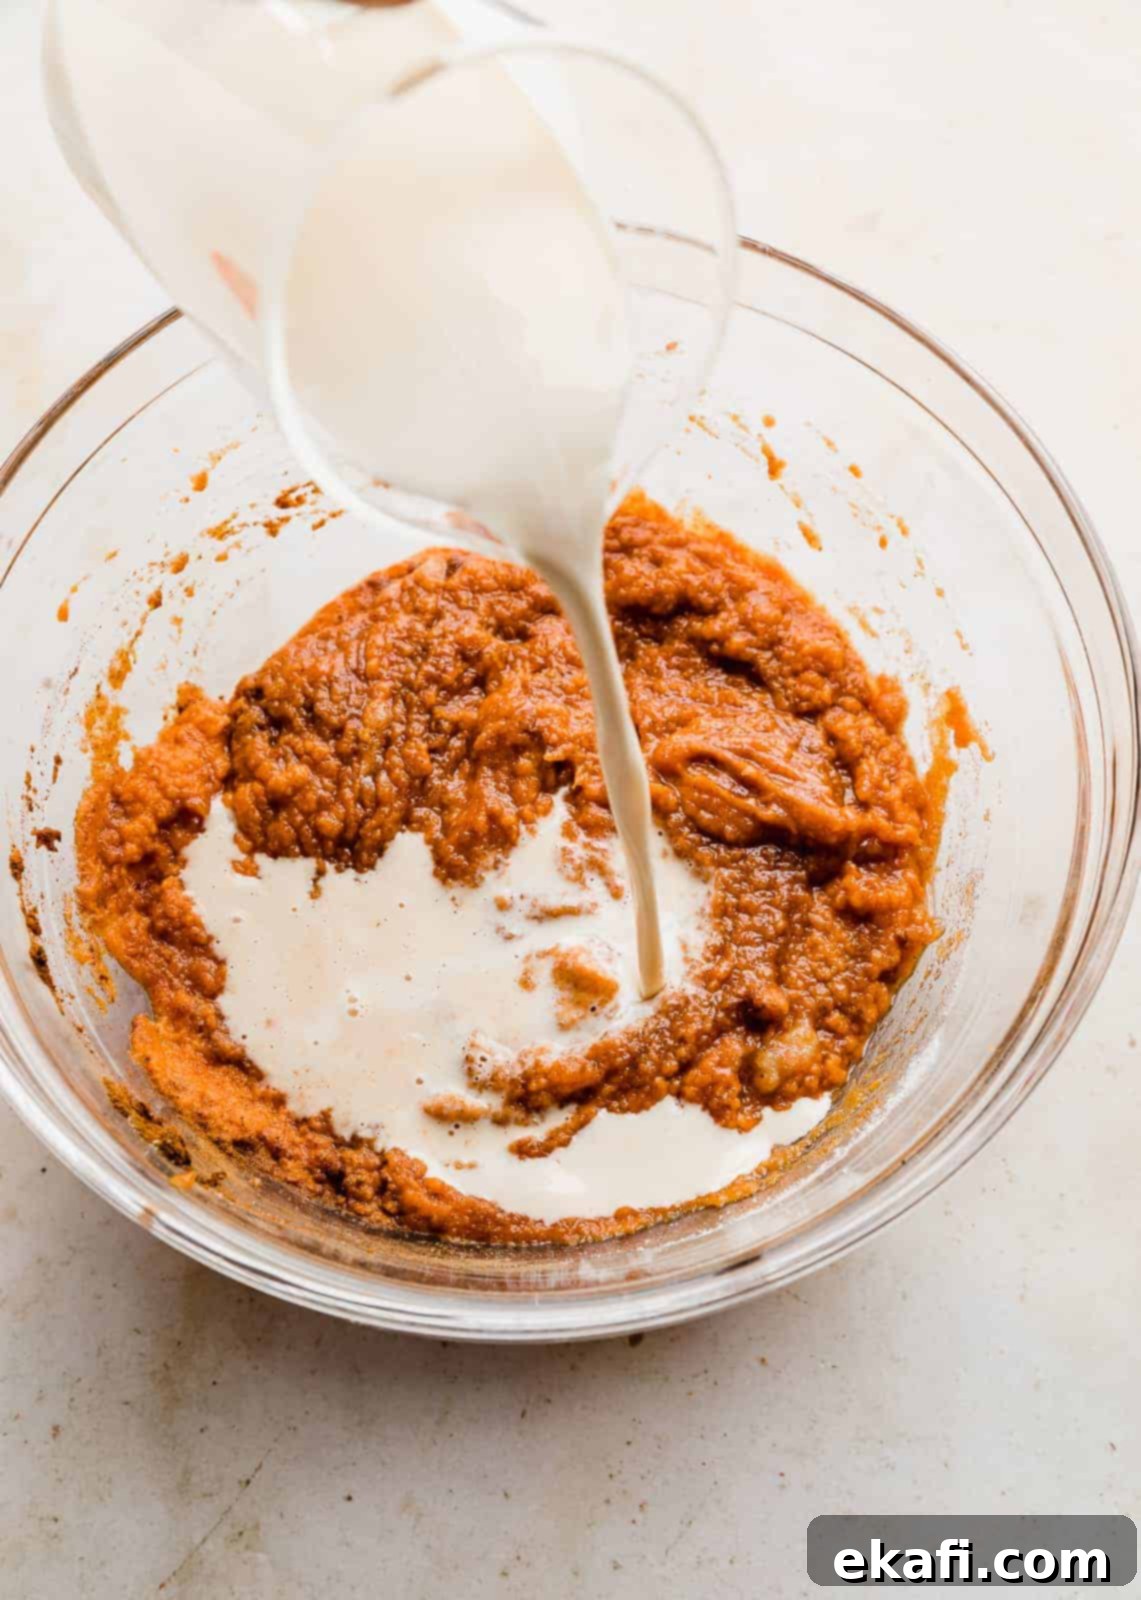
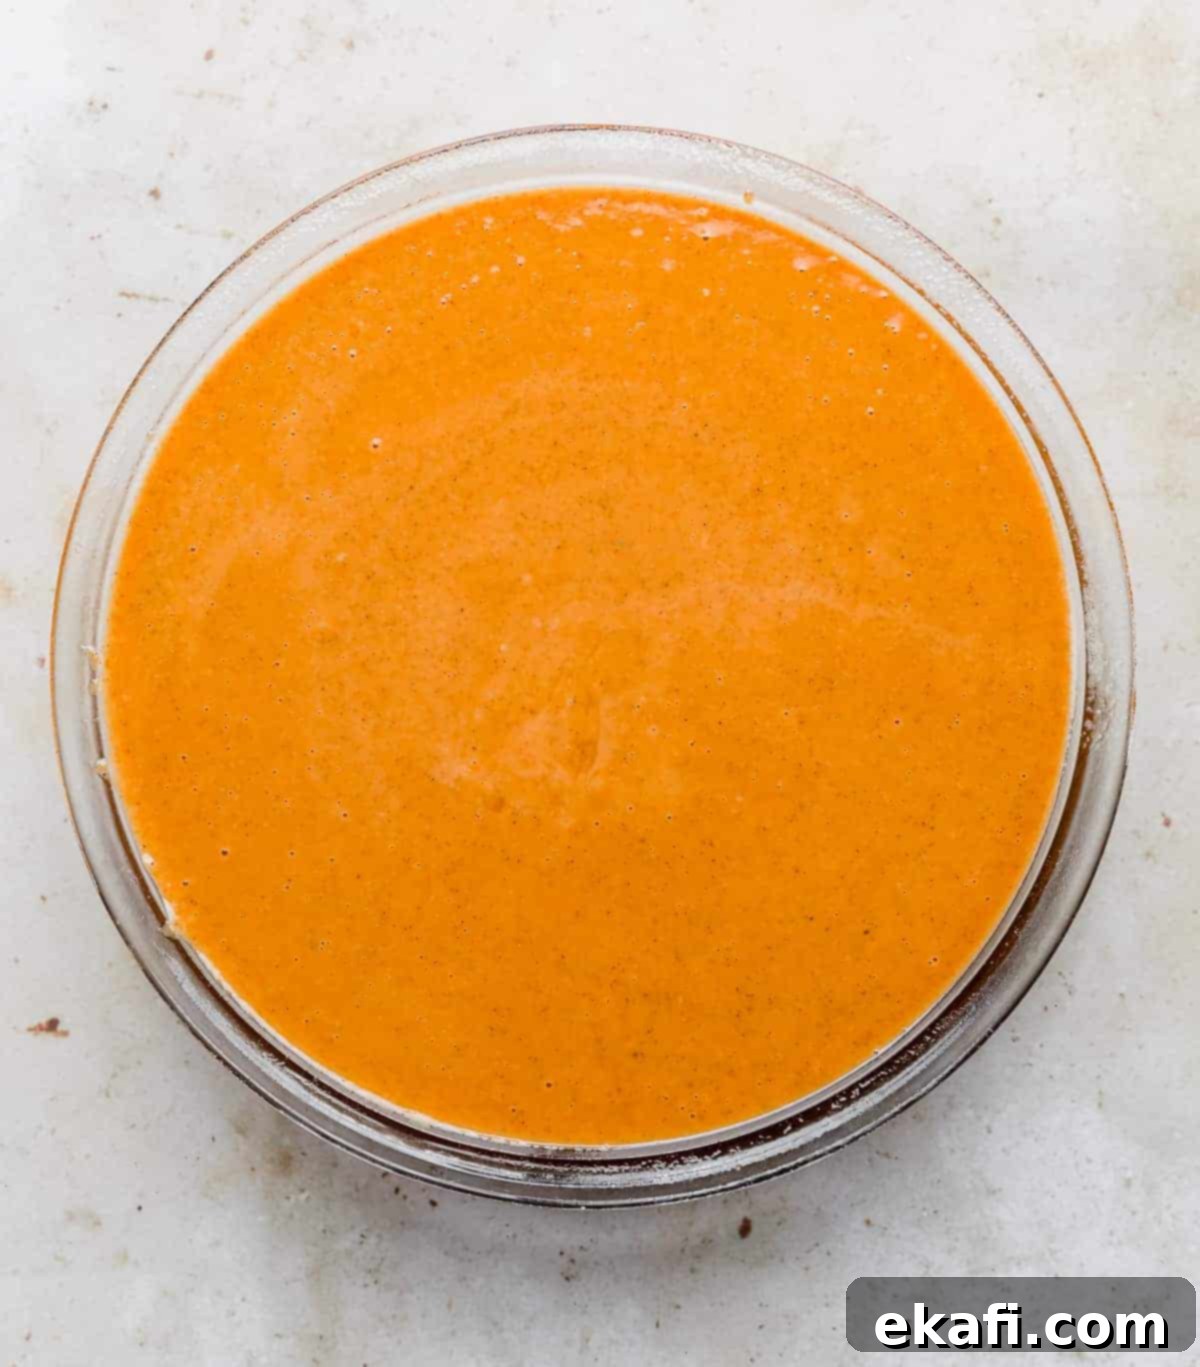
- Incorporate Evaporated Milk: Now, add one 12 oz (approximately 354ml) can of evaporated milk to the bowl. Continue mixing with your rubber spatula or a whisk until the entire pumpkin mixture is perfectly smooth, uniform in color, and fully combined. Ensure there are no streaks of unmixed spices or sugar. This final liquid addition will bring the filling to its ideal pourable consistency.
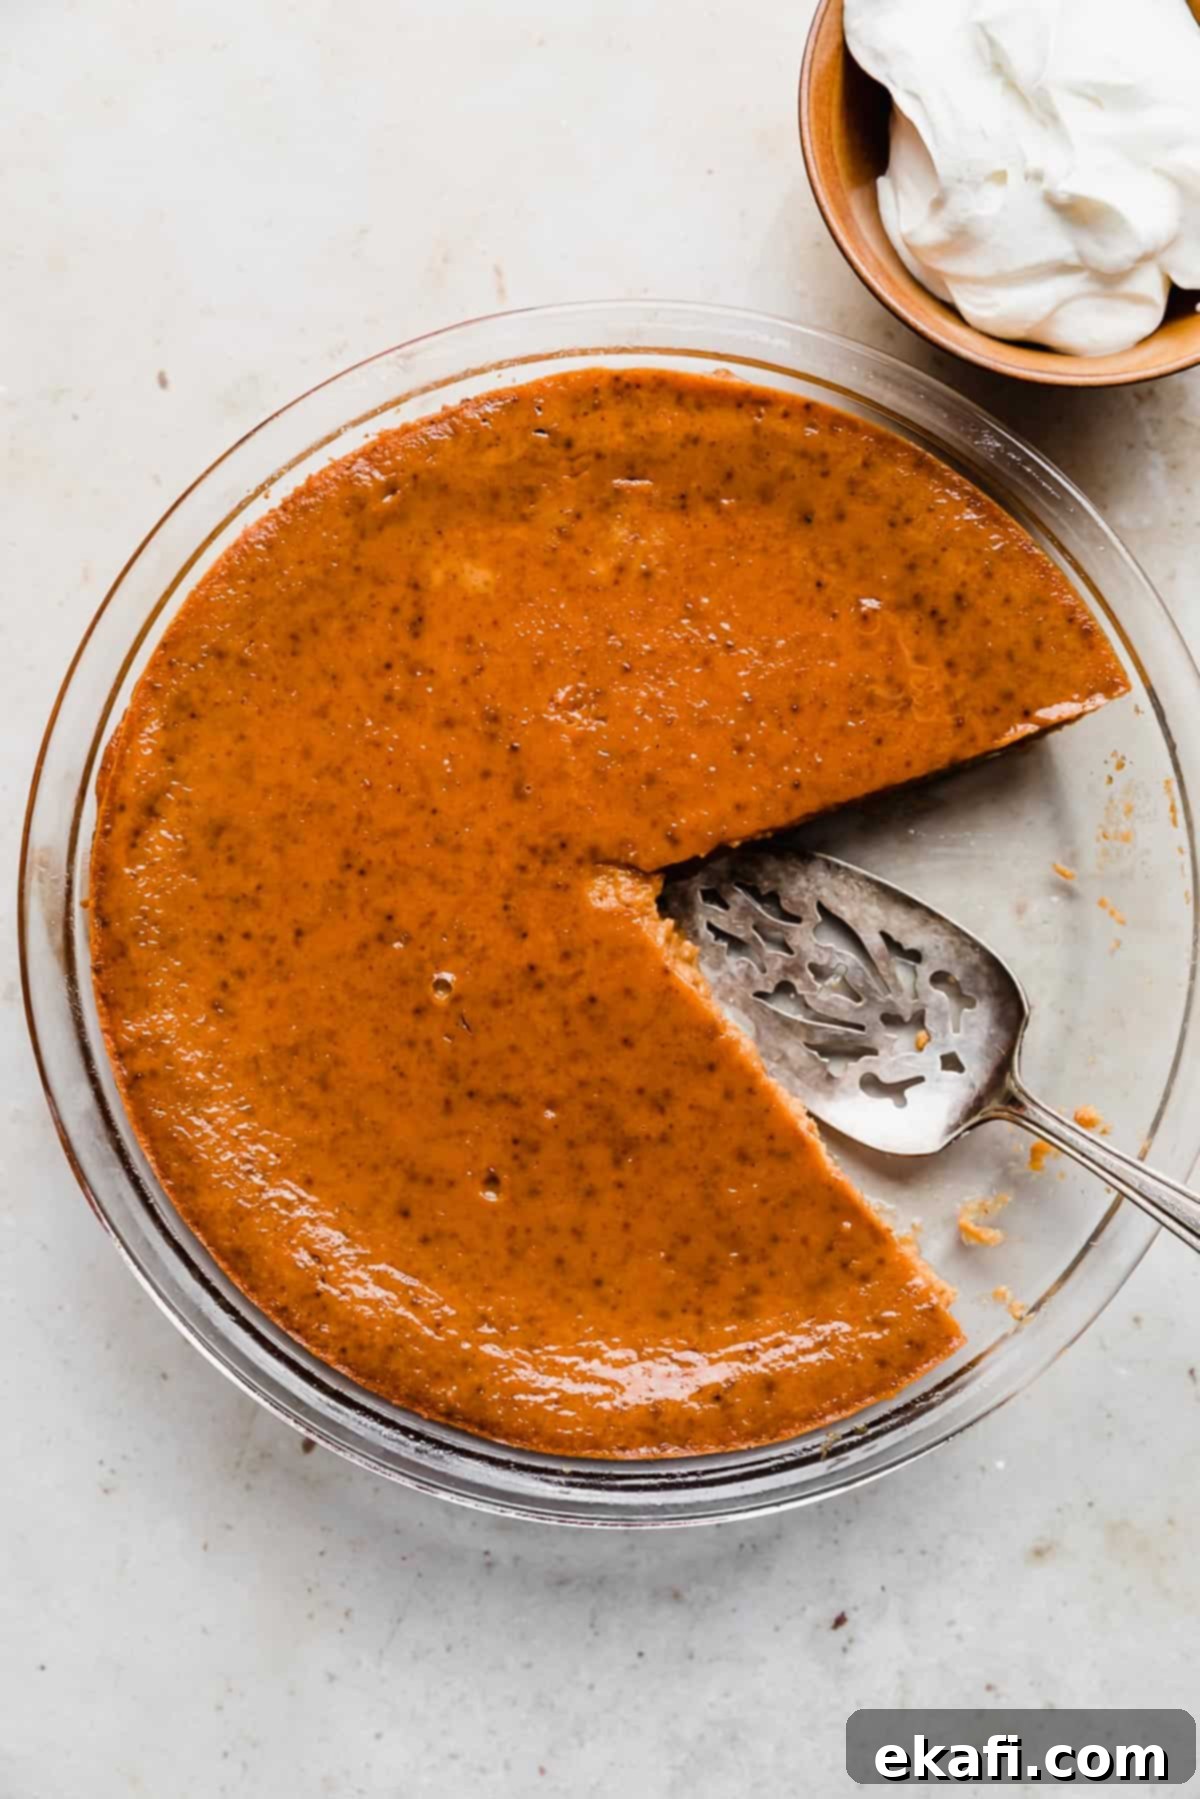
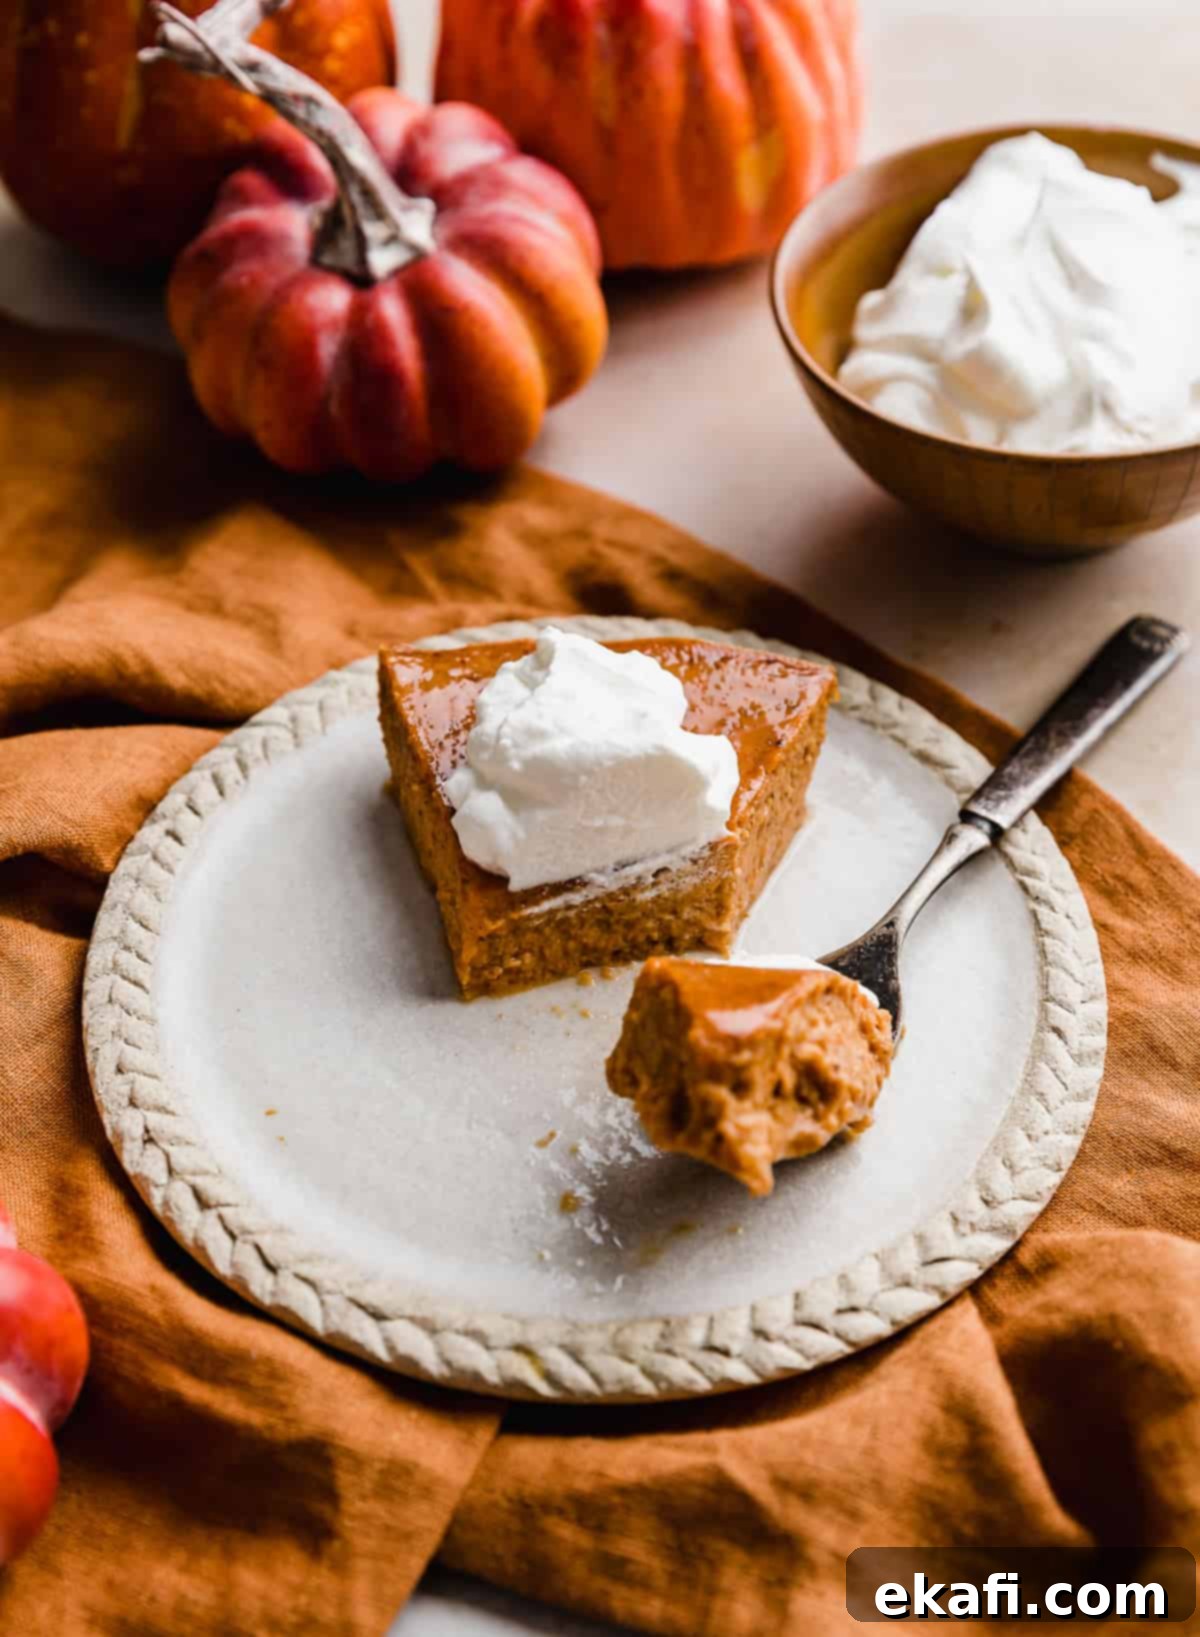
- Bake and Cool Your Pie: Carefully pour the smooth pumpkin filling into your greased 9-inch pie plate. Transfer the dish to the preheated oven and bake for 60-65 minutes. The pie is done when the edges appear set and slightly puffed, and the center is mostly set but might have a slight, almost imperceptible jiggle. It should NOT be watery or jiggly like liquid. Once baked, remove the pie from the oven and allow it to cool completely on a wire rack for at least 2 hours. This cooling time is crucial for the pie to fully set and achieve its perfect texture. Serve with a delightful dollop of freshly whipped cream or a scoop of your favorite vanilla ice cream. Enjoy every creamy, spiced bite!
Expert Recipe Tips for the Best Crustless Pumpkin Pie
Ensuring your crustless pumpkin pie turns out perfectly every time involves a few key details. Here are some expert tips to help you achieve a beautifully set and delicious dessert:
Checking for Doneness: The pie is fully baked when the edges appear set and firm, and the center of the pie has mostly set. While the center will be somewhat soft and may have a slight, subtle jiggle when gently nudged, it will NOT be liquid or jiggly like raw batter. Remember that all ovens vary, so it’s always best to use the visual cues rather than strictly adhering to time. You may need to add a few more minutes or reduce the bake time as needed for your specific oven.
Handle with Care: This recipe fills a standard 9-inch pie plate almost to the brim. To prevent any spills, transfer it to the oven very carefully. It’s often helpful to place the pie plate on a baking sheet before moving it, especially if your pie dish doesn’t have large handles.
- For a 10-inch glass round pie dish: Bake at 325°F (160°C) for approximately 45-50 minutes. The wider surface area means it will bake faster.
- For an 8-inch round cake pan: Bake at 350°F (175°C) for about 45-50 minutes. A slightly higher temperature for a smaller, deeper pan helps ensure even cooking.
- For a 13×9 inch glass baking dish: Bake at 325°F (160°C) for approximately 40-45 minutes. This will result in a thinner pie, so keep an eye on it to prevent overbaking.
Temperature Matters: This pie does not bake at a super high temperature, and for good reason! If the oven is too hot, the eggs in the mixture can curdle, leading to a grainy or unpleasant texture. That’s why it’s absolutely essential to strictly follow the listed baking temperatures for the best, smoothest custard. Don’t be tempted to crank up the heat to speed things up.
Patience in Cooling: It’s critical to let the pie completely cool on a wire rack for at least two hours before attempting to slice or serve it, or before transferring it to the fridge for storage. This cooling period allows the custard to fully set and firm up, ensuring clean slices and a perfect texture. Rushing this step can result in a runny or crumbly pie.
Make Ahead, Storing, and Freezing Your Crustless Pumpkin Pie
This crustless pumpkin pie is not only delicious but also incredibly convenient, as it can be prepared ahead of time and stored for later enjoyment. Here’s how to best manage your pie:
Make Ahead: You can prepare this wonderful crustless pumpkin pie a day or two in advance. Once fully baked and completely cooled, simply cover the pie tightly with plastic wrap and store it in the refrigerator for 1-2 days before serving. This makes it an ideal dessert for busy holidays, allowing you to get ahead on your meal prep.
Storing: Leftovers of this delicious pie will keep beautifully in the fridge for up to 5 days. Ensure it’s covered tightly with plastic wrap or aluminum foil to prevent it from drying out or absorbing other odors from your refrigerator. It tastes just as good, if not better, the next day as the flavors have more time to meld.
Freezing: If you’re looking to extend the life of your pie even further, it freezes exceptionally well! First, allow the baked pie to cool completely to room temperature. Then, wrap the entire pie dish thoroughly in plastic wrap twice, ensuring an airtight seal. Follow this with a layer of heavy-duty aluminum foil. This double-layer protection helps prevent freezer burn. You can freeze the pie for up to 2 months. To enjoy, simply remove it from the freezer and let it thaw in the refrigerator overnight. You can serve it chilled, or gently warm slices in the microwave for a few seconds if you prefer it slightly warm.
Crustless Pumpkin Pie: Frequently Asked Questions
Here are answers to some common questions about making and enjoying this delightful crustless pumpkin pie:
When it comes to healthy dessert options, you can’t get much better than a crustless pumpkin pie! By omitting the often calorie-dense and fat-laden buttery crust, this pie becomes a fantastic healthy choice. Beyond being crustless, it’s inherently healthier than many other pies because its primary ingredient, pumpkin, is a vegetable! Pumpkin is naturally low in calories and boasts an impressive nutritional profile, being high in vital nutrients like Vitamin A (a powerful antioxidant) and dietary fiber, which aids digestion and promotes a feeling of fullness. This makes it a truly guilt-free indulgence.
While it’s always an estimate and impossible to be absolutely precise due to varying slice sizes, a serving of this pumpkin crustless pie contains approximately 167 calories. The significant reduction in calories compared to a traditional pumpkin pie comes directly from the absence of the buttery, flour-based crust. A typical slice of pumpkin pie with a crust can easily range from 300-400 calories or more, so skipping the crust offers a substantial calorie saving without sacrificing flavor. Please note that this estimate doesn’t include any toppings like whipped cream or ice cream.
Classic pumpkin pie filling, whether crustless or not, is typically made from a core set of ingredients. These usually include smooth pumpkin puree, rich evaporated milk (which contributes to its creamy texture), granulated sugar for sweetness, and a harmonious combination of warming spices such as cinnamon, ginger, cloves, and nutmeg. Eggs are also a crucial component, providing structure and helping the filling to set into a delicious custard.
Yes, absolutely! This crustless pumpkin pie recipe is naturally gluten-free. Every ingredient used in this no-crust pumpkin pie – from the pumpkin puree and evaporated milk to the eggs and spices – is inherently gluten-free. Since we are completely omitting the traditional flour-based crust, there is no gluten present in this dessert. This makes it an ideal and delicious gluten-free Thanksgiving dessert or holiday treat for individuals with celiac disease, gluten sensitivity, or those simply choosing to avoid gluten in their diet.
Indeed, you can! Using fresh pumpkin can add an extra layer of flavor and freshness to your pie. However, it requires a bit more preparation. You would first need to prep your fresh pumpkin (such as sugar pumpkin or Hokkaido pumpkin) to achieve a consistency similar to canned pumpkin puree. This typically involves baking the pumpkin (you can lightly season it with salt), allowing it to cool, scooping the flesh from the skins, and then pureeing it in a blender or food processor until perfectly smooth. Ensure it’s not too watery; if it is, you might gently simmer it to reduce excess moisture before using.
For this specific crustless pumpkin pie recipe, when using a standard 9-inch pie plate, the baking time required is approximately 60-65 minutes. However, baking times can vary slightly depending on your specific oven and the actual size and material of your pie dish. If you plan to use a different size or type of pan, please refer to the detailed Recipe Tips section above for specific adjustments to both baking temperature and time to ensure your pie bakes perfectly.
The beauty of a crustless pumpkin pie is that its rich, creamy filling is the star, making it a perfect canvas for a variety of delicious toppings. A classic dollop of freshly whipped cream is always a winner, adding a light, airy contrast. For extra indulgence, consider a scoop of vanilla bean ice cream or a drizzle of caramel sauce. A sprinkle of toasted pecans or candied walnuts can add a delightful crunch and nutty flavor. For a touch of elegance, dust with a little extra cinnamon or grated nutmeg just before serving. Any of these options will elevate your dessert experience!
Yes, it’s certainly possible to make this crustless pumpkin pie dairy-free! The primary dairy ingredient is evaporated milk. To make it dairy-free, simply substitute the regular evaporated milk with a dairy-free alternative such as evaporated coconut milk or a high-quality, unsweetened canned full-fat coconut milk (often found in the international aisle). These alternatives will provide a similar creamy consistency. Ensure all other ingredients, like pumpkin puree and spices, are naturally dairy-free. This substitution allows everyone, including those with lactose intolerance or dairy allergies, to enjoy this delicious holiday treat.
Explore More Delicious Pumpkin Recipes
If you’re a fan of pumpkin as much as we are, then you’ll love these other fantastic pumpkin-inspired recipes from our collection. They’re perfect for embracing the flavors of autumn or enjoying year-round:
- Pumpkin Chocolate Chip Coffee Cake
- Homemade Pumpkin Juice
- Soft Pumpkin Chocolate Chip Cookies
- Moist Pumpkin Chocolate Chip Bread
- Classic Pumpkin Cake with Cream Cheese Frosting
Did you make this delightful Crustless Pumpkin Pie recipe? We’d be absolutely thrilled to hear about your experience! Please leave a star rating and a review below the recipe card, or scroll down to the comments section to share your thoughts. Your feedback helps us and other home bakers!
Stay up-to-date with all our latest recipes and baking tips by following us on Instagram, TikTok, YouTube, Facebook, and Pinterest. We love seeing your creations!
Print
SaveSaved!
Review
Crustless Pumpkin Pie
Ingredients
- 3/4 cup granulated sugar
- 1 teaspoon ground cinnamon
- 1/2 teaspoon ground ginger
- 1/4 teaspoon ground cloves
- 1/4 teaspoon ground nutmeg
- 1/2 teaspoon salt
- 2 large eggs
- 15 oz can pumpkin puree
- 12 oz can evaporated milk
- whipped cream – for topping
Equipment
-
9″ pie plate
Instructions
-
Spray a glass 9-inch round pie plate with nonstick cooking spray. This step is essential to prevent sticking, especially since there is no crust. (See notes below for other size pans and oven temperatures).
-
Preheat oven to 325°F (160°C). This lower temperature is important to prevent the eggs from curdling and ensures a smooth, creamy custard.
-
In a large mixing bowl, beat the eggs until well mixed and slightly frothy. Add the pumpkin puree and mix thoroughly until completely combined and smooth.
-
Add the granulated sugar, ground cinnamon, ground ginger, ground cloves, ground nutmeg, and salt to the pumpkin mixture. Using a rubber spatula, partially mix these dry ingredients in. Then, add the 12 oz can of evaporated milk and continue mixing until the pumpkin mixture is fully combined, smooth, and uniform in color.
-
Carefully pour the pumpkin filling into the prepared pie plate. Bake in the preheated oven for 60-65 minutes. The pie is done when the edges are set and lightly golden, and the center of the pie is mostly set with a very slight, barely perceptible jiggle when gently shaken. It should NOT be watery or overtly jiggly. As all ovens vary, you may need to adjust the bake time by a few minutes more or less.
-
Once baked, remove the pie from the oven and transfer it to a wire rack to cool completely for at least 2 hours. This extended cooling time is crucial for the pie to fully set and achieve its perfect creamy custard consistency. Serve immediately (preferably with freshly whipped cream or your favorite toppings) or refrigerate for later enjoyment.
Notes
For a 10-inch glass round pie dish, bake your pie at 325°F (160°C) for approximately 45-50 minutes. The larger surface area means it will cook a bit faster.
If you opt for an 8-inch round cake pan, bake at a slightly higher temperature of 350°F (175°C) for 45-50 minutes. This helps the deeper filling cook evenly.
For baking in a 13×9 inch glass baking dish, the pie will be thinner. Bake it at 325°F (160°C) for a shorter duration of 40-45 minutes, checking for doneness carefully to avoid overbaking.
It is crucial that this pie does not bake at a super high temperature. Exposing the egg-rich mixture to excessive heat can cause the eggs to curdle, resulting in an undesirable grainy or rubbery texture. Therefore, adhering strictly to the recommended baking temperatures for each pan size is vital for achieving a silky, smooth custard.
Allowing the pie to cool completely to room temperature before serving or transferring to the fridge is a non-negotiable step. This extended cooling period allows the custard to fully set and firm up, guaranteeing clean, perfect slices and a delightful eating experience.
Please note that the nutritional information provided is an estimate only and does not include any added toppings such as whipped cream or ice cream, which would increase the total calorie and nutrient count.
Nutrition
