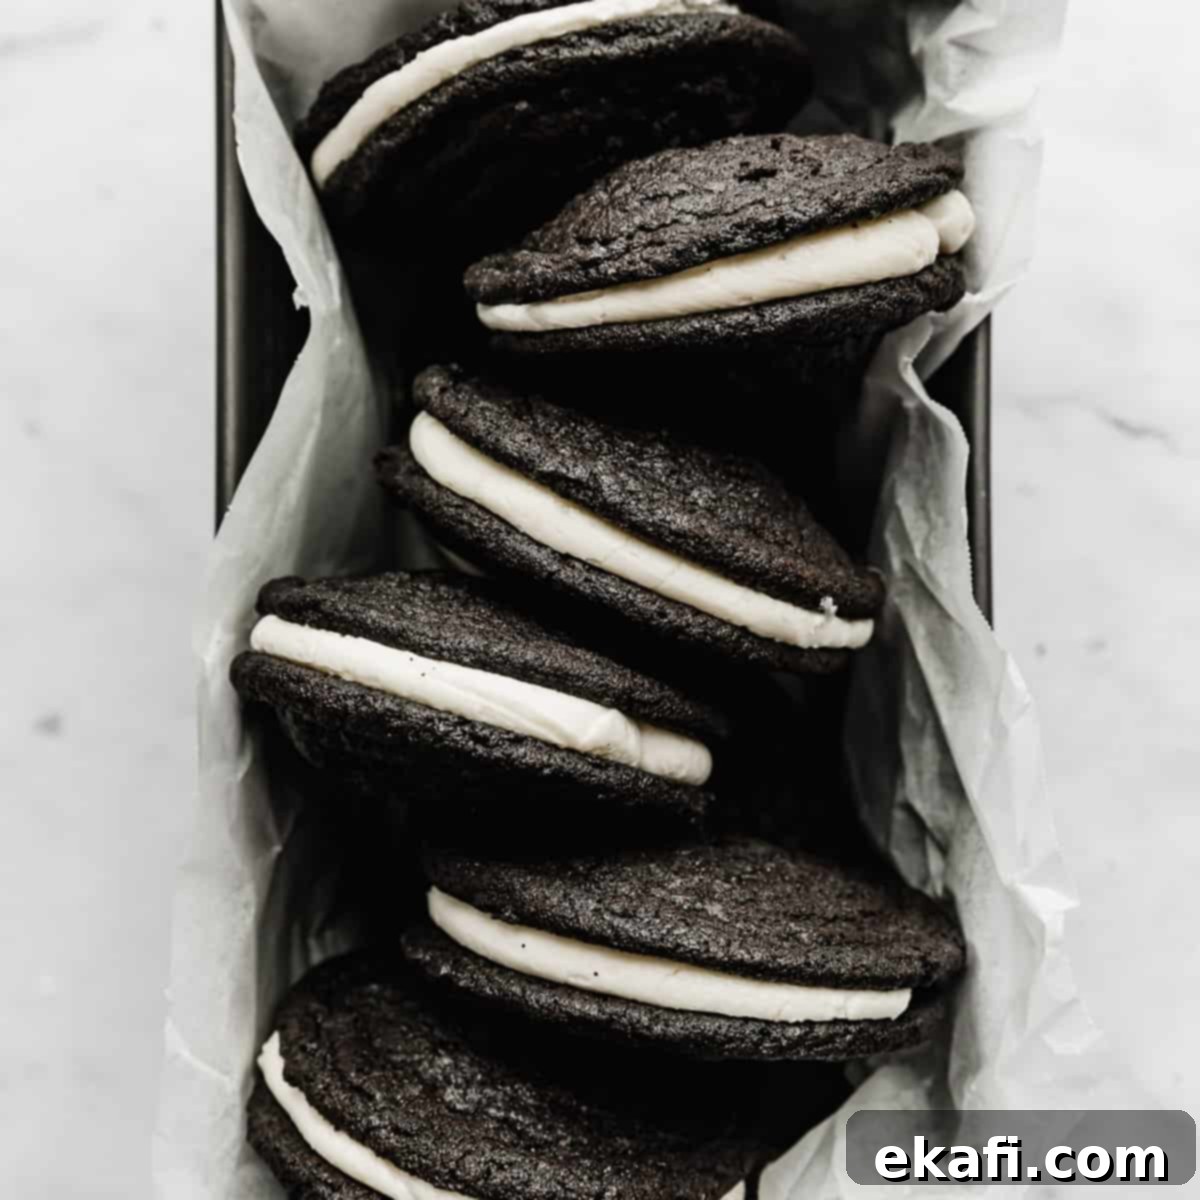
Indulge in The Best Homemade Oreo Cookies with Creamy Vanilla Buttercream
Prepare to elevate your dessert game with these truly exceptional homemade Oreo cookies. Forget everything you thought you knew about store-bought Oreos; our rendition features a deeply rich, intensely chocolatey black cocoa cookie, perfectly complemented by a luscious, velvety vanilla buttercream frosting. These aren’t just cookies; they’re an experience – super soft, delightfully chewy, and bursting with authentic Oreo flavor that simply can’t be matched by their mass-produced counterparts. Imagine biting into a cookie that captures the essence of your favorite childhood treat, but with an unparalleled freshness and melt-in-your-mouth texture.
It’s no secret that the magic of Oreo translates wonderfully into countless desserts. My recent culinary adventures have certainly been on an “Oreo kick,” leading to delightful creations like Oreo Donuts, decadent Oreo Truffle Brownies, festive Oreo Birthday Cake Cookies, and even a versatile Oreo Pie Crust. Whether you’re a fan of cookies, cakes, brownies, or pies, the iconic chocolate and cream flavor profile of Oreo is undeniably a welcome addition, transforming ordinary desserts into extraordinary ones. This recipe, however, brings the classic sandwich cookie back to its roots, making it shine brighter than ever before, proving that homemade truly is always better.
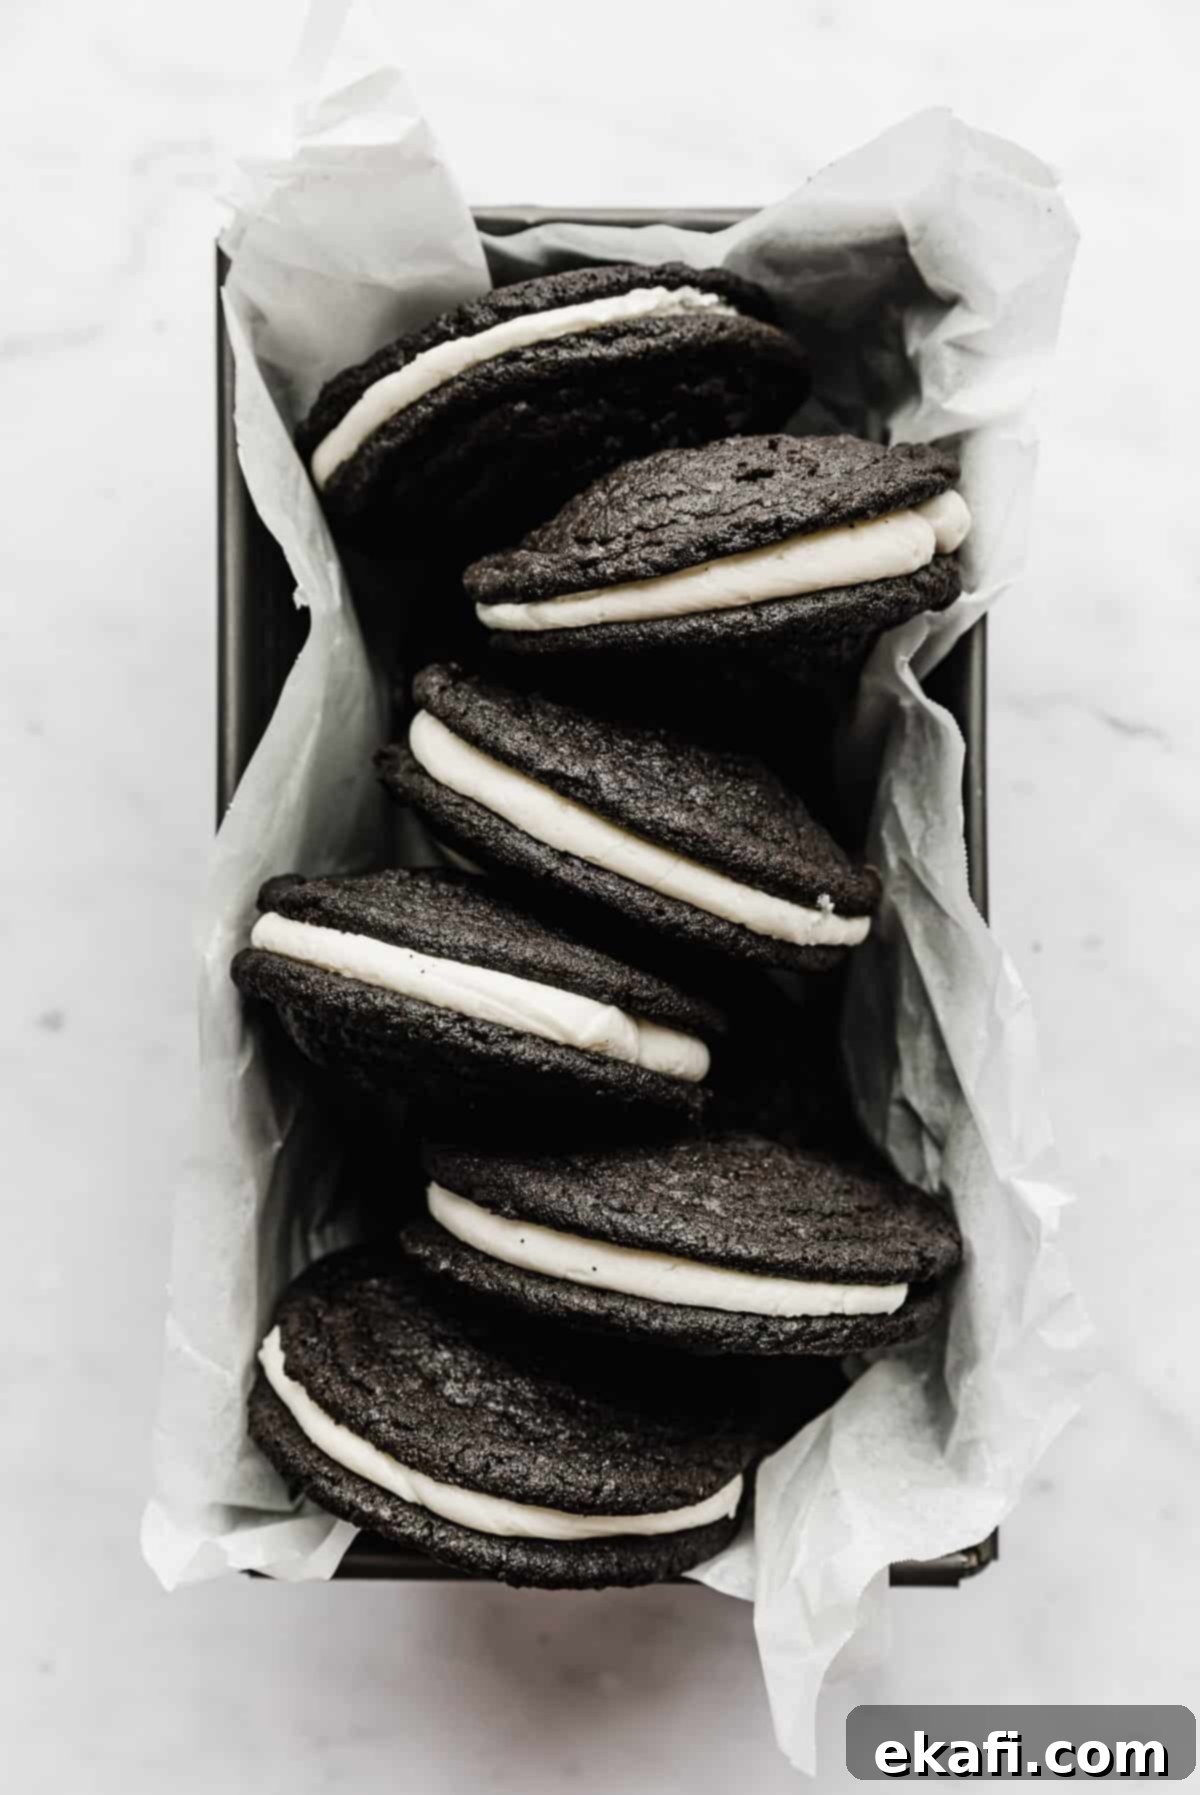
Why This Homemade Oreo Recipe is a Must-Try
- Decadent Vanilla Buttercream: Our signature vanilla buttercream frosting is truly the star that brings these chocolate sandwich cookies to life. Unlike the often waxy and overly sweet filling of commercial Oreos, our homemade version is incredibly light, fluffy, and boasts a deeply authentic vanilla flavor. We don’t skimp on the good stuff here – with a generous three teaspoons of premium vanilla extract, every bite delivers a burst of aromatic sweetness that perfectly complements the rich chocolate cookie. This amplified vanilla note ensures a balanced and incredibly satisfying experience, making it far superior to any store-bought alternative.
- Perfectly Dense & Chewy Cookie Texture: Achieving that iconic Oreo cookie texture is crucial, and our recipe nails it. By strategically reducing the amount of baking powder, we create a cookie that’s wonderfully dense and slightly firm, yet still incredibly soft and chewy, rather than light and cake-like. This thoughtful adjustment is key to mimicking the substantial bite of an authentic Oreo, providing a satisfying chew that makes these cookies genuinely irresistible and far superior to any hard, crumbly option from the grocery store. This texture is what truly distinguishes homemade from mass-produced.
- Intense, Authentic Oreo Flavor: The secret to our cookies’ robust and unmistakable Oreo taste lies in two powerful ingredients. Firstly, we utilize genuine black cocoa powder, which is essential for that signature dark color and a distinct, less bitter, mellow chocolate flavor that is characteristic of the original Oreo. Secondly, the addition of finely crushed Oreo crumbs directly into the cookie dough infuses every morsel with an extra layer of that beloved, familiar flavor. This combination ensures a depth of taste that truly shines through, making these homemade treats taste just like, if not better than, the real deal you remember.
Key Ingredients for Perfect Homemade Oreos
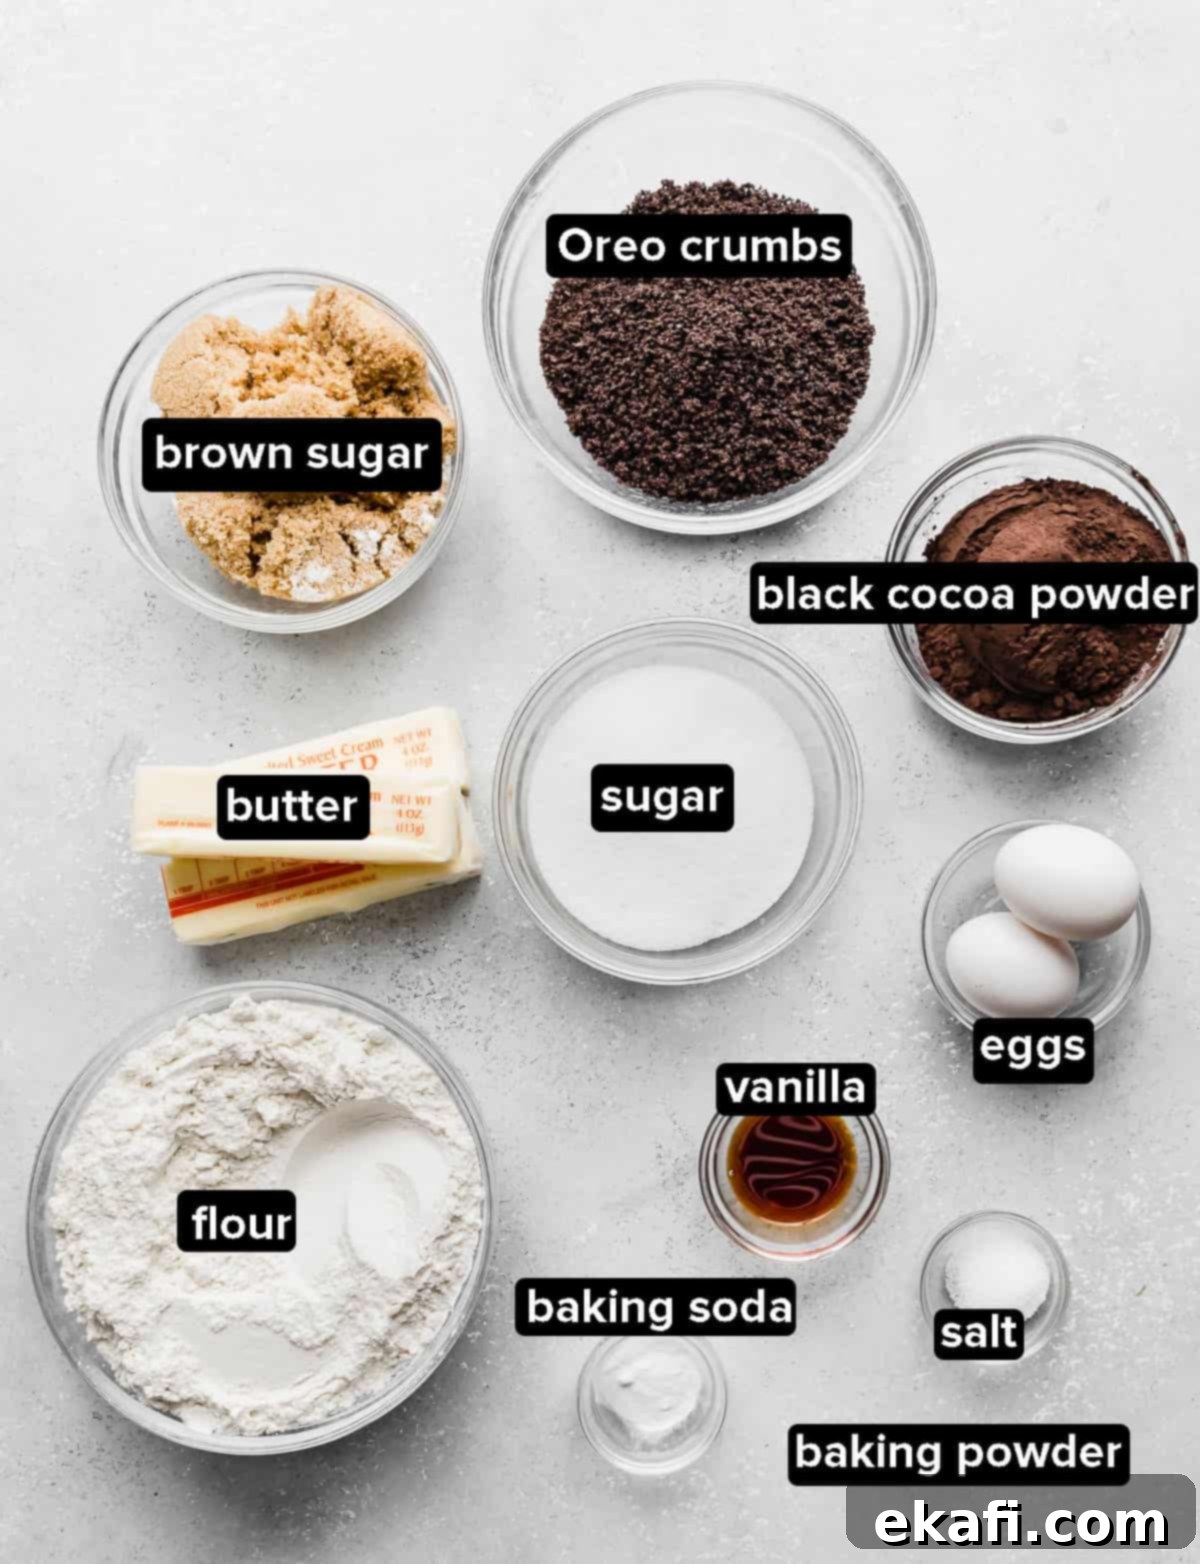
- Black Cocoa Powder: This isn’t just any cocoa powder; it’s the secret ingredient for authentic Oreo flavor and color! Black cocoa powder is cocoa that has been heavily “Dutched,” meaning it’s treated with an alkaline solution. This process significantly neutralizes the acidity found in natural cocoa, resulting in a much darker, almost black color and a milder, less bitter, and distinctly mellow chocolate flavor. This is precisely what gives commercial Oreo cookies their unique taste and deep hue. For a deeper dive into this fascinating ingredient, be sure to check out my comprehensive black cocoa powder guide.
- Oreo Crumbs: To further enhance that unmistakable Oreo flavor, we incorporate actual crushed Oreo cookies into our dough. This not only adds a textural element but also deepens the iconic taste, ensuring every bite is intensely “Oreo-fied.” Make sure to crush them finely for an even distribution throughout the cookie base, creating a truly harmonious flavor profile.
- Unsalted Butter (Softened): Butter is fundamental to the structure and flavor of these cookies. Using softened unsalted butter allows it to cream properly with the sugars, incorporating air for a tender crumb. Its high-fat content is crucial for creating that melt-in-your-mouth, chewy texture we desire in a perfect cookie. Ensure it’s at true room temperature for optimal creaming.
- Brown Sugar & Granulated Sugar: The combination of both brown and granulated sugars is vital for achieving the ideal balance of sweetness, texture, and moisture. Brown sugar, with its inherent molasses, contributes to the soft, chewy texture of the cookies, adding moisture and a subtle caramel-like depth of flavor. Granulated sugar, on the other hand, aids in spreading and crisping the edges slightly, providing a lovely textural contrast and ensuring the cookies aren’t too cakey.
- Large Eggs (Room Temperature): Eggs act as a binder, provide structure, and add richness to the cookie dough. Using room temperature eggs ensures they emulsify better with the butter and sugar, leading to a smoother, more uniform dough and a better final cookie texture. If you forget to take them out in advance, place them in a bowl of warm water for 10 minutes.
- Vanilla Extract: Essential for both the cookies and especially the buttercream, high-quality vanilla extract provides warmth and depth, enhancing all the other flavors. In the buttercream, a generous amount is used to create that bright, sweet, and comforting filling that truly makes these cookies pop.
- All-Purpose Flour: The foundational dry ingredient, all-purpose flour provides the necessary structure for our cookies. Precise measurement is key here to avoid tough cookies – spoon and level your flour rather than scooping directly from the bag.
- Baking Soda & Baking Powder: These leavening agents work in harmony. Baking soda reacts with any acids in the recipe (even in Dutched cocoa, there might be slight residual acidity or from brown sugar) to help the cookies spread, while baking powder contributes to a slight lift. The reduced amount of baking powder, as discussed earlier, helps maintain the desired dense, chewy texture without making them too fluffy.
- Salt: A small but mighty ingredient, salt balances the sweetness, enhances the chocolate flavor, and brings out the best in all the other ingredients, creating a more complex and satisfying taste experience. Don’t skip it!
Step-by-Step Instructions for Homemade Oreo Cookies
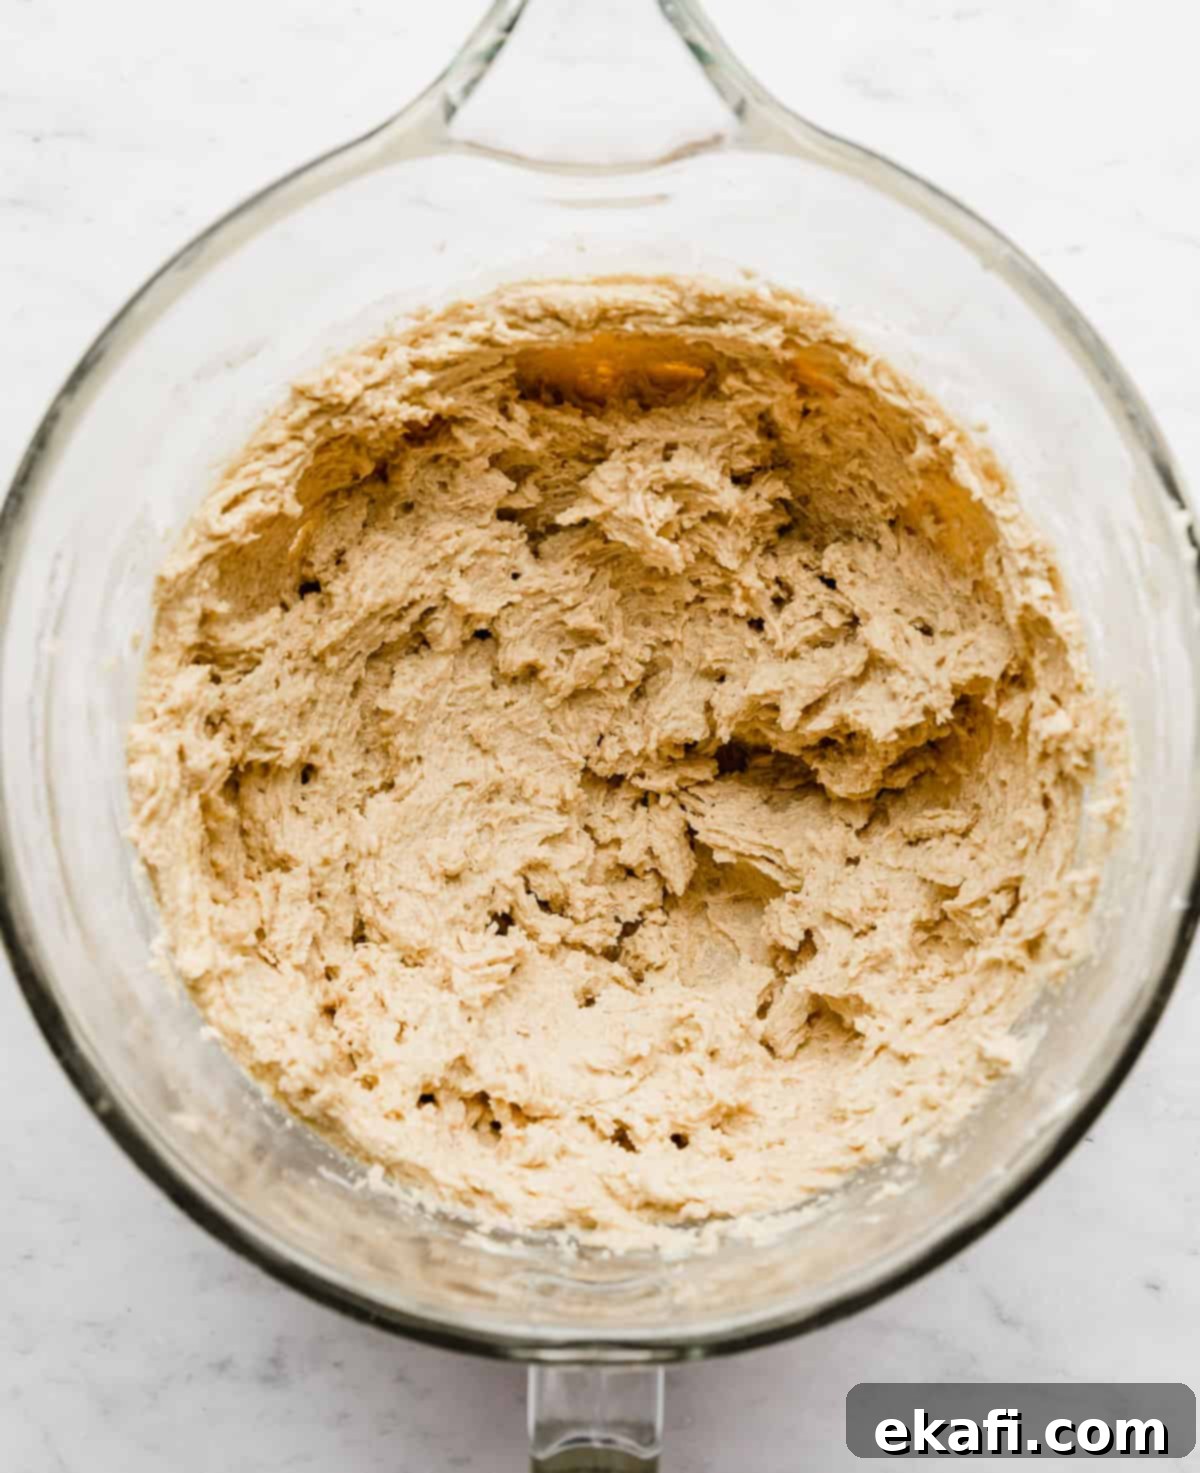
- Prepare the Cookie Dough Base: In the bowl of a stand mixer fitted with the paddle attachment, cream the softened butter, light brown sugar, and granulated sugar together on medium speed for 2-3 minutes. Continue mixing until the mixture is light, fluffy, and well combined. This creaming process is vital for incorporating air, which contributes to the cookie’s tender texture.
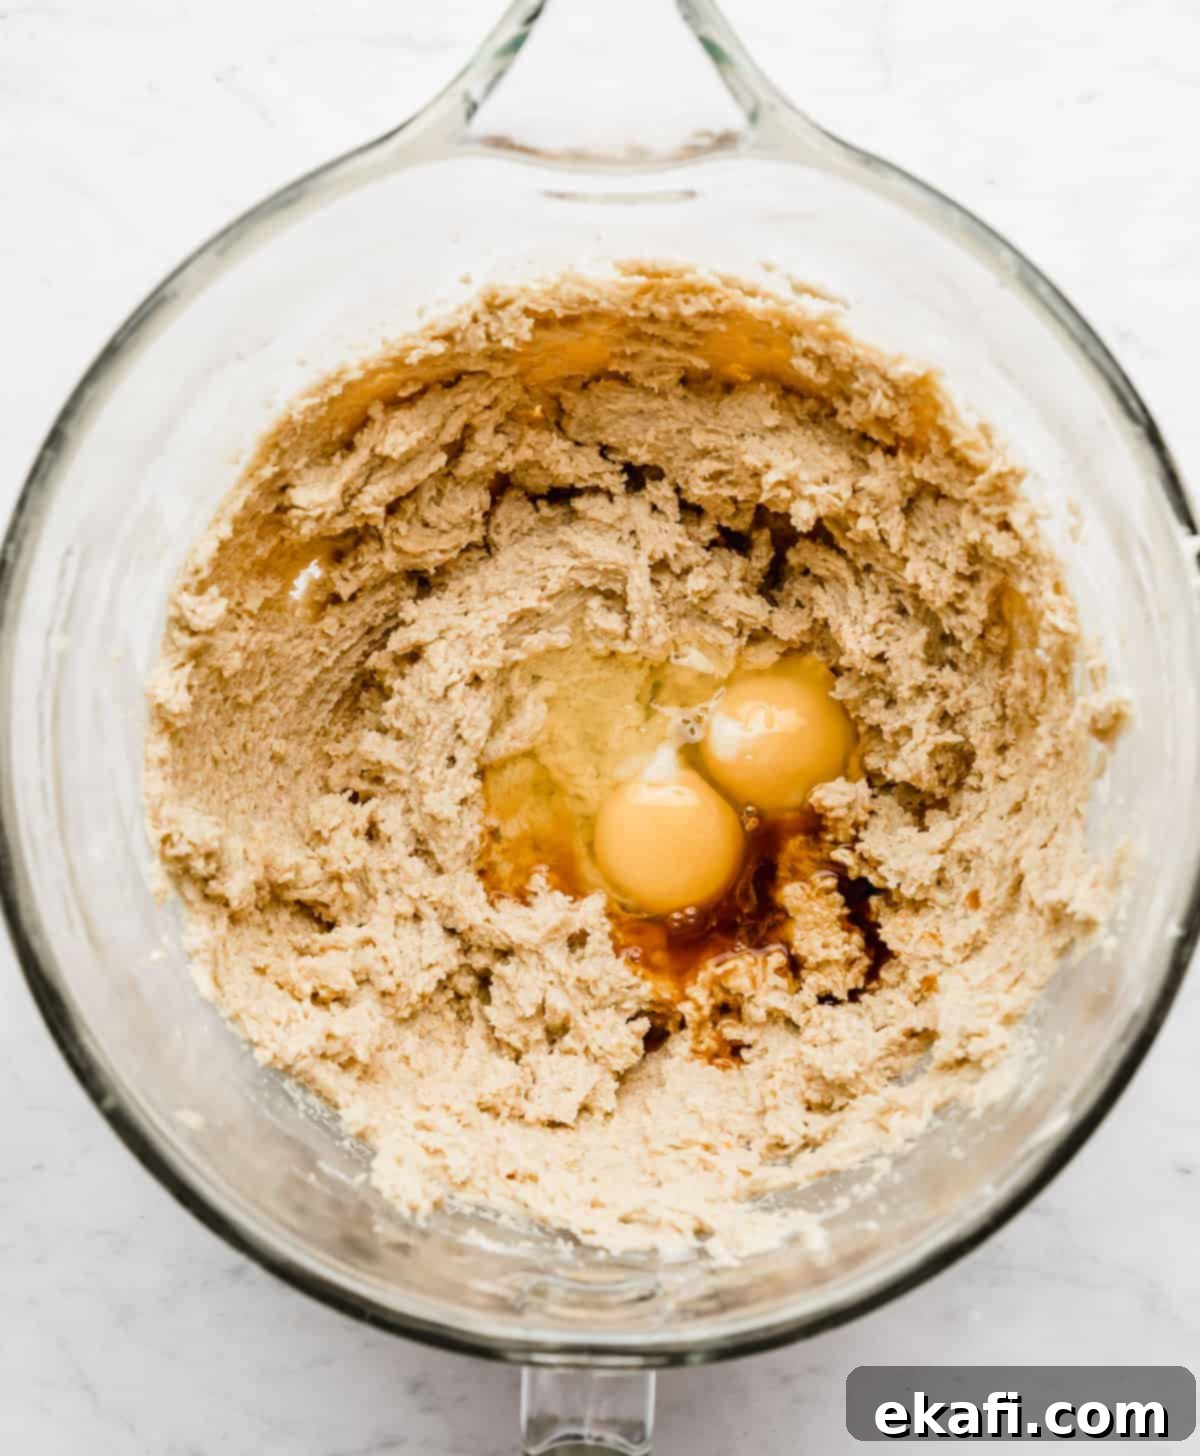
- Incorporate Wet Ingredients: Add the room temperature eggs one at a time, mixing well after each addition. Then, stir in the vanilla extract. Scrape down the sides of the bowl as needed to ensure all ingredients are thoroughly incorporated and the mixture is smooth.
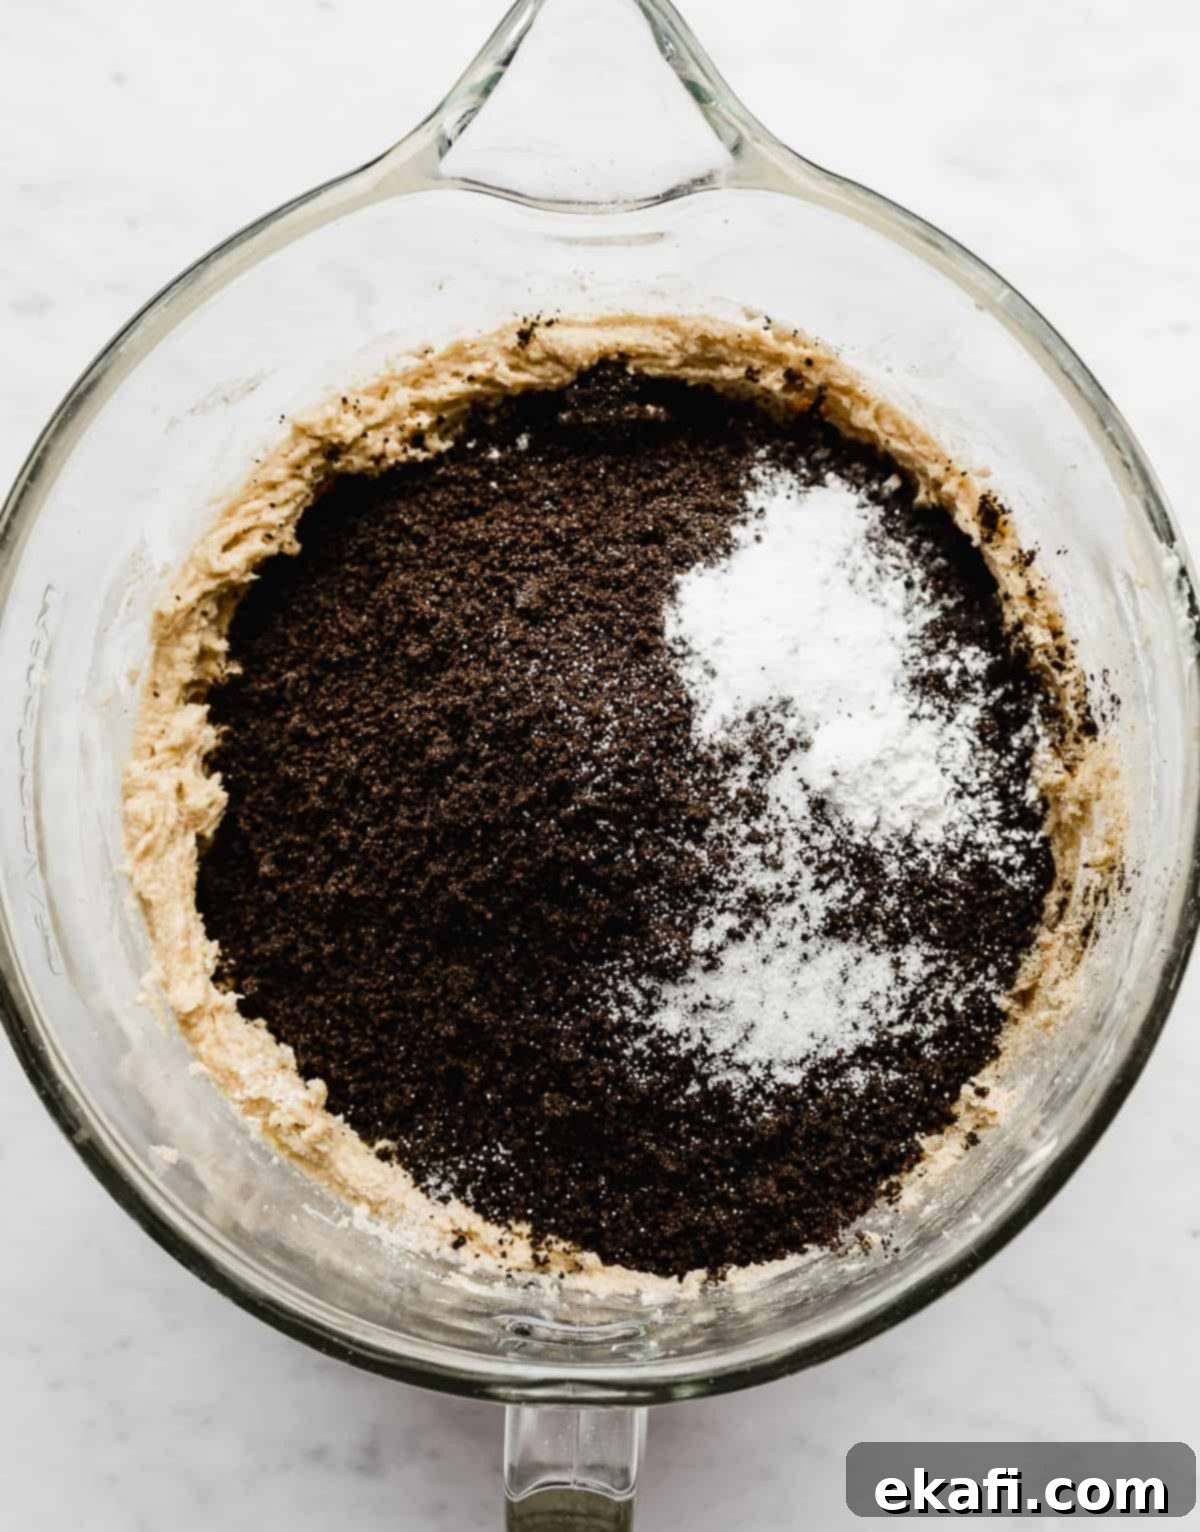
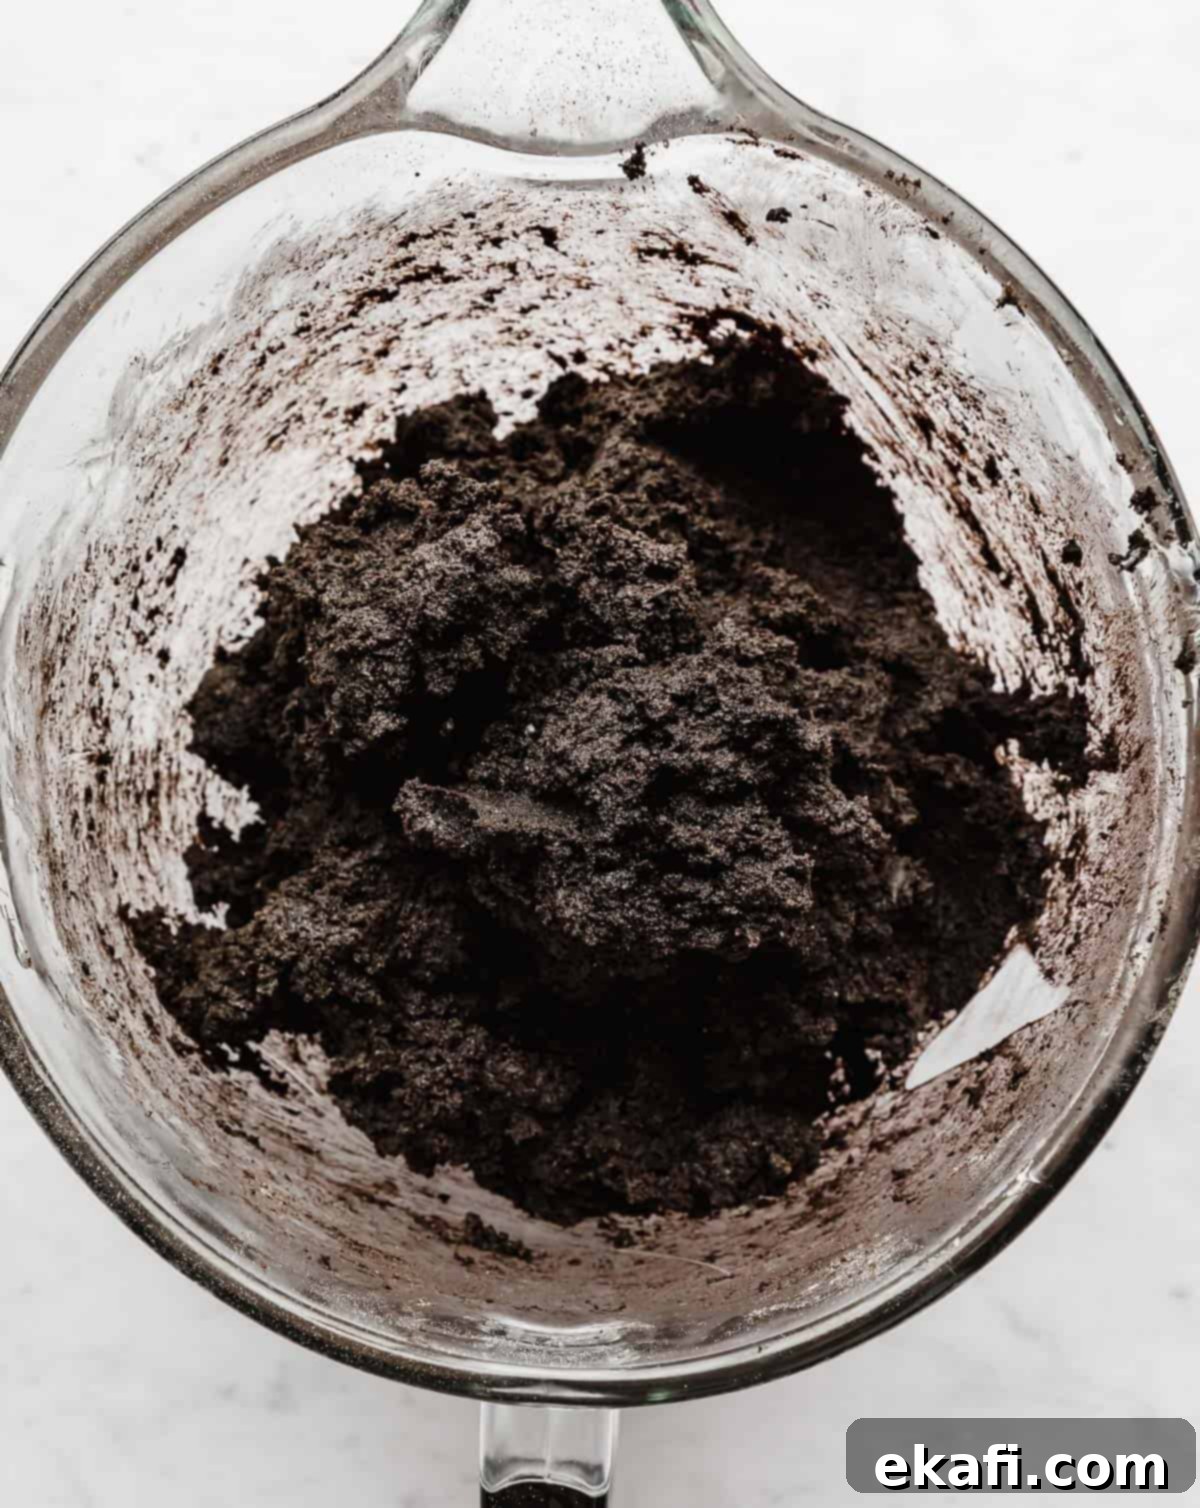
- Combine Dry Ingredients: In a separate medium bowl, whisk together the all-purpose flour, black cocoa powder, Oreo crumbs, baking soda, baking powder, and salt. Gradually add these dry ingredients to the wet mixture in the stand mixer. Mix on low speed just until combined. Be careful not to overmix, as this can lead to tough cookies. The dough should be soft and pliable, forming a cohesive mass.
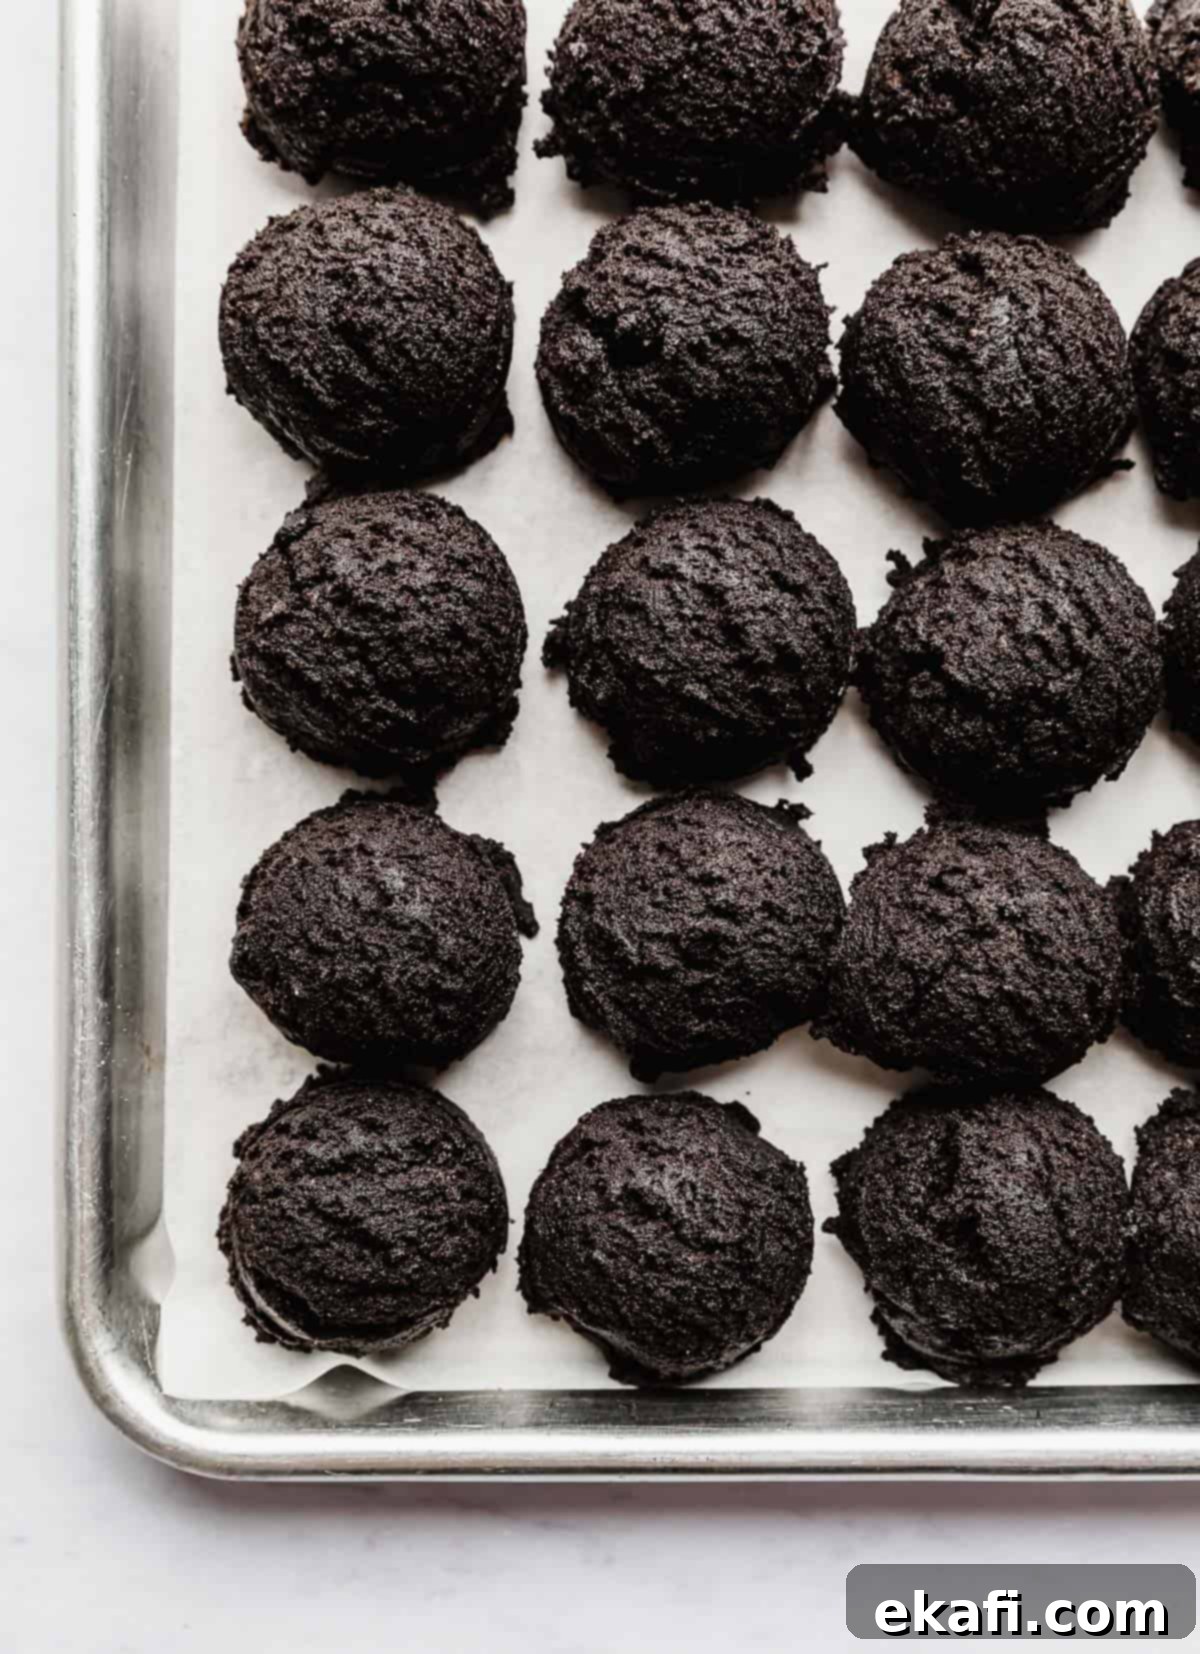
- Scoop and Prepare for Baking: Using a size 30 cookie scoop (approximately 1.5-2 tablespoons), portion the rich chocolate dough into uniform balls. Arrange these dough balls two inches apart on a baking sheet lined with parchment paper or a silicone baking mat. This spacing allows for proper airflow and prevents cookies from merging during baking.
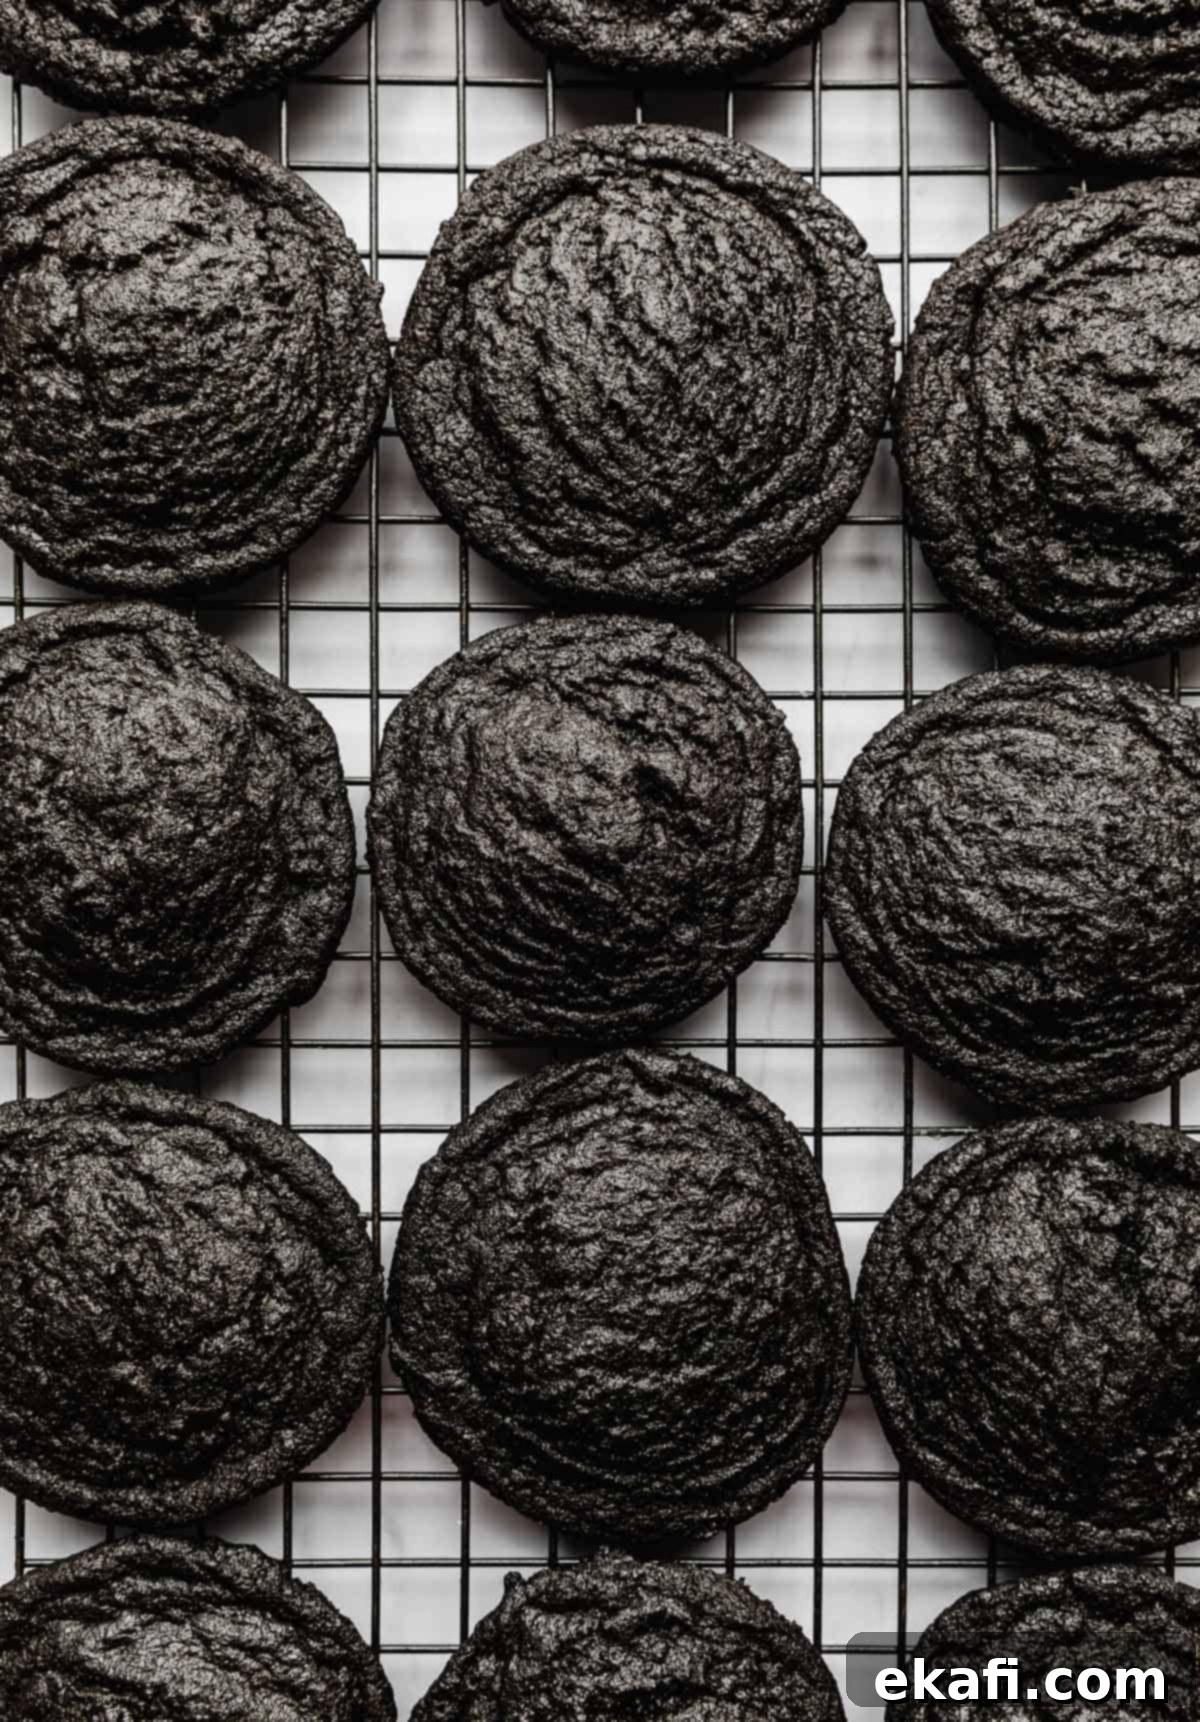
- Bake to Perfection: Preheat your oven to 375°F (190°C). Bake the cookies for 8 minutes or until the edges are just set and the tops no longer appear shiny. Be careful not to overbake, as this can lead to dry cookies; they will continue to set as they cool. Remove from oven and let the cookies cool on the baking sheet for 3-5 minutes before carefully transferring them to a wire rack to cool completely. This resting period helps them firm up without breaking.
- Whip Up the Vanilla Buttercream: While the chocolate cookies cool, prepare the glorious vanilla buttercream. In a clean stand mixer bowl with the paddle attachment, cream the softened butter on medium speed for about 2 minutes, until it’s noticeably lighter in color and wonderfully fluffy. Gradually add the powdered sugar, a little at a time, mixing until it’s fully combined and the frosting is smooth and airy. Finally, beat in the vanilla extract. If the frosting seems too thick, add heavy cream one tablespoon at a time until it reaches your desired pipeable or spreadable consistency.
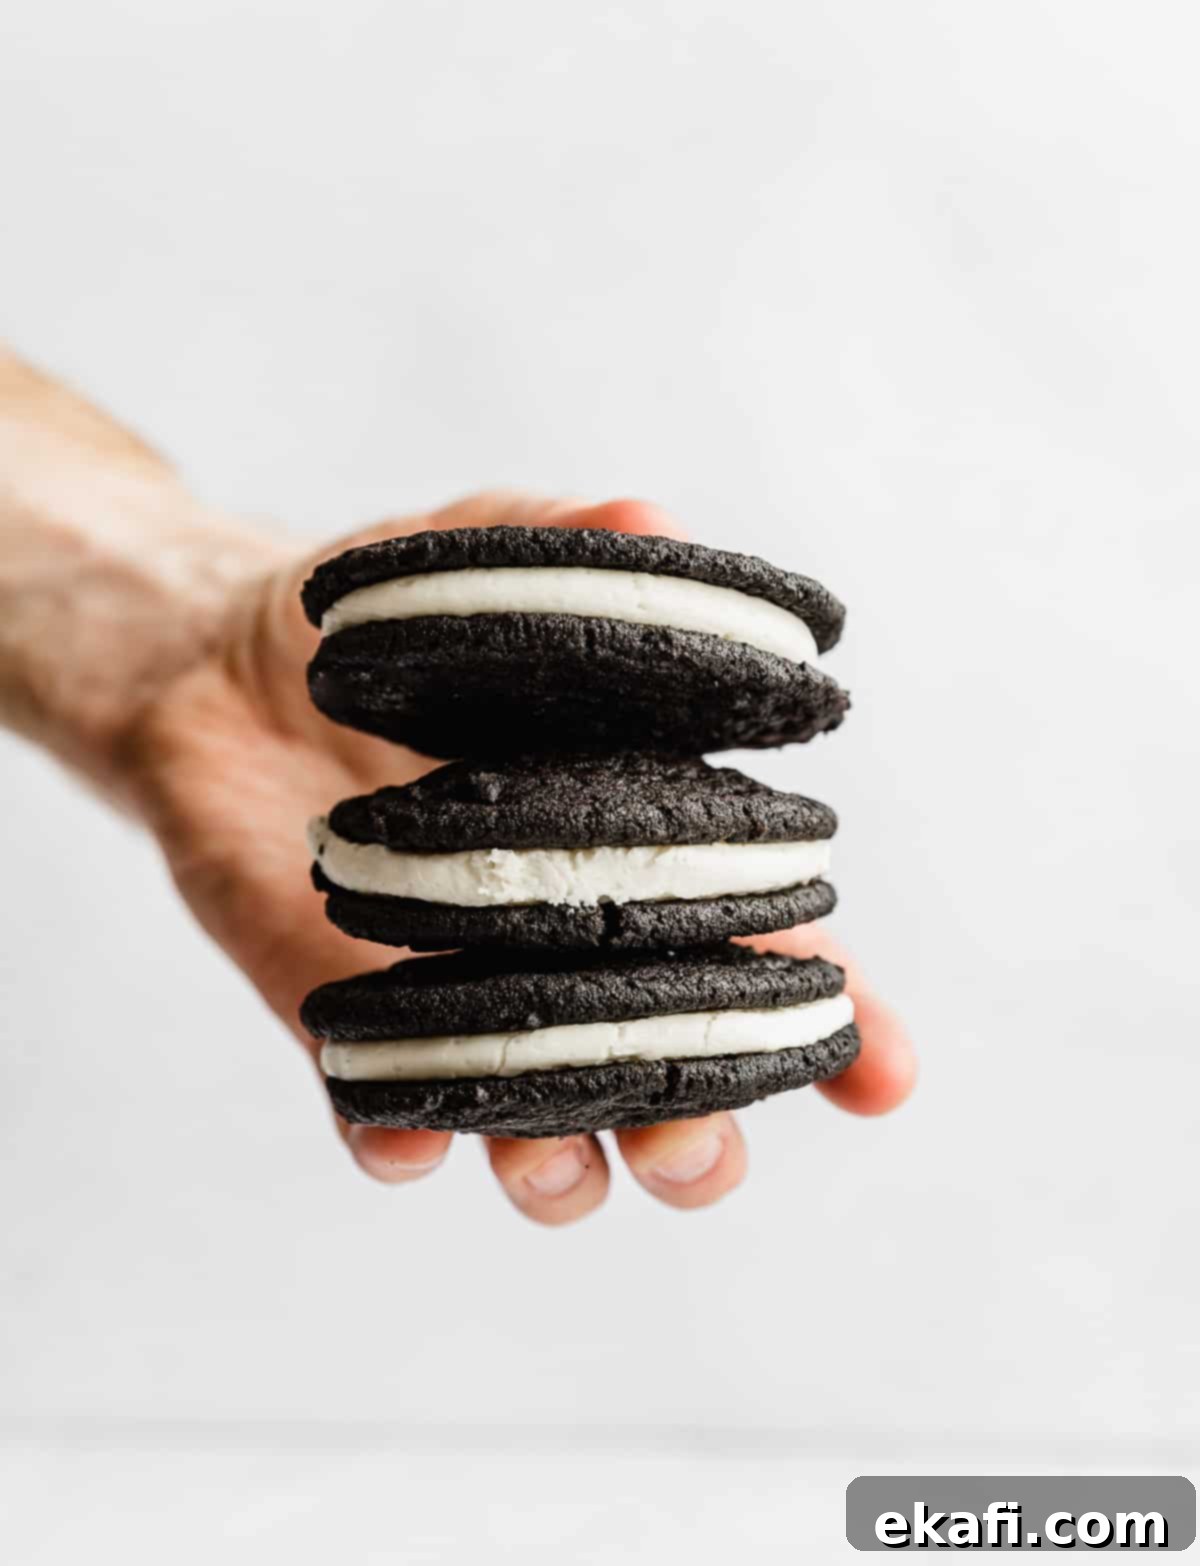
- Assemble Your Homemade Oreos: Once the chocolate cookies are completely cooled (this is crucial to prevent the frosting from melting), it’s time for assembly. Take one cookie and pipe or spread 1-2 generous tablespoons of the vanilla buttercream frosting onto its flat underside. Grab a second cookie and gently press it onto the frosting, flat side down, creating a perfect sandwich. Repeat with the remaining cookies and frosting. Serve immediately and revel in your culinary masterpiece!
Expert Tips for Perfect Homemade Oreo Cookies
Crafting the perfect homemade Oreo is an art, and these tips will help you achieve baking brilliance and a truly irresistible treat:
Creative Flavor Variations: While the classic vanilla buttercream is undeniably delicious, feel free to get creative with your filling! For a refreshing twist, try adding a few drops of high-quality mint extract to the buttercream instead of vanilla, transforming them into homemade mint Oreo cookies. Alternatively, for a truly indulgent treat, swap out the vanilla buttercream for my rich and creamy peanut butter frosting to create irresistible peanut butter Oreo cookies. The possibilities are endless, allowing you to customize these treats to your preference and explore new flavor combinations.
Achieving the Signature Oreo Density: One of the secrets to our cookies’ authentic texture is the reduced amount of baking powder. This intentional adjustment ensures the cookies bake up denser and less puffed, mirroring the flat, sturdy yet soft structure of store-bought Oreos. This isn’t just about aesthetics; it contributes significantly to that satisfying chewiness that sets these cookies apart. This subtle modification is a game-changer, resulting in cookies that are, dare we say, significantly superior to anything you’d find on a grocery store shelf!
The Golden Rule: Don’t Overmix! When it comes to baking, especially with cookies, overmixing is the enemy of tenderness. Once you’ve added the dry ingredients to your wet mixture, mix only until they are just combined. Continuing to mix develops the gluten in the flour too much, leading to a tough, dry cookie with a less desirable texture. For truly soft and tender homemade Oreos, a light touch with the mixer is absolutely key – mix only until no streaks of flour remain.
For Flatter vs. Thicker Cookies: The slight density of these cookies helps them maintain a good shape. If your goal is a flatter, more traditional Oreo profile (like the original), bake the cookies immediately after scooping the dough. However, if you prefer a slightly thicker, puffier cookie, chilling the dough balls for 10-15 minutes before baking can help prevent excessive spreading. This gives the butter a chance to firm up, resulting in a cookie that holds its shape a bit more in the oven. Both methods yield delicious results, so choose what you prefer!
Serving Suggestions: These homemade Oreo cookies are divine on their own, but they also make a fantastic accompaniment to other desserts. Serve them alongside a scoop of creamy homemade vanilla ice cream for an ultimate treat, or simply enjoy them with a tall glass of cold milk for that classic pairing. They’re also wonderful crumbled over sundaes or as a component in a dessert bar.
Make Ahead, Storing, and Freezing Your Delicious Oreos
Planning ahead or managing leftovers is easy with these homemade Oreo cookies. Proper storage ensures you can enjoy them for longer without compromising on taste or texture!
Make-Ahead Dough: You can prepare the cookie dough in advance to save time. Simply form the dough into a disc, wrap it tightly in plastic wrap, and refrigerate for up to 3 days. When you’re ready to bake, let the dough sit at room temperature for about 15-20 minutes to soften slightly before scooping and baking as directed. For longer storage, you can also freeze the unbaked dough balls for up to 3 months in an airtight container or freezer bag. Bake from frozen, adding a minute or two to the suggested baking time.
Storing Leftover Buttercream: If you have any vanilla buttercream frosting remaining, store it in an airtight container in the refrigerator for up to 1 week. Before using, allow it to come to room temperature (this might take an hour or two) and then re-whip it with your stand mixer for a few minutes until it’s light and fluffy again. The buttercream can also be frozen for up to 3 months; simply thaw it overnight in the fridge and give it a good re-whip before assembly.
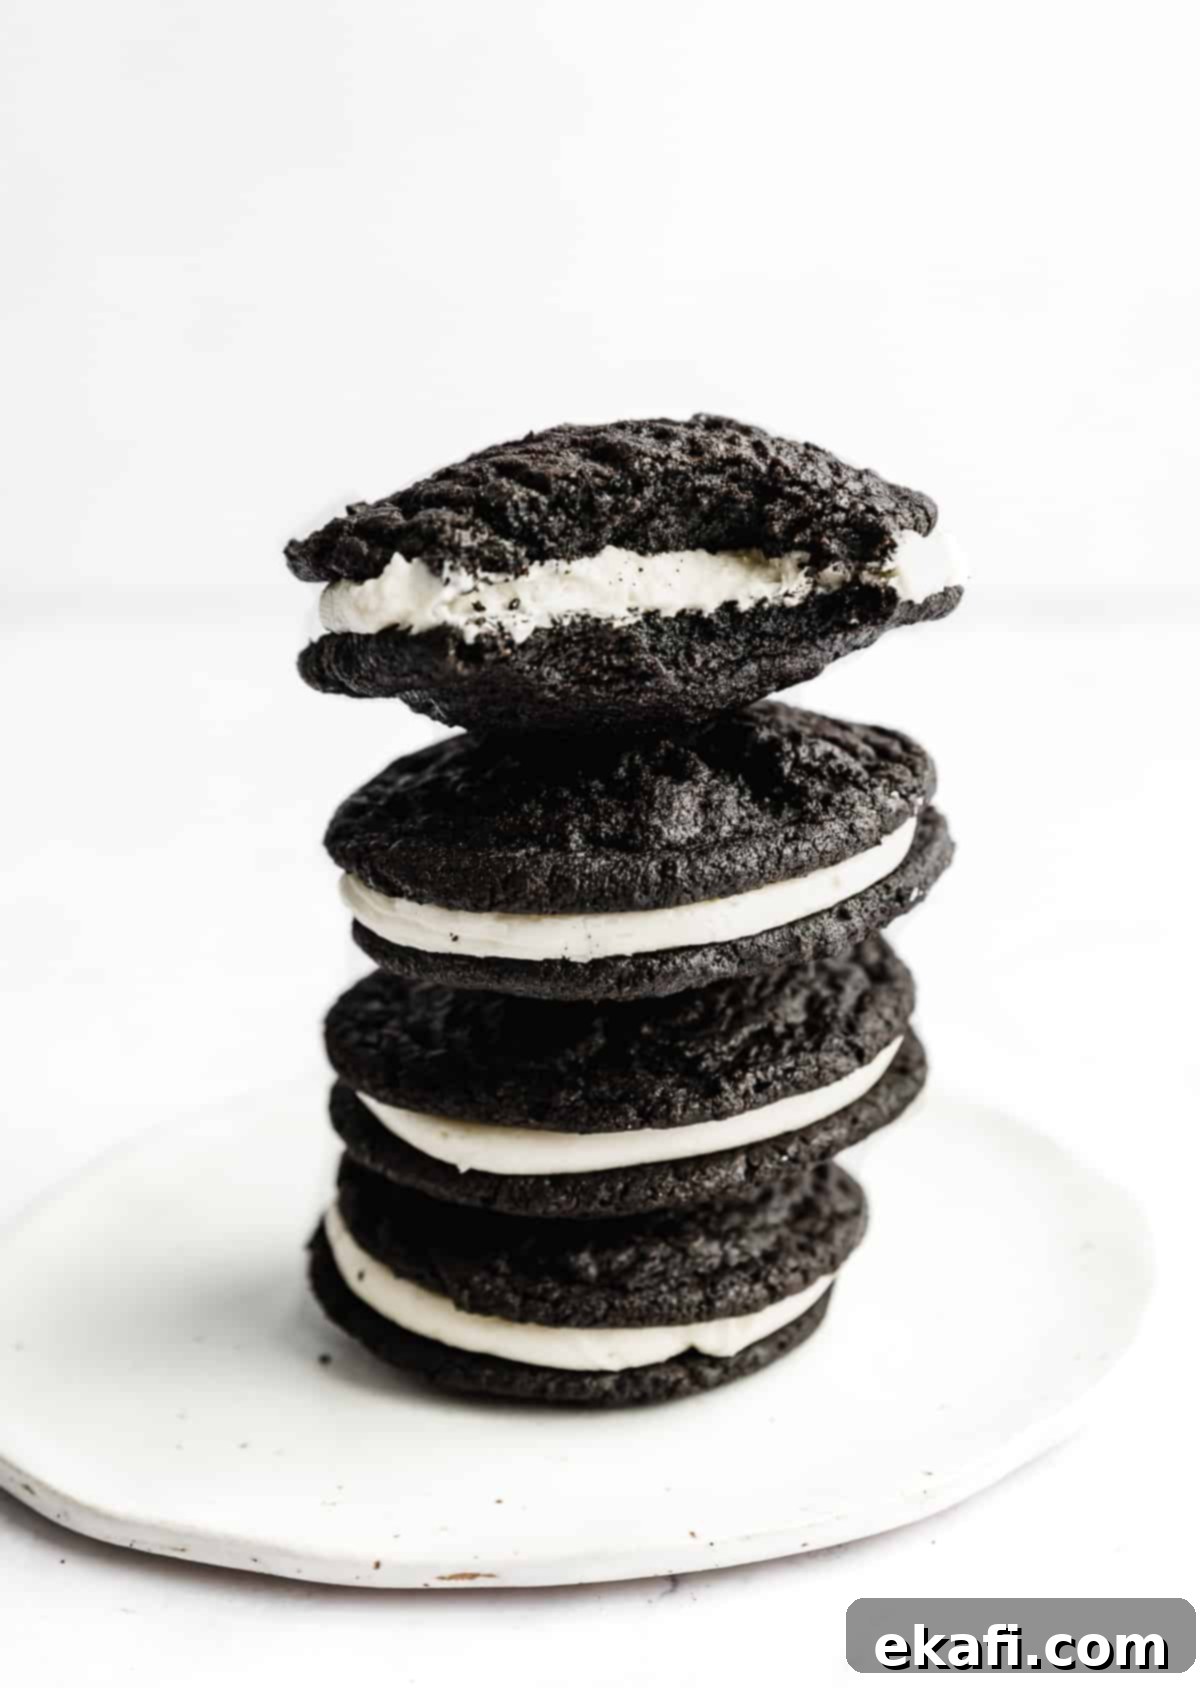
Storing Assembled Cookies: Once assembled, these homemade Oreo sandwich cookies can be stored in an airtight container or a Ziplock bag. They will keep beautifully at room temperature for 2-3 days, maintaining their wonderful softness and flavor. For extended freshness, especially in warmer climates or if you prefer a firmer filling, store them in the refrigerator for 3-5 days. Be sure to separate layers with parchment paper if stacking.
Freezing Baked Cookies: To enjoy these delightful treats even further down the line, they freeze exceptionally well. For best results and to prevent sticking, individually wrap each homemade Oreo cookie sandwich tightly in plastic wrap. Then, place the wrapped cookies in a freezer-safe Ziplock bag or an airtight container to protect them from freezer burn. They can be frozen for up to 3 months. When you’re ready to indulge, simply transfer the desired number of frozen cookies to the refrigerator overnight to thaw, or let them come to room temperature on the counter for a quicker treat. They taste amazing slightly chilled!
Frequently Asked Questions About Homemade Oreo Cookies
The traditional Oreo cookie filling primarily consists of sugar, high fructose corn syrup, and partially hydrogenated oils, giving it a very specific sweet and slightly waxy texture. In contrast, our homemade Oreo recipe utilizes a luxurious, scratch-made vanilla buttercream. This buttercream is crafted from real butter, powdered sugar, and a generous amount of pure vanilla extract, resulting in a filling that is incredibly light, airy, rich, and melts delightfully in your mouth. It offers a fresh, authentic vanilla flavor that beautifully complements the deep chocolate cookies, setting these homemade treats far apart from their commercial counterparts in terms of quality and taste.
The quintessential Oreo flavor and its characteristic dark, almost black color are primarily due to the specific type of cocoa powder used: black cocoa powder. This cocoa powder has undergone a process called “heavy Dutch-processing.” During this process, cocoa beans are soaked in an alkaline solution, which effectively neutralizes their natural acidity. This treatment significantly mellows out the cocoa’s flavor, making it less bitter and more mild, while simultaneously darkening its color to that iconic deep, dark shade. This unique cocoa is what gives Oreos their distinct, less intensely chocolatey, almost earthy flavor profile that so many love.
Black cocoa powder is a type of Dutched cocoa powder that has been processed more extensively with an alkaline solution than regular Dutch-processed cocoa. This heavy processing renders it nearly black in color and gives it a very mild, non-bitter chocolate flavor that is characteristic of Oreo cookies. It’s a crucial ingredient for achieving both the visual and flavor profile of homemade Oreos. While you can technically substitute it with regular Dutch-processed cocoa powder, the cookies won’t achieve the same intense dark color or the exact signature mild flavor. Natural cocoa powder is not recommended as a substitute because its acidity would react differently with the baking soda, altering the texture and taste significantly. For the most authentic homemade Oreo experience, black cocoa powder is highly recommended. Learn more about it in my detailed black cocoa powder guide.
Yes, you can adapt this recipe to be gluten-free! Simply substitute the all-purpose flour with a good quality 1:1 gluten-free baking flour blend that contains xanthan gum. Ensure that the Oreo crumbs you add to the dough are also gluten-free (some brands offer gluten-free versions of chocolate sandwich cookies, or you can make your own gluten-free chocolate cookies to crush). All other ingredients, such as black cocoa powder, butter, sugars, and extracts, are typically naturally gluten-free. Always double-check ingredient labels to ensure they meet your specific dietary needs.
Excessive spreading can be caused by several factors. Ensure your butter isn’t too soft or melted when creaming, as very warm butter can lead to thin cookies. Too little flour, too much sugar, or an inaccurate oven temperature can also contribute to spreading. If your dough feels particularly soft or sticky, try chilling the scooped cookie dough balls in the refrigerator for 15-20 minutes before baking; this helps the butter solidify and the cookies hold their shape better. Additionally, ensure your oven temperature is accurate; an oven that isn’t hot enough can cause cookies to spread excessively before they set properly.
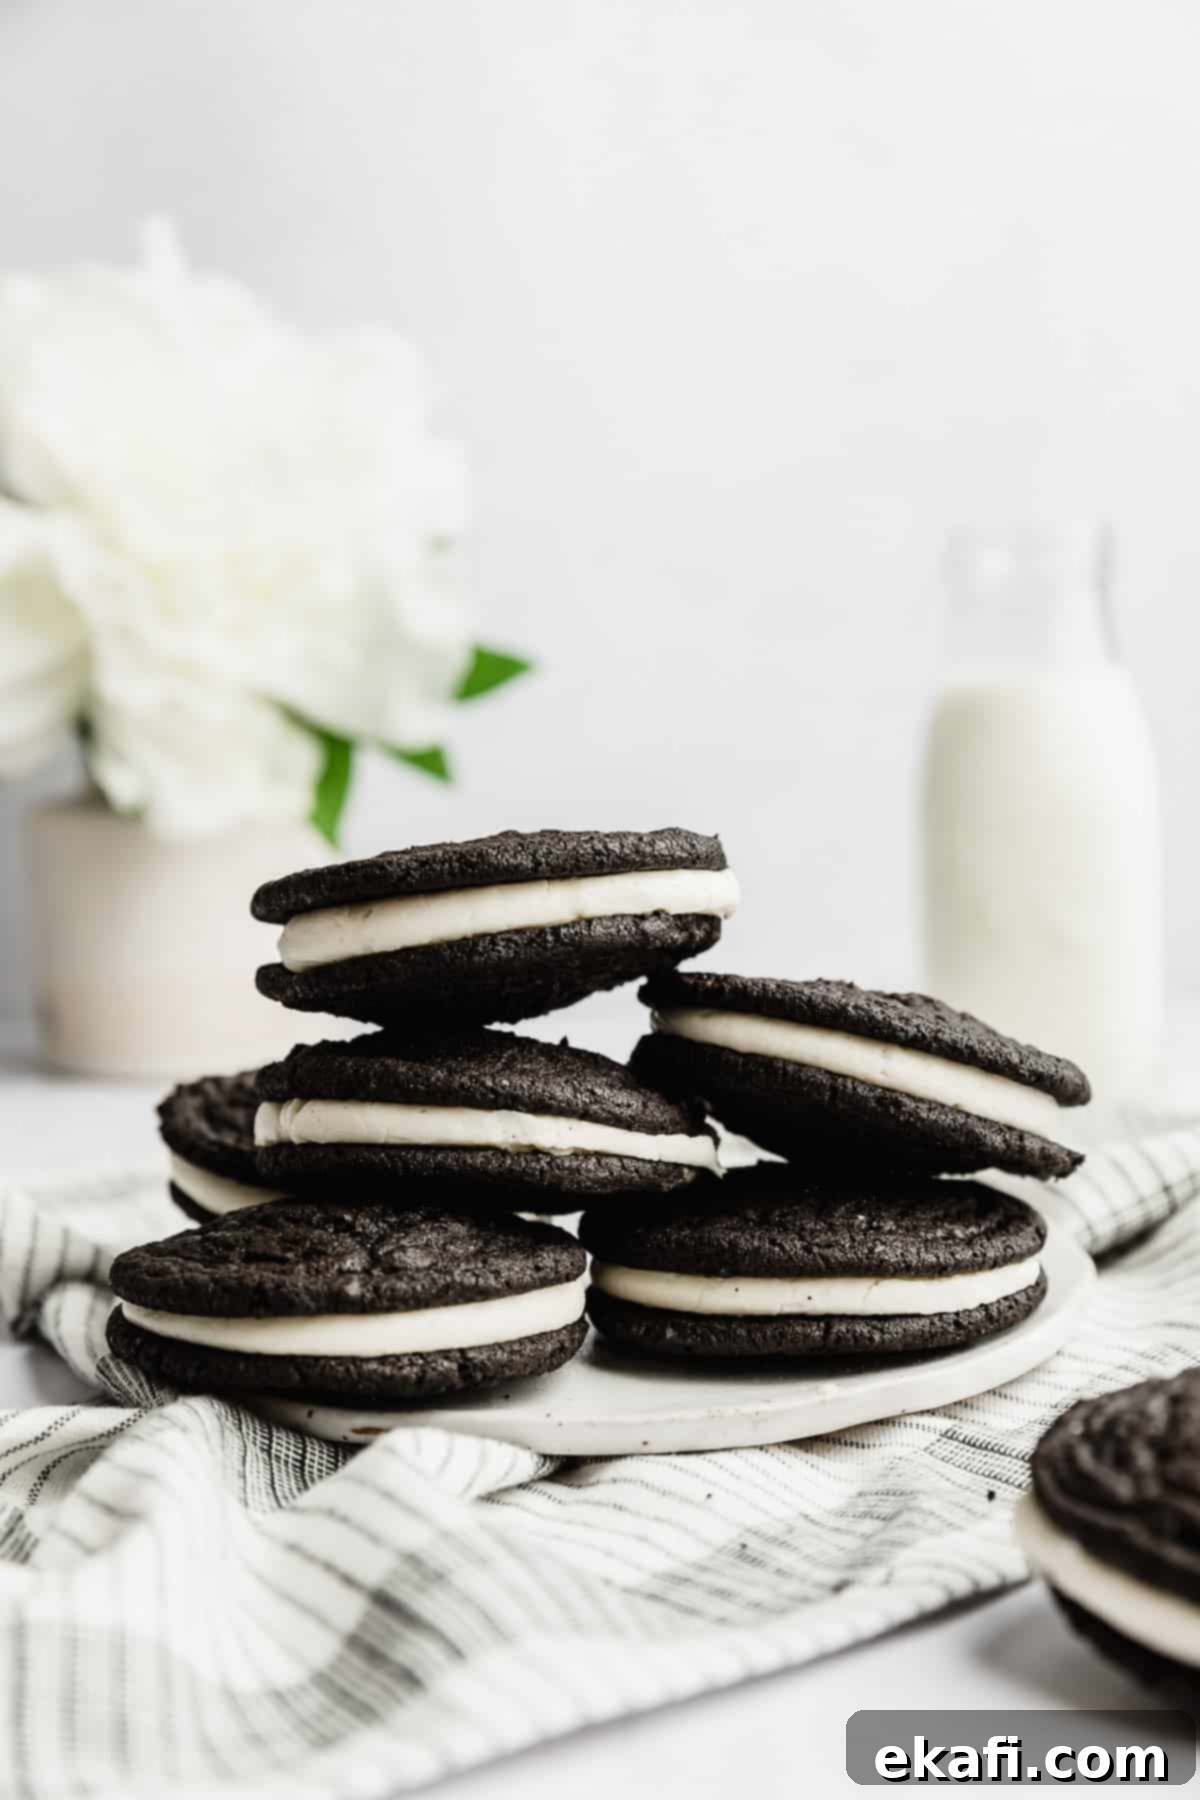
These homemade Oreo cookies truly redefine what a classic treat can be. With their deep chocolate flavor, perfect soft-chewy texture, and the luxurious vanilla buttercream, they are guaranteed to become a new family favorite. Don’t hesitate to gather your ingredients and embark on this delightful baking adventure. You’ll be rewarded with a batch of cookies that are not only superior to any store-bought version but also bring immense joy with every single bite.
More Irresistible Oreo Recipes to Explore
- No-Bake Oreo Dessert – A quick and easy treat for any occasion.
- Crumbl Copycat Chocolate Oreo Cookies – Recreate a popular cookie shop favorite at home.
- Crumbl Oreo Sandwich Cookies – Another take on a beloved Crumbl classic.
- Oreo Milkshake – The ultimate indulgent beverage.
- Oreo Red Velvet Cake – A stunning dessert with a delightful twist.
- Oreo Peanut Butter Cookies – The perfect combination of two classic flavors.
Did you make this recipe? I’d love to hear about it! Click here to leave a rating and review, or scroll below the recipe card and do so there.
Stay up-to-date with all our delicious creations by following us on Instagram, Facebook, and Pinterest.
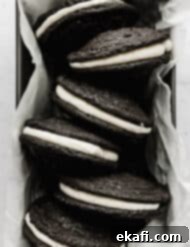
Homemade Oreo Cookies
Ingredients
Oreo Cookies
- 1 1/2 cups unsalted butter – softened to room temperature
- 1 1/2 cups light brown sugar – packed
- 1 cup granulated sugar
- 2 large eggs – at room temperature
- 3 teaspoons vanilla extract
- 2 2/3 cups all purpose flour
- 1 cup black cocoa powder
- 2 1/4 cups Oreo crumbs – about 25 or so finely crushed
- 1 1/2 teaspoon baking soda
- 1/2 teaspoon baking powder
- 1 teaspoon salt
Vanilla Buttercream
- 12 tablespoons butter – softened, salted or unsalted
- 3 1/2 cups powdered sugar
- 3 teaspoon vanilla extract
- 1 tablespoon heavy cream – if needed
Equipment
- baking sheet
- Kitchen Aid stand mixer
- silicone baking mat
- cookie scoop
Instructions
Oreo Cookies
- Preheat oven to 375°F. Line a baking sheet with parchment paper or a baking mat. Set aside.
- In the bowl of a stand mixer fitted with a paddle attachment cream butter and sugars on medium speed for 2-3 minutes. Add eggs and vanilla and mix until combined. Scrape down the sides of the bowl as needed. Add flour, cocoa, Oreo crumbs, baking soda, baking powder, and salt. Mix to combine.
- Using a size 30 cookie scoop, portion the dough into balls. Place the balls 2 inches apart on a parchment lined baking sheet.
- Bake for 8 minutes or until the edges are just set and the tops no longer appear shiny. Remove from oven and let cookies cool on pan for 3-5 minutes then transfer to wire rack to cool completely.
Vanilla Buttercream
- Cream the butter until light and fluffy, about 2 minutes on medium speed. Add the powdered sugar a little at a time until fully combined. Add the vanilla and heavy cream, if needed.
Assembly
- Pipe or spread 1-2 tablespoons worth of frosting on the underside of 1 cookie. Grab a second cookie and sandwich the two flat sides together to create your homemade Oreo sandwich cookie! Enjoy!
