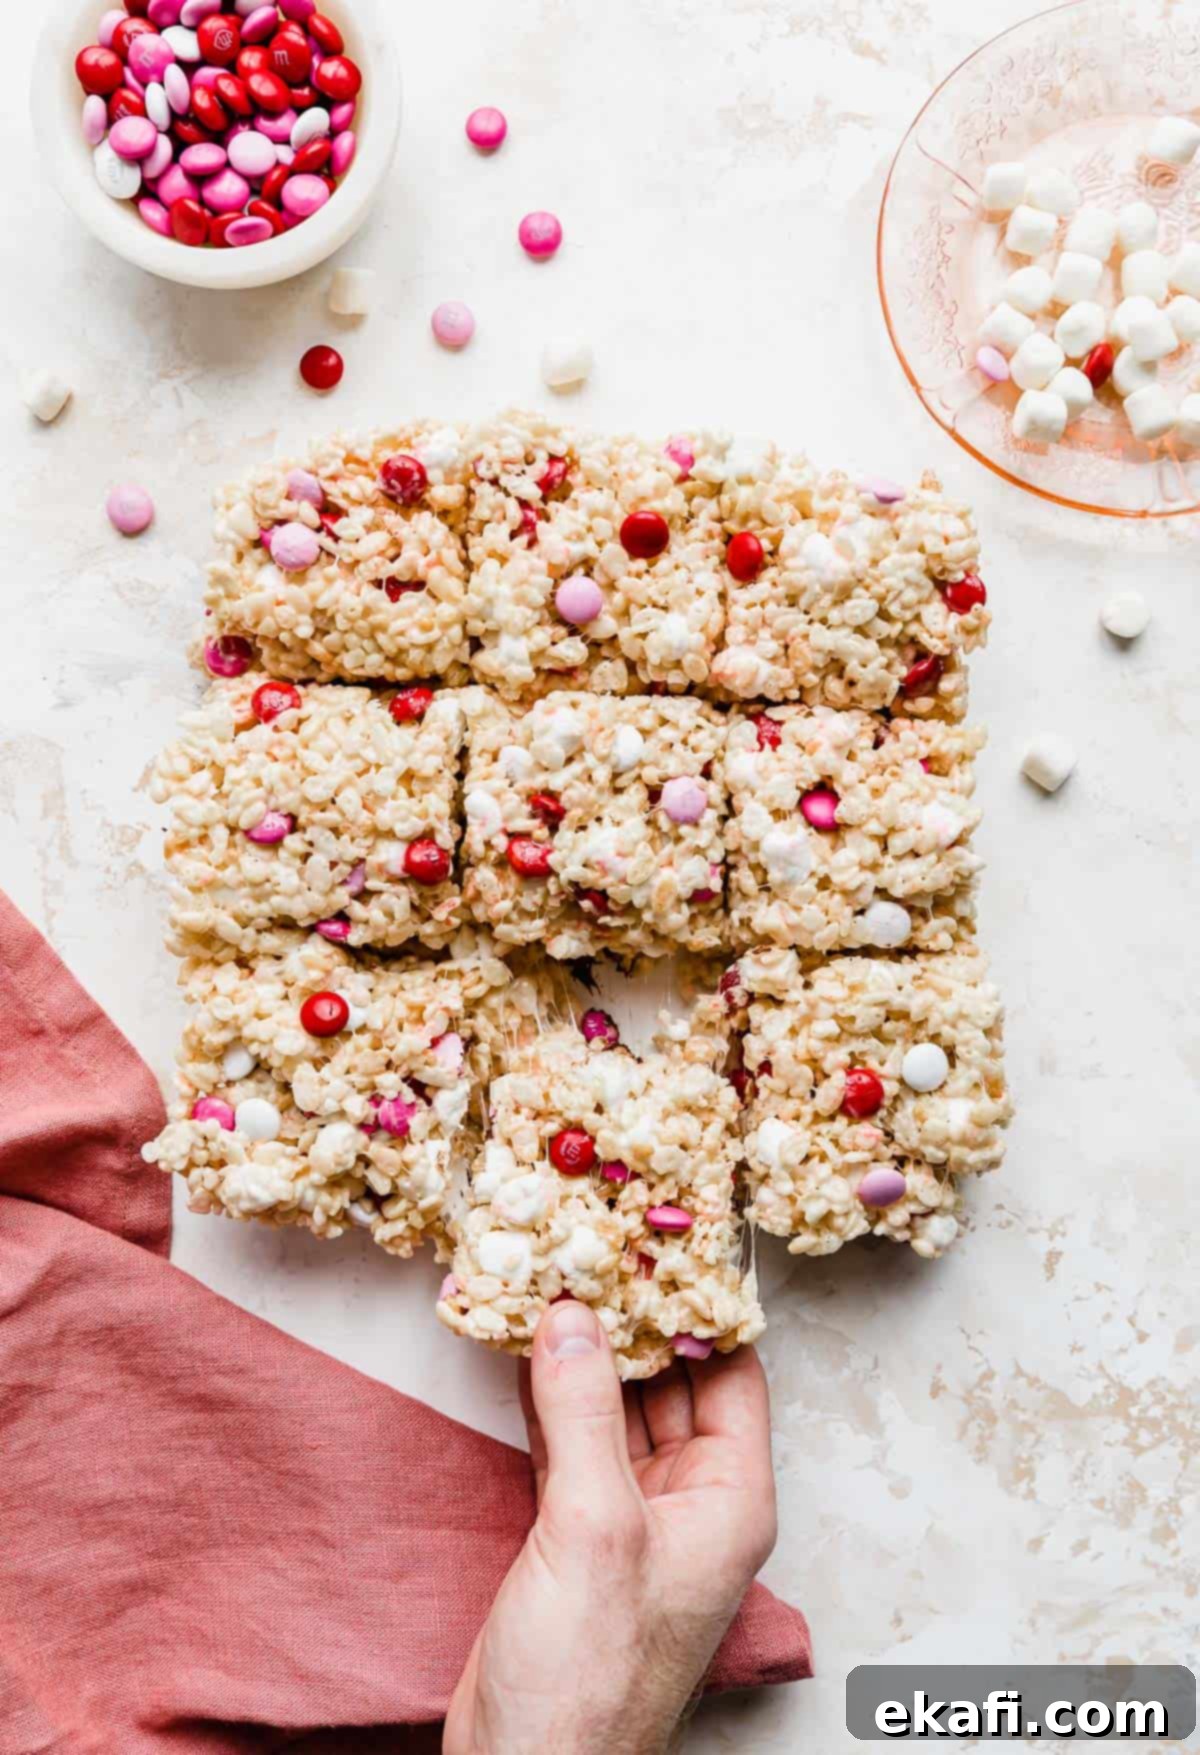
The Ultimate Guide to Soft & Chewy M&M Rice Krispie Treats
Prepare for a delightful treat that’s not just easy to make but also incredibly versatile and undeniably delicious: M&M Rice Krispie Treats! These aren’t your average, hard, and crunchy childhood treats. We’re talking about super soft, wonderfully chewy, and perfectly gooey squares packed with colorful M&Ms. The best part? You can customize the M&M colors to match any holiday, party, or special occasion throughout the year, making them a fantastic and festive dessert for any gathering.
If you’re a fan of no-bake desserts or looking for more variations of this classic, you’ve come to the right place. Be sure to explore some of my other favorite cereal treats, including the timeless Classic Rice Krispies Treats, the indulgent S’mores Rice Krispies, and my gourmet Salted Brown Butter Rice Krispie Treats. For another unique twist using Rice Krispies cereal, you absolutely must try Scotcharoos! And for a vibrant, fruity alternative, these Fruity Pebble Treats are always a hit!
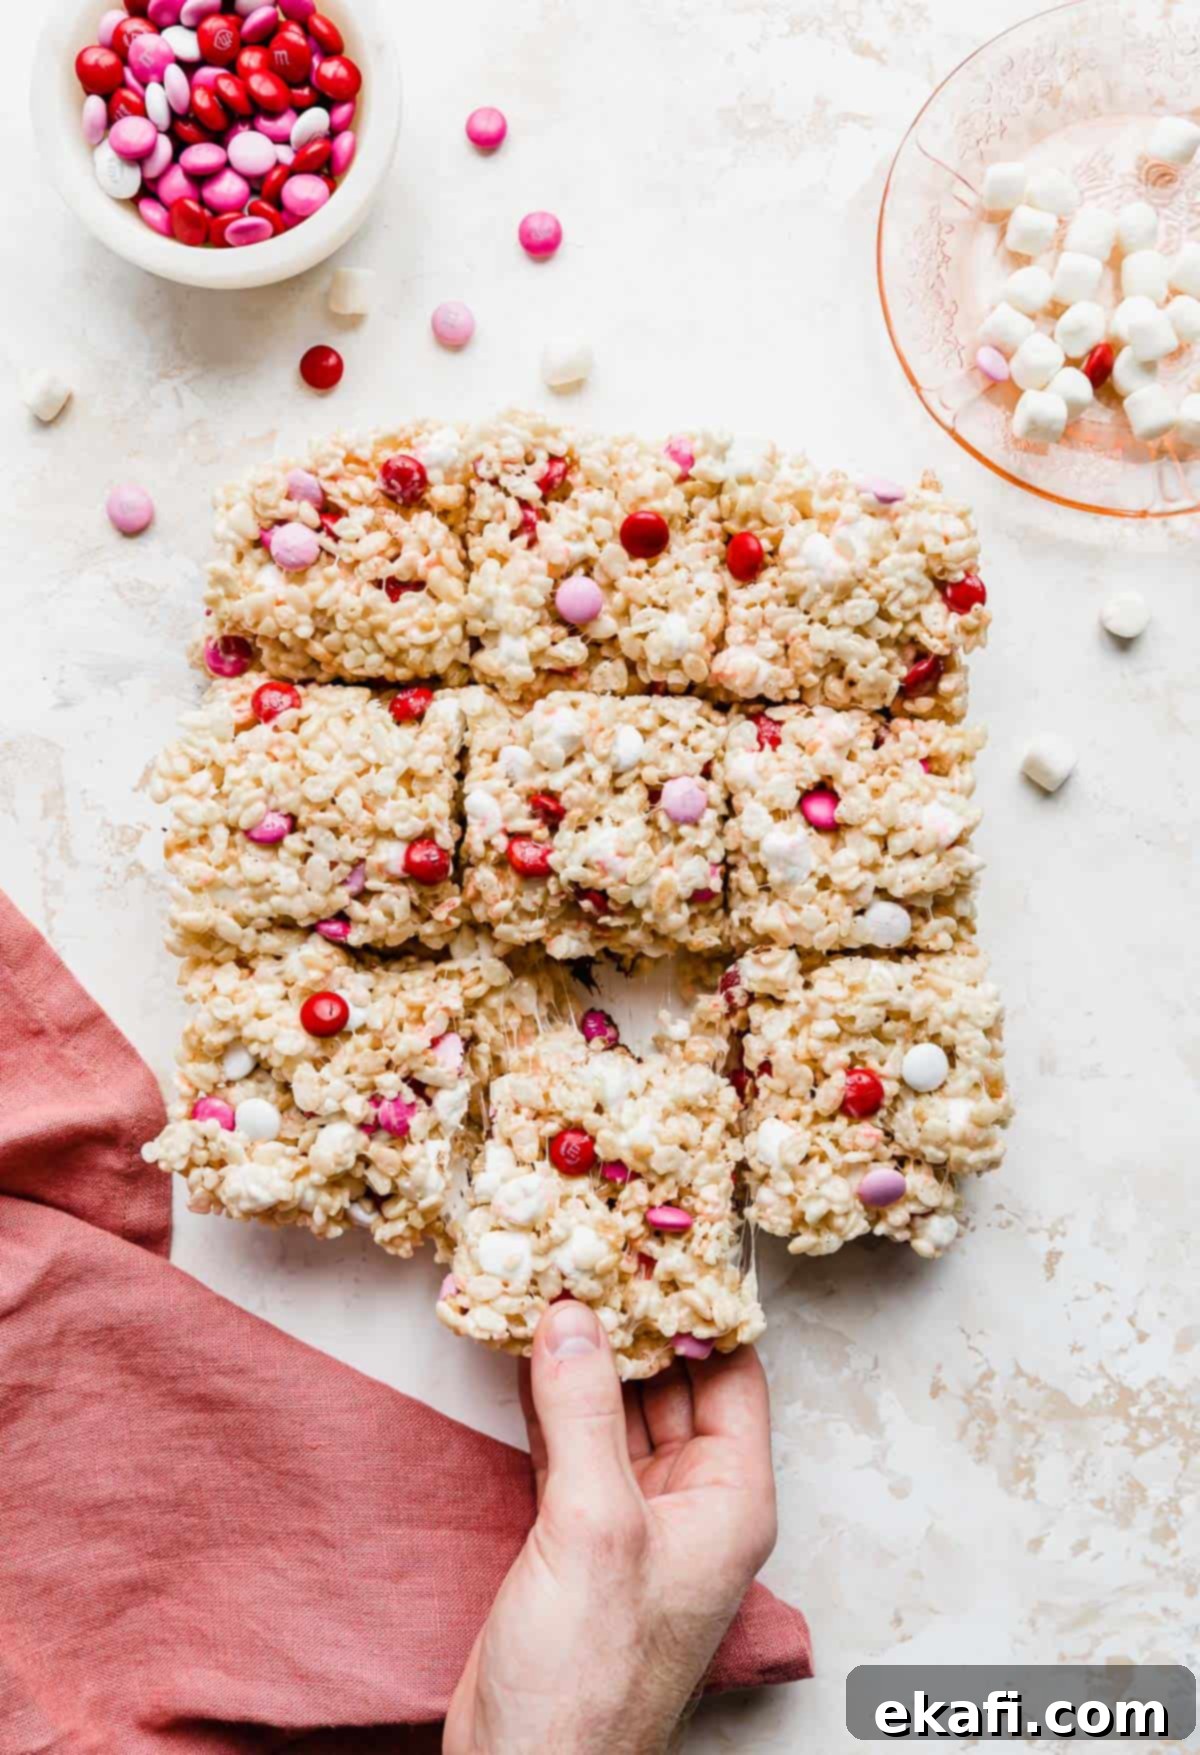
Why This M&M Rice Krispie Treat Recipe is a Must-Try
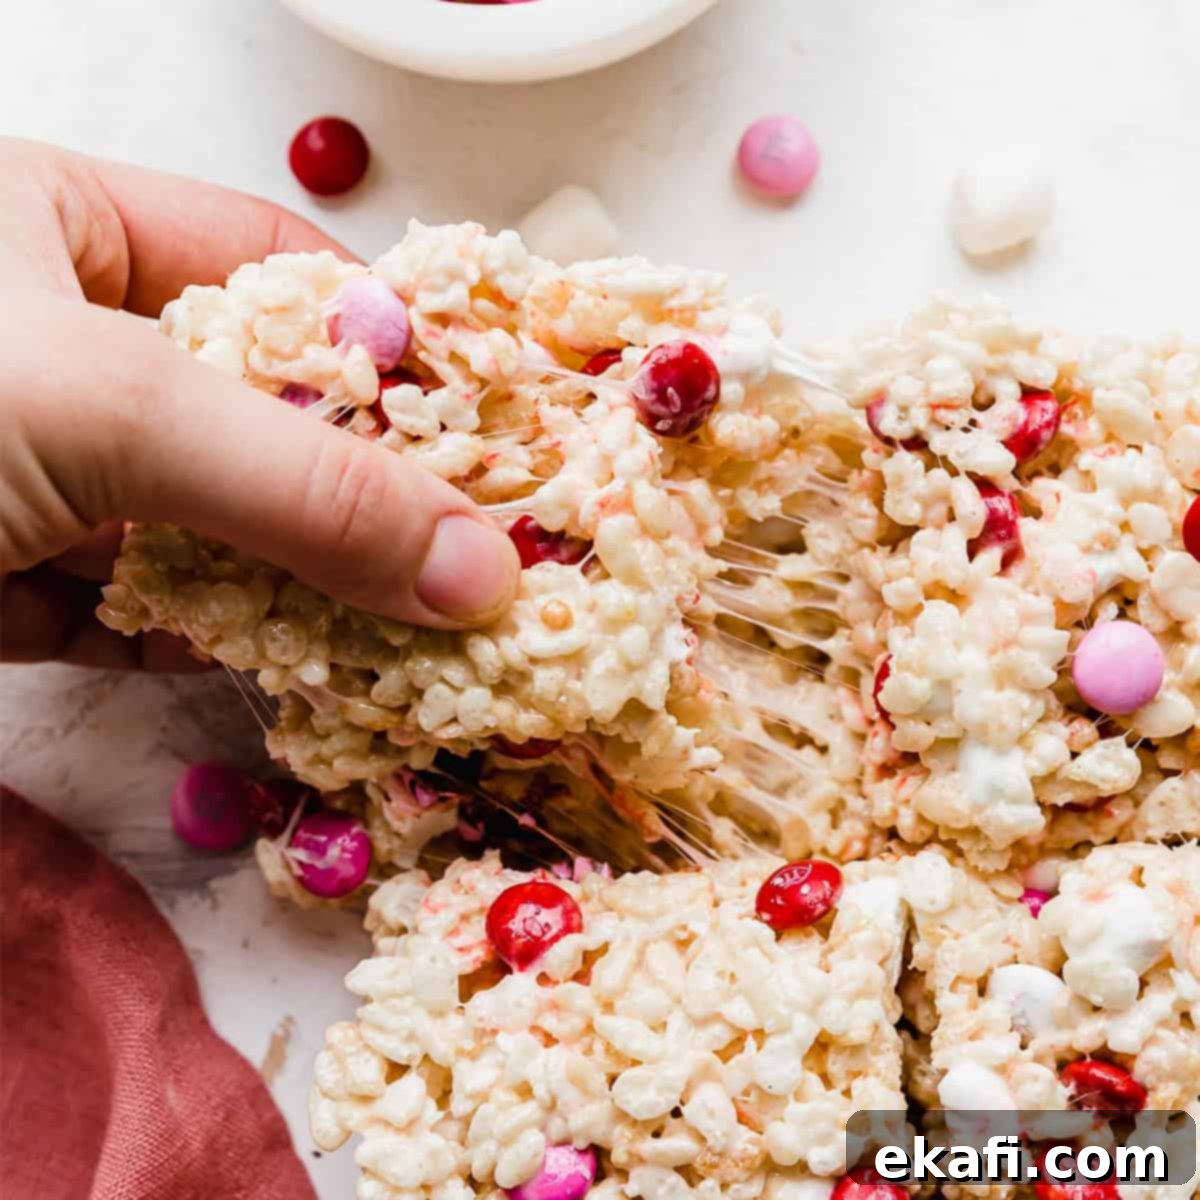
- Achieve Unbelievably Soft & Chewy Rice Krispie Treats: Let’s be honest, many of us have had a Rice Krispie treat that was disappointingly hard, dry, or overly crunchy. I certainly did not love them growing up! It turns out, achieving that perfect soft and gooey texture is an art, and this recipe masters it. We’ll show you exactly how to avoid the common pitfalls and create treats that are incredibly soft, with a delightful chew that melts in your mouth every time. You’ll never go back to those dense, brick-like treats again!
- Perfectly Customizable for Any Occasion: One of the greatest joys of this recipe is its incredible adaptability. The simple addition of M&Ms allows you to transform these treats to fit any theme or holiday effortlessly. Whether it’s vibrant reds and greens for Christmas, pastels for Easter, orange and black for Halloween, or pink, red, and white for Valentine’s Day, simply swap out the M&M colors to create a festive dessert that perfectly complements your celebration. This makes them ideal for school parties, family gatherings, or just a fun afternoon project with the kids.
- Richly Flavorful and Pleasantly Moist: Have you ever bitten into a Rice Krispie treat that was just… bland? Not with this recipe! We ensure these treats are far from ordinary. The careful balance of ingredients, including a touch of vanilla and a hint of salt, elevates the classic marshmallow flavor to new heights. Furthermore, the method ensures a creamy, moist marshmallow mixture that thoroughly coats every grain of cereal, preventing any dryness and contributing to that irresistible gooey texture.
Essential Ingredient Notes for the Best M&M Rice Krispie Treats
While Rice Krispie treats are known for their simplicity, understanding the role of each ingredient and making smart choices can significantly impact the final texture and flavor. Here’s what you need to know:
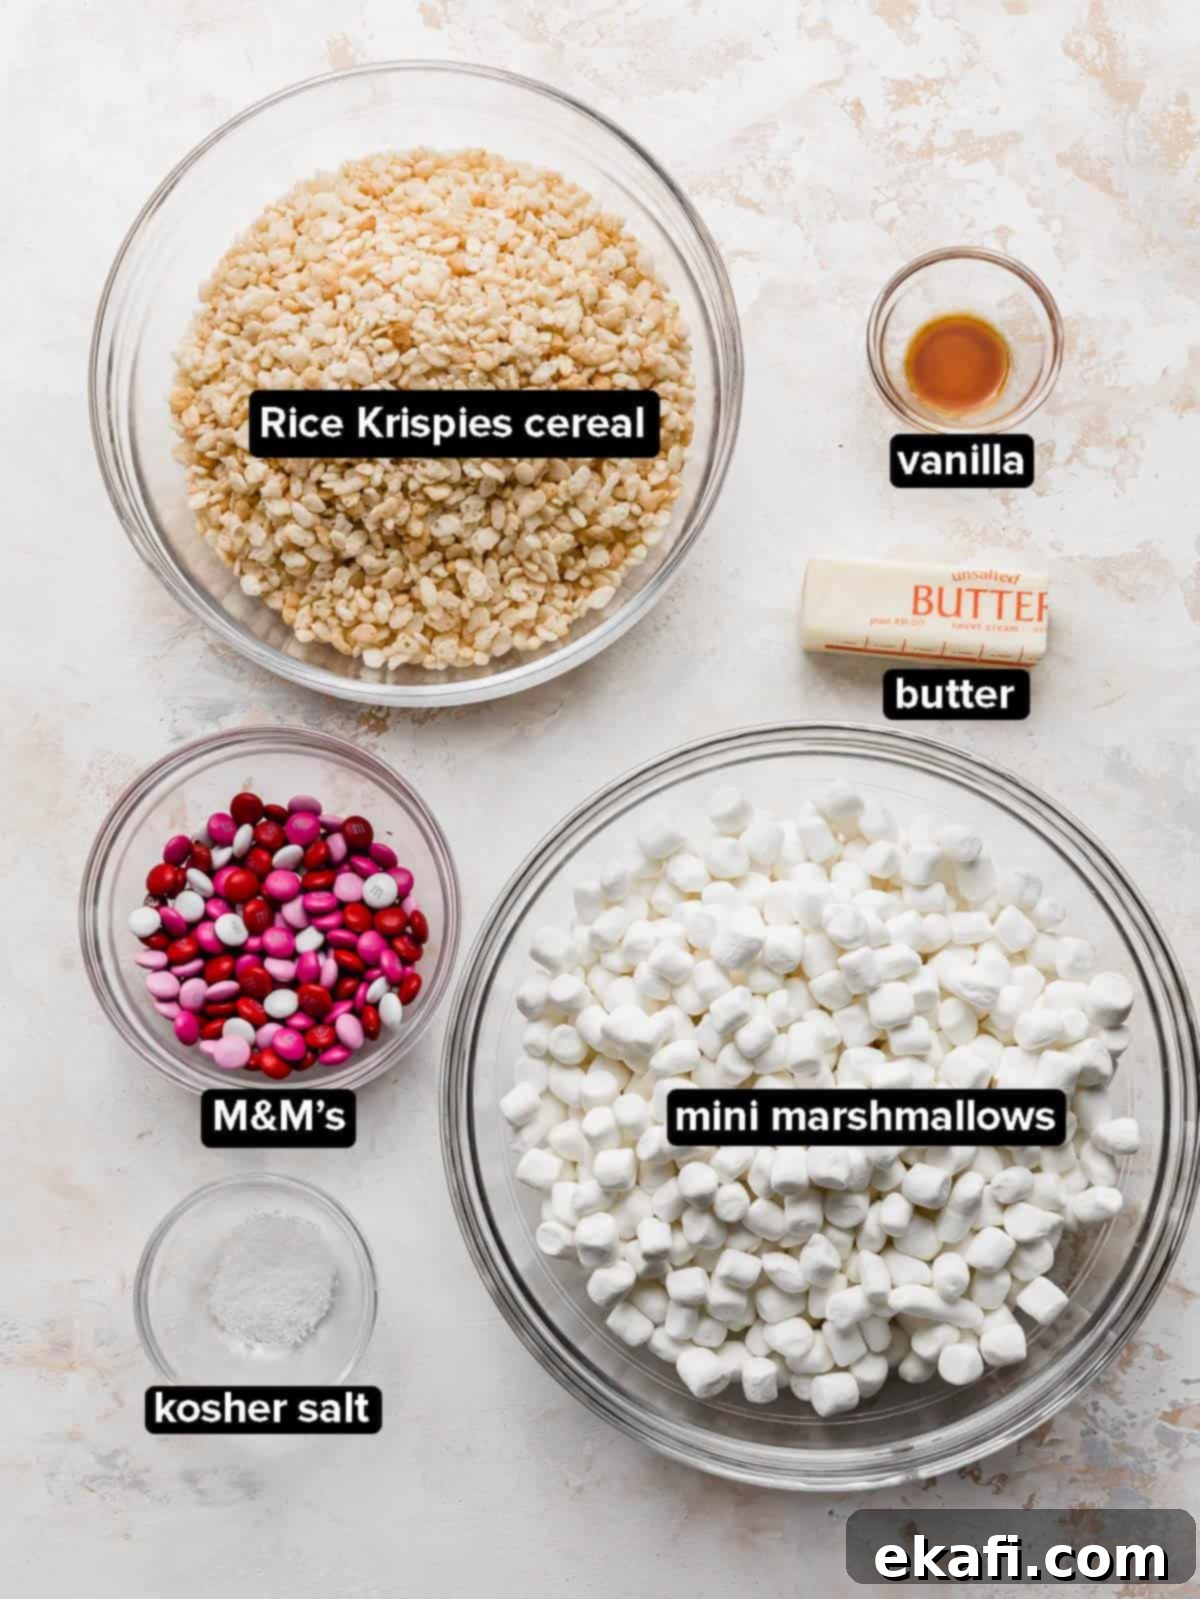
- Unsalted Butter: Using unsalted butter gives you control over the overall saltiness of the treats. If you only have salted butter on hand, that’s perfectly fine! Just be sure to reduce the amount of added kosher salt by at least half a teaspoon to avoid making your treats too salty. Butter is crucial for both flavor and creating a smooth, pliable marshmallow mixture.
- Mini Marshmallows: This is a non-negotiable for truly soft and evenly textured treats. Mini marshmallows melt significantly faster than larger ones, which reduces the time the mixture spends on the heat. Less time on the heat means less risk of overcooking the marshmallows, which is a common culprit for hard Rice Krispie treats. Additionally, their small size ensures they disperse more uniformly throughout the cereal, creating a consistent gooeyness in every bite. Remember, we’ll be using them in two stages for optimal results – 8 cups initially and the remaining 2 cups later.
- Fresh Rice Krispies Cereal: While not listed as a separate bullet point in the original, using fresh, crisp Rice Krispies cereal is paramount! Stale cereal will result in stale-tasting, less appealing treats. Ensure your cereal box is relatively new for the best crunch and texture contrast.
- Kosher Salt: Don’t skip the salt! Kosher salt, with its larger crystal size, is preferred here because it dissolves more slowly and helps to cut through the sweetness of the marshmallows and M&Ms, enhancing all the flavors. If you’re using finer table salt, remember to halve the amount specified in the recipe, as it’s much saltier by volume. This small addition makes a big difference in balancing the taste.
- Vanilla Extract: A touch of pure vanilla extract adds a wonderful depth of flavor, transforming the simple marshmallow base into something more complex and aromatic. It prevents the treats from tasting one-dimensionally sweet and complements the chocolate M&Ms beautifully.
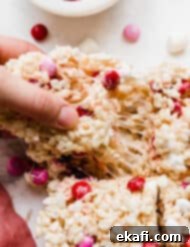
- Milk Chocolate M&Ms: The star of the show for color and added chocolatey goodness! The beauty of M&Ms lies in their wide array of colors. For Valentine’s Day, as pictured, I used festive red, pink, and white M&Ms. You can easily switch to green and red for Christmas, pastel shades for spring, orange and brown for Thanksgiving, or team colors for game day. This makes them endlessly adaptable. As an optional tip, freezing your M&Ms for about 15-20 minutes before adding them can help them retain their shape and distinct colors when mixed into the warm marshmallow, preventing them from melting too much.
Easy Step-by-Step Instructions to Create Your M&M Rice Krispie Treats
Creating these delightful M&M Rice Krispie treats is incredibly simple, requiring minimal effort and no baking! Follow these steps carefully for the best soft and chewy results.
- Prepare Your Pan: Before you begin, line an 8×8-inch baking pan with aluminum foil, leaving an overhang on the sides to easily lift the treats out later. Lightly coat the foil with cooking spray. This crucial step ensures your treats won’t stick and makes for effortless removal and cutting. Set this prepared pan aside.
- Begin the Marshmallow Mixture: In a large, heavy-bottomed pot, melt the unsalted butter over medium-low heat. It’s important to keep the heat low to prevent the butter from browning too quickly or burning the marshmallows. Once the butter is fully melted and shimmering, add 8 cups of the mini marshmallows. Stir continuously with a rubber spatula or wooden spoon until the marshmallows have just melted into a smooth, gooey liquid. They should be mostly smooth with perhaps a few tiny lumps remaining. Remove the pot from the heat immediately.
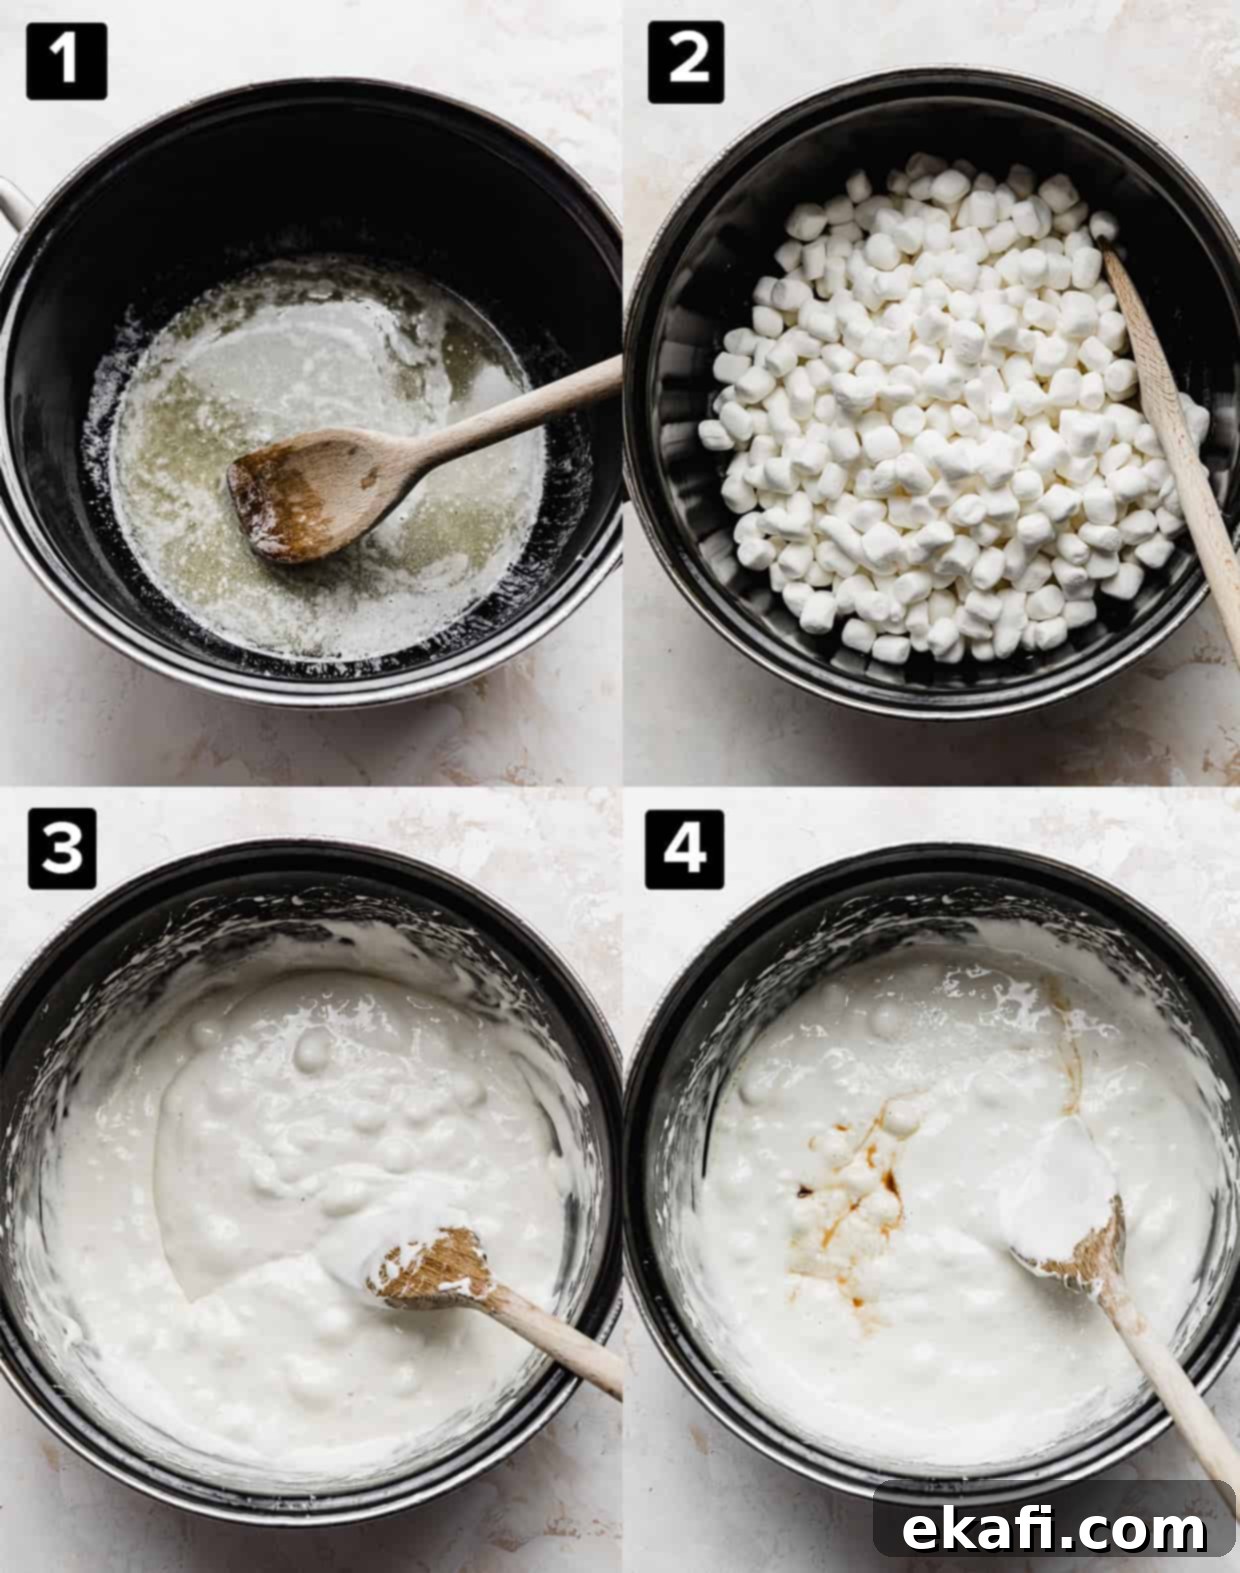
- Incorporate Flavor and Cereal: Once the pot is off the heat, quickly stir in the vanilla extract, kosher salt, and the entire 6 cups of Rice Krispies cereal. Work efficiently but gently, folding the cereal into the marshmallow mixture until it is mostly coated. The residual heat will continue to melt any remaining small marshmallow lumps.
- Add Remaining Marshmallows and M&Ms: After the cereal is mostly incorporated, add the remaining 2 cups of mini marshmallows (these will remain mostly whole, creating delightful pockets of extra chewiness) and your chosen M&Ms. Continue to stir gently until everything is just combined. The goal is to distribute the M&Ms and whole marshmallows without over-mixing or crushing the cereal.
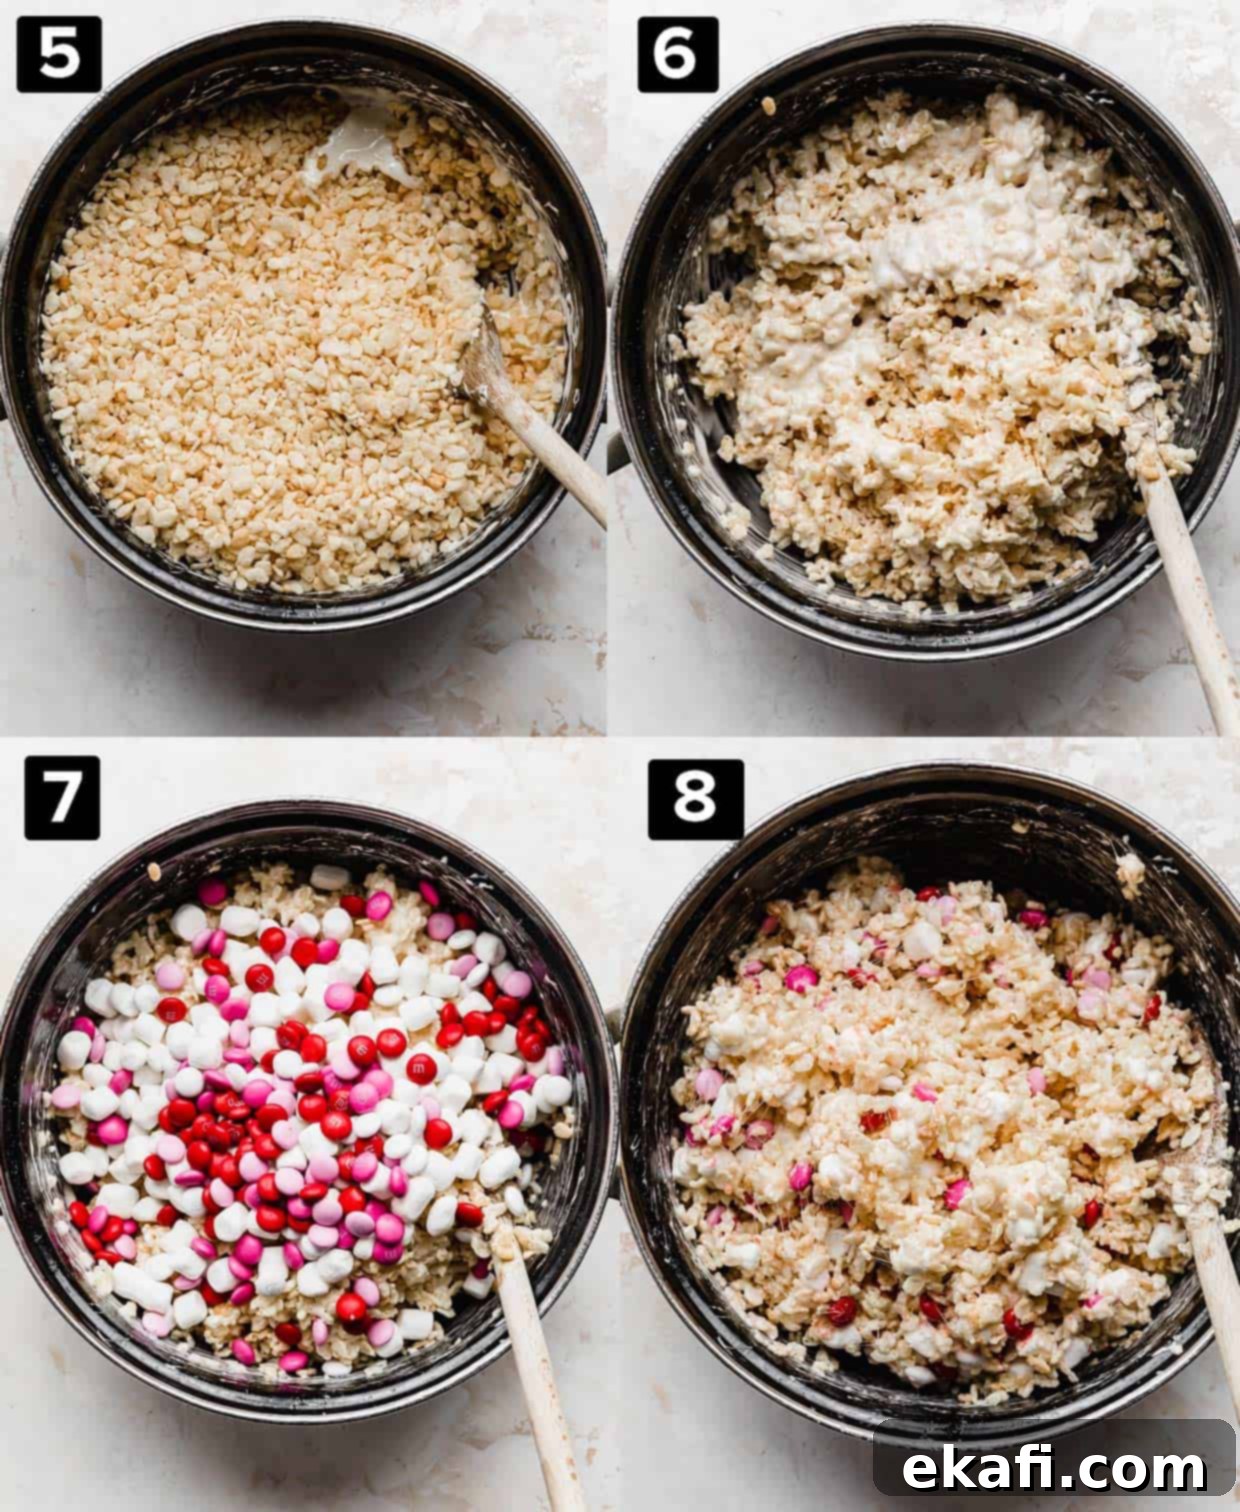
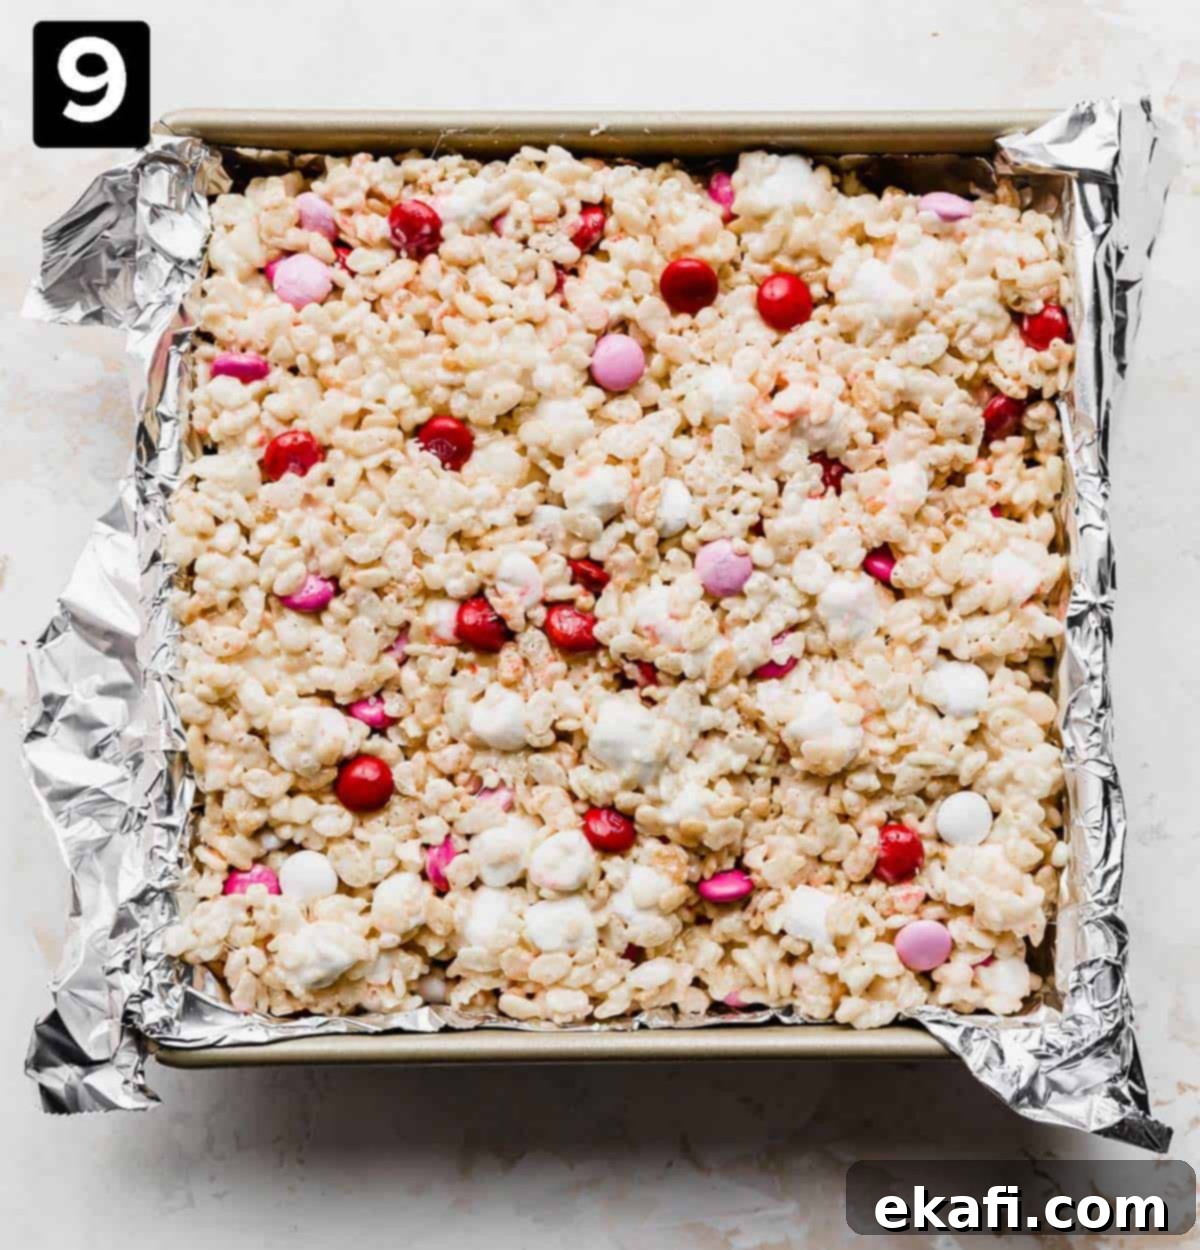
- Gently Press into Prepared Pan: This step is CRUCIAL for soft treats. Transfer the Rice Krispies mixture into your prepared 8×8-inch pan. Do not pack it down tightly! Instead, use a buttered spatula or your lightly buttered hands to gently press the mixture into an even layer. The goal is simply to spread it out so it fills the pan. Over-compressing the mixture will lead to hard, dense treats. Be gentle, and work quickly but carefully as the mixture will be warm.
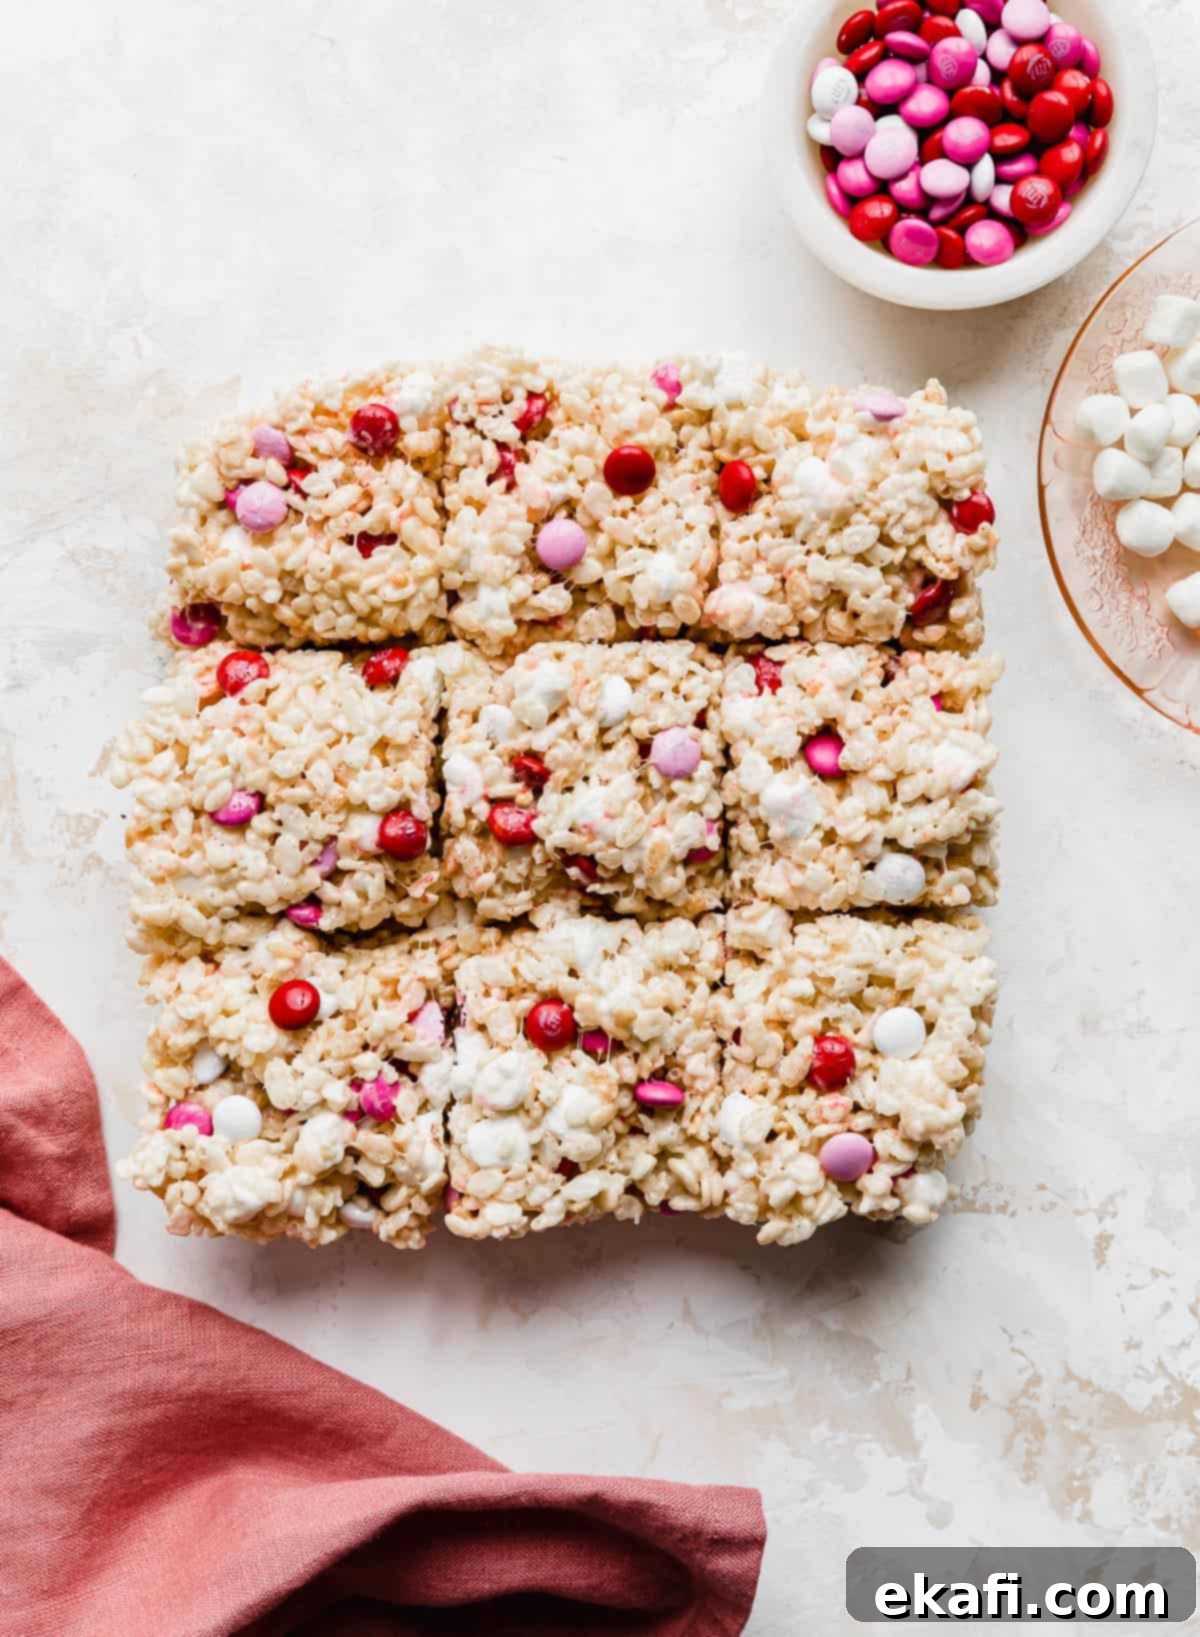
- Set and Serve: Allow the M&M Rice Krispie Treats to set at room temperature for about 10-15 minutes, or until they are firm enough to cut. Once set, lift the foil overhang to remove the entire block from the pan. Place it on a cutting board and cut into 9-16 squares, depending on your desired size. Enjoy your perfectly soft and chewy treats!
Expert Tips for the Softest, Most Delicious M&M Rice Krispie Treats
While the recipe itself is straightforward, a few key tips can elevate your M&M Rice Krispie Treats from good to absolutely phenomenal.
- To Freeze or Not to Freeze M&Ms: I highly recommend freezing your M&Ms for 15-20 minutes before incorporating them into the warm mixture. This optional step significantly reduces the chances of them melting into streaks of color, allowing them to maintain their vibrant appearance and distinct chocolate crunch within the treats. It’s a small step that yields a big visual and textural payoff!
- Choosing the Right Pan Size: I prefer using an 8×8-inch pan because it yields thicker, more substantial Rice Krispie Treats – exactly how I like them! If you prefer thinner treats or need to make a larger batch, a 9×9-inch or even a 9×13-inch pan can be used. Just be aware that a larger pan will result in thinner squares, and you might need to adjust the recipe quantities if using a significantly larger pan like a 9×13 to maintain thickness.
- The Golden Rule: Gentle Pressing is Key! This is, without a doubt, the most important tip for making the best, softest Rice Krispie Treats. Think about all those hard, dense treats you’ve encountered in the past. Chances are, they were aggressively packed into the pan. To achieve that coveted soft and chewy texture, you must only gently place the mixture into the prepared pan. I barely press the mixture down at all! Your only goal is to spread the mixture evenly so it fills the pan, allowing plenty of air pockets to remain. These air pockets are what contribute to the light, chewy, and gooey consistency. Do NOT compact it, or your treats will turn out dense and hard.
- Preventing Stickiness: The marshmallow mixture can be quite sticky! To prevent it from adhering to your hands or spatula, lightly butter your hands or generously spray your spatula with cooking spray before handling and pressing the mixture into the pan. Be cautious, as the mixture will still be warm. This simple trick makes the process much cleaner and easier.
- Holiday & Event Customization: As mentioned, these M&M Rice Krispie Treats are a blank canvas for customization. I made these with pink, white, and red M&Ms for Valentine’s Day. But don’t stop there! Consider red and green for Christmas, orange and black for Halloween, patriotic red, white, and blue for the 4th of July, pastel M&Ms for Easter, or even school colors for graduation parties. The possibilities are endless, making them suitable for any celebration throughout the year!
- Use Fresh Ingredients: Just like with cereal, ensure your marshmallows are fresh. Old, hardened marshmallows won’t melt as smoothly and can result in a tougher treat.
Make Ahead, Storing, and Freezing Best Practices
These M&M Rice Krispie Treats are best enjoyed within a few days of making them. Proper storage is essential to maintain their delightful texture.
If you’re making them ahead of time, or have leftovers, store the M&M Rice Krispie Treats in an airtight container or a large Ziplock bag. Ensure you press out as much air as possible from the bag. The key here is to keep them protected from air exposure, as air is the primary culprit behind hardened treats.
Store them at room temperature in that airtight container for 2-3 days. It’s crucial that you do NOT store these Rice Krispies in the fridge or freezer. The cold temperatures will cause the marshmallows to crystallize and harden significantly, and unfortunately, they won’t soften back up to their original gooey texture even when brought back to room temperature. This applies to both refrigeration and freezing – avoid both for optimal results!
Frequently Asked Questions About M&M Rice Krispie Treats
There are a few common reasons why your Rice Krispie treats might turn out hard instead of soft and chewy:
- Stale Ingredients: Always start with fresh marshmallows and crisp Rice Krispies cereal. Stale ingredients won’t provide the desired texture.
- Overcooked Marshmallow Mixture: This is a very common culprit! If the marshmallows are cooked for too long or over too high a heat, they can become brittle when cooled. Using mini marshmallows helps significantly because they melt quickly, minimizing their time on the stove. Larger or regular-sized marshmallows take longer to melt, increasing the risk of overcooking. Keep the heat on medium-low and remove from heat as soon as they’re mostly melted.
- Packing Them Too Tightly: As emphasized in our recipe tips, this is crucial. If you press the mixture into the pan too firmly, you compress all the air out, resulting in dense, hard treats. Remember to just gently place and spread them in the pan.
No, you don’t have to use an 8×8-inch pan, but it is recommended for thicker treats like those pictured. The size of your pan will directly impact the thickness of your M&M Rice Krispie treats. If you use a larger pan, such as a 9×9-inch or a 9×13-inch, your treats will be thinner. A 9×9-inch pan is a great alternative if you want slightly less thick treats or a few more servings. For a significantly larger batch, you might need to scale up the ingredients when using a 9×13-inch pan.
I strongly recommend using mini marshmallows! They are superior for several reasons: they melt much more quickly and evenly, reducing the risk of overcooking the marshmallow mixture. Their rapid melting means your pot spends less time on the stove. Additionally, mini marshmallows disperse more thoroughly throughout the cereal, ensuring every bite is perfectly gooey and coated. The small, unmelted mini marshmallows added at the end also contribute delightful pockets of extra chewiness.
Absolutely! M&M Rice Krispie Treats are incredibly versatile. Feel free to experiment with other chocolate candies, sprinkles, chopped nuts, mini chocolate chips (add these at the very end with the M&Ms to prevent excessive melting), or even a drizzle of melted chocolate or white chocolate over the top once the treats have set. Just be mindful of not over-mixing once you’ve added additional ingredients.
For clean cuts, allow the treats to set completely at room temperature (about 15-30 minutes). Lift the treats out of the pan using the foil overhang. Place the block on a sturdy cutting board. For best results, use a sharp, non-serrated knife. You can lightly spray the knife with cooking spray or lightly butter it to prevent sticking between cuts. Cut in one swift, downward motion rather than sawing back and forth.
More No-Bake Sweet Treats You’ll Love
If you’re a fan of easy, no-bake desserts and delicious snack mixes, check out these other crowd-pleasing recipes:
- Strawberry Chex Mix (Muddy Buddies)
- Cinnamon Roll Popcorn
- Small Batch Muddy Buddies
- How to Make Movie Theater Popcorn
Did you make this recipe? We’d absolutely love to hear about your experience! Click here to leave a rating and review, or simply scroll down to the recipe card below and share your thoughts. Your feedback helps us and other home bakers!
Stay up-to-date with our latest delicious creations and baking adventures by following us on Instagram, Facebook, and Pinterest.
Print
SaveSaved!
Review
M&M Rice Krispie Treats
Ingredients
- 6 Tablespoons unsalted butter – salted butter is fine too, just reduce added salt by 1/2 tsp!
- 10 cups mini marshmallows – divided (8 cups + 2 cups), for best texture
- 6 cups fresh Rice Krispies cereal
- 1/2 teaspoon kosher salt
- 1/2 teaspoon pure vanilla extract
- 1 cup milk chocolate M&M’s – freeze them briefly for best results (optional)
Instructions
-
Line an 8×8-inch pan with foil, leaving an overhang. Gently cover the foil with cooking spray. Set aside.
-
In a large pot, melt the butter over medium-low heat. Once melted, add 8 cups of the mini marshmallows. Stir continuously until the marshmallows are just melted and smooth. Remove the pot from the heat. Stir in the vanilla extract, kosher salt, and Rice Krispies cereal until mostly coated.
-
Once the Rice Krispies cereal is mostly covered with the melty marshmallow mixture, add the remaining 2 cups of mini marshmallows and the M&M’s. Stir gently until just combined.
-
Transfer the Rice Krispies treat mixture into the prepared pan. Using a buttered spatula or lightly buttered hands, gently press the mixture into an even layer. Avoid pressing too hard!
-
Let set at room temperature for 10-15 minutes before cutting and serving. Enjoy!
Notes
An 8×8-inch pan will yield thicker Rice Krispies. Using a 9×9-inch pan also works perfectly if you prefer slightly thinner treats or need more servings. Use whatever you have on hand.
** When pressing the Rice Krispies down, remember the golden rule: don’t press too hard! You do not want them to be too compact, as this makes them hard and dense. Just gently spread them into an even layer. Also, if the mixture is sticking to your hands, gently rub butter onto your hands or spray your spatula with cooking spray to prevent sticking. Be careful, as the mixture will be warm!
Store at room temperature in an airtight container to prevent them from hardening. Do NOT refrigerate or freeze, as this will make them hard and dry.
Recipe Source: adapted from Cookies and Cups.
Nutrition
This recipe was originally published on Jan. 28, 2018. It was republished on Feb. 4, 2022, to include additional information and photos. This current version has been further updated for enhanced SEO, clarity, and comprehensive details as of November 2023.
